Luminar 4 offers numerous possibilities for photo editing and management. But what happens after you have edited your images? Do you want to ensure that your valuable works do not just stay within the program? It’s time to familiarize yourself with the export functions for your images. Whether you want to send your photos via email, upload them to the internet, or simply save them locally on your hard drive – Luminar 4 provides you with the necessary tools to do this effectively.
Main insights
- You can save images in various file formats – e.g. JPEG, PNG, or PDF.
- With Luminar 4, you can adjust the size and quality of your images before exporting.
- It is possible to export multiple images at once and adjust their names.
- The export function also allows you to apply sharpening, making it ideal for sharing your photos online.
Step-by-step guide to exporting images
To efficiently save your edited images, follow these steps:
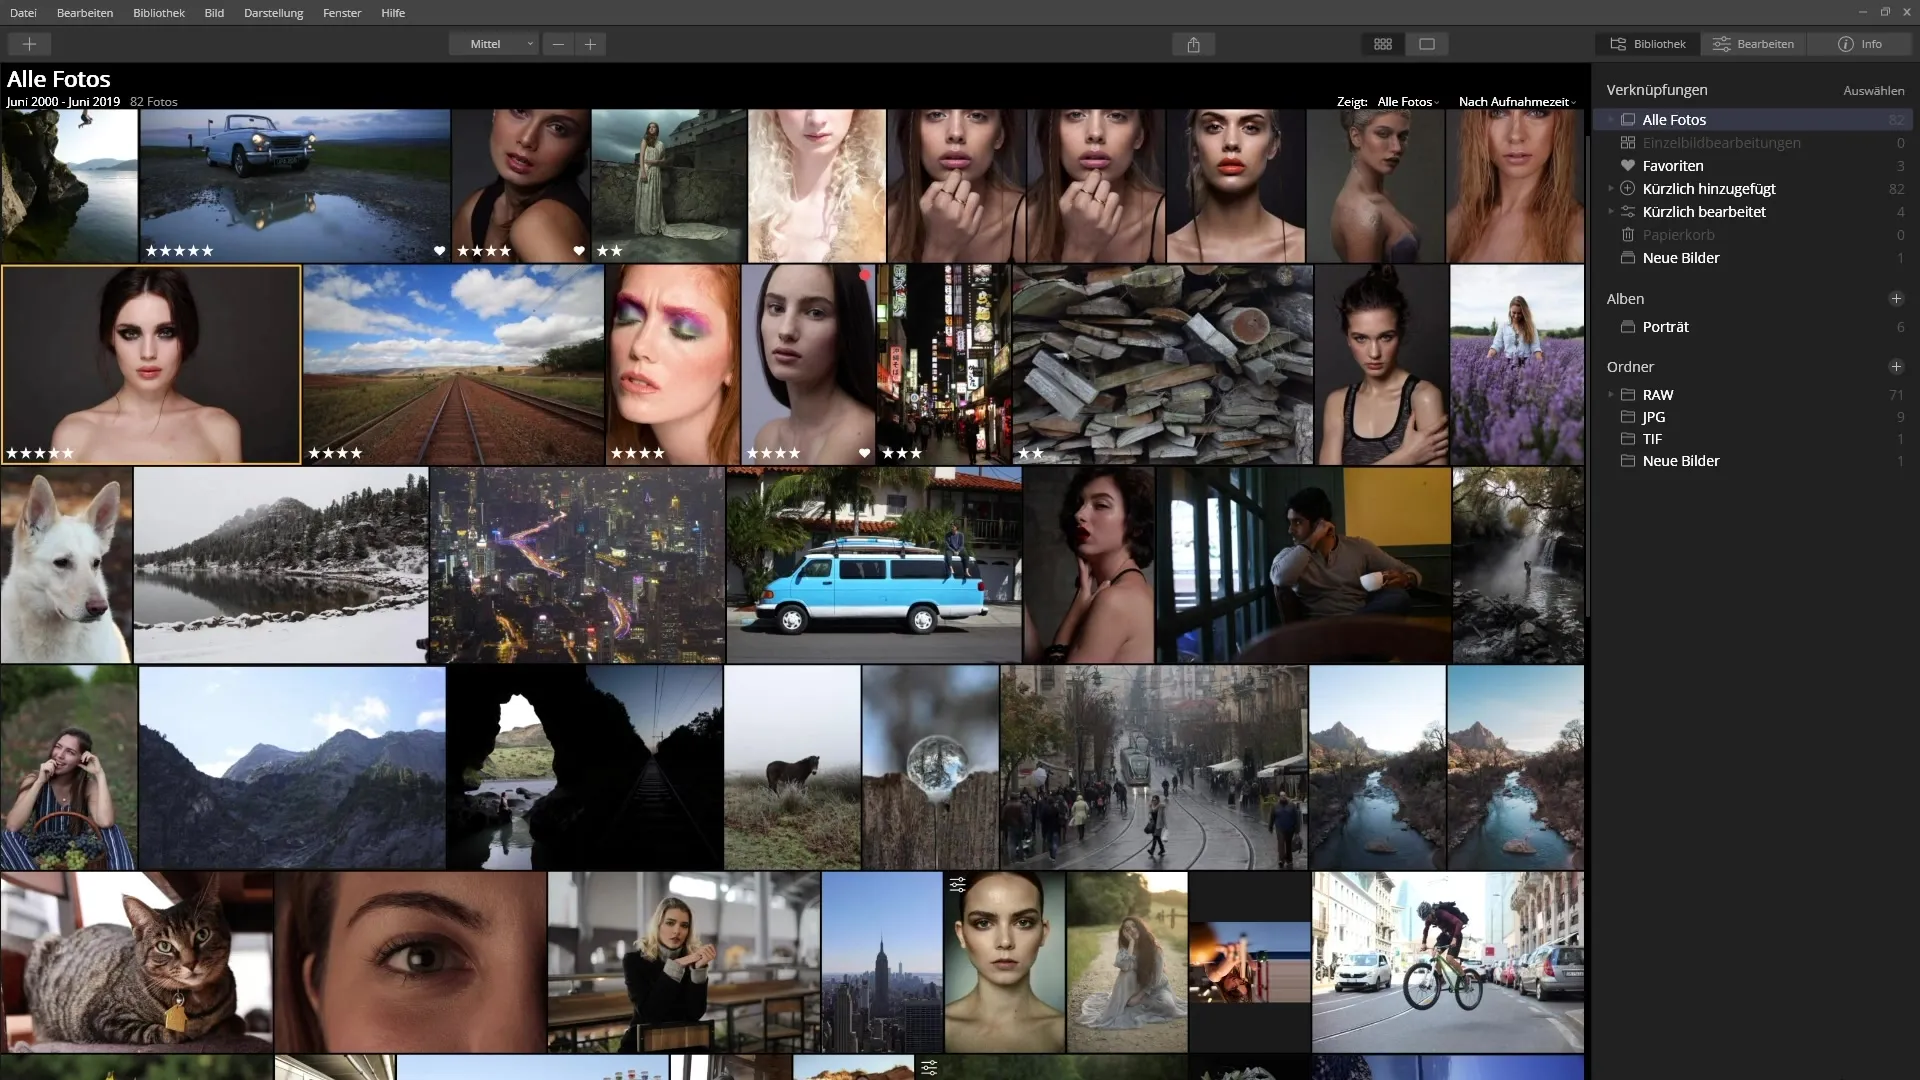
First, you should select the image you want to export in your catalog. This way, you can see at a glance whether it is the edited version – you can recognize it by the corresponding icon in the top left. The first step is to right-click on the image and select "Export" from the context menu. Alternatively, you can also choose the "Export Image" button at the top of the interface or select the "File" menu and then "Export."

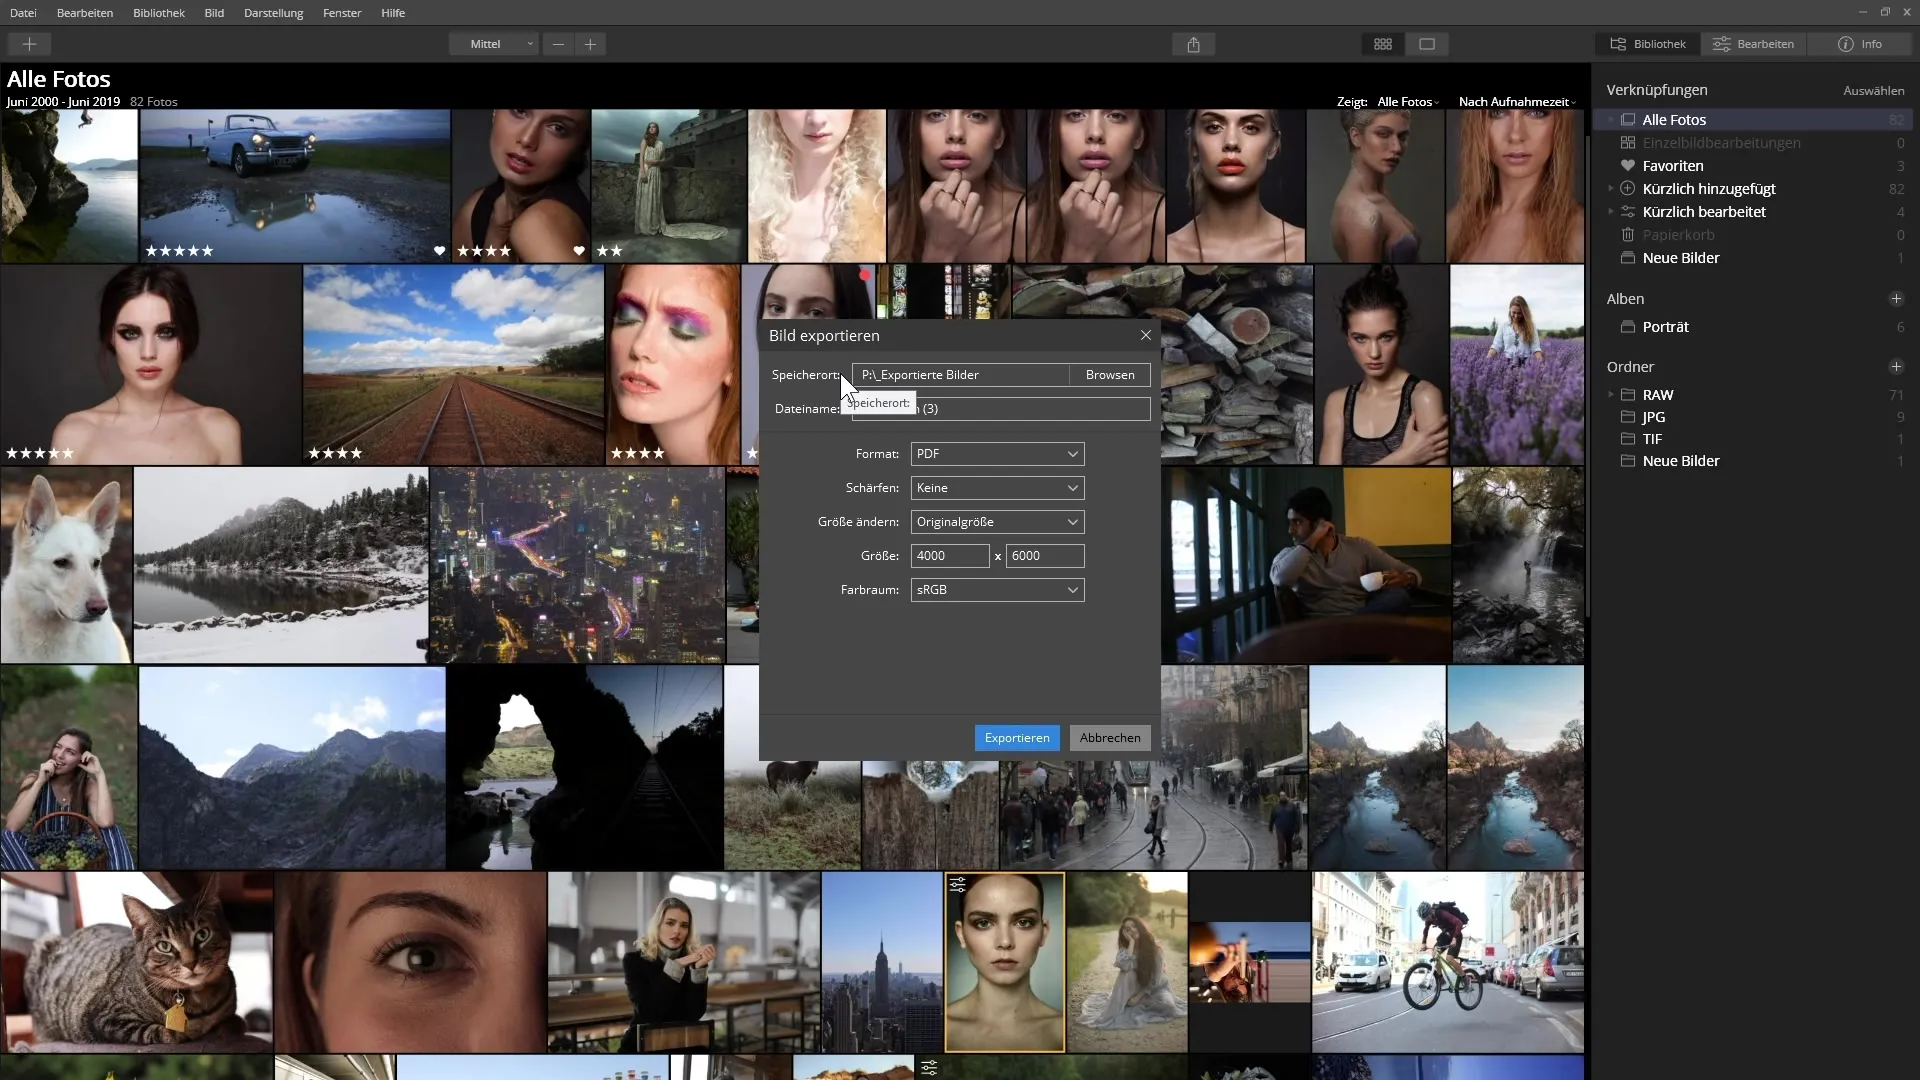
In the subsequent dialog box, you will see several options. The first item is the location. Here, you can specify where the exported image should be saved. In this example, you select the folder “exported images” on your hard drive. Make sure to select an empty folder to keep your new exports organized.

Now you have the option to name the exported image. The original name is taken by default, but it’s advisable to choose a custom name so you can easily differentiate between the various versions, e.g. “ImageName_resized.”
Next, selecting the file format is important. Click on the dropdown menu to choose the format in which you want to save your image. The most common format for web applications is JPEG.
The next window gives you the option to sharpen the image afterwards. Here, you can choose between "No Sharpening," "low," "medium," or "high." For most applications, especially if you want to resize the image, a low sharpening is usually sufficient.
Before proceeding, decide how you want to adjust the image size. You can sometimes skip the default "Original Size" if you want to optimize the image for the internet or email. Here, it is advisable to enter a maximum edge length to resize the image accordingly. For example, select the long edge and enter "1000 pixels." This ensures that the short side is adjusted proportionally.
You should also pay special attention to the color space. You can often select sRGB here, which is the most common choice for online applications. Additionally, you can adjust the resolution and the quality of the file. A value of 100% provides the highest image quality, but also increases the file size. While 80 to 90% quality is usually sufficient to create a small file without visible quality loss, you can adjust this at any time.
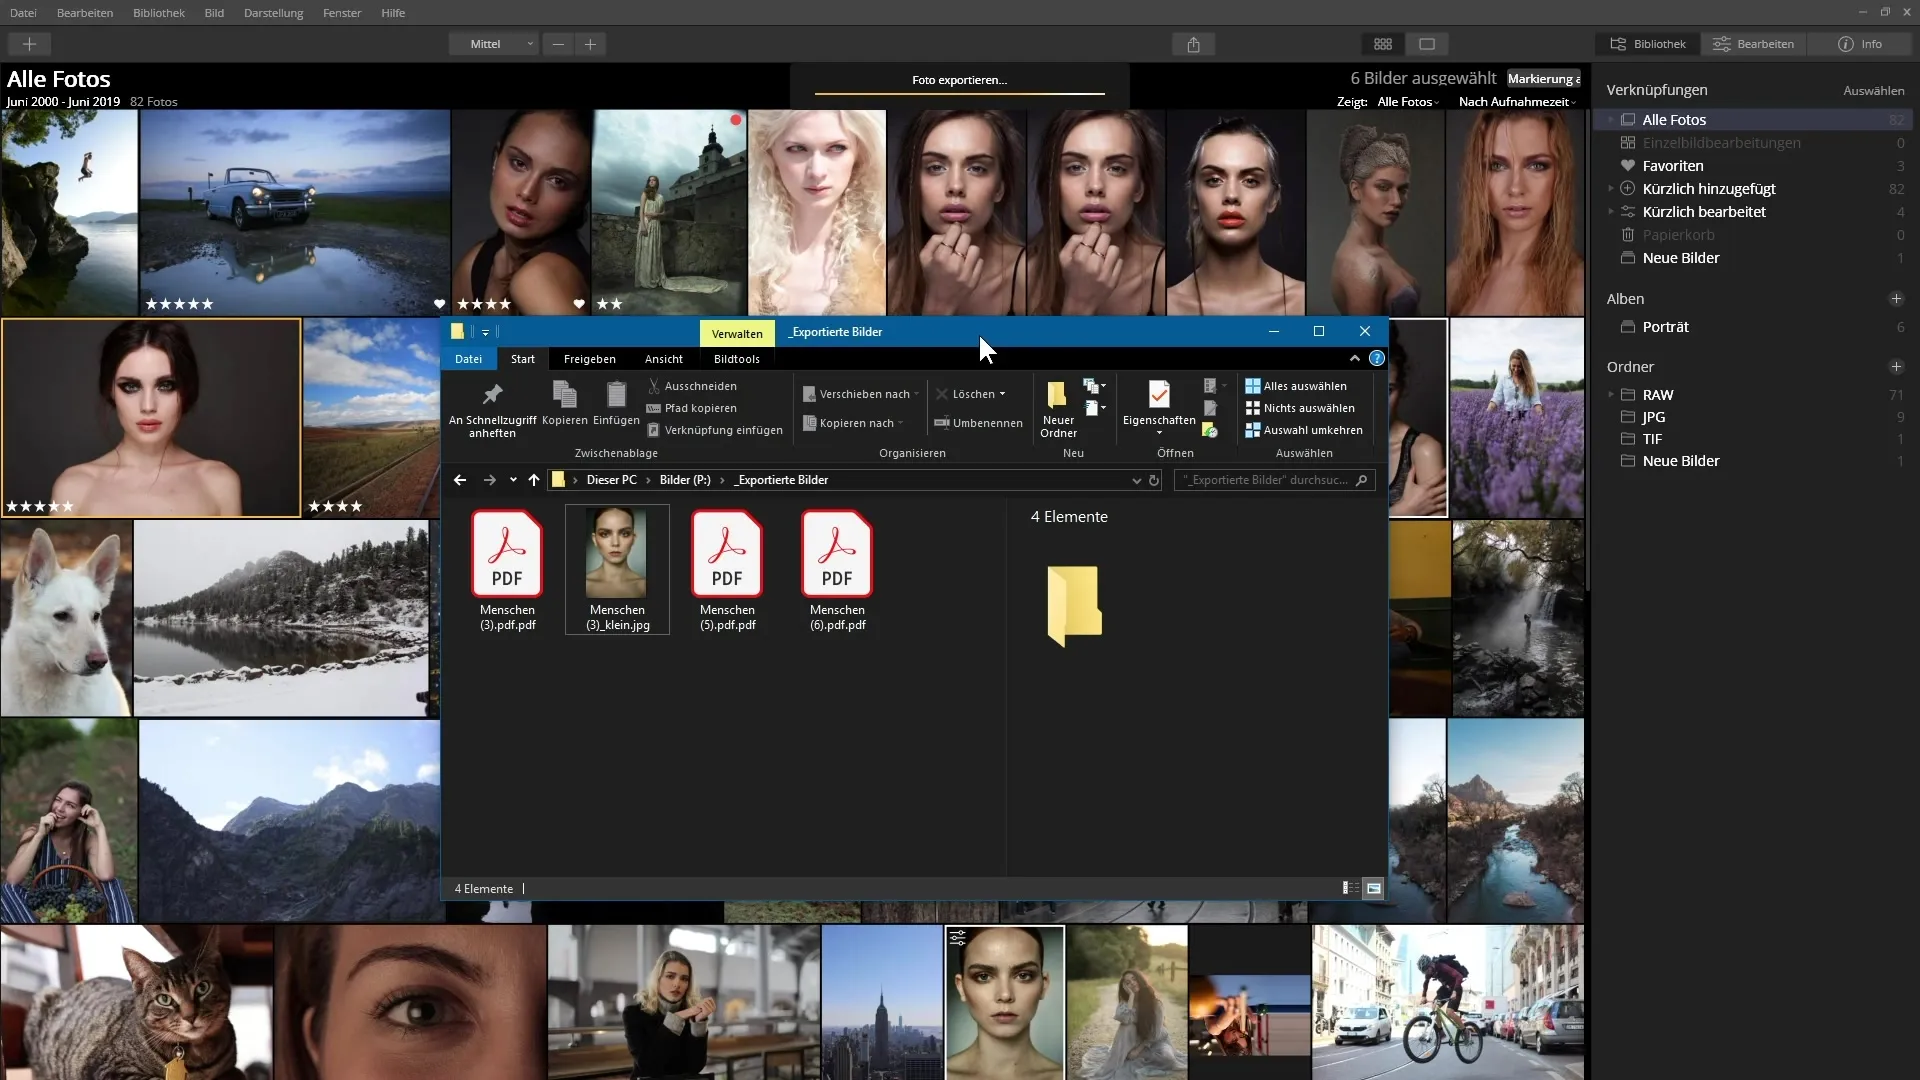
After all these settings, finally click on “Export.” Note that the export process, especially for multiple selected images, may take some time. Once the export is complete, the image will be visible in the specified folder, and you can check the exported files for correctness.
If you want to export multiple images at the same time, you can do so by holding down the control key (or the shift key for a continuous selection) and clicking on the desired images. Then right-click on one of the selected images and choose the export option again. The dialog box will appear, with the original file names of the images now used.
You can also select the storage options and file format here, such as PNG, TIFF, or even PDF. Note that when exporting to PDF, each image creates its own file, if needed, or you could choose another batch export option.
Finally, the process is similar to before. You also set the long edge to "1000 pixels" here and wait until the export process is complete. Finally, you should take a look at the exported PDFs and photos in the folder.

Now you have gone through all the necessary steps to effectively export images in Luminar 4.
Summary – Exporting and Saving Images in Luminar 4
You now have the knowledge to successfully save your images from Luminar 4. Learn how to use both the basic functions and the specific adjustments for size and quality to get the most out of your images.
Frequently Asked Questions
How do I export an image in Luminar 4?Right-click on the image and select "Export," or use the "Export Image" button.
Can I adjust the size of the image when exporting?Yes, you can specify the long or short edge in pixels.
In which file formats can I export?You can choose JPEG, PNG, TIFF, and PDF.
How can I export multiple images at once?Hold down the control key and select the images, then right-click and select "Export."
How do I adjust the quality when exporting?In the export dialog, you can set the JPEG quality from 80 to 100% as needed.


