Humorous and creative photography requires not only a trained eye but also efficient tools to optimize the creative process. A particularly useful feature of Skylum Luminar 4 is batch processing. With this feature, you can edit multiple images simultaneously, apply looks, adjust image sizes, sharpen settings, and perform named exports. Below, I will explain to you step by step how to use this powerful feature.
Main insights
- Batch processing allows simultaneous editing of multiple images.
- You can customize looks, sizes, and names for your images.
- It is important to exercise caution when overwriting original images.
Step-by-step guide
To make the most of the batch processing feature, follow these steps:
Step 1: Access batch processing
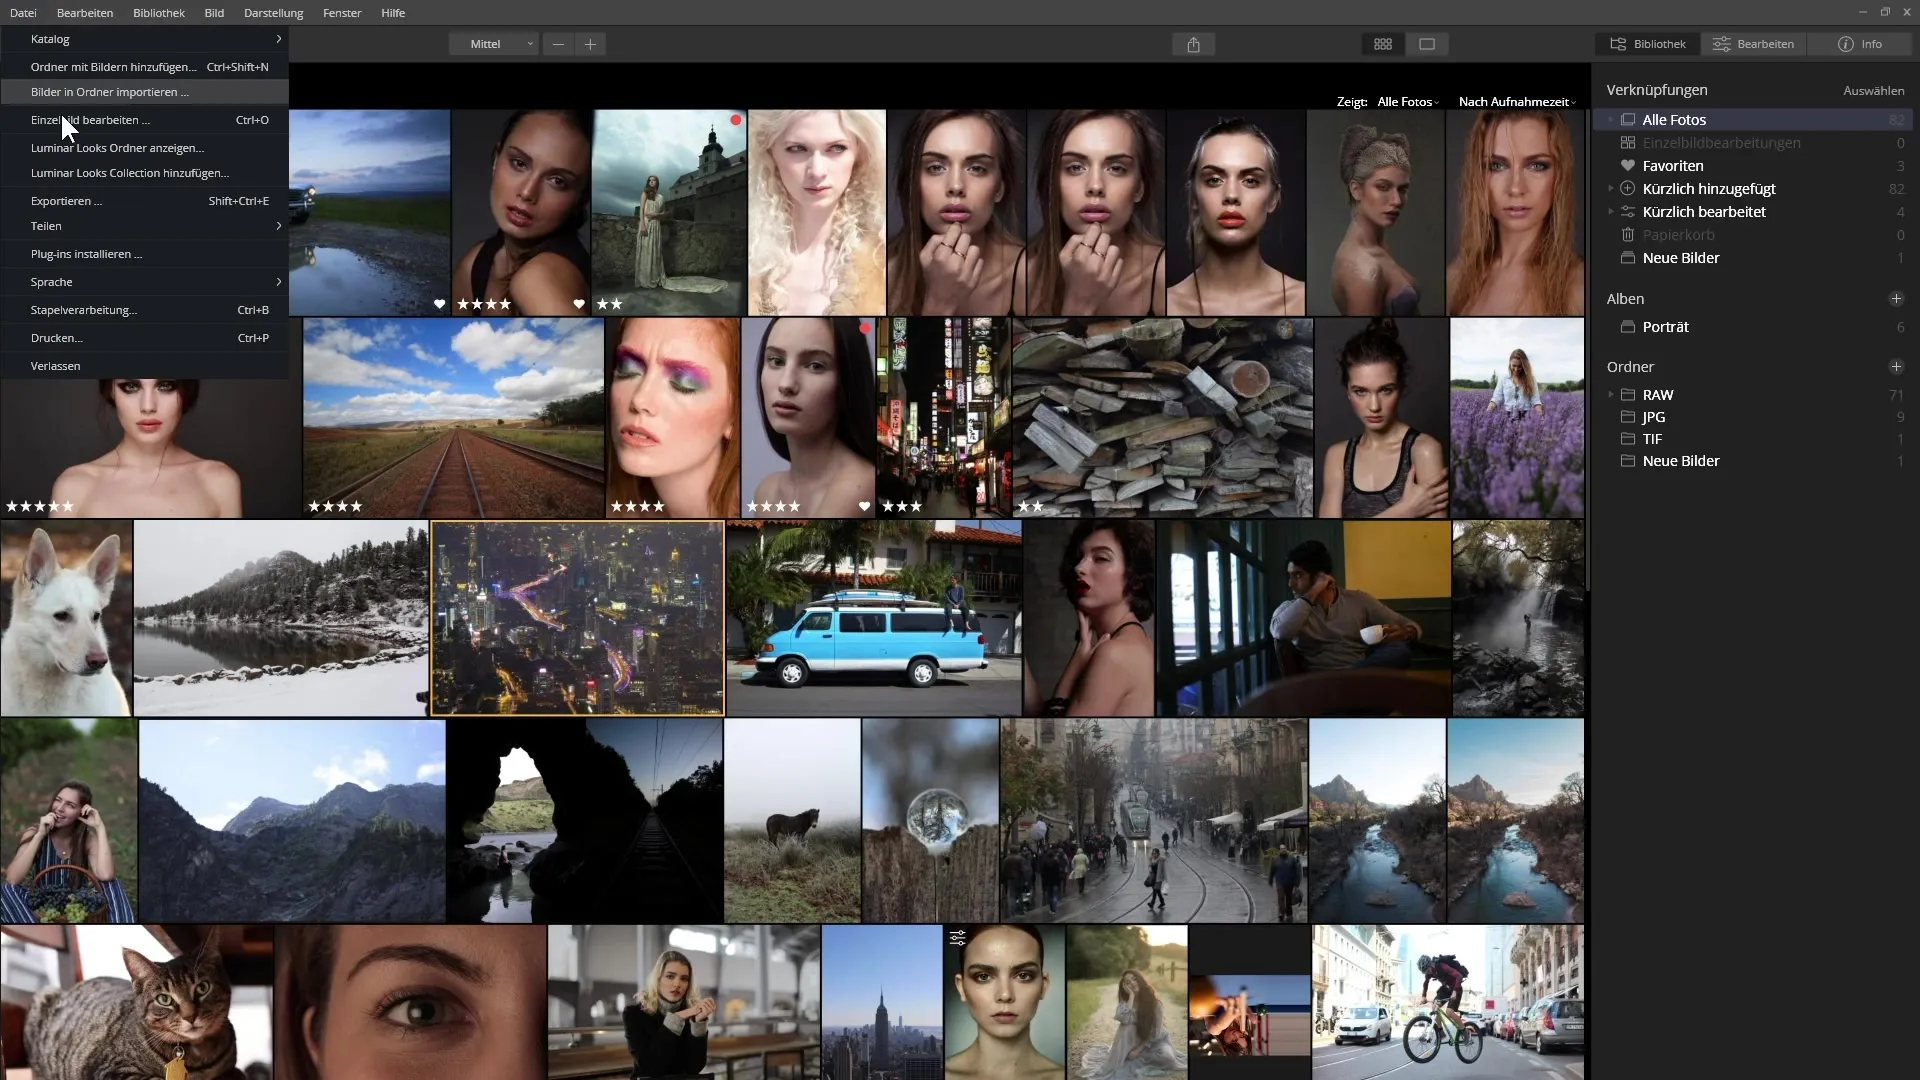
Open Luminar 4 and go to the area where your images are stored. You can access batch processing from the menu bar. Click on "File" and then select "Batch Processing."
Step 2: Select images
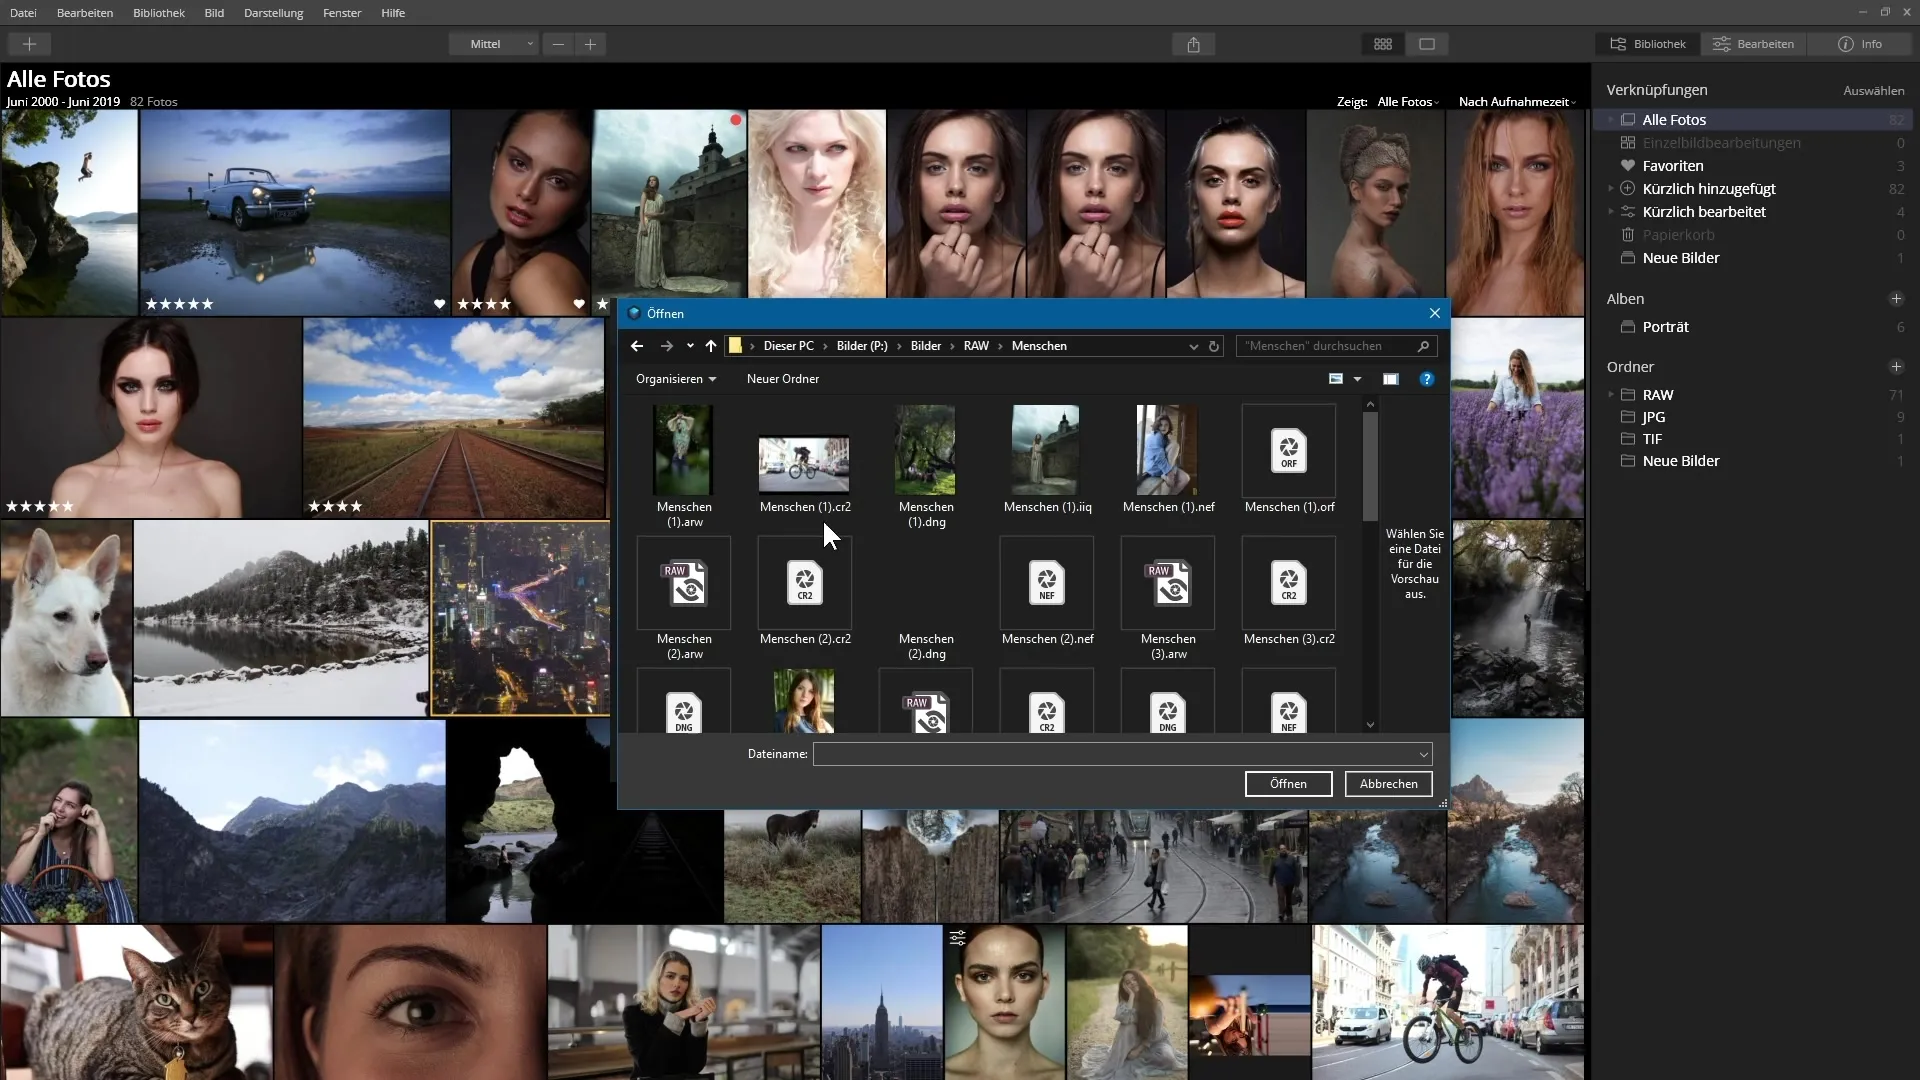
In the dialog window that opens, you have the option to select images from your hard drive. You can either drag the images directly into the window or click the "Browse" button to select the desired images. Hold down the control key to select multiple images at the same time.
Step 3: Confirm selection
After you have added the desired images, you will see an overview of your selection. Review this and remove any unwanted images by clicking the X next to the images. Then click "Next" to continue.
Step 4: Select default settings
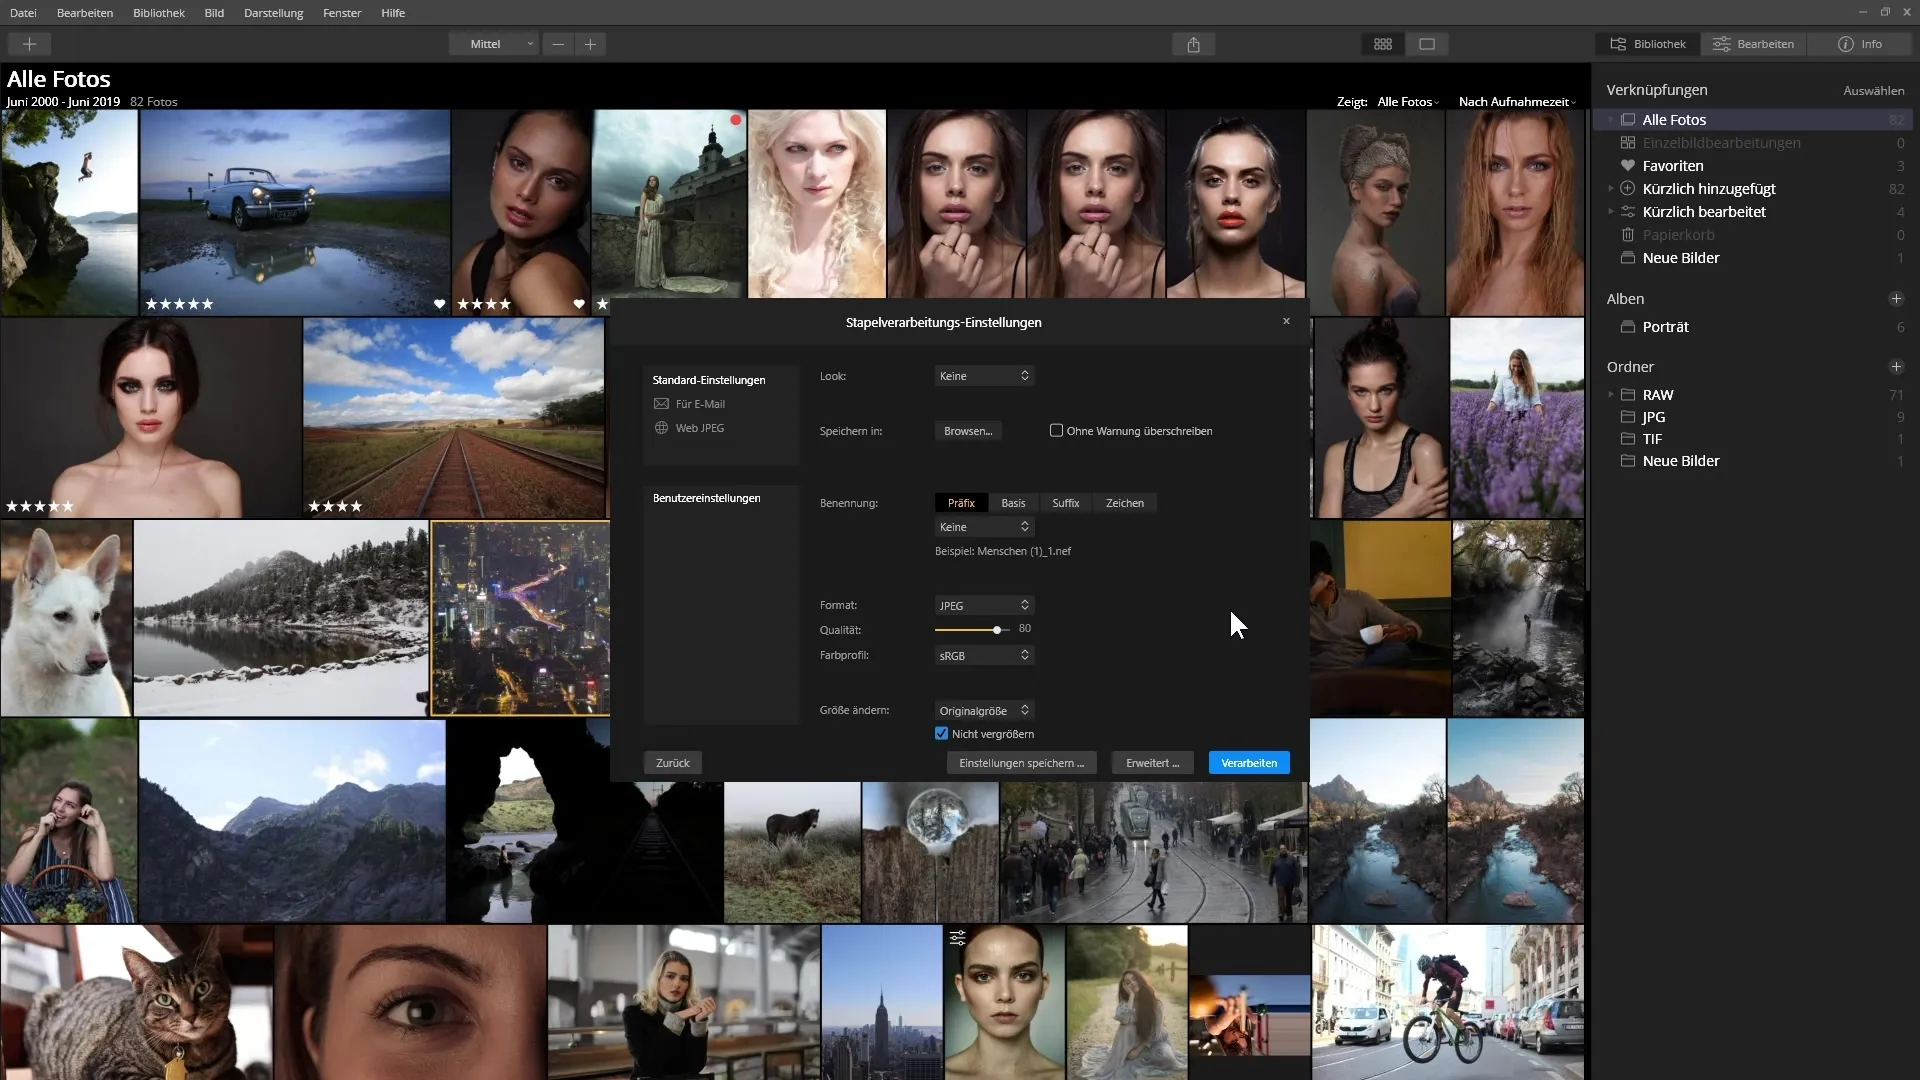
Now you will proceed to the next step where you can select various default settings. You may have options for email delivery or web publication. Choose the option that suits your needs and adjust the settings as required.
Step 5: Apply looks
In the next section, you can apply a specific look to your images. Click on the look selection menu and choose from various categories that are displayed to you. Here you can also adjust the intensity of the look.
Step 6: Save the images
Select a location on your hard drive to save the edited images. Make sure that the option "Overwrite without warning" is disabled so you do not accidentally replace original files.
Step 7: Naming files
Here you can set the naming of the exported images. You can use prefixes, base texts, and suffixes to design the file names to your liking. A counter as a prefix can be useful for numbering the images sequentially.
Step 8: Quality and image size settings
Set the desired image quality and size. You can set the long edge to a specific pixel count. Note the "Do not enlarge" option to ensure small images remain in their original state.
Step 9: Sharpening the images
Enable the sharpening option if desired. You can save the settings as a Custom Setting so you do not have to adjust them again next time.
Step 10: Process the images
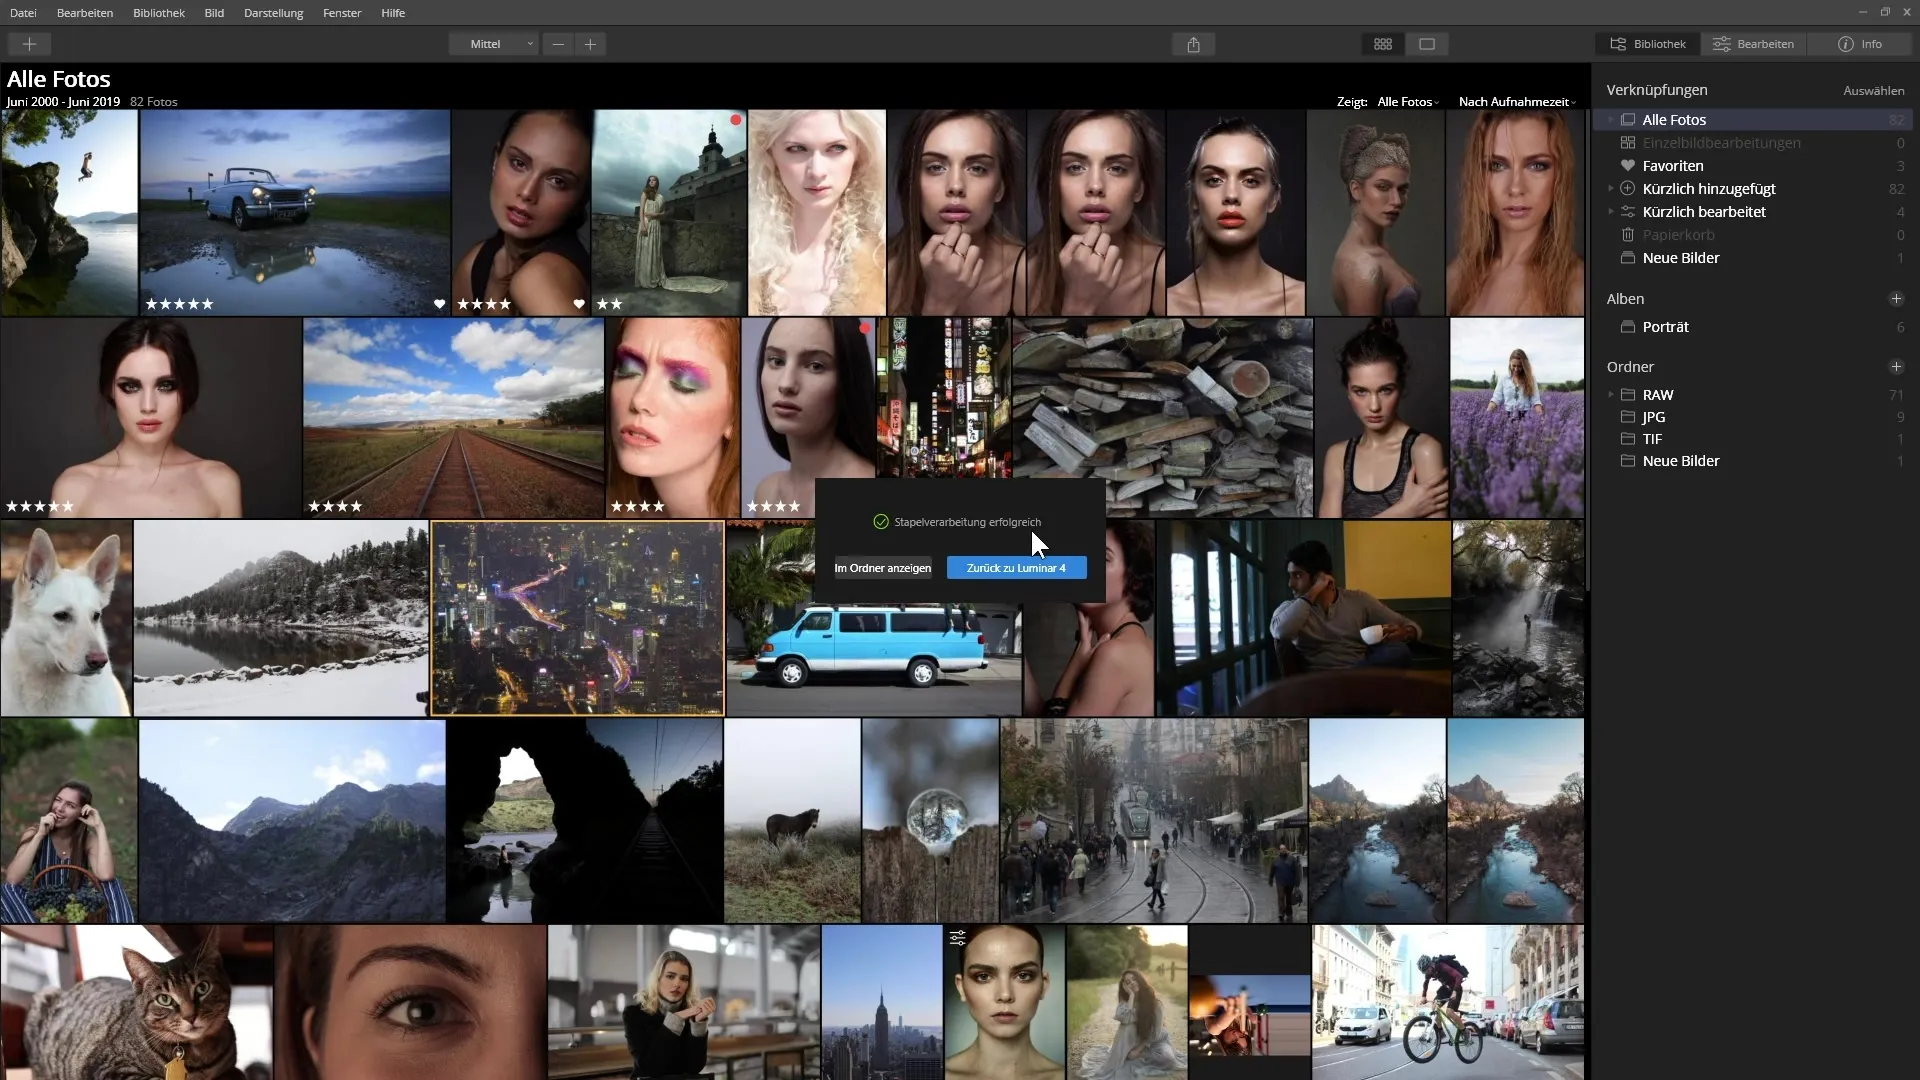
Click "Process" to start the process. You will not see a specific status display, but the images should appear in the selected folder.
Step 11: Confirm the processing
After the process is complete, you will be notified that the batch processing was successful. You can open the destination folder to review your edited images.
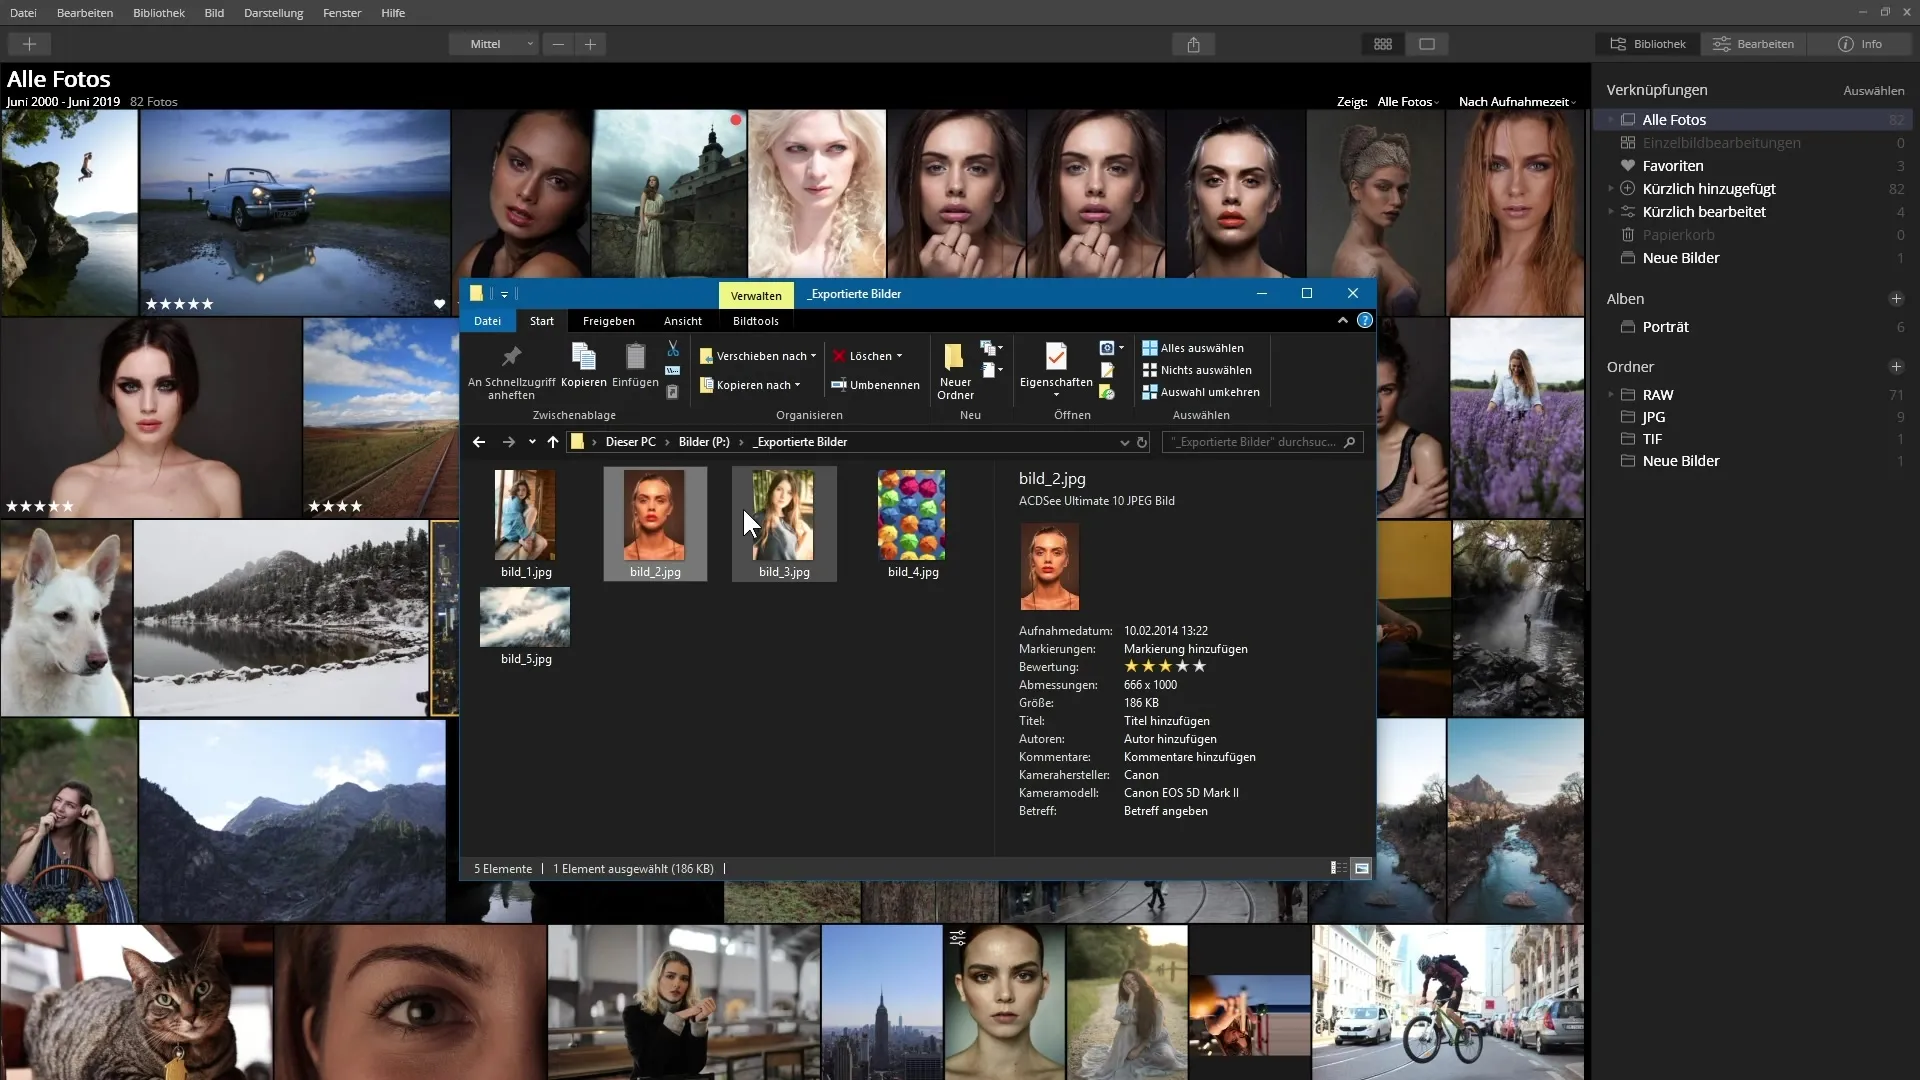
Summary - Guide to using batch processing in Luminar 4
With these steps, you can ensure that batch processing in Luminar 4 runs smoothly and that you achieve the desired results for your images. Use the flexibility of this feature to further optimize your photography.
Frequently asked questions
What is batch processing in Luminar 4?Batch processing allows you to edit multiple images simultaneously by adjusting looks, sizes, and names.
How do I select images for batch processing?You can drag images directly into the window or select them from your hard drive using the "Browse" button.
What happens if I enable the "Overwrite without warning" option?If this option is enabled, original images can be overwritten without additional warning. Therefore, you should keep it disabled.
How can I set the quality of the exported images?You can do this in the image size settings section, where you can set the desired quality and size.
Can I save batch processing settings?Yes, you have the option to save settings as a Custom Setting so that you can easily recall them next time.


