Luminar 4 is not only a popular photo editing program but also a useful RAW developer. Compared to other programs like Lightroom or Capture One Pro, Luminar 4 shows its strengths mainly in editing and applying AI-powered filters. In this guide, you will learn everything important about the functionalities of Luminar 4 and the installation process to get started right away.
Key insights
- Luminar 4 is a photo editing program and RAW developer.
- It offers a user-friendly interface, ideal for beginners.
- The standout features are mainly based on AI-powered filters.
- There are different editions to choose from.
- The installation process is straightforward and easy to follow.
Step 1: Visit the Skylum website
First, you should access the official Skylum website. There you will find all the information about Luminar 4 and the download options. Go to the website skylum.com/de/lumina and learn about the available products.

Step 2: Decide on the edition
On the product page, you can find information about the different editions of the program. There is the Standard edition, the Plus edition, and the Max edition. Each version offers different features and templates. Choose the edition that is right for you.
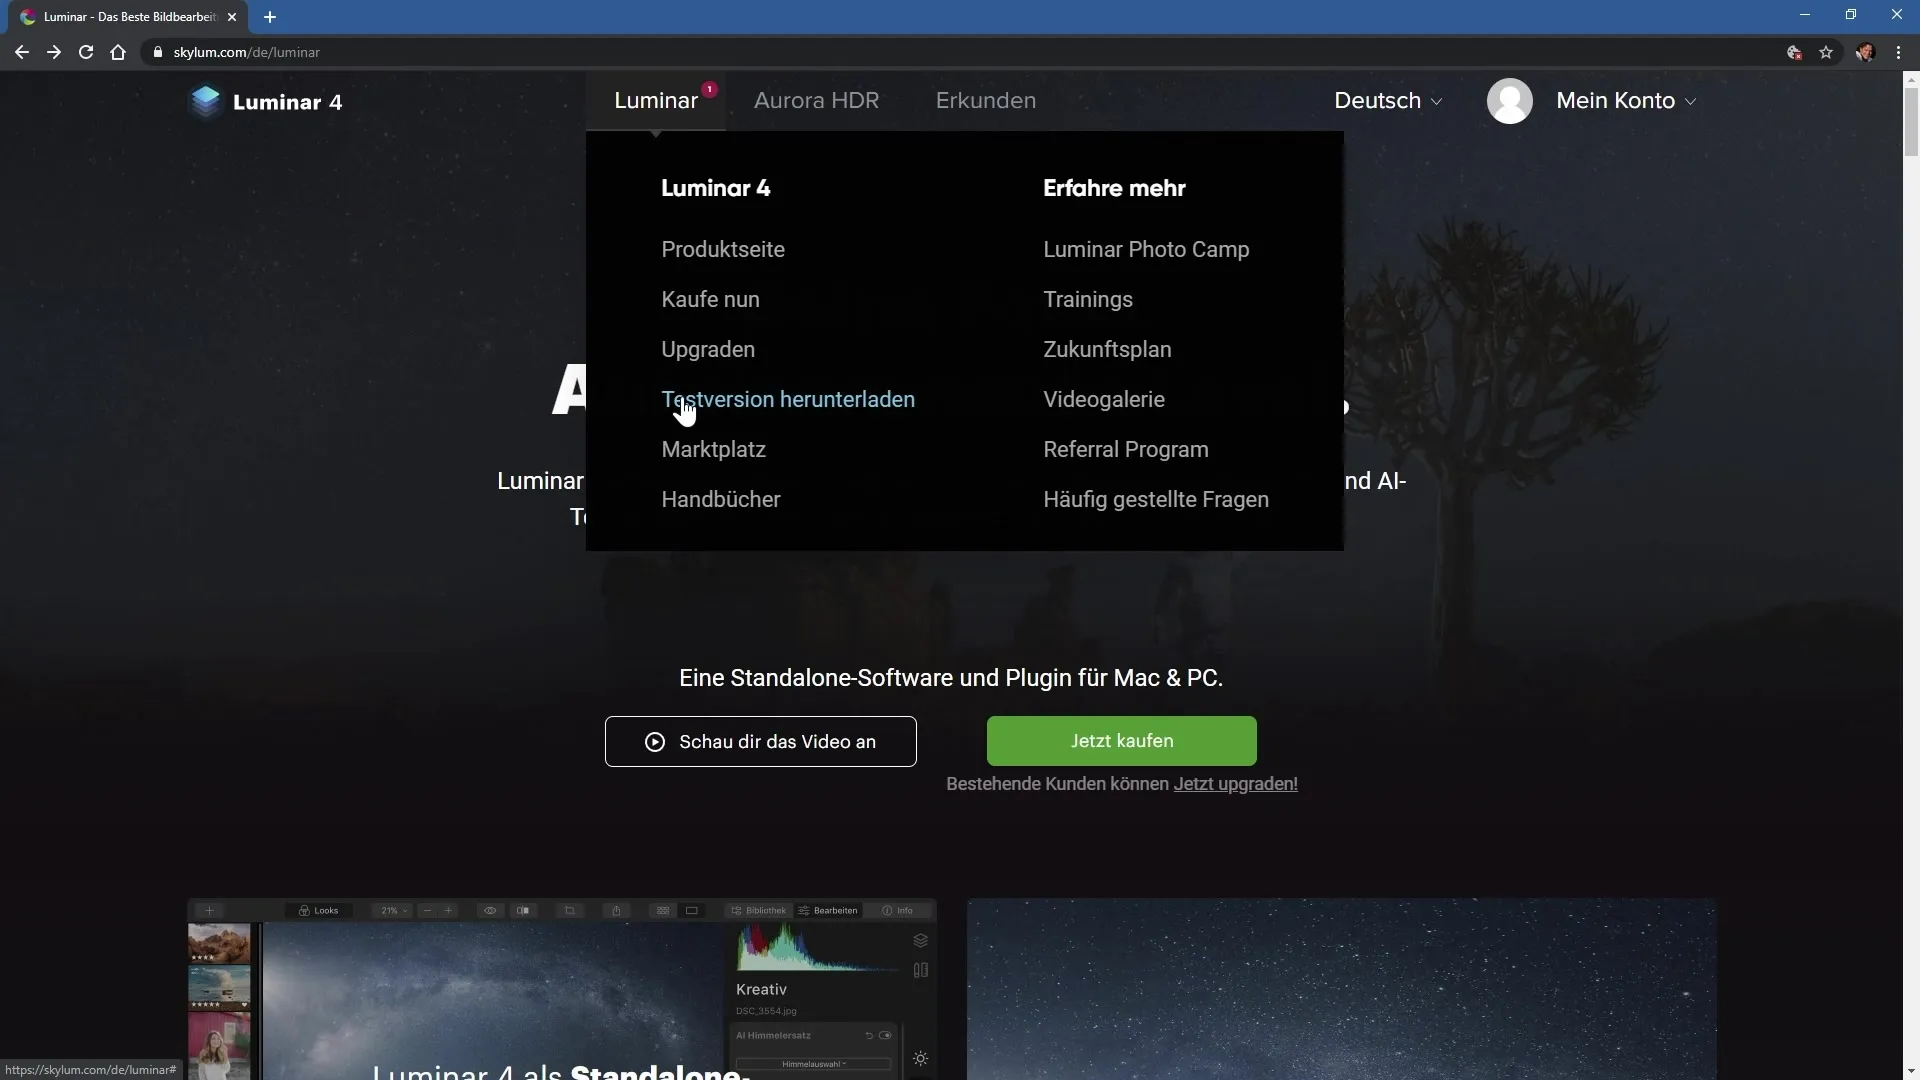
Step 3: Download the trial version
Before you purchase the program, you have the option to download a free trial version. Click on the corresponding button on the website to do so. The trial version allows you to try out the program before making a purchase decision.
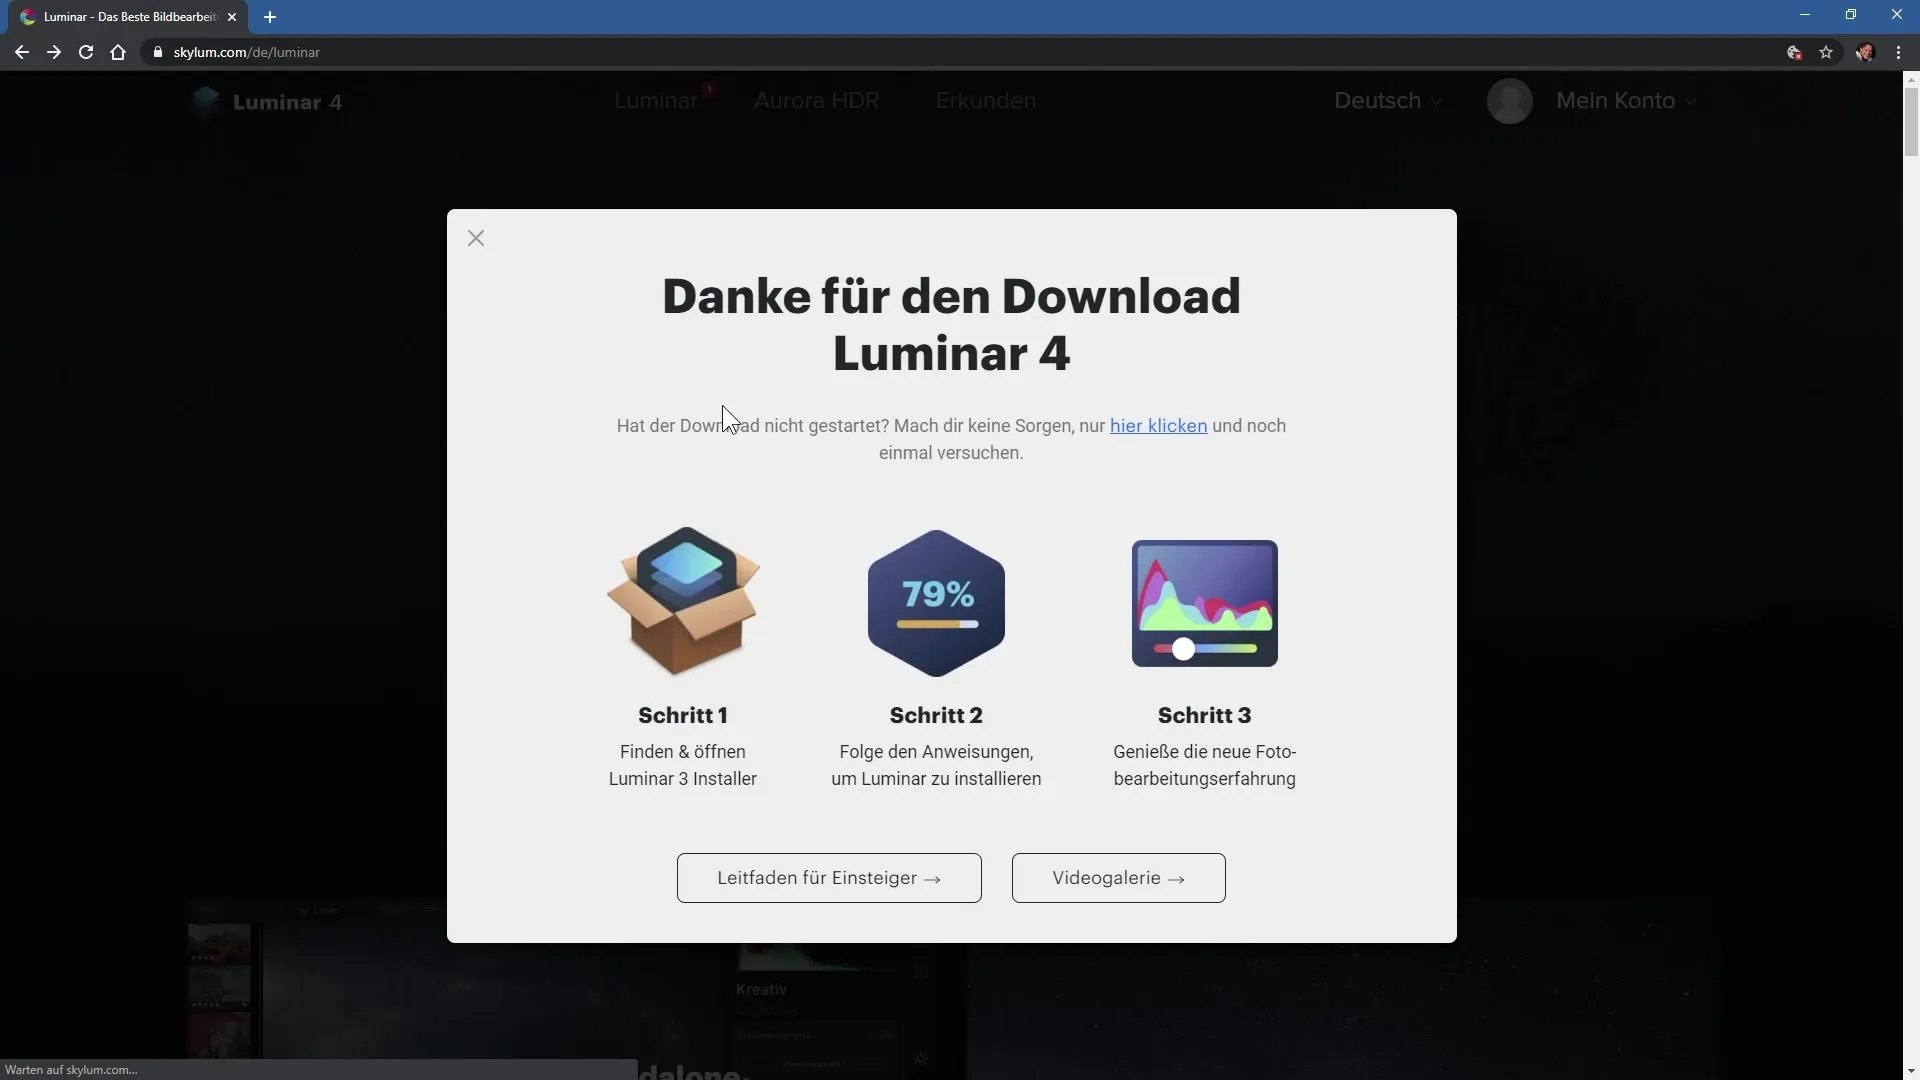
Step 4: Install the trial version
After you have downloaded the installation file, open the file. An installation wizard will guide you through the process. First, you accept the license agreement and choose the installation location. Usually, the default storage location is sufficient.
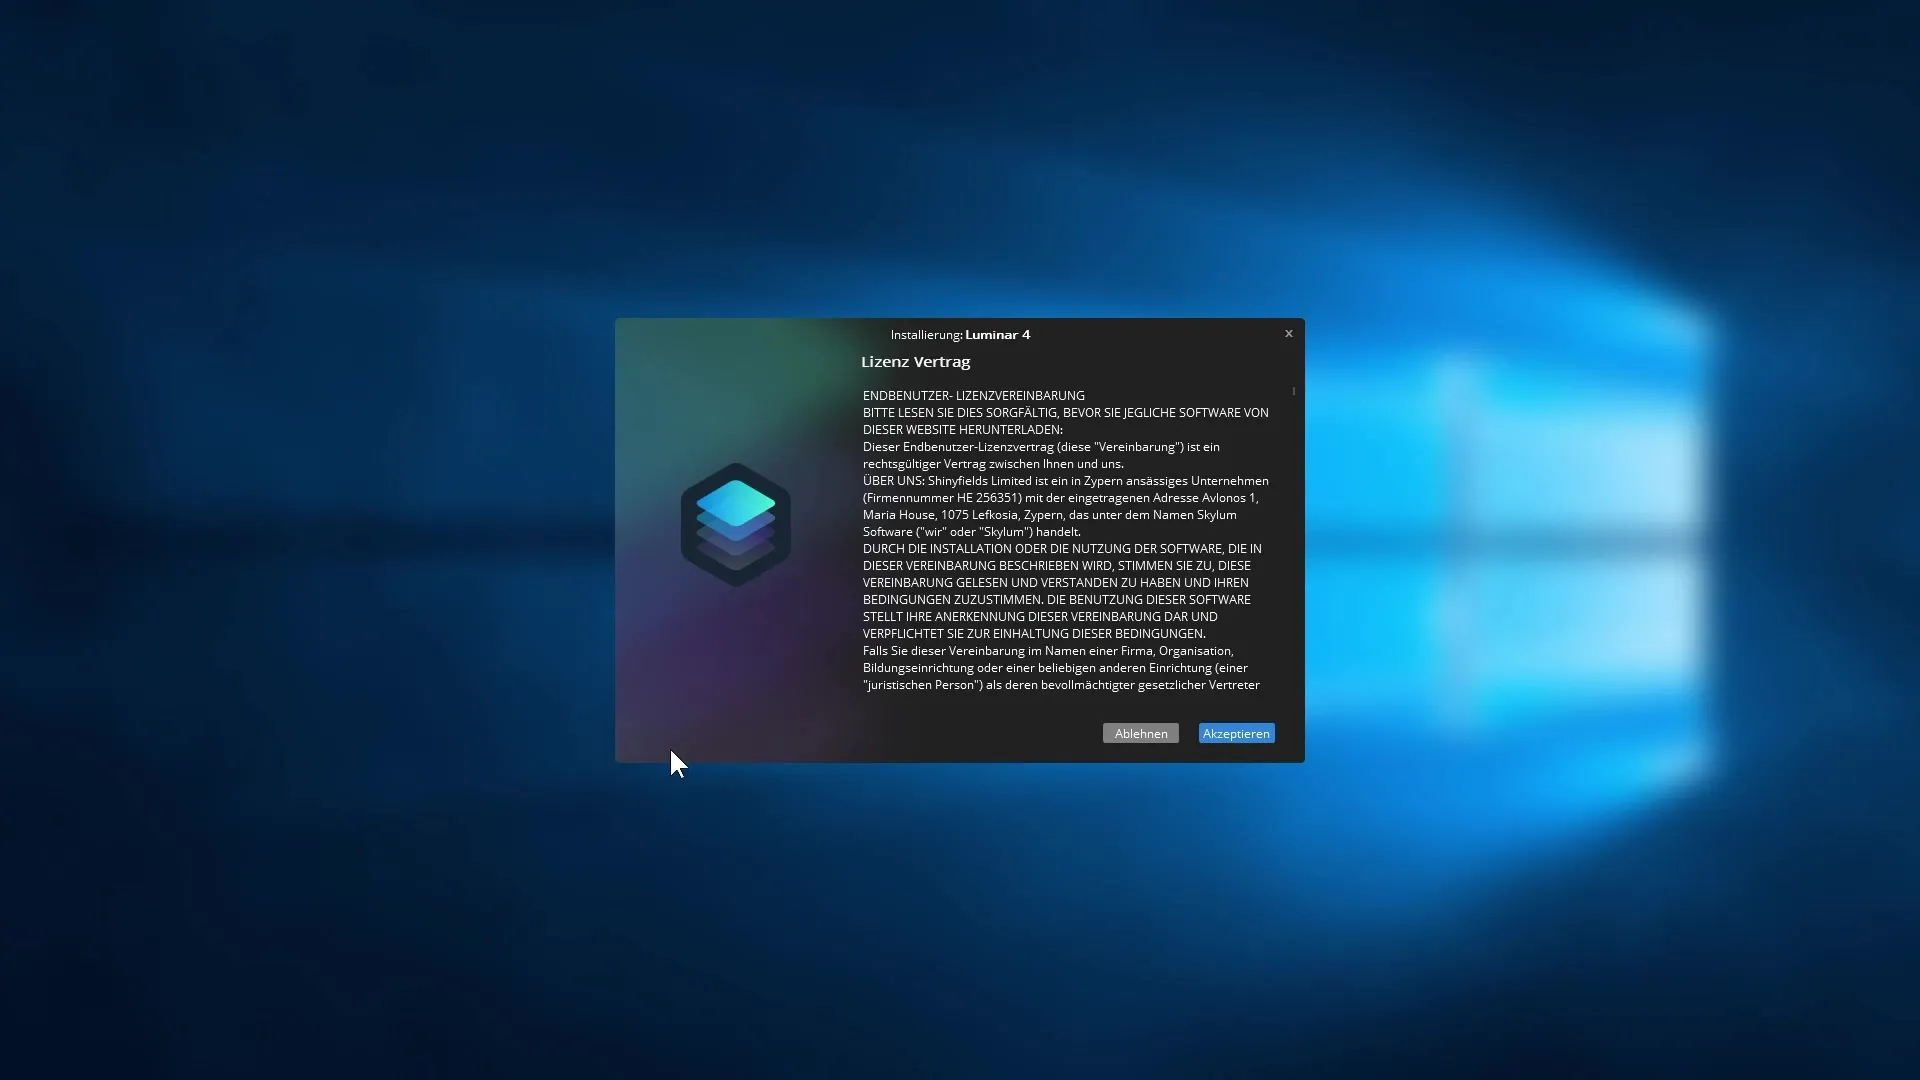
Step 5: Select plugins
During the installation, you have the option to install plugins for Adobe programs if you also have them on your computer. Make sure that the corresponding checkboxes are activated so that Luminar 4 works seamlessly with these programs.
Step 6: Activate the software
After the installation, you will be asked for your email address, which is needed for the software activation. You can also decide whether you want to subscribe to the Skylum newsletter. Enter your email address and click on "Start Lumina 4".

Step 7: First look at the interface
After starting, Luminar 4 gives a welcoming impression. You will see a large welcome message and information on how to add images or folders to your catalog. The catalog is stored in your user folder by default.
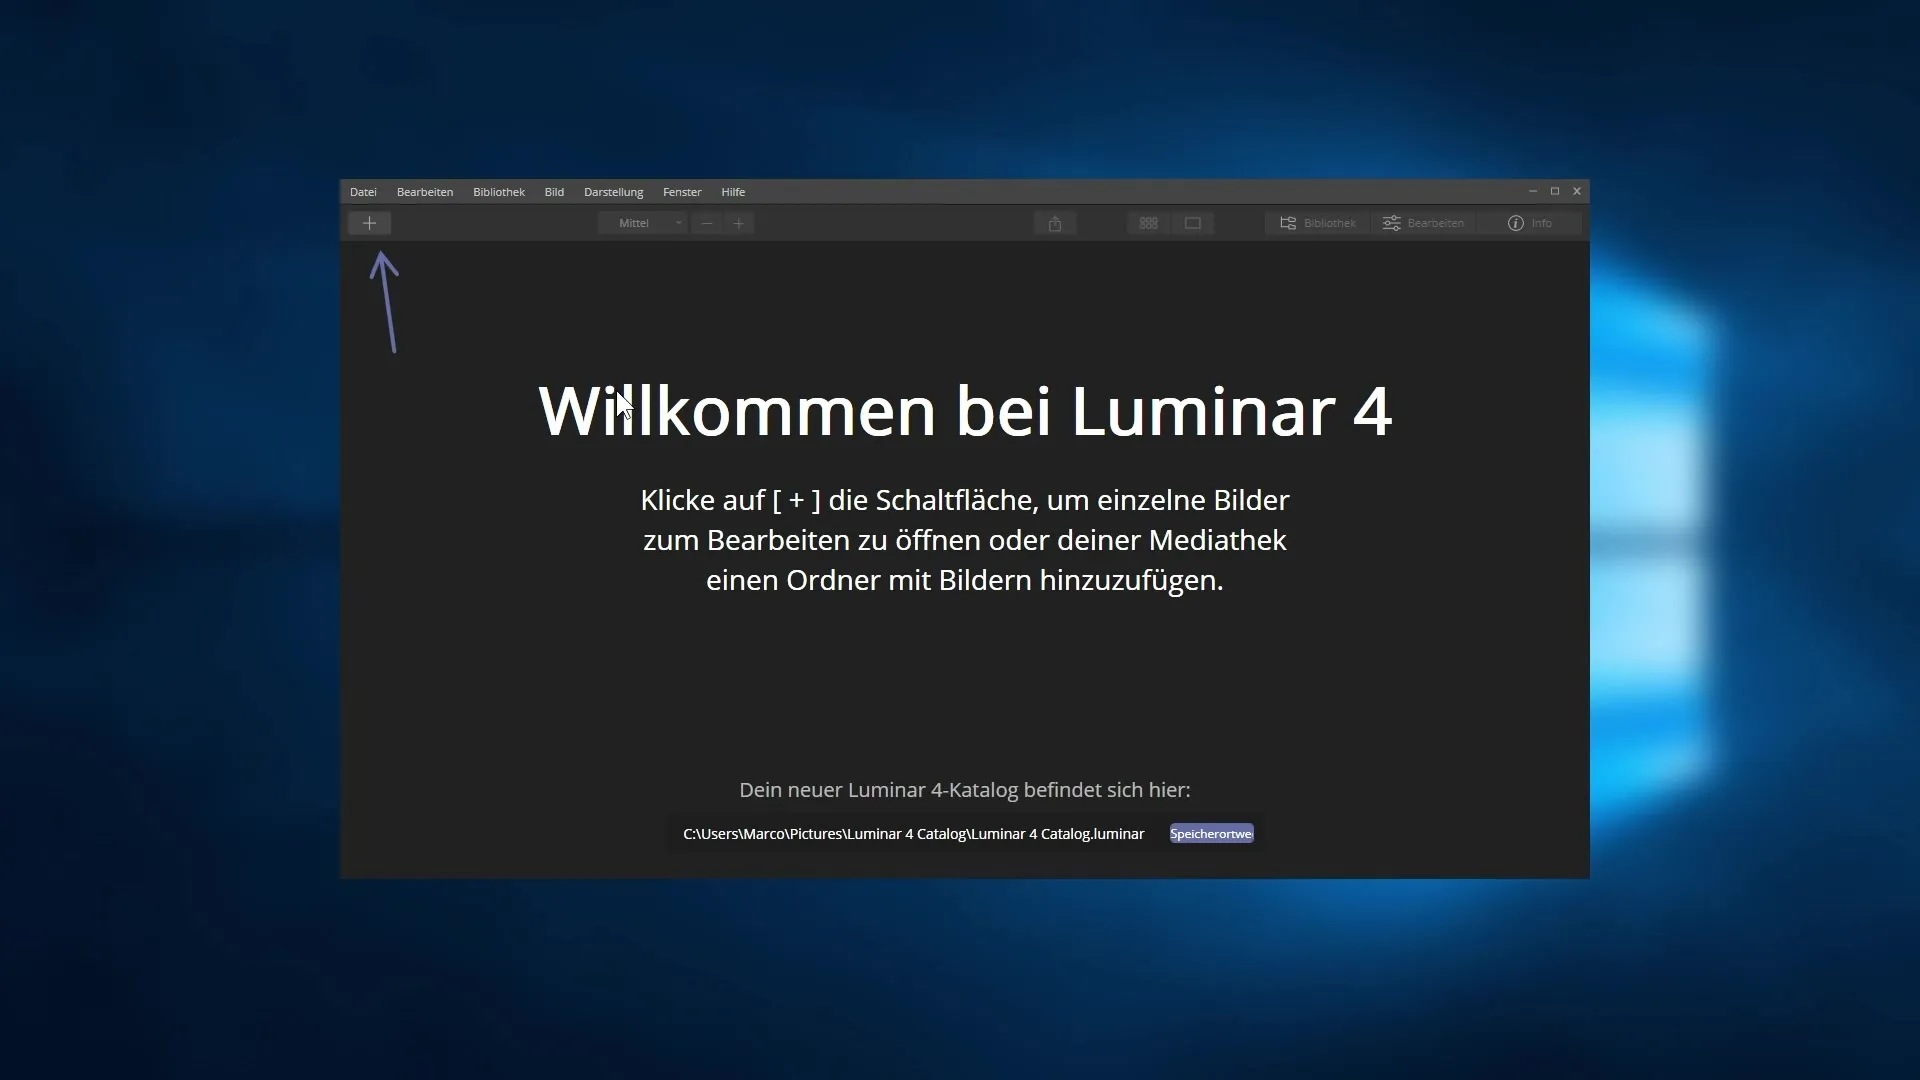
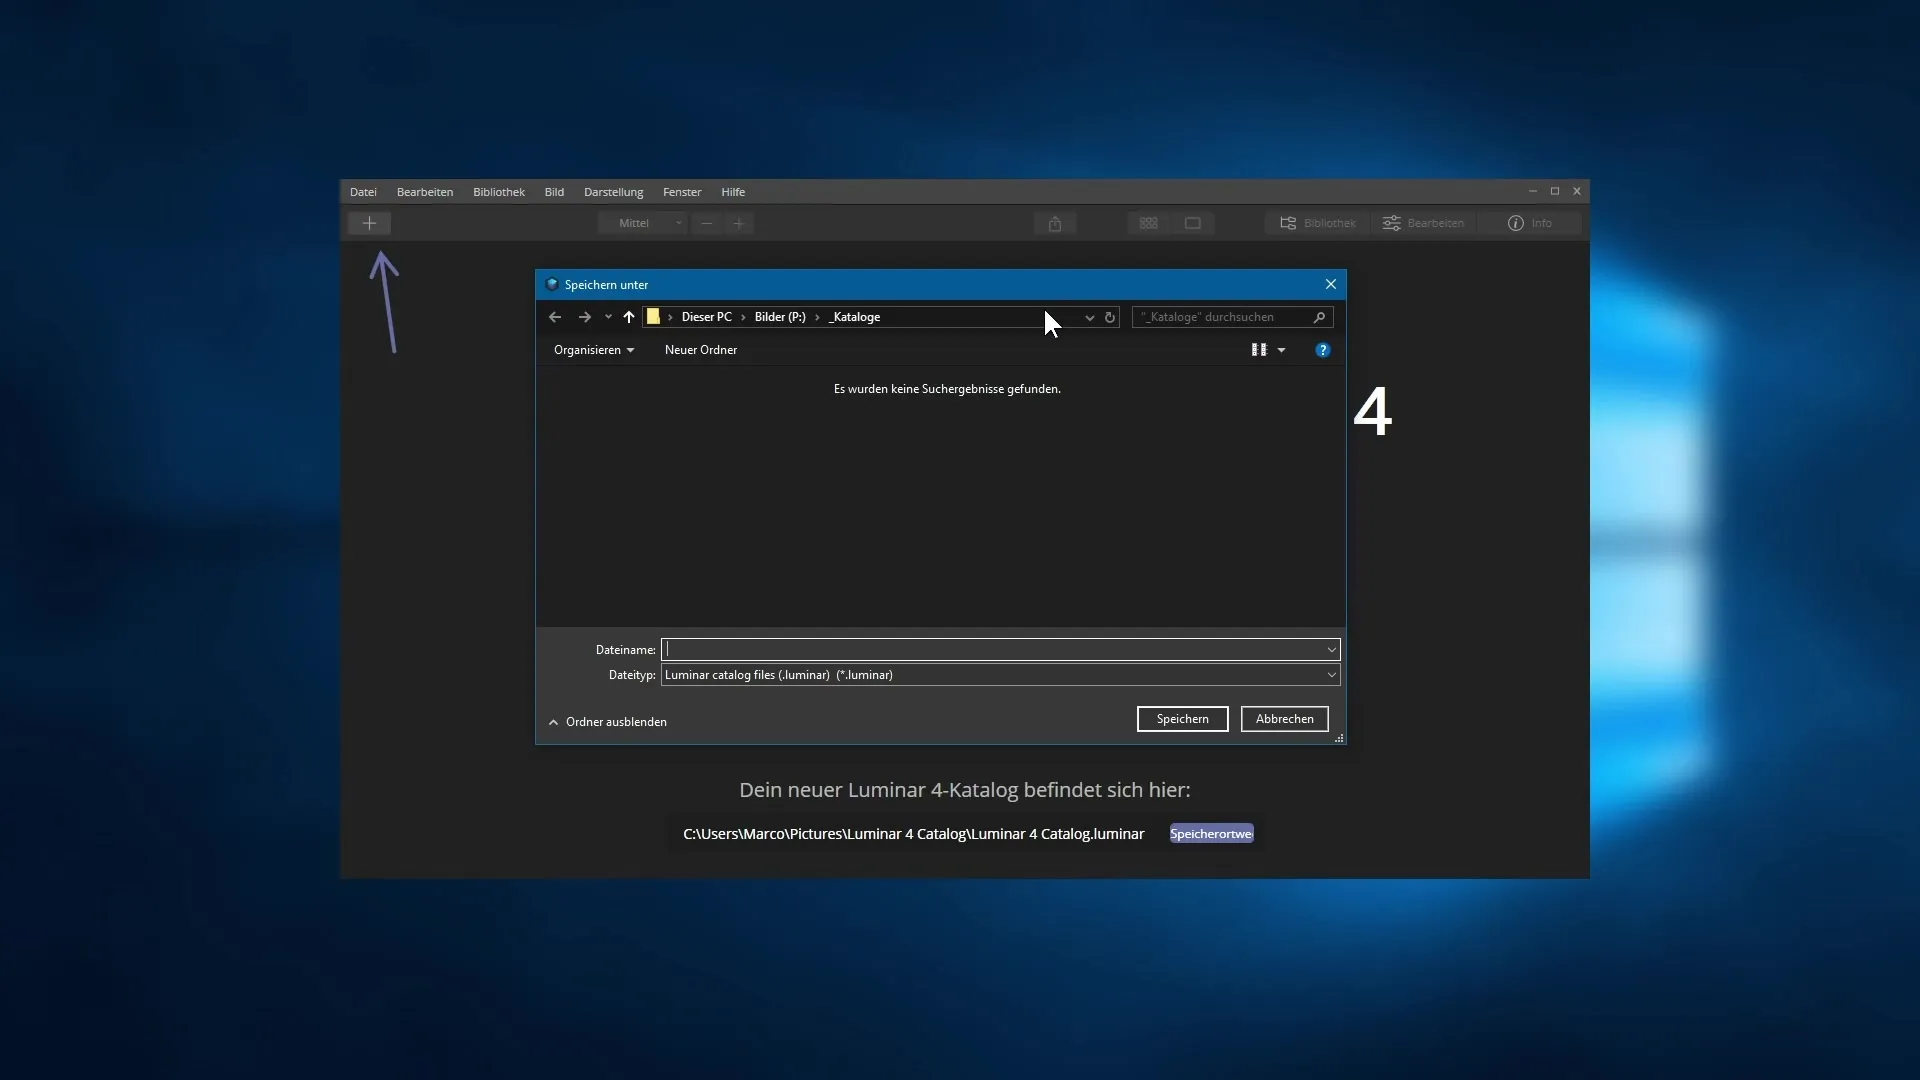
Step 8: Adjust catalog location
If you want to change the location of your catalog, you can do this through the menu. Click on "Change location" to select a new place on your hard drive and name the catalog as you wish.
Step 9: Import images
In the next step, I will show you how to import your first images into Luminar 4 to start editing right away. Look forward to the myriad of features and filters that are available to you.
Summary – Skylum Luminar 4: Introduction and Installation Process
In this guide, you have learned the basic steps to install and introduce Luminar 4. From selecting the edition to the first use of the program, you now have a clear overview of the setup and use of Luminar 4.
Frequently Asked Questions
How can I purchase Luminar 4?You can buy Luminar 4 directly on the official website or download a trial version.
Which edition of Luminar 4 should I choose?The choice of edition depends on your requirements. The Max edition offers additional features like an HDR editor.
How do I install Luminar 4?Download the installation file, accept the license agreement, select the storage location, and follow the instructions of the installation wizard.
How do I activate the software?Enter your email address during installation to activate the software.
Can I use Luminar 4 as a plugin?Yes, Luminar 4 can also be used as a plugin for Adobe and Apple products if you have them installed.


