Skylum Luminar 4 is a powerful photo editing software that offers numerous options to enhance your photos. In this introductory tutorial, I will show you how to import your personal photo collection, manage it meaningfully, and harness the versatility of the software.
Key insights
- Introduction to the Luminar 4 user interface
- Effective management and organization of your photos
- Rating and tagging of images
- Using filters to enhance images
- Working with layers and masks for targeted adjustments
Step-by-step guide to using Luminar 4
Step 1: Installation and first launch
Before you can start working with Luminar 4, you need to install the software. Make sure to download the latest version from the official website. After installation, launch the application. You will be greeted by a clearly structured user interface that makes accessing all features easy.

Step 2: Importing photos
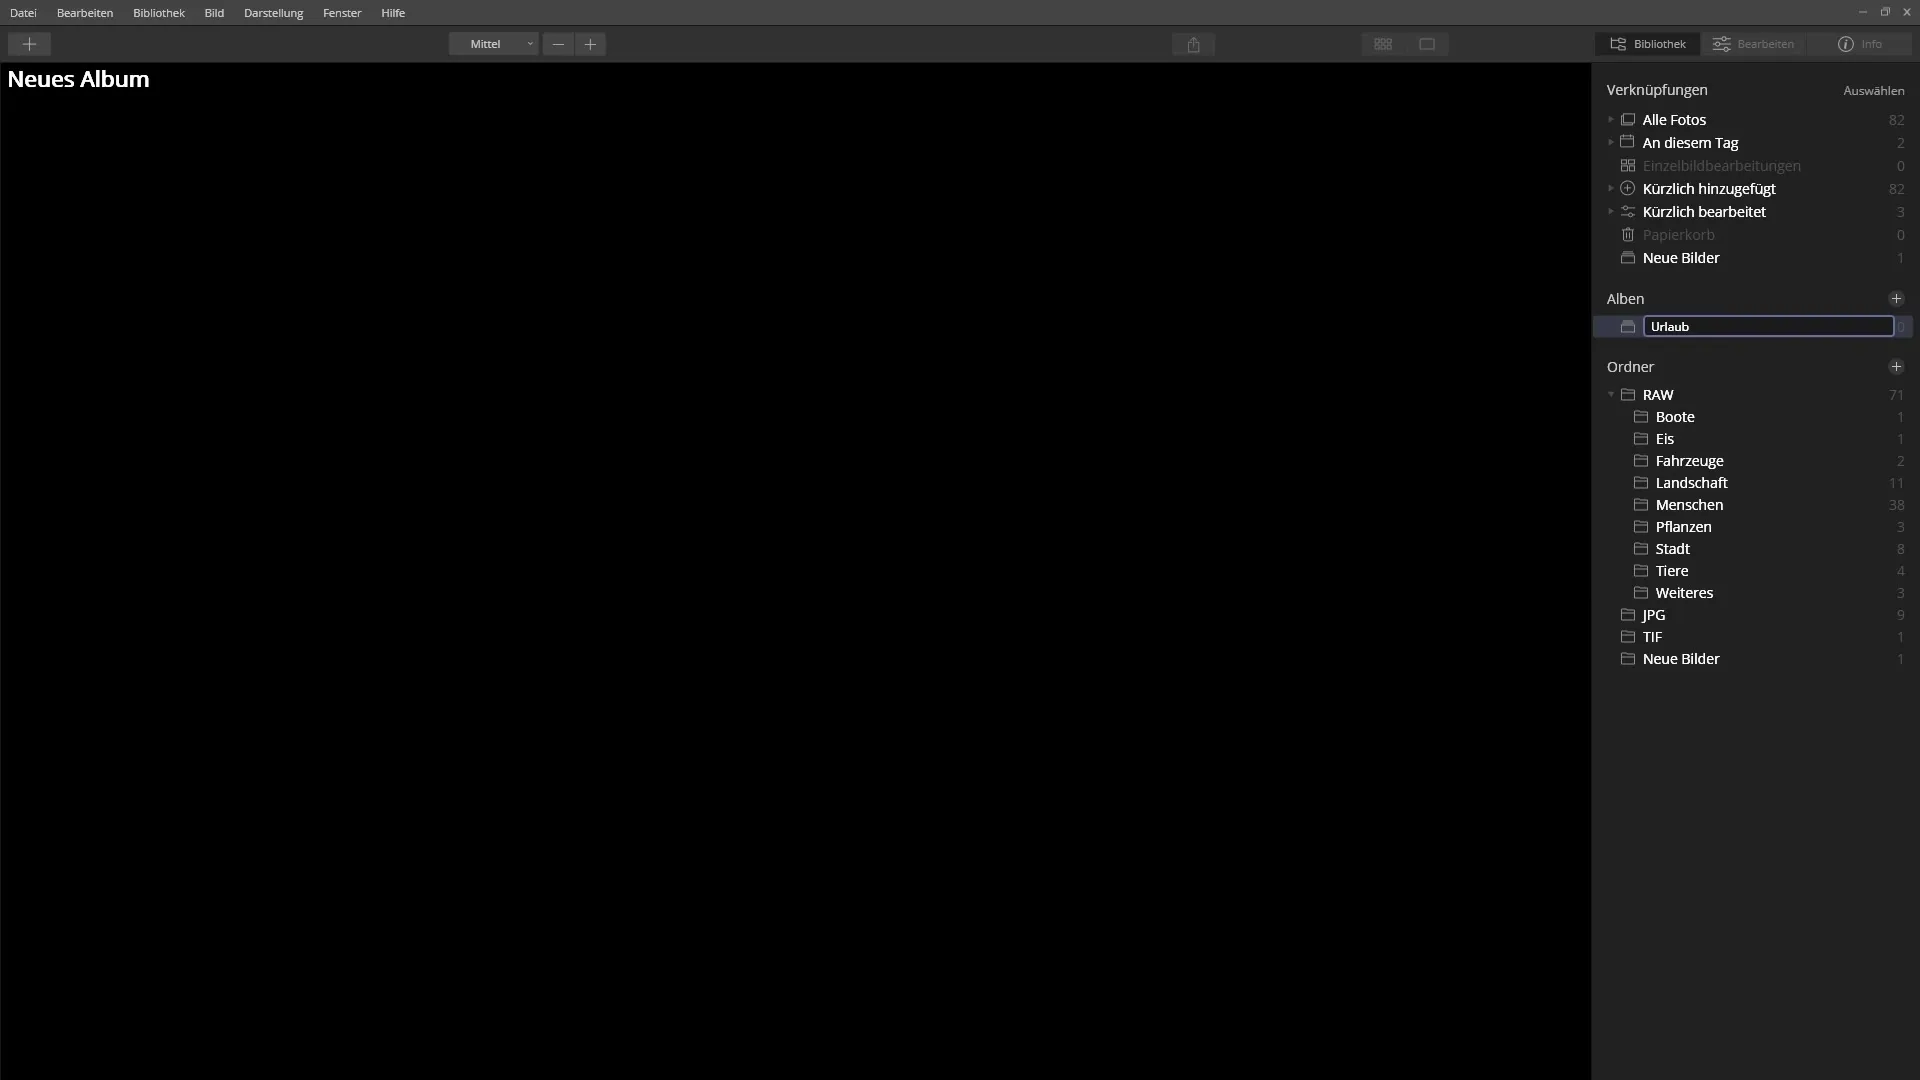
To start working with your photo collection, import your images into Luminar 4. Go to the menu and select the import function. You can import images from your hard drive or from external media. After selecting the desired files, they will be loaded into the application and appear in your media catalog.

Step 3: Explore the user interface
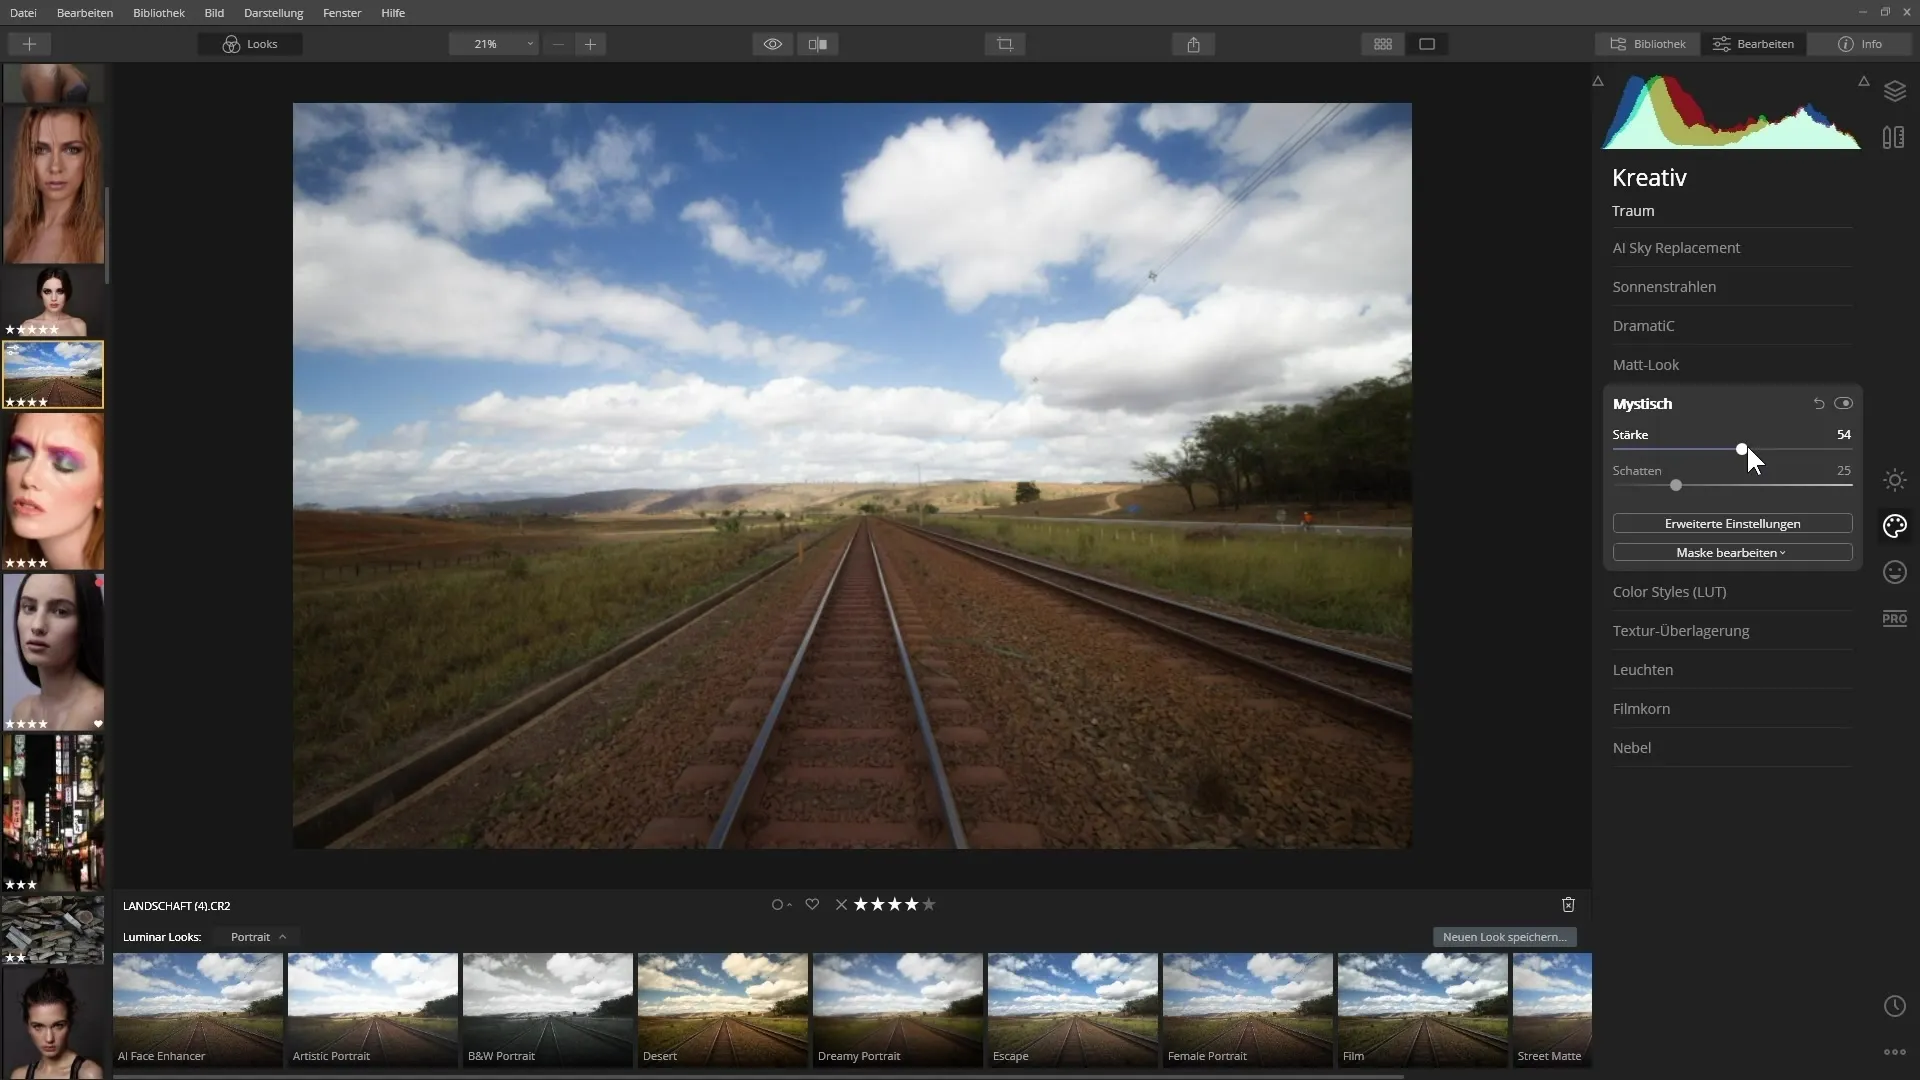
Luminar 4 is characterized by a clean and user-friendly interface. In the main area, you will find the images you imported. On the right side, you will see the available editing tools and filters. Take your time to explore all the features, as this will help you use the software more effectively.

Step 4: Rate and tag images
It is important to rate and tag your images to simplify management. You can use color tags to categorize images based on different criteria. Go to the image options and choose the desired color tag for each image. This will help you quickly find the best shots.

Step 5: Editing with filters
A standout feature of Luminar 4 is the use of filters to enhance your images. The software offers a variety of pre-made filters, many of which are based on artificial intelligence. These filters allow you to achieve impressive results with minimal effort. Simply select the desired filter and adjust the intensity of the application to your image.
Step 6: Basics of layers
Working with layers is one of the greatest strengths of Luminar 4. They allow you to make various adjustments independently. Use layers to perform specific changes to individual areas of your image without affecting the entire image. This gives you the opportunity to make creative adjustments and customize your images.

Step 7: Using masks
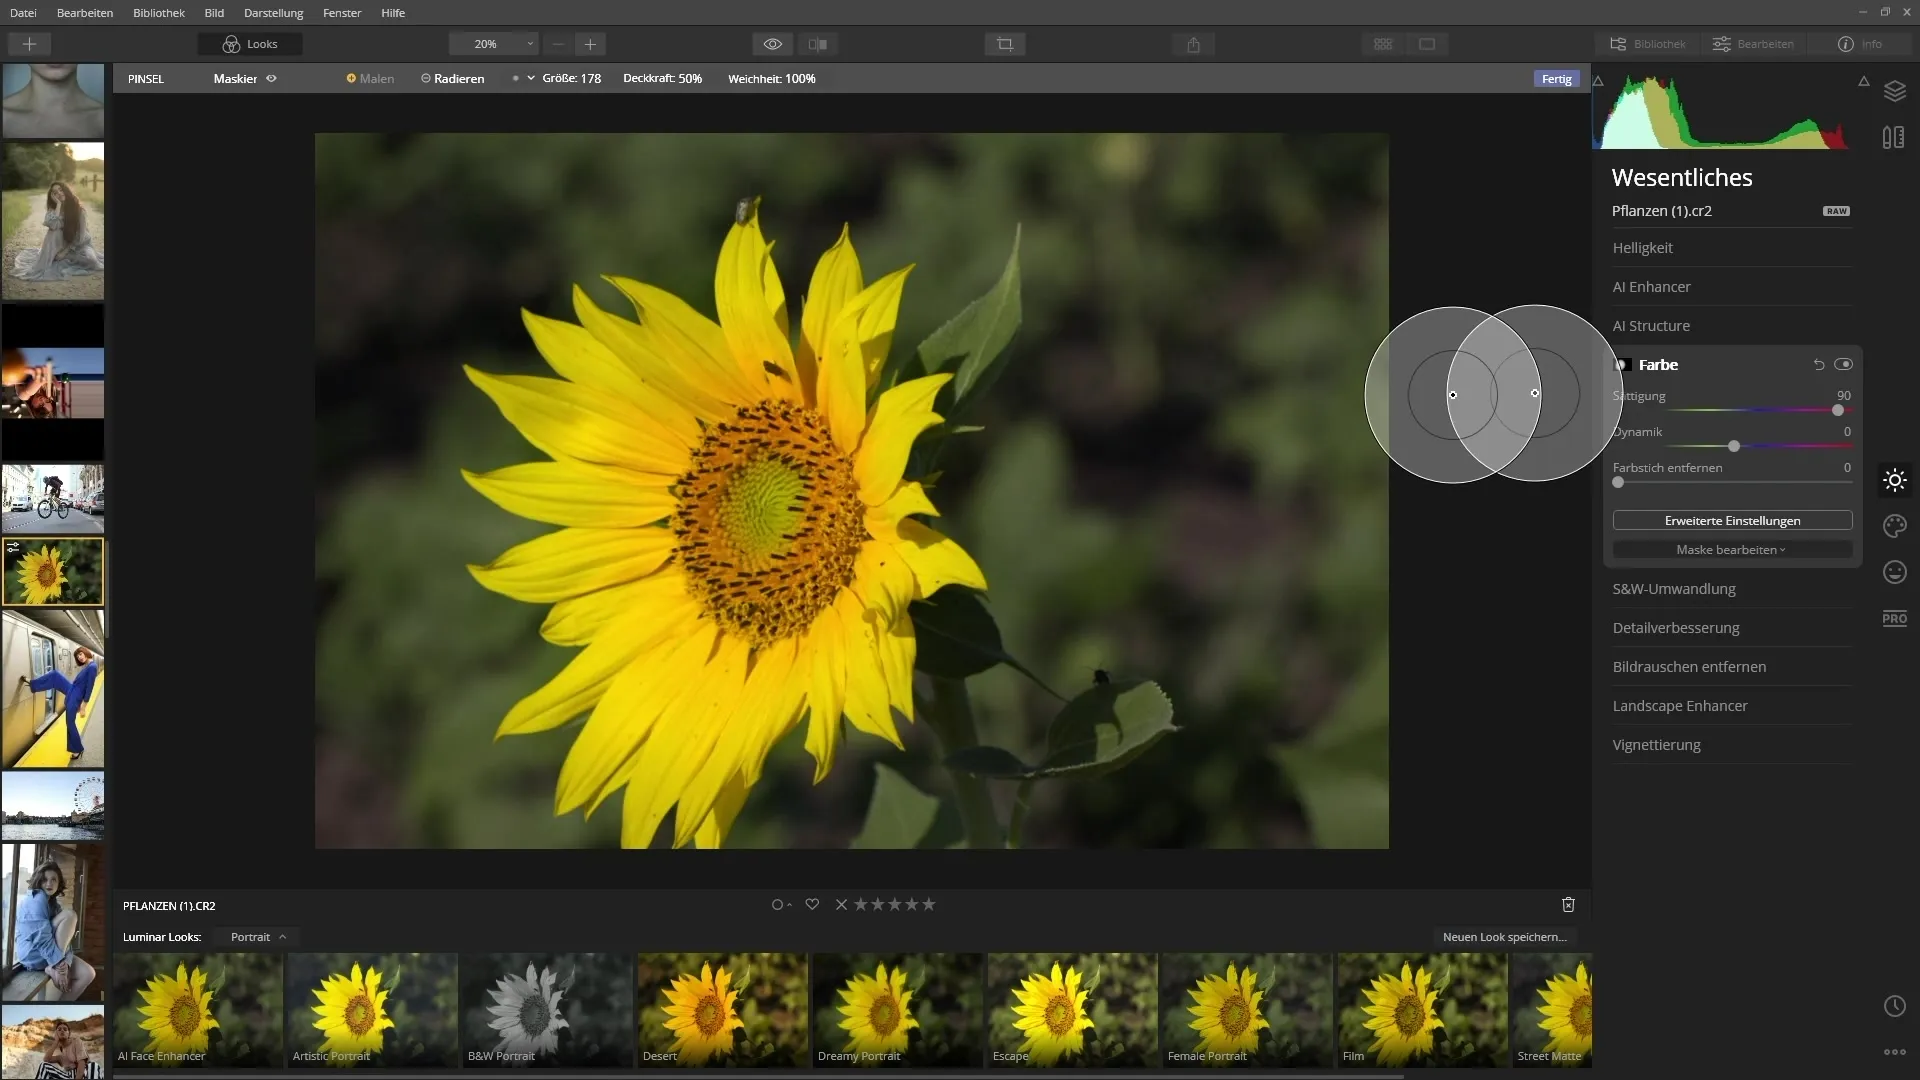
Masks are powerful tools in Luminar 4 that allow you to make local adjustments to your images. You can create a mask to edit targeted areas of your image while leaving other areas untouched. This enables more precise photo editing and helps you achieve the perfect look for your photo. Learn how to create and manage masks to fully realize your adjustments.

Summary - Introduction to the basics of Skylum Luminar 4
With the basic functions and tools you have learned in this tutorial, you are ready to work creatively with your images. Luminar 4 provides you with all the necessary tools to enhance your photos and further develop your editing skills.
Frequently asked questions
How do I import my images into Luminar 4?You can import images from your hard drive or external media through the import function in Luminar 4.
Can I rate my images within the software?Yes, you can use color tags to rate your images based on various criteria.
What are the benefits of using filters in Luminar 4?Filters help you achieve impressive results with minimal effort, and many are based on artificial intelligence.
How do layers work in Luminar 4?Layers allow you to make various adjustments independently and make creative changes to specific areas of the image.
How do I use masks in Luminar 4?Masks allow for targeted adjustments to specific areas of the image while leaving other areas unchanged.

