Instagramis more than just a platform for sharing images. It is an art form, and anyone willing to take their photography to the next level should engage in image editing. Particularly effective impressive images can be created using Adobe Lightroomand by applying presets. In this tutorial, you will learn how to create your own presets in Lightroom and apply them to your images to achieve a consistent and professional aesthetic.
Key insights:
- Presets in Adobe Lightroom allow for efficient image editing and a uniform image aesthetic.
- Creating your own presets is simple and can be tailored to your individual needs.
- By purposefully applying presets, you save time and can significantly improve the quality of your photos.
Step-by-step guide
To optimally edit your Instagram images and gain more followers, consider the following steps for creating and using presets in Adobe Lightroom.
1. Image selection
First, you should import the images you want to edit into Lightroom. Create a new folder for your original images. These images will be the foundation for your edited photo creations.
2. Start image development
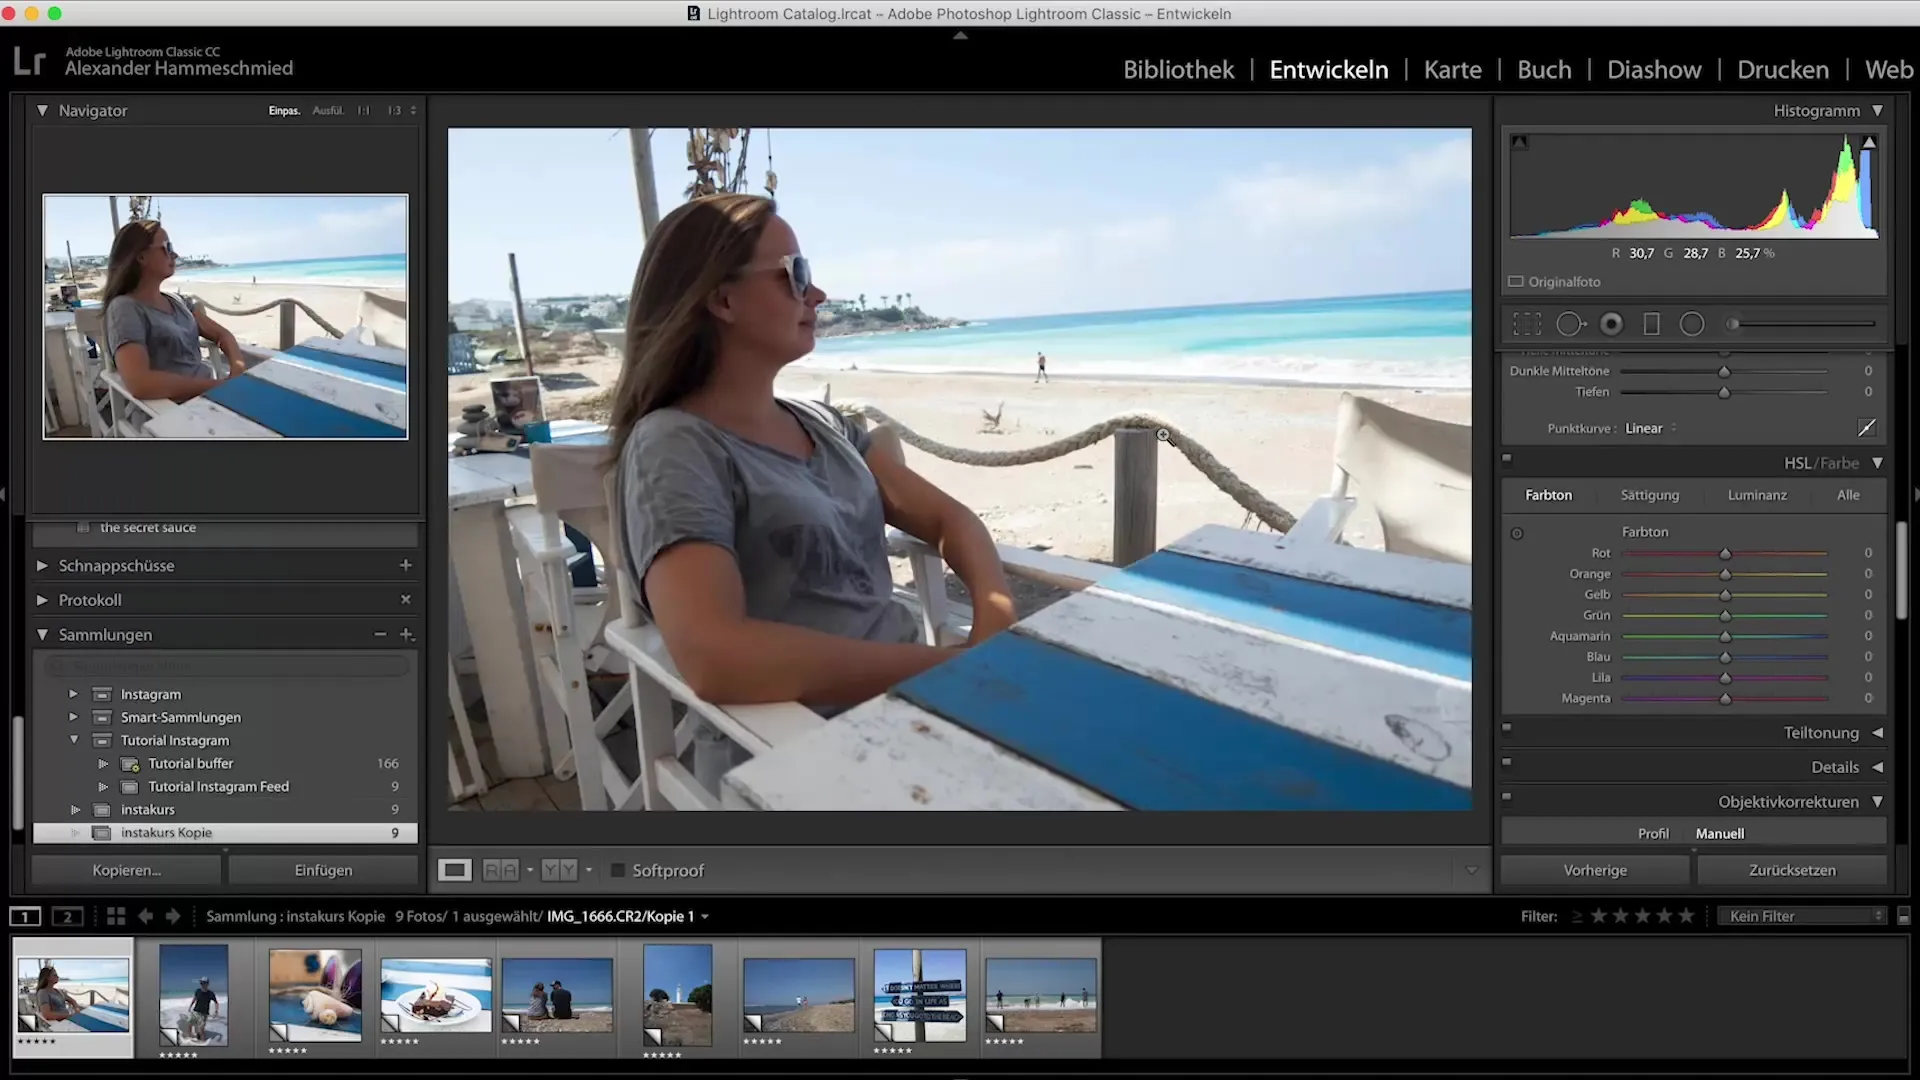
Select the first image you want to edit and switch to the "Develop" mode in Lightroom. Here you can make all the essential adjustments to achieve your desired effects.
3. Set image crop
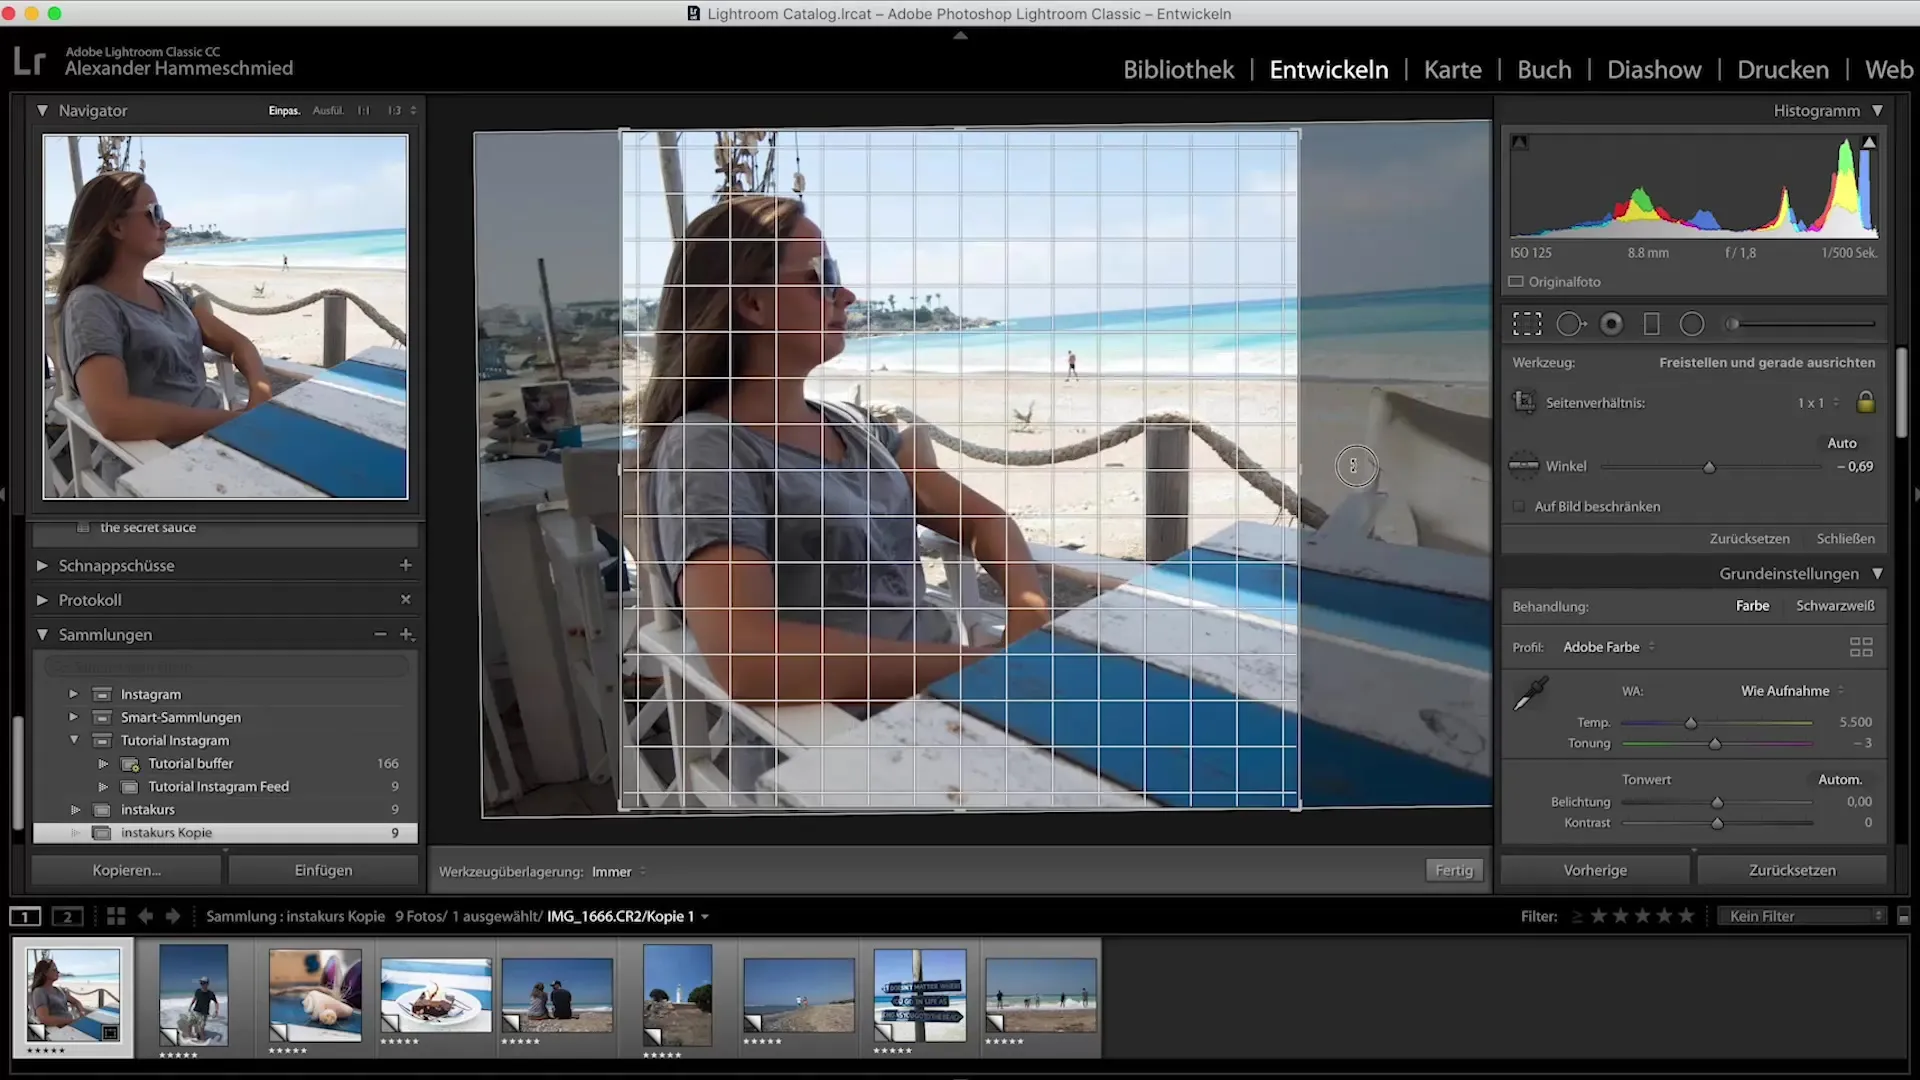
Set the image crop. This could be a square format, which is optimal for Instagram. Make sure the image is well-composed before you start editing.
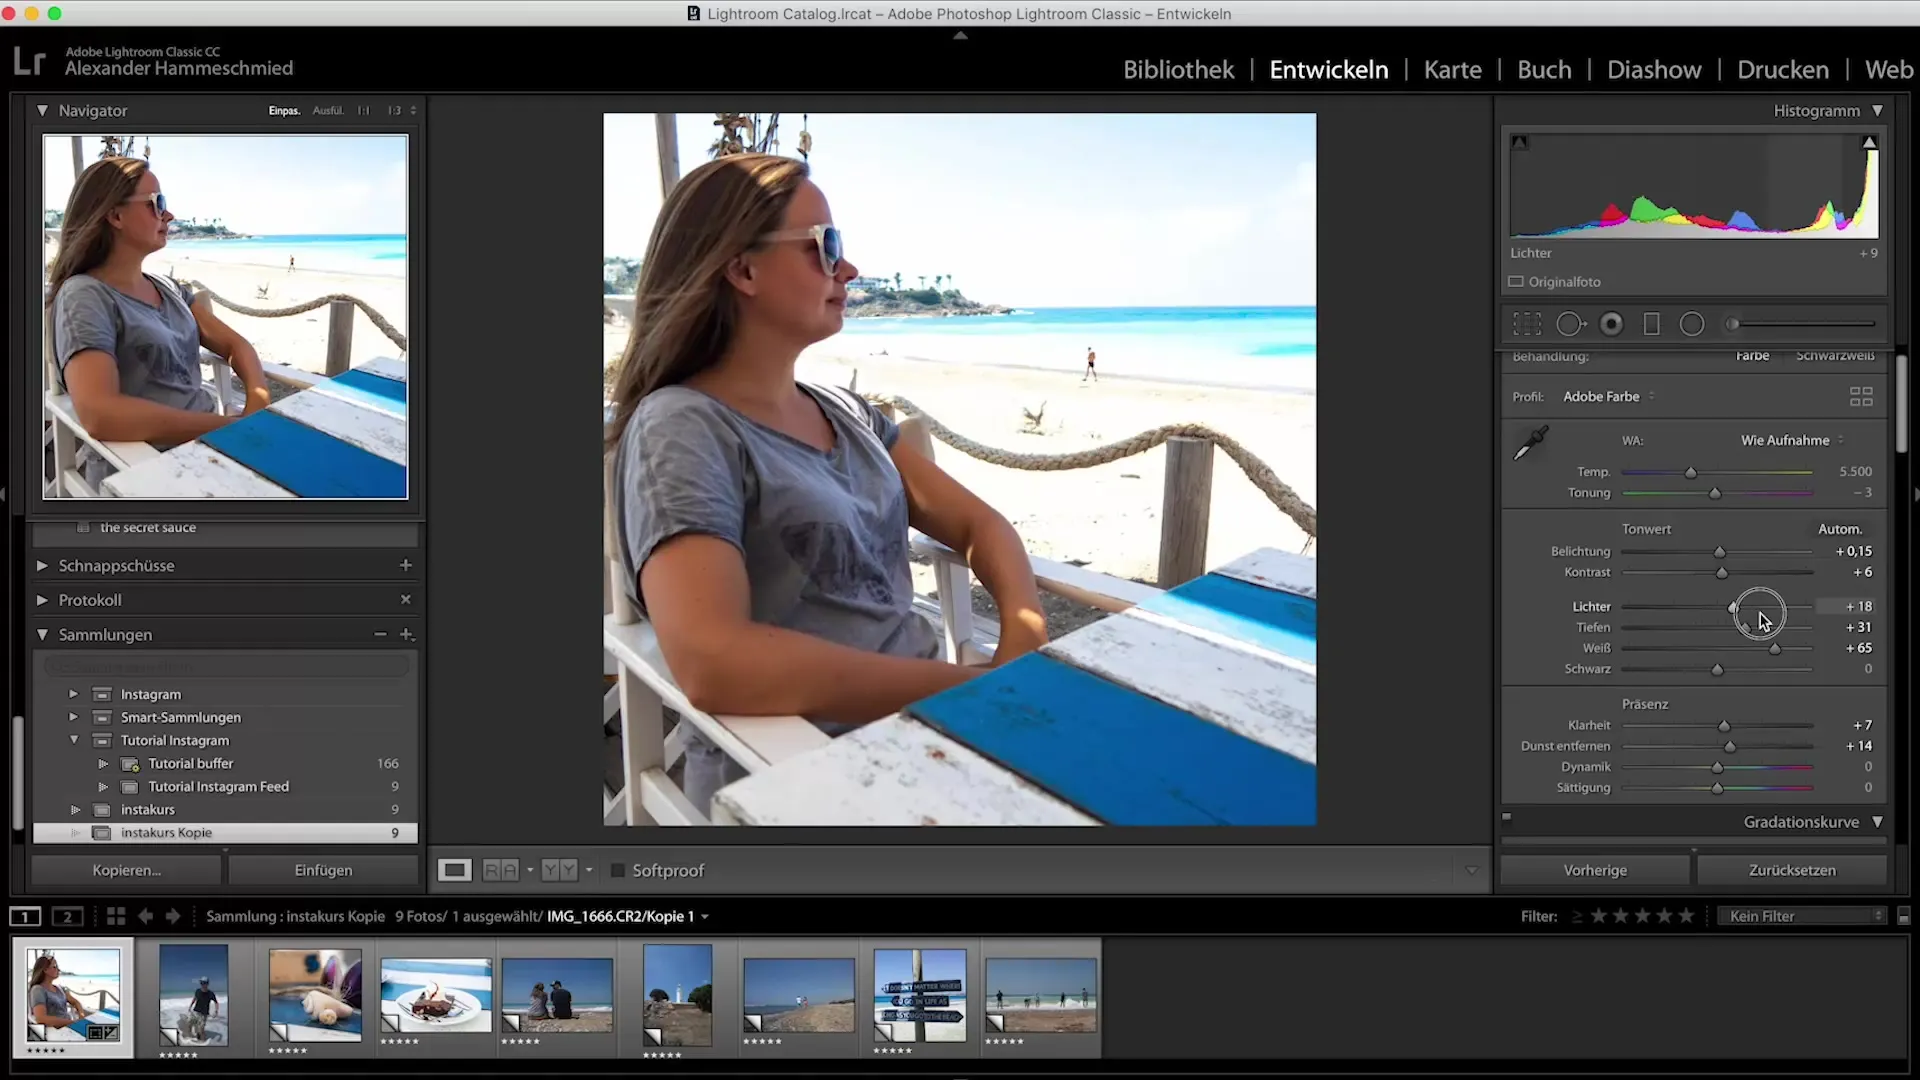
4. Adjust light settings
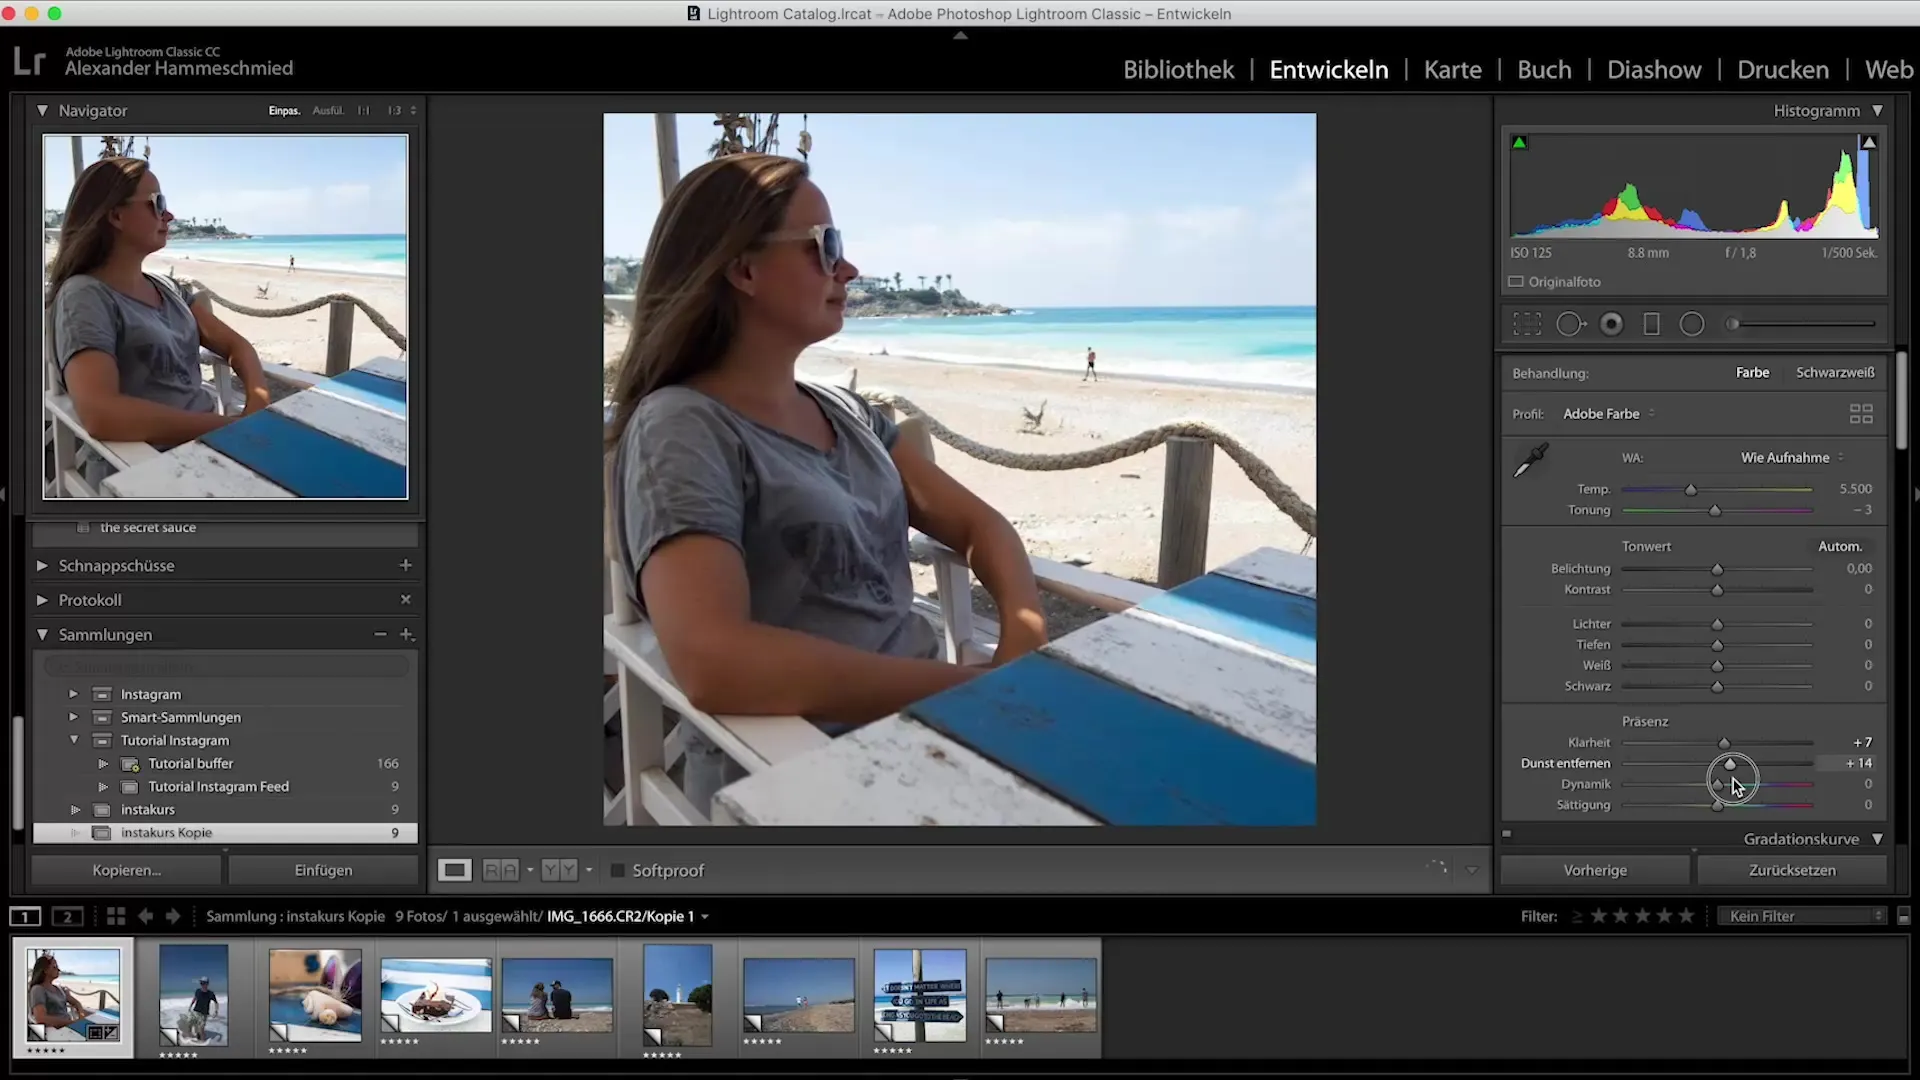
Start by adjusting clarity and dehaze. These settings help improve image structure and correct any unwanted haze or lighting conditions.
5. Make color adjustments
Now focus on the colors. You can increase the saturation of the blue and white tones to add more vibrancy to your image.
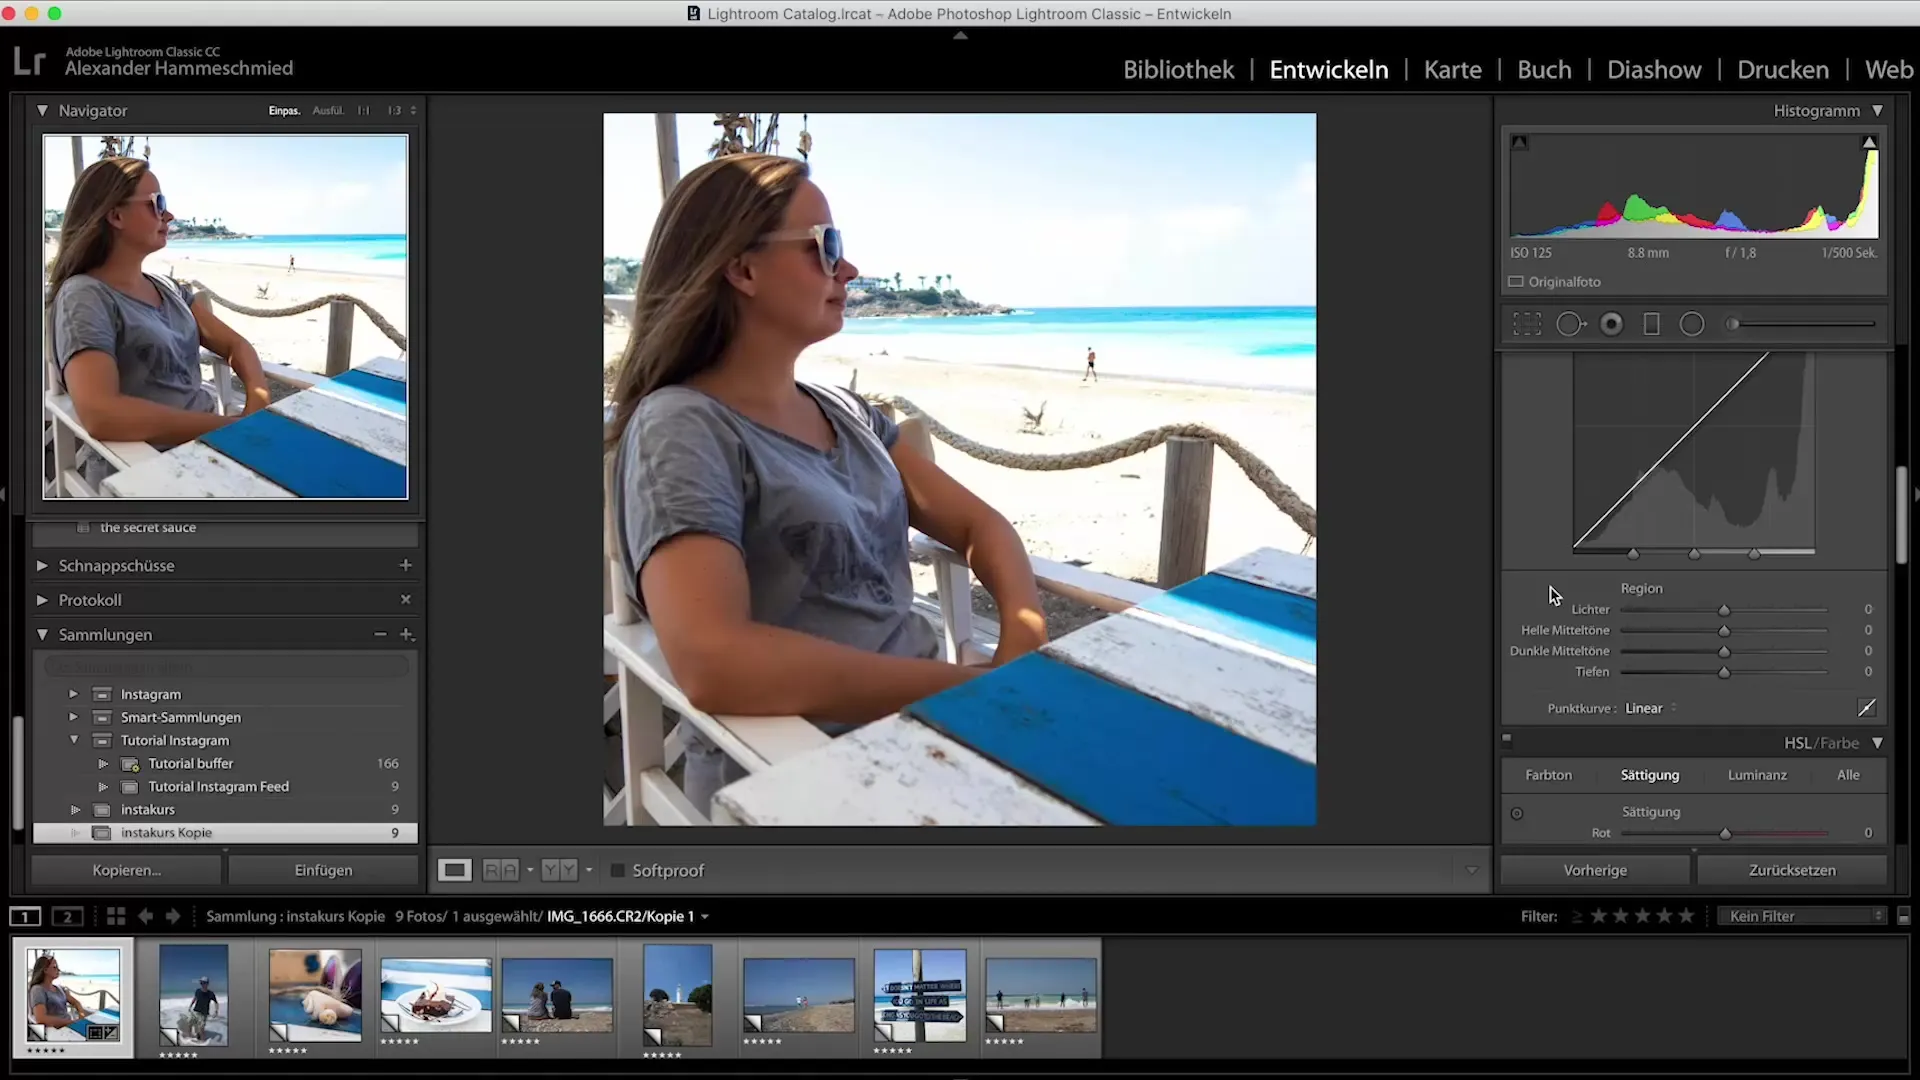
6. Increase contrast
Adjust the overall contrast and exposure to achieve the desired look. It is important that all elements in the image stand out well and that your main subjects are not lost due to excessive light intensity.
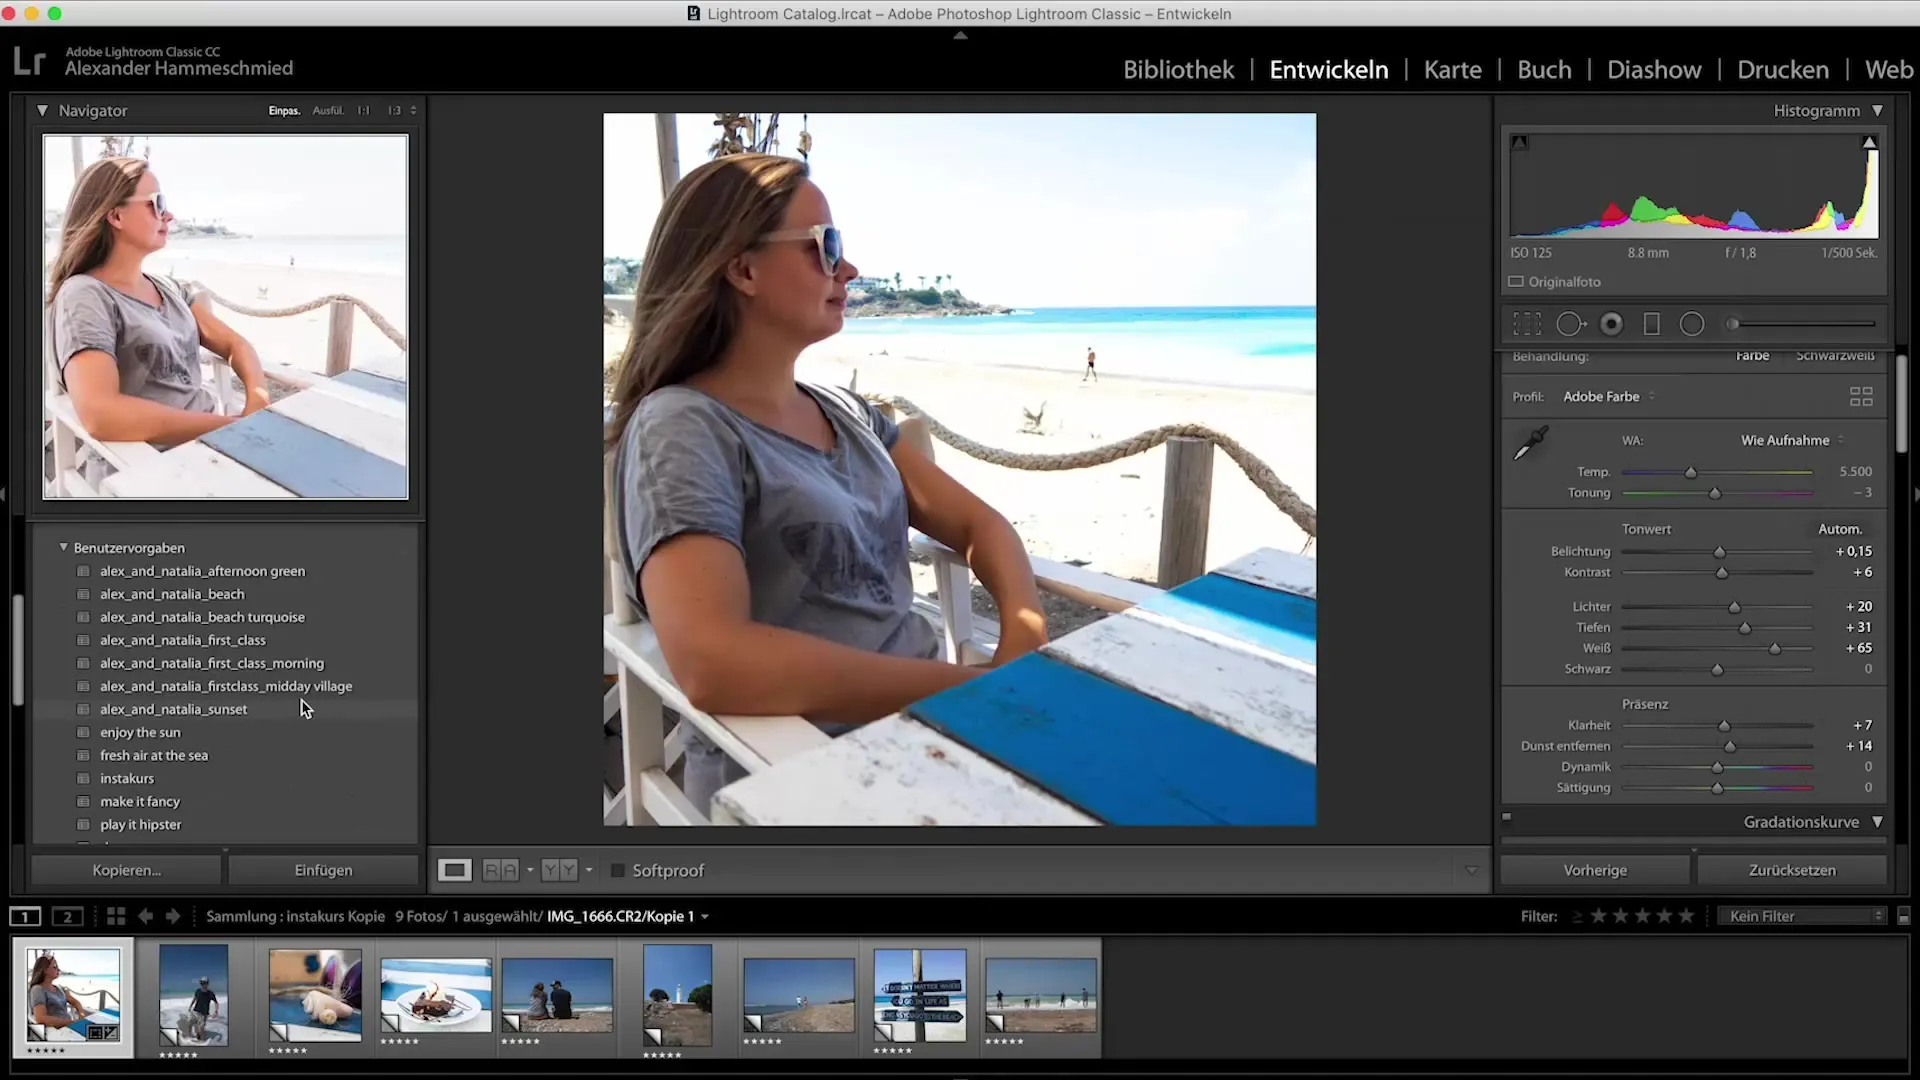
7. Create preset
When you are satisfied with the edited image, go to the user presets. Click on the plus sign and select “Create preset”. Give your preset a name, such as “Instakurs”, and create it.
8. Apply preset
Now it’s time to apply the newly created preset to the other images. Select the next image from your collection and click on your preset to automatically apply the edited settings.
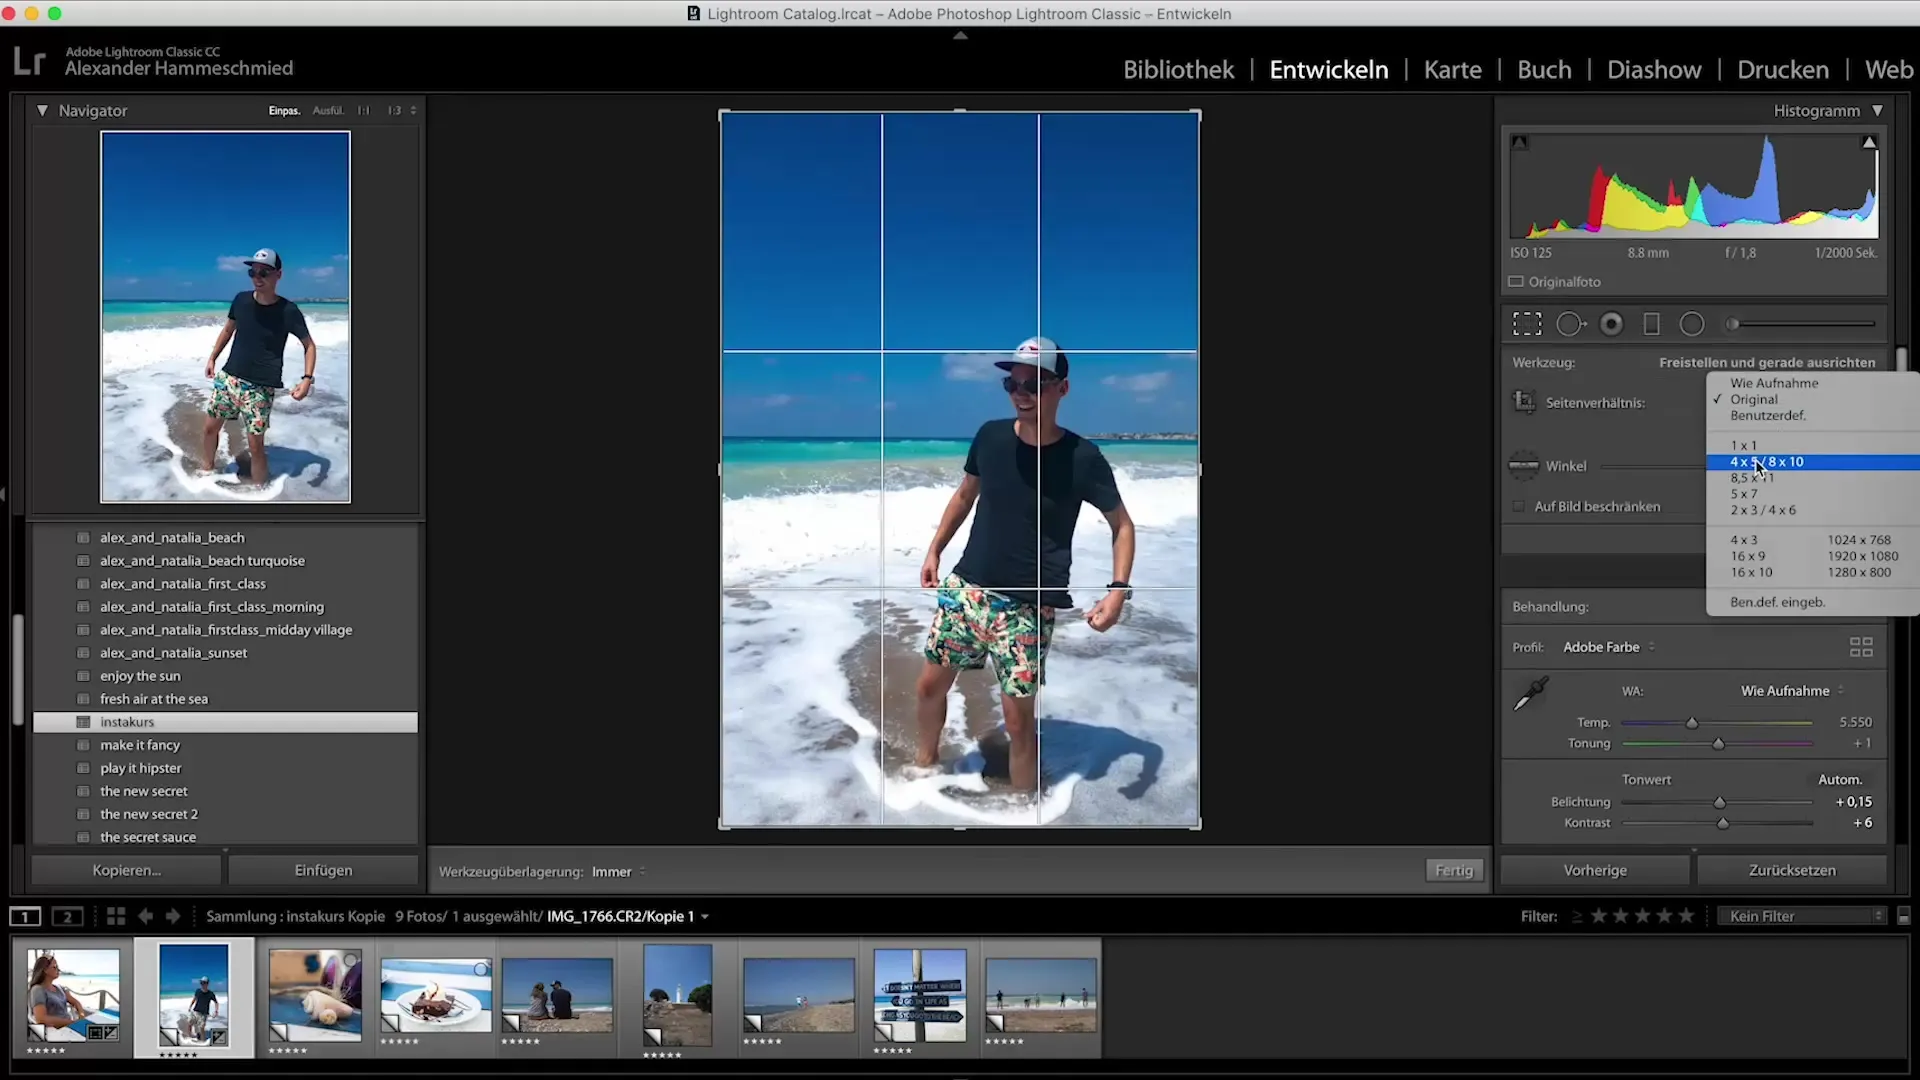
9. Fine-tuning
After applying the preset, you should make minor corrections, such as cropping the image or adjusting for overexposures to ensure that all details stand out optimally.
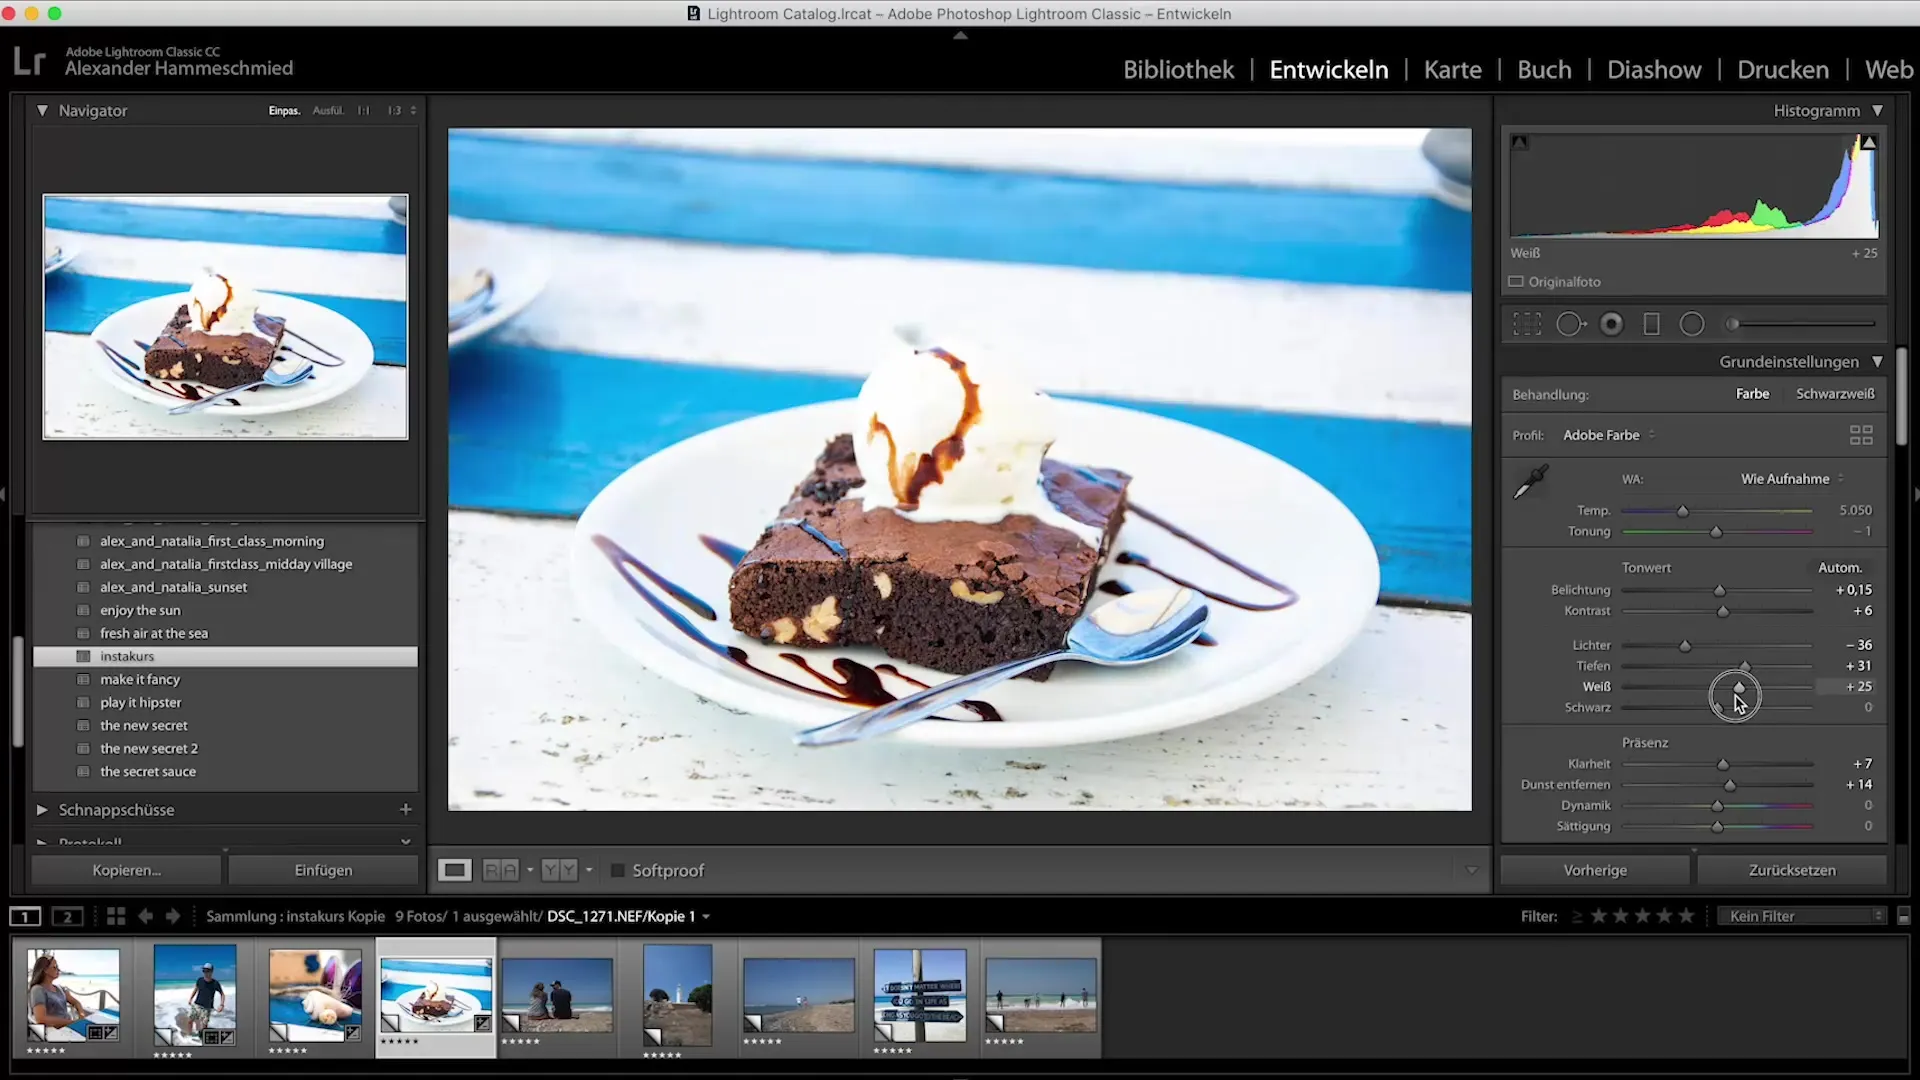
10. Final adjustments and saving
Check the colors and, if necessary, the brightness to ensure that the overall aesthetic of your Instagram feed looks harmonious. Save your edited images so you can share them directly on Instagram.
Summary – Instagram Tutorial: Using professional presets for Lightroom
With this guide, you have learned how to create and apply presets in Adobe Lightroom to efficiently enhance your Instagram images. With the right settings, you can not only save time but also develop a striking and consistent visual language that will impress your followers.
FAQ
How do I create a preset in Lightroom?To create a preset, edit an image to your liking, go to user presets, click on the plus sign, and select “Create preset”.
Can I apply presets to multiple images at once?Yes, you can apply presets to multiple images by selecting the desired images and applying the preset to all simultaneously.
How can I adjust colors in Lightroom?Use the saturation and luminance sliders to individually adjust the colors and achieve the desired effects.


