Movement is the heart of every animation, and deformers in Cinema4Dprovide an excellent way to give your objects liveliness and expression. In this tutorial, you will learn not only how to apply deformers but also how they can significantly influence the appearance and impact of your animations. Let’s dive into the world of 3D animation with deformers!
Key Insights
- Deformers allow objects to be changed dynamically and organically.
- They are crucial for generating "secondary action" in animations.
- Various effects like bending and stretching can be achieved with specific deformers.
- Animated deformers can enhance the overall feeling of movement and weight.
Step-by-Step Guide
1. Basic Preparation
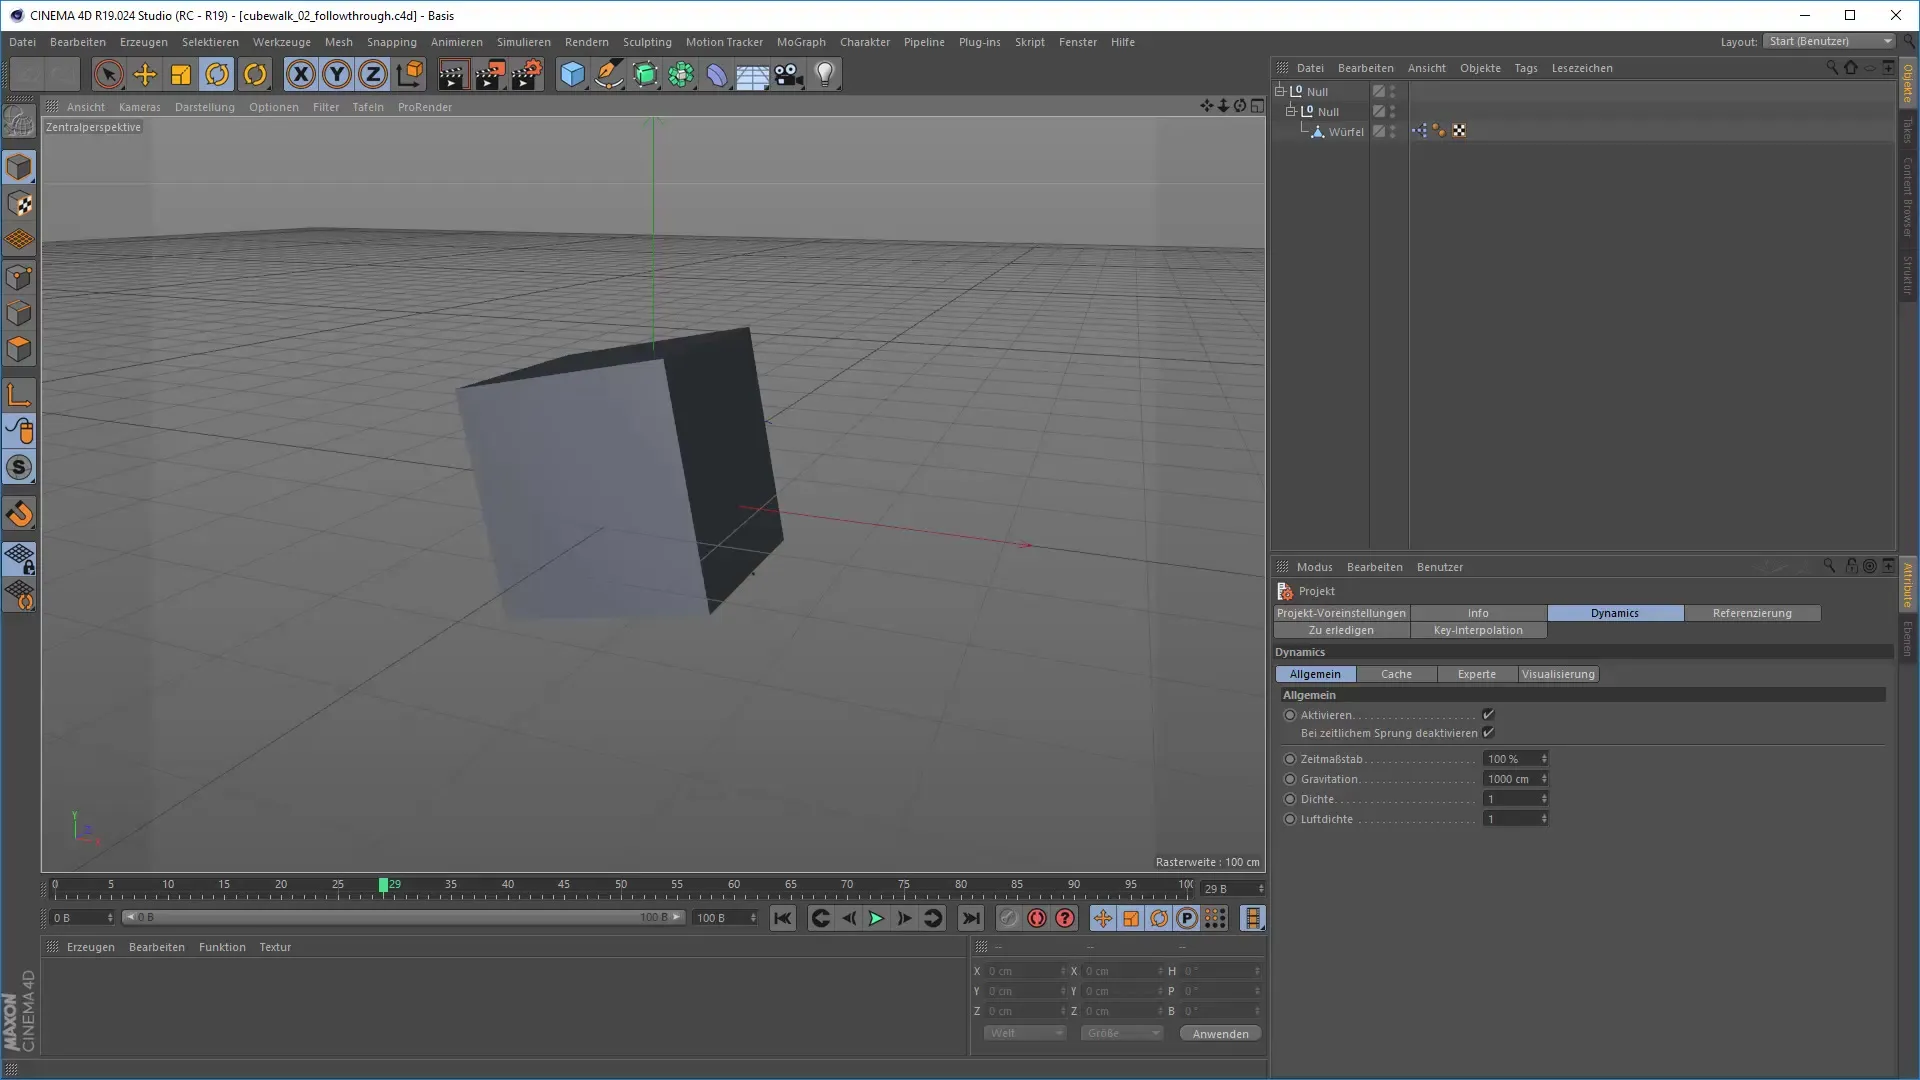
Before you work with deformers, make sure your object, in this case a cube, is set to the correct size and shape. Create the cube and scale it to perform basic movements.
2. Adding Deformers
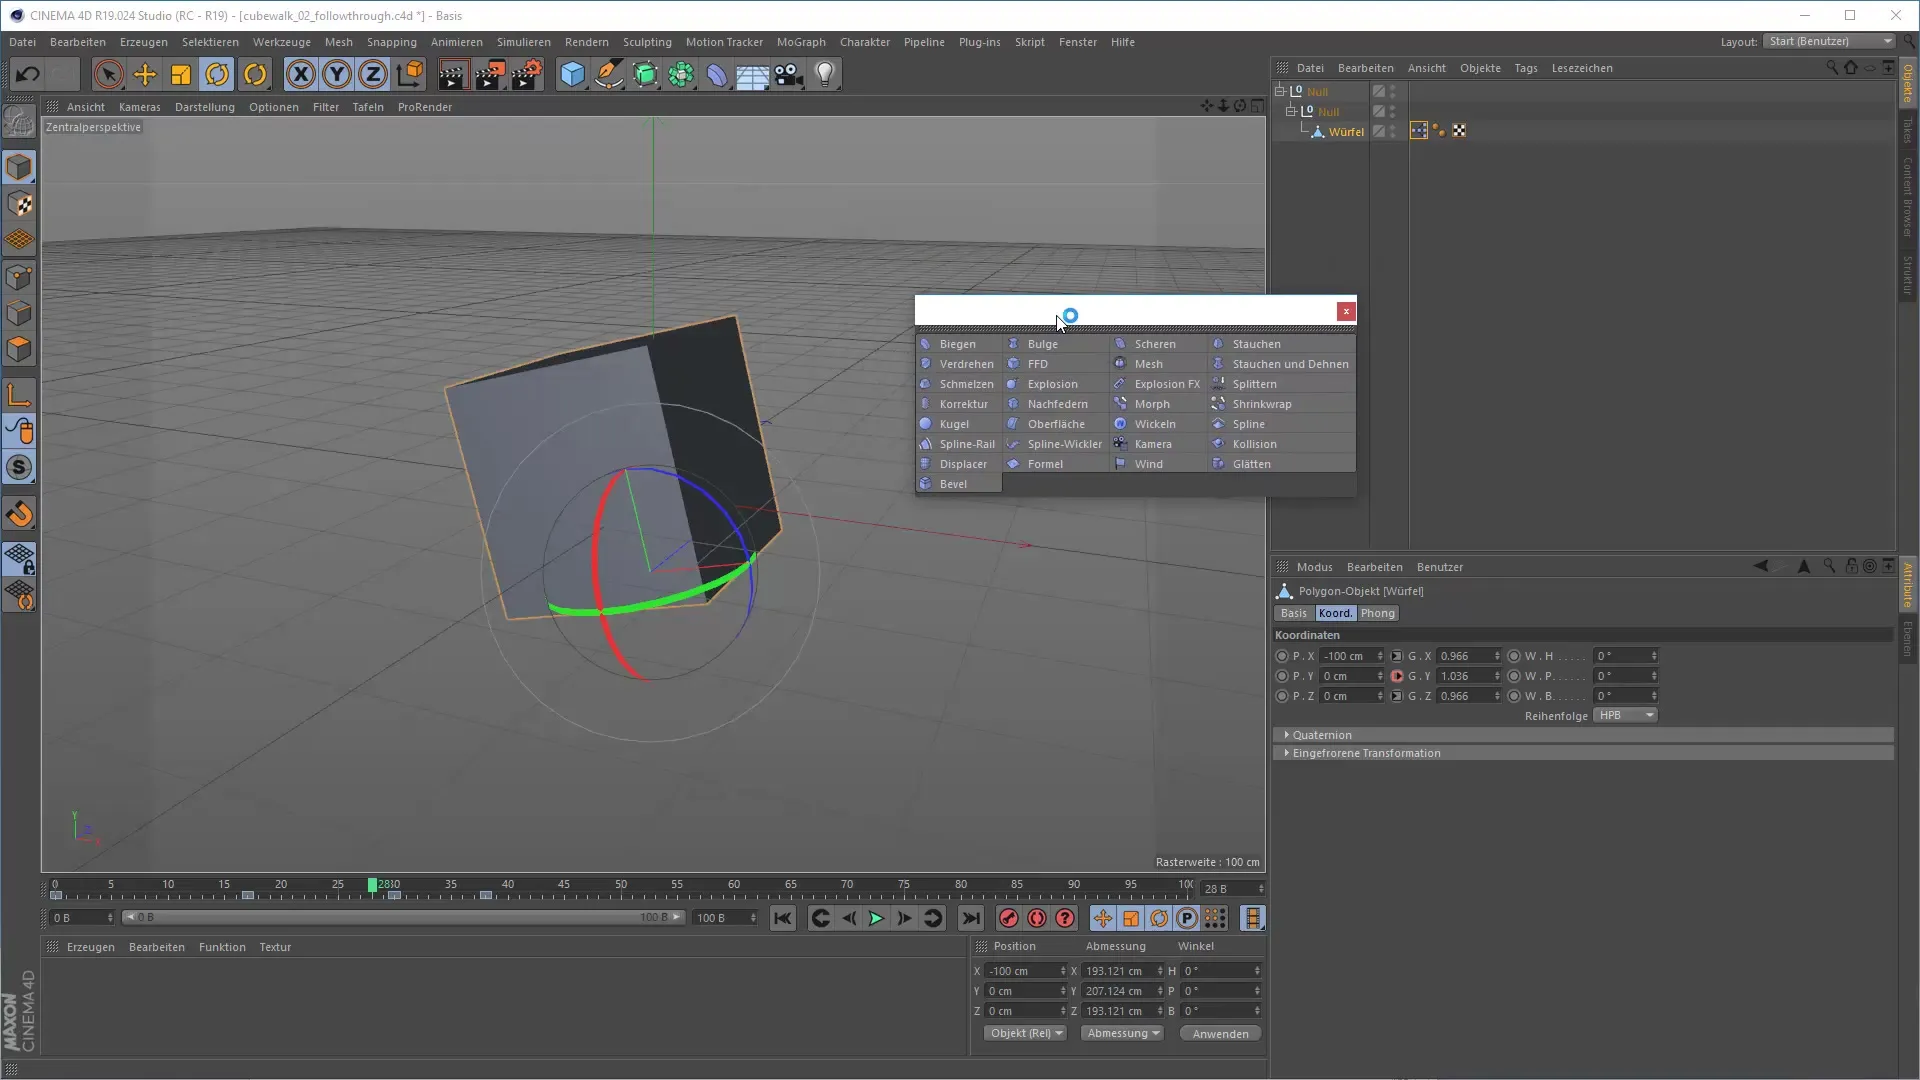
Select the deformer you want to use, e.g. a "Bend" deformer. Assign it to your cube as a child object to activate the deformation. This is done by dragging the object under the deformer.
3. Adjusting Deformation Settings
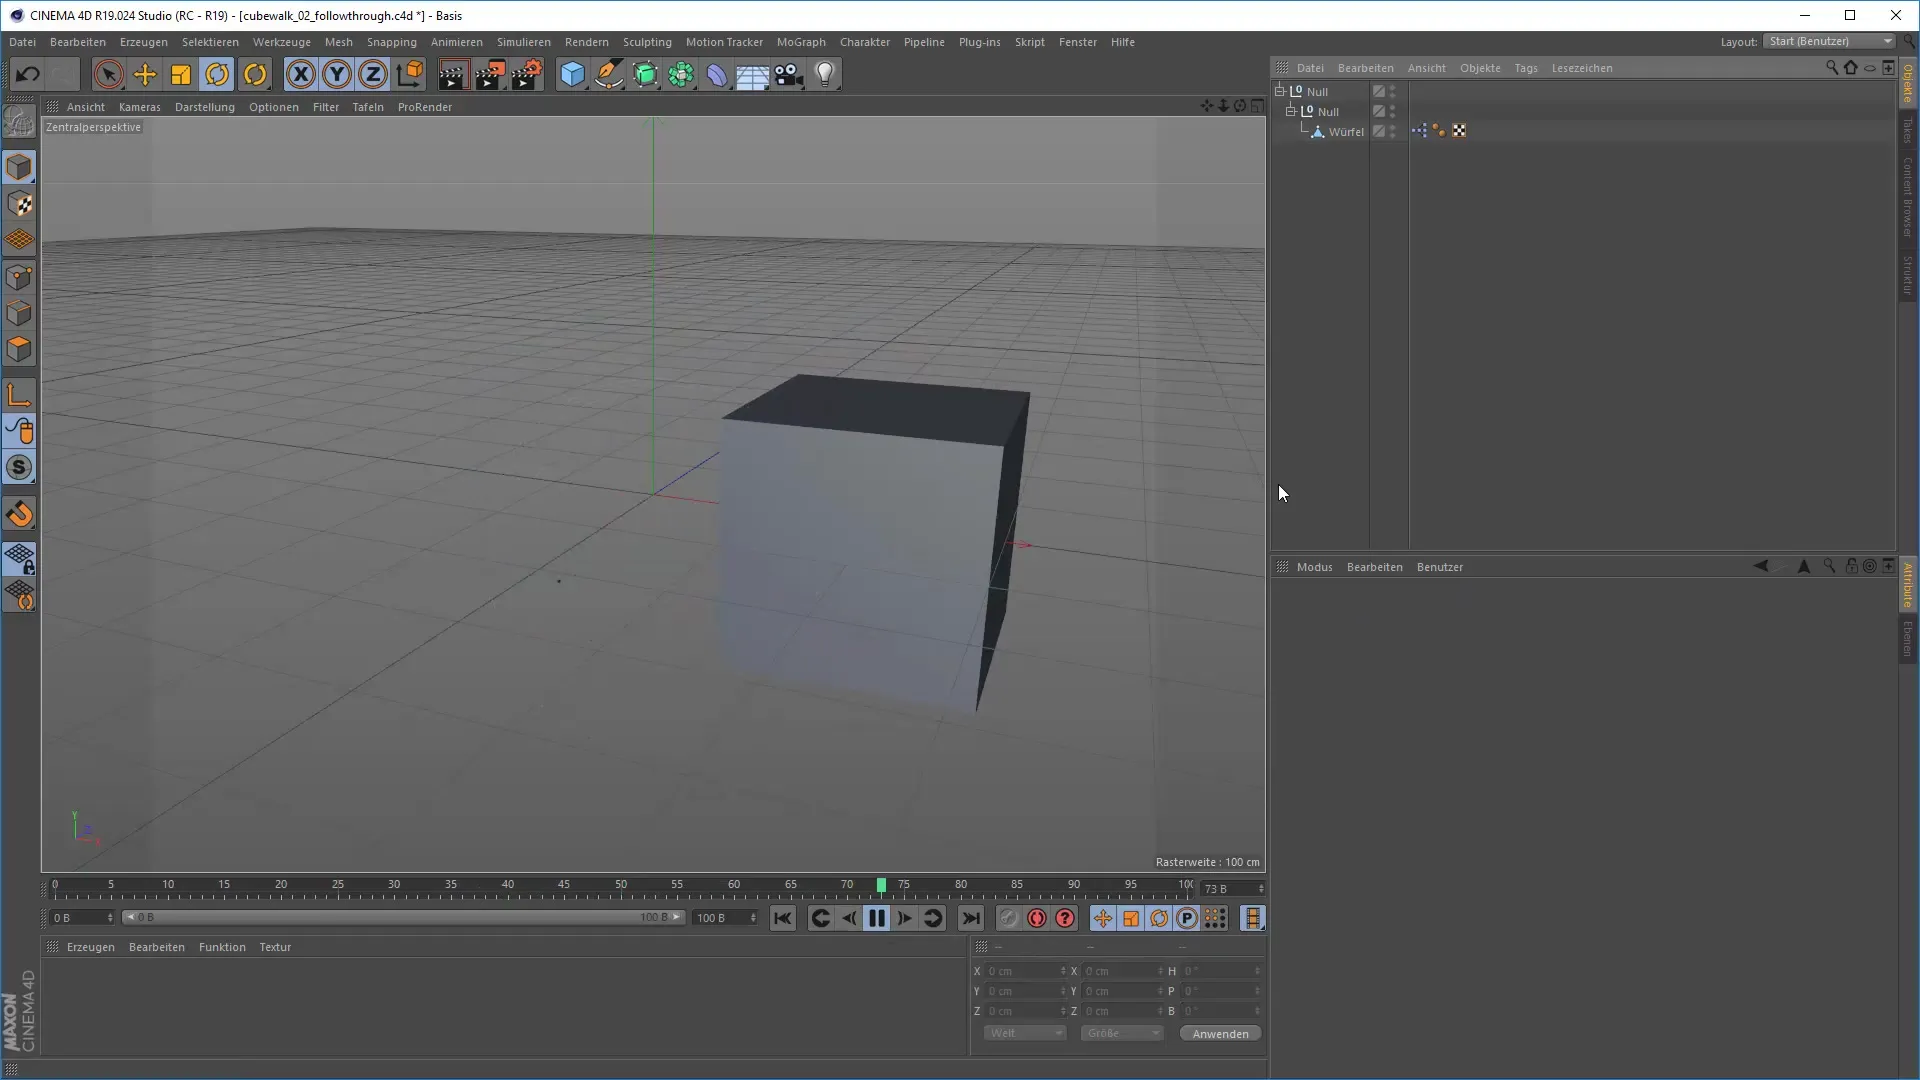
Select your deformer and go to the settings to define the axes for bending. The Y-axis is crucial for bending the cube. You will notice that the shape changes as you adjust the values.
4. Creating Subdivisions
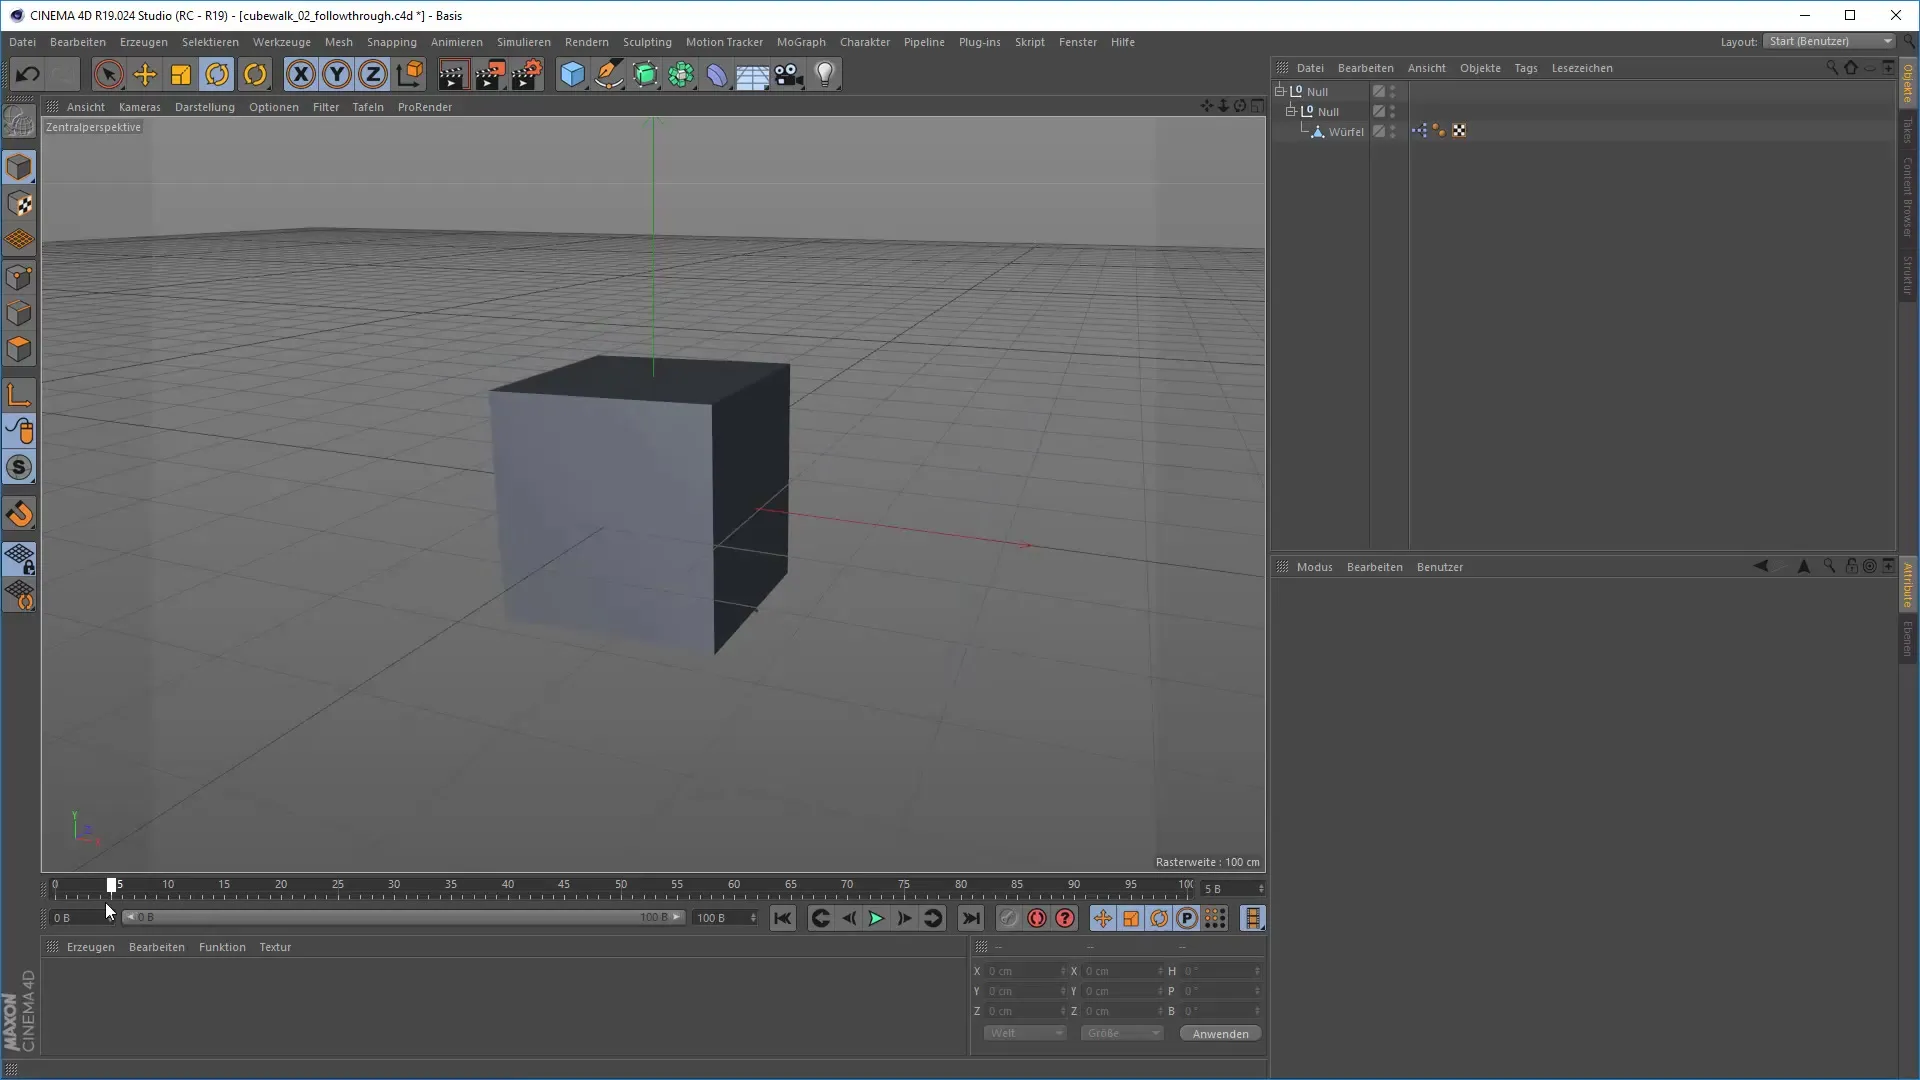
To ensure a smoother deformation, make sure your cube is sufficiently subdivided. You can achieve this by adjusting the subdivision options in the cube's geometry settings. The cube needs subdivisions to allow for the desired bending.
5. Bending with the Deformer
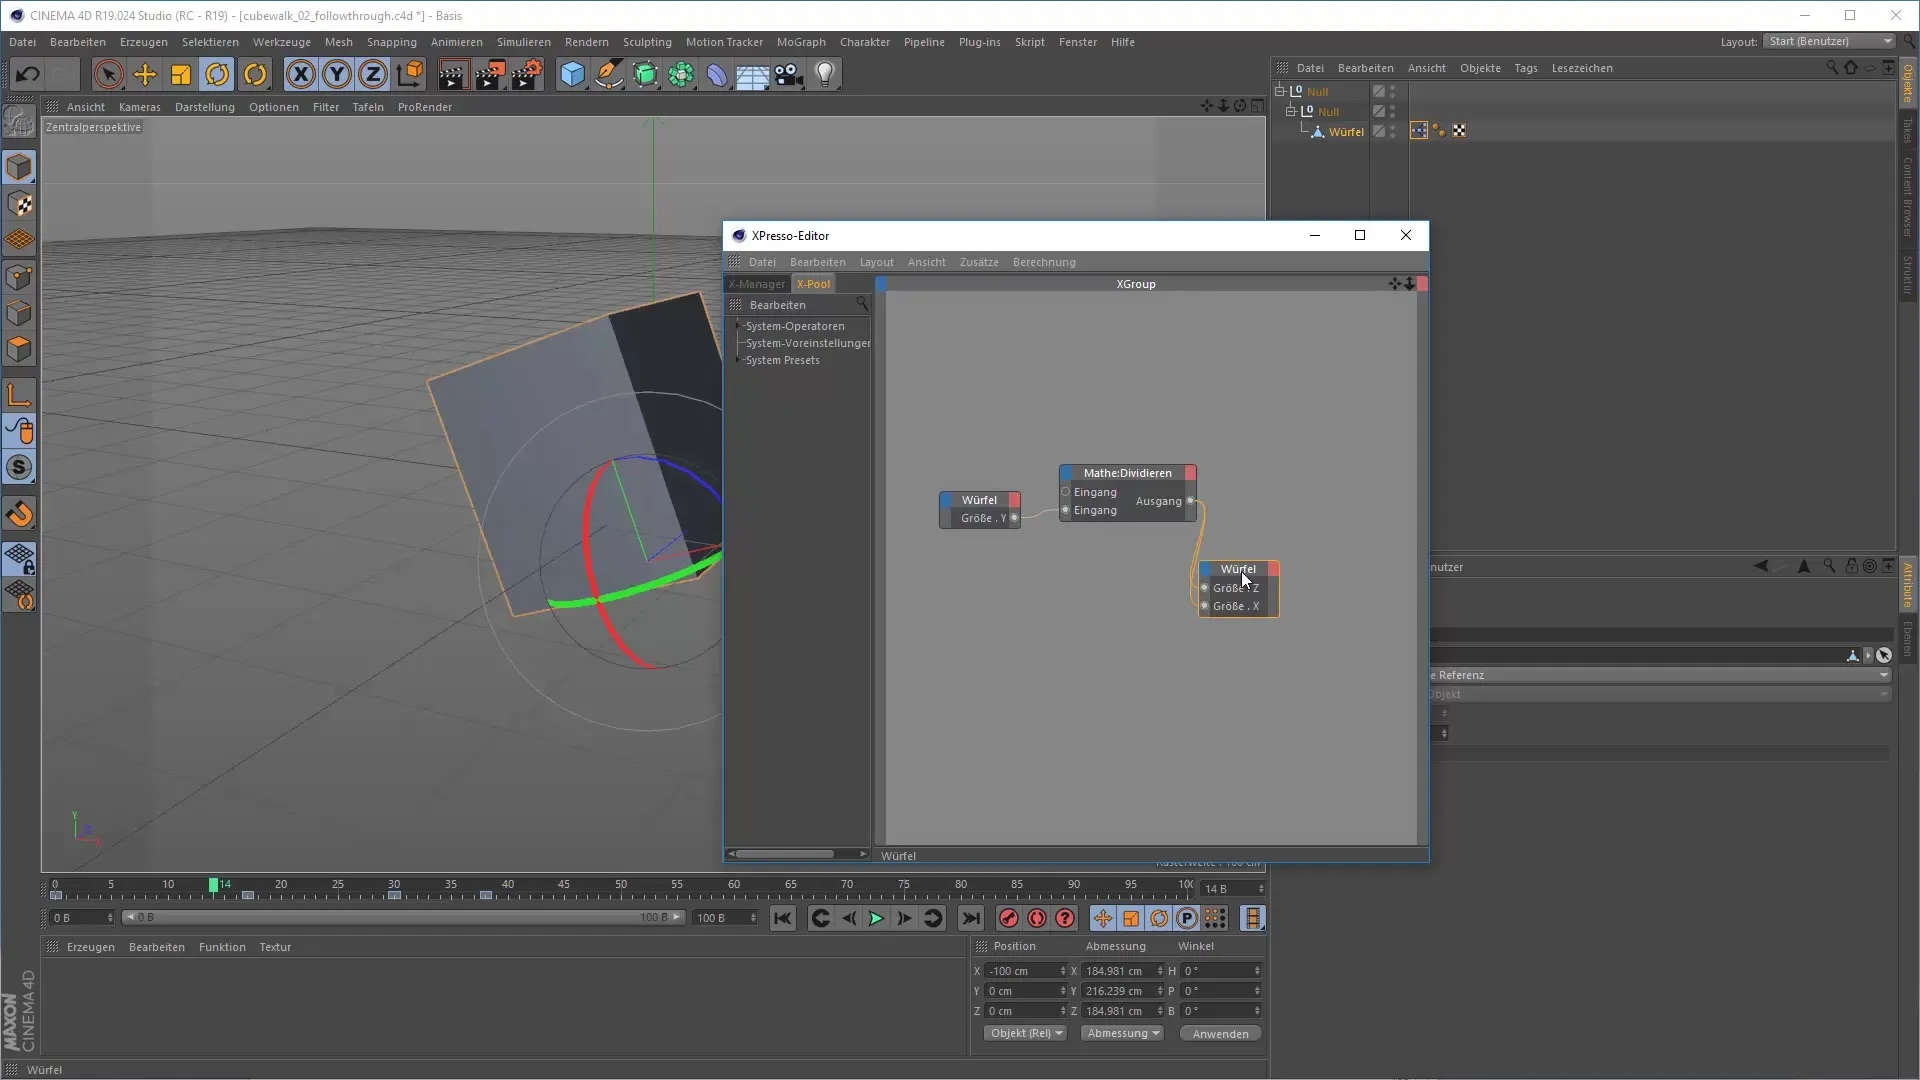
After adjusting the subdivisions, you can now animate the strength of the bend. This animation should be gradual so that your cube moves from one position to another, appearing lively.
6. Animating the Bend
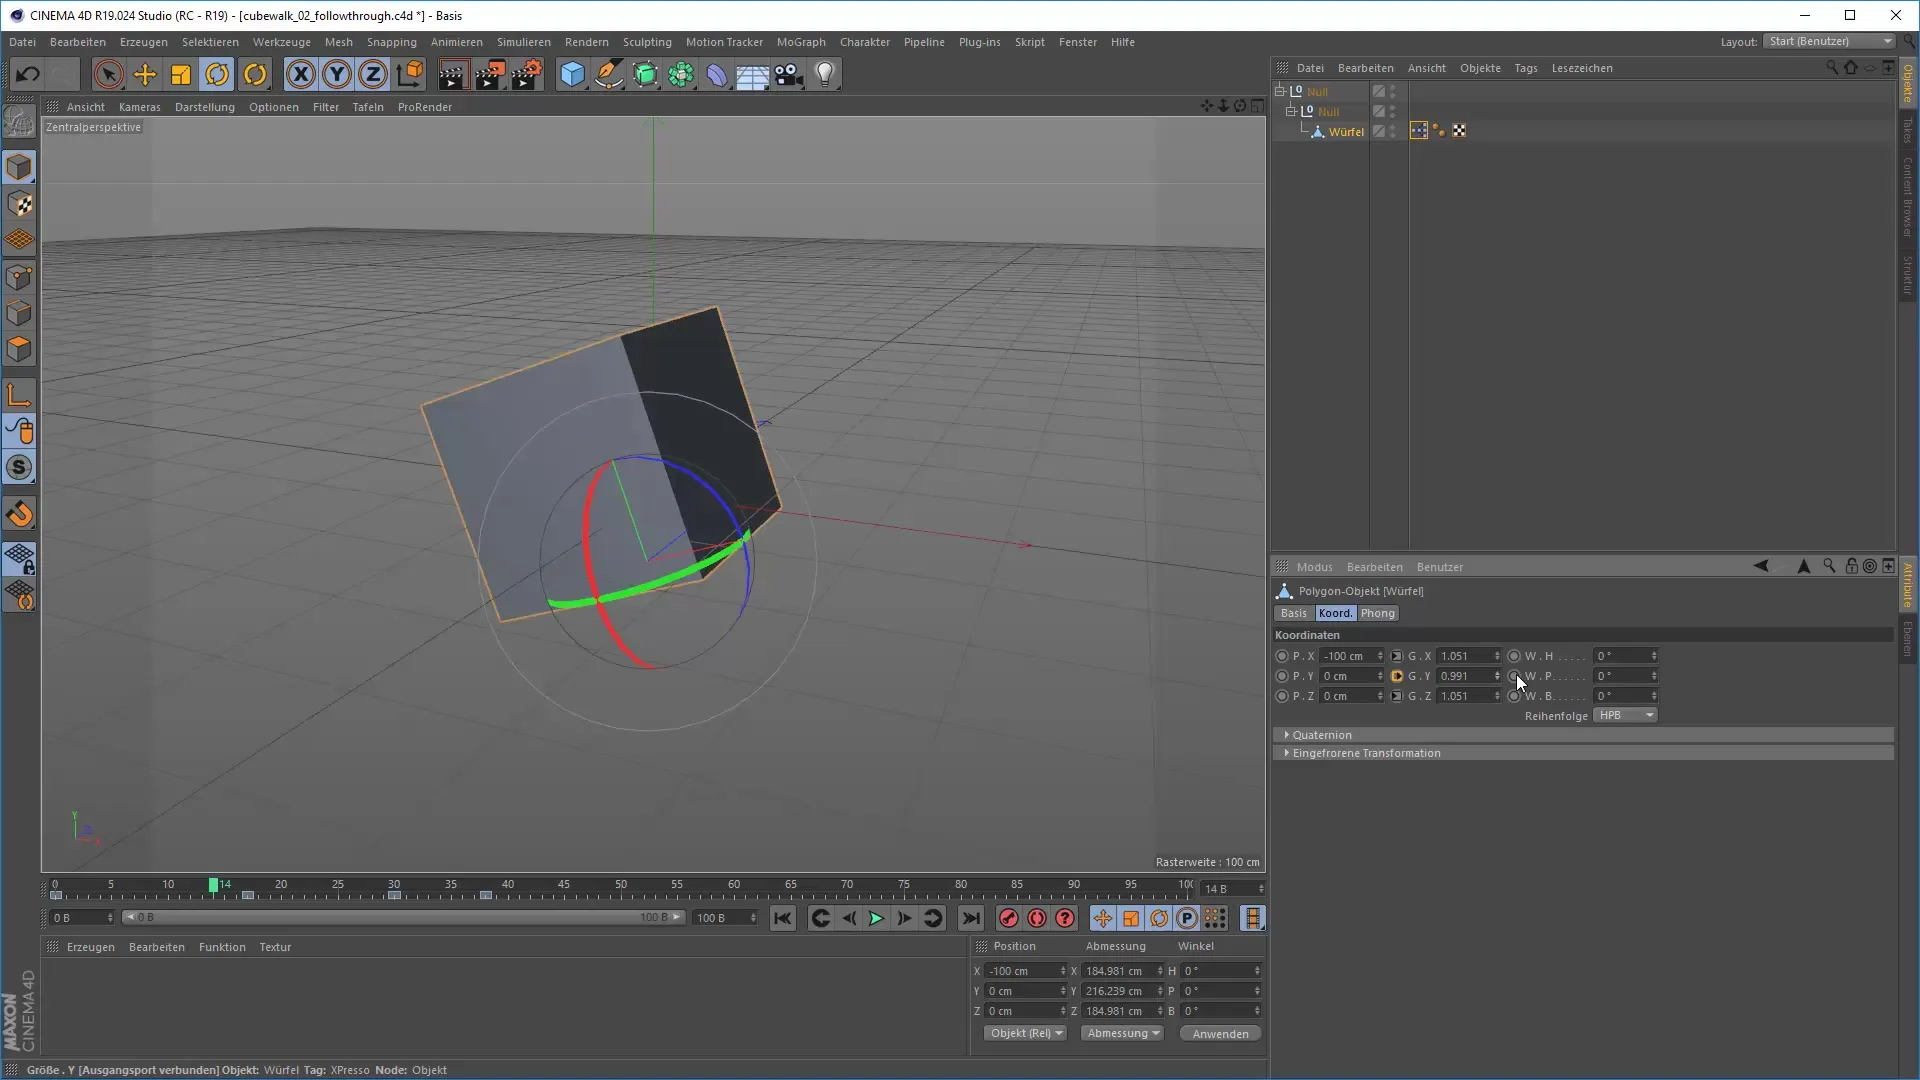
At this point, animate the bending strength of the deformer so that the cube bends gently backward as needed. Ensure that the animation curves are smooth and convey a natural movement.
7. Introducing Secondary Actions
By adding more deformers like the "Squash and Stretch" effector, you can incorporate additional dimensions into the animation. Experiment with the various settings to create livelymovements.
8. Making Fine Adjustments
If you are not satisfied with the animation, you can further refine the settings to create smoother transitions or adjust the speed of the movements. You can also use transition effects to make the animation even more harmonious.
9. Testing the Animation
Play the animation several times to ensure that the movements appear natural and engaging. Pay attention to smooth transitions between the deformers and the overall aesthetics of the animation.
10. Rendering the Final Animation
Once you are satisfied with your work, run the final render process in Cinema 4D to export your animation. Make sure the quality settings are optimally configured.
Summary – 3D Animation with Deformers in Cinema 4D
In this tutorial, you have learned how to use deformers in Cinema 4D to create impressive animations. You have learned the basics of deformation, the importance of subdivisions, and the implementation of secondary actions. With these tools, you are able to give your animations more life and expression.
FAQ
How do I add a deformer to an object?Select the object, then add the deformer as a child element.
What is the purpose of subdivisions in objects?Subdivisions increase the number of polygons, which supports smoother deformation.
Can I apply multiple deformers to one object?Yes, you can combine multiple deformers to achieve more complex animations.
When do I use the Squash and Stretch deformer?The Squash and Stretch deformer is great for creating dynamic movements and simulating weight.
What role does animating the deformation strength play?Animating the deformation strength helps to give the animation naturalness and liveliness.


