Would you like to dive into the fascinating world of character animation? In this guide, I will show you the workflow for creating character animations in Cinema4D. You will learn how to move from the basic steps like rigging to the complex movements of your characters. Character animation is an art form in its own right, requiring patience and precision, but it is also immensely fun! Let’s dive straight into the stepsto bring your character to life.
Key Insights
- Character rigging is crucial for animation.
- Skinning and weight painting are key techniques.
- Posing, timing, and spacing are essential for realistic animation.
- Lots of practice is necessary to achieve good results.
Step-by-Step Guide
1. Import Character Model
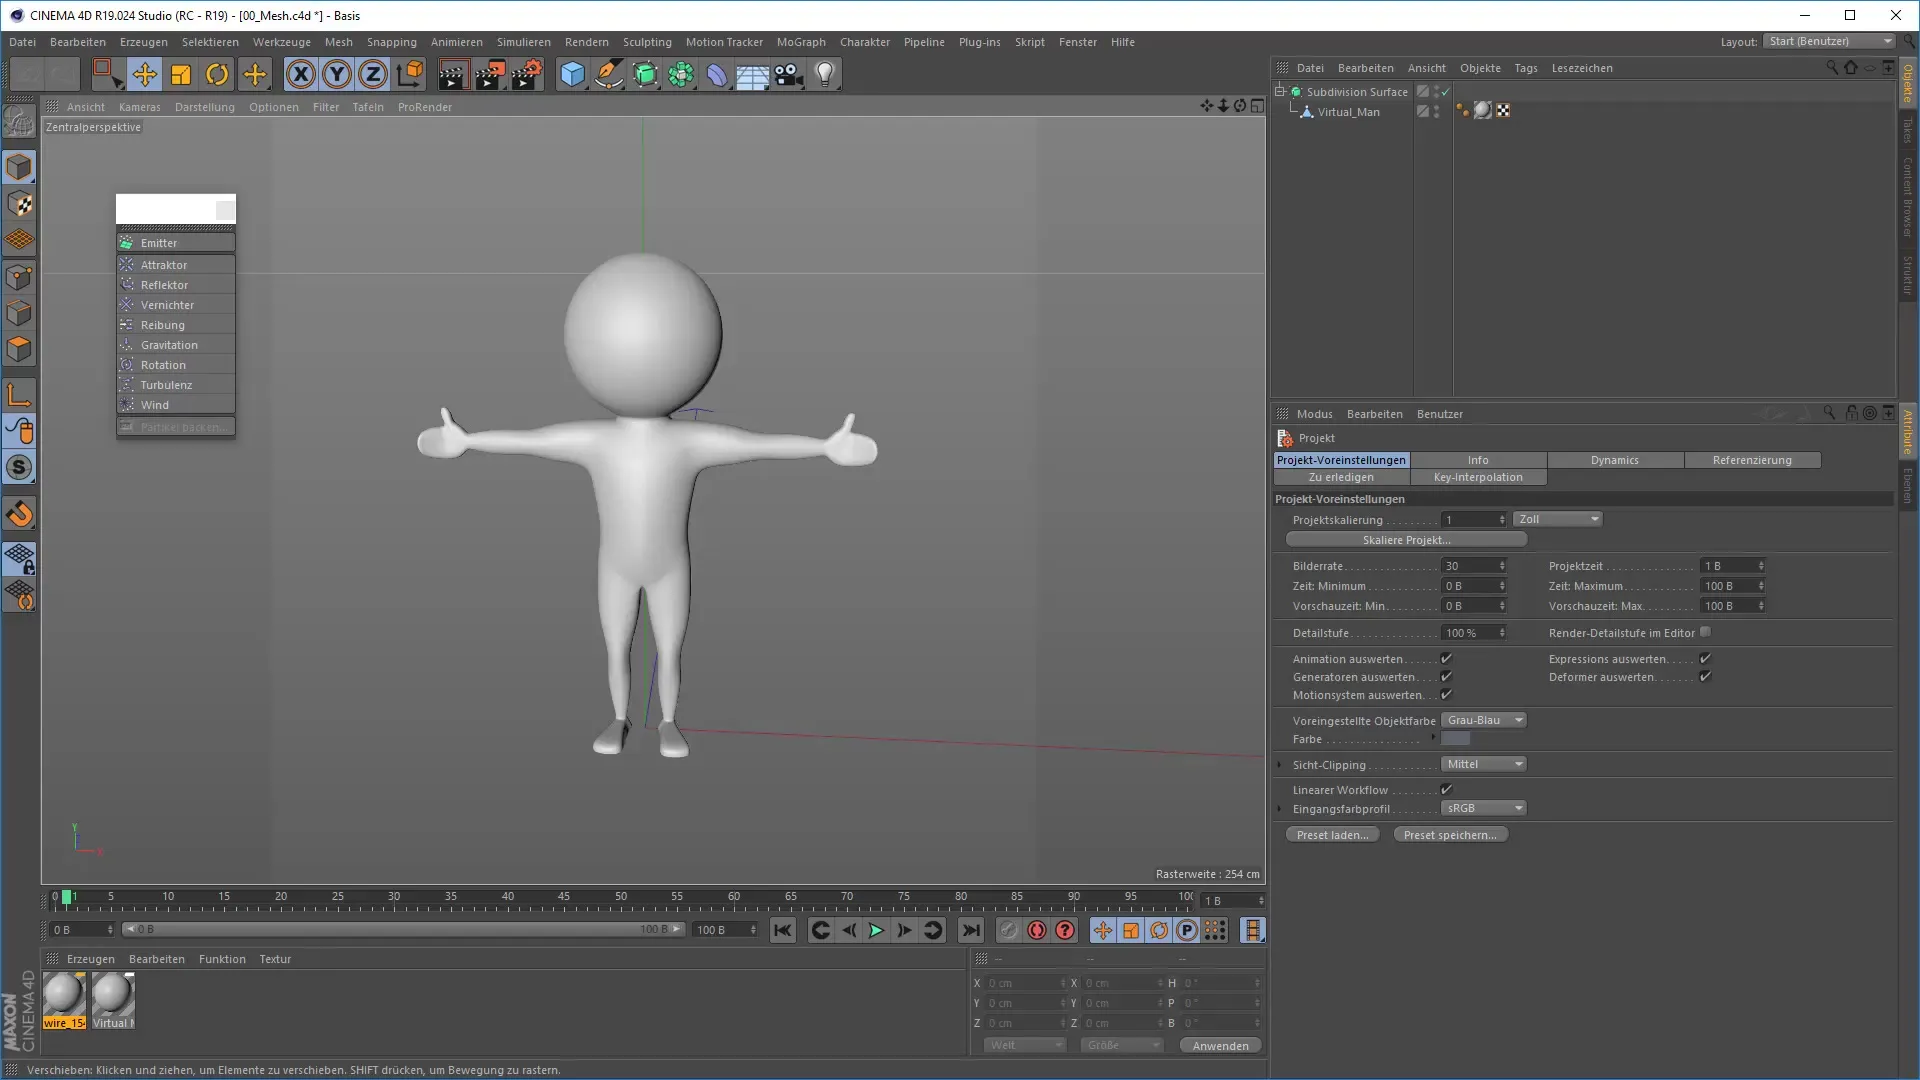
Before you start rigging, you need to import your character model. The model can either be downloaded from an online platform like TurboSquid or created by yourself. Make sure it is in the correct format (e.g.,.obj or.fbx).
2. Basic Transformations
Now you can start scaling, rotating, and positioning the model. Especially when the model appears on the screen, it’s important to align it correctly and optimize the position. Think about how you want your character to be animated later when placing it.
3. Character Rigging
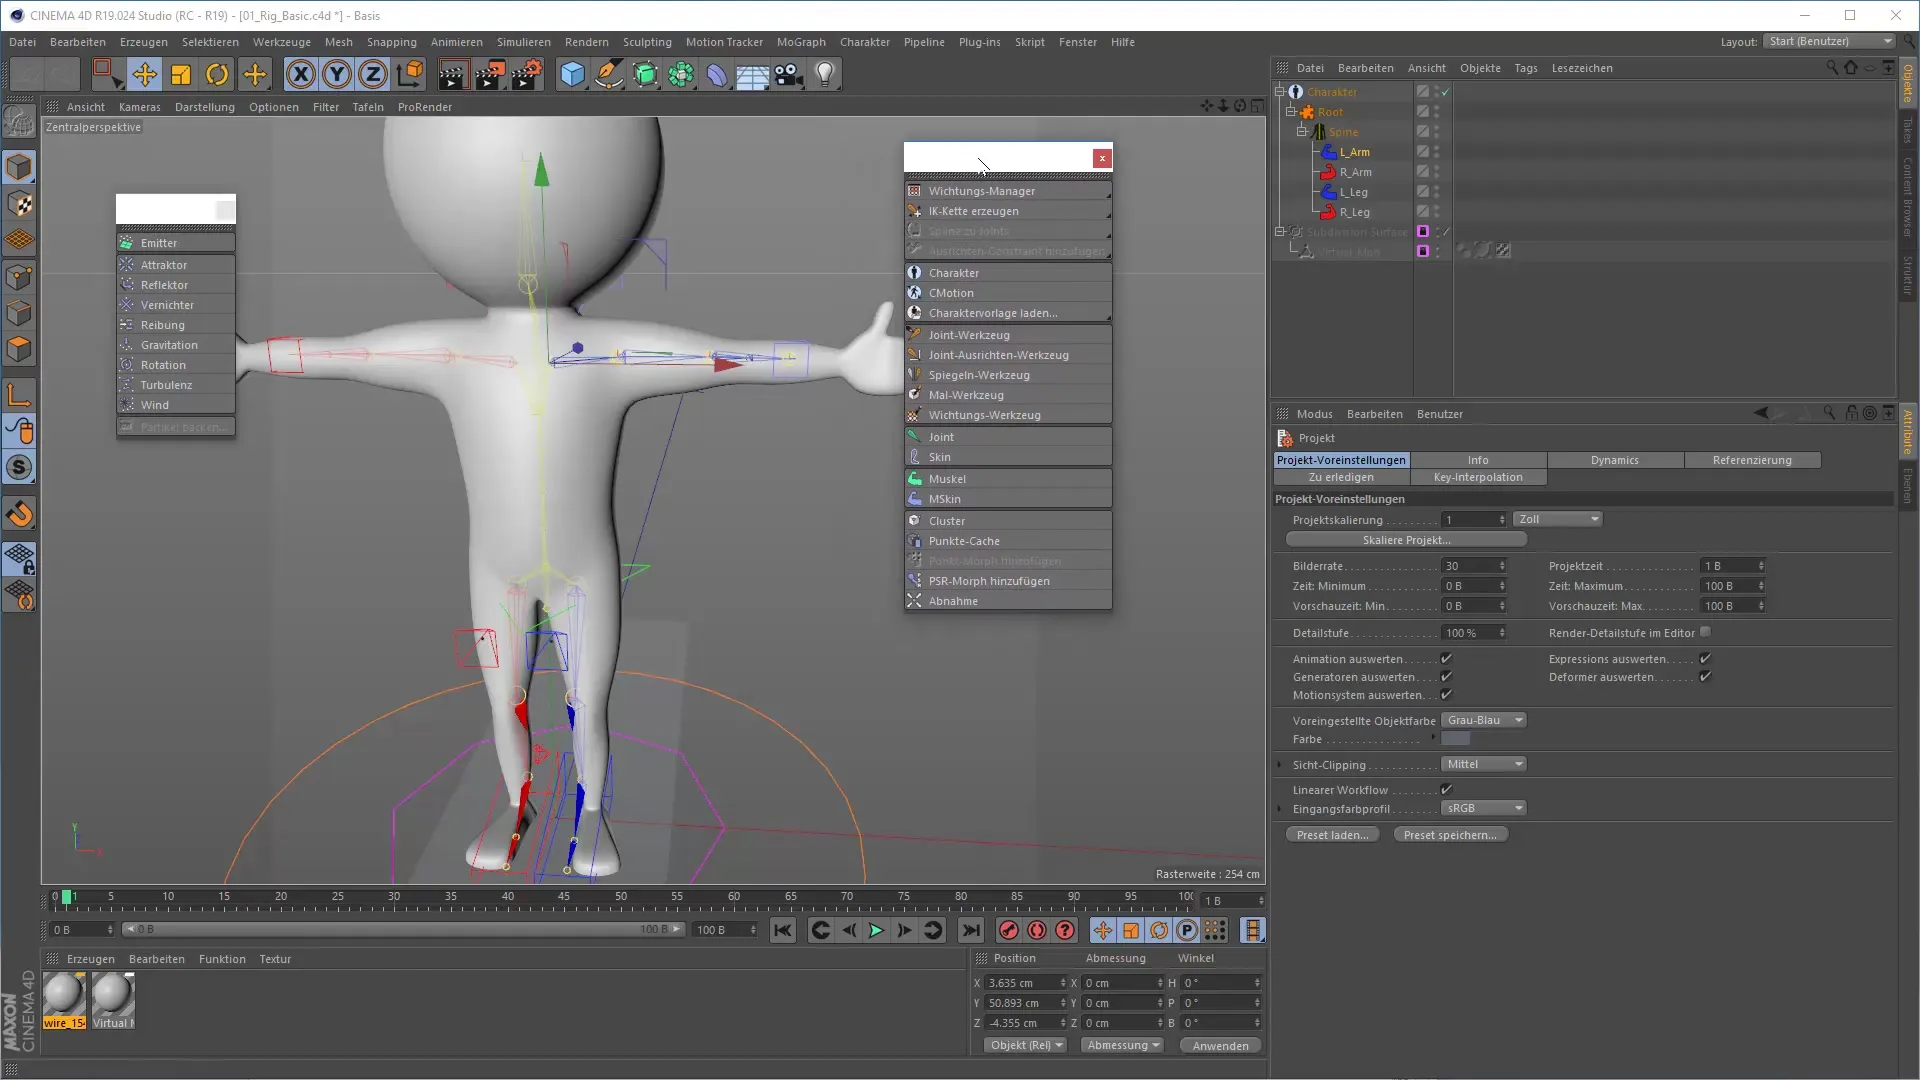
To give your character a skeleton, you need to use the character tool in Cinema 4D. There you can choose from different templates to create the skeleton. Add a root, spine, and arms and legs. Make sure all components are proportional to the character model.
4. Adjustment of Rigging Components
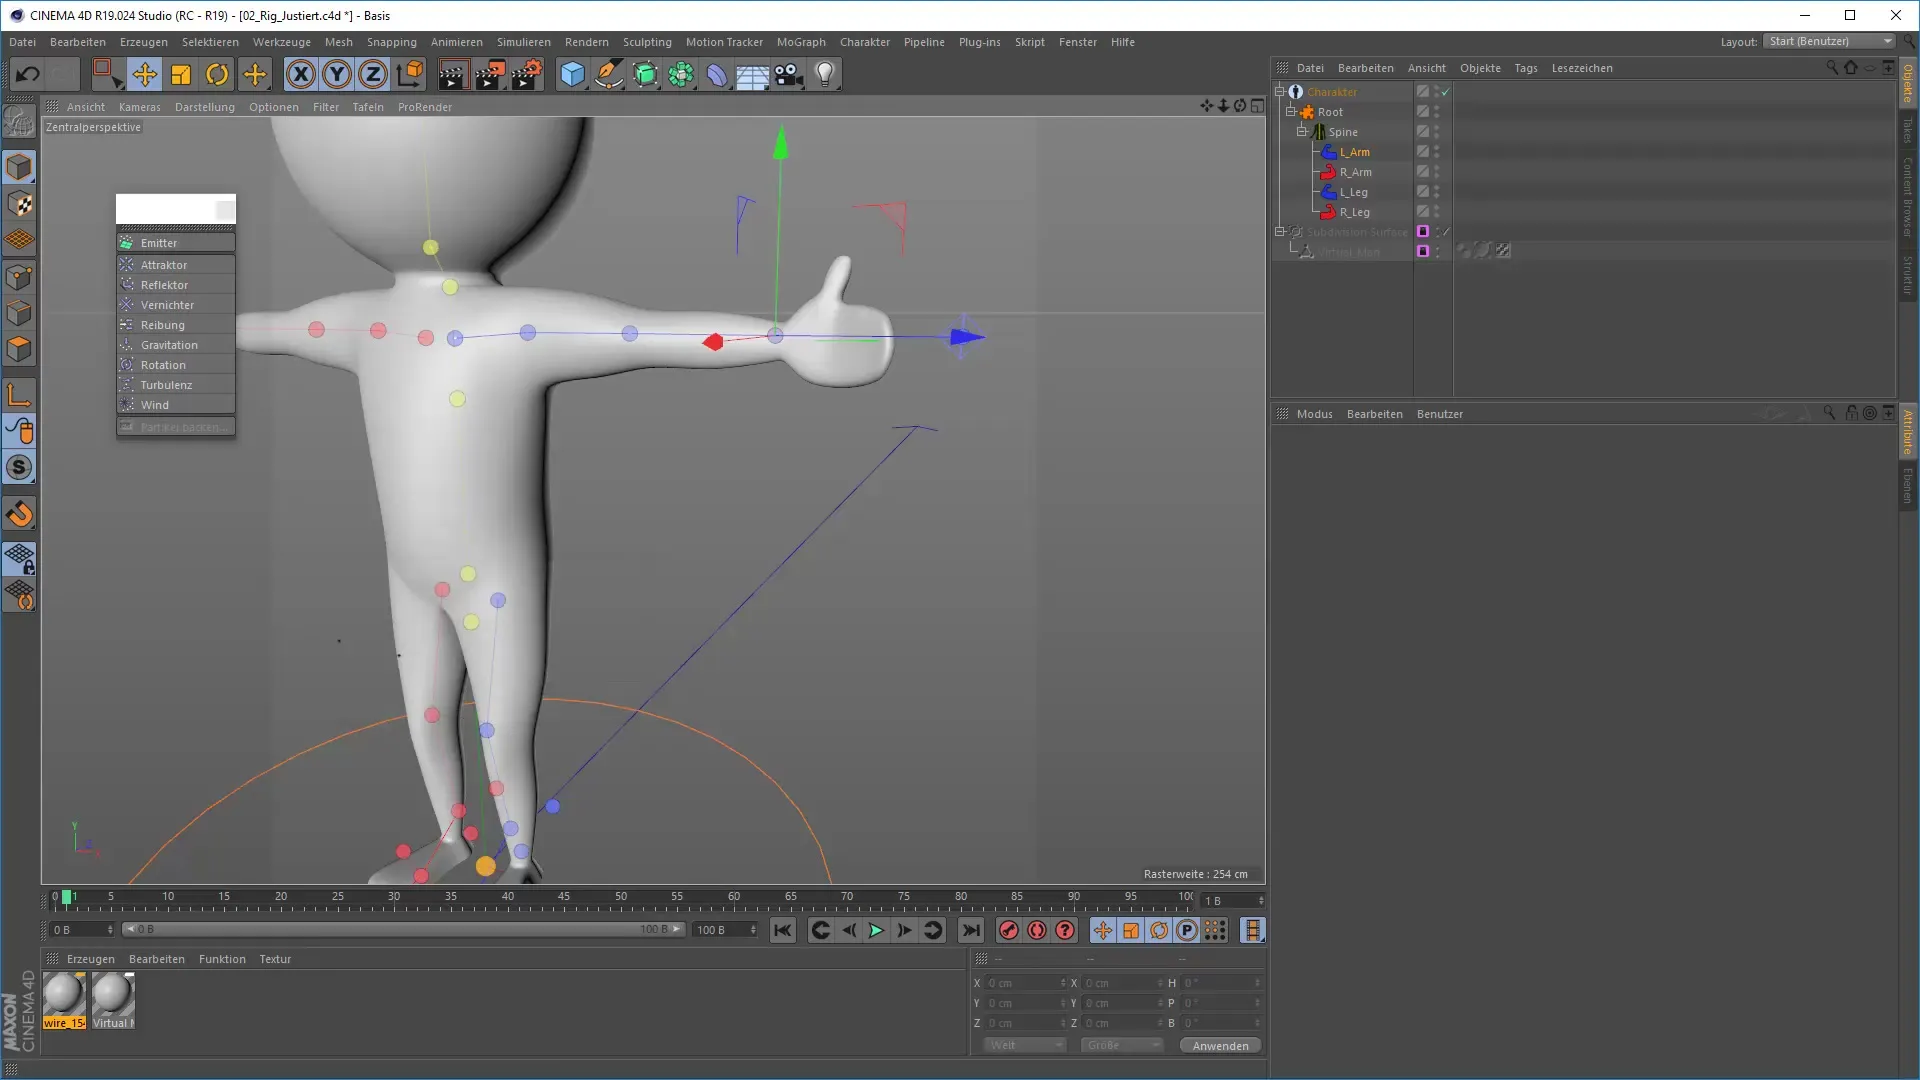
Now it’s time for fine-tuning. Move the points in the rig to ensure they are exactly where they belong. The finger and wrist points are particularly important and should be placed carefully. Make sure everything is well proportioned.
5. Skinning the Model
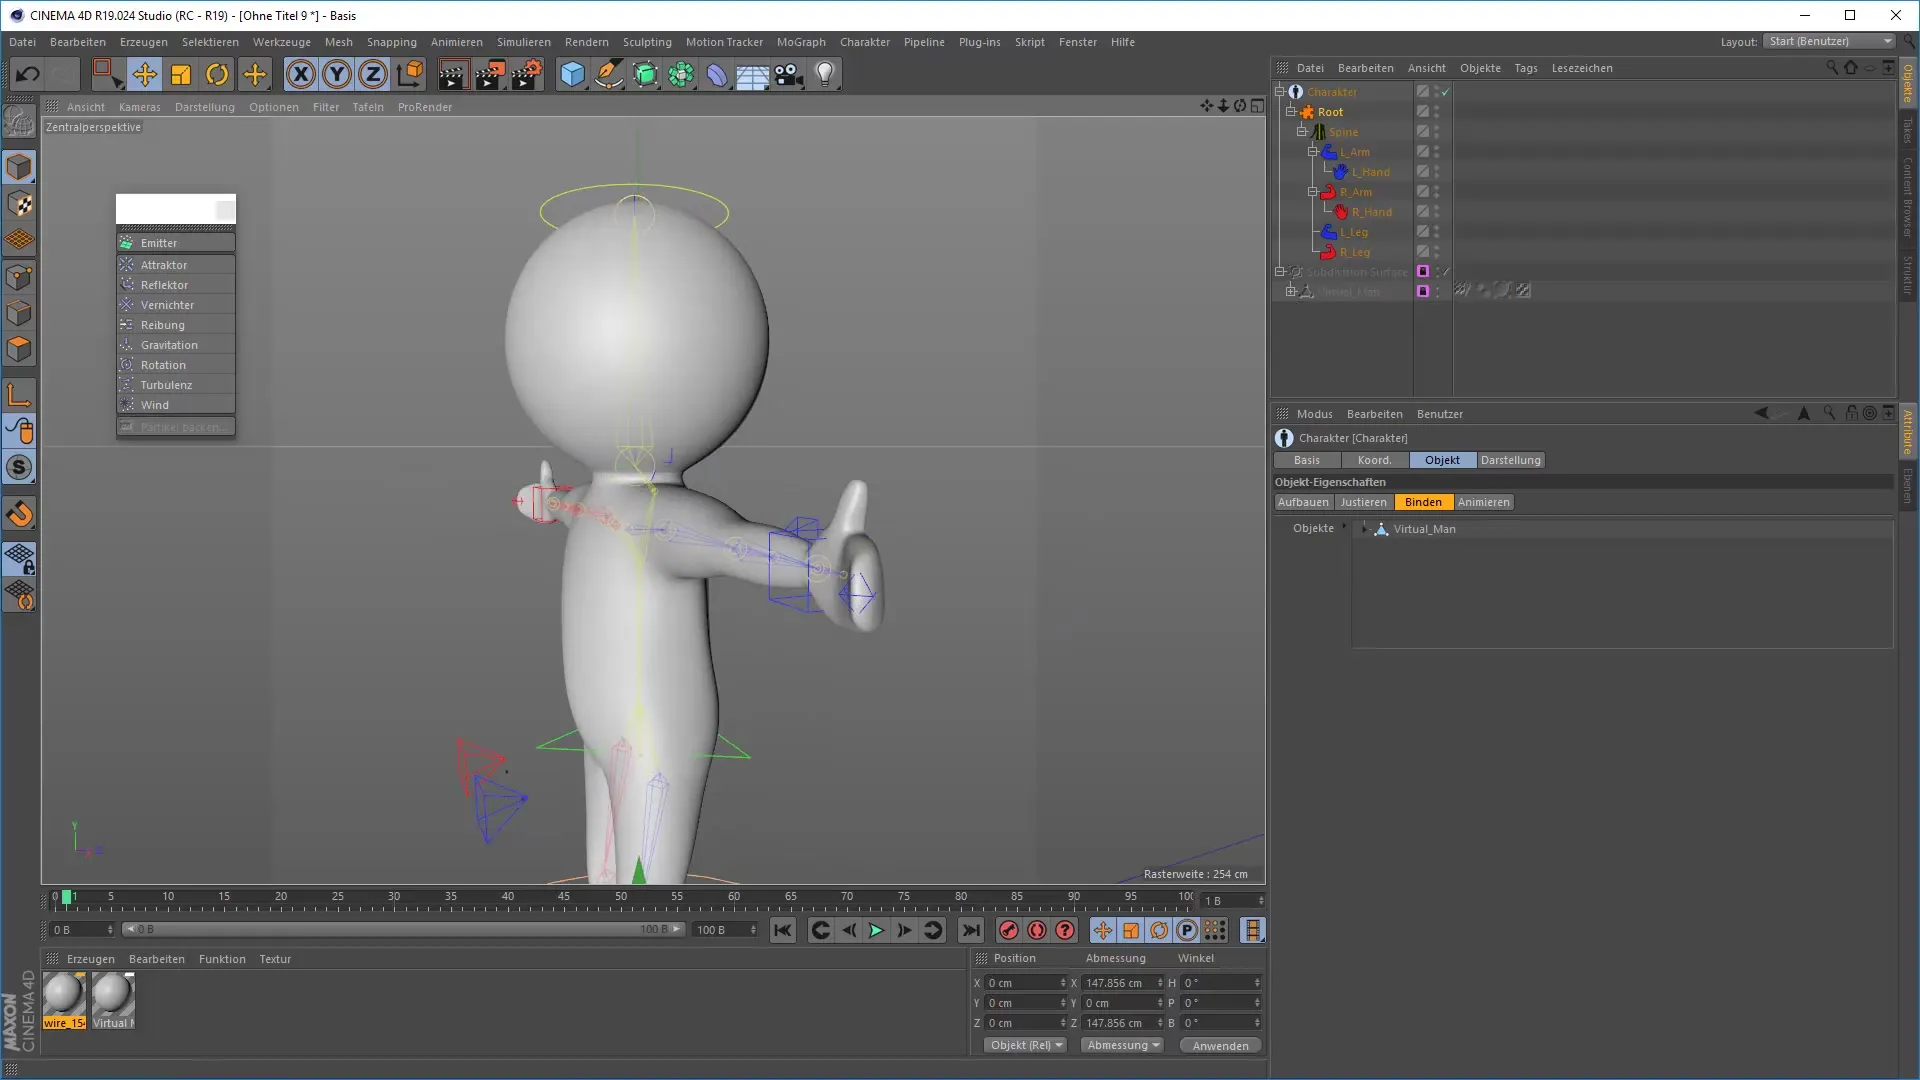
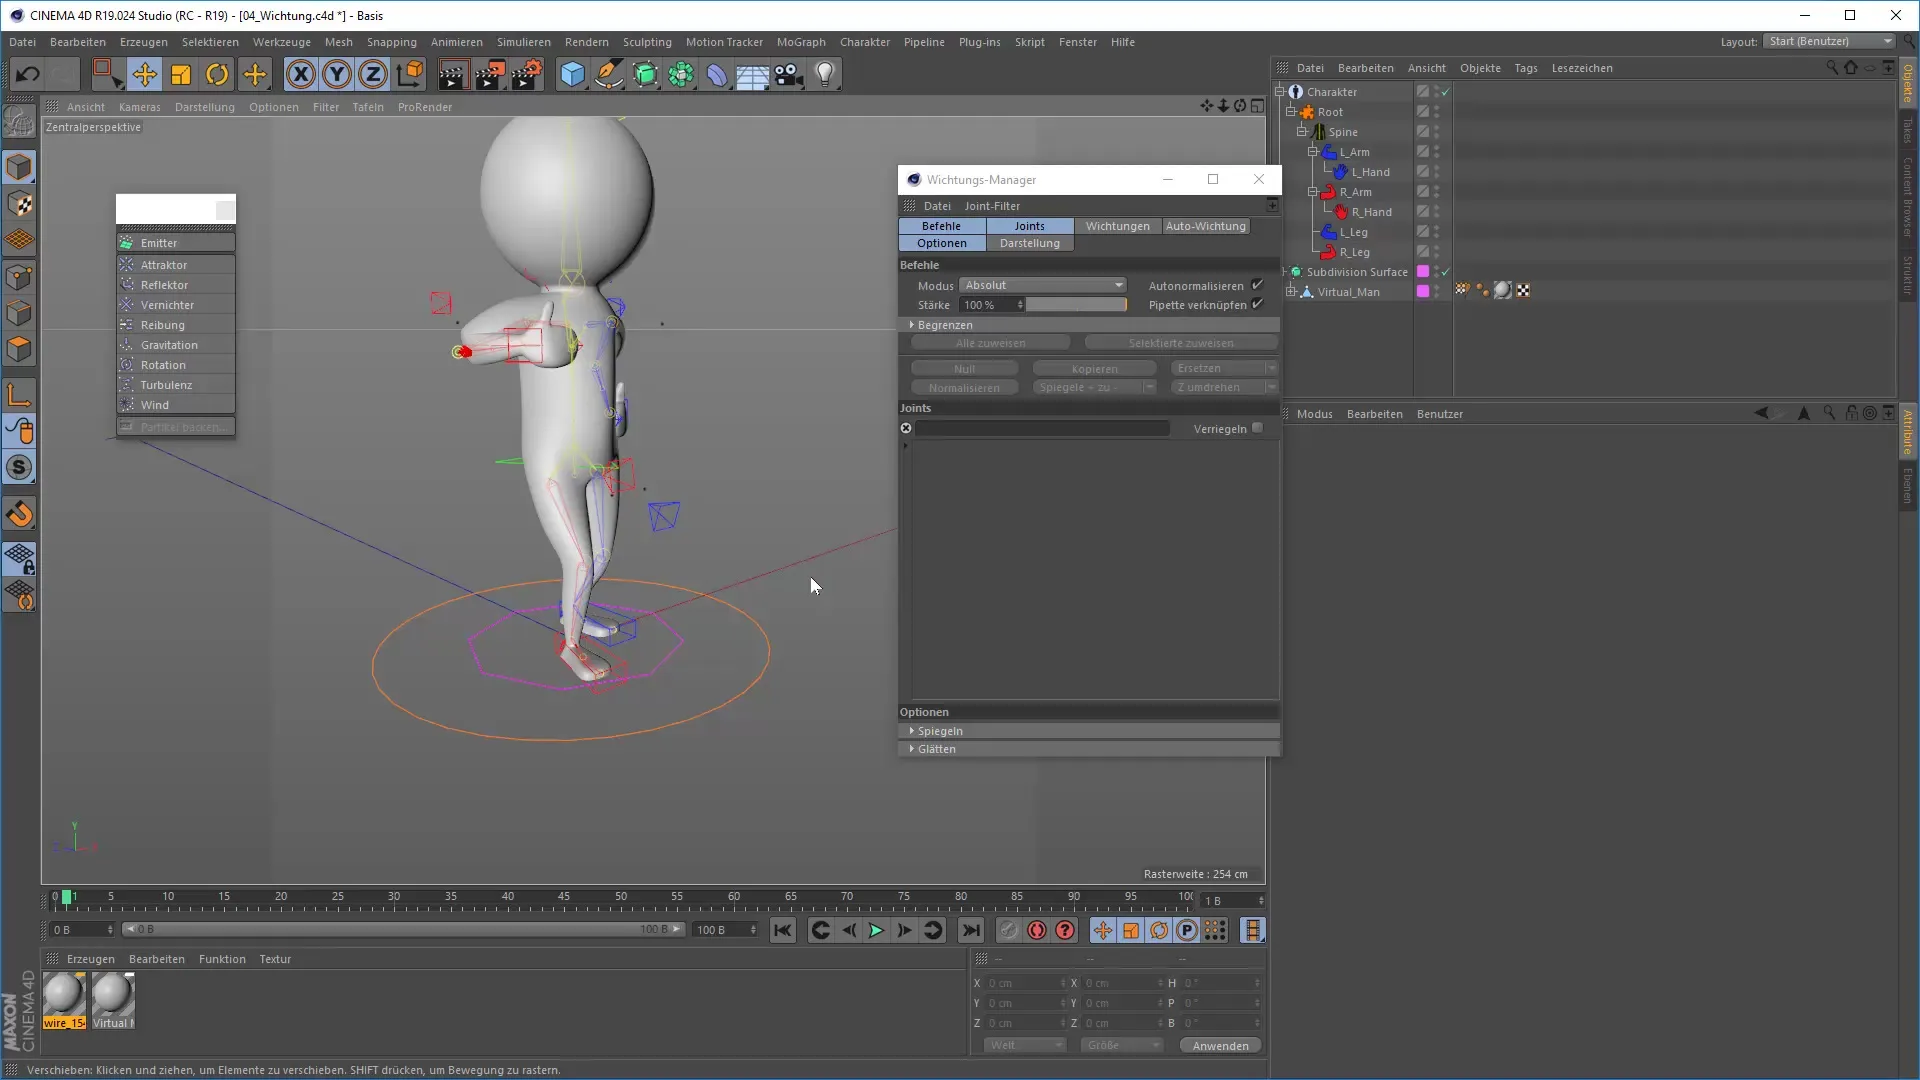
After the rig is properly placed, you need to "connect" the model with the skeleton (skinning). Go into binding mode and see if you can successfully connect the mesh with the bones. Test the movements to ensure that the mesh behaves as desired.
6. Weighting the Bone Joints
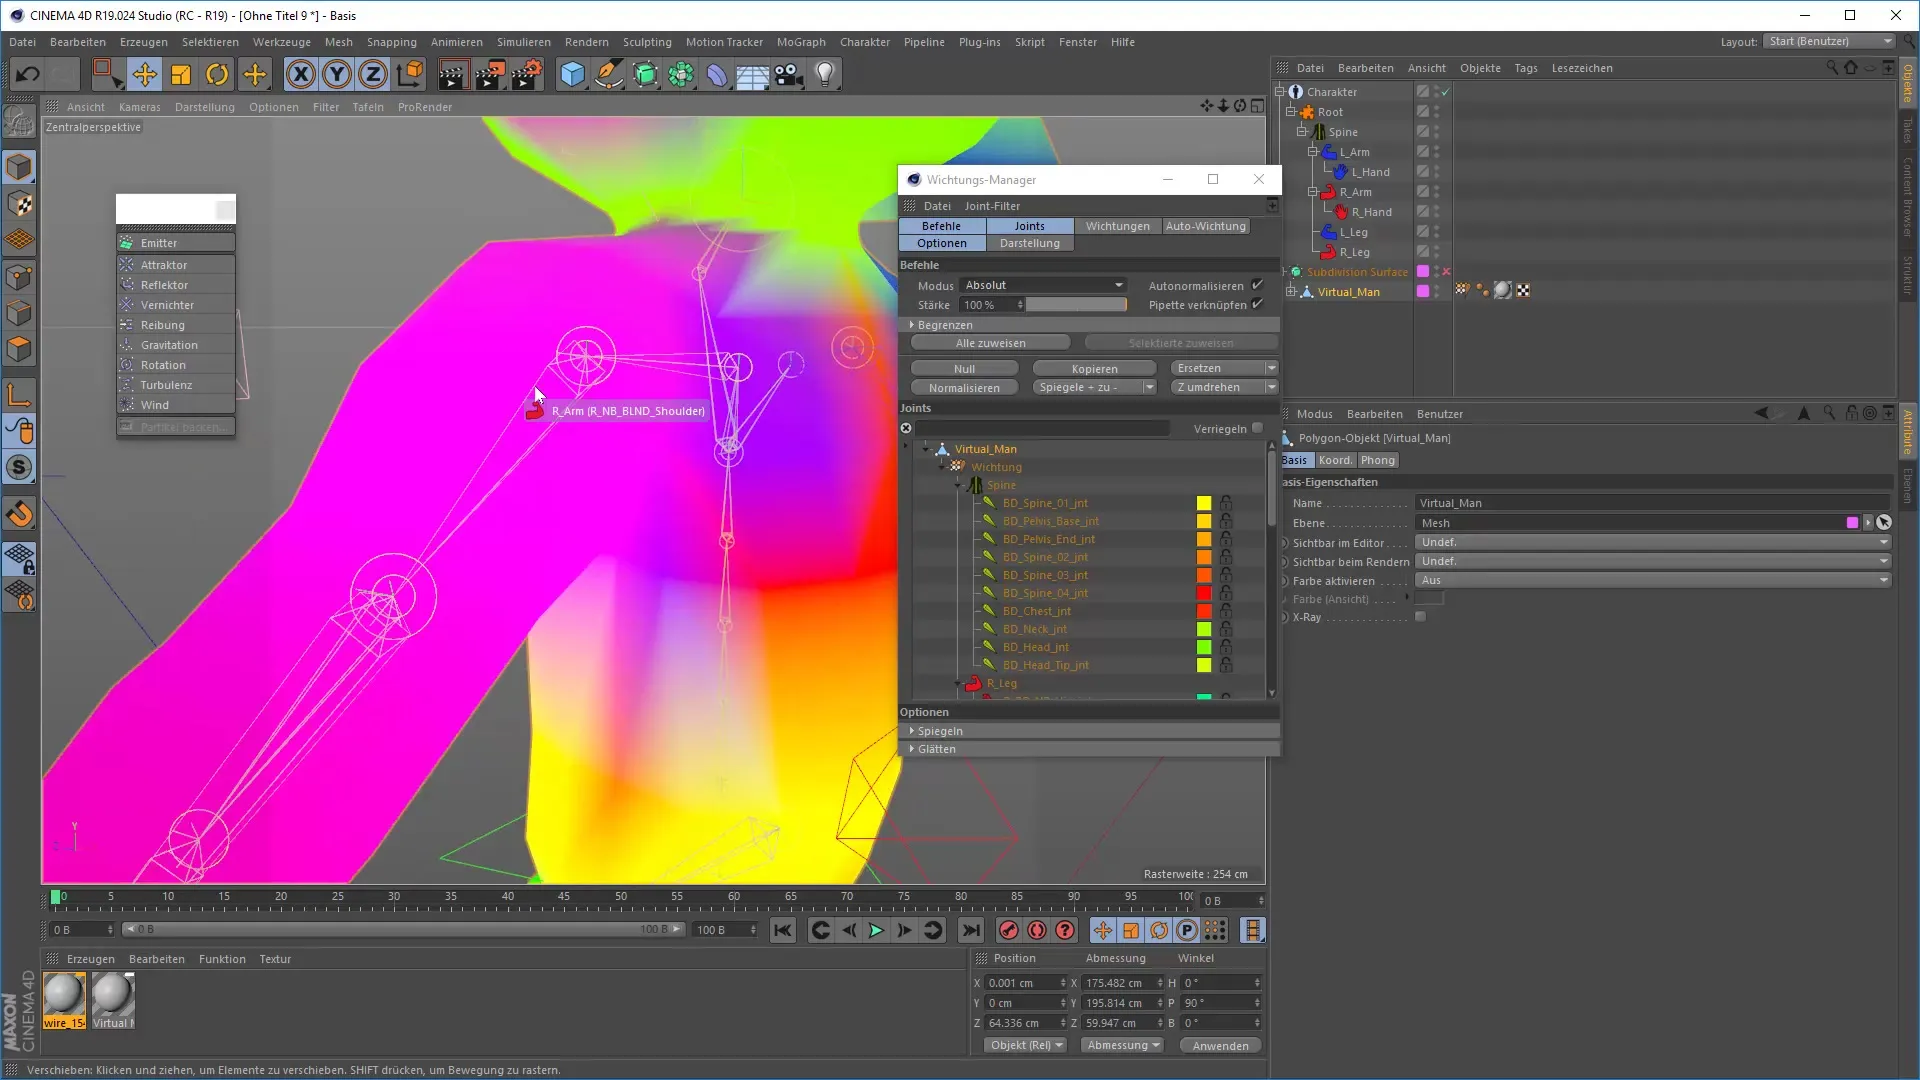
The next step is weight painting. Here, you assign the various colors to the individual bones. The colorful display helps you see which areas are influenced by the respective bone. This is an important and often difficult step that requires a lot of patience.
7. Posing the Character
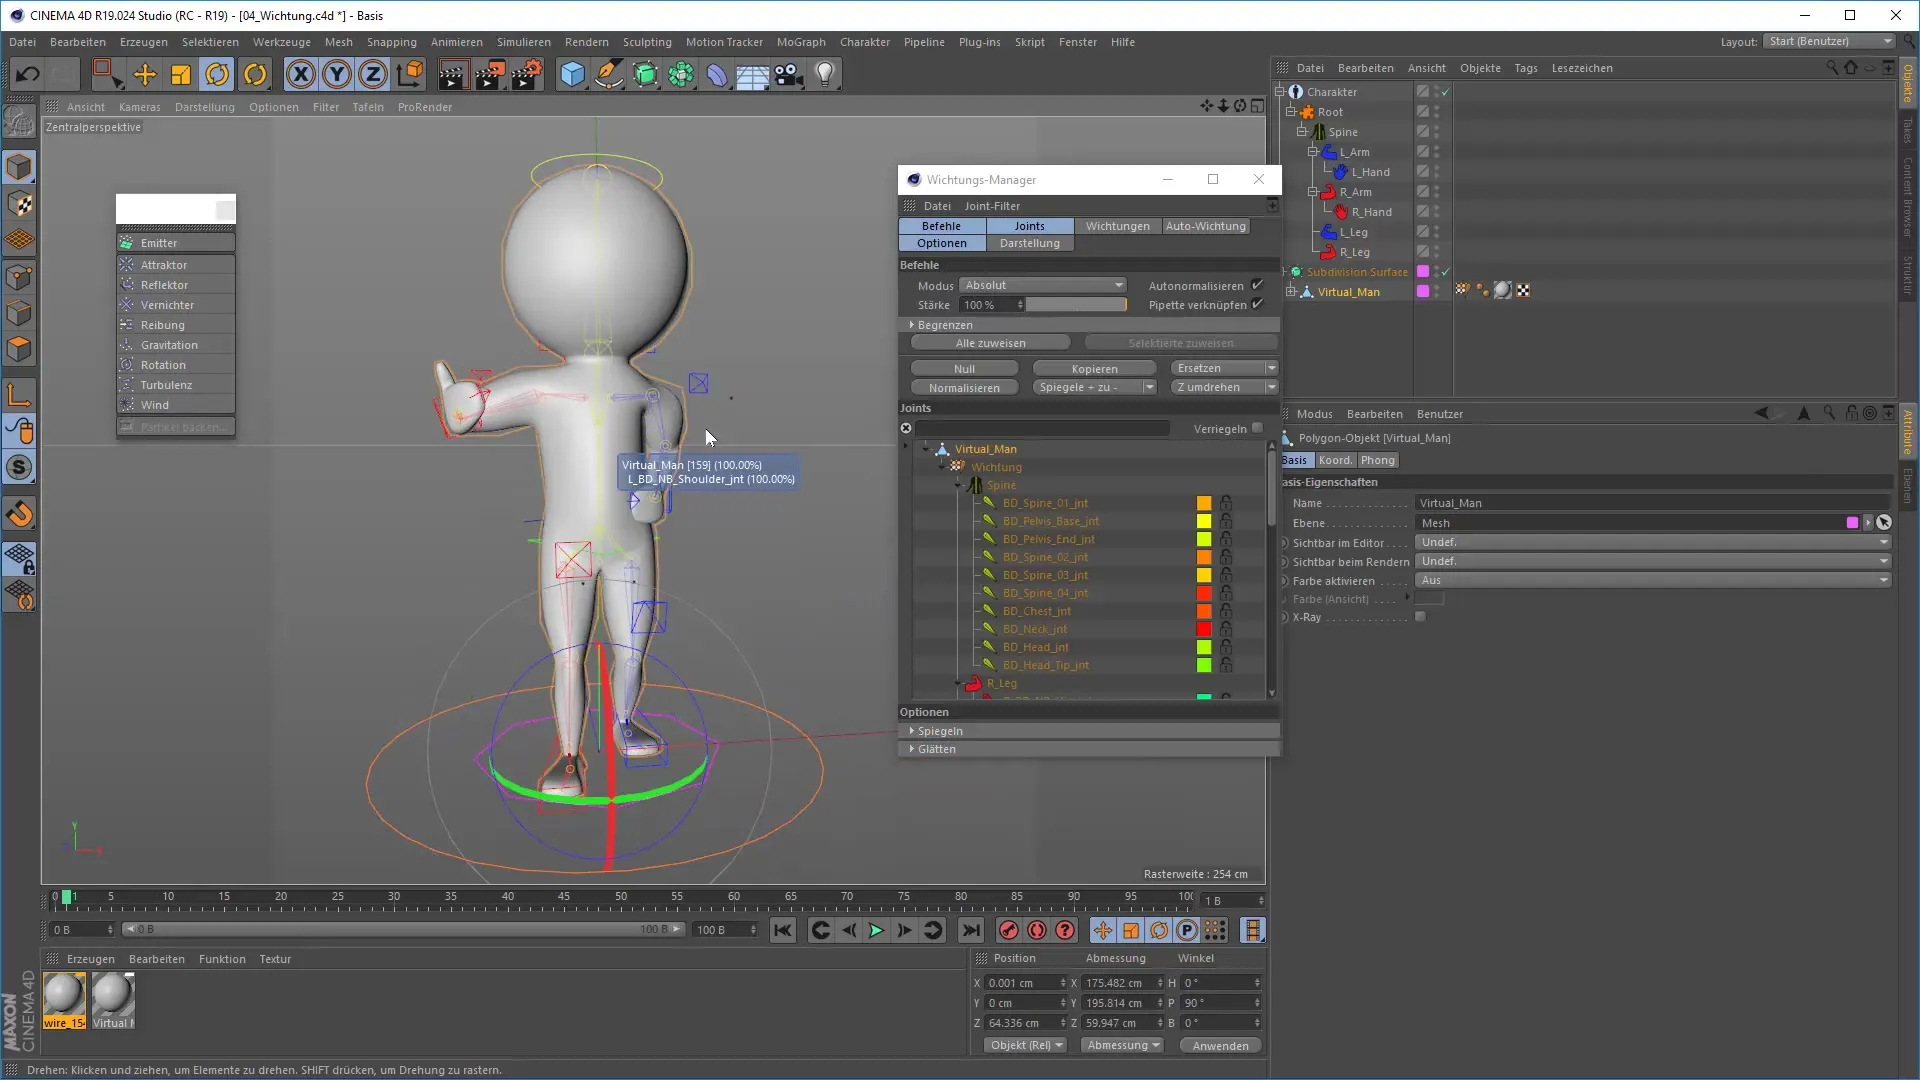
Once the weighting is correct, you can pose your character. This often requires a lot of fine-tuning to achieve the desired result. Experiment with different poses, and remember that each pose also serves the later animation.
8. Keyframing and Timing
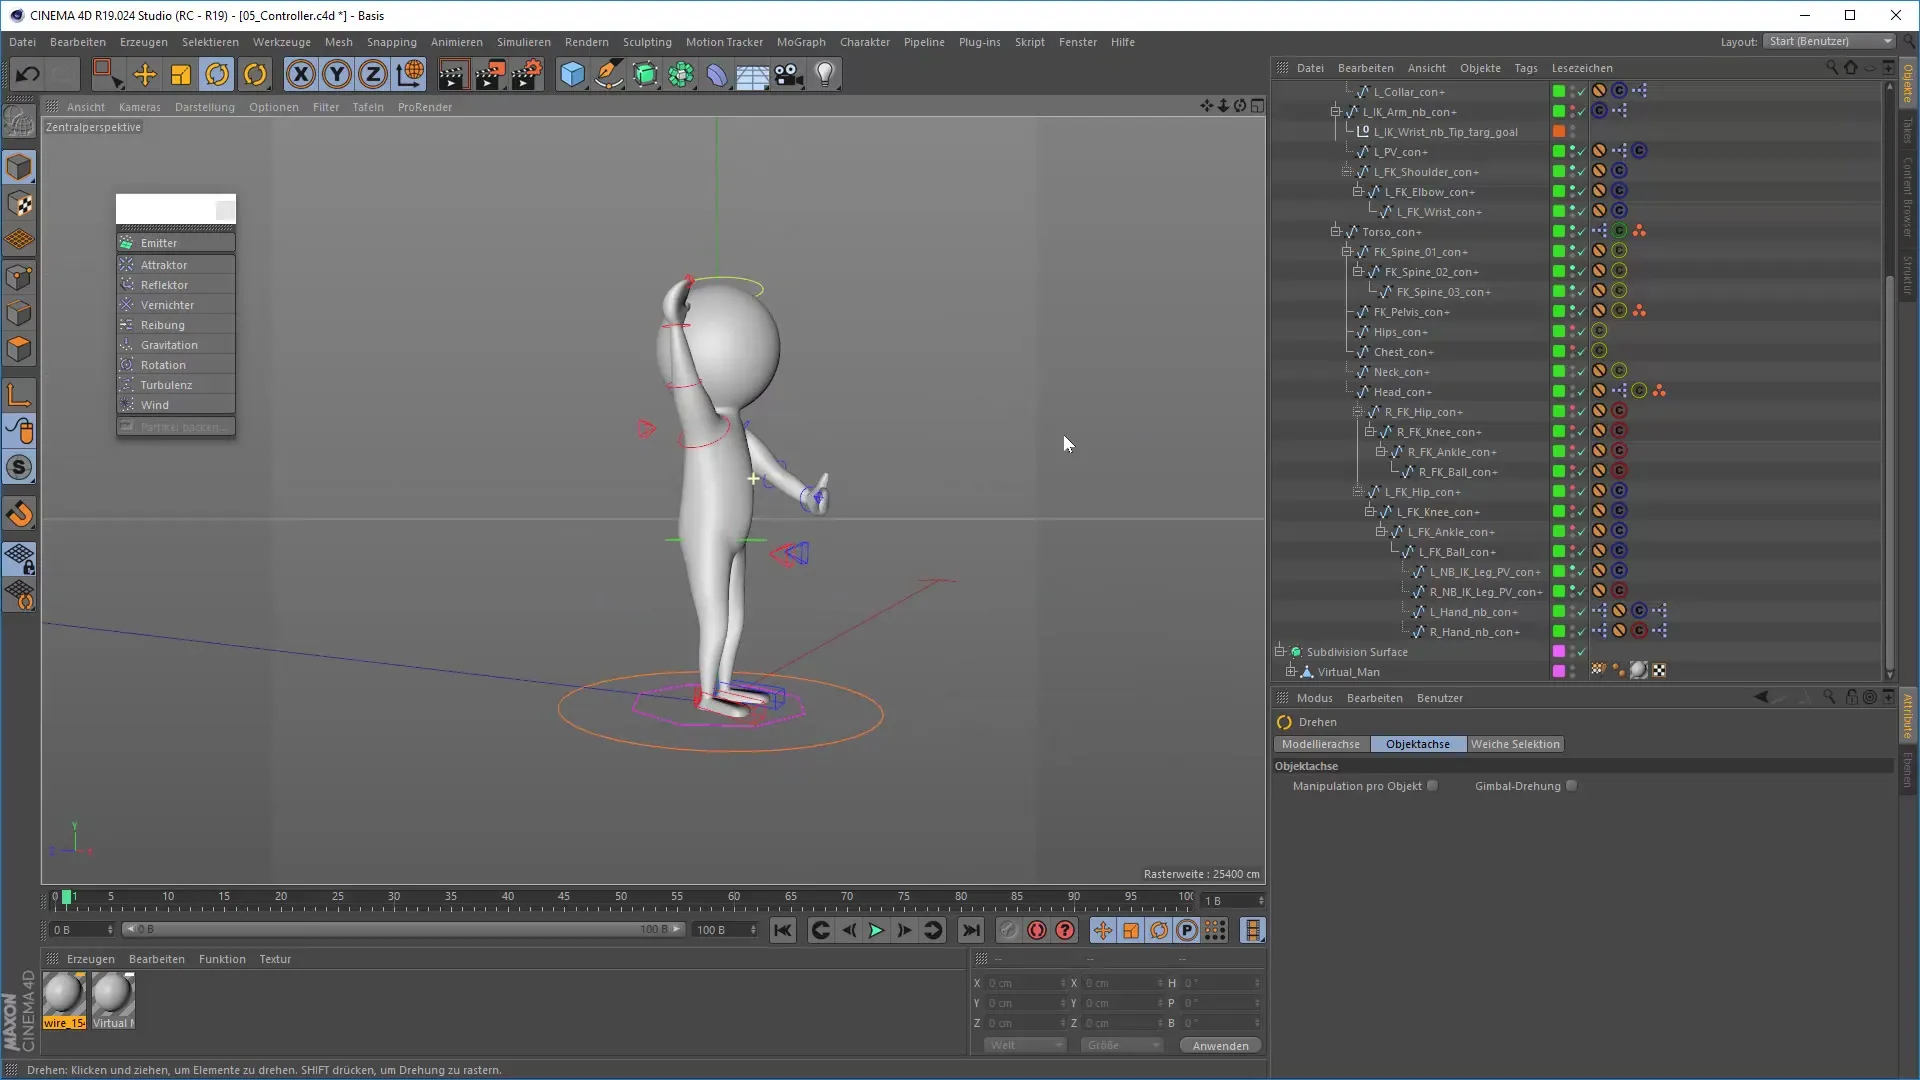
Now that you have a pose, you can set keyframes. Go to a later point on the timeline and create a new pose. Don’t forget to set the position and rotation of the bones as keyframes afterward. Timing is crucial for making the movements appear smooth.
9. Fine-tuning the Animation
After setting the keyframes, it’s time to check the spacing. Make sure that the movements between poses appear natural. The curves in the animation editor can help you adjust the speed of movements.
10. Finalizing the Animation
If you are satisfied with the animation, review all movements again and make adjustments where necessary. It can be helpful to watch the animation multiple times to spot small errors or optimize the pace.
Summary – Character Animation in Cinema 4D: A Step-by-Step Workflow
In this guide, you learned how to rig and animate a character in Cinema 4D. The steps from importing the model to skinning and creating poses are crucial forsuccessful character animation. As you have seen, it is a complex process that requires a lot of patience but can also be very rewarding. Keep experimenting and practicing to improve your skills!
FAQ
How does rigging work in Cinema 4D?Rigging is achieved by adding bones to the character model, which can then be animated.
What is skinning?Skinning refers to connecting the mesh to the rig so that the 3D model moves along with the rig.
How important is weight painting for animation?Weight painting is essential for controlling how much each bone's movement affects specific areas of the model.
How can I make the animation smoother?Incorporate multiple keyframes and pay attention to timing; movements should appear slow and organic.
Can I also create my own models for animation?Yes, you can create your own models in Cinema 4D and then apply the rigging process to them.


