Animationsin 3Doffer a variety of design possibilities, but not everything that glitters is actually smooth and easy to present. In particular, the dynamics in Cinema4D open up fascinating options for physics-based animation. In this guide, you will learn how to work effectively with Dynamicsto make your animations more vibrant and realistic.
Key Insights The Dynamics feature in Cinema 4Dallows for the creation of physically calculated animations. Especially important are the various tags like Rigid Body and Soft Body that influence the properties of your objects. Make sure to set the size and project settings correctly to achieve convincing simulations.
Step-by-Step Guide
To effectively use Dynamics in Cinema 4D, follow these steps:
1. Create Your Scene
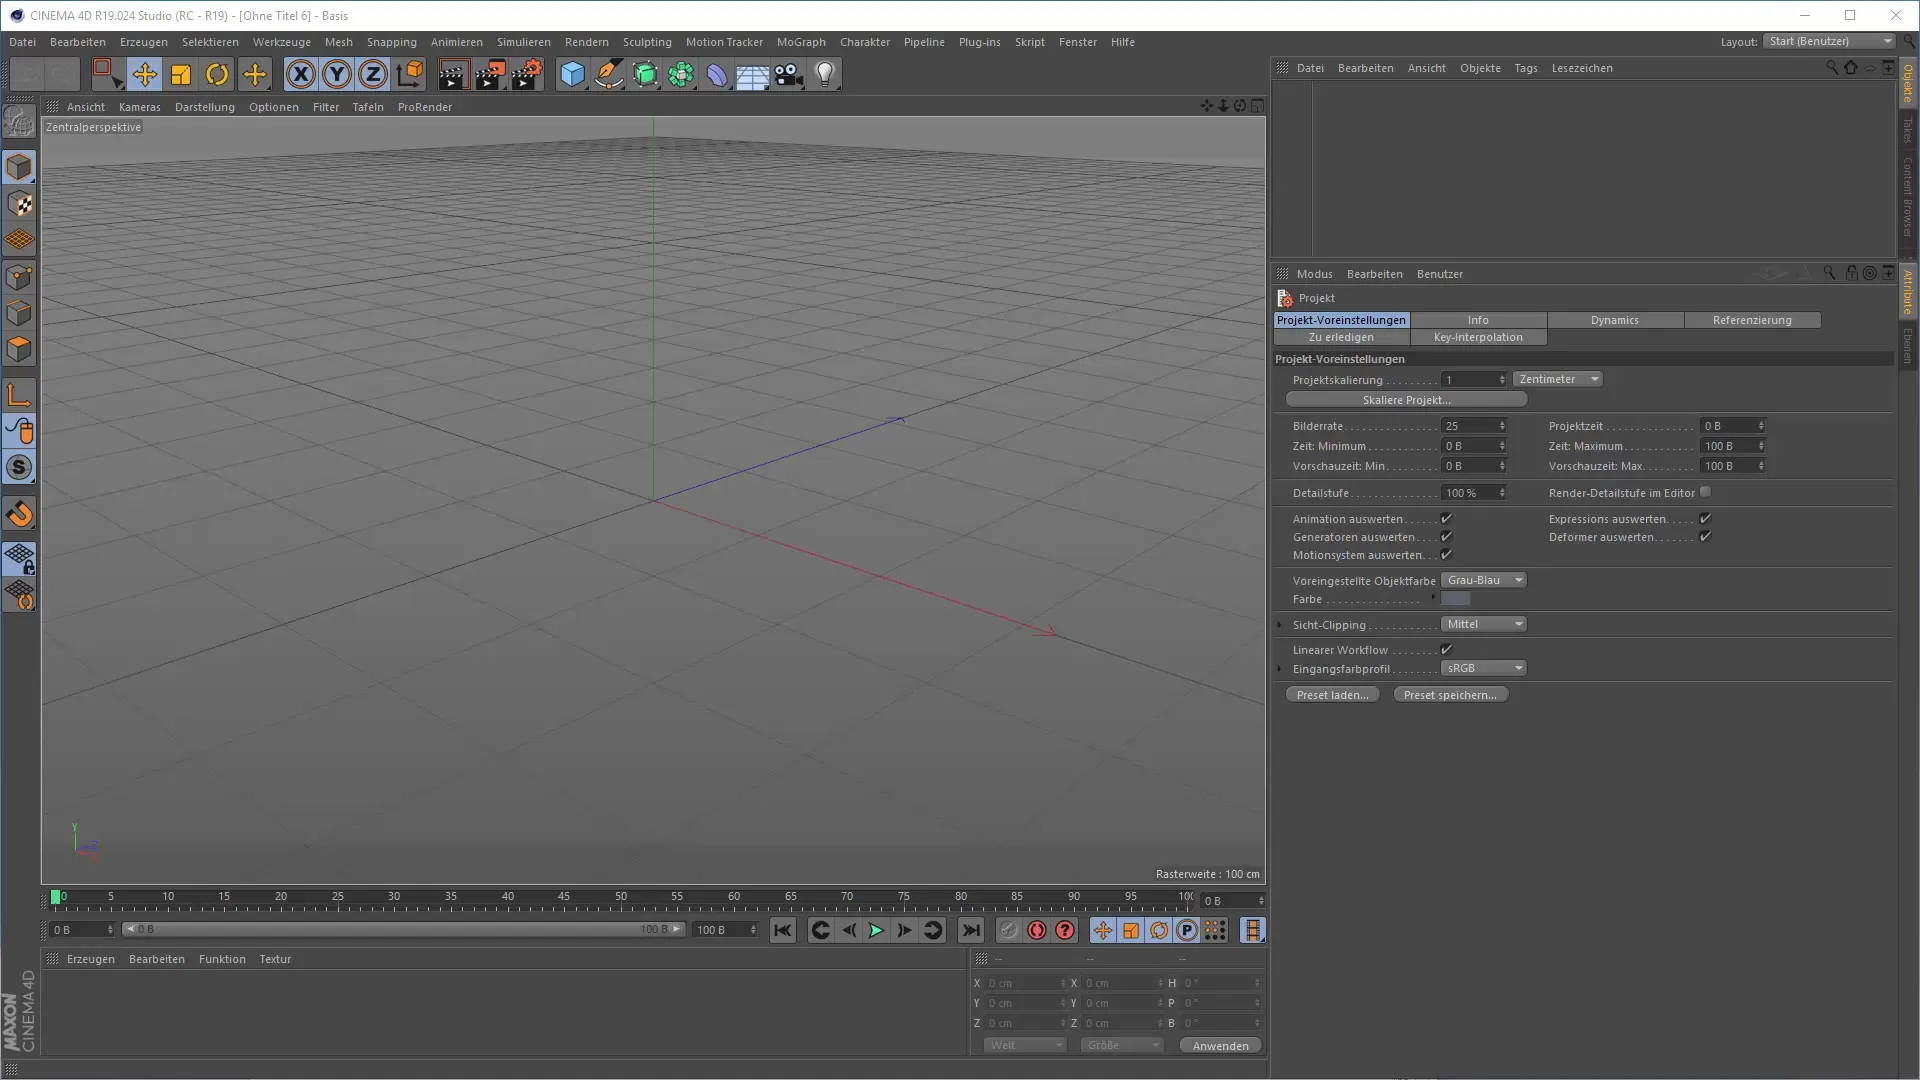
Start by creating a new scene. You can set up a simple configuration with a cube and a plane as the ground. Place the cube above the plane at a sufficient distance so that the dynamics become visible. Here’s a screenshot foryour reference:
2. Apply Dynamics to the Cube
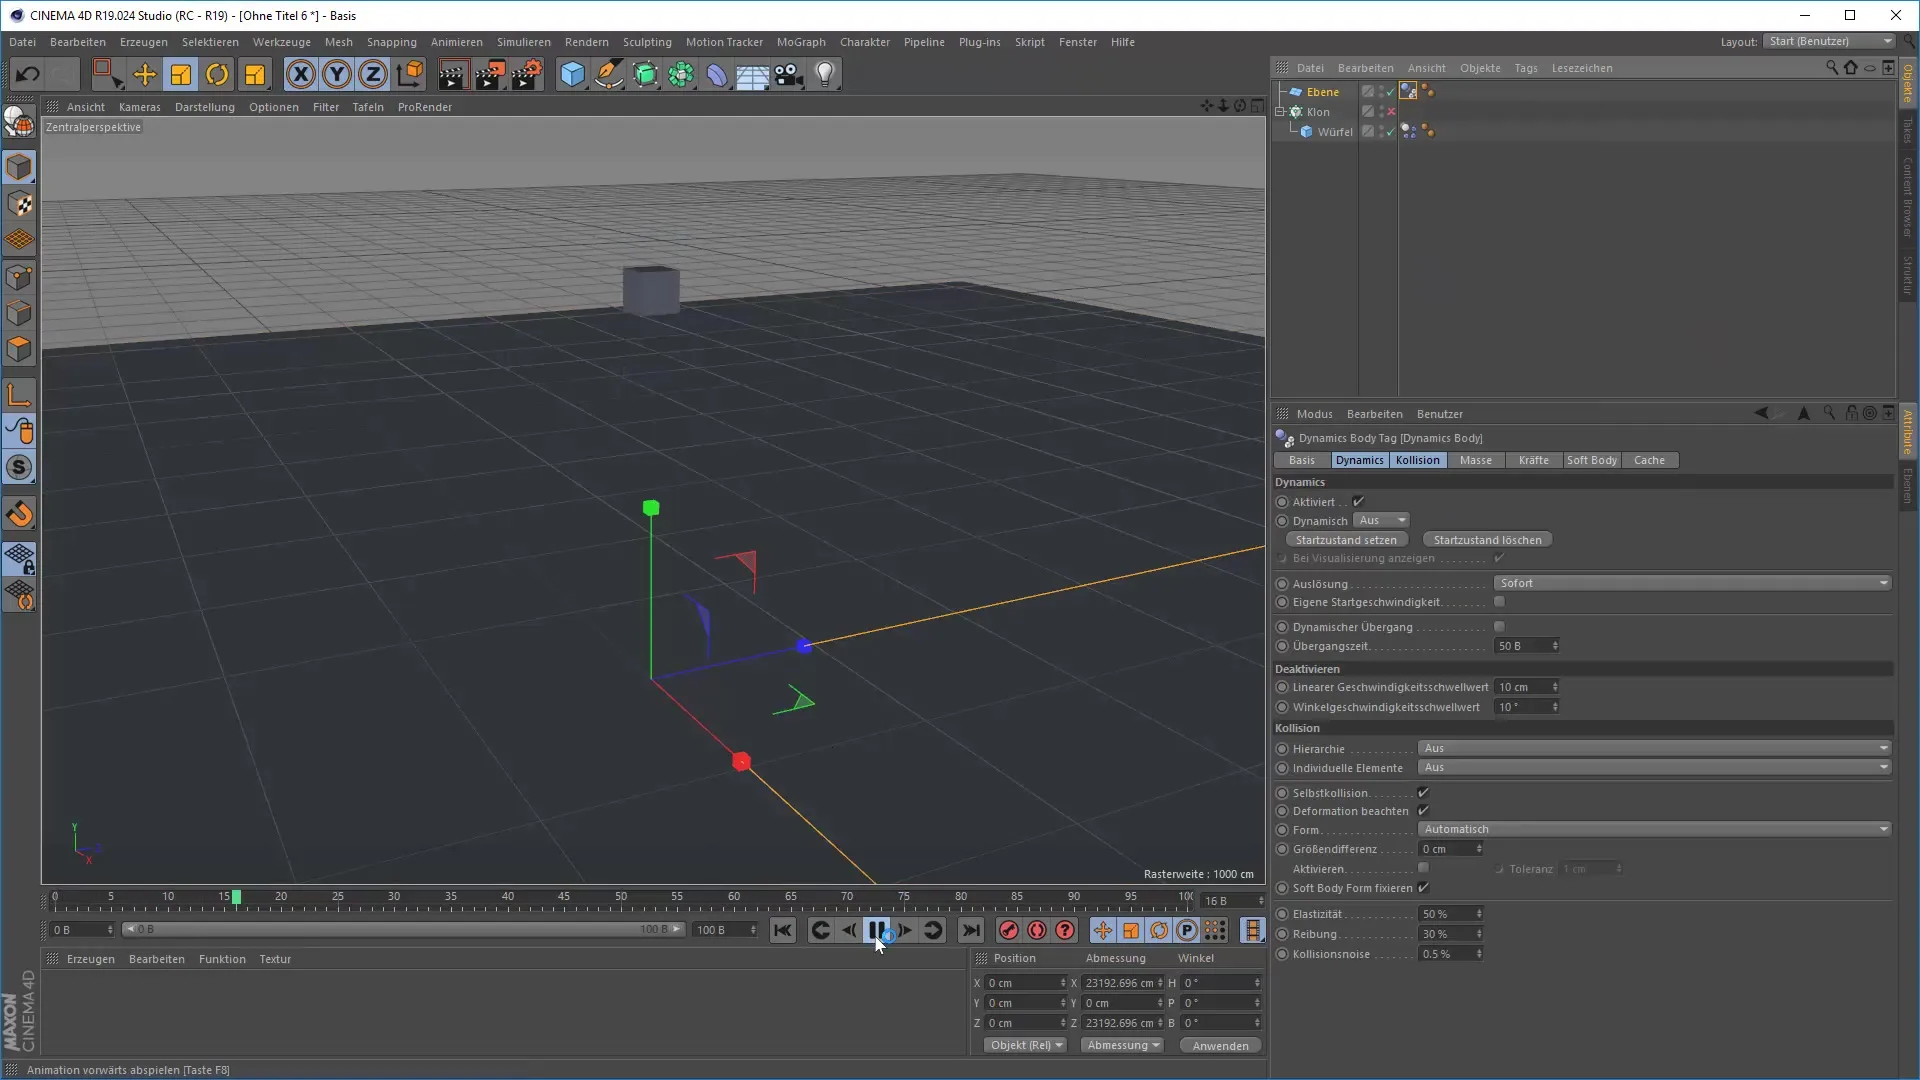
Select the cube and add a Rigid Body tag to it. You can find this under the "Simulation" menu item. This tag is crucial for giving your cube the physical properties you need to create a realistic animation. Press "Play" and watch what happens. Here’s the screenshot to illustrate this step:
3. Add a Simulation Object
Now add a "Collision Object" tag to your plane. This is important for the cube to realistically interact with the surface of the plane during the falling motion. Activate the simulation again and observe the interactions. Here’s the screenshot:
4. Scale Your Objects
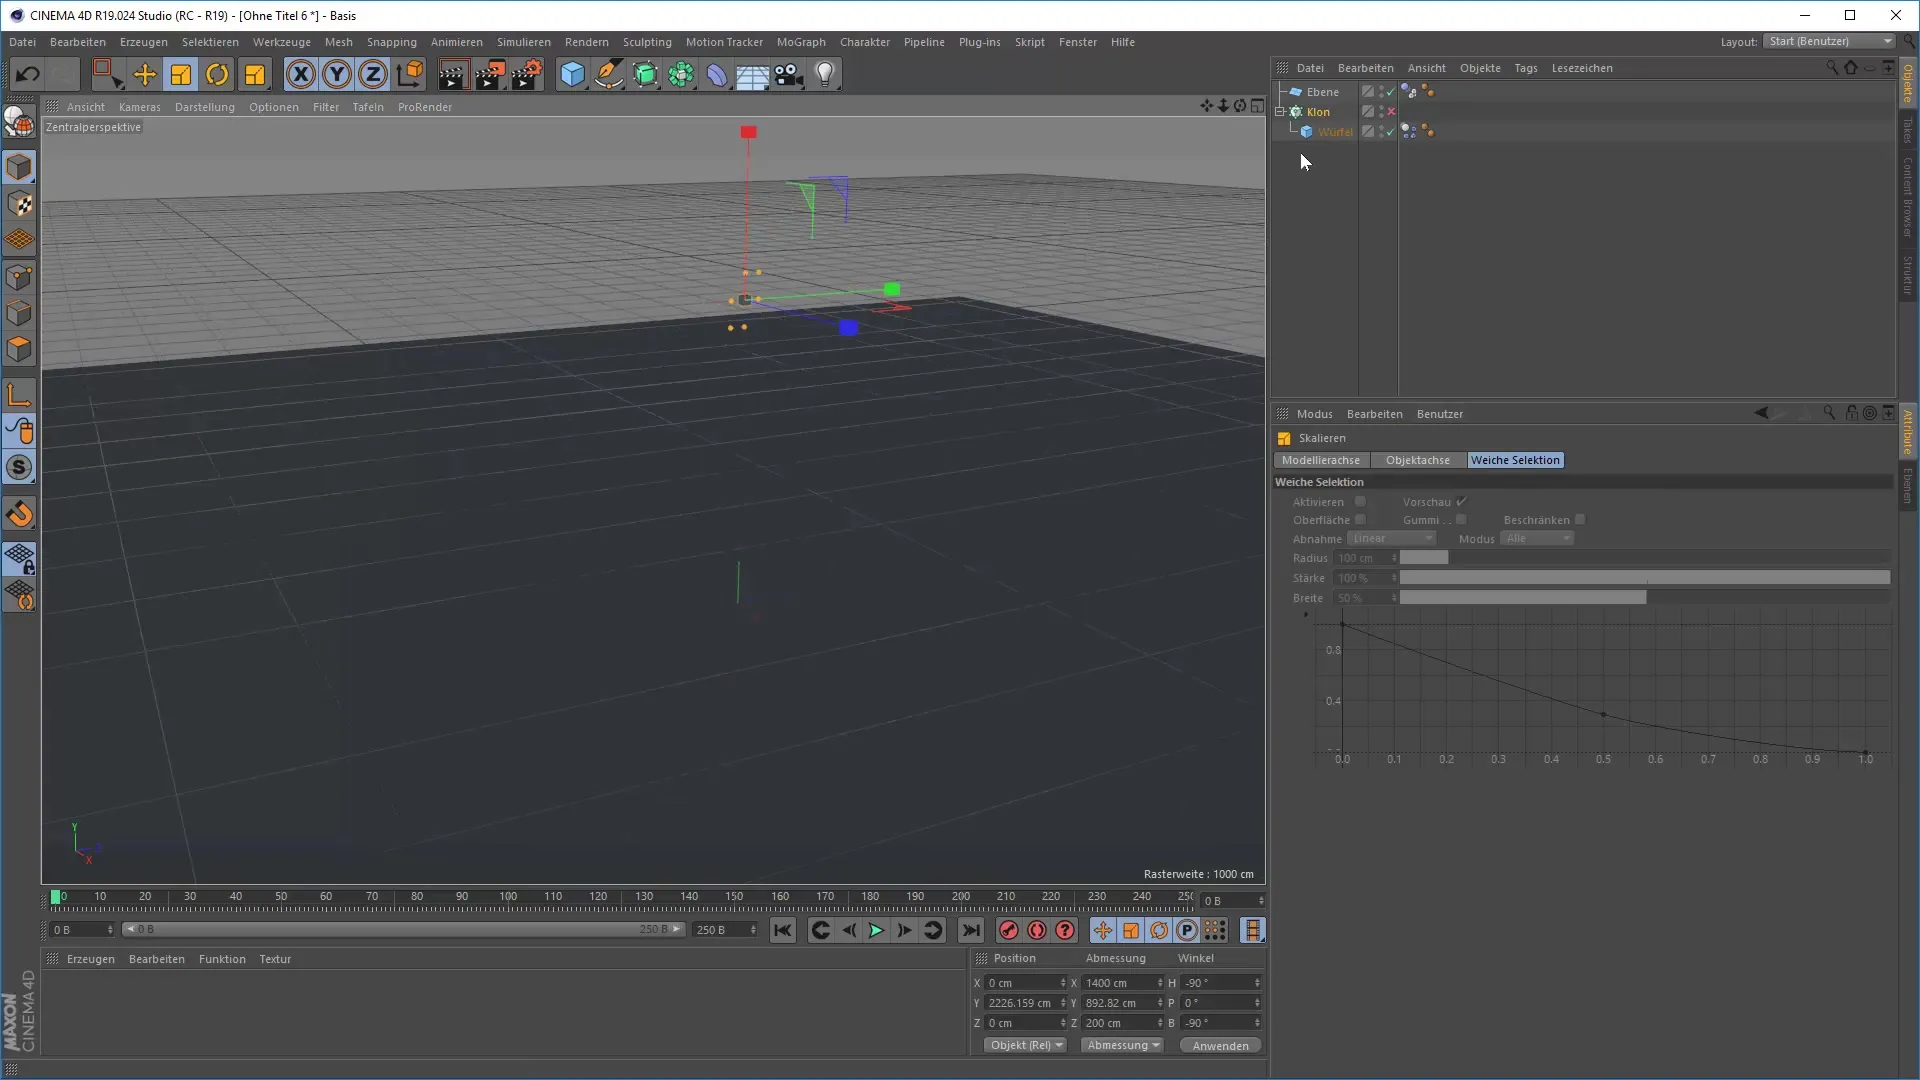
You may find that the animation appears very slow or sluggish. Check the size of the cube and adjust it if necessary. A 2 m tall cube falling from a height of 200 m can slow down the calculation. A smaller cube of 30 x 30 cm will animate more fluidly. Refer to the screenshot here:
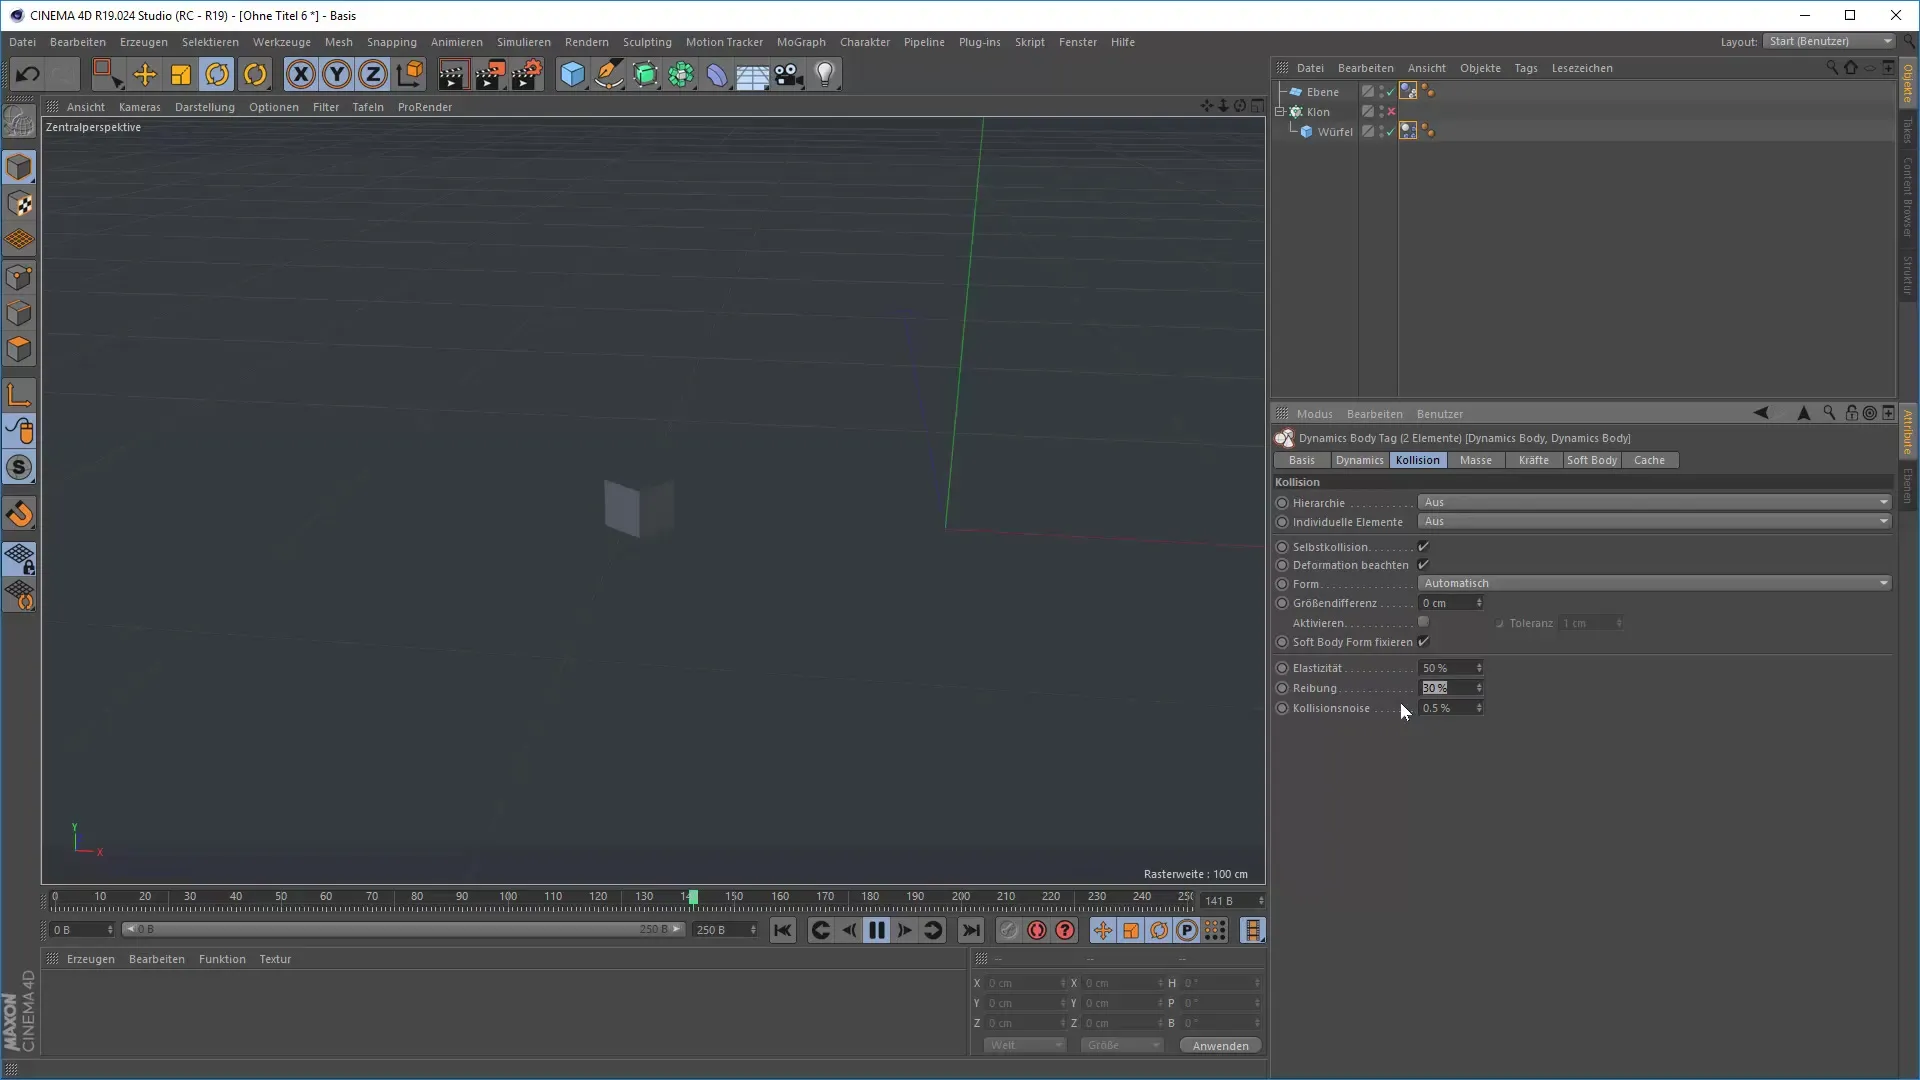
5. Configure Friction and Elasticity
To make the animation appear more natural, you should experiment with the values for friction and elasticity. Set the friction to about 85% and the elasticity slightly lower. These settings help prevent the cubes from disappearing immediately upon impact. Follow the screenshot here:
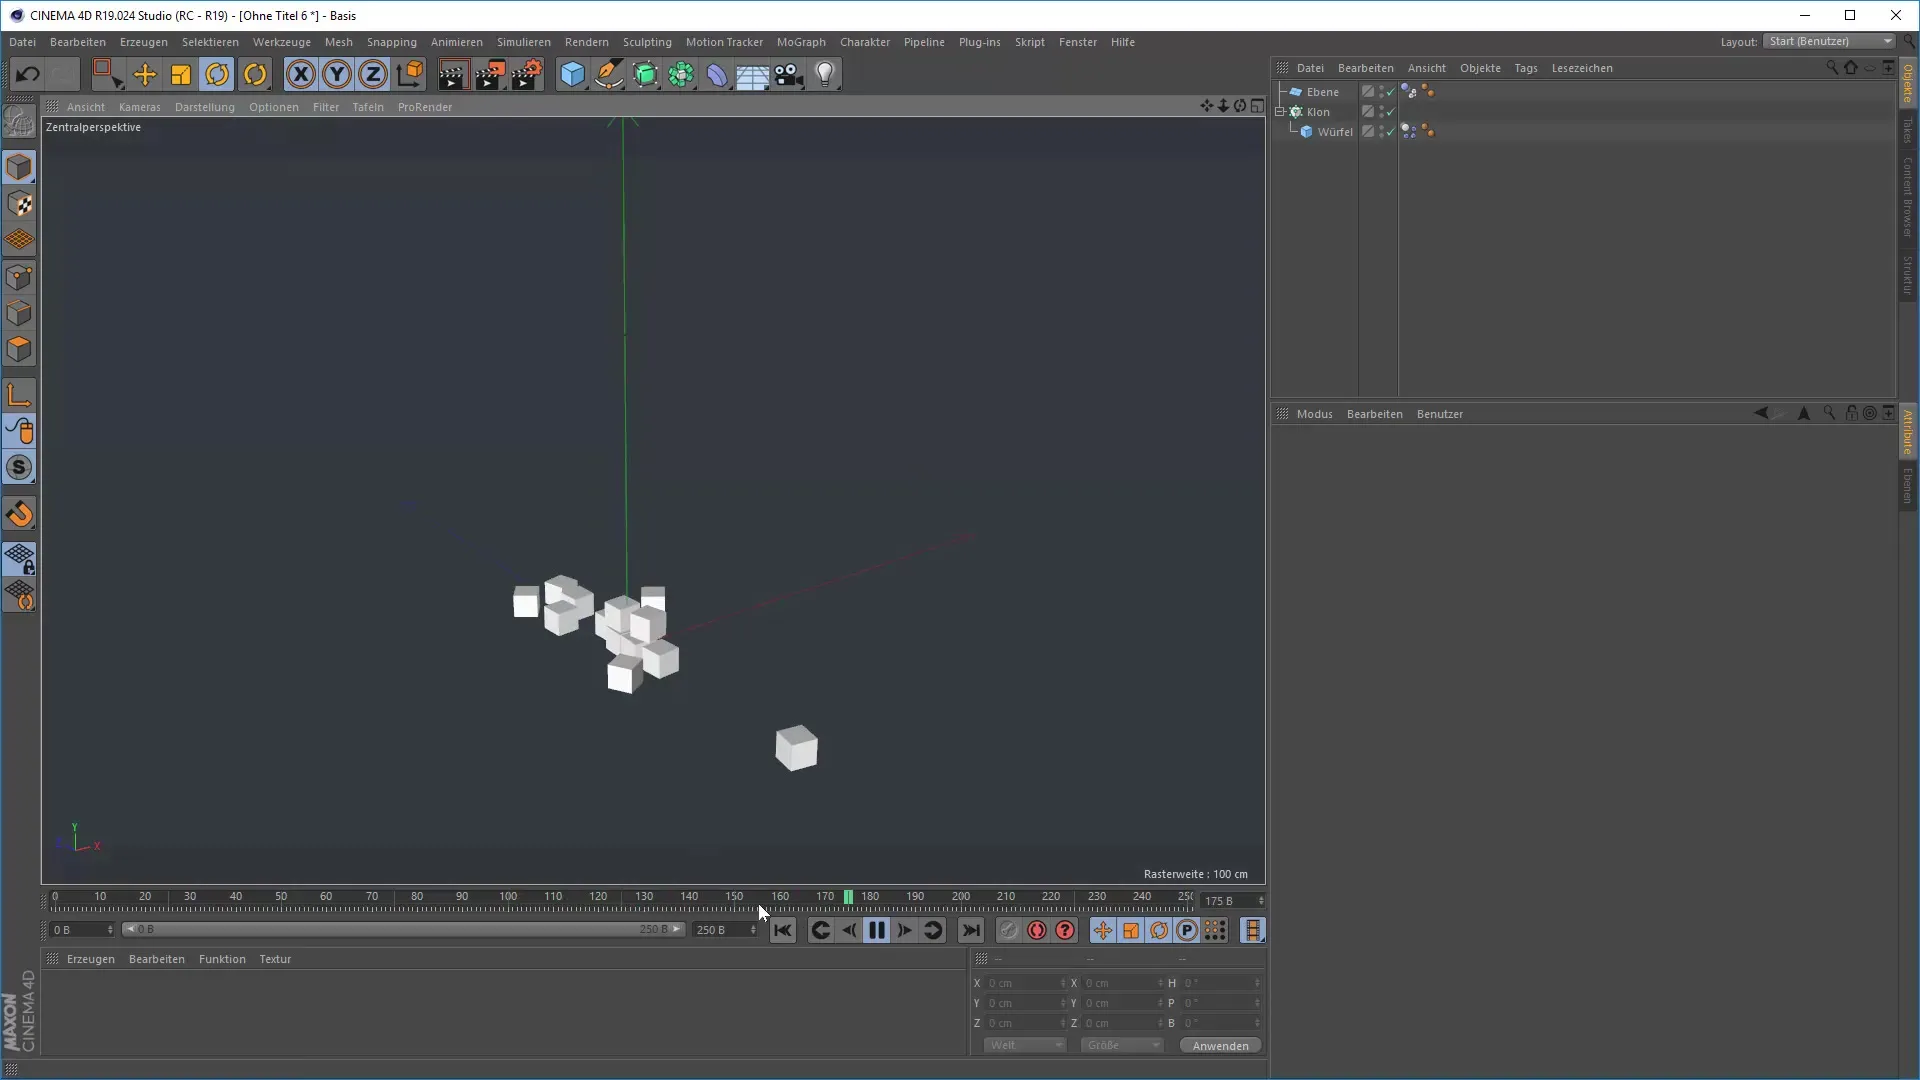
6. Use Cloner for Complex Animations
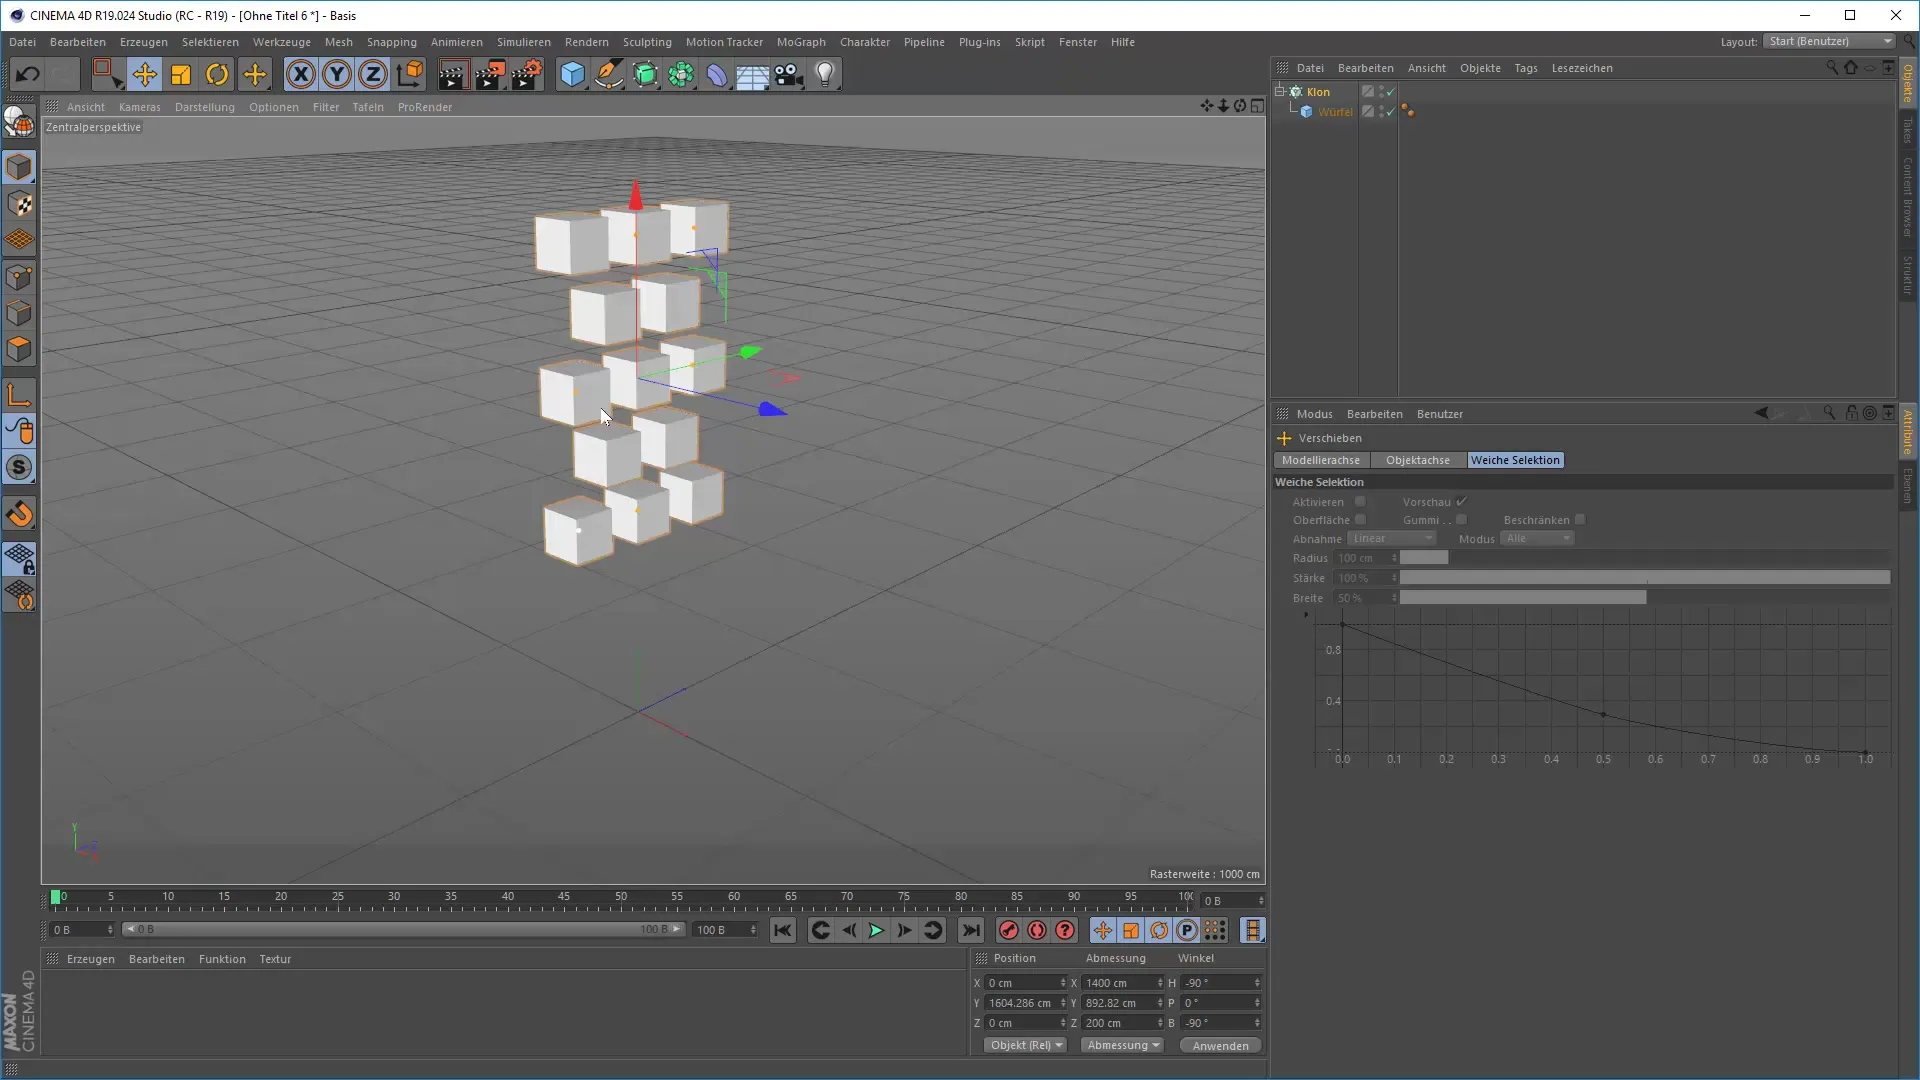
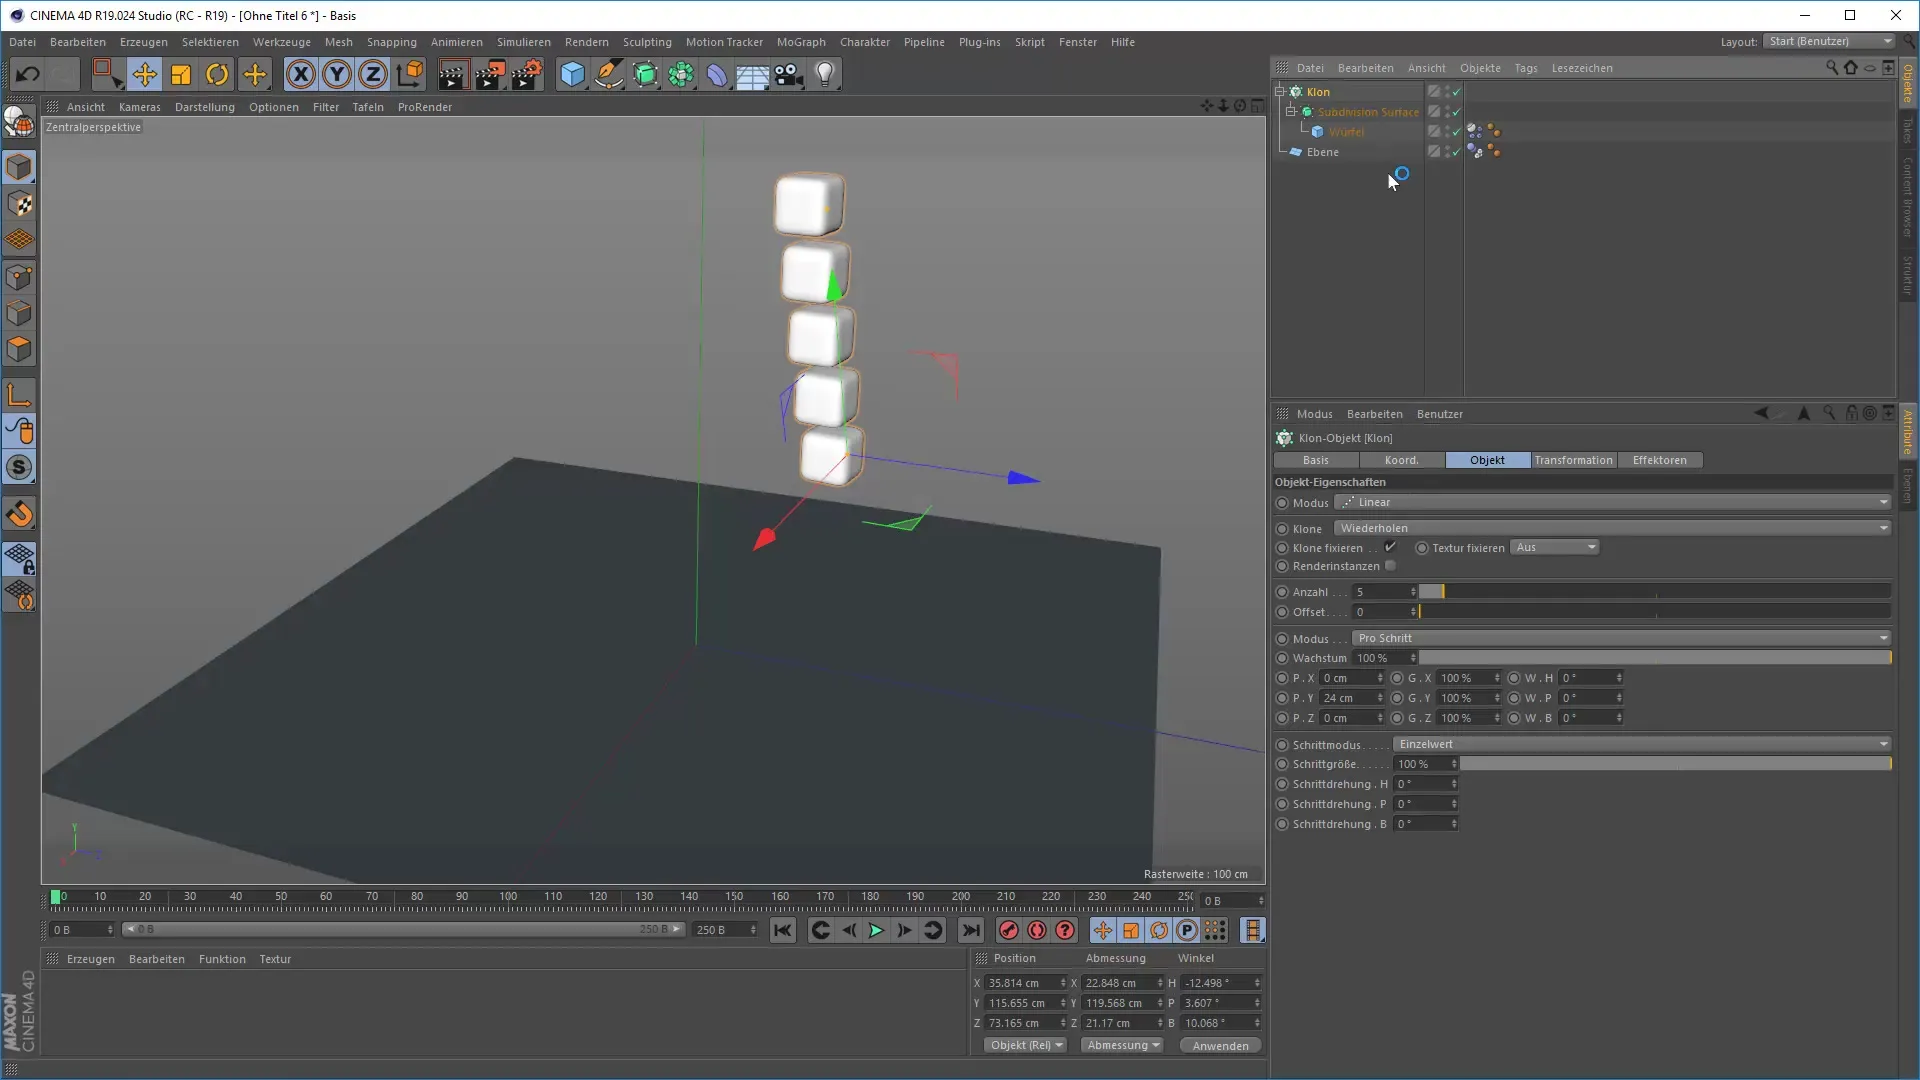
To make the dynamics even more exciting, you can use the Cloner. Create an arrangement of cubes that all act dynamically. Add the Cloner and override the previous objects. Test the animation again and see how the cubes fall on each other. Here’s the screenshot for this step:
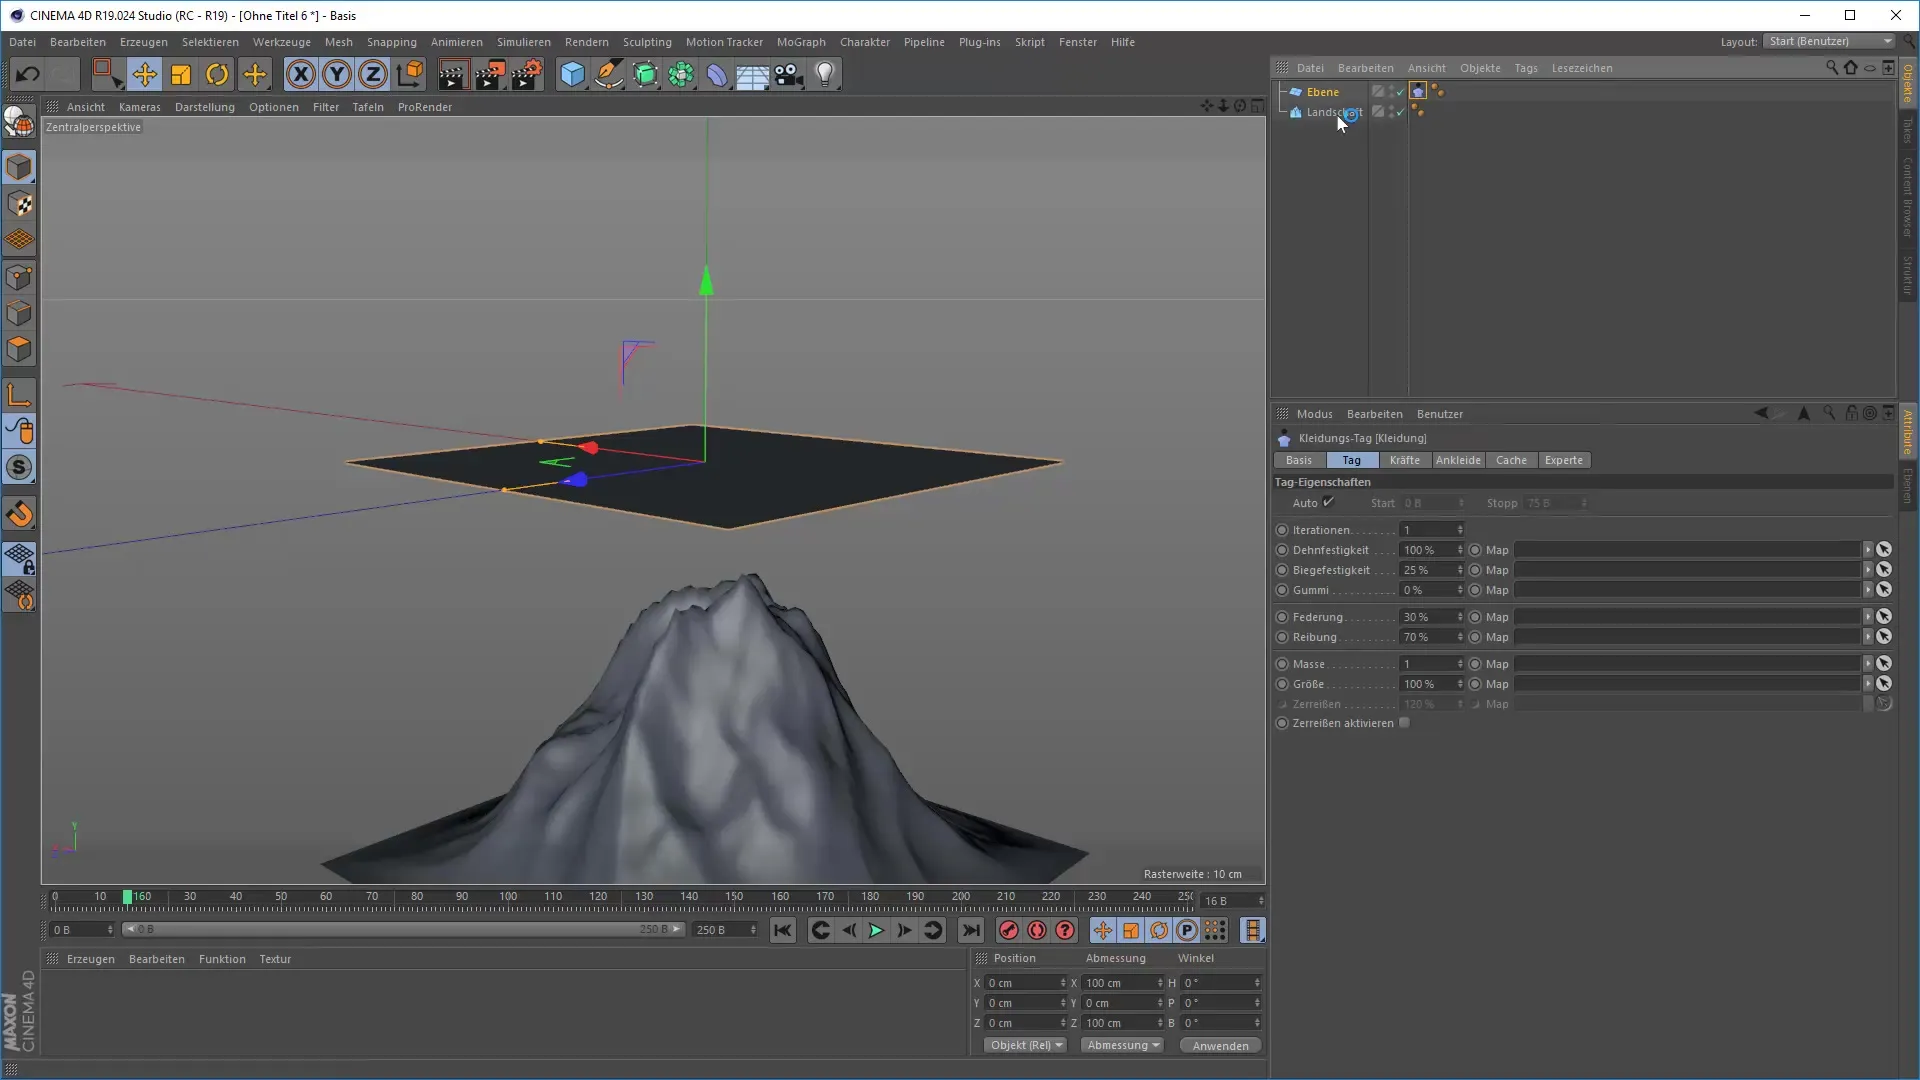
7. Animate a Fabric
Create another simple animation by using a plane as "clothing". Convert the plane into a clothing object and add a collision object tag. Scale the plane to about 100 x 100 cm and watch how it falls and forms while playing. This screenshot shows you the process:
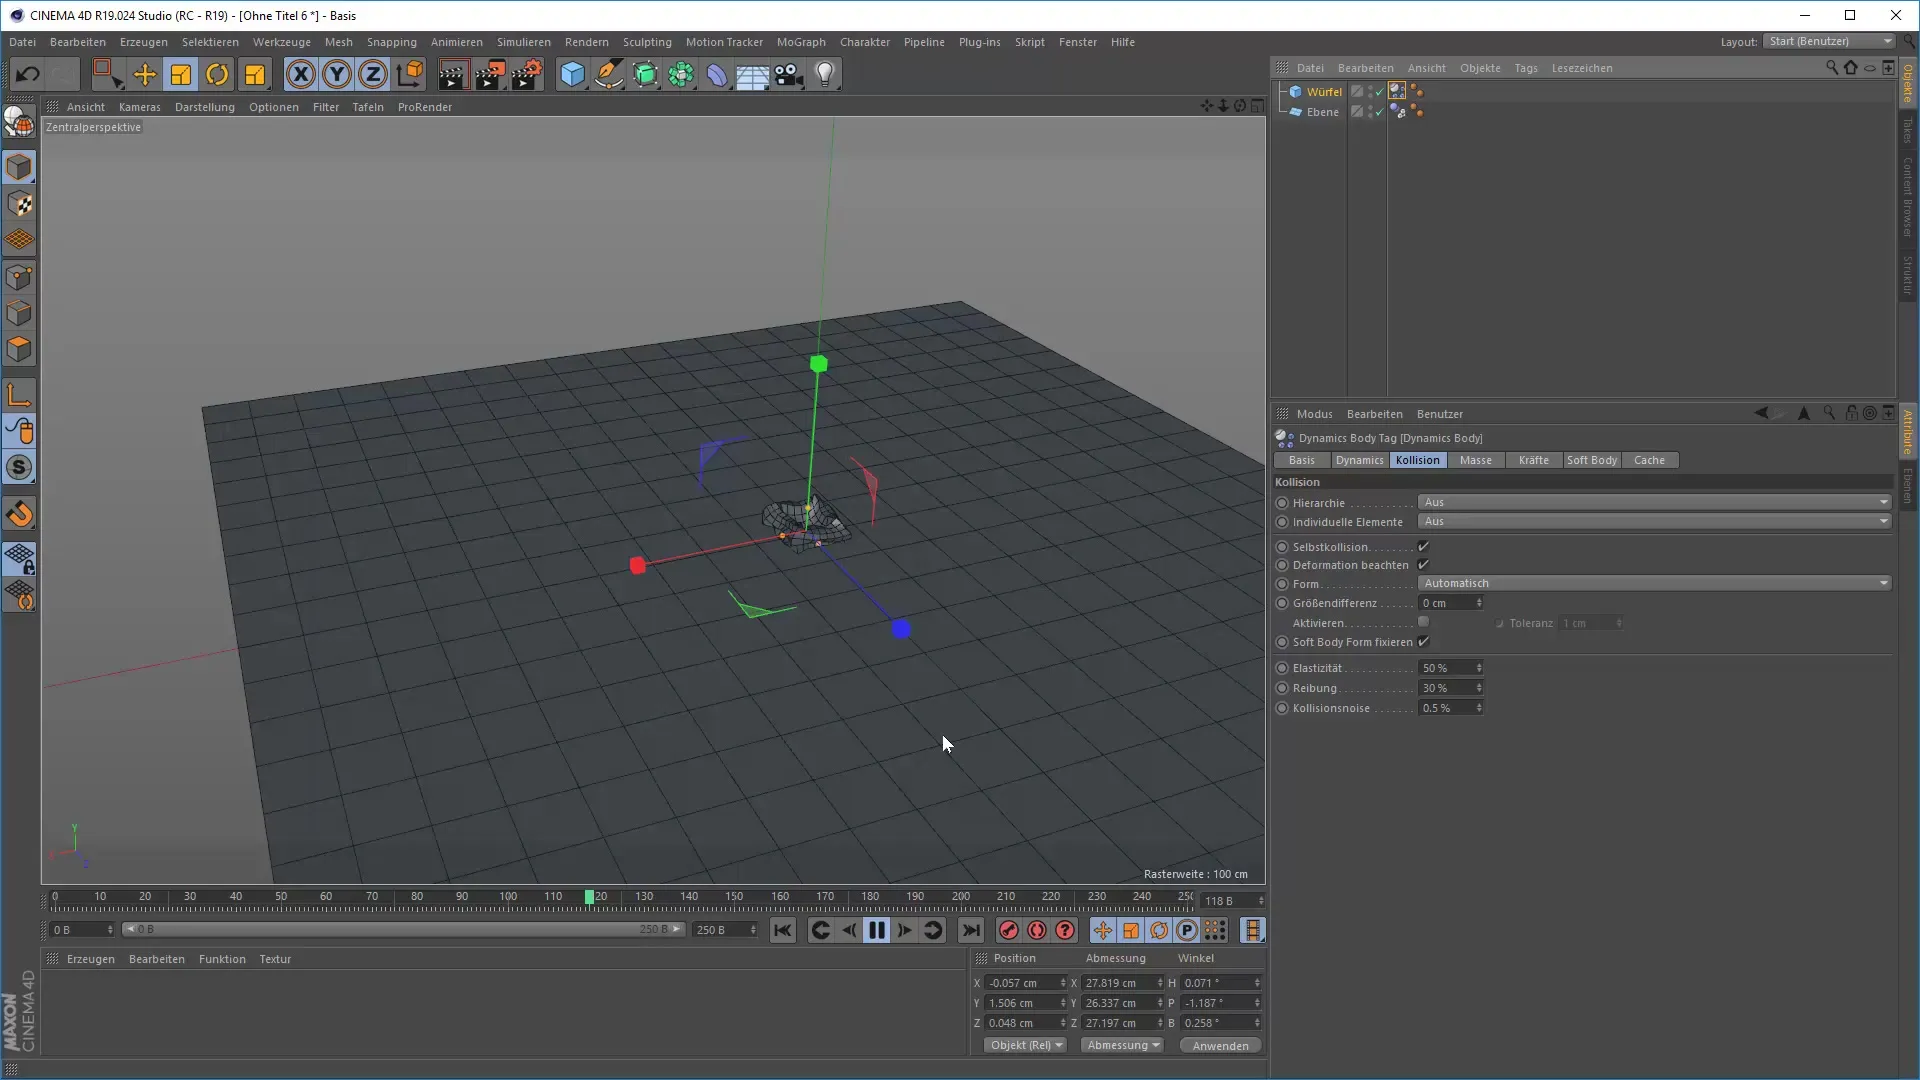
8. Implement Soft Body Dynamics
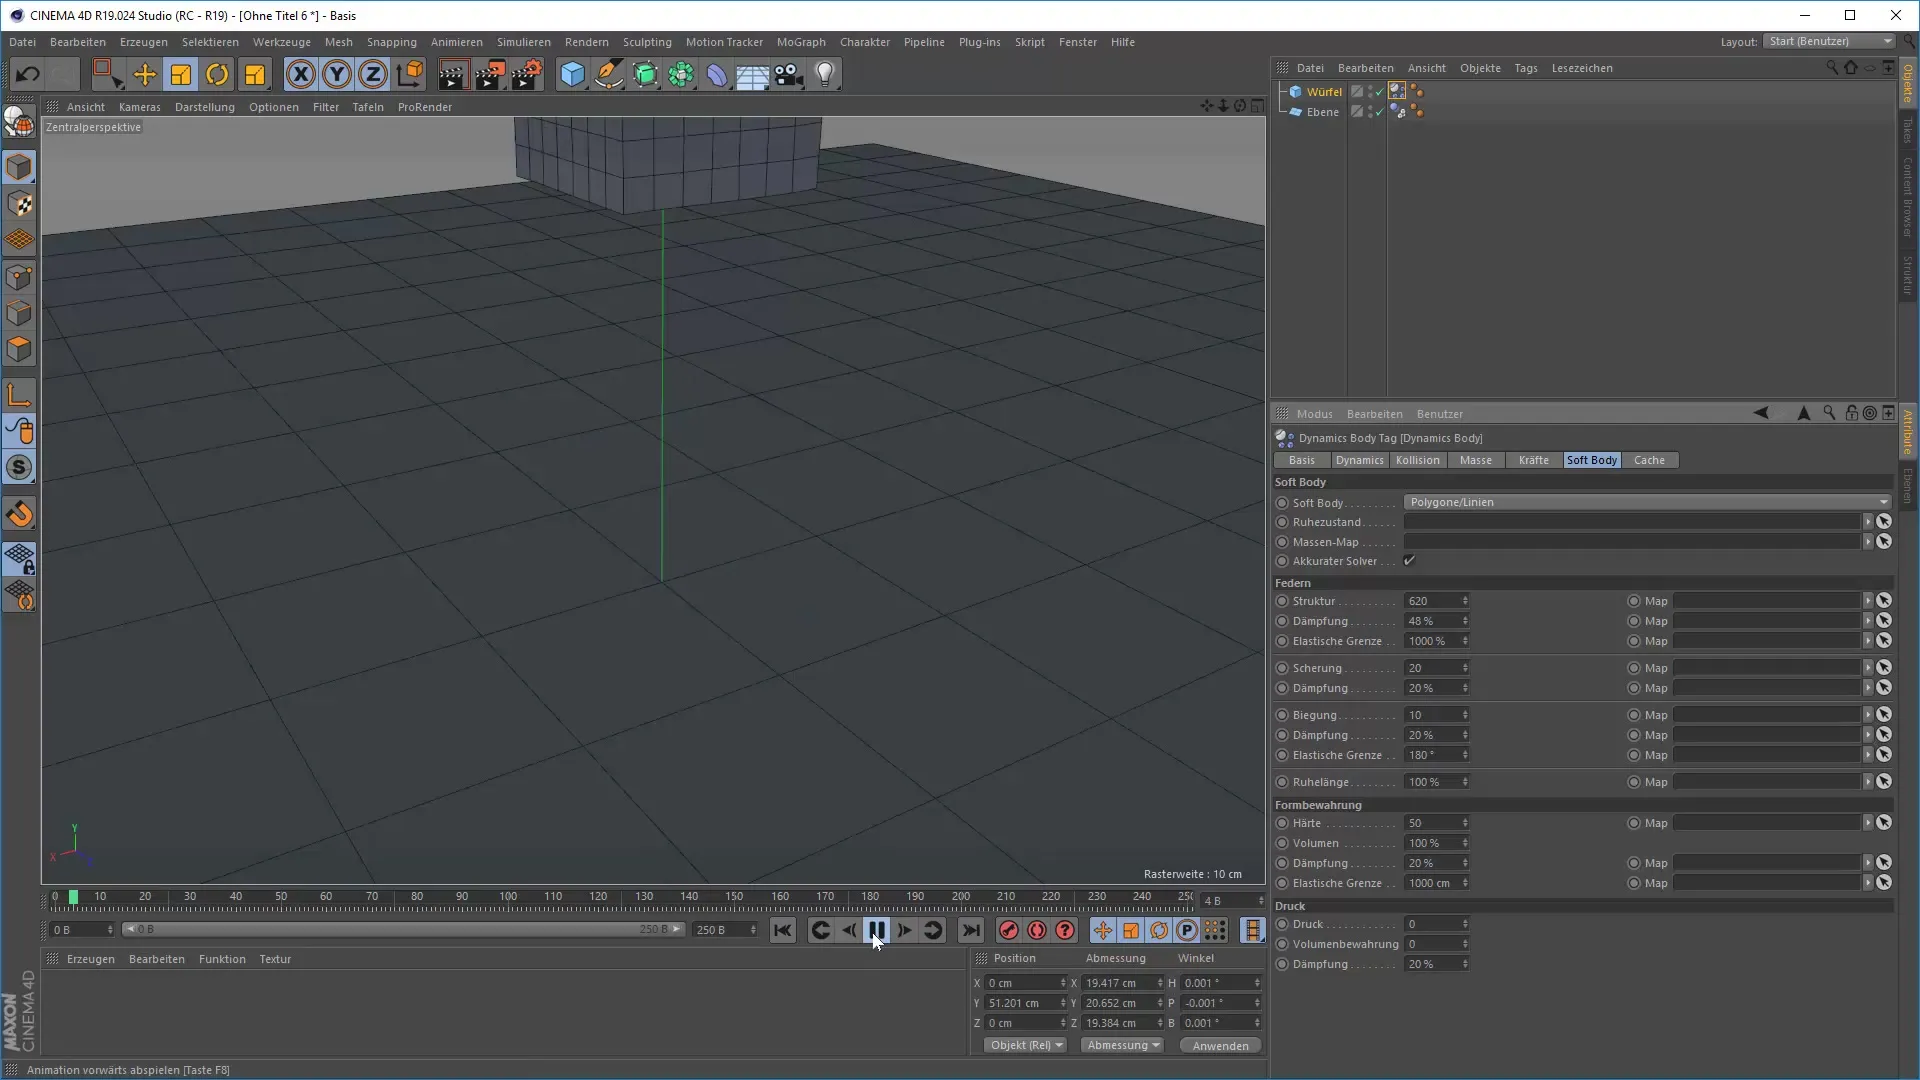
To utilize the possibilities of Soft Bodies, you can apply the Soft Body tag. Make sure the cube has enough segments to show realistic deformations. Ensure that the structure and damping are set correctly to avoid unnecessary movements. Here’s the screenshot:
9. Fine-Tune the Simulation
Continue to experiment with the parameters to achieve the desired results. Here it might be helpful to juggle elasticity, damping, and other settings to perfect the animation. This screenshot shows the final fine-tuning process:
10. Final Presentation of Your Animation
After you have edited the animation to your liking, go back and review the final result. Ensure that all objects interact well and that the movements appear realistic. This last screenshot shows you the final result:
Summary – 3D Animation with Dynamics in Cinema 4D: Your Guide to Exciting Simulations
In this guide, you have gained valuable insights into working with Dynamics in Cinema 4D. Not only can you create simple animations, but you can also develop complex physical simulations that greatly enrich your project. With the right settings and a bit of experimentation, you can achieve impressive results.
FAQ
How can I adjust the size of my objects in the animation?Make sure to adjust the dimensions of the objects in the inspector to ensure realistic behavior.
What are the most important tags for working with Dynamics?The most important tags are Rigid Body, Soft Body, and Collision Object to control the dynamics of your objects.
How do elasticity and friction affect my animation?The elasticity value determines how much an object bounces back upon impact, while friction indicates how strongly objects stick to each other.
Can I use Dynamics to create clothing?Yes, with the appropriate clothing object tag, you can realistically animate fabrics and clothing.
Is there a way to experiment with Complex Dynamics in Cinema 4D?Yes, you can extensively adjust the parameters of Soft Bodies to produce interesting and unexpected results.


