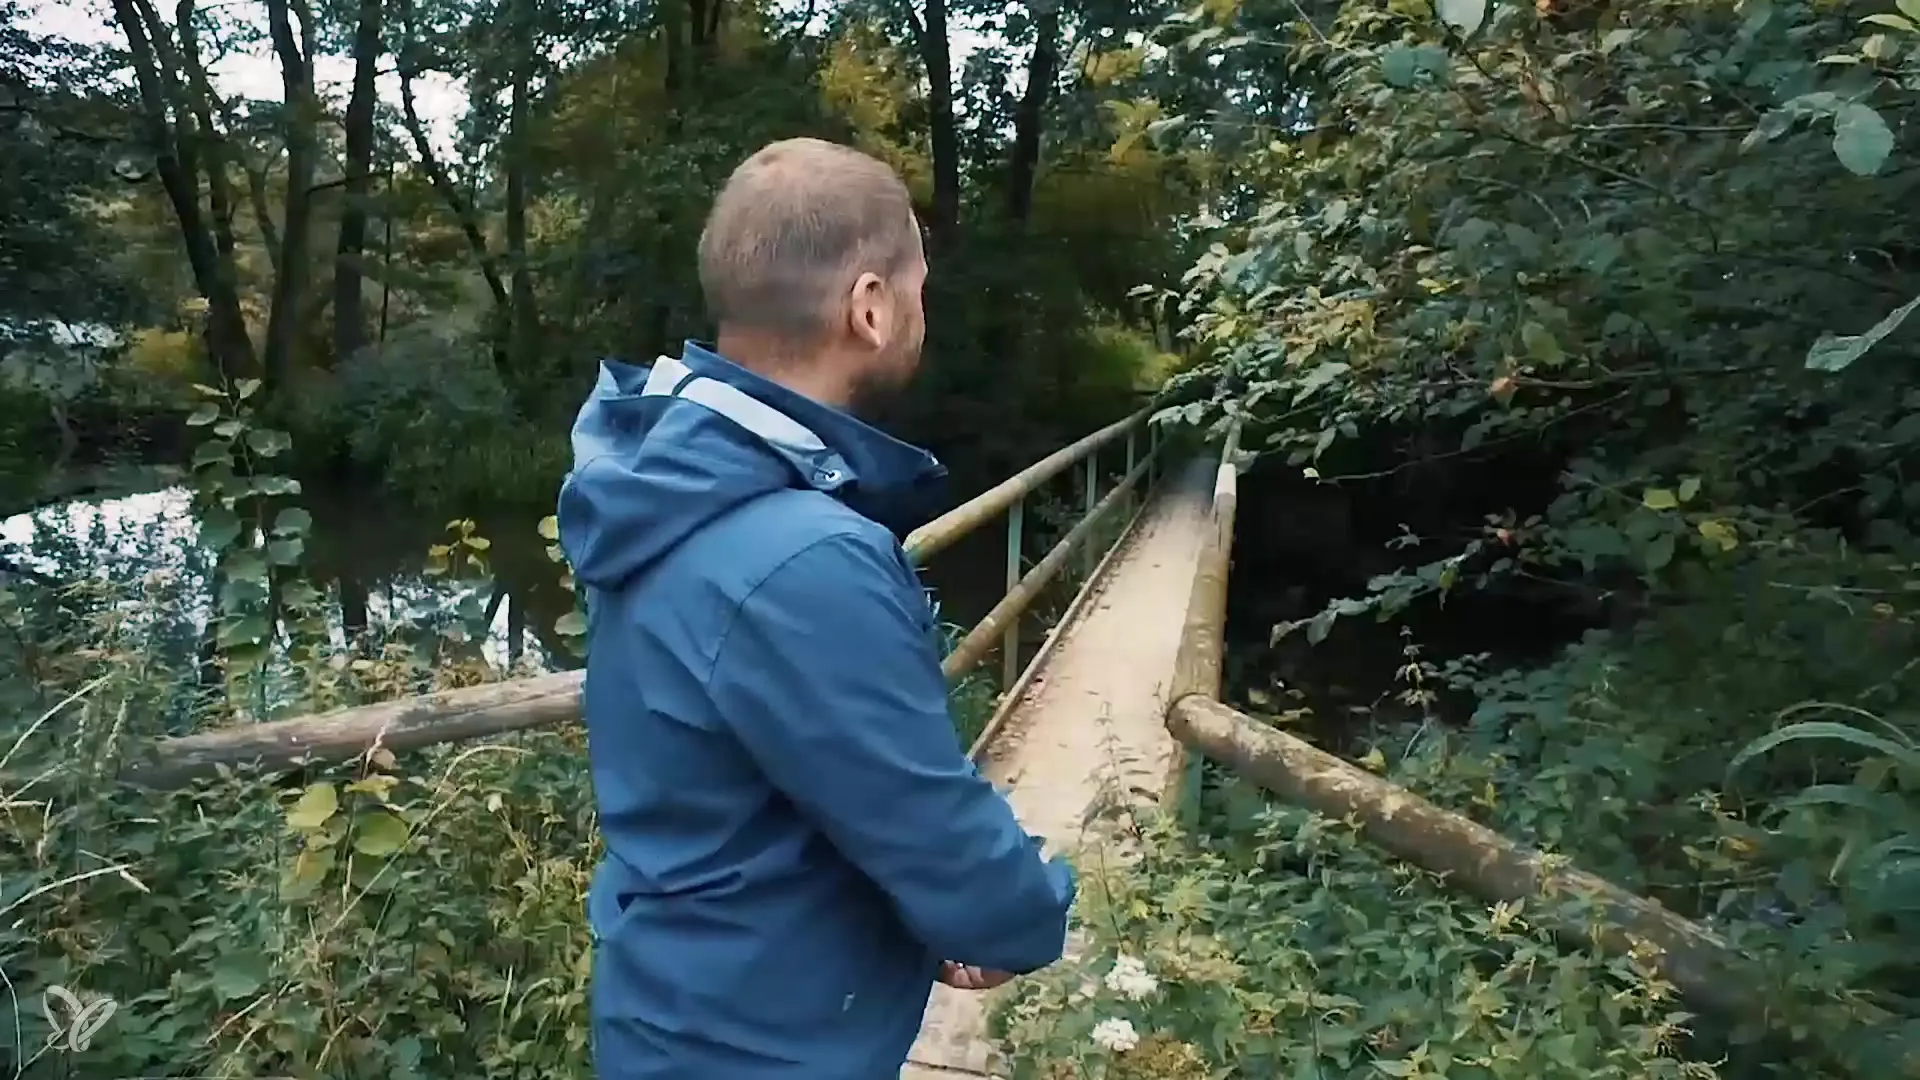
You are standing on an idyllic bridge, surrounded by a beautiful natural backdrop. But why does the first photo you take look far less impressive than reality? Gabor has experienced this frustration in this video, and he shows you how to achieve great shots even under challenging conditions. Don't let the initial disappointment hold you back – there are many ways to find the perfect settings and capture the beauty of the surroundings properly.
Key Insights
To achieve stunning photos backlit, you should try different perspectives, change locations, and make the best use of lighting conditions. Cleaning the lens is essential, and the exposure of the images can be improved by manual adjustments. Ultimately, diligent experimenting and creatively adjusting your technique can lead to impressive results.
Step-by-Step Guide
When photographing under difficult lighting conditions, there are some tried-and-true methods to achieve the best results. Here are the steps you should follow:
1. Evaluate the Location
Before you start photographing, take a moment to assess the location. Look for interesting elements you want to capture. In Gabor's case, he is on a beautiful bridge. Ensure that the surroundings offer tension and depth. Often, reality looks much better than the first image.

2. Check Your Camera Settings
Before taking the first photo, make sure your camera settings are optimized. In the case of smartphones, the camera often automatically exposes and focuses. Activate HDR mode (High Dynamic Range) to improve detail accuracy in high-contrast scenes. This can help you capture shadows and highlights better.
3. Clean the Lens
A clean lens is crucial for the clarity of your shots. Often, dust and fingerprints accumulate on the lens of your smartphone, which can affect your images. Wipe the lens briefly before taking the first picture.
4. Experiment with Perspective
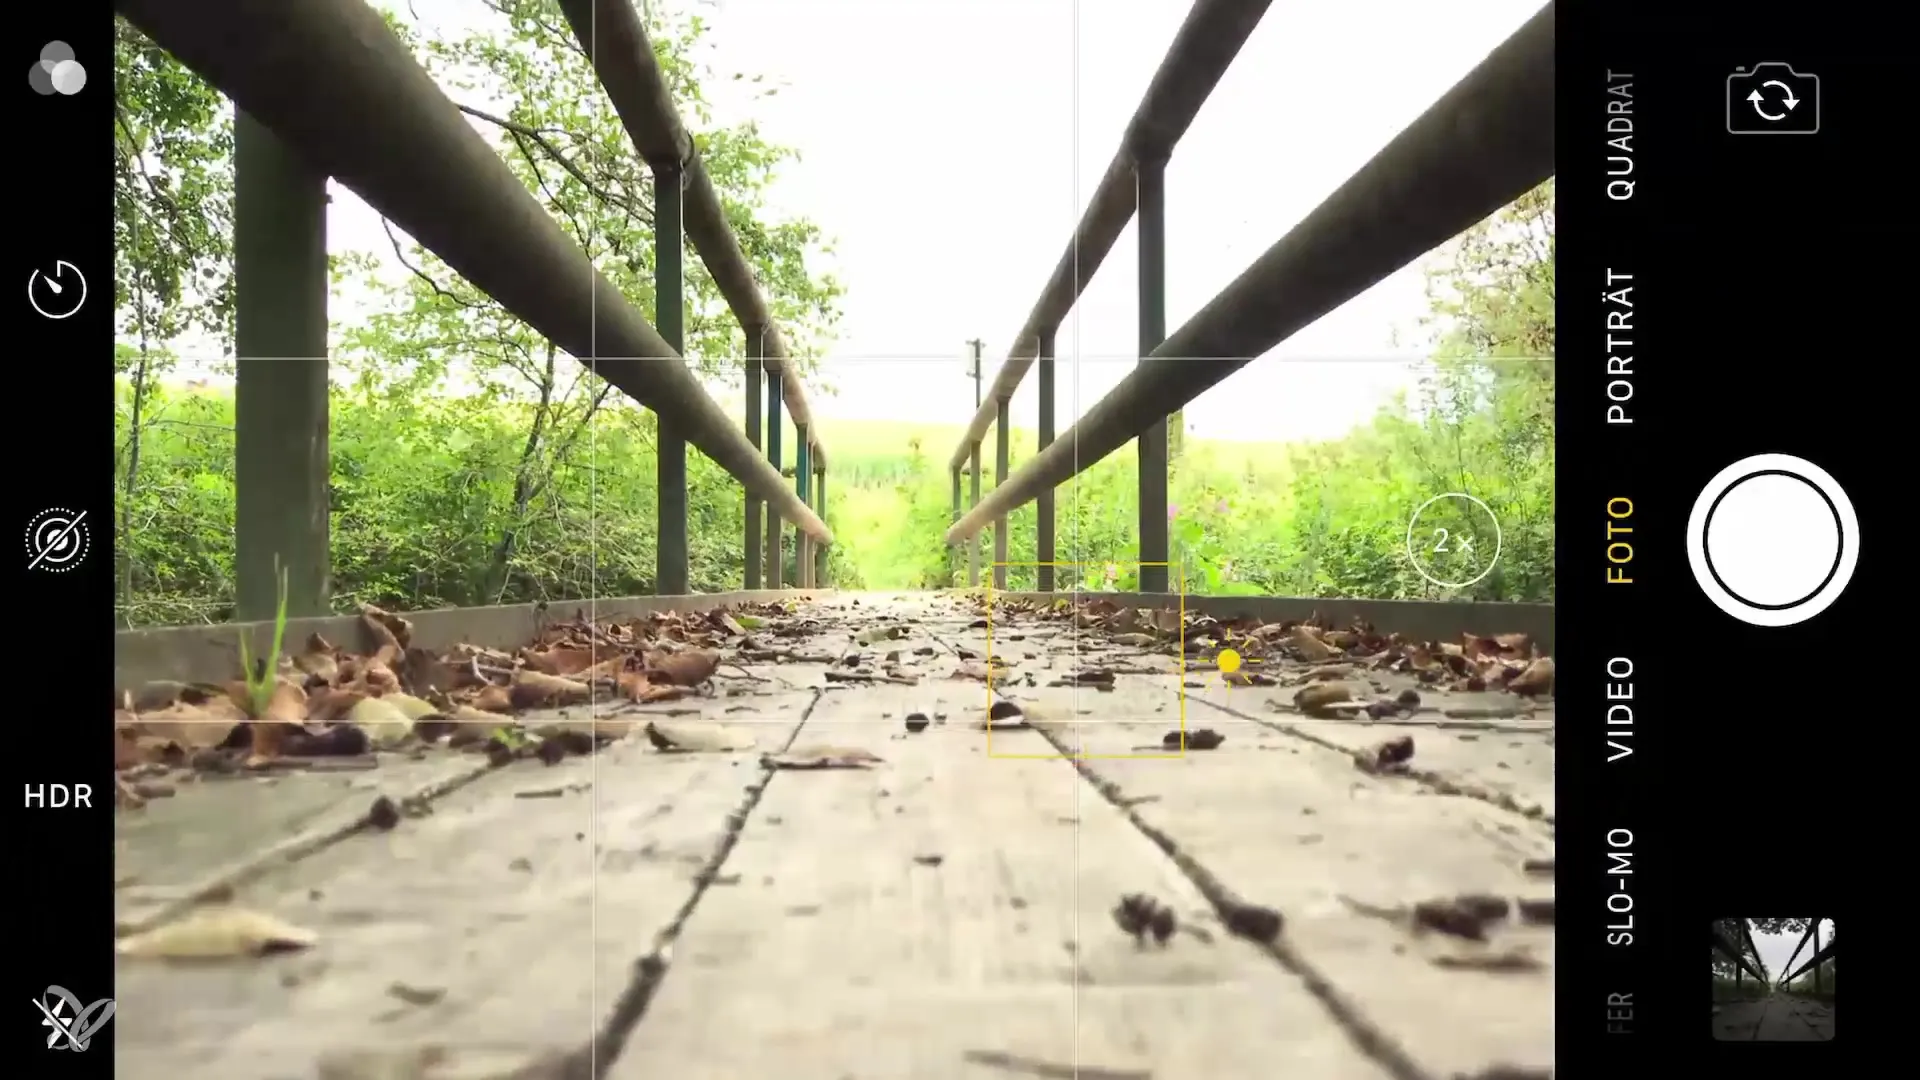
Change your perspective and look for the best angle. You can change position to capture different aspects of the bridge and its surroundings. In Gabor's case, changing the perspective drastically improved the shot. Go lower or higher to try a variety of compositions.
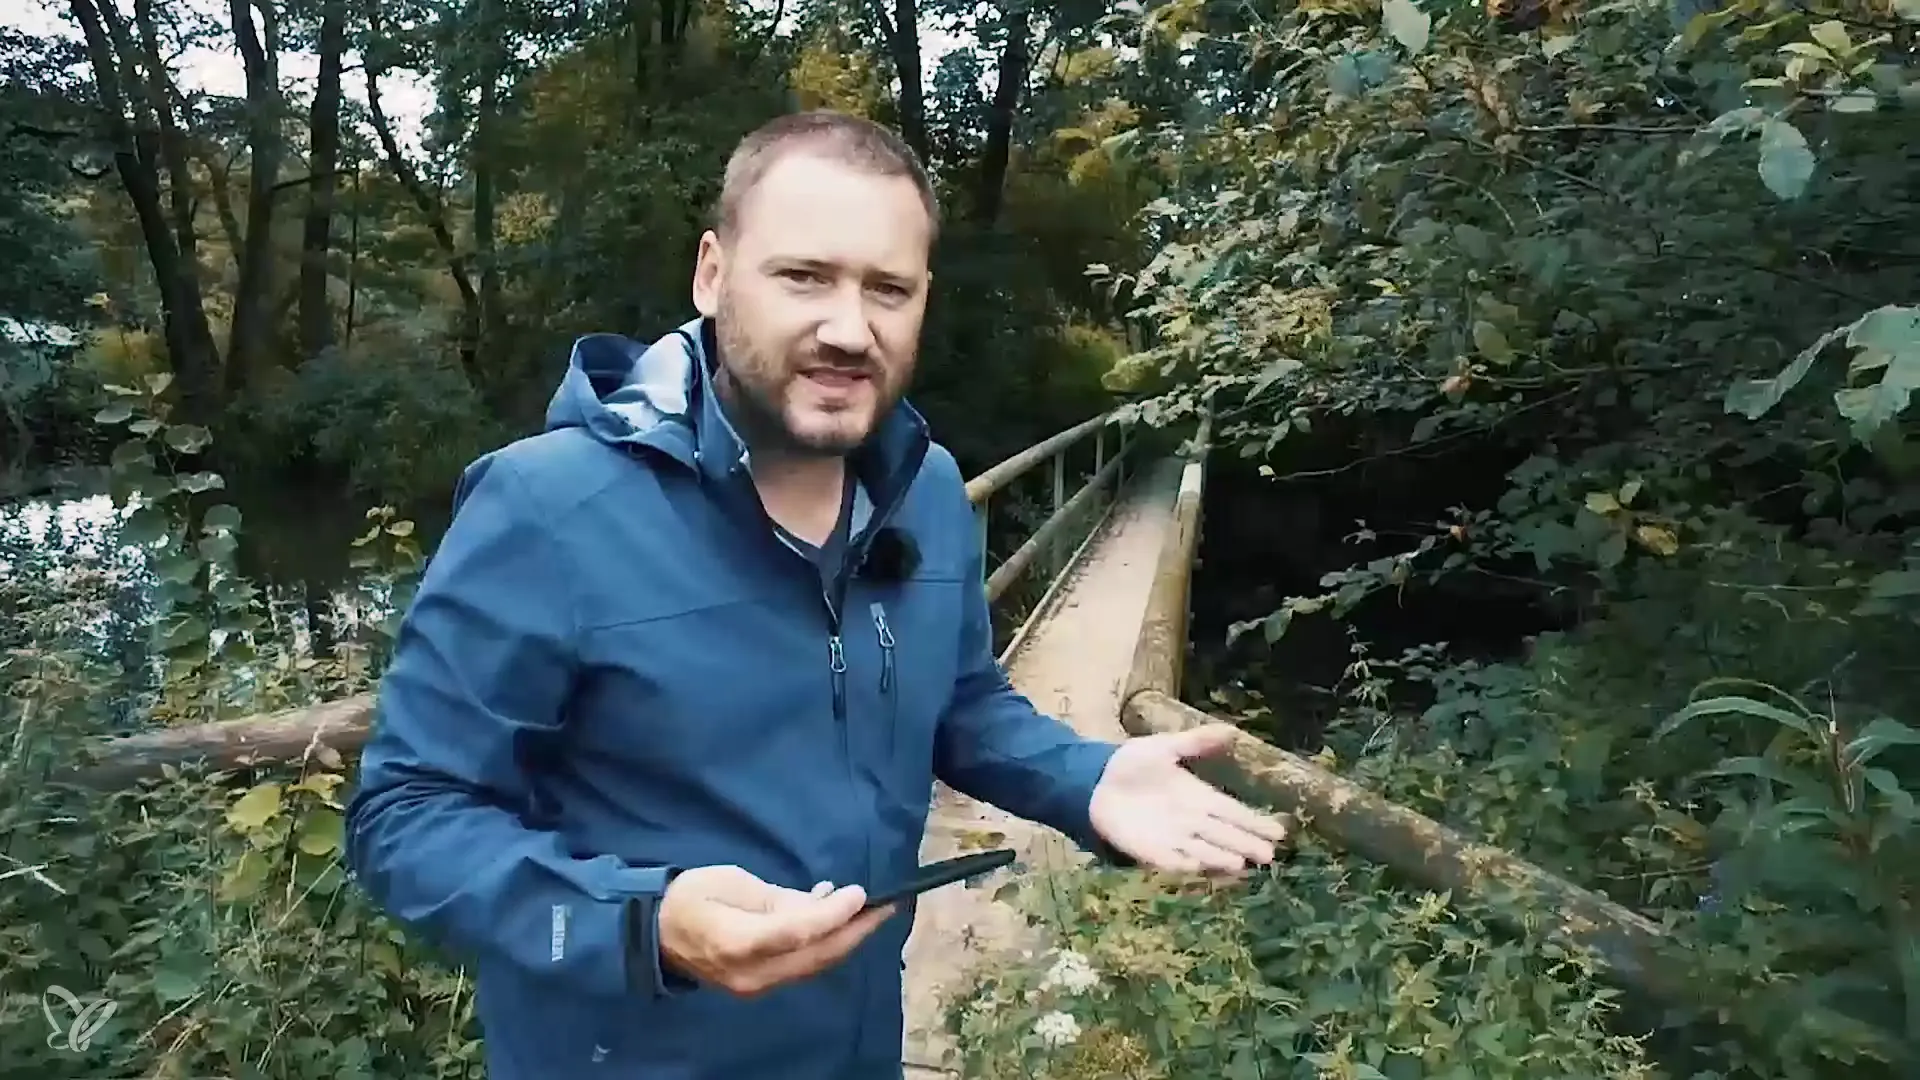
5. Change the Location
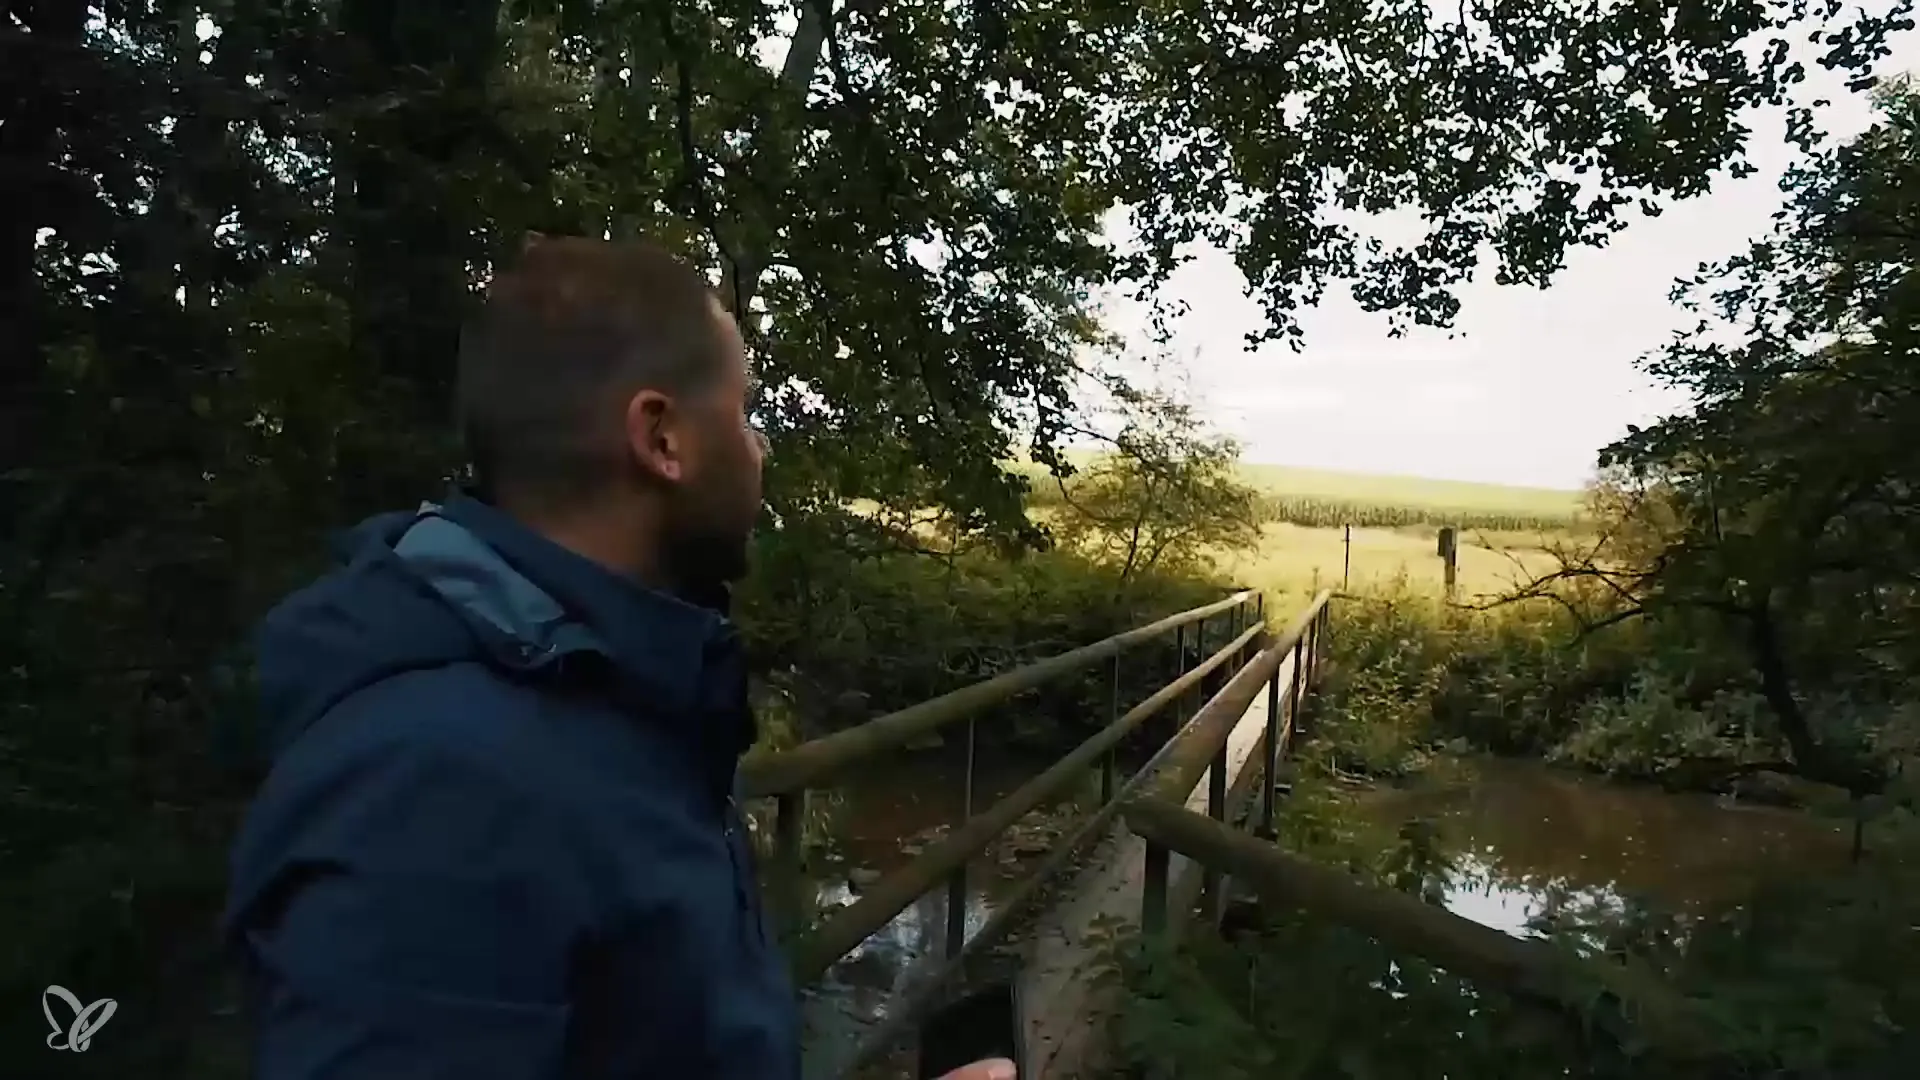
If you find that your images are not achieving the desired effect, don't hesitate to change your location. Sometimes, even a small step to the side or over to the other side of the bridge can make a big difference in lighting and image dynamics. Gabor demonstrates this by reaching the opposite side and discovering better lighting conditions there.
6. Pay Attention to Lighting Conditions
Be attentive to how light enters the scene. When light comes from behind, it can create beautiful silhouettes. However, make sure other areas are well lit to reveal interesting details. Diffused light, like in Gabor's surroundings, can help create soft shadows and illuminate the image.
7. Manually Adjust the Exposure
If you're not getting the desired results with automatic settings, try adjusting the exposure manually. On phones, this is often as simple as swiping up or down. However, be careful that sharpness does not suffer, and play around with it to achieve the best possible shot.
8. Post-Processing the Images
Even the best photos can be improved through post-processing. Use photo editing apps to adjust white balance, brightness, and contrast. This can enhance the mood of the image and compensate for minor flaws. Note that you can adjust practically all settings even after the fact.
Summary – Smartphone Photography for Backlit Shots: Tips for Impressive Pictures on Bridges
Overall, there are many ways to achieve stunning results in challenging photographic situations such as backlit shots. Practice, creativity, and the willingness to try different techniques are key. By changing your perspective, adjusting the exposure, and always paying attention to lighting conditions, you too can create impressive photos.
Frequently Asked Questions
What should I do if my photo doesn't look good?Try changing your perspective or moving to a different location.
How can I ensure I get the best exposure?Experiment with manual exposure settings and use HDR mode.
Why is the lens of my smartphone important?A clean lens ensures clear and sharp images, while dirt or dust can cause blurriness.


