Do you want to enhance your smartphone photos with impressive reflection effects? In this guide, you will learn how to edit exciting city images using the Lightroom Mobile app. I will show you step by step how to adjust saturation, change perspective, and apply other effective editing techniques to fully exploit the potential of your subjects.
Key findings
- Black-and-white editing can significantly change the impact of the image.
- Reflection effects create interesting perspectives.
- Presets and grain enhance photos and make them more dynamic.
Step-by-step guide
1. Photo selection and initial editing
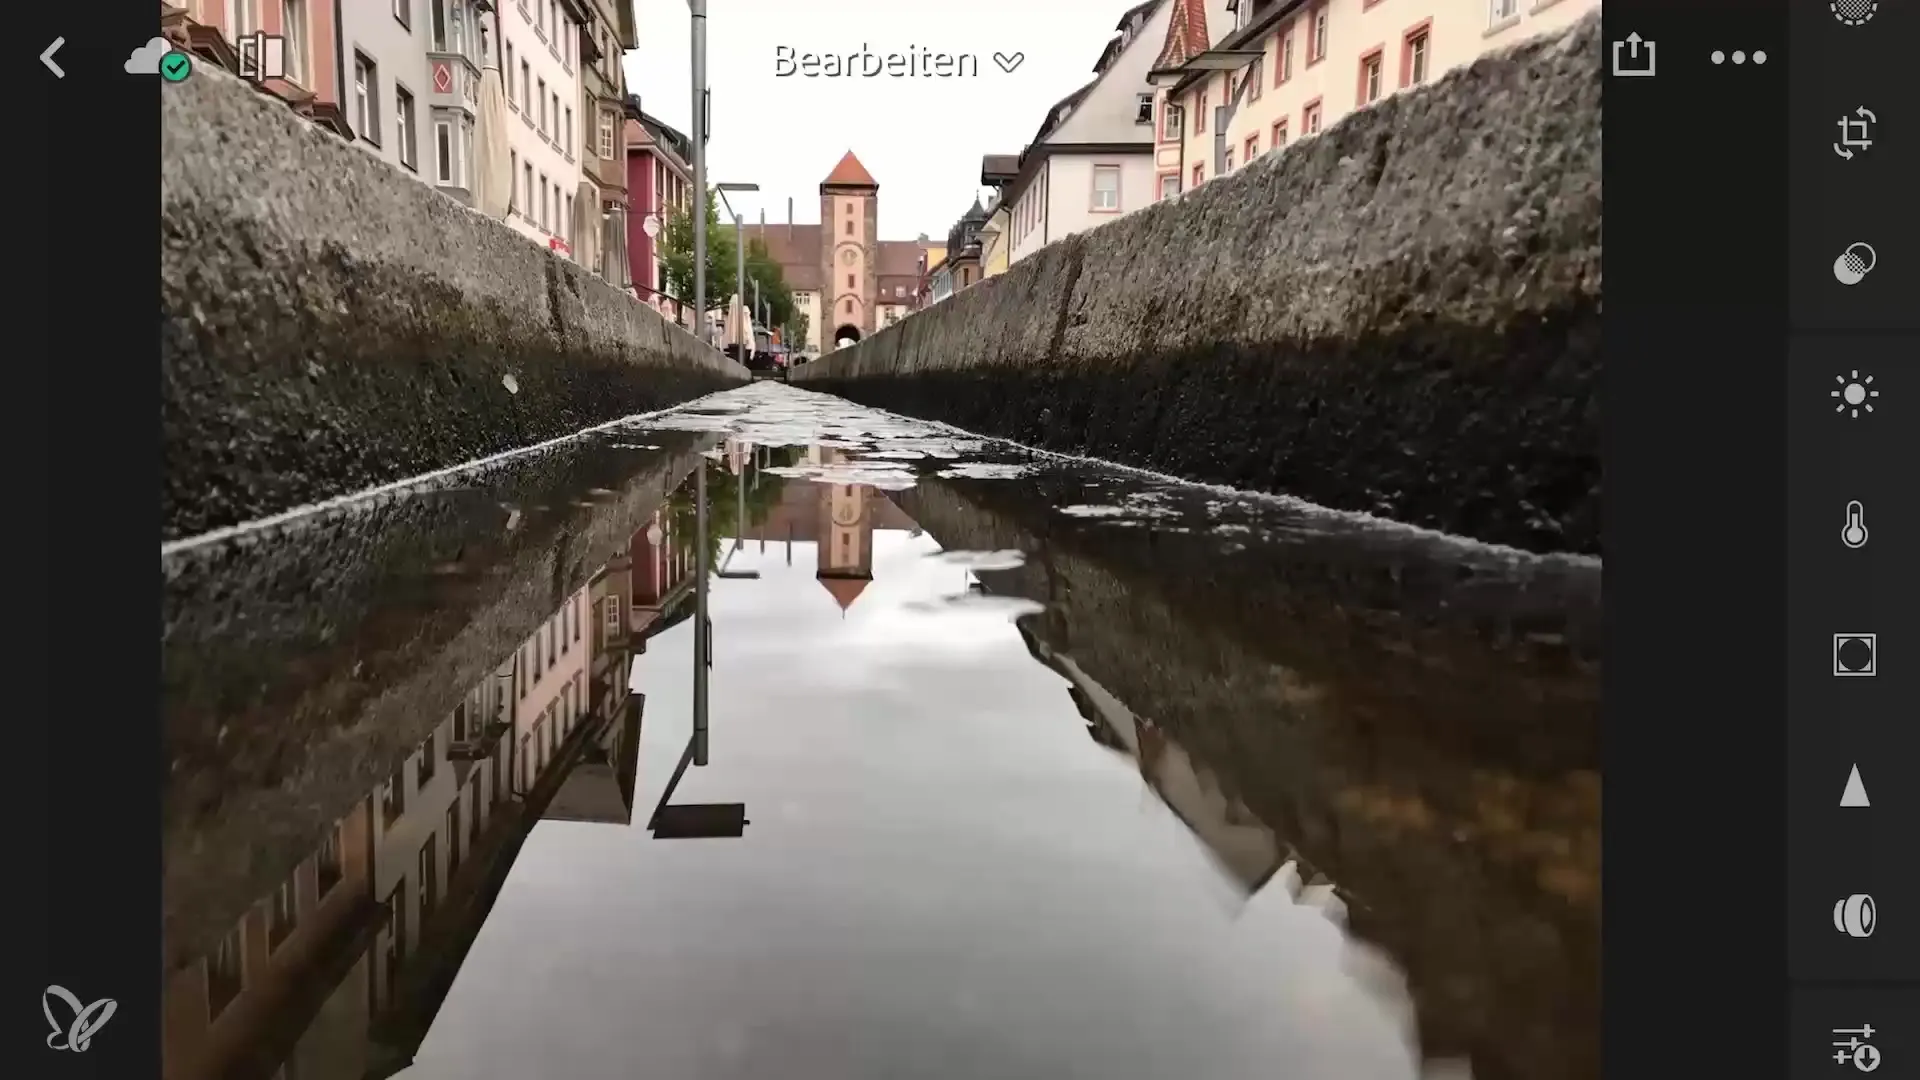
First, choose a subject that has a clear reflection, such as in a water puddle. Open the Lightroom Mobile app and upload the image. Start by adjusting the saturation by moving it significantly to the left for the entire image. This will transform your image into an impressive black-and-white subject that immediately draws attention to the reflection.
2. Adjusting perspective and reflection
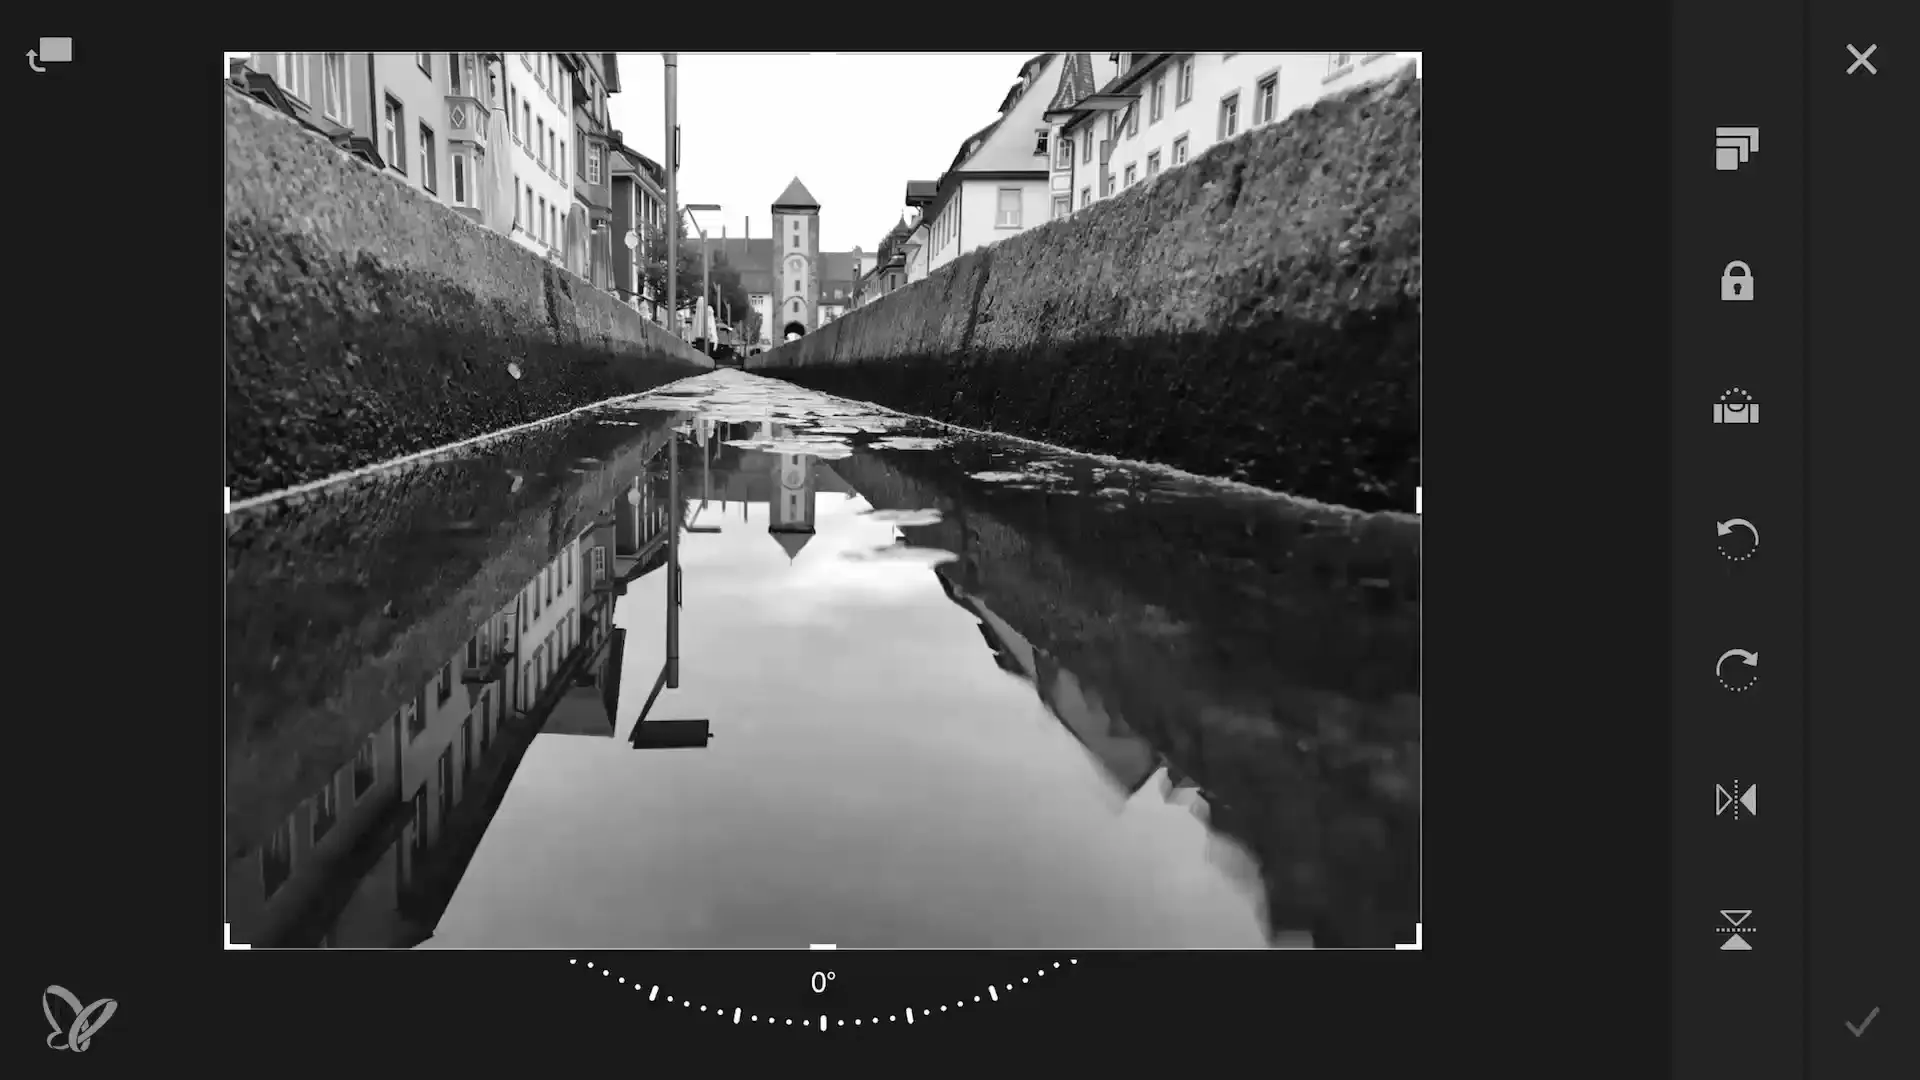
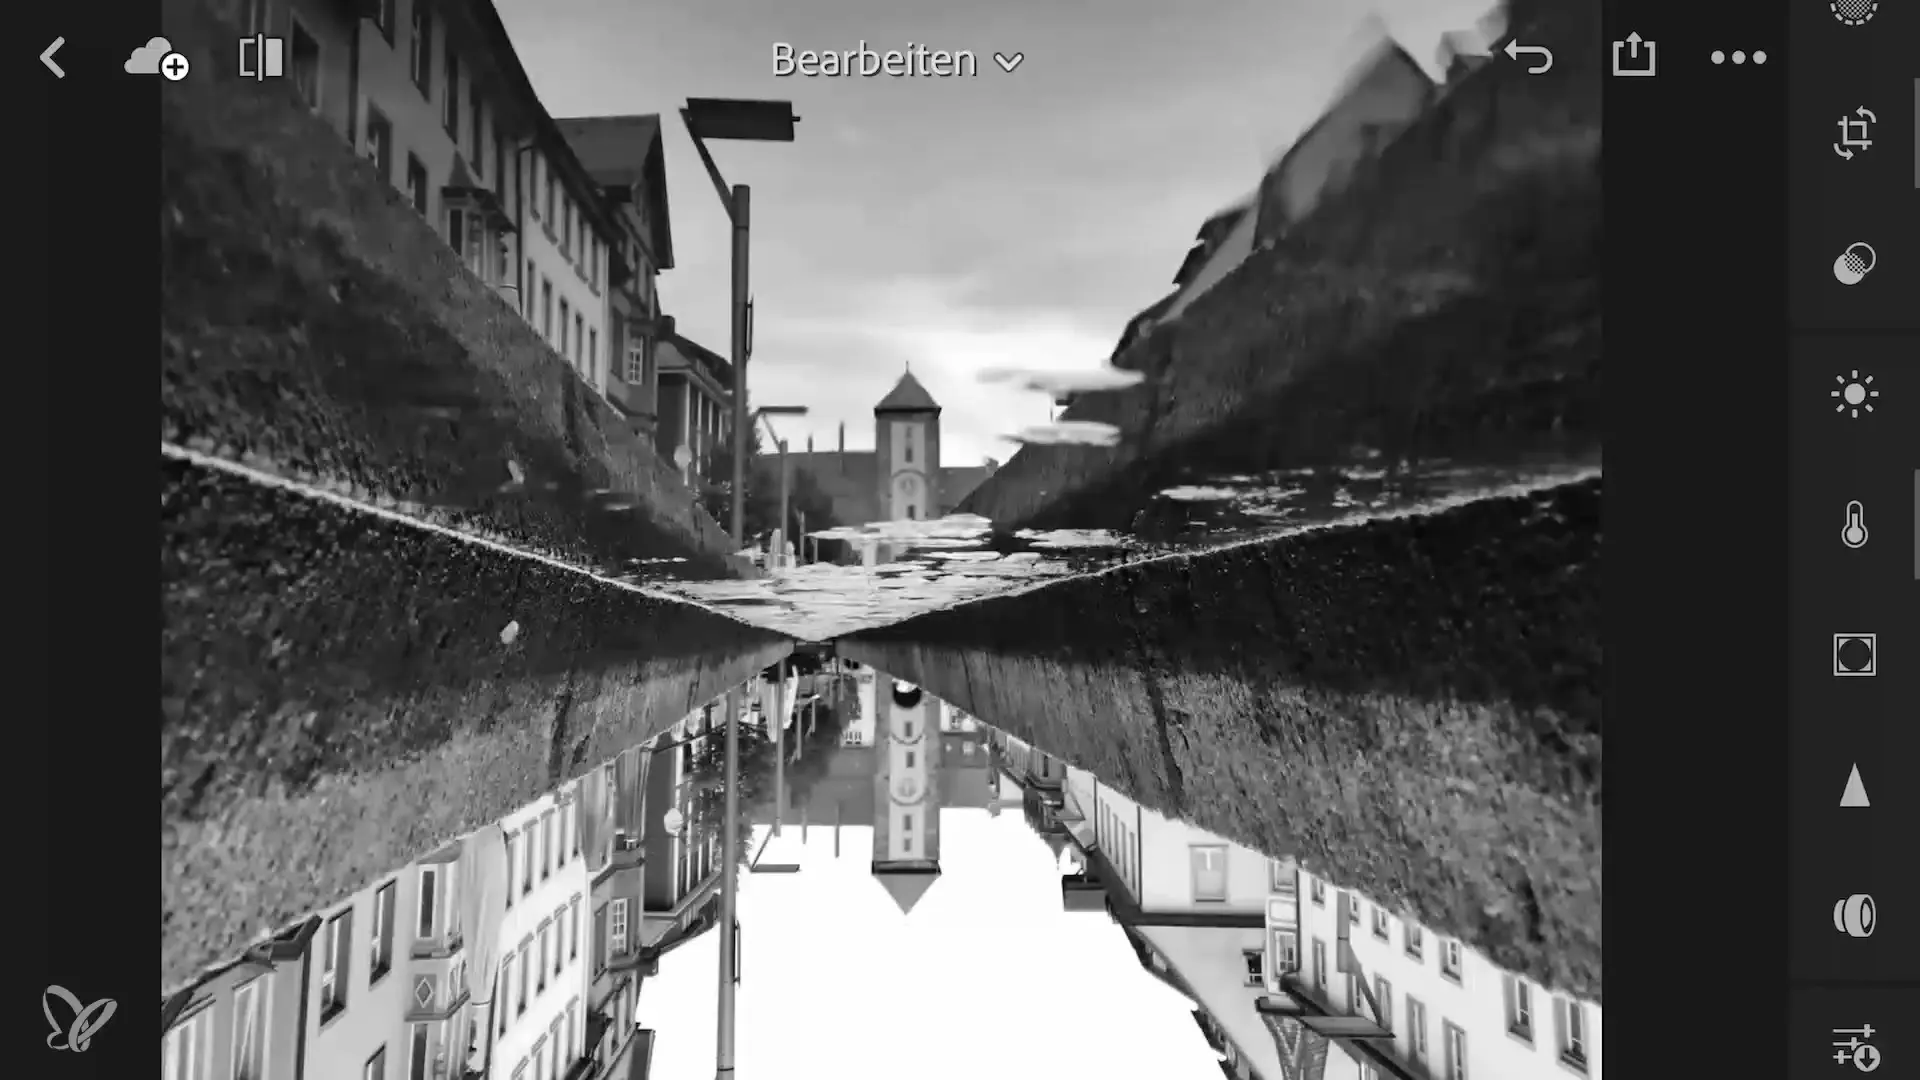
Now focus on the perspective. Instead of cropping the image, use the mirroring tool to reflect the image in the desired direction. You will notice that the impact of the image dramatically changes with this modification. The viewer will recognize the downtown area, yet the design of the image gives it something mysterious that piques curiosity.
3. Cropping for the perfect cut
Now it’s time to optimize the image crop. Keep the original aspect ratio active and crop the image so that the skyscraper stays centered. Consider where the top of the building should be positioned – ideally, it should extend into the upper right corner. Straighten the image so that everything appears harmonious and pleasing to the eye.
4. Adjust brightness
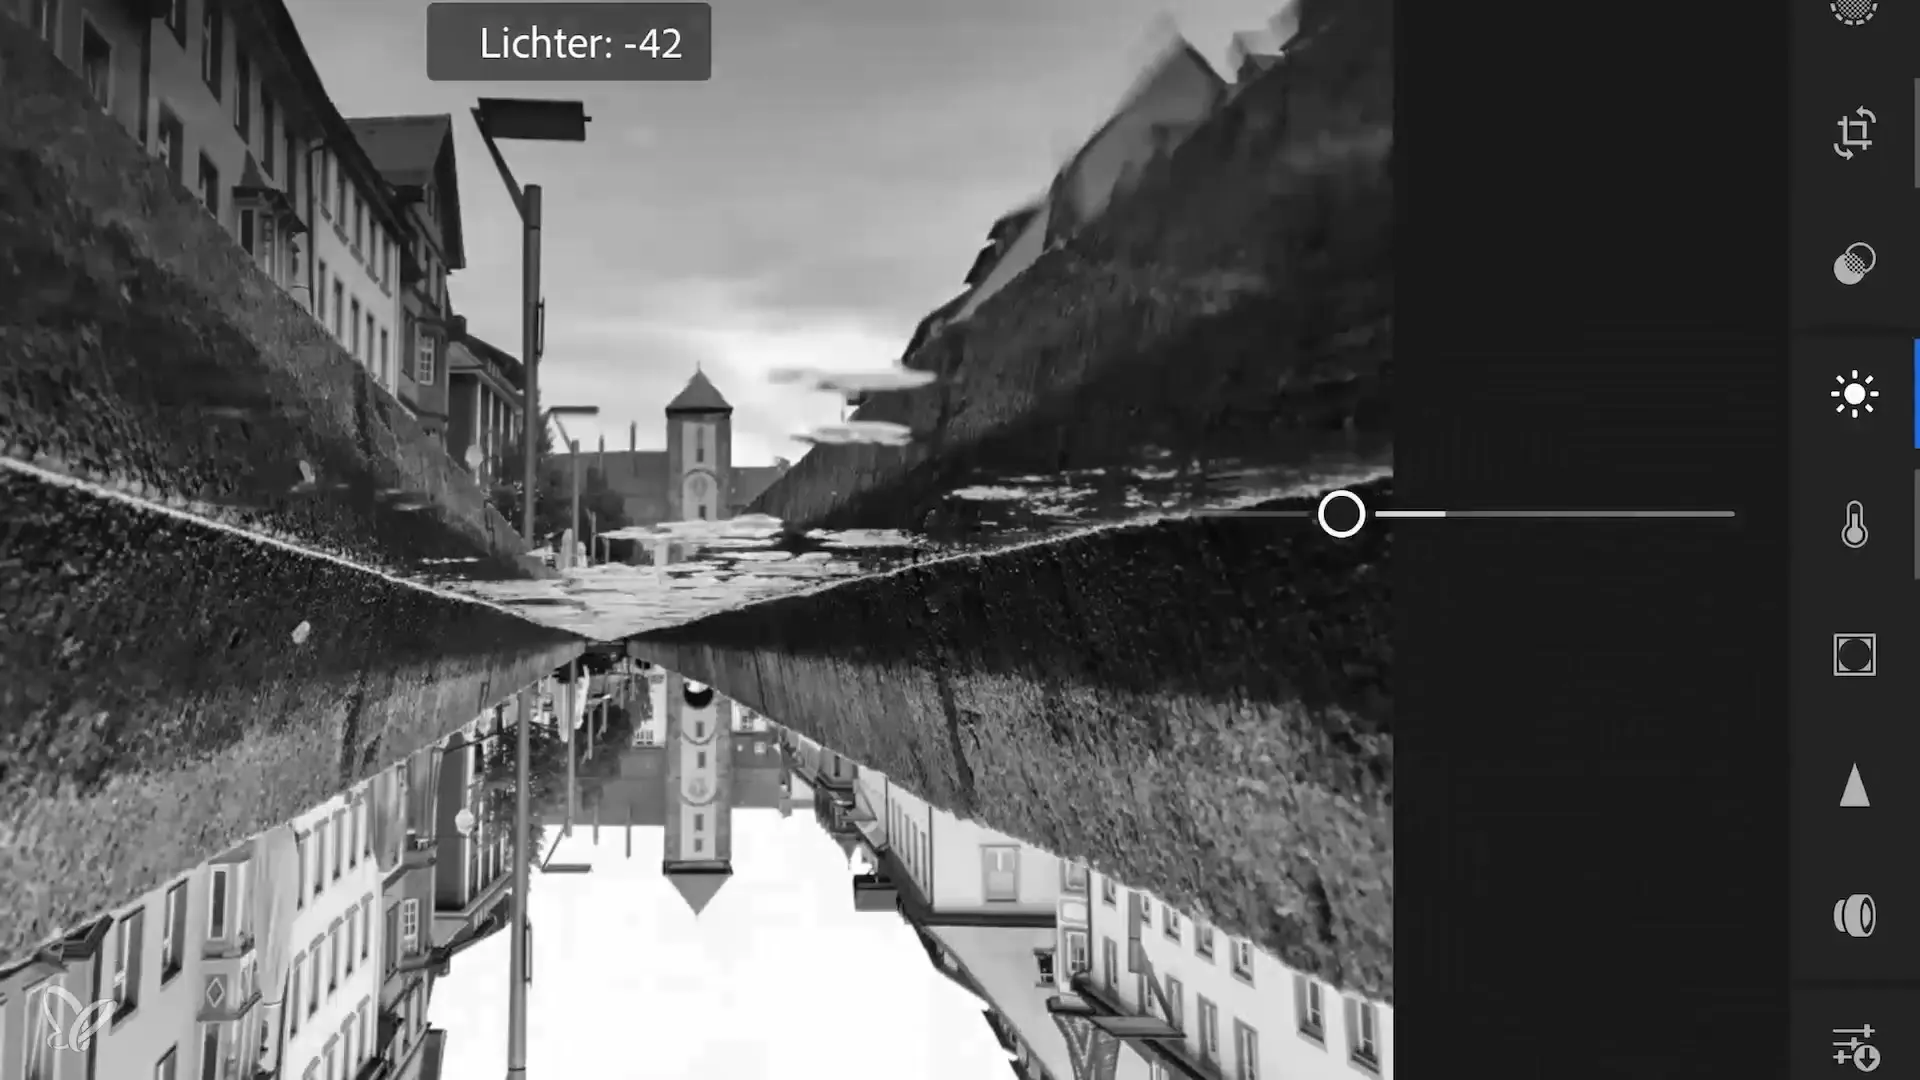
To optimize the brightness of the image, go into the brightness area and adjust the lights and shadows. Move the lights slightly to the left to retain cloud structures, and darken the shadows minimally. Make sure that the visual clarity of the image is not compromised – over-editing can quickly lead to black-and-white “spots.”
5. Increase clarity and texture
To make the image more interesting, increase the clarity. A value of 50 usually provides a balanced texture. Be careful that the image does not appear flat. Later you can make the black-and-white areas more graphic by adjusting the contrast. Let the gutters in the center of the image act as a natural frame.
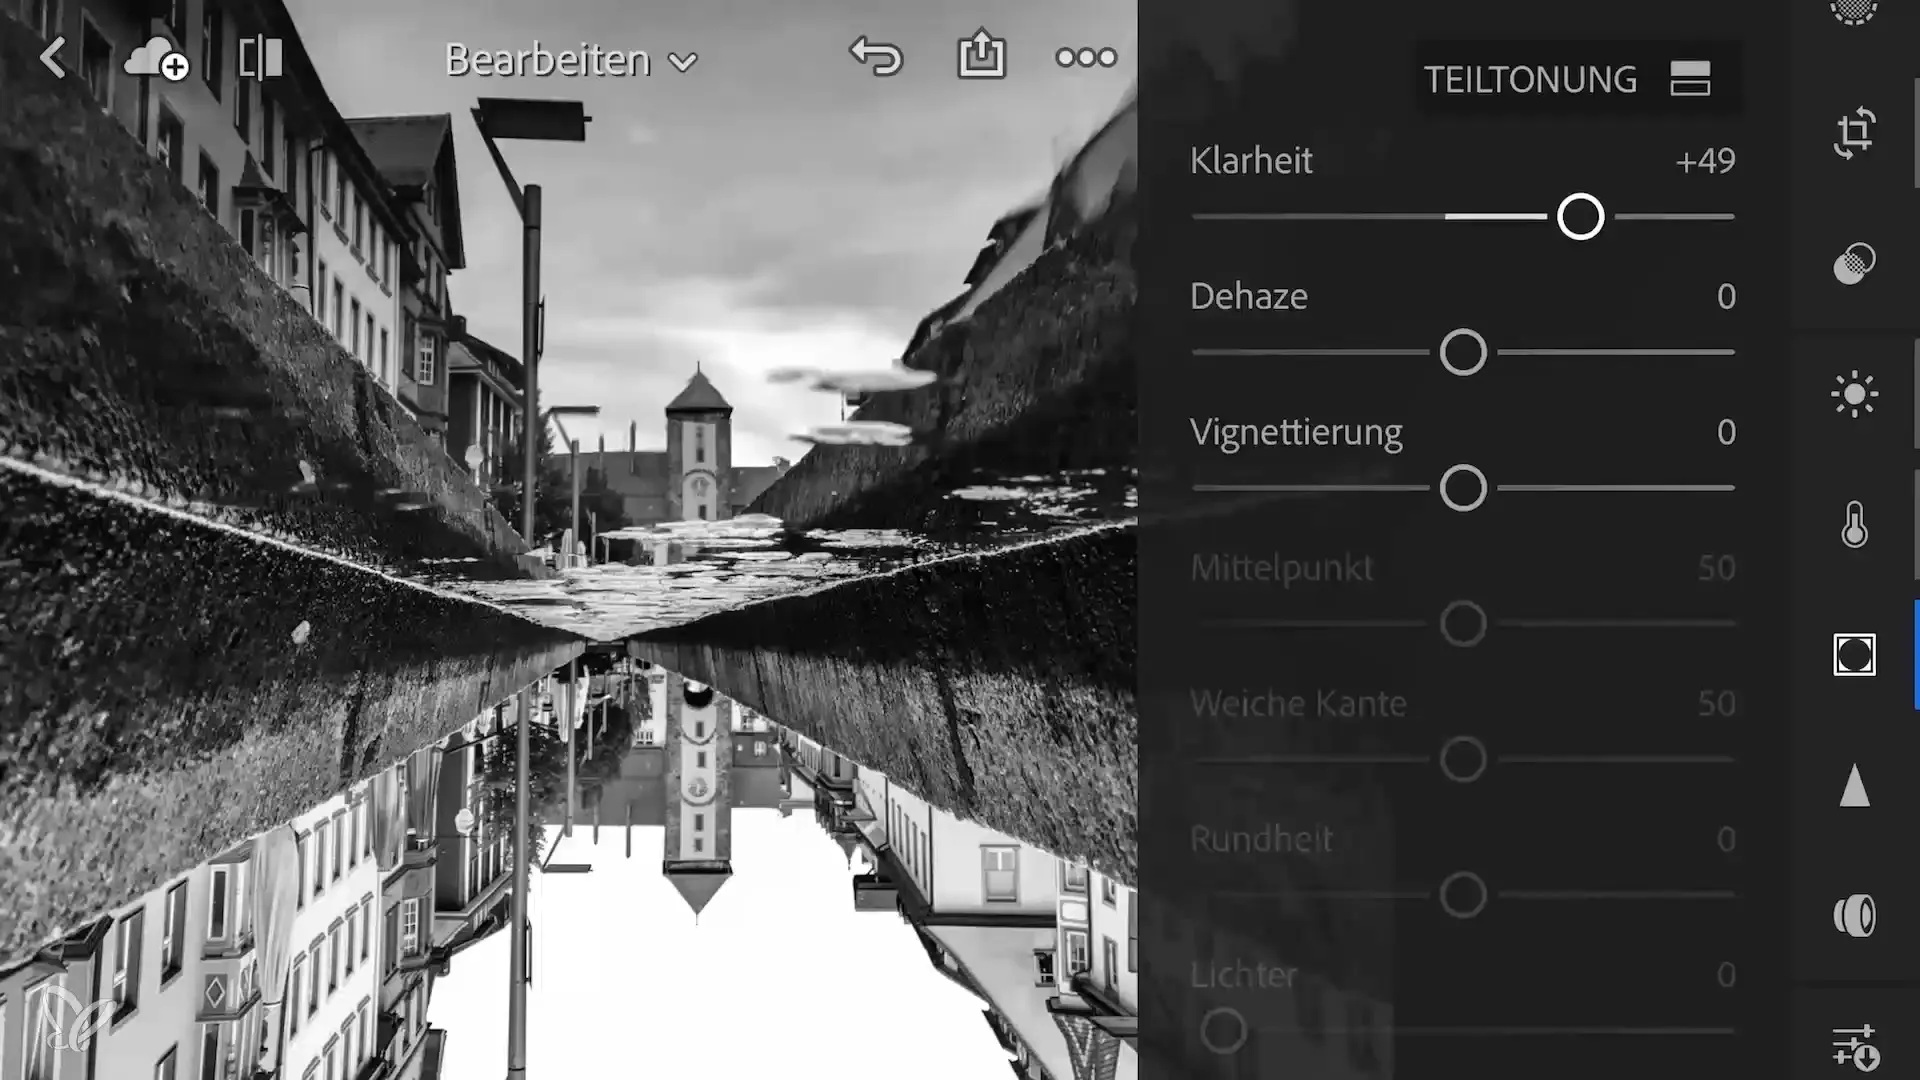
6. Set color accents
Add a subtle effect to the image by tinting the shadows with a blue hue and the highlights with a warm yellow hue. Ensure that the colors remain subtle to avoid overwhelming the overall look. Use the split toning in Lightroom effects to precisely select the colors.
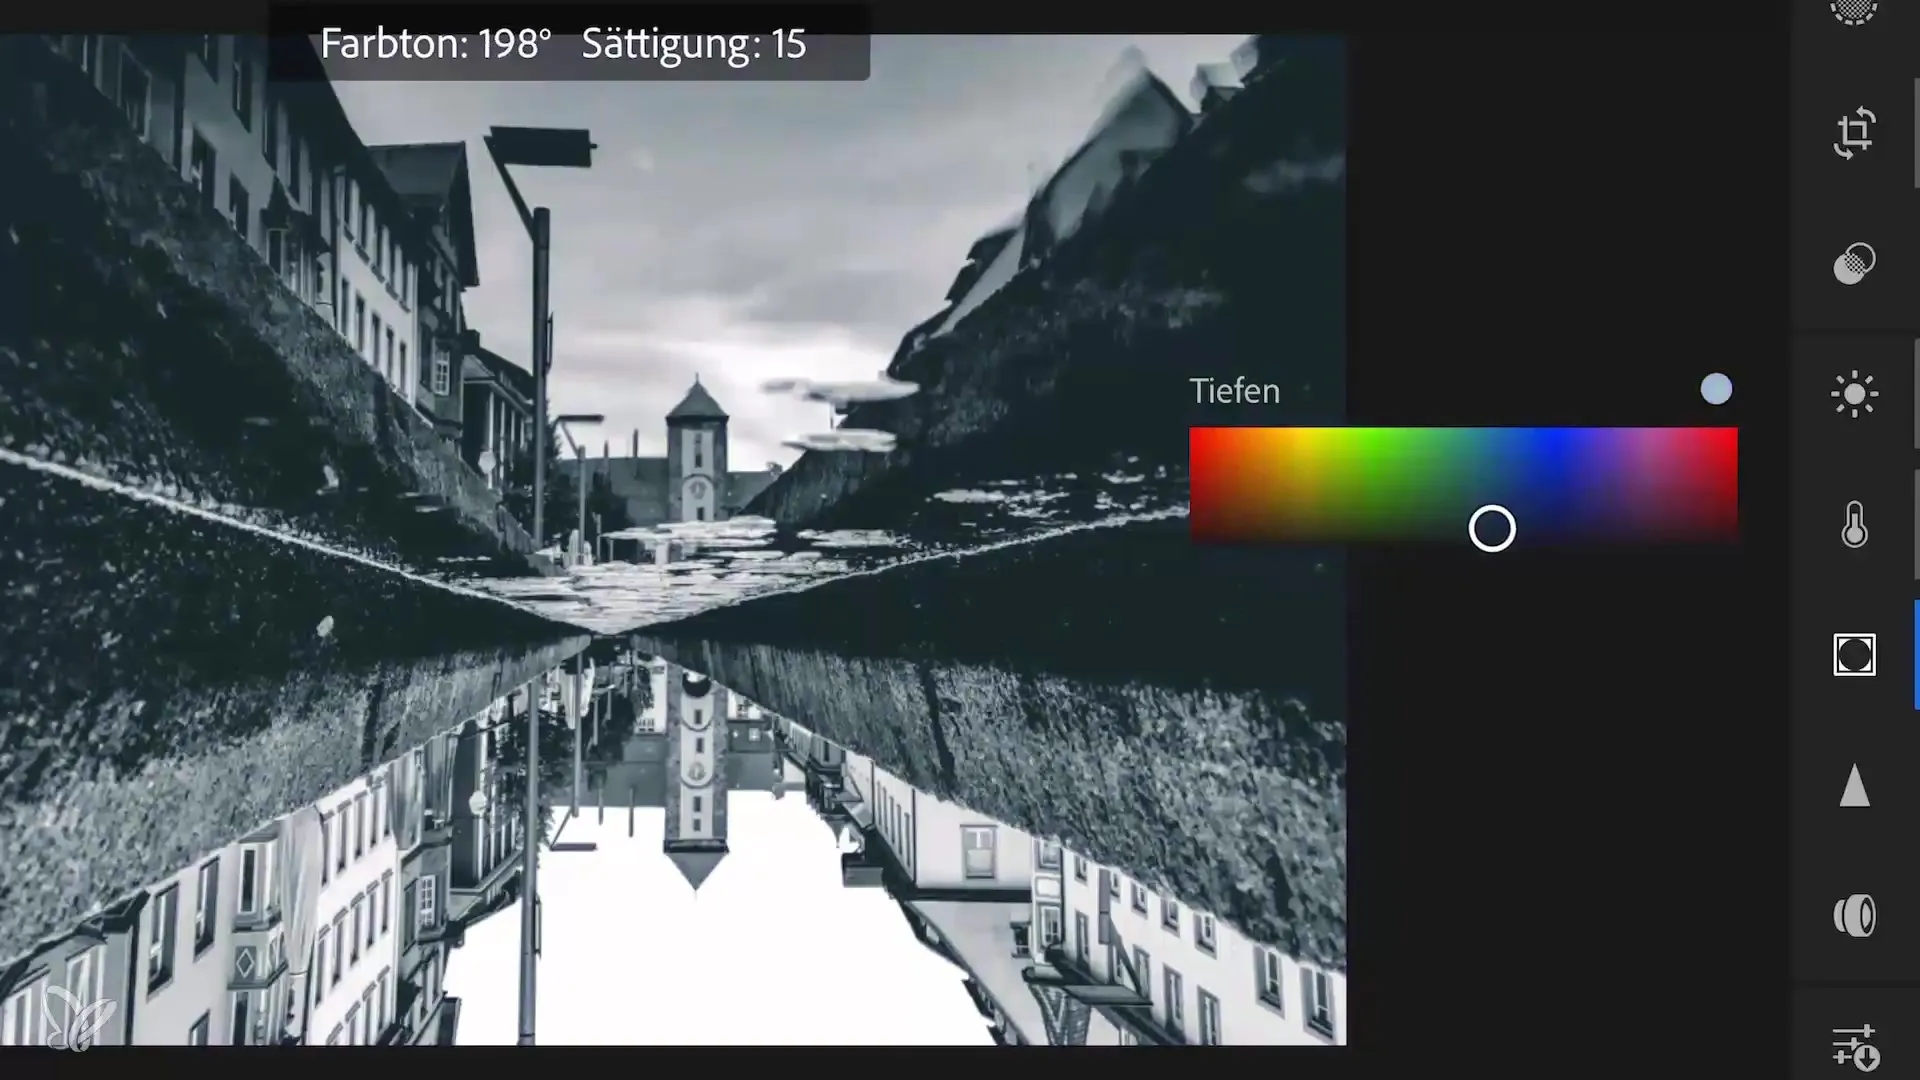
7. Add vignette
Start by adding a vignette, but keep it minimal. This will emphasize the center of the image and subtly direct the viewer's gaze to it. Experiment with the strength of the vignette to achieve the best result.
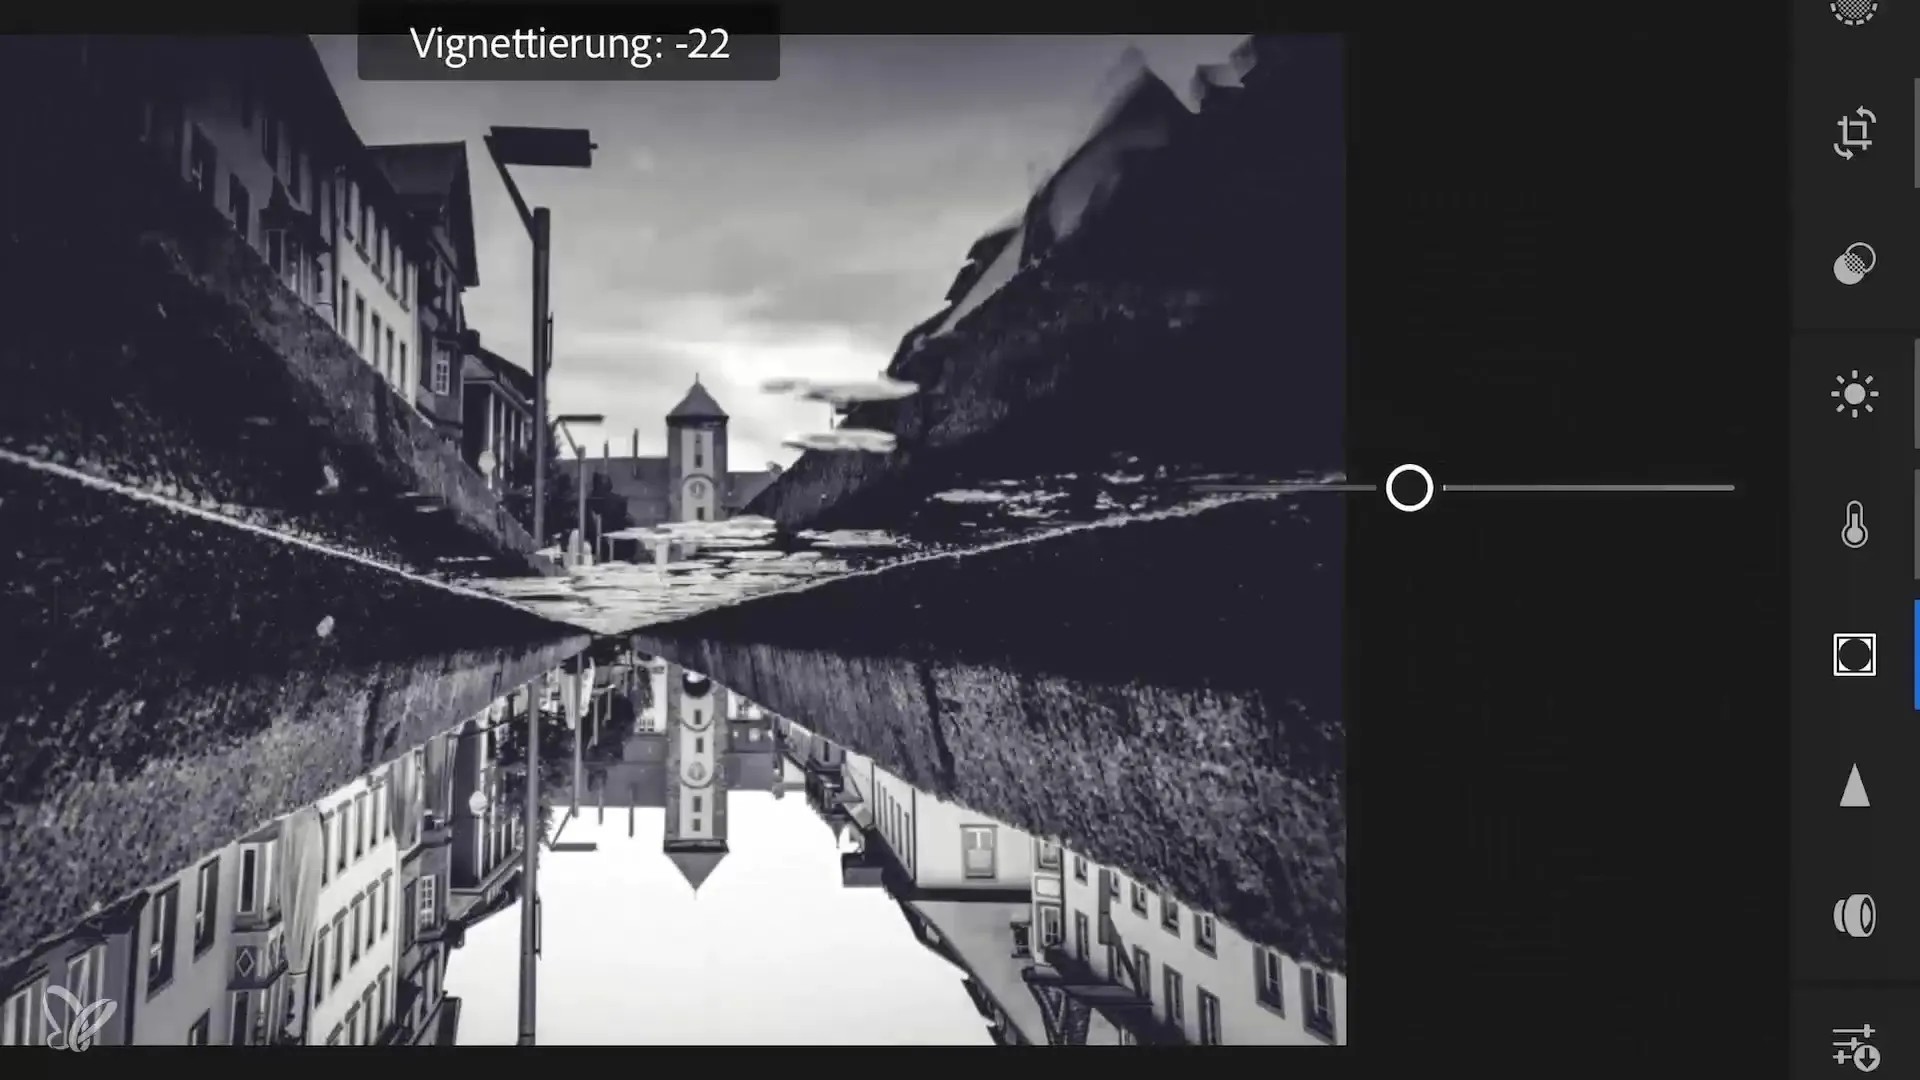
8. Second shot and new approach
For your second subject with a reflection that is reflected from a window pane, also start with cropping to align the center of the image. This time you can choose a high contrast preset to enhance the dramatic effect. Keep in mind that grain will be added to the image to highlight details and give the flat areas more structure.
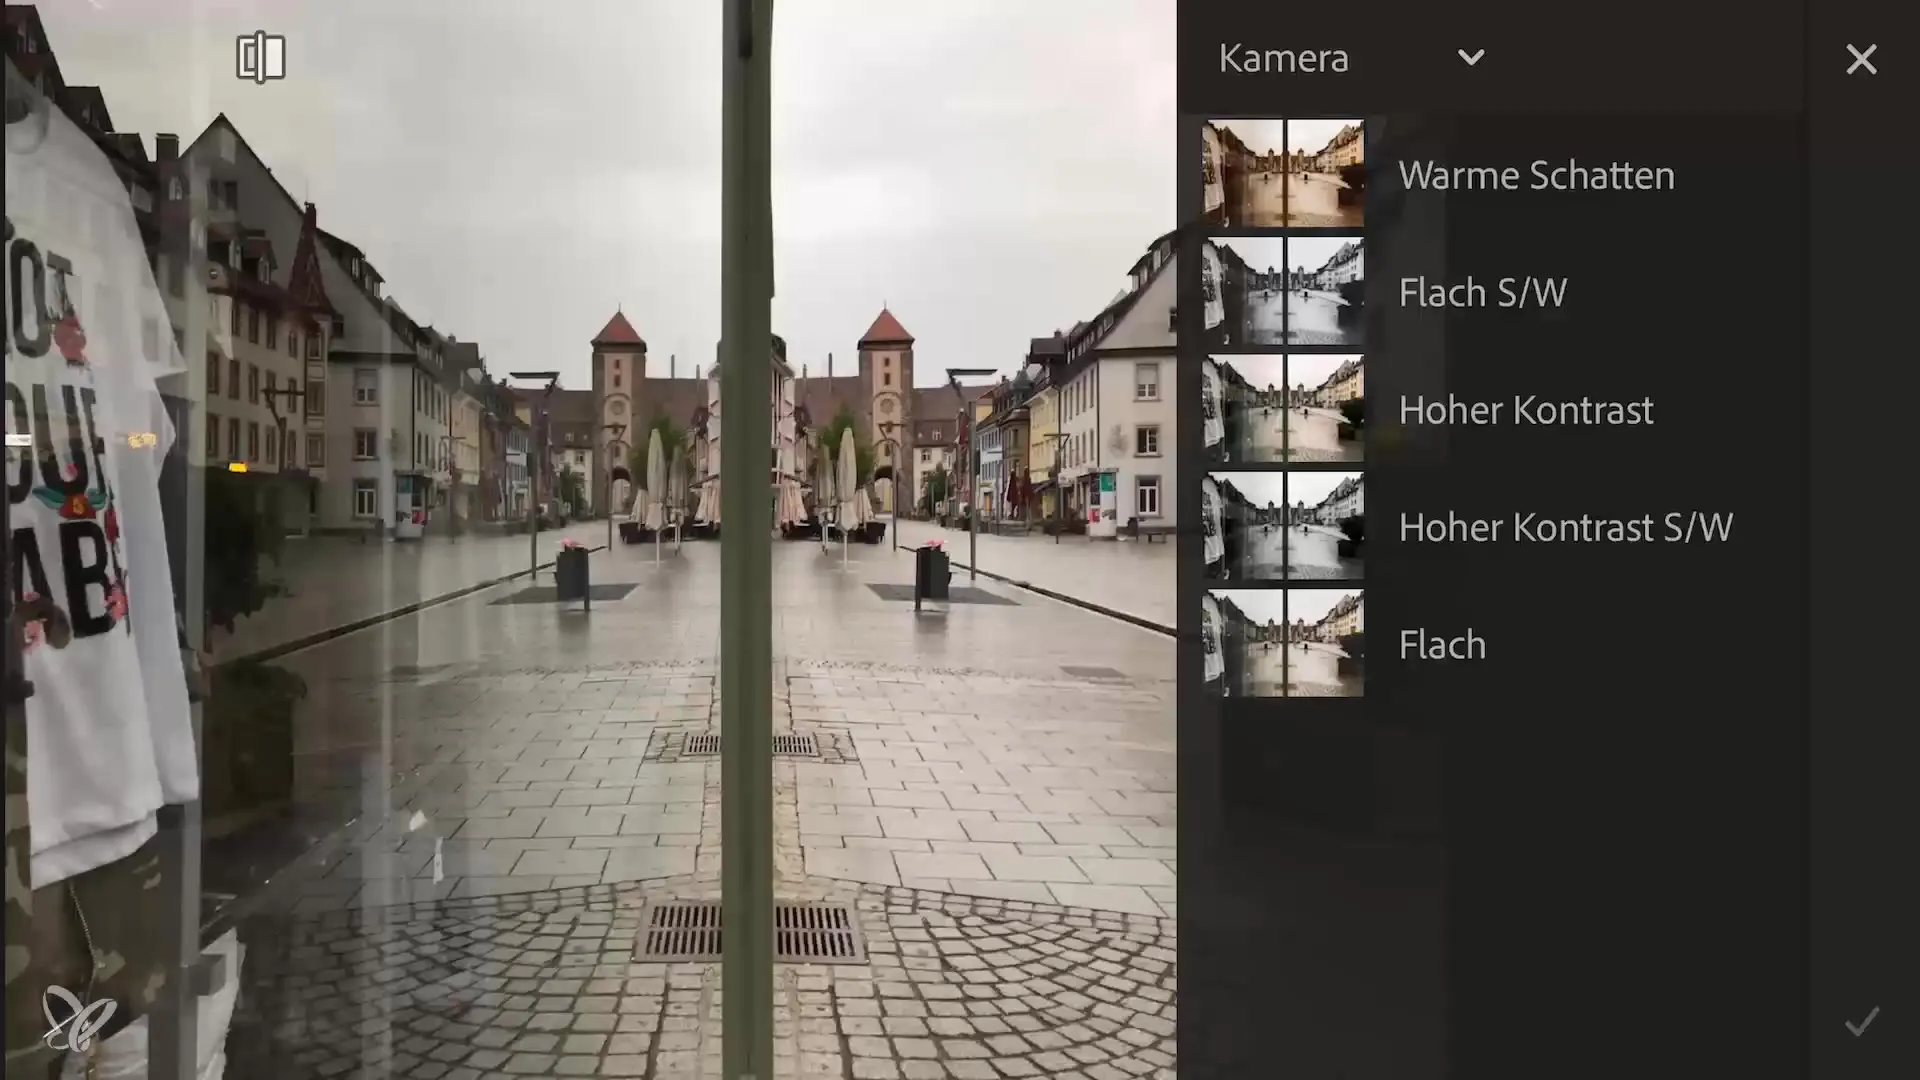
9. Sharpen and save
Finally, you should sharpen the image minimally and save the edited version. Make sure you like your adjustments and that you are satisfied with the final look. Sometimes less is more and not every little mess requires editing.
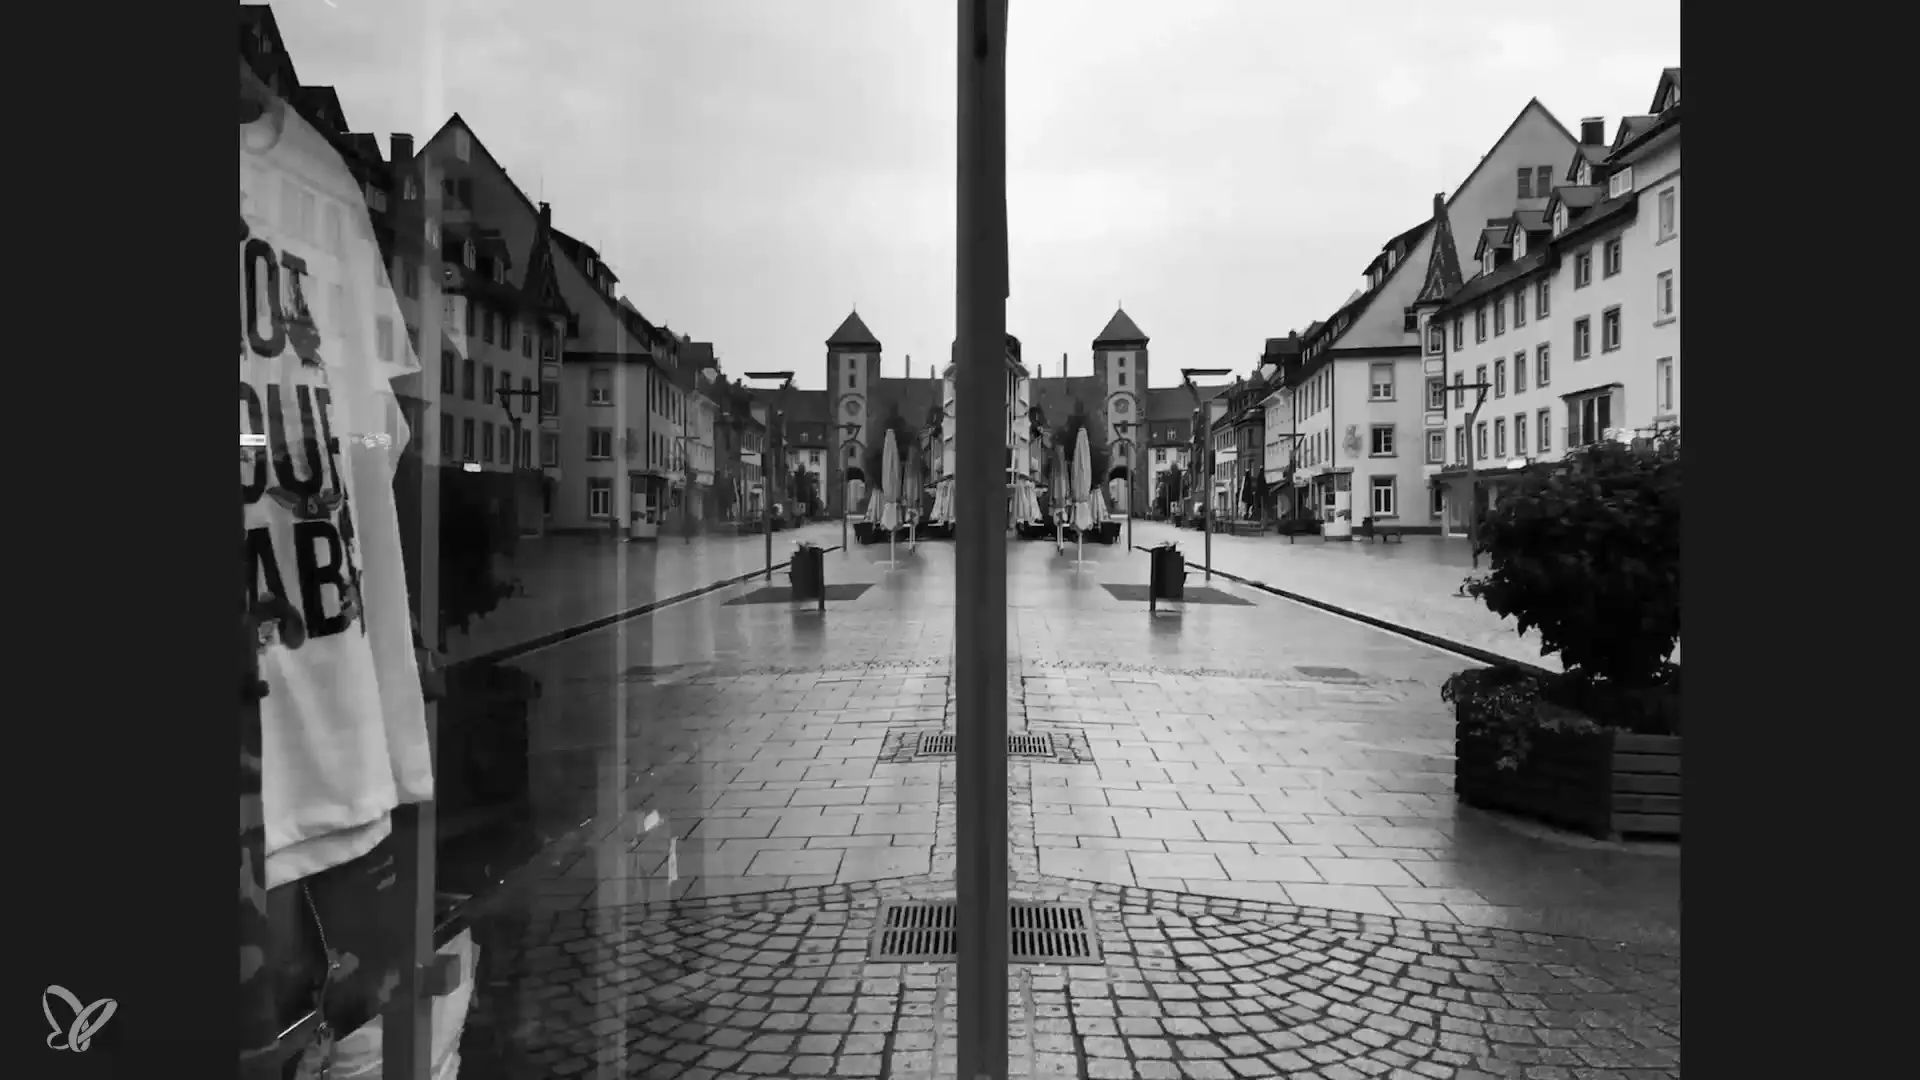
Summary – Creative City Photography with Lightroom Mobile: Perfectly Edit Reflections
In this guide, you learned how to create engaging city images with exciting reflections and impressive editing techniques using the Lightroom Mobile app. You can adjust saturation, perspective, brightness, and clarity with simple steps, and harmoniously complete the overall image with targeted color design and vignettes.
Frequently Asked Questions
What is the first step when editing an image in Lightroom?First, you need to select the image and upload it to the app.
How can I change the perspective of a photo?Use the mirroring function in Lightroom to creatively shape the perspective.
What is the significance of split toning?Split toning allows you to apply different hues to the shadows and highlights of the image.
How can I use grain in the image?Grain adds structure to the image and makes flat areas more interesting.
Should I sharpen the image before saving it?Yes, sharpening helps emphasize the details in the image before you save it.


