The Brush Tool in Photoshop is an essential instrument for any digital artist. It allows you to express your creativity, create textures, and achieve realistic effects. This guide will walk you through the basic functions and settings of the brush tool so you can enhance your skills in digital painting and matte painting. Whether you are new to digital art or looking to refine your techniques, these steps are key to your success.
Key Insights
- The brush tool is the most important element of digital painting.
- Choosing and customizing brush tips is crucial for the outcome.
- Creating your own brush tips can significantly expand your creativity.
- Controlling opacity and pressure allows for finer control when painting.
Step-by-Step Guide
Step 1: Understanding the Image and Structure of the Matte Painting
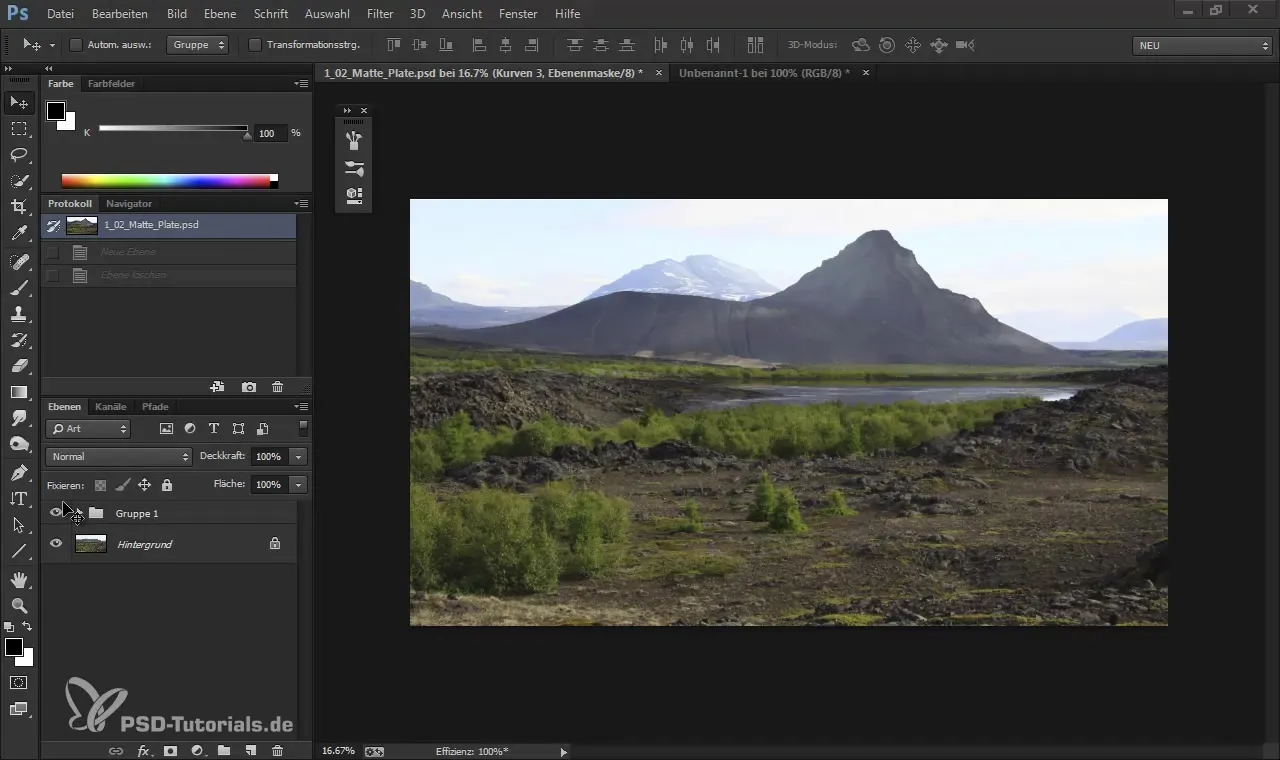
When viewing the image you are working on in the module, you get a sense of how much you can make of it. The original image often appears uninspired. A typical matte painting involves embellishing a photo. Start by hiding the group you created. This will give you a clear view of the original image and how you can transform it.
Step 2: Defining the Size of the Project
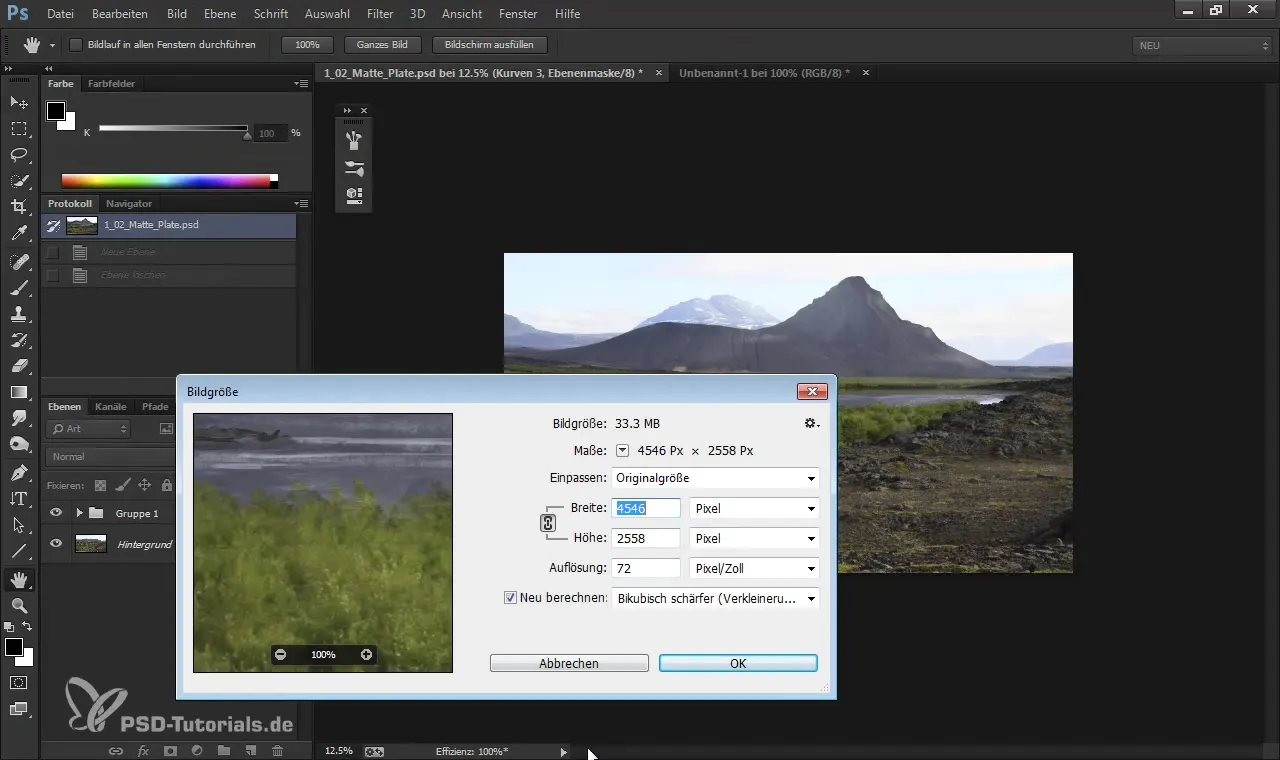
Make sure your image has a high resolution, especially if you want to use it for films or digital media. Your starting image could be over 4000 pixels large. This size is ideal for representing details in your work. It serves to "enhance" or "conceal" reality to make it more appealing.
Step 3: Open a New File on the Canvas
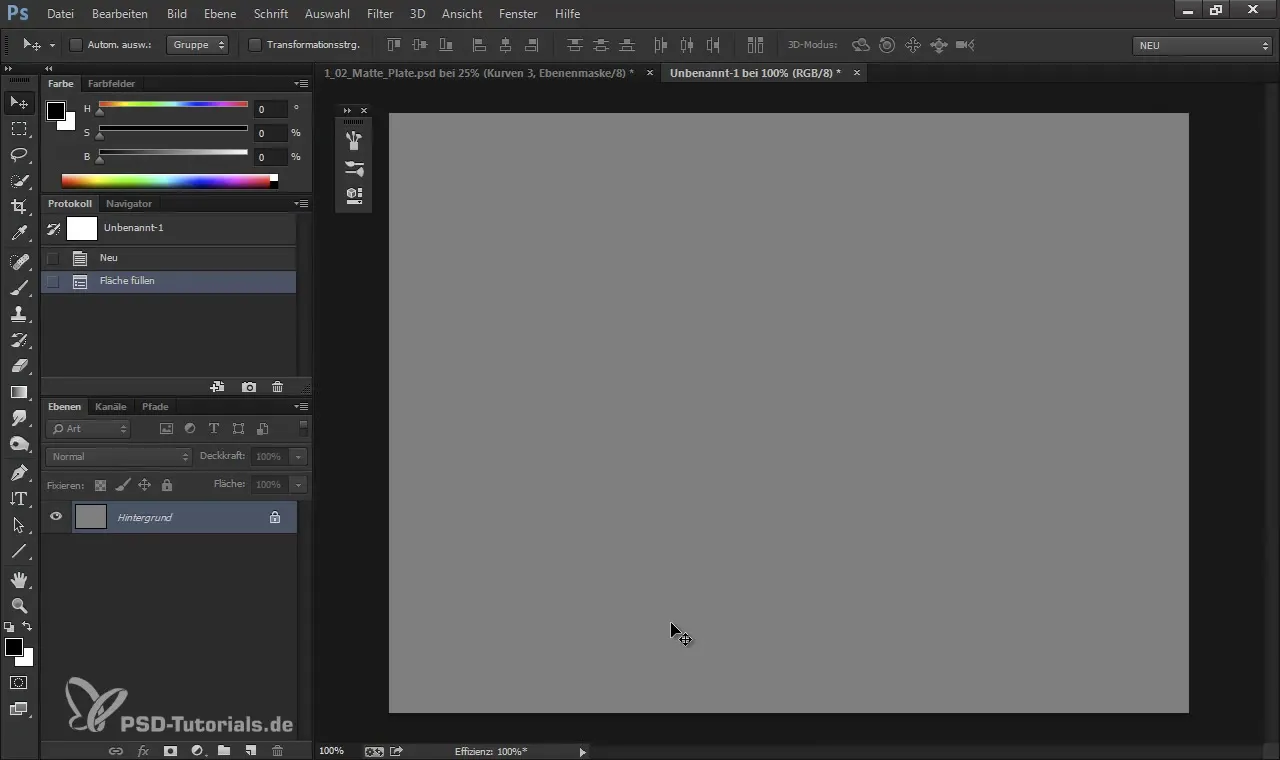
Open a new file in Photoshop that serves as a blank workspace. You can enable the brush palettes to focus on the brush tools. To do this, click on "Palettes" and select the brushes you want to work with. There are various windows for customizing brushes.
Step 4: Selecting Basic Brush Tips
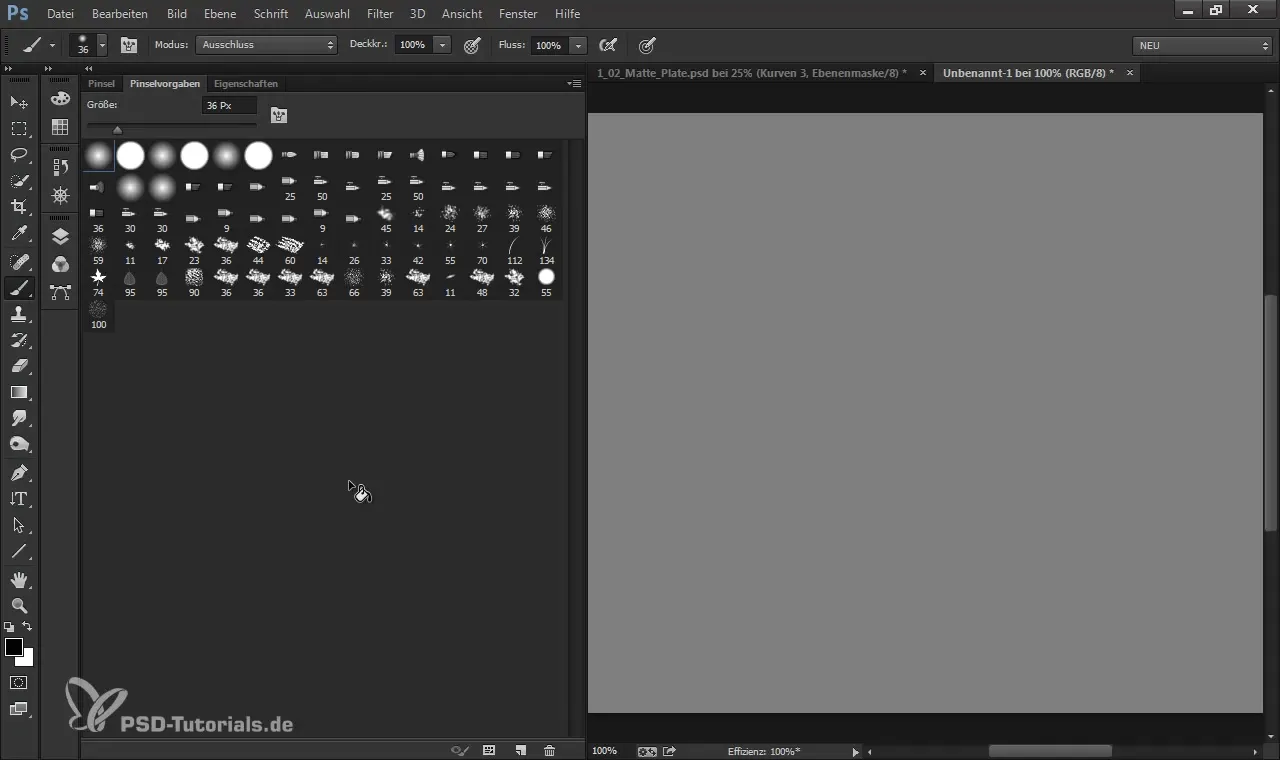
There are many brushes that come with Photoshop. Here, it is important to clarify how many brushes you actually need. Often you pay attention to which brushes work best for your specific requirements. Round standard brushes are a good starting point, but you will eventually reach your limits.
Step 5: Adjusting and Naming Brush Tips
With the brush tip, you can start adjusting various options, such as size, roundness, and hardness. This gives you the ability to create differently shaped brush strokes. Name the brushes as you see fit to facilitate their use and improve organization.
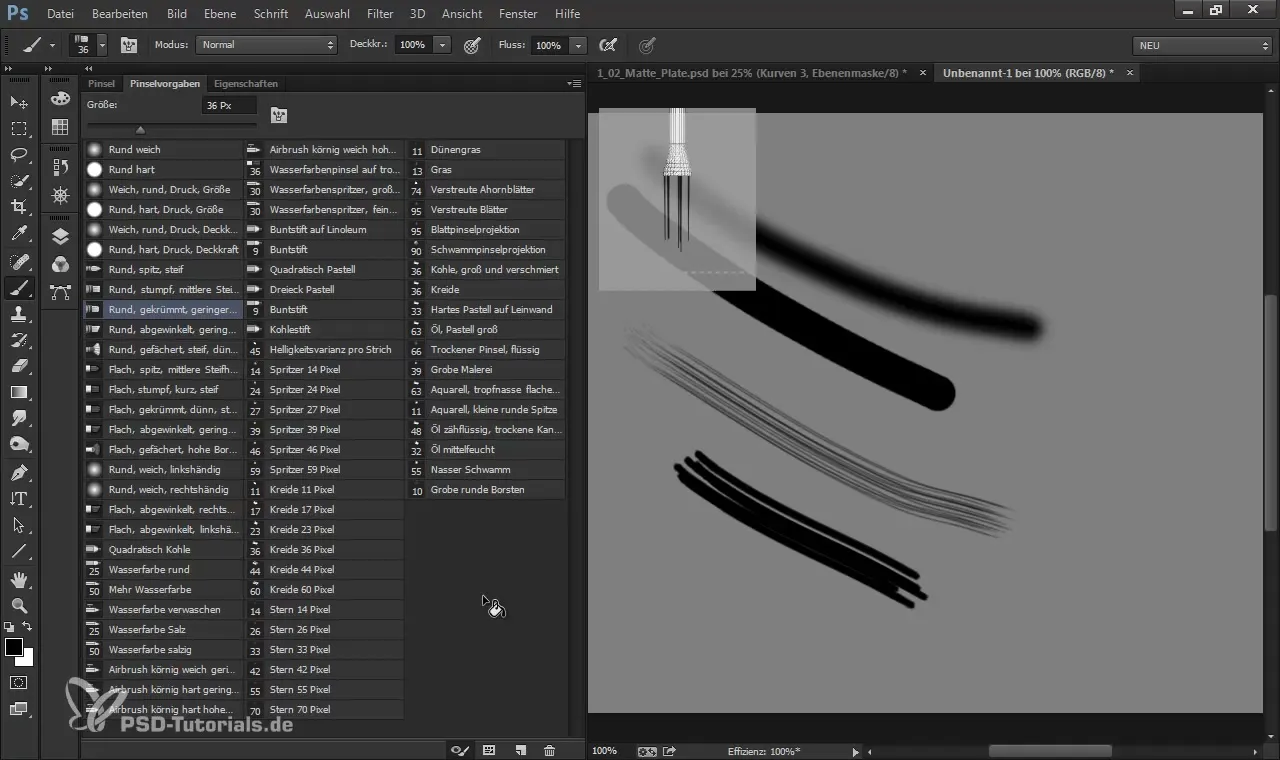
Step 6: Using Brush Shape Variations
Start with a round soft brush. This is ideal for achieving saturation effects, especially when working with large radii. You can reduce opacity to generate smooth transitions. Experiment with size and hardness to achieve the best results.
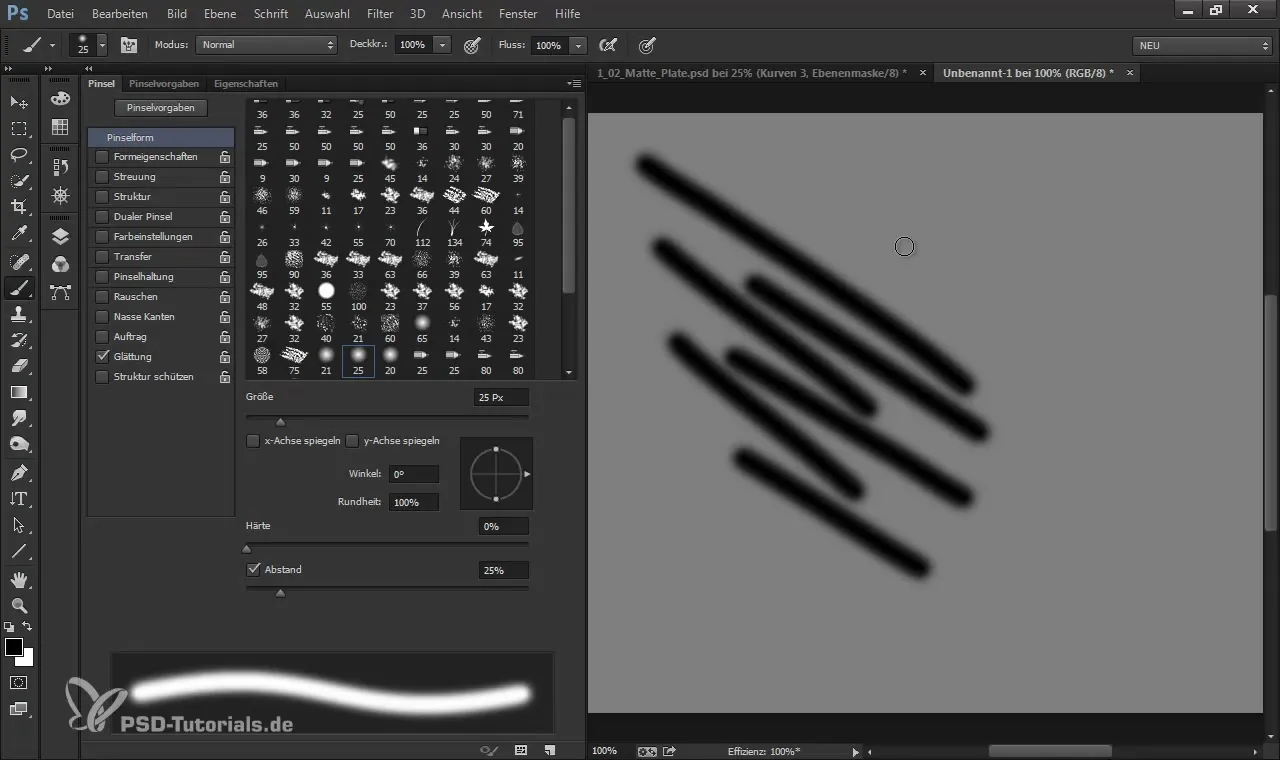
Step 7: Adjusting Shape Properties
You can further optimize the shape properties of your brush. For example, change the spacing between brush strokes to achieve a more effective stroke. This spacing can lend a different dynamic to the brush stroke application.
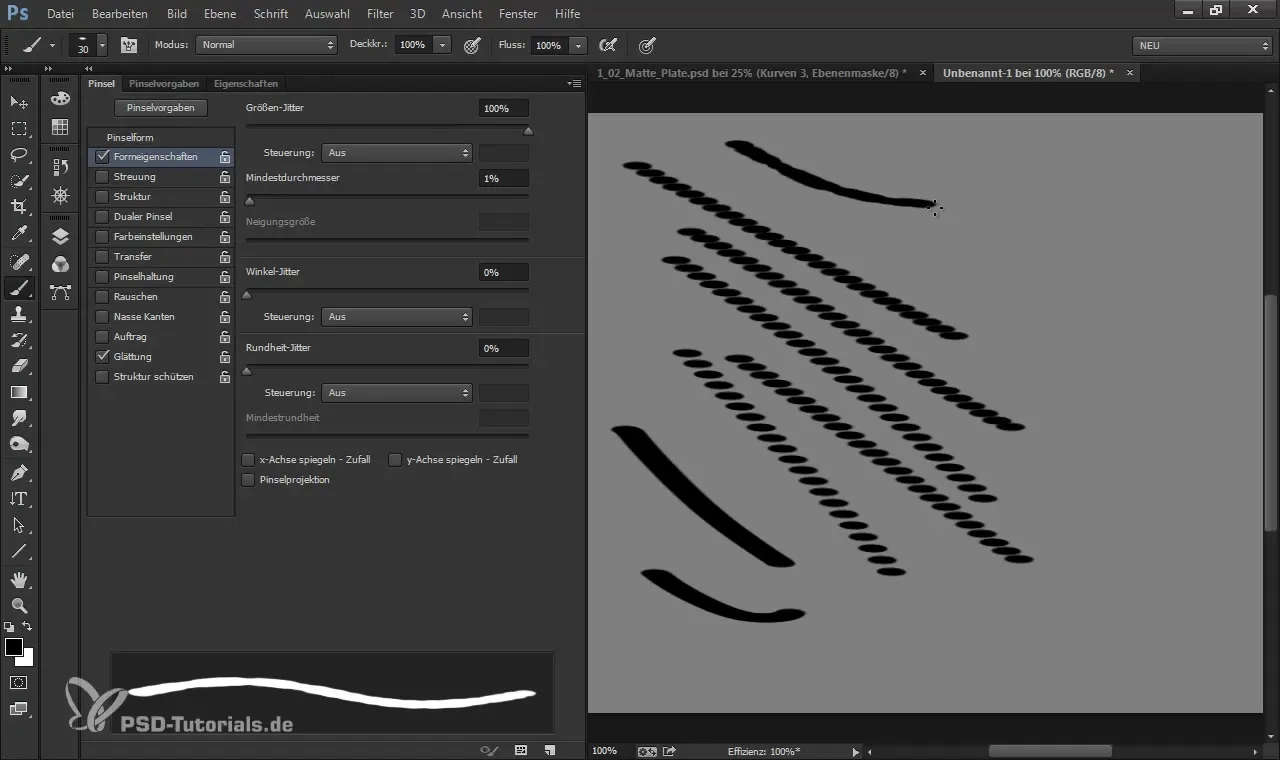
Step 8: Selecting Dual Brushes
A very useful tool is the dual brush. This allows you to associate one shape with another brush, like a texture brush. This way, you combine the softness of a round brush with the texture of a structural element. This prevents your work from becoming monotonous and provides more control over texture.
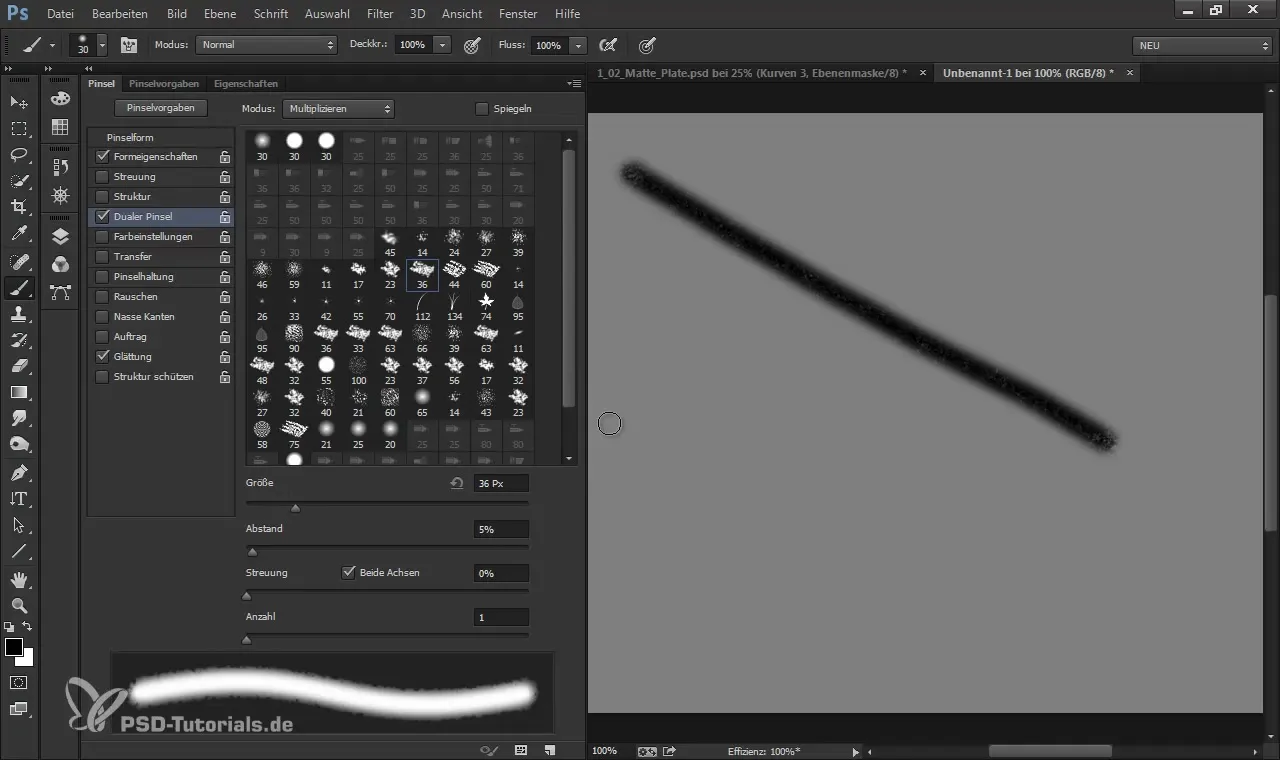
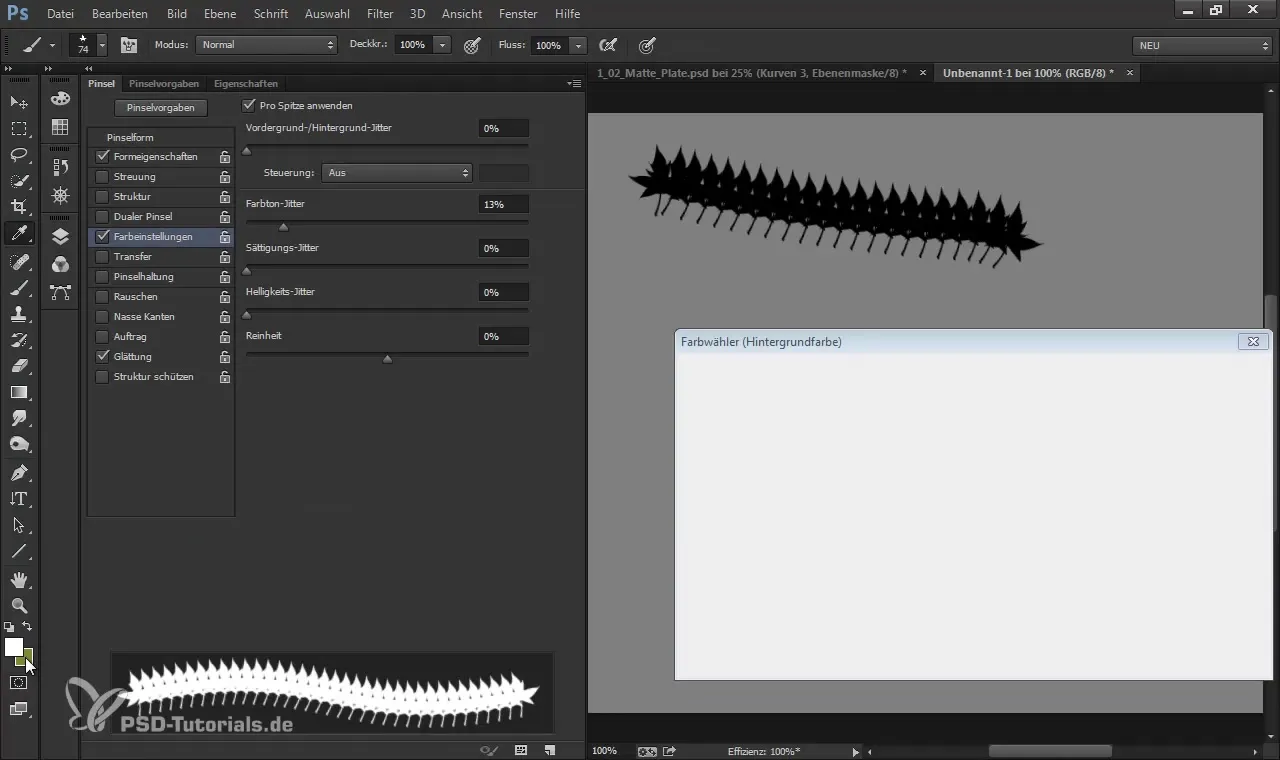
Step 9: Utilizing Color Control
When designing colors, it is important to control the foreground and background color. This method can help you create color variations without constantly selecting new colors. Experiment with the colors to achieve the desired effect.
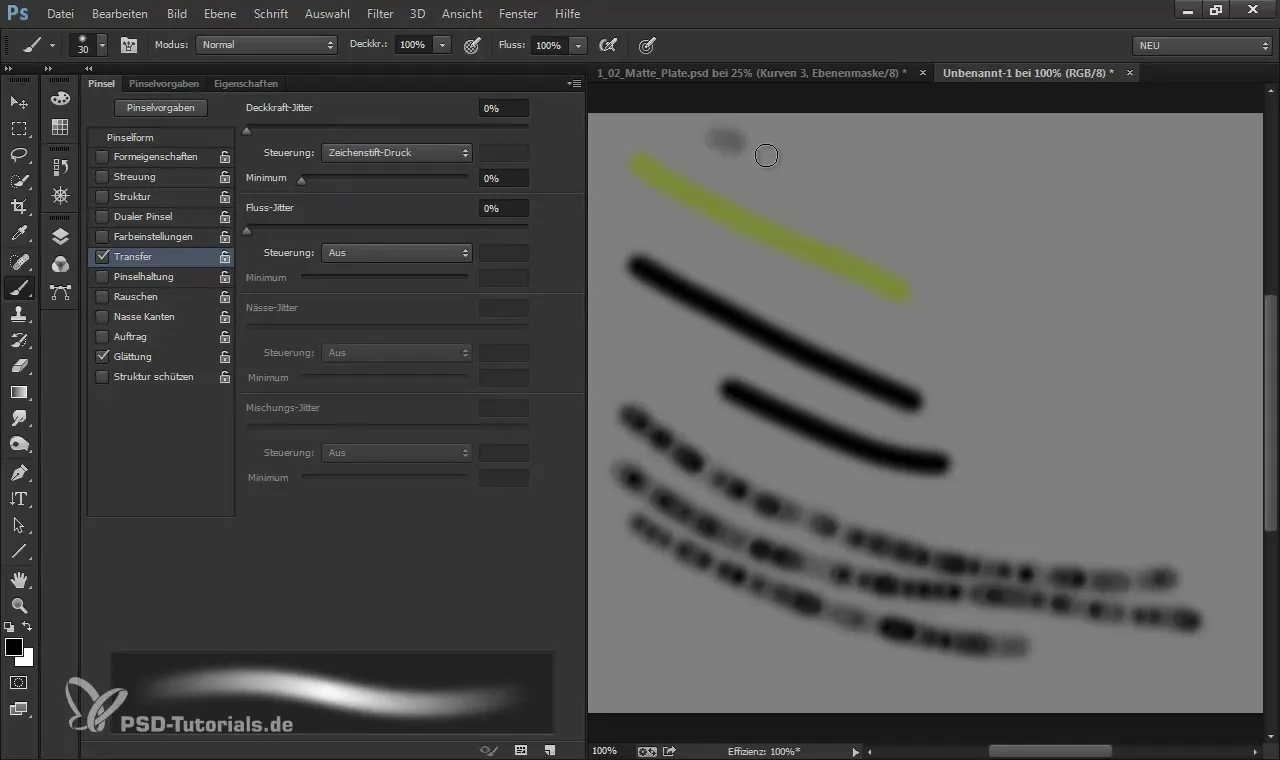
Step 10: Controlling Opacity via Pressure
Set the opacity of your brush based on the pen pressure. With strong pressure, you apply more color to the canvas, while light pressure allows you to refine fine details. This method requires a certain amount of practice but yields excellent results in color dynamics.
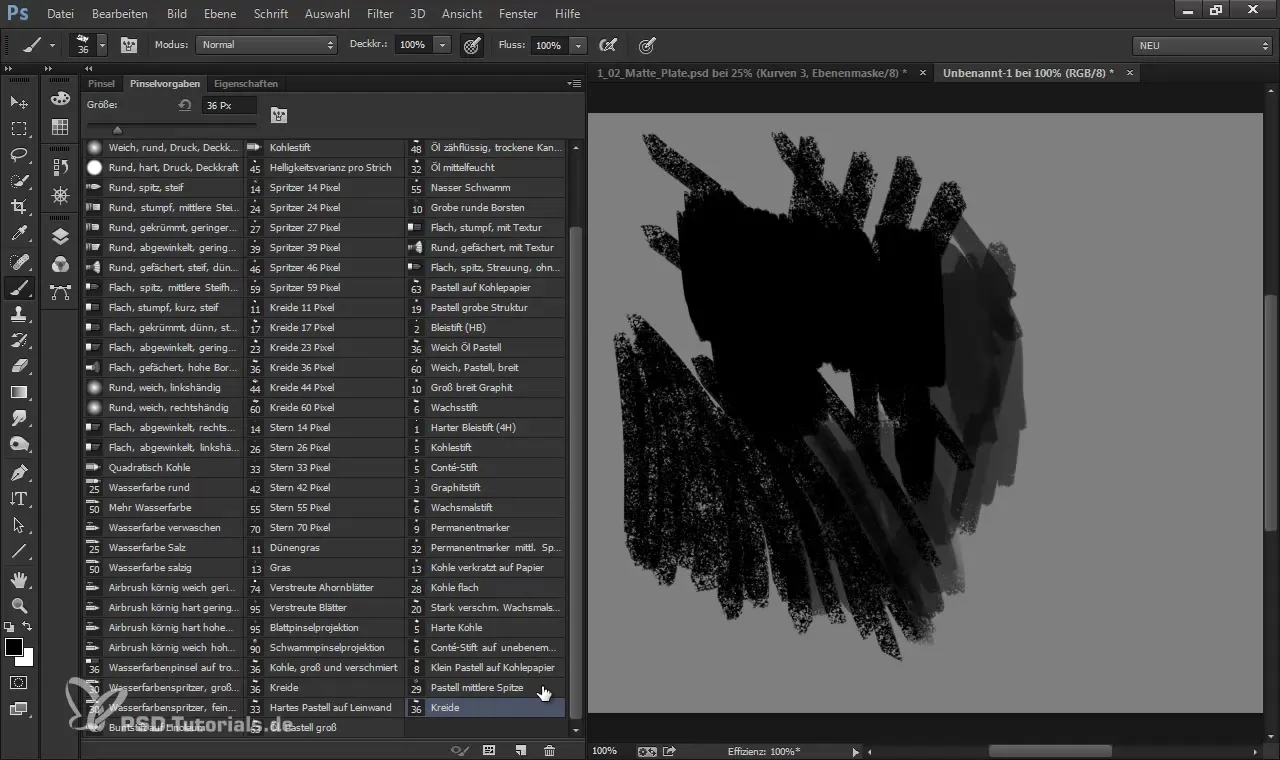
Step 11: Saving and Using Brushes
After creating your new brush, it is important to save it. Name it accordingly so that it is easy to find. You can then start using your new brush to enrich your artworks and create various textures.
Summary – Digital Painting & Matte Painting: Brush Tool and Its Settings
With the help of this step-by-step guide, you have learned the basic techniques for using the brush tool in Photoshop. You have seen how important the selection and customization of brush tips are to create impressive digital artworks.
Frequently Asked Questions
How can I customize brush tips in Photoshop?Brush tips can be customized in the brush settings, where you can control size, hardness, roundness, and other properties.
What are the benefits of using dual brushes?Dual brushes combine the shape of a brush with a texture, resulting in more interesting and varied brush strokes.
How do I save my custom brush in Photoshop?After adjusting a brush, go to "Save New Brush Preset," name it, and save it for later use.
Why is opacity control important?Opacity control allows you to vary color application depending on pressure, leading to a more natural and organic representation.


