The three-point perspective is a fascinating concept in digital painting that can create a deeper sense of dimension in your images. It requires a fundamental understanding of perspective, specifically designed for tall subjects like towers or buildings. By mastering the dynamics of this perspective system, you can significantly enhance the aesthetics of your work while intensifying the emotions it evokes in viewers. Let’s dive into the world of three-point perspective and learn step by step how to use it more effectively.
Key Insights
- The three-point perspective uses three vanishing points to create depth and dimension.
- Converging lines strengthen the impression of height and create dramatic effects.
- Photoshop tools like 'Control + J' and 'Control + T' are essential for efficiently implementing vanishing points and guidelines.
Step-by-Step Guide
If you want to familiarize yourself with three-point perspective, I recommend the following steps:
1. Understanding the Basics of Three-Point Perspective
The three-point perspective is particularly effective when working with tall subjects. It is important to consider the position of the vanishing points in the upper and lower thirds of the image so that the converging lines create a natural and dramatic representation.
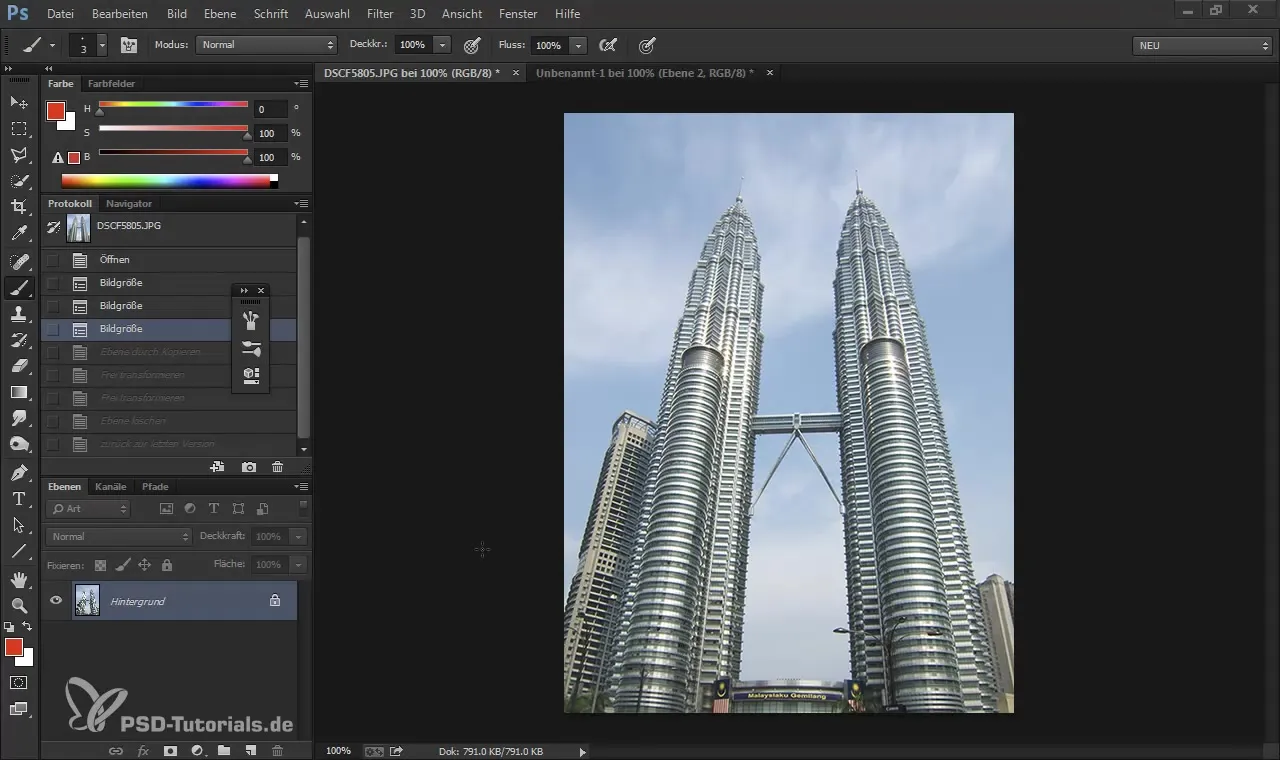
2. Setting Up Your Canvas in Photoshop
Start by creating a new image. Choose the vertical format, as this is optimal for tall objects like towers. Set the horizon far up in the image to emphasize the frog perspective. This method helps you utilize the impression of height and drama.
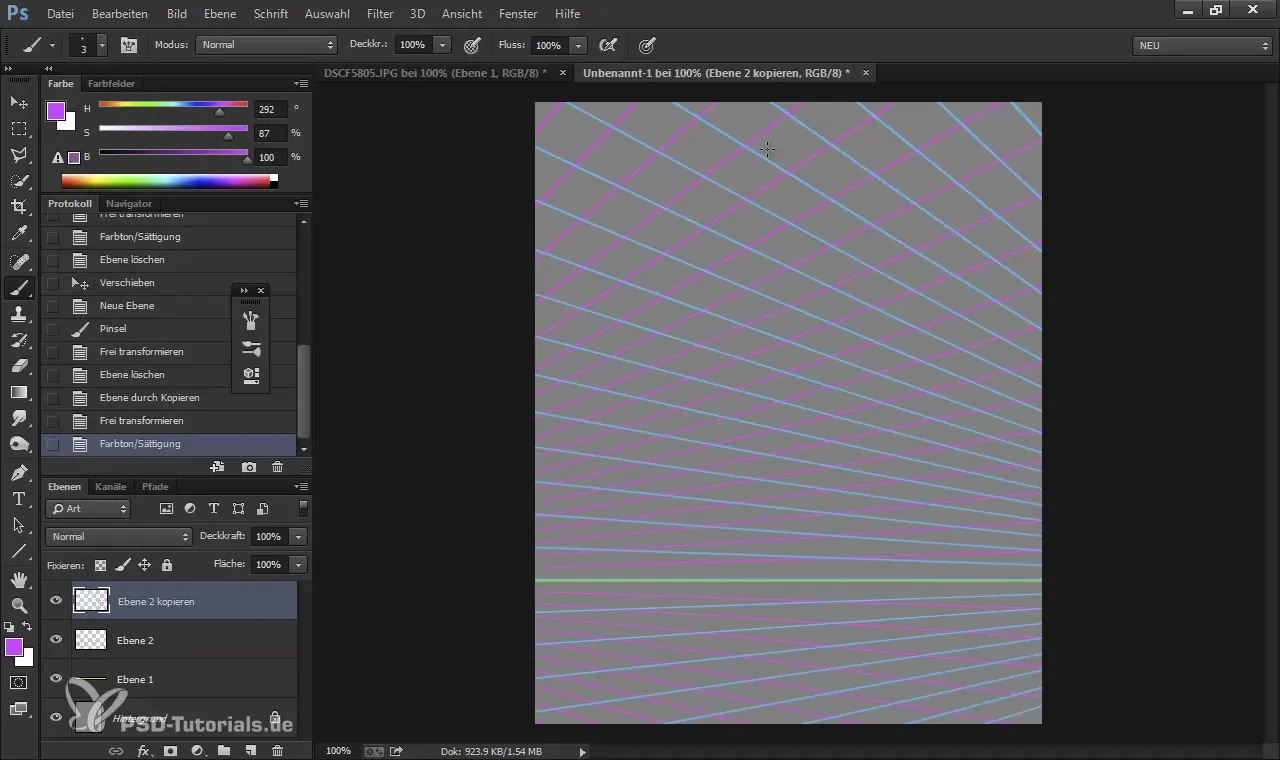
3. Creating the Vanishing Points
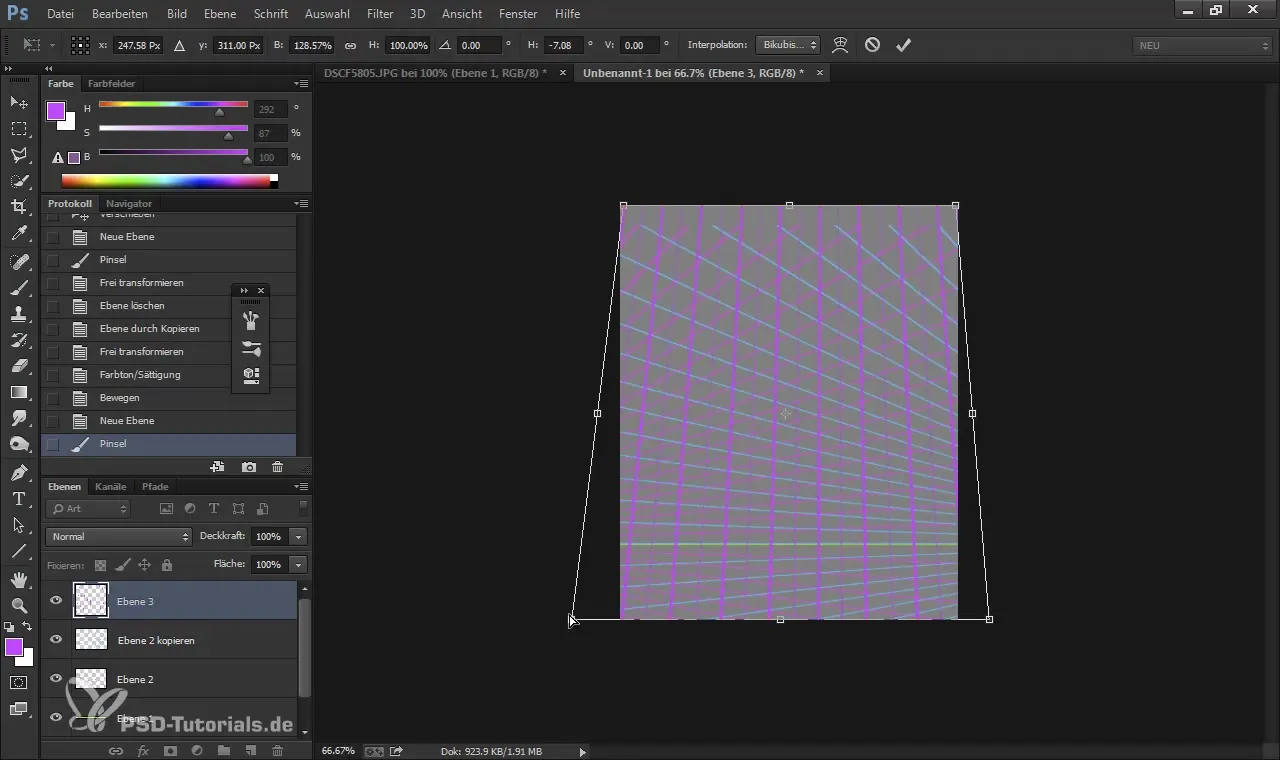
To create vanishing points, you can use predetermined lines. Copy the existing layer with Control + J. Select the layer and flip it horizontally. Try to place the vanishing points outside the image to avoid extreme angles.
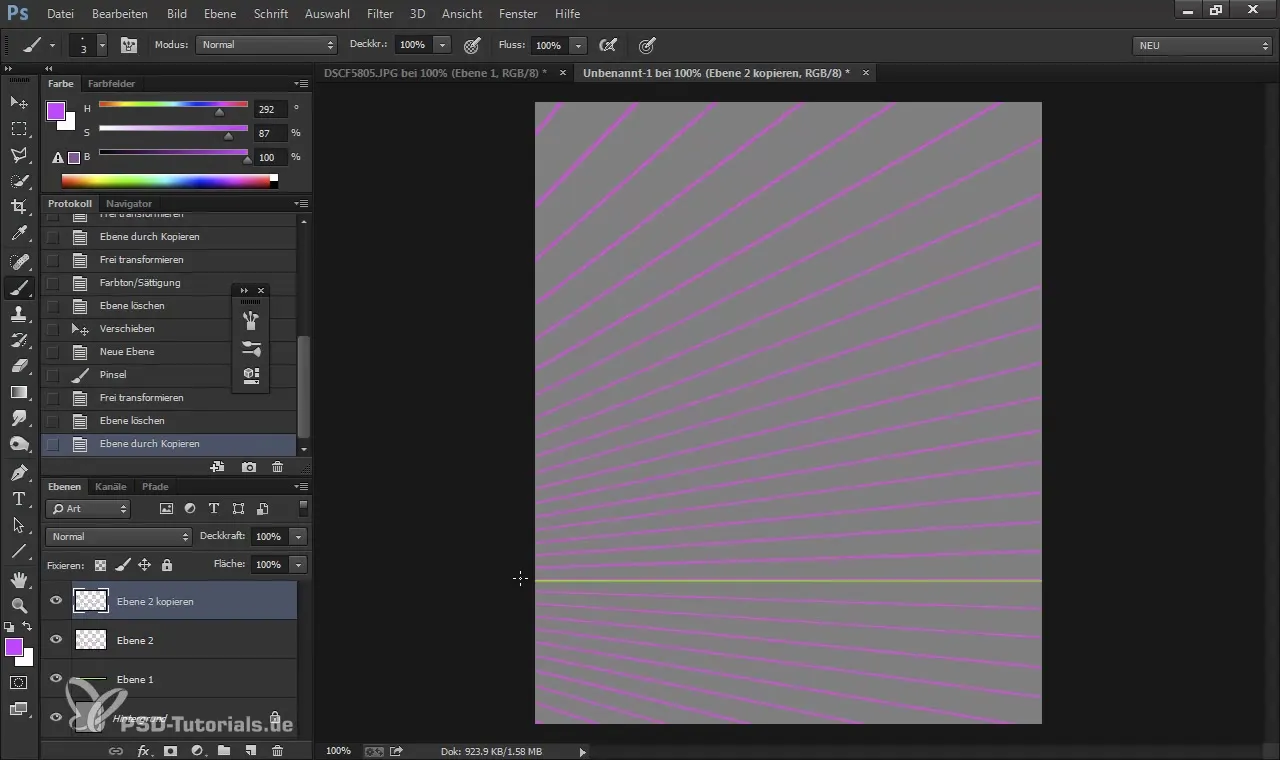
4. Inserting Guidelines
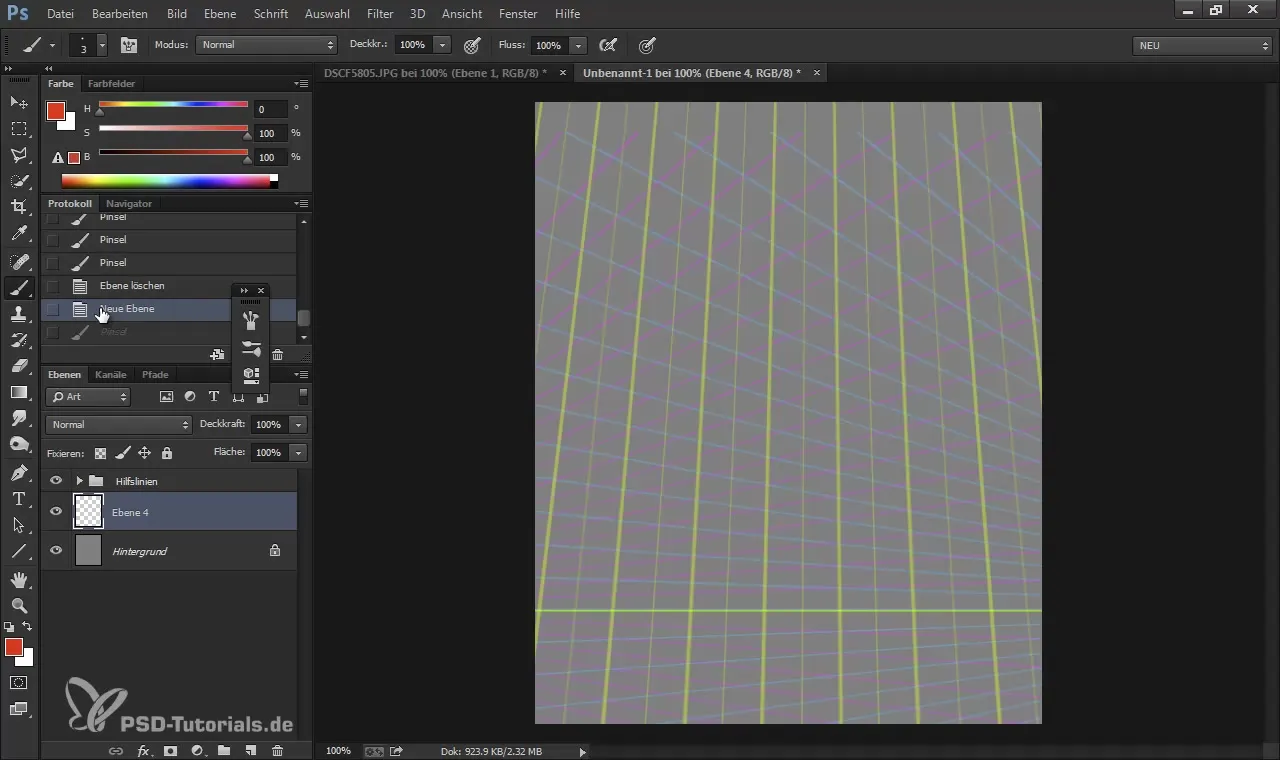
Use the line tools in Photoshop to create guidelines that help you visualize the converging lines. This is done on a new layer, which helps you create dynamic lines without affecting the original image.
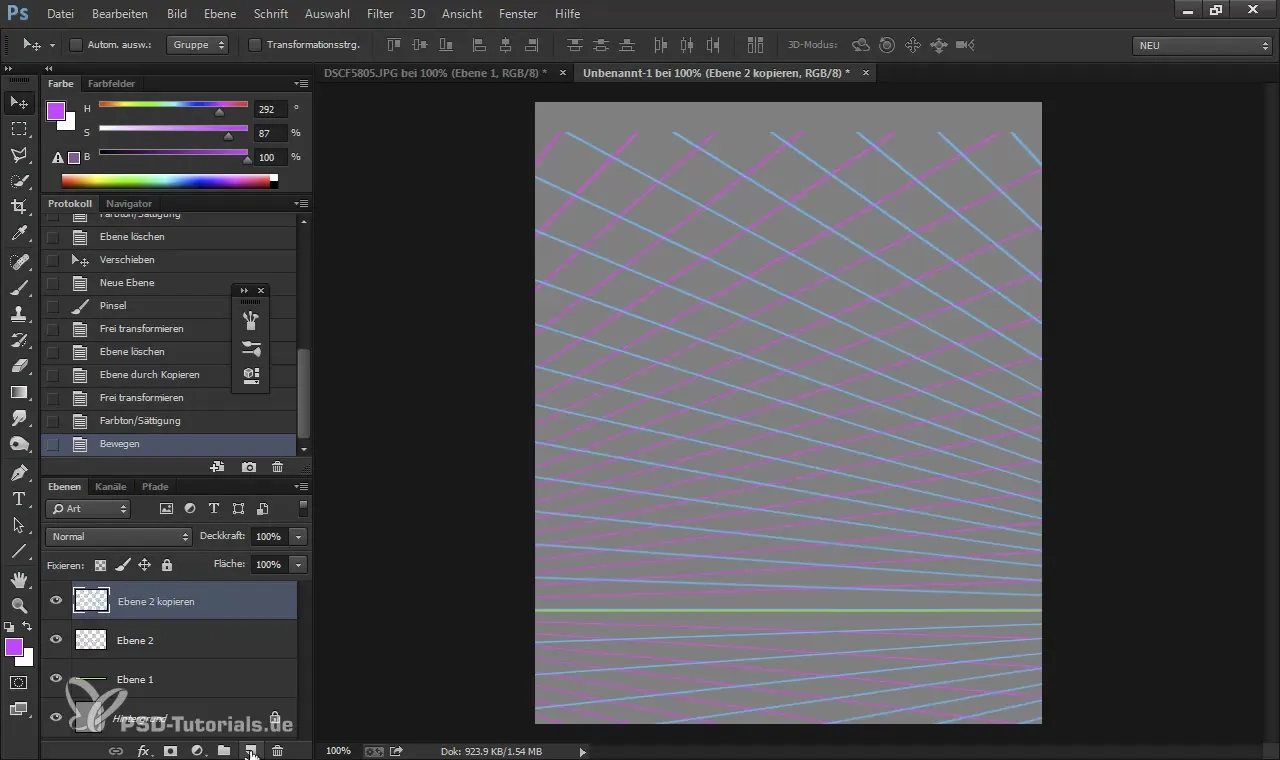
5. Drawing the Main Structure
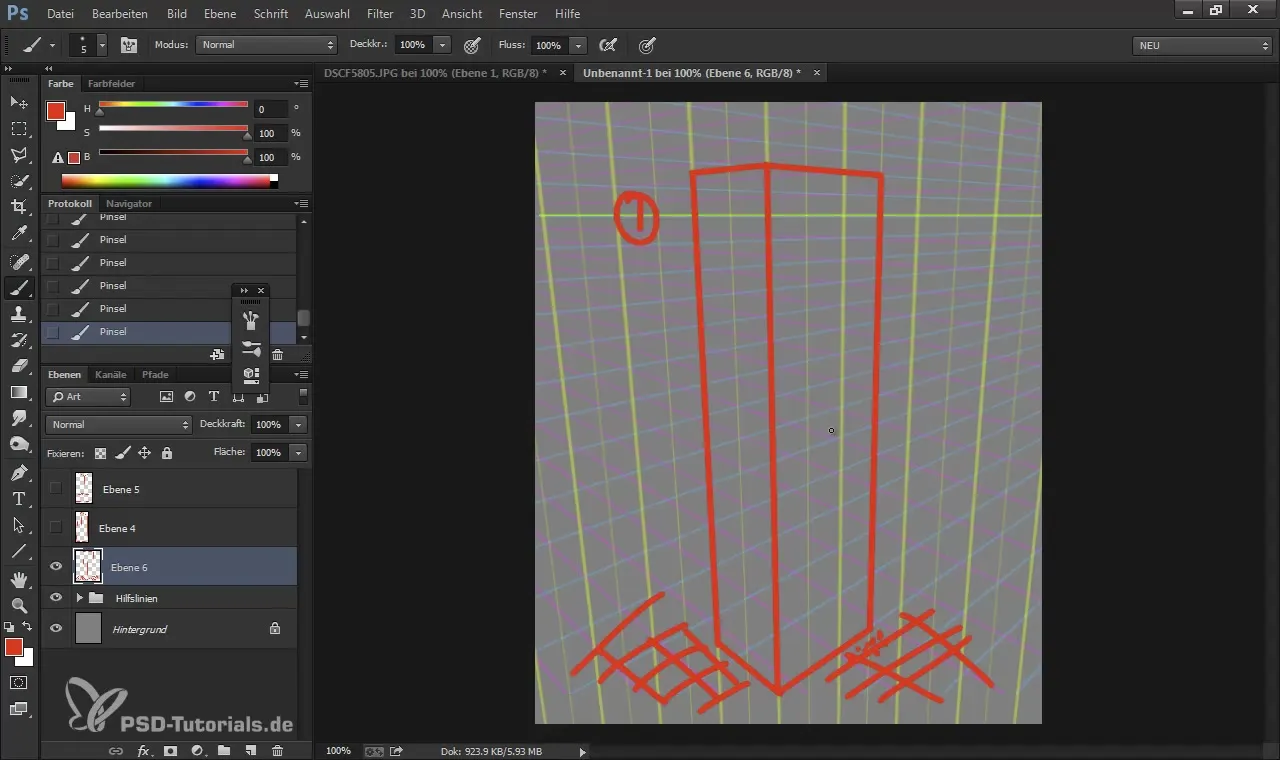
Choose a clear brush and start sketching the main structure of your tall object. Hold down the Shift key while drawing to maintain straight lines. This simplifies drawing vertical lines that not only indicate the height of the object but also clarify the converging lines.
6. Adjusting the Perspective
After drawing the basics, you can adjust certain elements by positioning them correctly with Control + T. Hold down the Shift key during this process to keep the lines straight. You can slightly tilt the lines if necessary to enhance the perspective effect.
7. Color Designs and Groupings
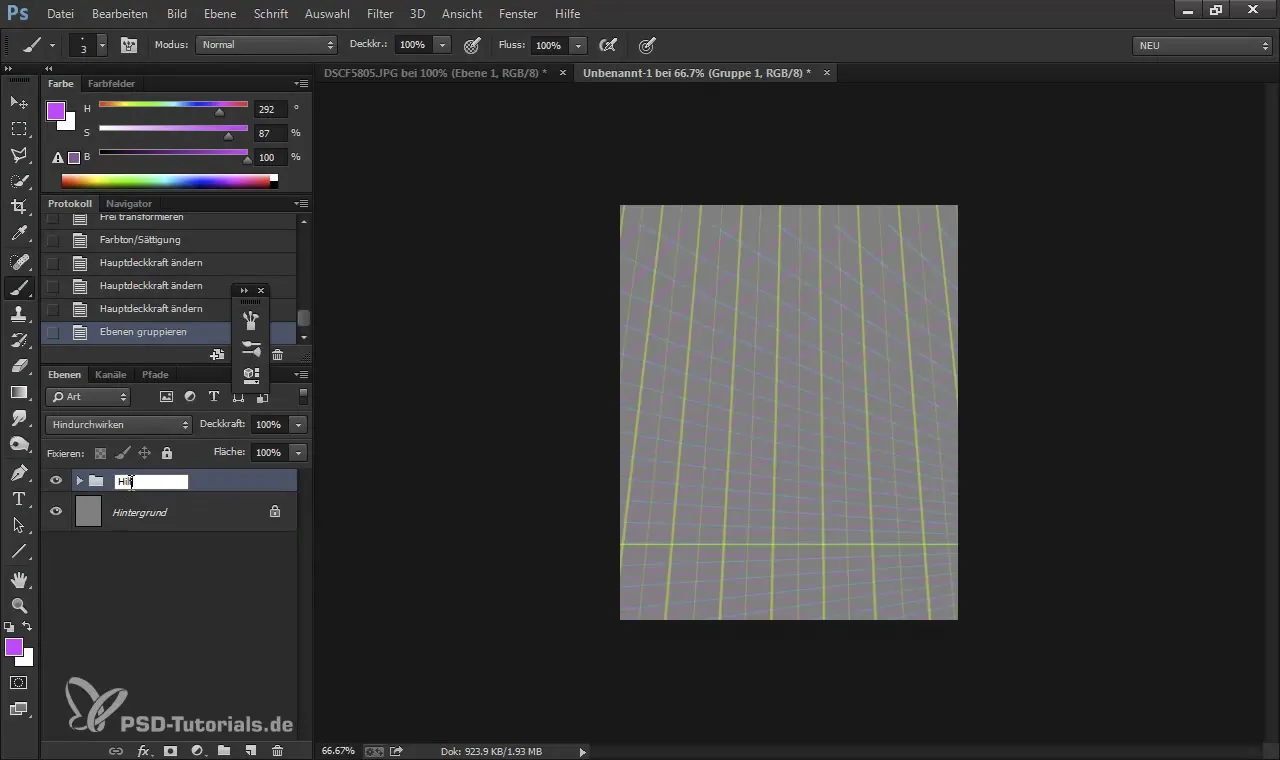
To distinguish the guidelines from the main structure, I recommend coloring them differently. Group these lines on a new layer to organize your work.
8. Finalizing
Now you can add the final details. Consider introducing an additional cutting plane to determine the viewpoint. It’s important to remember that everything below the horizon line is viewed from above, and everything above it is viewed from below.
9. Vertical and Horizontal Alignment
Examine the created lines and adjust them if needed to achieve harmonious proportions. Ensure that sharp angles attract the viewer and enhance the feeling of height.
10. Cutting with Google SketchUp
For further development of architecture and to better visualize complex structures, Google SketchUp can be helpful. This program allows you to create precise vanishing points and lines that can easily be imported into Photoshop.
Summary – Digital Painting and Matte Painting: The Three-Point Perspective in Detail
Mastering the three-point perspective is not only a technical skill but opens up creative possibilities in representing and designing heights. The right understanding and corresponding tools can greatly enrich your work and evoke a dramatic effect. Practice these techniques, and you will soon be able to create stunning digital artworks that take the viewers' breath away.
Frequently Asked Questions
What is three-point perspective?Three-point perspective is an artistic concept that uses three vanishing points to create depth and dimension in images.
How do converging lines affect my art?Converging lines create a dramatic impression of height and help visually enhance the proportions of a subject.
Are special tools needed to create perspective?Yes, programs like Photoshop and Google SketchUp can be very helpful for creating precise perspectives and vanishing points.


