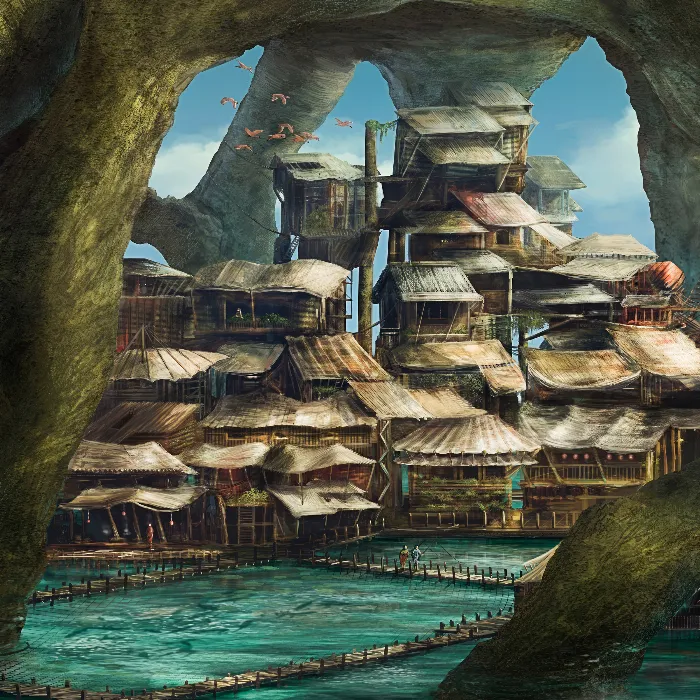
Mattepainting is an exciting technique of digital art that is indispensable in the film and gaming industry. It combines traditional painting with modern digital tools to create impressive scenes and backgrounds. In this guide, you will learn about the origins of this technique, the standards that apply today, and how you can start with mattepainting yourself.
Key Insights
- Mattepainting has historical roots and has developed over decades.
- The technique combines classical painting with digital tools to create dynamic and realistic backgrounds.
- Impressive landscapes and sets can be created that draw the viewer into the story.
The Basics and History of Mattepainting
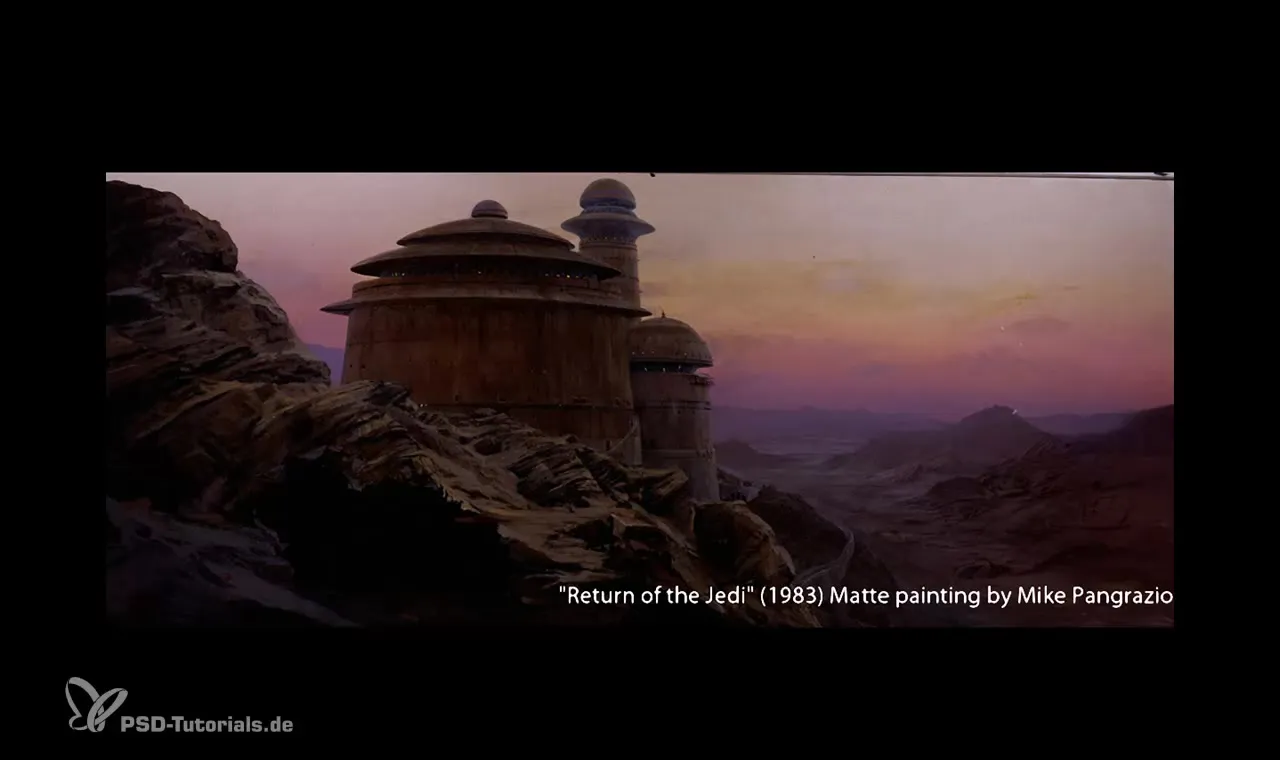
Begin your journey with a look into the history of mattepainting. One of the most famous applications of this technique can be found in the film "Star Wars: Return of the Jedi" from 1983. There you see the temple of Jabba the Hutt, which was traditionally created as a mattepainting. Unlike today, this was not done digitally, but with paint on glass, which gives this first variant of mattepainting a special charm.
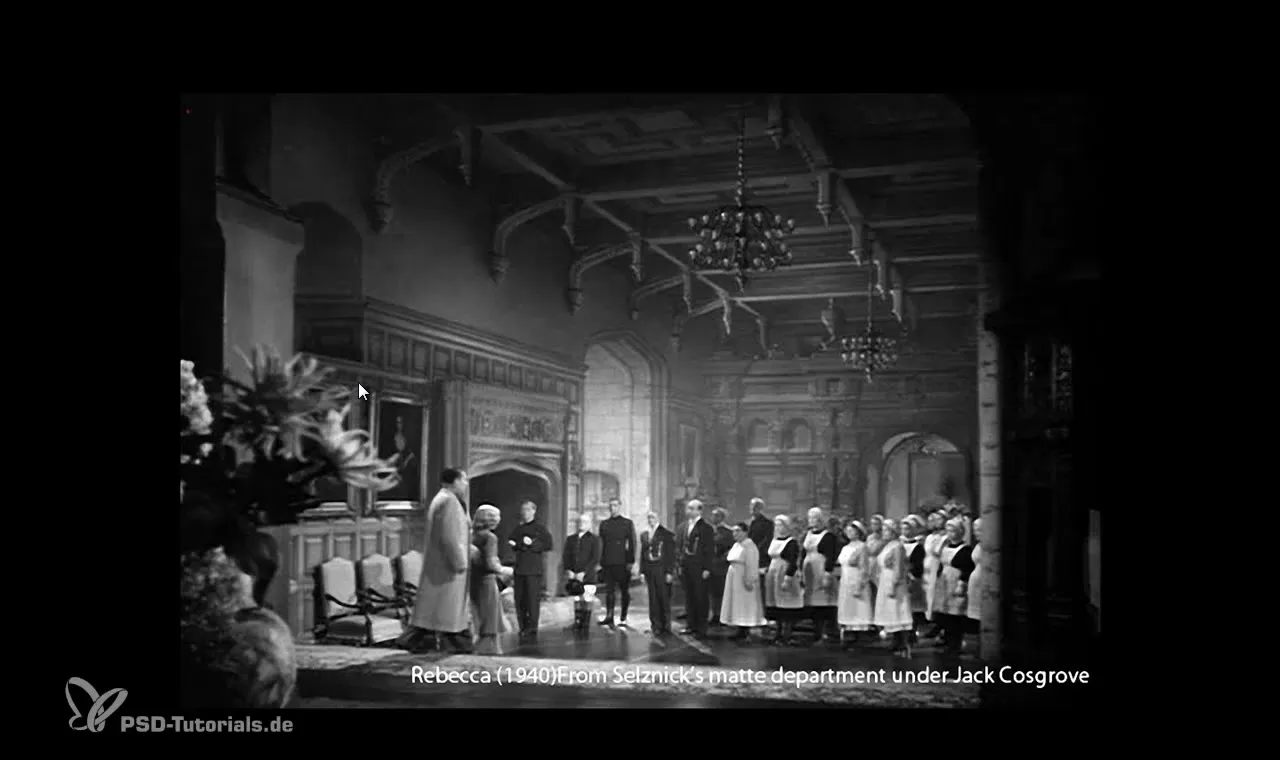
Another example comes from Alfred Hitchcock's film "Rebecca" from 1940. Here, a connection between the painted background and the actors on screen becomes visible, demonstrating how effective this technique was, even in a time when digital effects were not available.
Mattepaintings often serve to expand or create the background of a film without the need to build expensive sets. This presents a significant financial advantage for both large and independent productions.
Step-by-Step Guide for Your First Mattepainting
1. Choosing a Suitable Subject
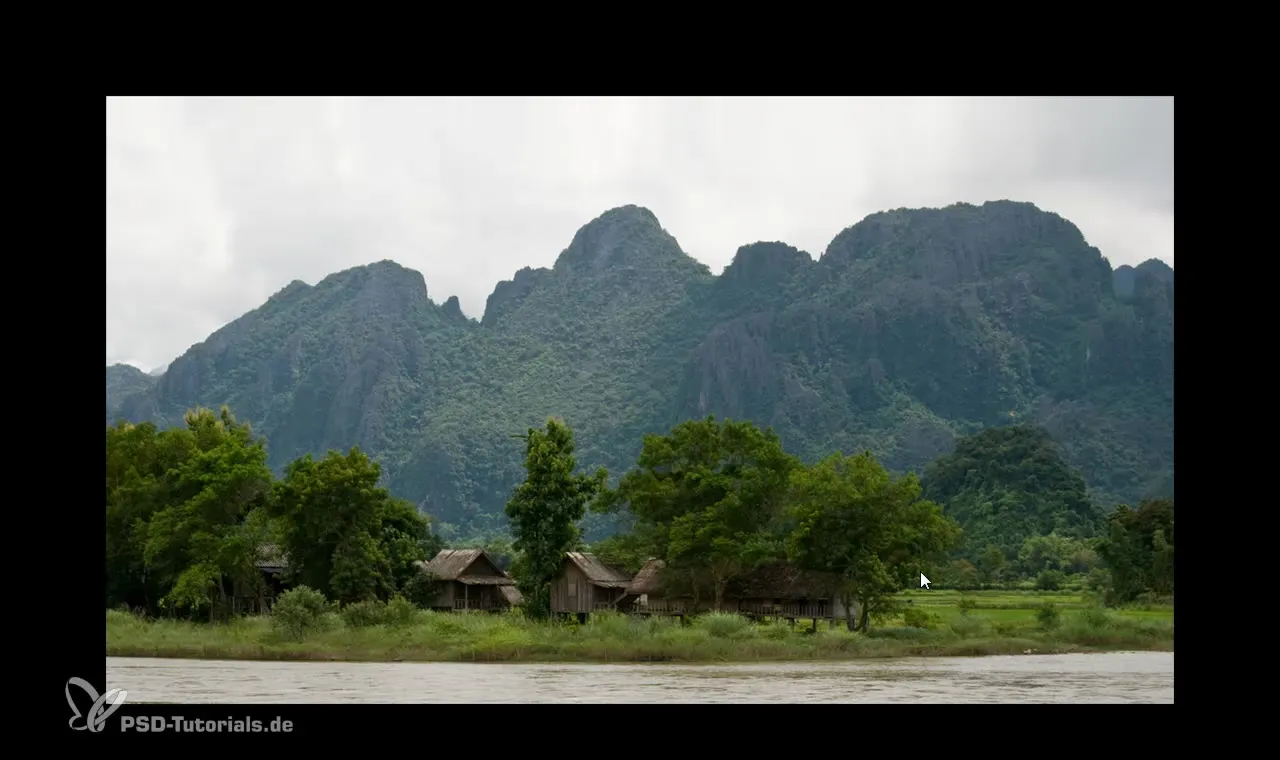
Before you start painting, choose an image that you want to use as a starting point. This could be a landscape or an urban environment. For example, you could use a photo from a trip to Southeast Asia. Decide which elements should remain in the image and which should be painted over.
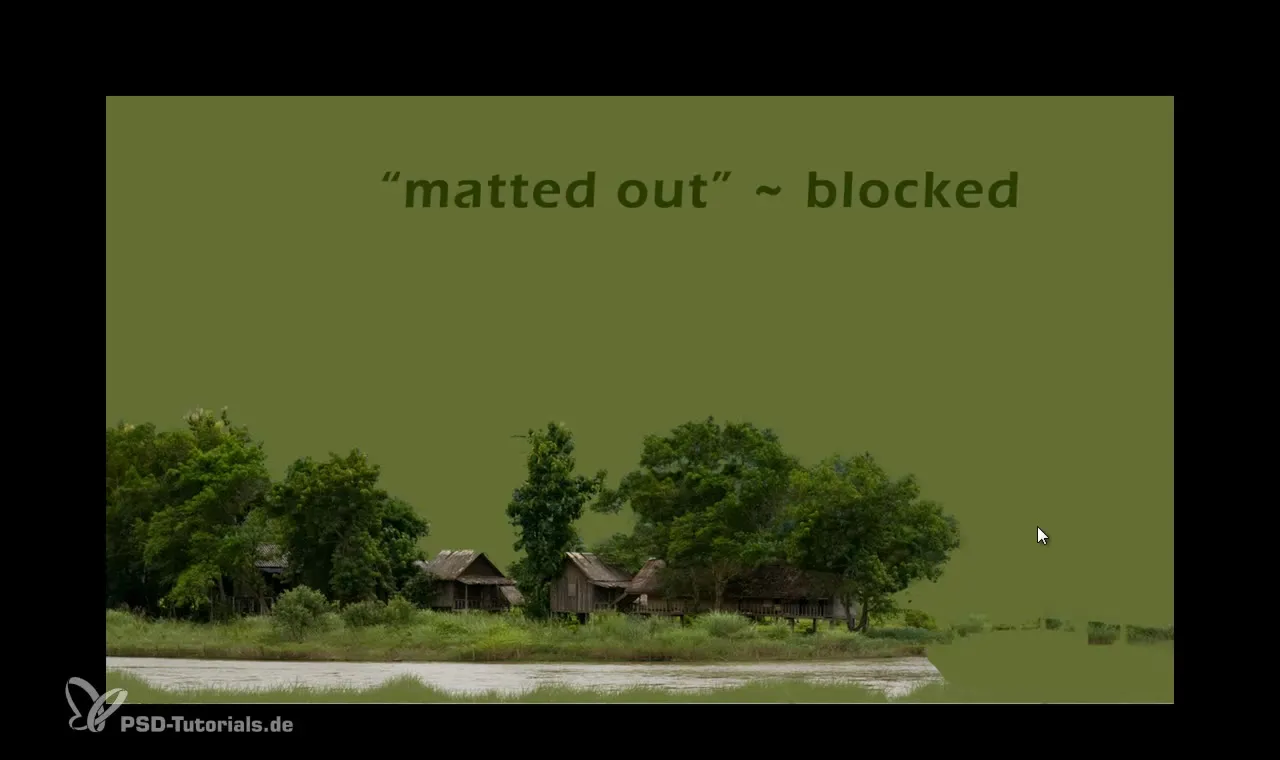
2. Painting Over the Background
After you have selected your image, begin blocking out the parts that you want to paint over. This process is referred to as "matte out." This means defining the portion of the image that you want to paint or manipulate later.
3. Digital Painting
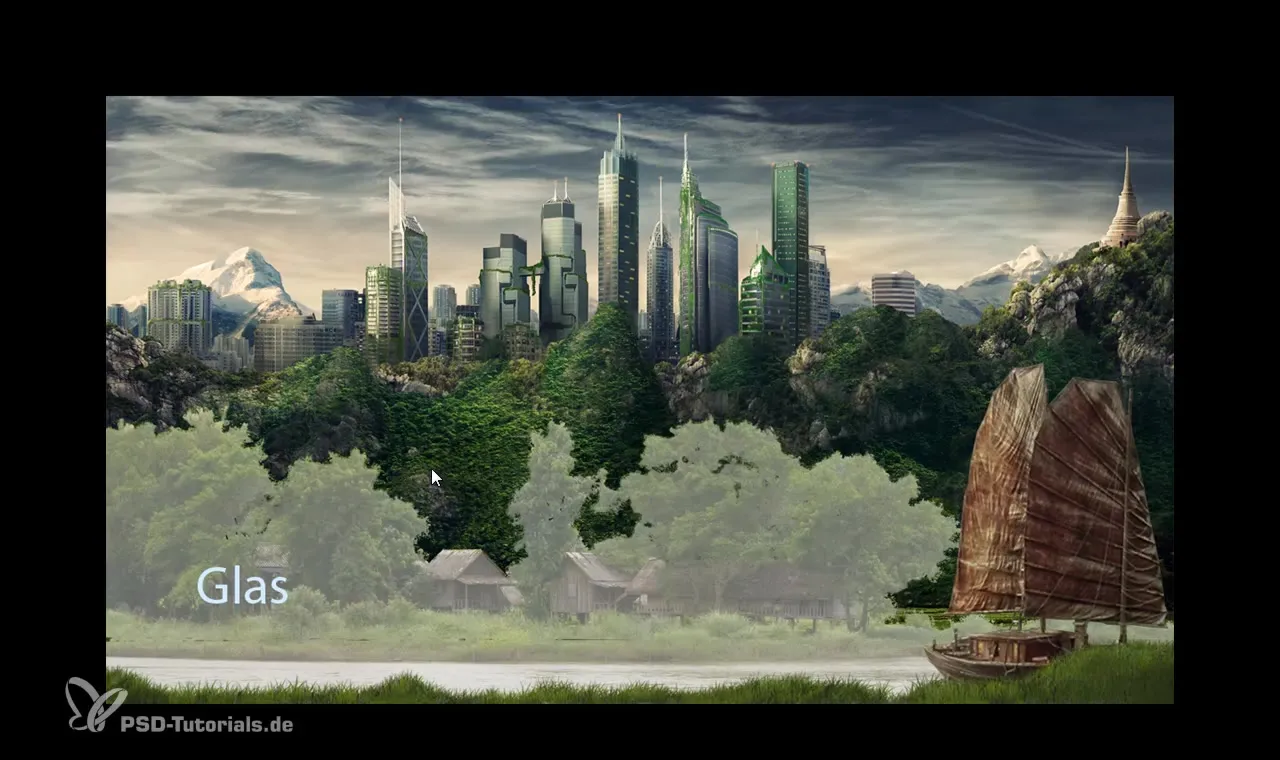
Now it’s time for the creative work. Here, you have the opportunity to combine traditional painting techniques with digital image processing. Use relevant software like Photoshop and begin revising the background. In this phase, you can also add textured photo elements to give your image more depth and realism.
4. Integrating Structure
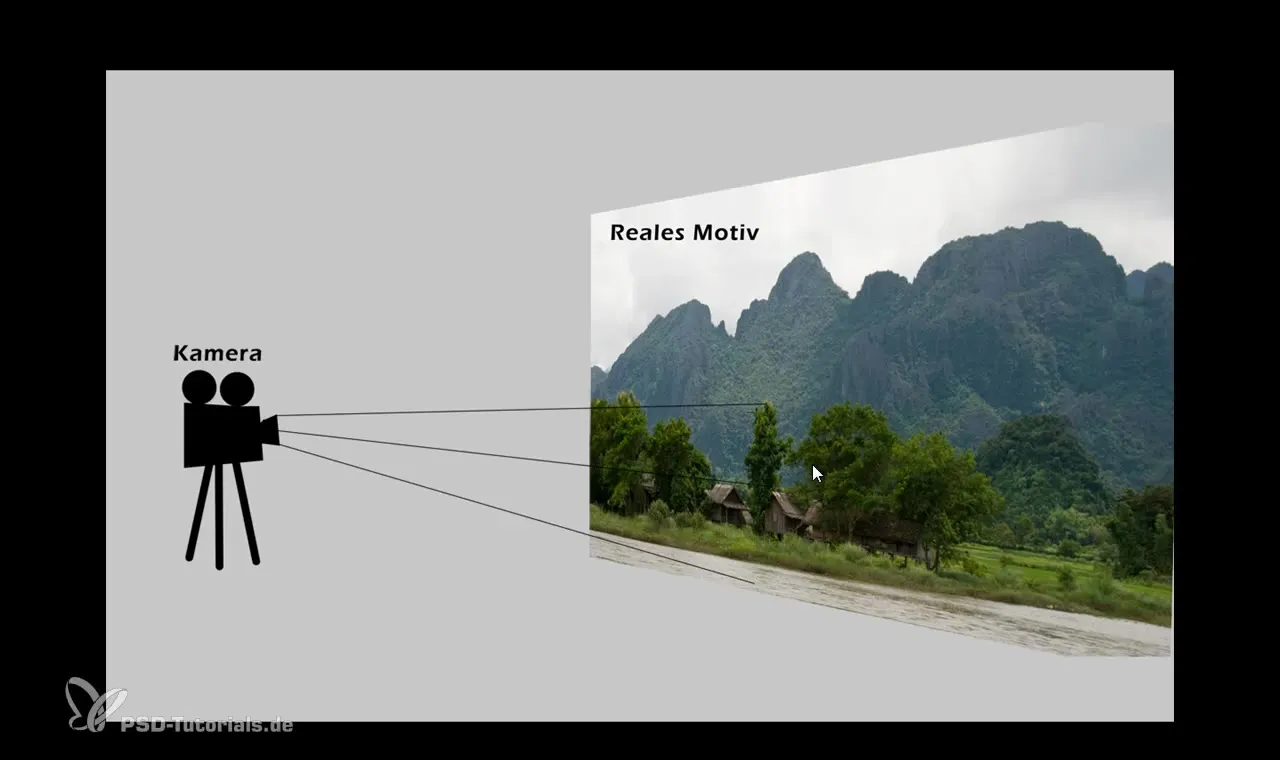
To ensure your mattepainting fits seamlessly into the overall image, you need to find the right composition. Here, a digital background created by you might be combined with real actors. Make sure that the different layers work together harmoniously.
5. Applying 3D Elements (Optional)
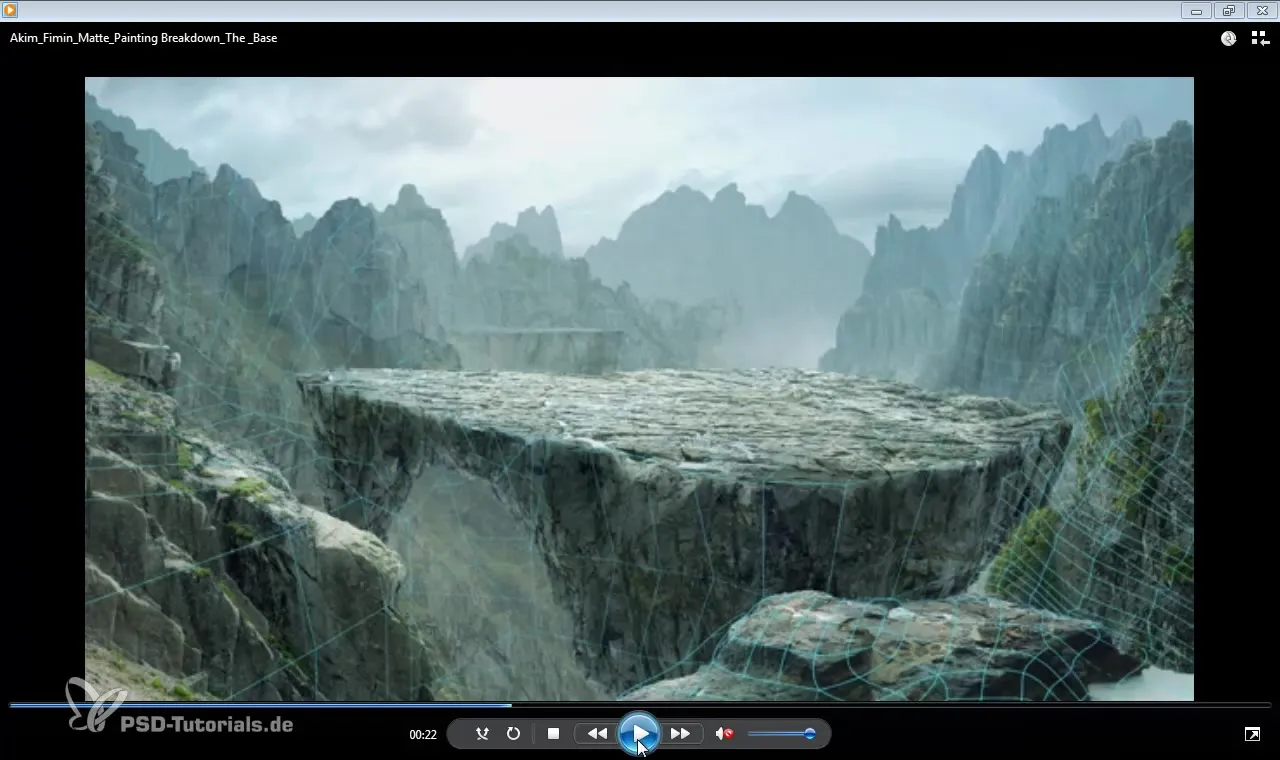
If you want to transfer your mattepainting into three-dimensional space, you can import the created images into 3D software. This way, you can add depth-enhancing elements that make your image even more exciting.
6. Final Composition and Animation
The last element is the final composition of your mattepainting. Here you can add animation effects or adjust the image to create a dynamic scene. Remember that it’s important how the camera movement connects with your mattepainting. Experiment and find out what works best.
Summary – Digital Painting & Matte Painting: Your Guide to Mattepainting Techniques
Mattepainting is a fascinating art form that requires clear technical skills and creative design. In this guide, you have learned the basics, from the history to choosing a subject to the digital execution and finalization. By mastering the right tools and techniques, you can create stunning backgrounds that captivate your audience.
Frequently Asked Questions
What is mattepainting?Mattepainting is a technique used to create backgrounds or scenes in films and games to provide a realistic environment.
How has the technique changed over the years?In the past, mattepainting was traditionally created with paint on glass; today, it is mostly done digitally with software like Photoshop and 3D programs.
Do I need special software for mattepainting?Yes, software like Photoshop is essential for creating mattepaintings. Optional 3D software can be added if you want to incorporate additional spatial dimensions.
How long does it take to create a mattepainting?The duration depends on the complexity of the image and your skills in digital art. Simple mattepaintings can take a few hours, while more complex works may take days or weeks.
What are the best tips for beginners in mattepainting?Start with simple images, practice your painting techniques, and experiment with different textures and layers to develop a better feel for the technique.
