The stamp tool is often used for retouching purposes in digital art. However, it also has great potential as a creative element, especially in Digital Painting and Matte Painting. In this guide, you will learn how to use the stamp tool not just for simple error correction but also for creating complex and detailed textures.
Key Insights
- The stamp tool can be used for creative texturing and painting.
- The choice of brush tips is crucial for the outcome.
- It is important to adjust the settings regularly to achieve better results.
- Diverse brush tips can significantly enhance the artistic process.
Step-by-Step Guide
To unlock the full potential of the stamp tool, follow this structured guide:
1. Settings and Preparation
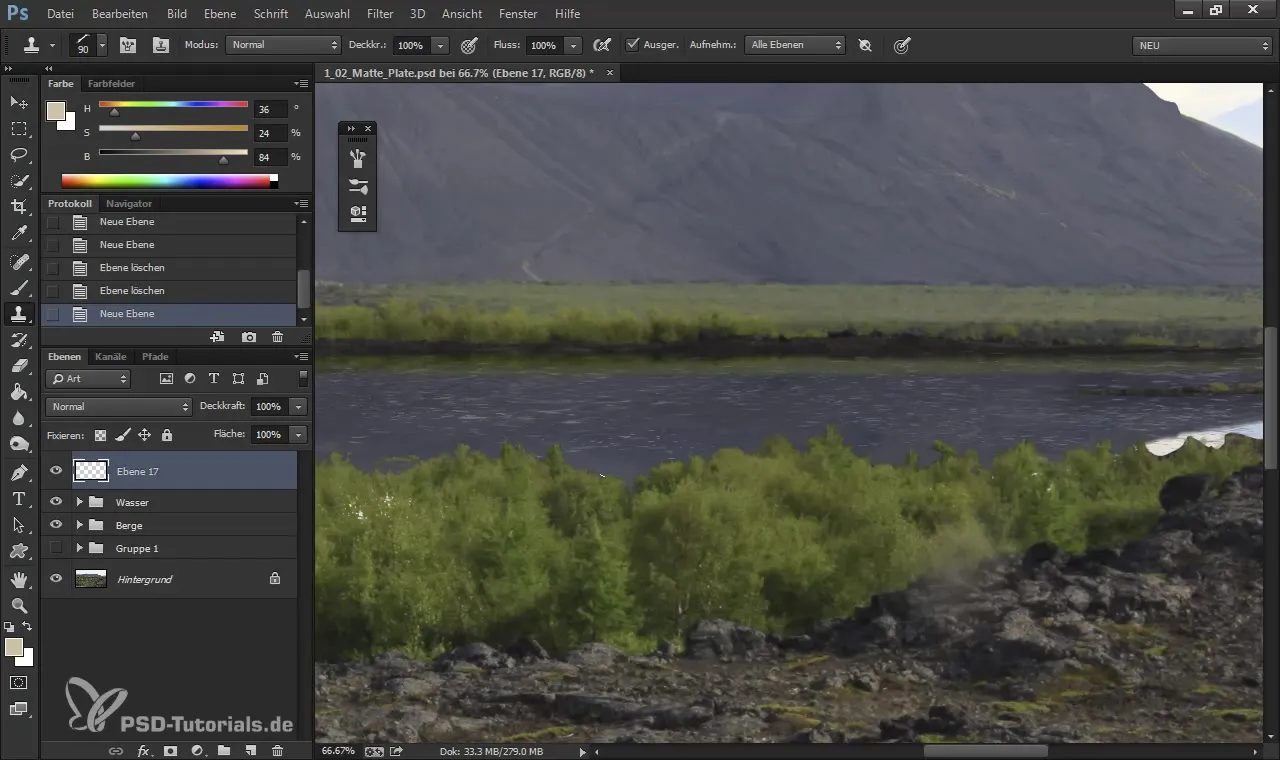
Start by selecting a new layer in your graphic software. Working on a separate layer is essential to have the option to undo changes at any time. Make sure you have chosen an appropriate brush tip that matches the type of texture you want to achieve.
2. Choose the Right Brush Tip
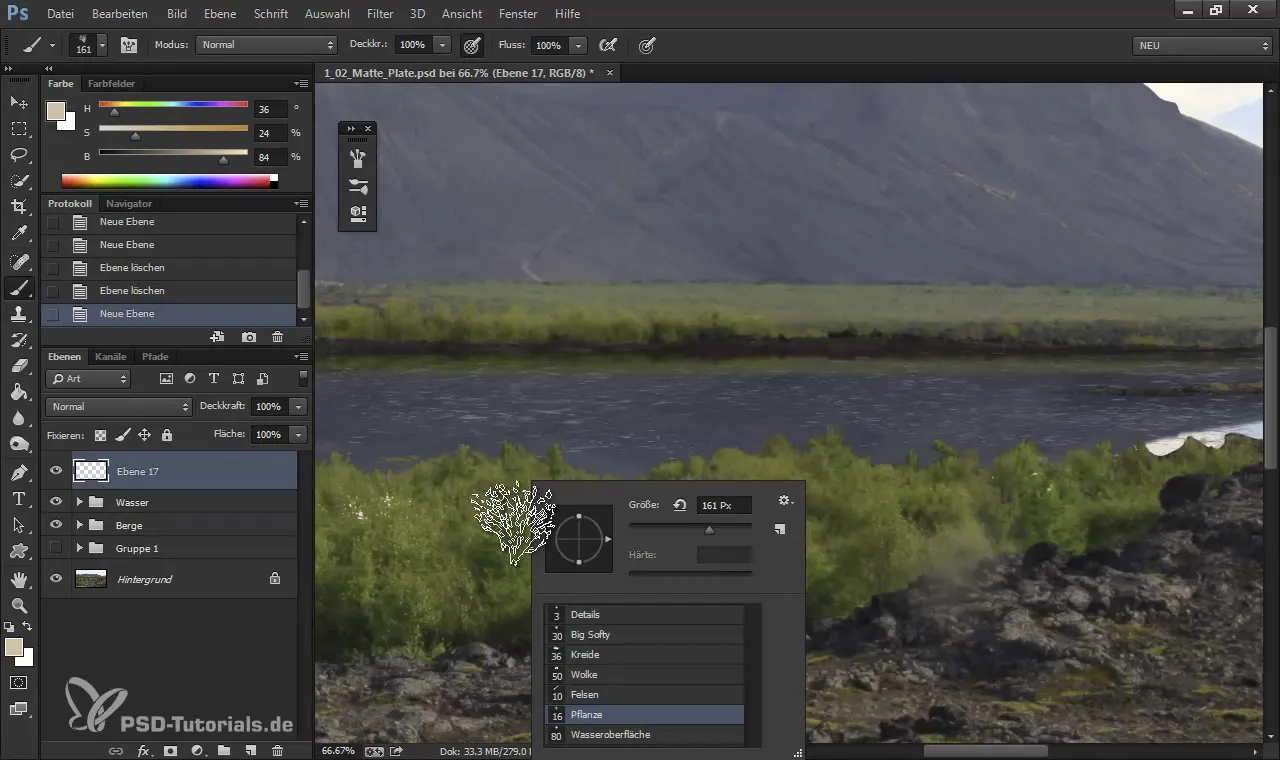
The choice of brush tip is crucial for the desired outcome. You can either use predefined brushes or create your own brush tips. A plant as a brush tip, for example, is an optimal choice if you want to create natural structures.
3. Preparing for Stamping
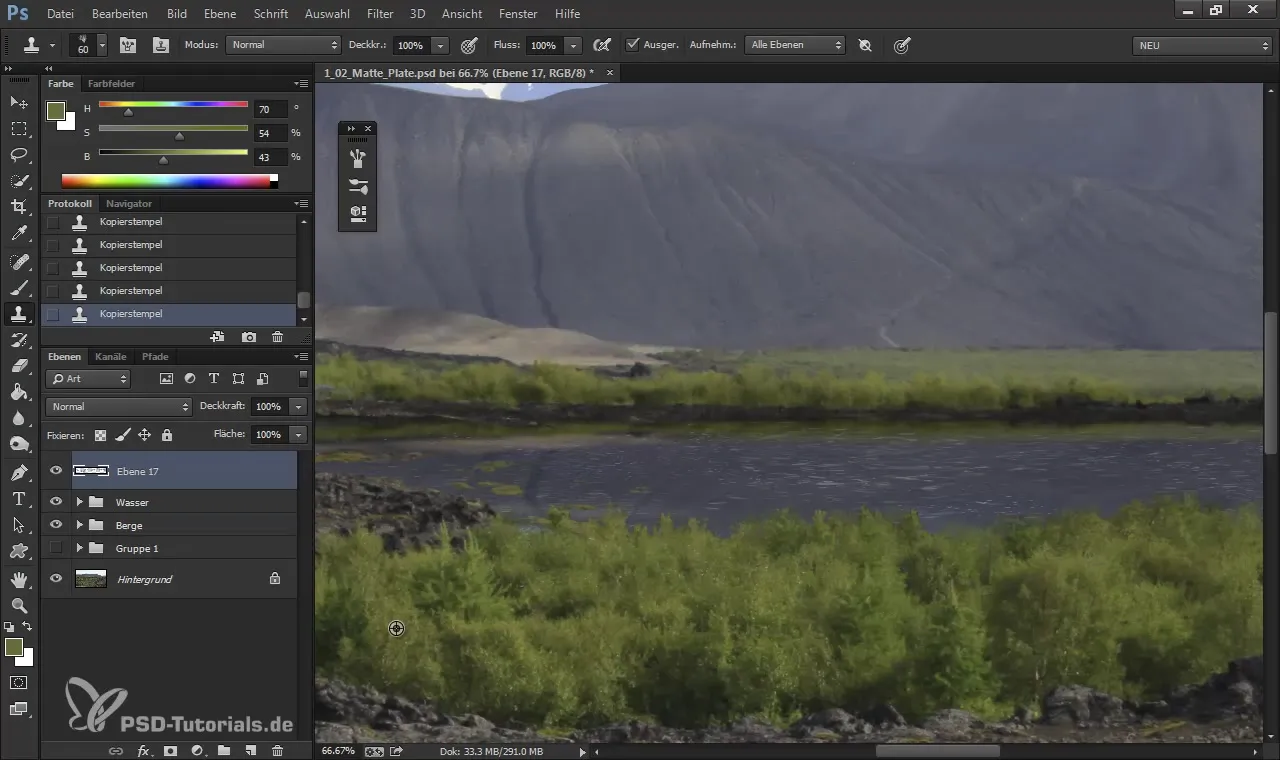
To transfer the structure and not just the color, hold down the ALT key while selecting an appropriate area you want to stamp. This allows you to use the texture instead of a solid color area.
4. Effective Stamping
When you start stamping, make sure not to work too long with the same shape. This will cause the entire area to be copied and not highlight the desired details. Instead, you should make 2-3 strokes, select a new area, and ensure that the shapes work harmoniously together.
5. Staying with Variations
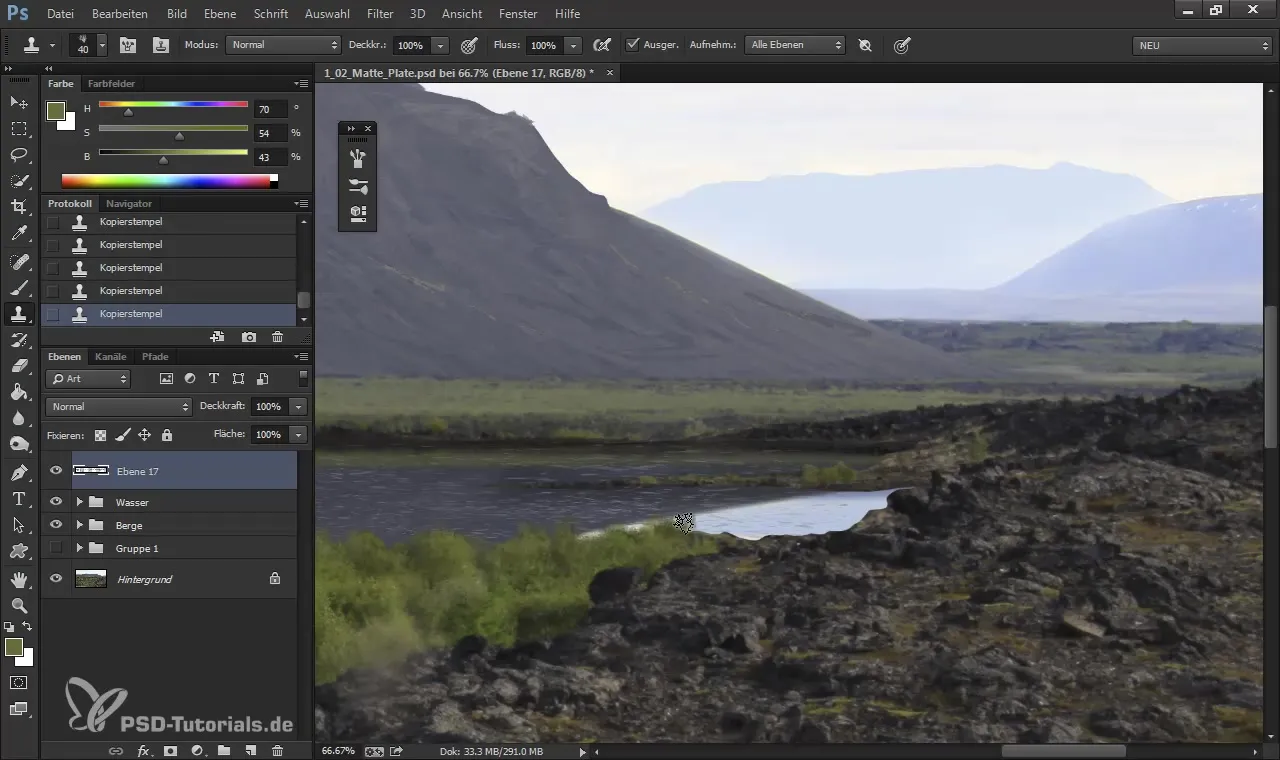
Use different brush tips to bring more dynamism and variety to your work. For example, you can switch between brush tips to create softer or sharper edges and achieve a more realistic look.
6. Adjusting Brush Size
Make sure to adjust the brush size as needed. Smaller brushes can help stamp more detailed areas, while larger brushes are better suited for expansive areas.
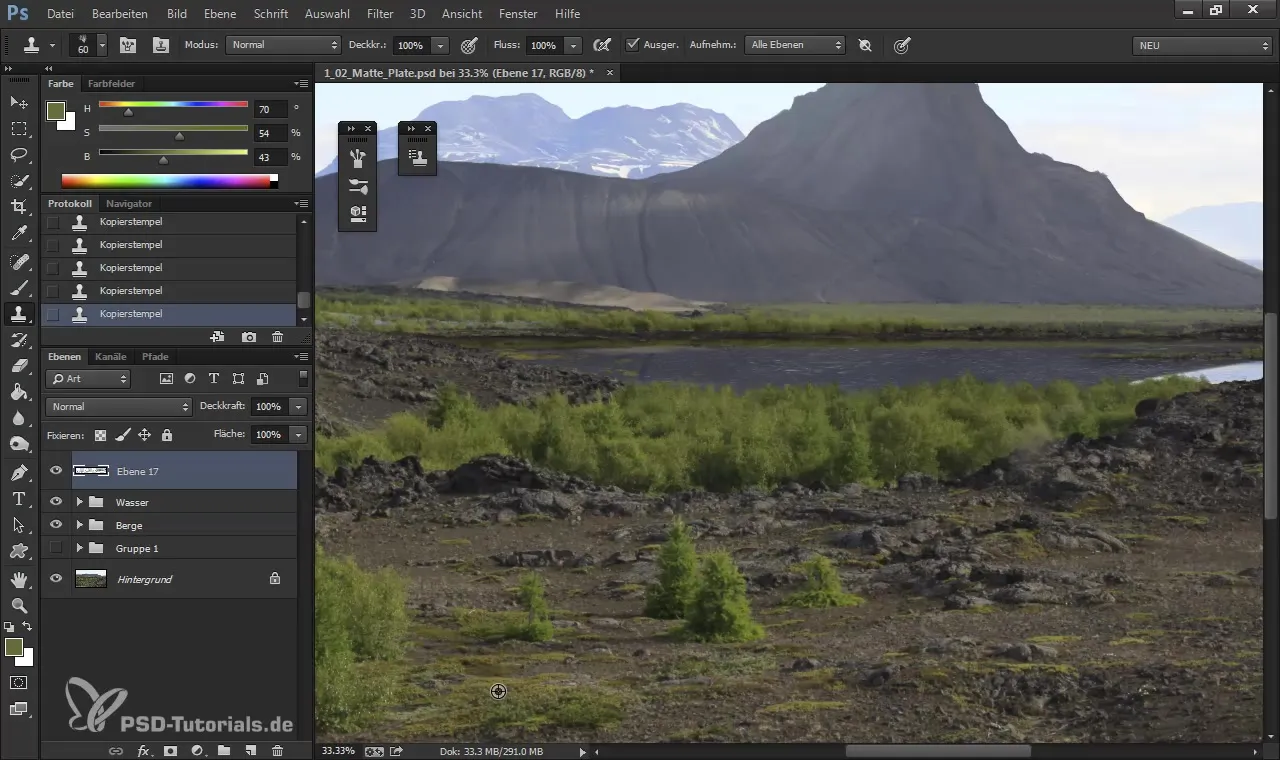
7. Use Width and Height Settings
If you want to capture details from a specific object in your image, you can adjust the width and height settings in the stamp tool. This allows you to scale the captured material to fit the context of the image.
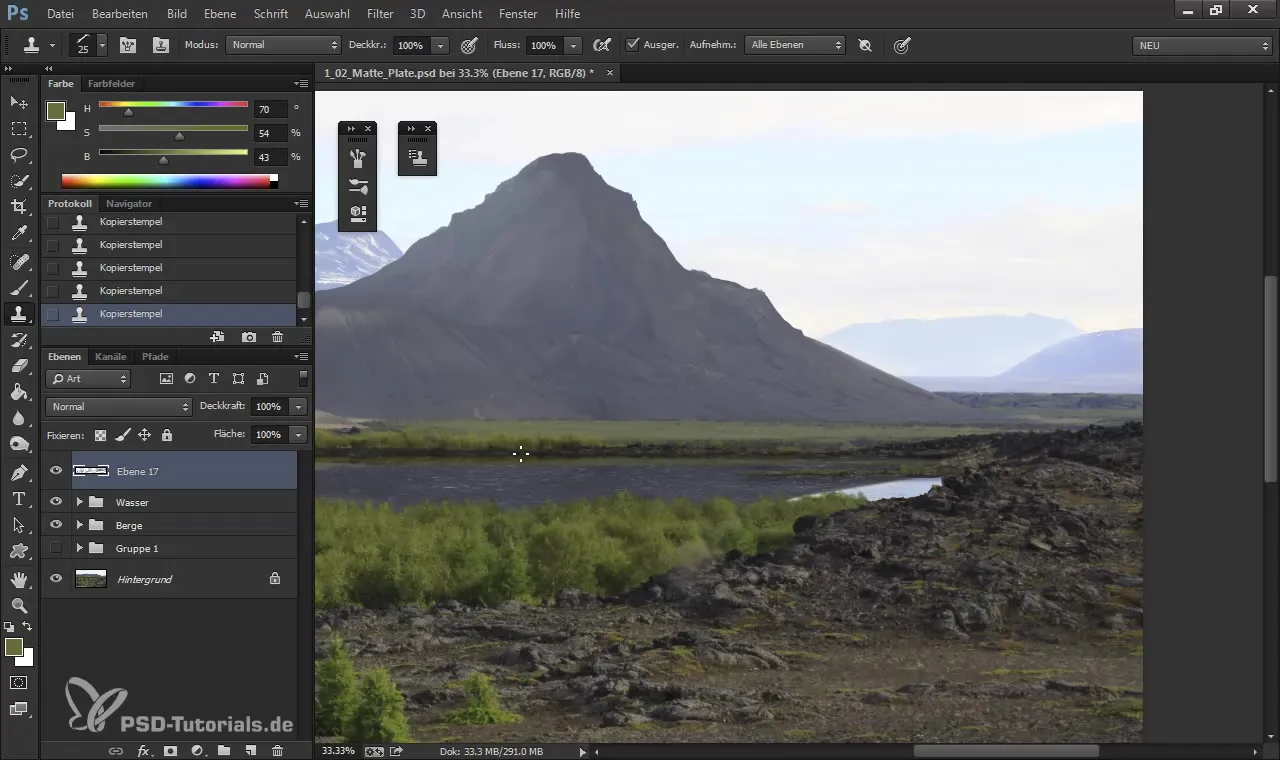
8. Corrections and Refinement
After you have worked out the basic textures, it is important to regularly make corrections. Check all edges and textures for inconsistencies and use the stamp tool to revise them.
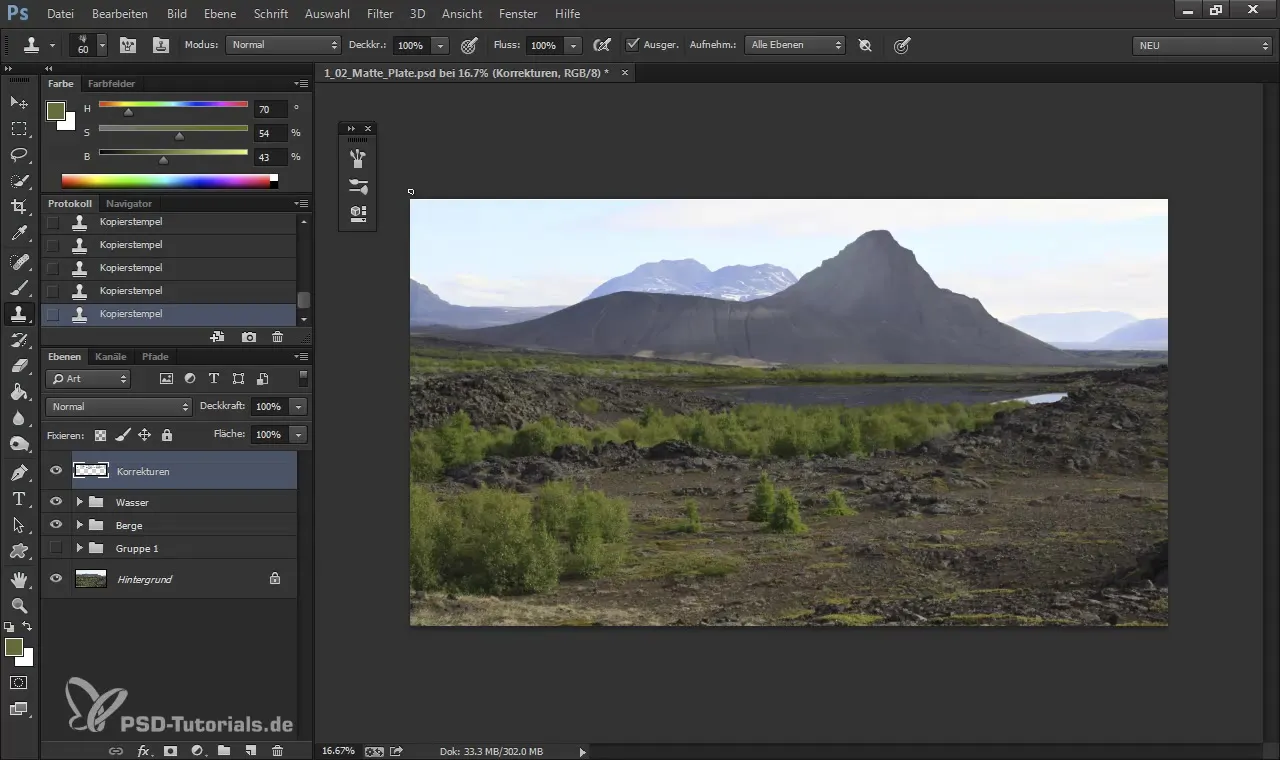
9. Final Steps and Final Check
Before you consider your artwork finished, perform a final check. Review all elements and make last adjustments to ensure that everything looks harmonious.
Summary – Digital Painting & Matte Painting: Creatively Using the Stamp Tool
The stamp tool is a versatile tool that helps you both in retouching and creative work. With a proper understanding of brush tips, settings, and varied stamping, you can integrate impressive textures and details into your digital art.
Frequently Asked Questions
What is the stamp tool and what is it used for?The stamp tool is used to transfer textures and details from one image to another or to retouch unwanted elements.
How do I choose the right brush tip?The choice of brush tip should be based on the texture you want to create, e.g. plants or other natural structures.
What do I need to consider regarding the settings?Make sure to change the width and height to scale objects correctly, and adjust the opacity as needed.
Are multiple brush tips necessary?Yes, different brush tips provide more variation and help achieve more realistic results.
Why is the control of corrections important?Regular checks ensure that your image remains consistent and that there are no unwanted elements disrupting the overall picture.


