In the first part of the tutorial "The Chess Game," you will be introduced to the fascinating world of composing. Marco Kolditz shows you how to create a creative scene in Photoshop while working with prominent imagery. The goal of this video is to create an emotional and artistic representation of a chess game between humanity and nature. Here you will learn how to approach your first image both technically and creatively.
Main Insights
- The importance of smart objects in Photoshop
- How to set up an appropriate canvas for your project
- Techniques for placing and adjusting images
Step-by-Step Guide
Step 1: Project Introduction
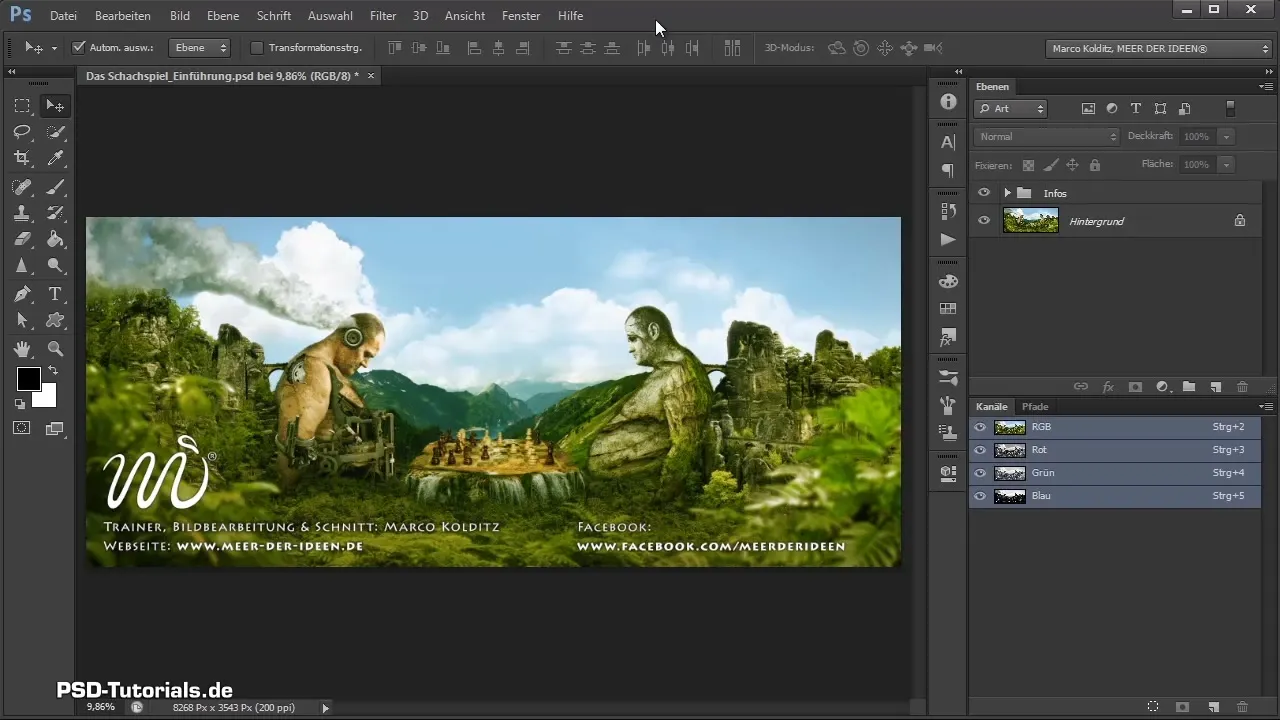
Before you start composing, take a look at the finished image that you want to recreate step by step. It shows a chess game between humanity and nature, inspired by the most famous game in the world from 1851. This way, you will learn about the creative ideas behind the artwork.
Step 2: Create Canvas
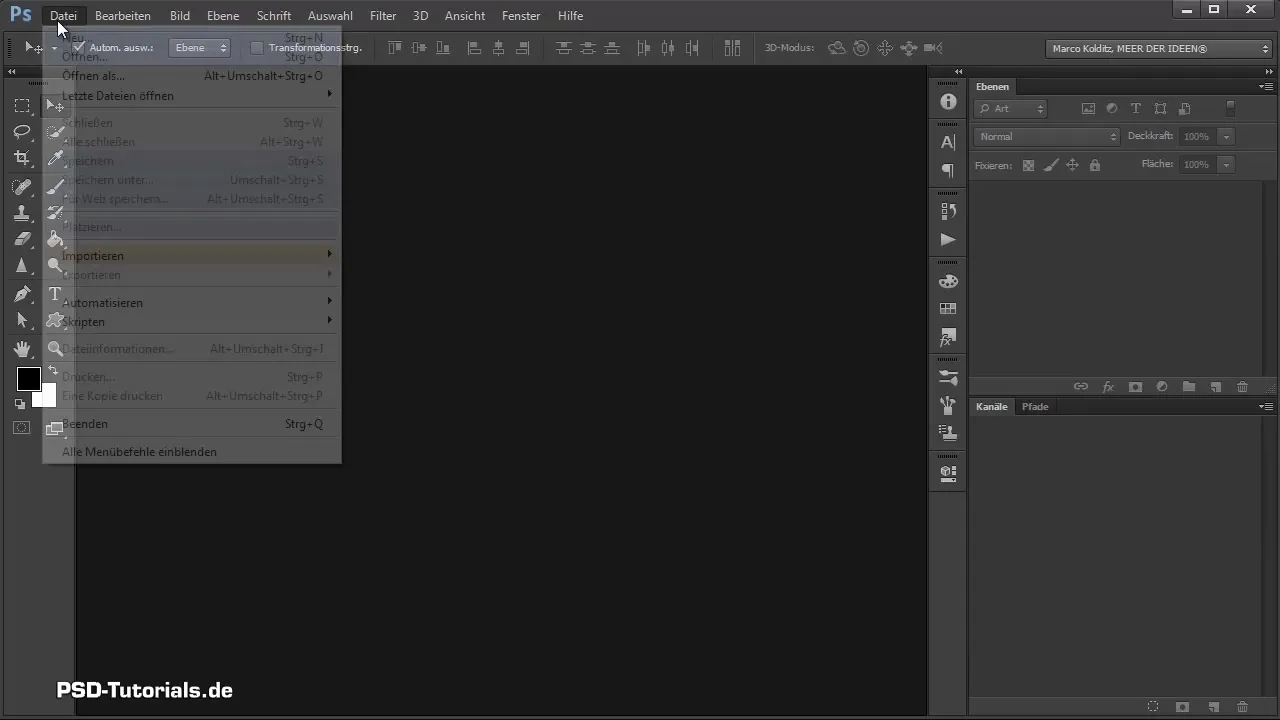
To start your composing, you first need to create a new canvas in Photoshop. Click on "File" and then "New". Alternatively, you can use the keyboard shortcut Ctrl + N.
Step 3: Canvas Settings
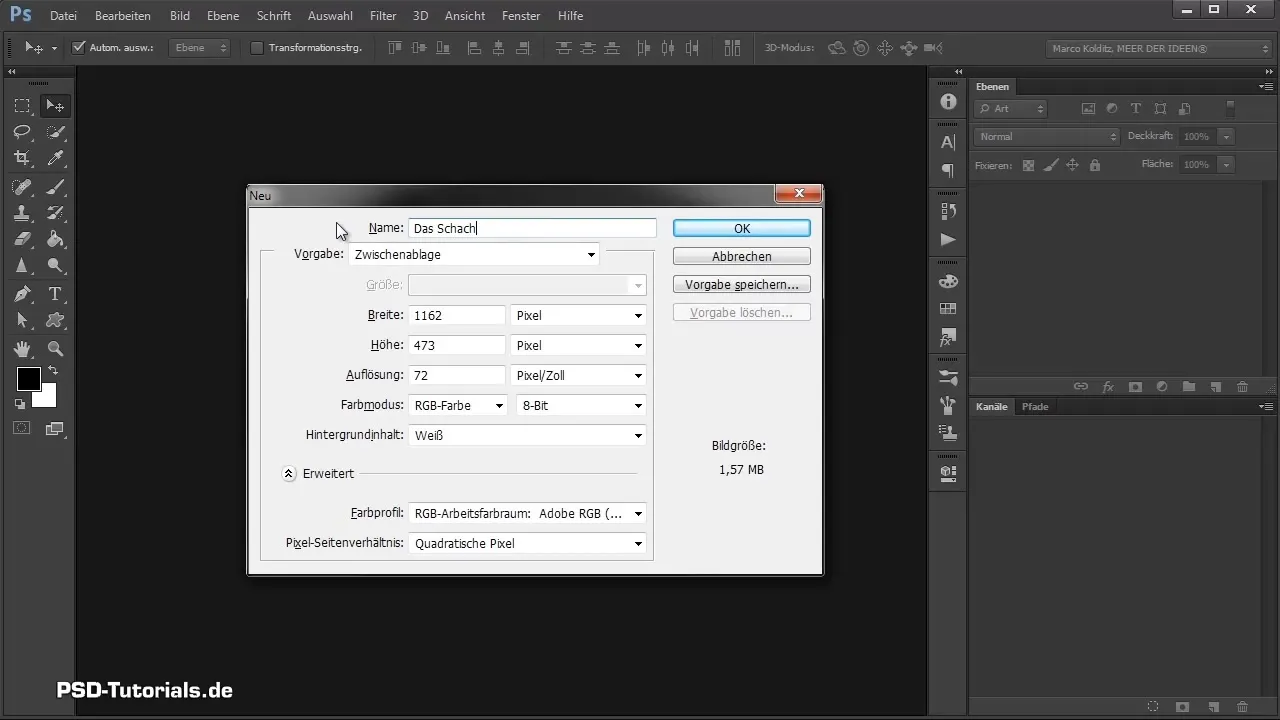
In the dialog that opens, make the following settings: Name your canvas, for example "The Chess Game". Choose a cinemascope aspect ratio of 21:9. Set the width to 105 cm and the height to 45 cm, with a resolution of 200 dpi. This resolution is optimal for printing and offers a good balance between quality and file size.
Step 4: Adjust Canvas
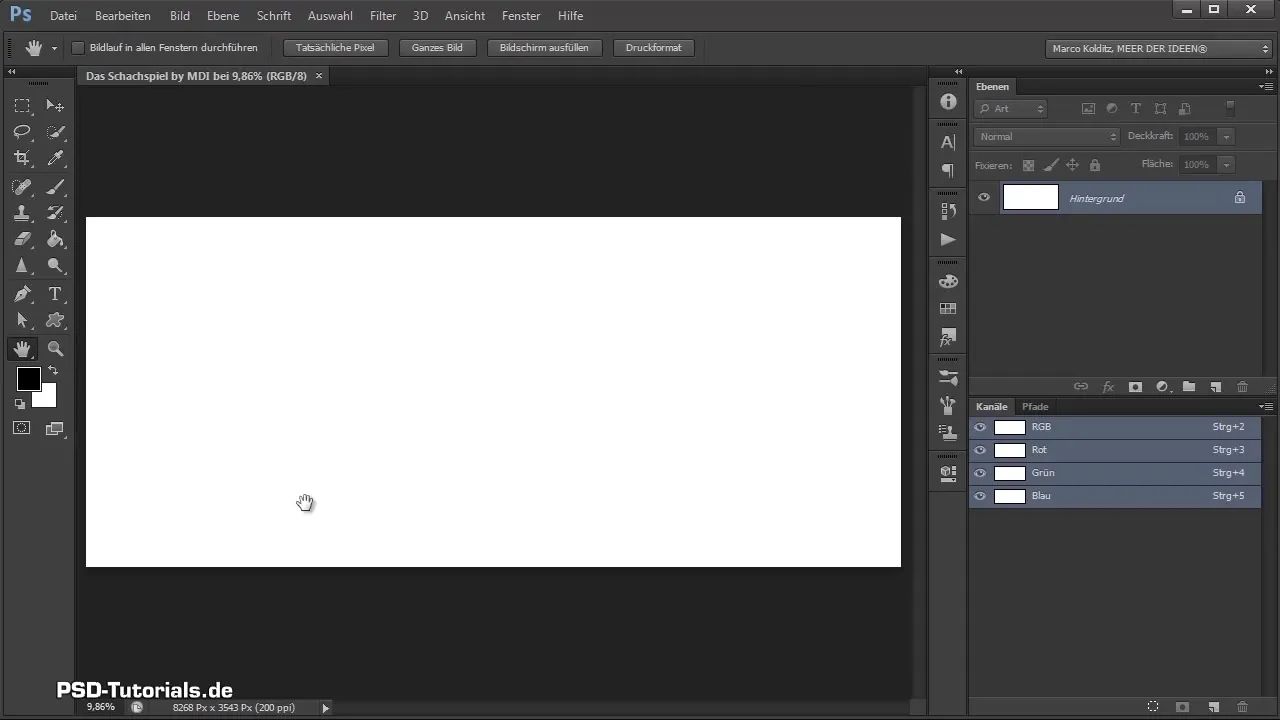
After creating the canvas, it is important to adjust the view accordingly. By double-clicking on the hand symbol, you can zoom in on the view while ensuring you do not accidentally enlarge or reduce the image. The zoom function helps you capture the details better.
Step 5: Place Background Image
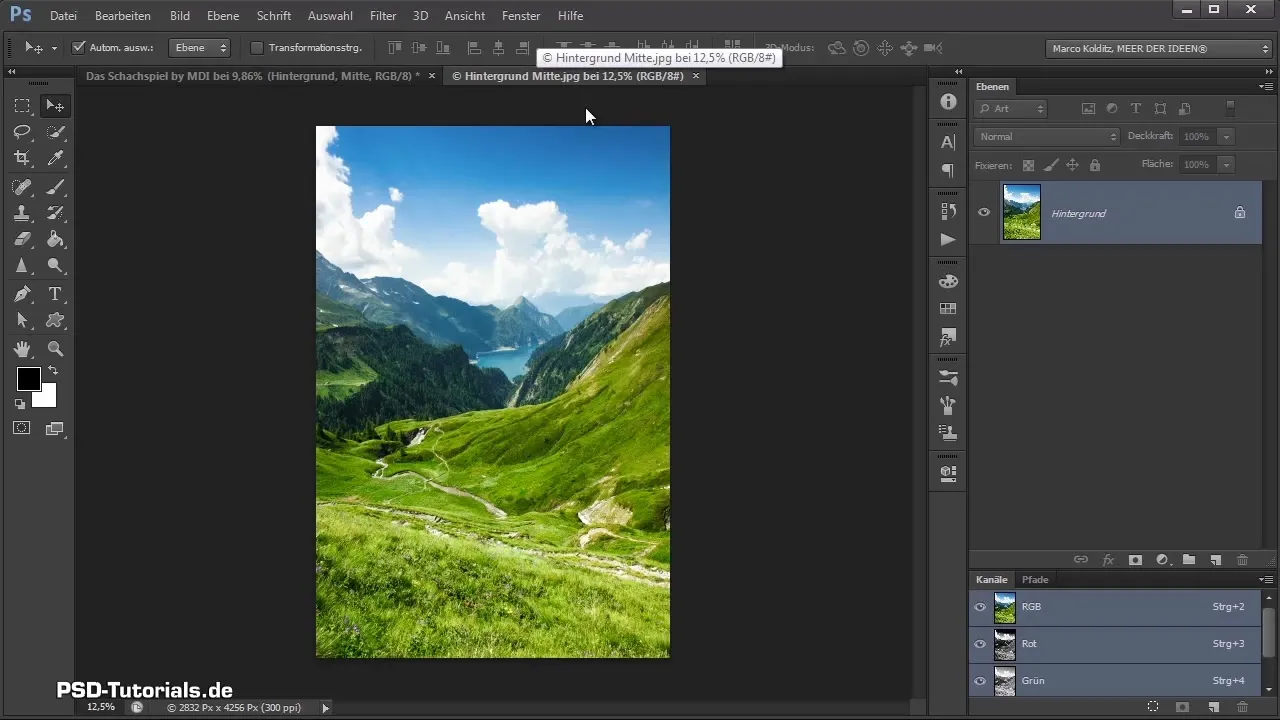
Now you can place the first background image on your canvas. Click on "File" and select "Place" to choose your background image. Alternatively, you can simply drag and drop the image into the Photoshop window.
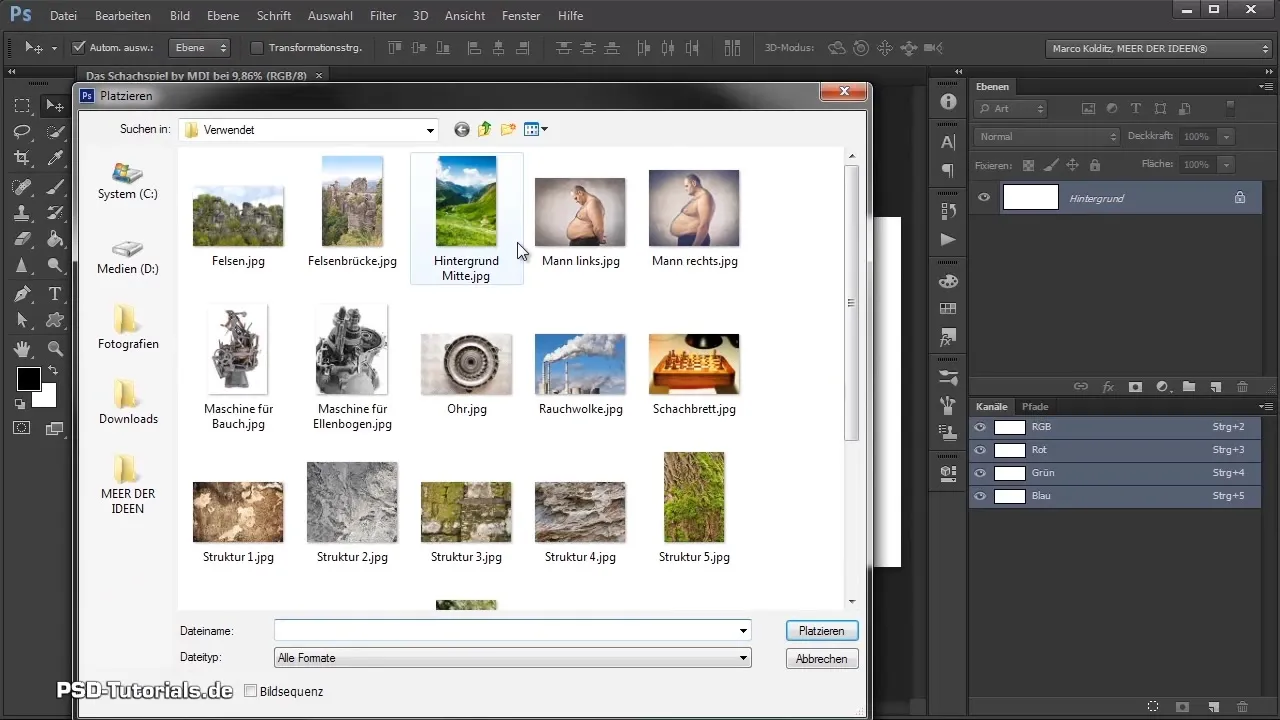
Step 6: Adjust Image
Once the image is placed, it is important to edit the size and position. Hold down the Shift and Alt keys while dragging the corners of the image to maintain proportions and avoid unwanted distortions.
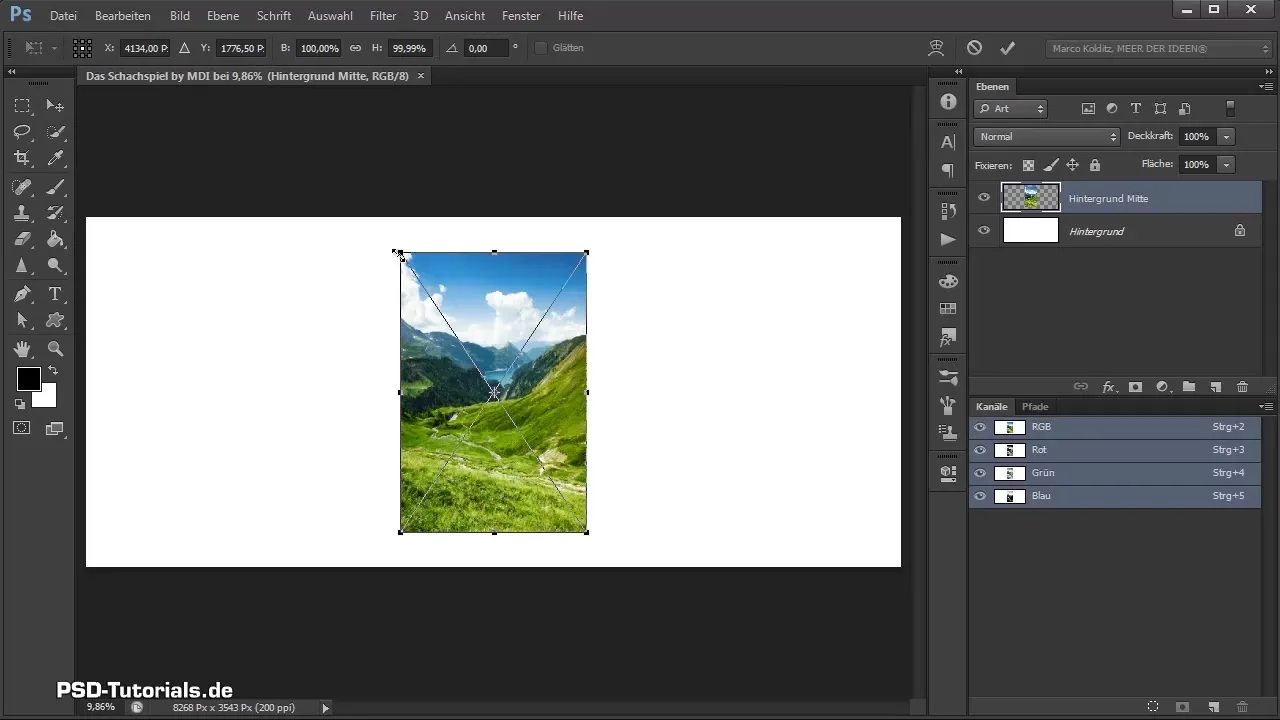
Step 7: Confirm Placement
Once the background image is adjusted to the desired position and size, confirm the placement by pressing the Enter key. This will drop the image onto the canvas, placing it correctly in the background.
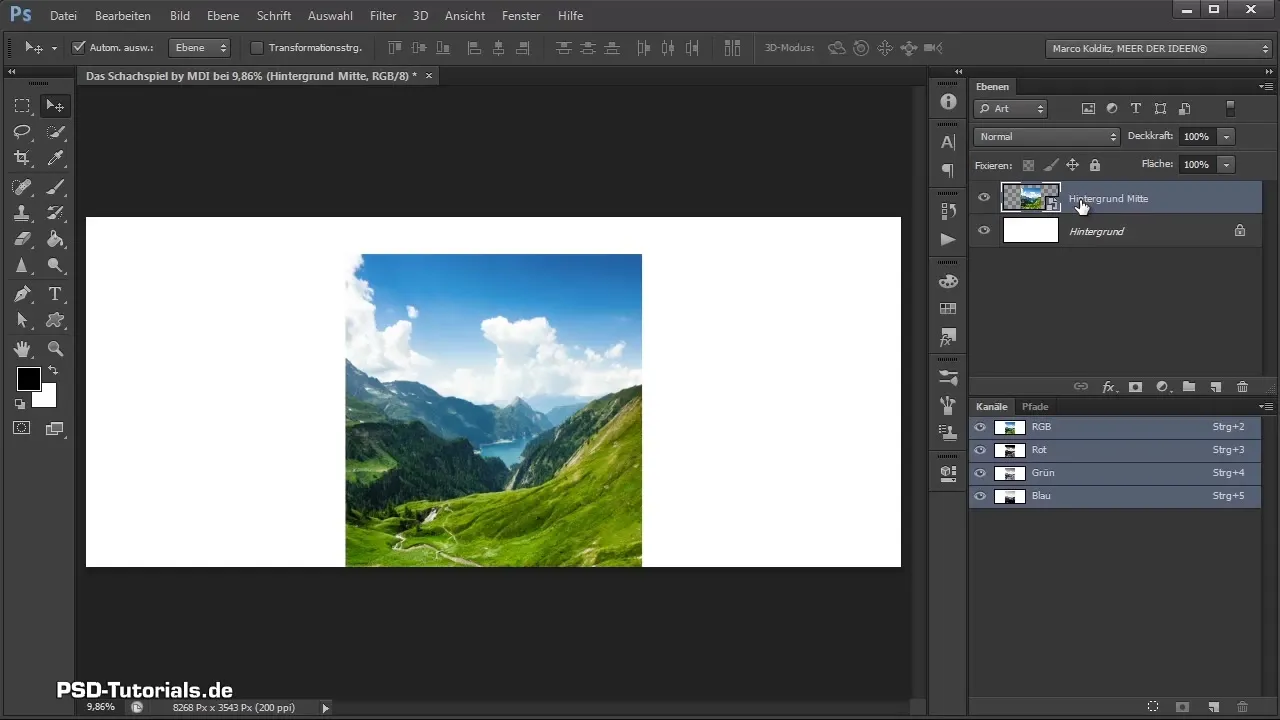
Step 8: Organize Layers
To create a clear structure in the layers, you should group the background layer. Right-click on the layer in the layers palette and select "Create Group." Name this group accordingly.
Step 9: What is a Smart Object?
Every placement of an image in Photoshop automatically creates a smart object. This means you can preserve the image details even if you resize or modify the image. If you want to demonstrate the properties of a smart object, right-click on the layer and select "Convert to Smart Object."
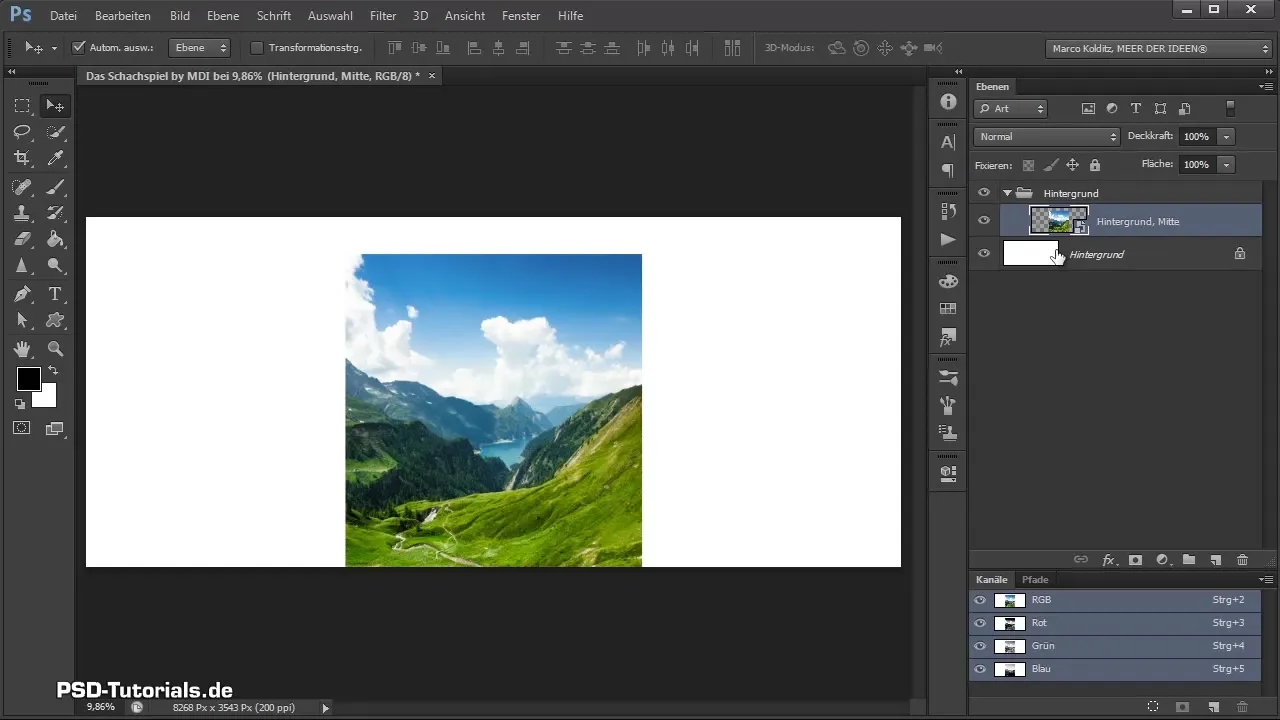
Step 10: Immutable Image Details
By using smart objects, everything remains clear and precise, even when changes are made. You can close the smart object at any time and change the original image files by double-clicking on them, without losing quality.
Summary - Photoshop Composing: The Chess Game – Part 01
In this guide, you have learned how to create a new canvas in Photoshop, place a background image, and work with smart objects. Each of these steps brings you closer to your creative goal.
Frequently Asked Questions
How do I create a new canvas in Photoshop?You can click on "File" and then "New" in the menu or use the keyboard shortcut Ctrl + N.
What is the advantage of smart objects?Smart objects allow you to preserve the quality of an image when resizing or editing.
How can I organize my layers?You can group layers by right-clicking on the layer and selecting "Create Group."
Why should I use 200 dpi?200 dpi provides good image quality for printing without unnecessarily increasing the file size.
What happens if I edit an image without a smart object?Without a smart object, image information is lost, which can lead to blurry or pixelated results.


