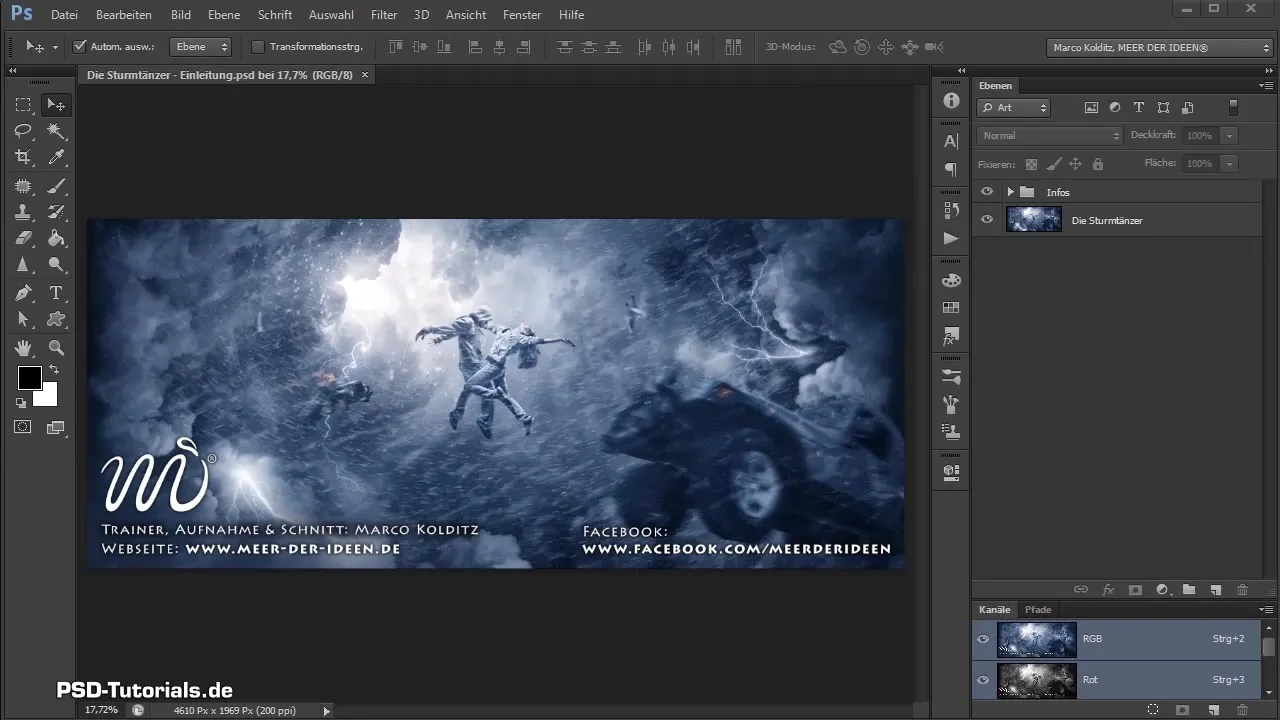
Welcome to my tutorial on Composing "The Storm Dancers". I am Marco Kolditz from MEER DER IDEEN and I am excited to show you step by step how to create a fascinating composing. In this first part, we will cover the introduction, preparation, and placement of the first image. Let's dive straight into the topic.
Key Insights
- The composing consists of numerous individual images from various photographers.
- You can choose a wider CinemaScope aspect ratio for your image.
- The right pixel size and resolution are crucial for publish and print quality.
- Smart Objects in Photoshop provide flexibility and high image quality when editing.
Step-by-Step Guide
To start your composing, first create your canvas. You will need to pay attention to some important settings.
First, you will see that I have set the dimensions for the finished composing to 4610 pixels in width and about 2000 pixels in height. This corresponds to an aspect ratio of 2.35:1, which is ideal for cinematic compositions. At the same time, the final image will have a width of over 9000 pixels and about 4000 pixels in height, but for easier handling in the tutorial, I have halved the dimensions. You can make these changes in the program, and that is the first step we will implement now.
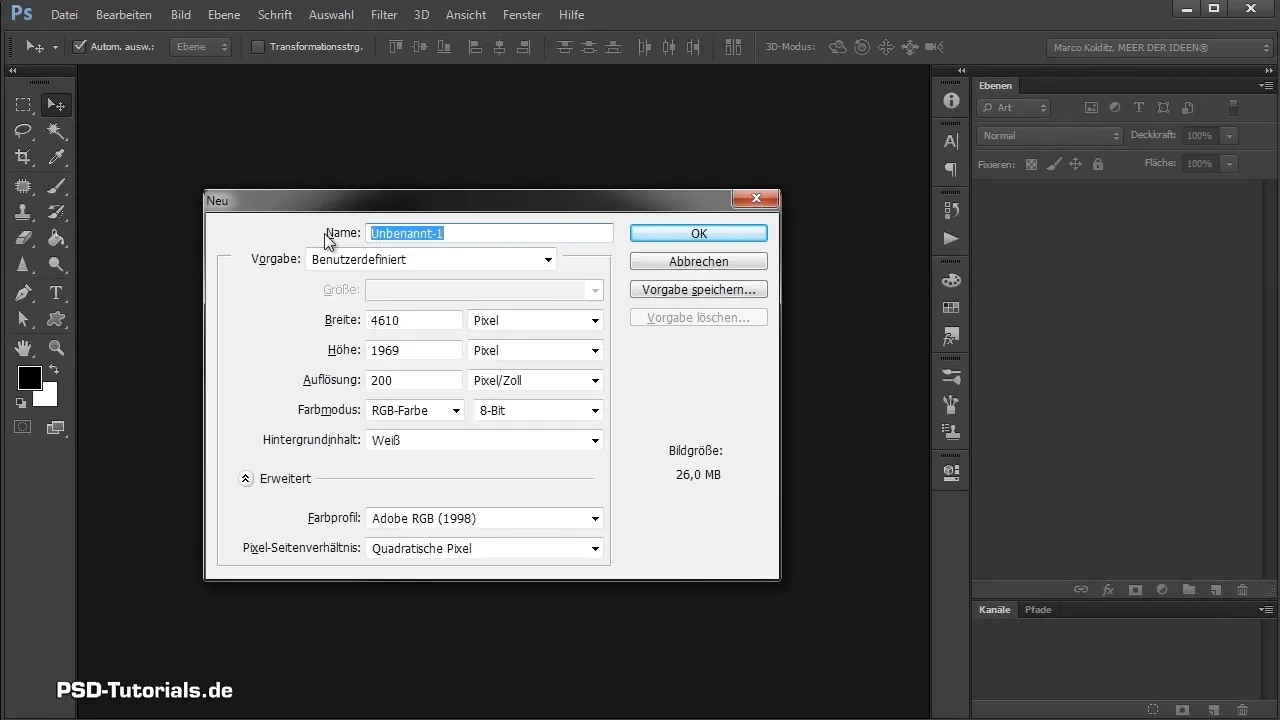
Close the current file to create a new canvas. To do this, click on "File", then "New" or use the shortcut Control + N. This will open a dialog box where you can define the canvas.
Name your canvas "Storm Dancers". I recommend entering the pixel dimensions you desire in advance: the width of 4610 pixels, the height of 2000 pixels, and a resolution of 200 DPI. This is optimal for later print quality.
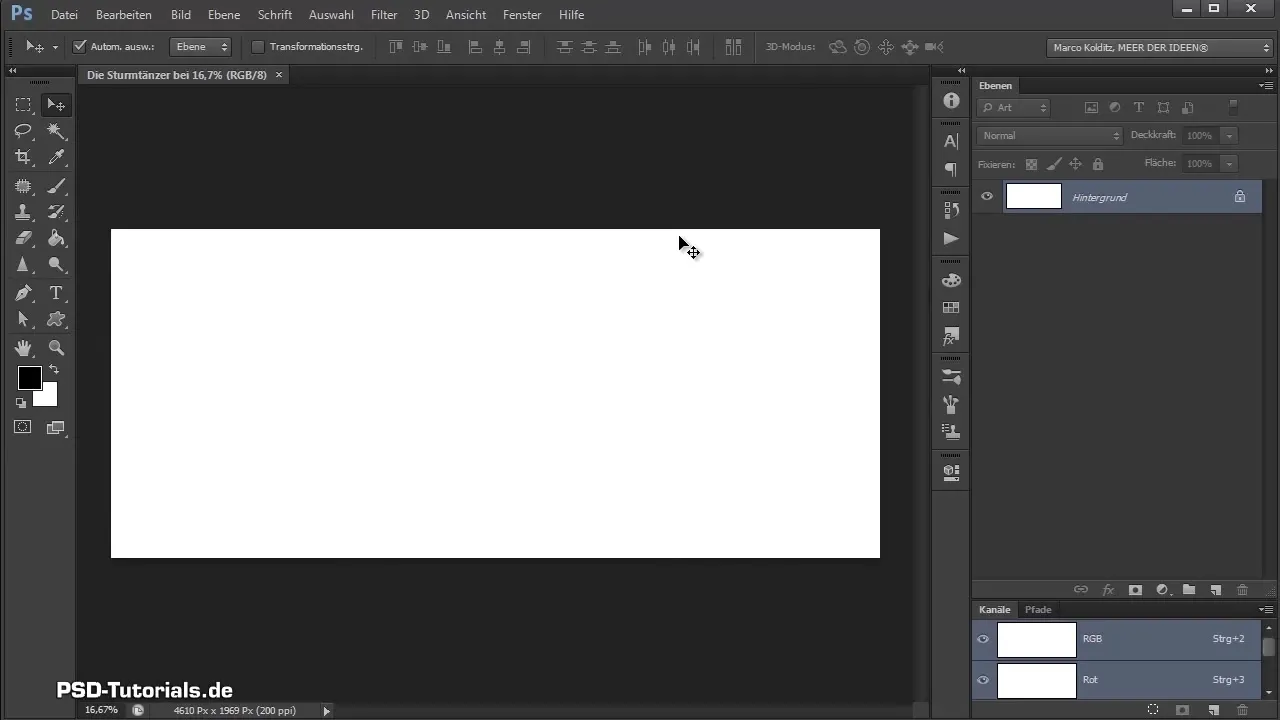
Confirm your entries with "OK". You should now see a white canvas that we will continuously fill with your composing.
Now you need the white canvas for your first image. Click on "File" and then "Place". You can select an image from your hard drive that you want to use, for example, a picture of clouds.

Place the image in your canvas. You can also drag and drop an image directly from the Windows folder into Photoshop, so it is automatically placed in the center.
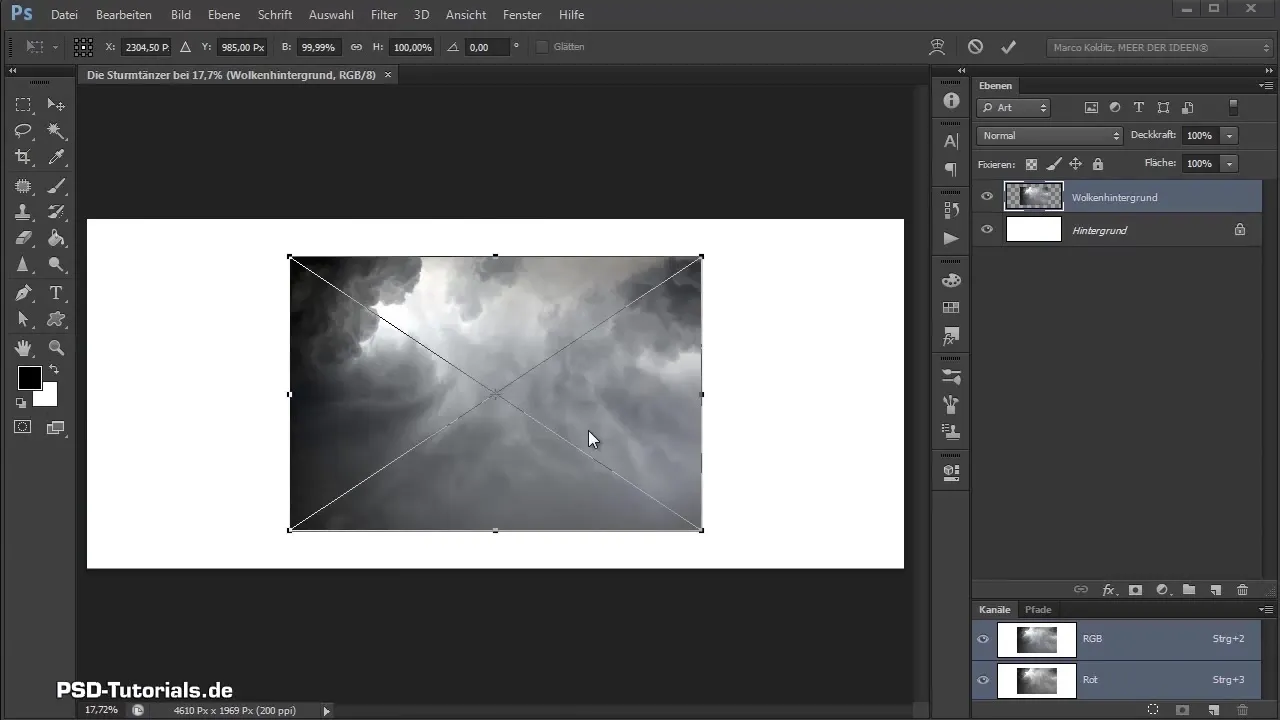
A standout feature of Photoshop is the handles you see at the edges of your image. These allow you to scale and position the image.
If you click on a handle with the mouse while holding down the Alt and Shift keys, you can proportionally enlarge or reduce the image from the center. This ensures that the image does not get distorted, which is very important in image editing.
Confirm your scaling with "Enter". This will automatically create the image as a Smart Object, giving you the flexibility to continue to edit the image without losing quality.
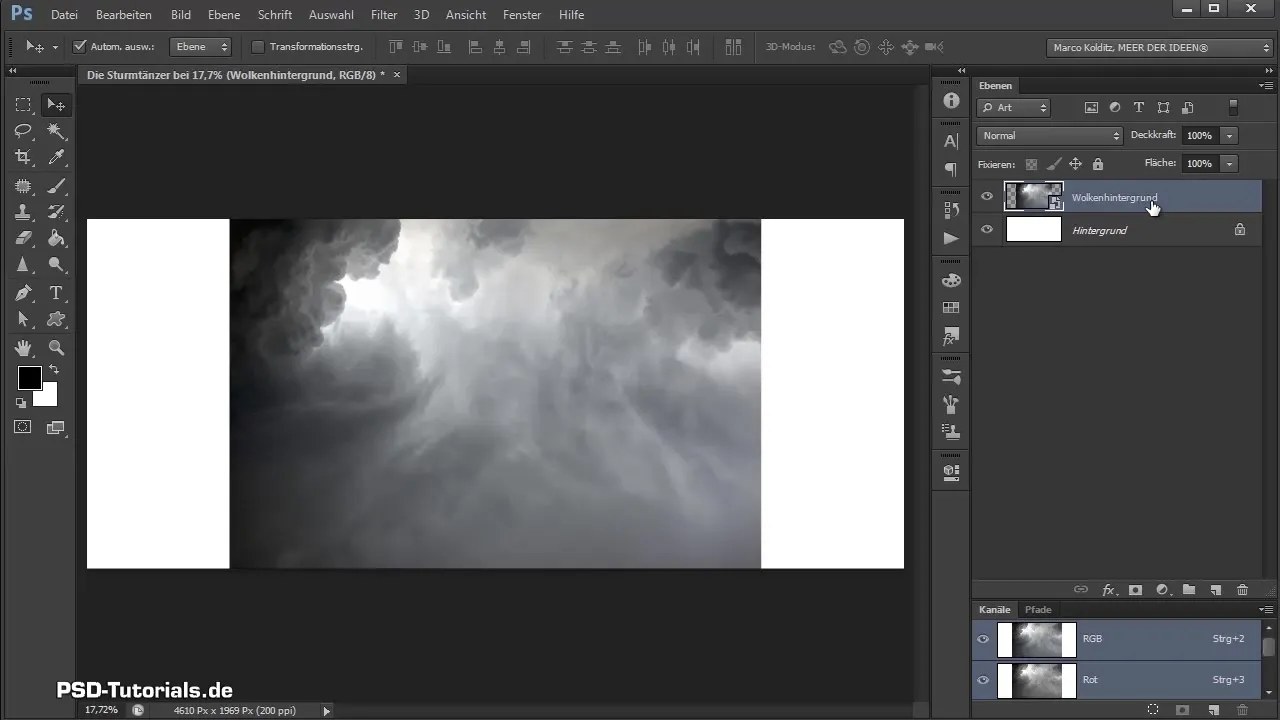
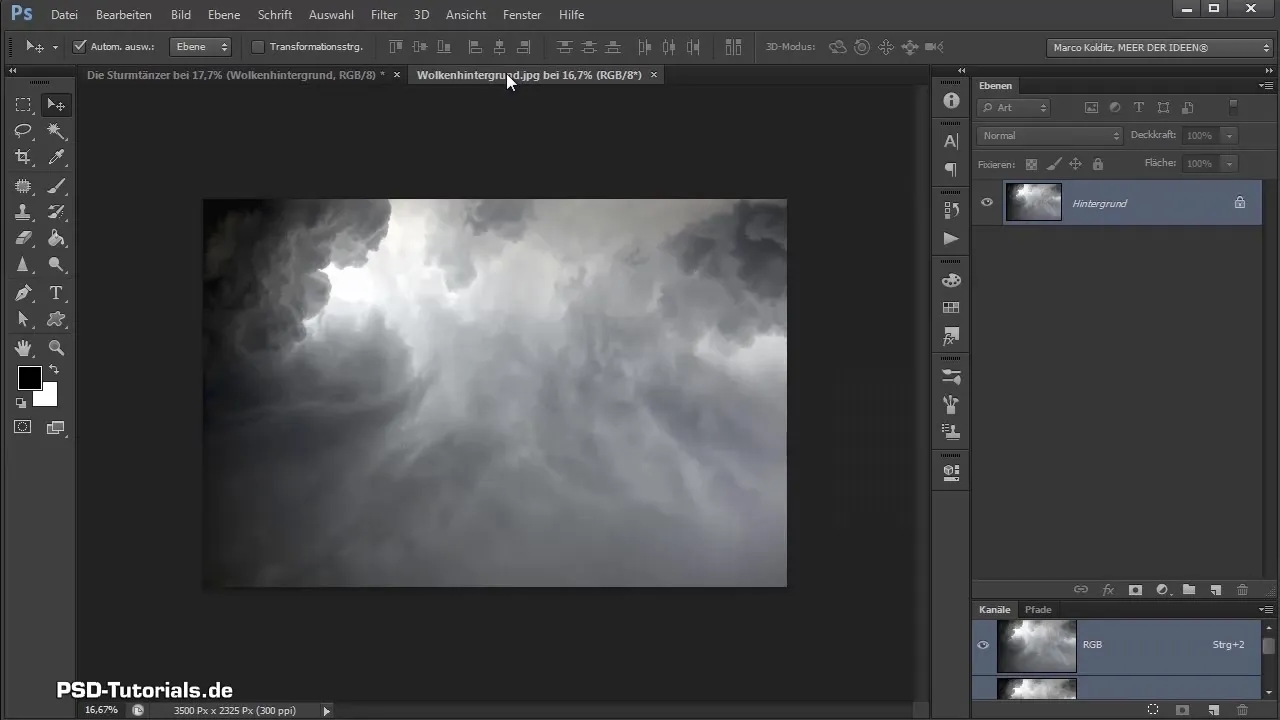
A Smart Object is extremely useful: even if you scale the image later, the image quality remains intact, as Photoshop always uses the original image. If you want to edit the image again, you can access it by double-clicking on the layer.
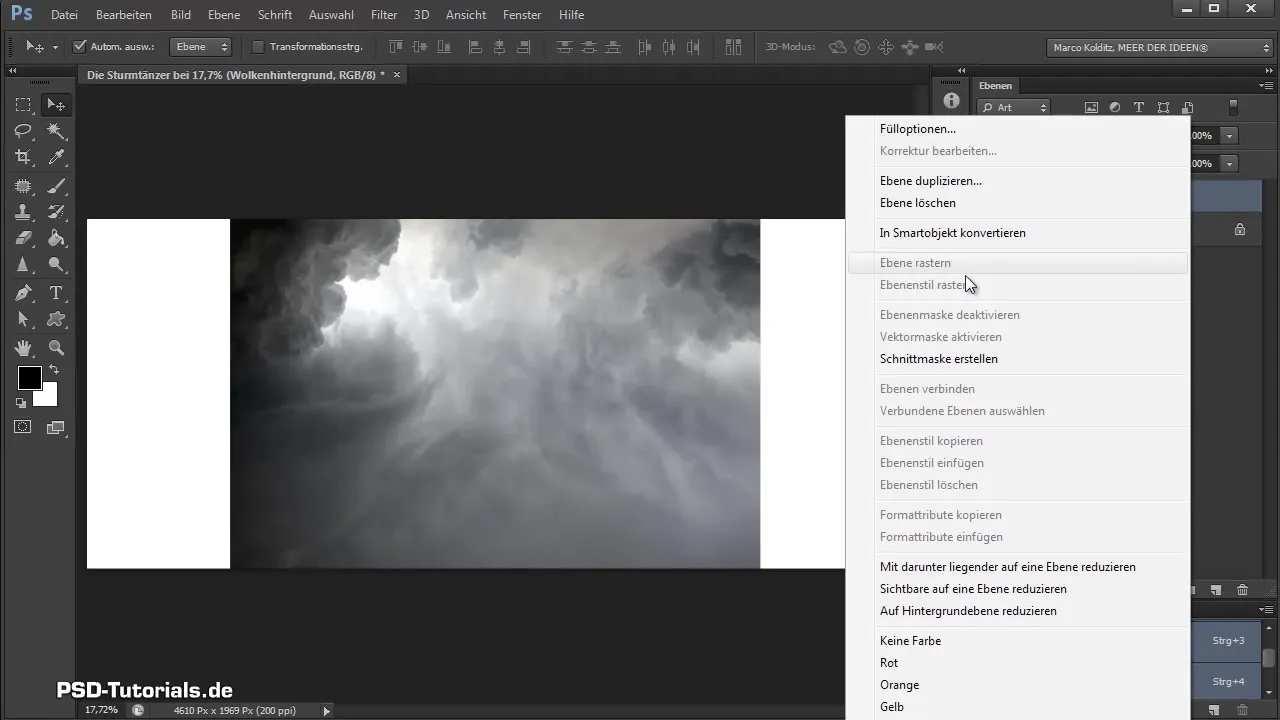
If you happen to not have a Smart Object, you can convert any layer into a Smart Object by right-clicking on the layer and selecting "Convert to Smart Object". This is an excellent way to avoid destructive editing.
The next step in this tutorial will deal with the color mood of your composing. We will work on shaping the dark area of the image and making the composing more cohesive.
Summary - Photoshop Composing - The Storm Dancers: Part 01
In this first part of your composing learning, you have learned how to create a blank canvas, place your image, and utilize the benefits of Smart Objects to effectively shape your work.
Frequently Asked Questions
How do I insert an image in Photoshop?You can insert an image either via "File" > "Place" or drag & drop the image into the workspace.
What are Smart Objects?Smart Objects allow you to edit images non-destructively, meaning the original images are not altered.
How do I change the resolution of the canvas?You enter the desired resolution when creating the new file, typically 200 DPI for print projects.
Can I change the canvas size after creating it?Yes, via "Image" > "Image Size" you can adjust the dimensions of the length and width of the image.
Why does the image become blurry when I enlarge it?This happens if you scaled the image without using Smart Objects; enlarging might dilute or lose details.


