In this tutorial, you will learn how to add effective clouds in Photoshop and adjust them to give your image a dramatic and stormy character. We will use various techniques to harmoniously integrate the clouds into the existing composition.
Main insights
- Clouds can be effectively organized and adjusted through grouping and masking.
- Using separate adjustment layers allows for flexible and targeted color and brightness adjustments.
- Working with masks offers the possibility to make precise adjustments.
Step-by-Step Instructions
To begin, open your existing composing project in Photoshop. Make sure you have all the necessary cloud images ready.
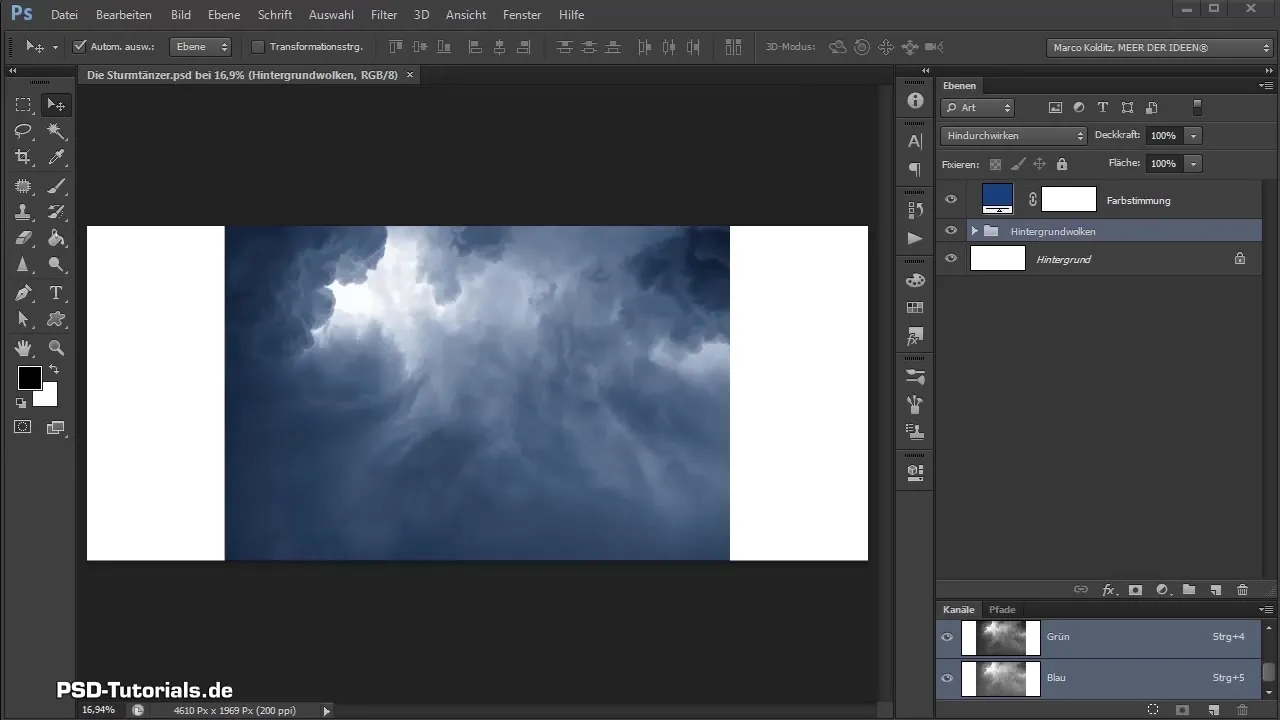
1. Create a New Cloud Group
Start by creating a new group for your clouds. Click on the icon for a new group and name it something like “Expanded Clouds”. Here you can organize all your new cloud images and improve clarity.
2. Import Cloud Image
Drag the first cloud image from your Windows folder into Photoshop and place it within the “Expanded Clouds” group. Confirm the placement with the Enter key. Name this layer “Clouds Left”, for example.
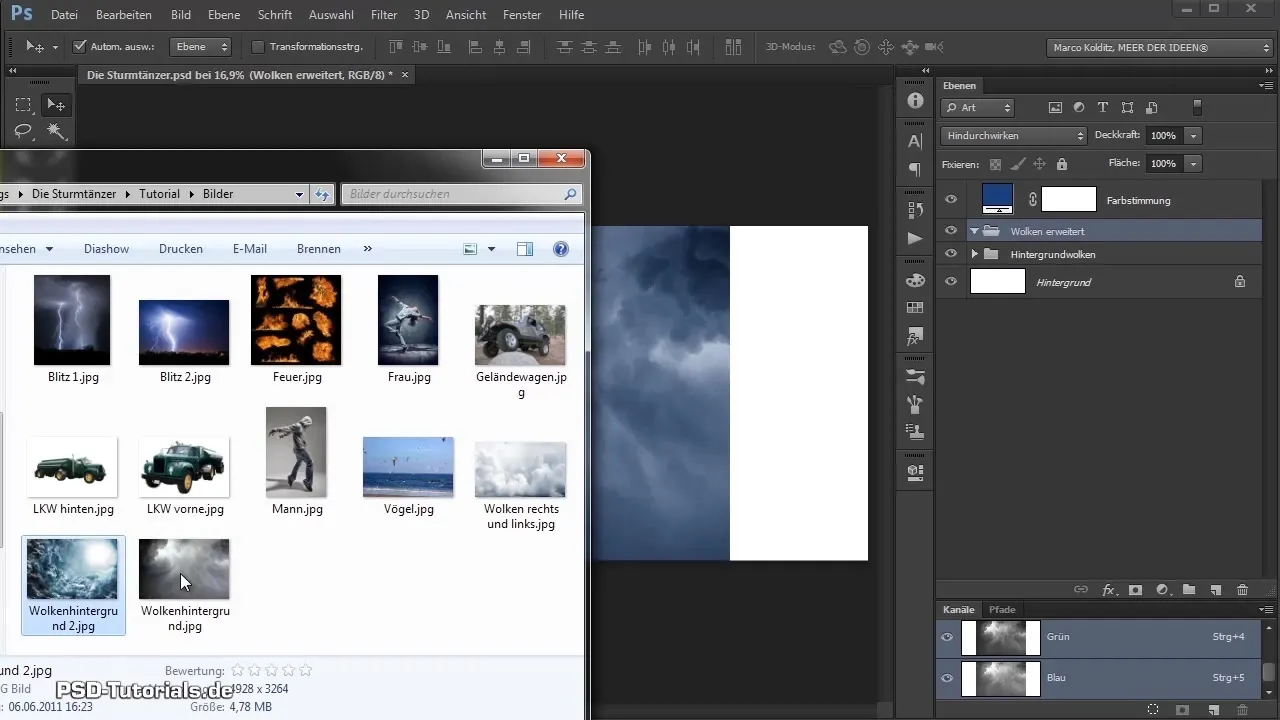
3. Fix Color and Visibility Issues
If you want to move the image and notice no movement, it might be that another layer is active. Lock the top layer with the lock icon to ensure you are only editing the cloud layer.
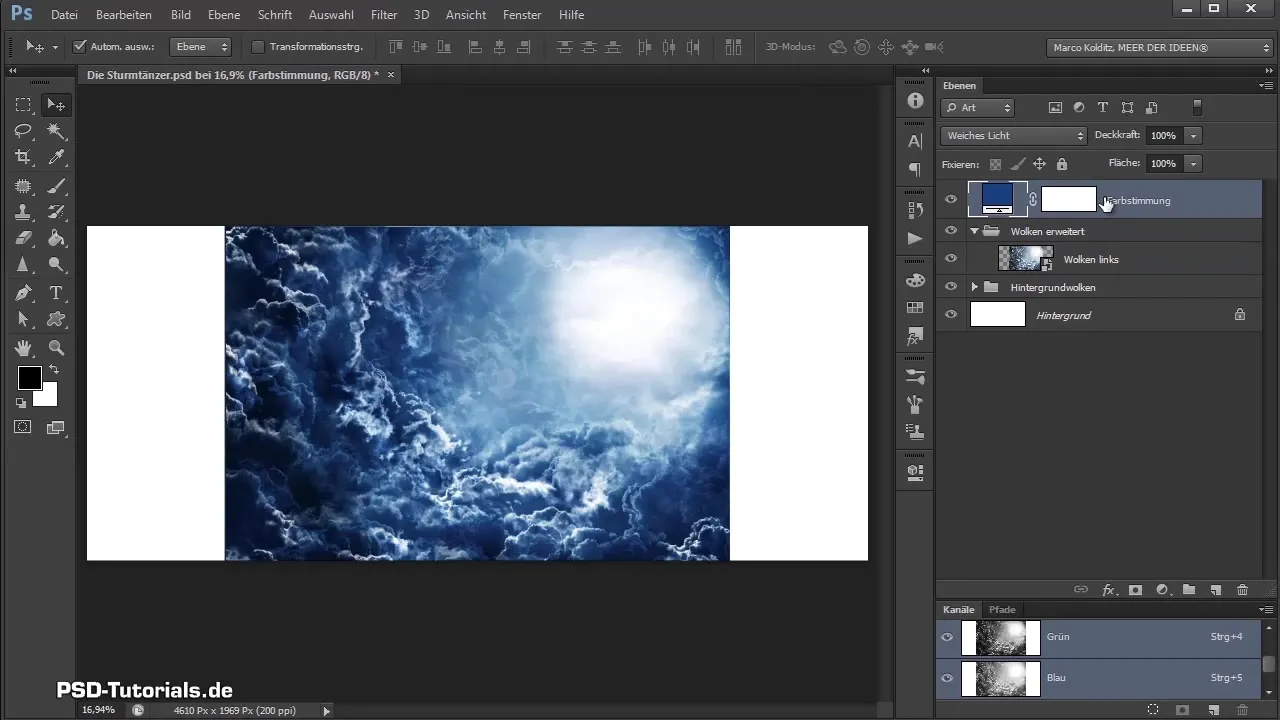
4. Adjust and Position Clouds
To position the clouds where you want them, you can either use the arrow keys on your keyboard for precise positioning or hold the Shift key and drag them to the left. Ensure that the clouds still fit well into the image.
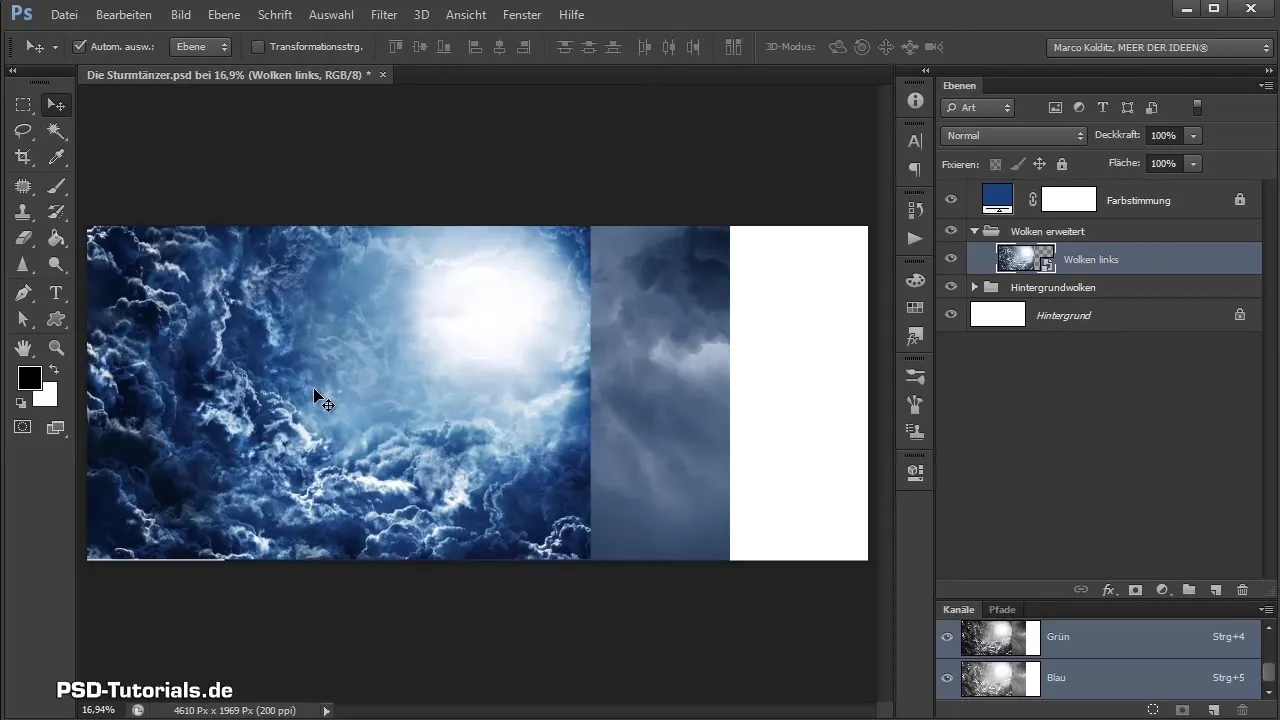
5. Mask the Clouds
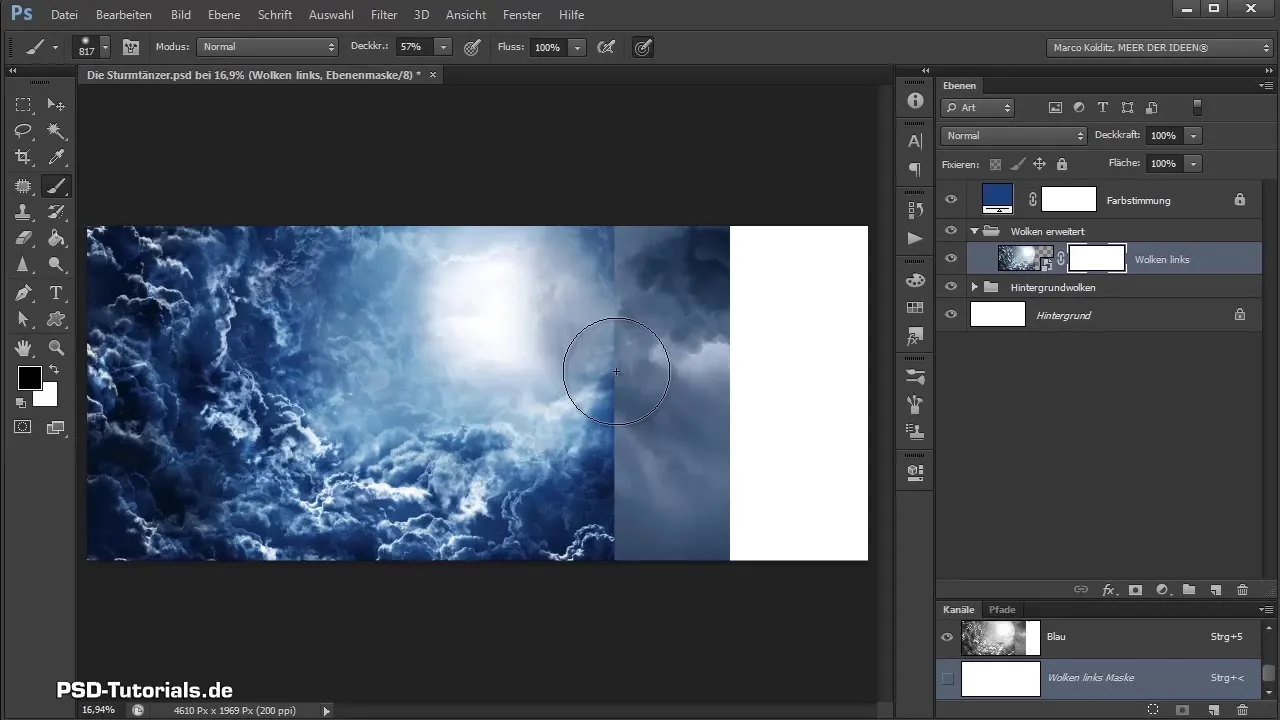
To hide parts of the clouds, activate the corresponding layer and click on the mask symbol. Take the brush tool, set the foreground color to black, and start masking out the areas you want to remove. Make sure to do this with varying opacity to achieve softer transitions.
6. Duplicate and Flip Clouds
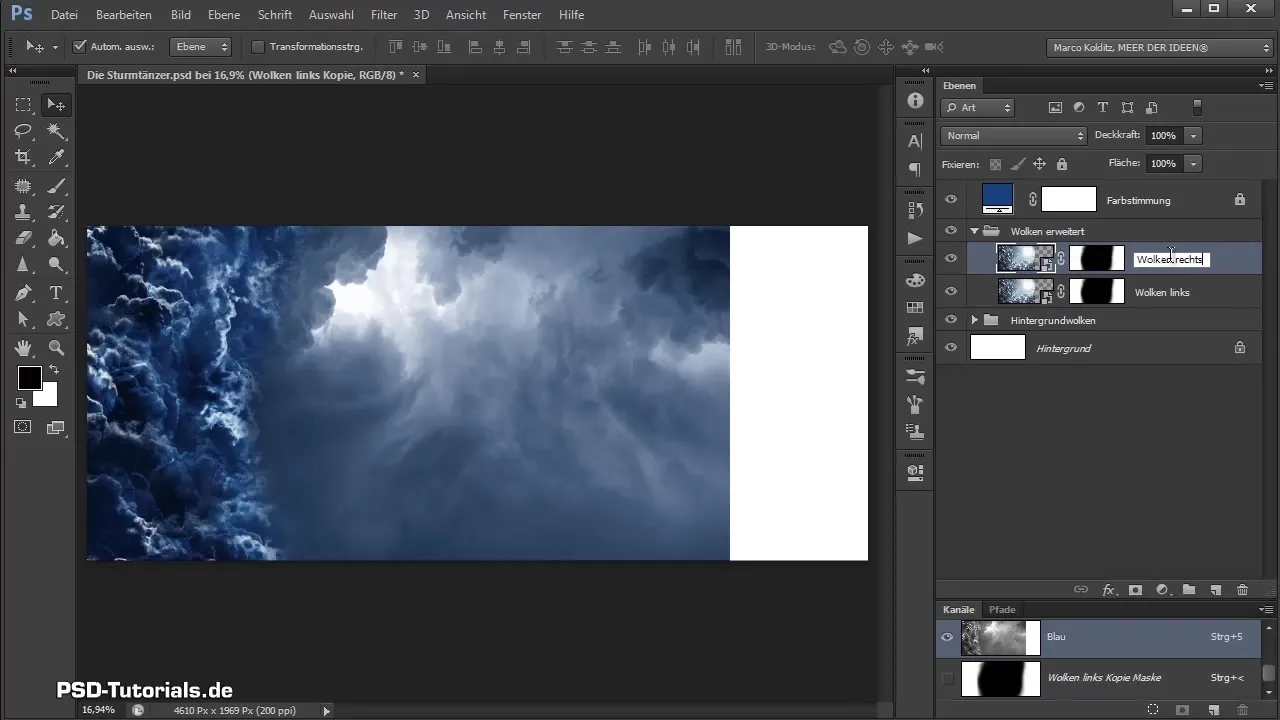
To place clouds on the right side, simply duplicate the “Clouds Left” layer. Hold the Alt key and drag it upwards. Rename the new layer to “Clouds Right” and use the transform option to flip it horizontally.
7. Group and Adjust Clouds
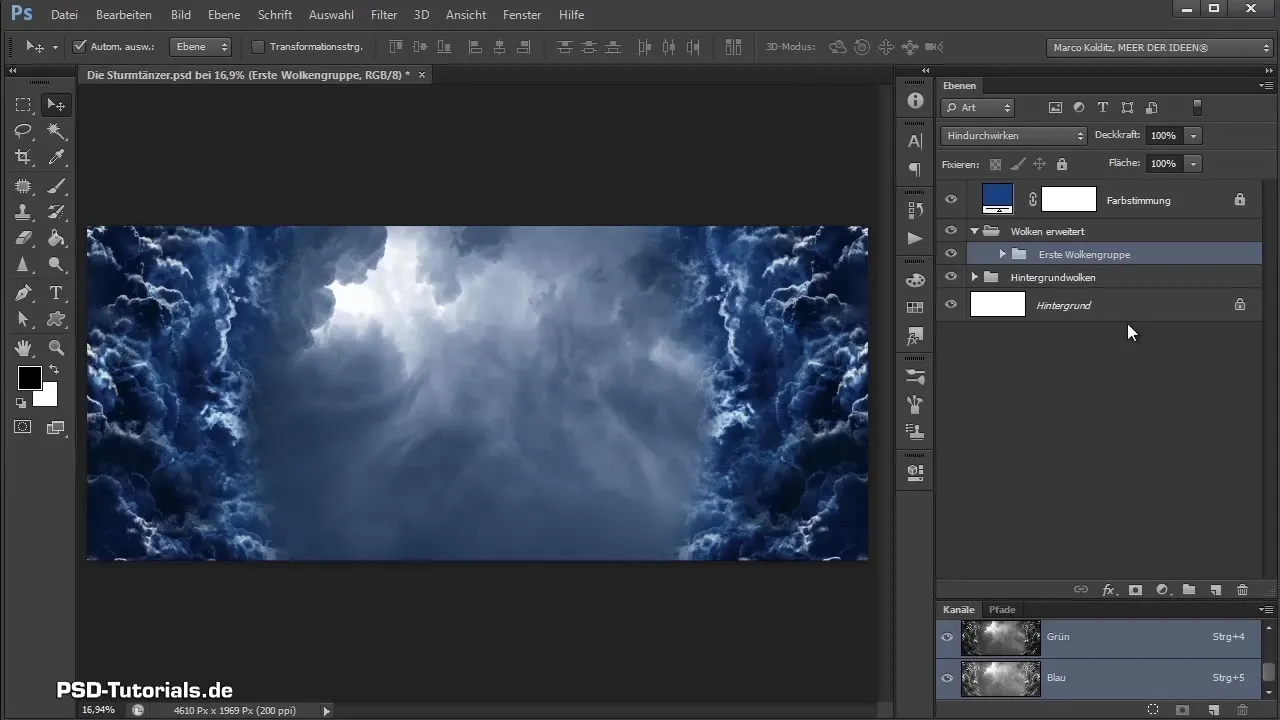
Group the two cloud layers for easier adjustments later. Click on the top cloud layer, hold the Shift key, and click on the layer below it. Then group these with Ctrl + G and name the group something like “First Cloud Group”.
8. Make Saturation and Tonal Adjustments
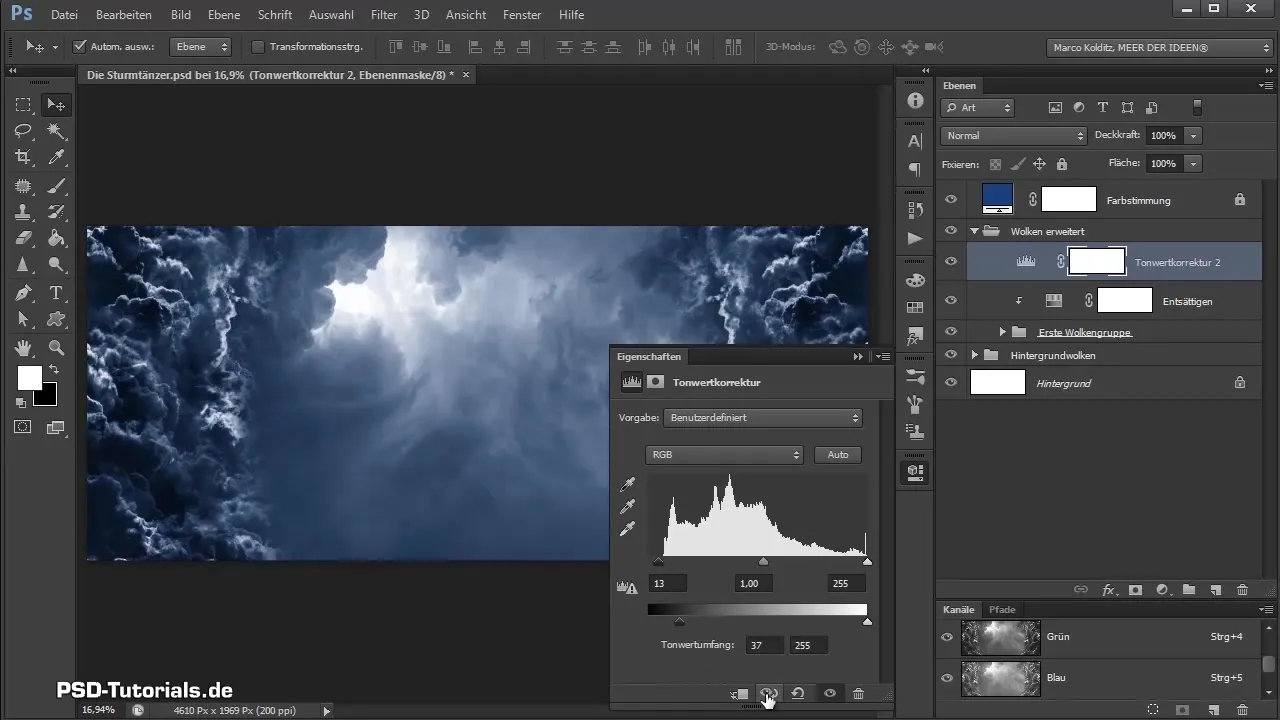
Add an adjustment layer for hue/saturation and set it as a clipping mask for the cloud group. Drag the saturation slider to the left to make the clouds appear less saturated.

Then, add a levels adjustment layer to adjust the dark areas of the clouds. Ensure that the black slider is moved to the right to increase contrast.
9. Add Additional Clouds
To further complete the image, create a second cloud group. Import another cloud image, rotate and scale it as needed. Pay special attention to positioning to ensure that everything looks harmonious.
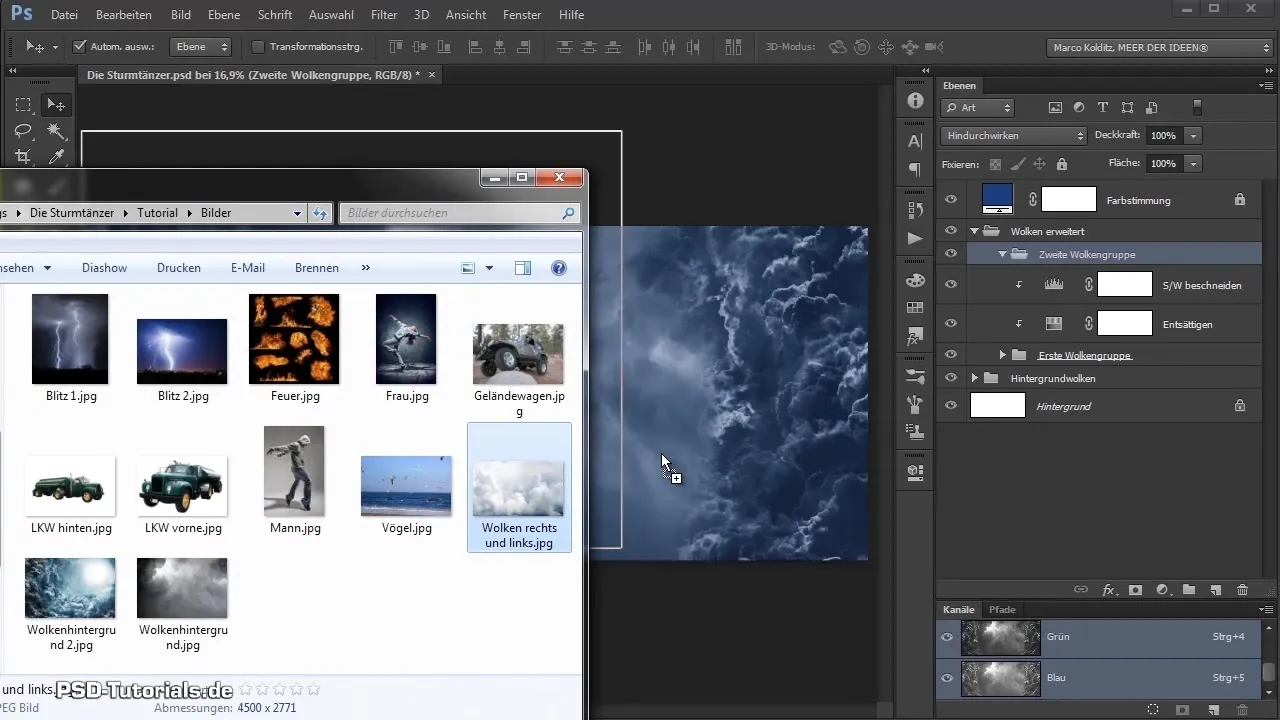
10. Final Adjustments
Use masking to remove hard edges of the new clouds and adjust the opacity so that the new clouds are well integrated into the overall image. You can also play with the saturation and tonal sliders to adjust the final look of the clouds.
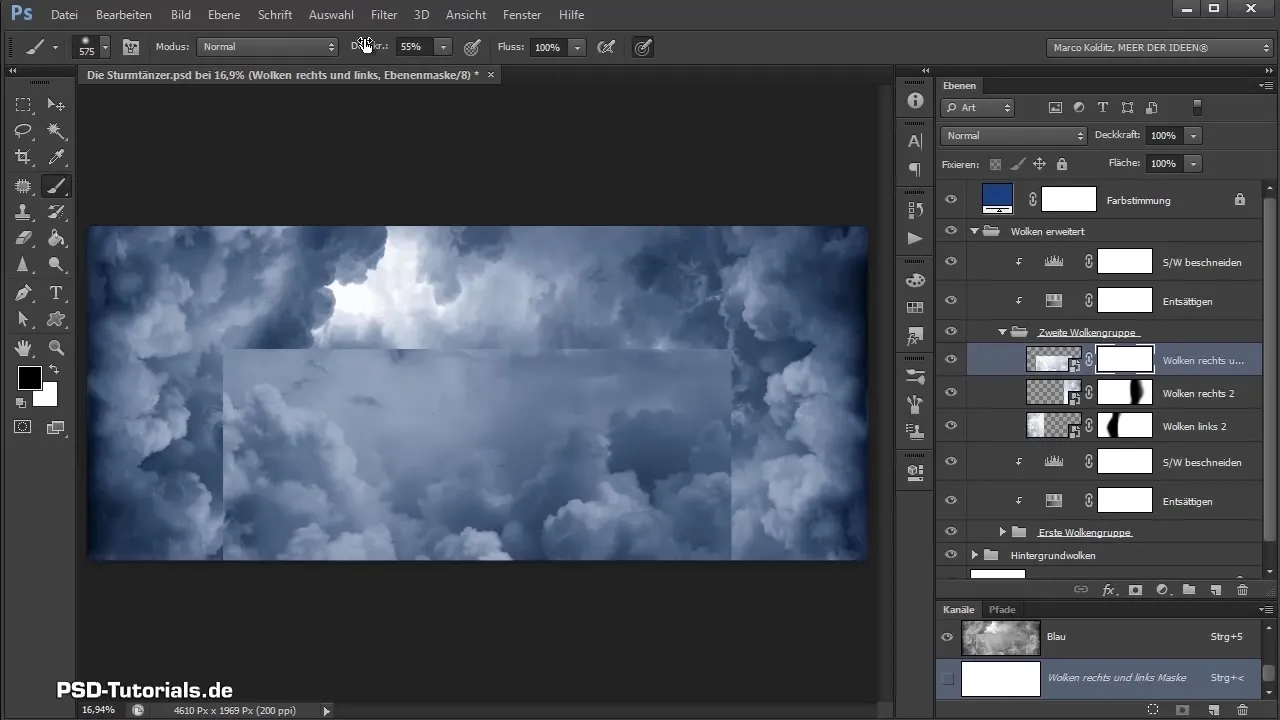
Summary - Adding Dramatic Clouds to Photoshop Composing
In this guide, you have learned how to efficiently integrate clouds into your composing. By applying masking and adjustment layers, you not only enhance the dynamics of the image but also ensure that everything fits together harmoniously.
Frequently Asked Questions
How do I add new cloud images?You can import new cloud images by dragging them from your folder into Photoshop and positioning them in the corresponding group.
How do I mask areas out of a cloud image?Activate the cloud layer, click on the mask symbol, and use the brush tool with black foreground color to hide unwanted areas.
How can I adjust the saturation of clouds?Create a hue/saturation adjustment layer and drag the saturation slider to the left to decrease saturation.
What is a clipping mask in Photoshop?A clipping mask allows you to apply an adjustment layer only to the layer directly beneath it, facilitating precise adjustments.
How can I ensure that the clouds look harmonious?Be sure to adjust the brightness and saturation of the clouds and integrate them well into the image using masking.


