Cutting out and placing people in a composing can be a challenging but also creative task. In this tutorial, we will focus on the effective cutout of the left person and the harmonious placement of both men on the chessboard background. With the right techniques and a little patience, you can create an appealing and convincing image.
Key Insights
- Cutout of the left person in Photoshop
- Use of smart objects for flexibility
- Organizing layers into groups for better overview
- Proportional adjustment and positioning of the figures
Step-by-Step Guide
First, we will focus on the left person in the image. This person will later represent humanity, which will be equipped with some mechanical parts. Make sure that the blue tint is not present in this image, as it was removed in the previous image. This is crucial for matching the skin tones of both persons.
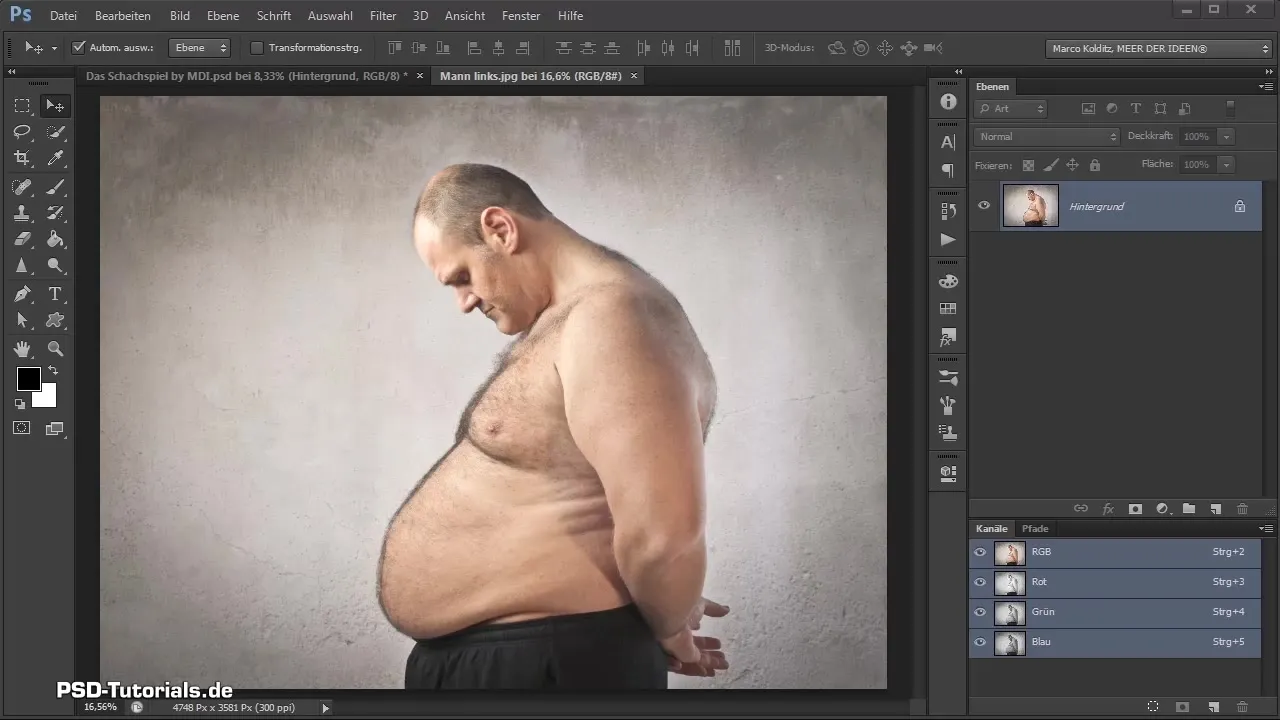
Now we will cut out the left person from their background. Since this is done with the same technique as in the last image, I will make a time jump in the video to show you how it's done.
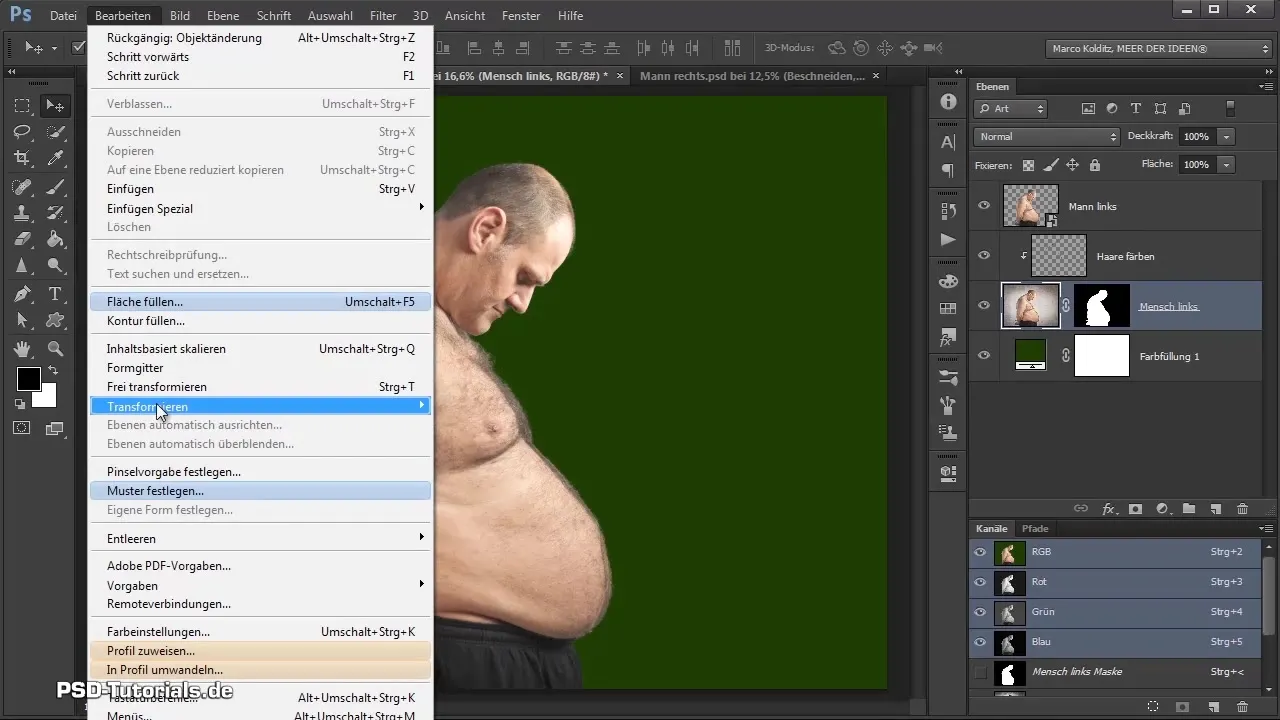
After the time jump, I have mirrored the image horizontally using "Edit" and "Transform". This allows us to integrate the left person into the composing. The cutout was done carefully so that it looks clean and the background can be adjusted as needed.
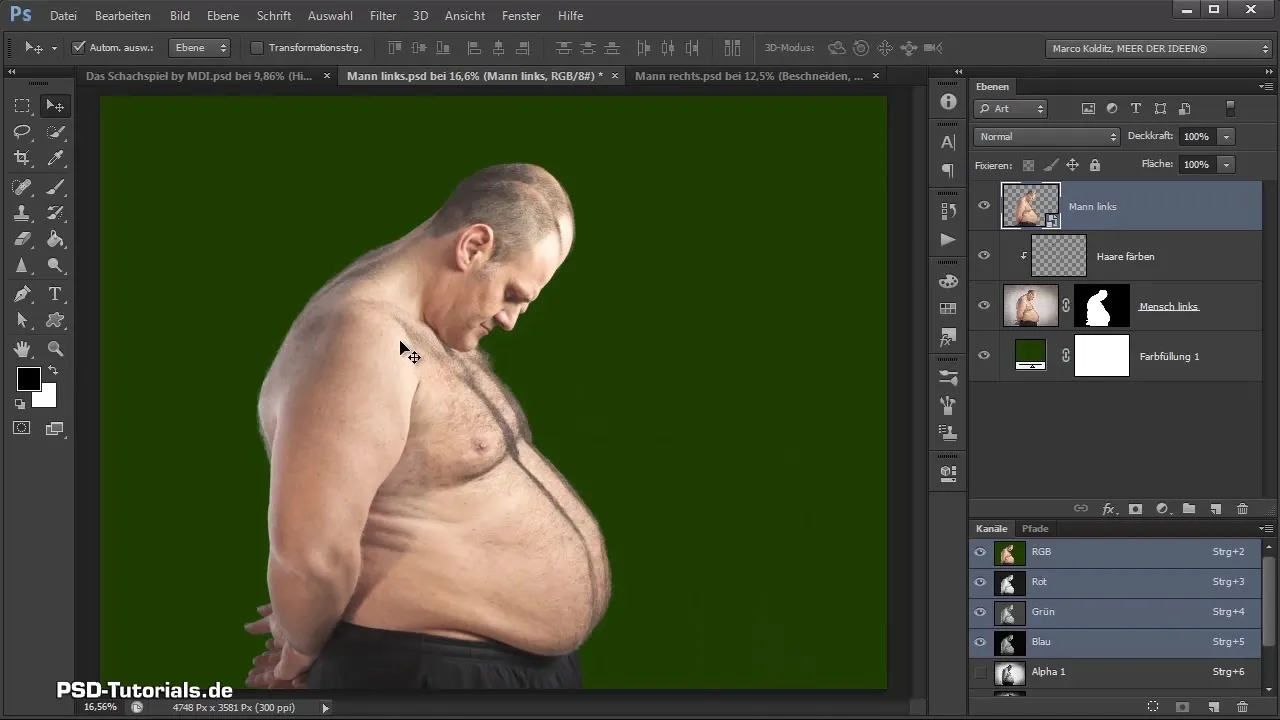
Now I have compiled all the necessary files. To do this, I created a smart object that allows me to flexibly position the person in the composing later. Make sure to activate the smart object layer to pull the left person onto the chessboard.
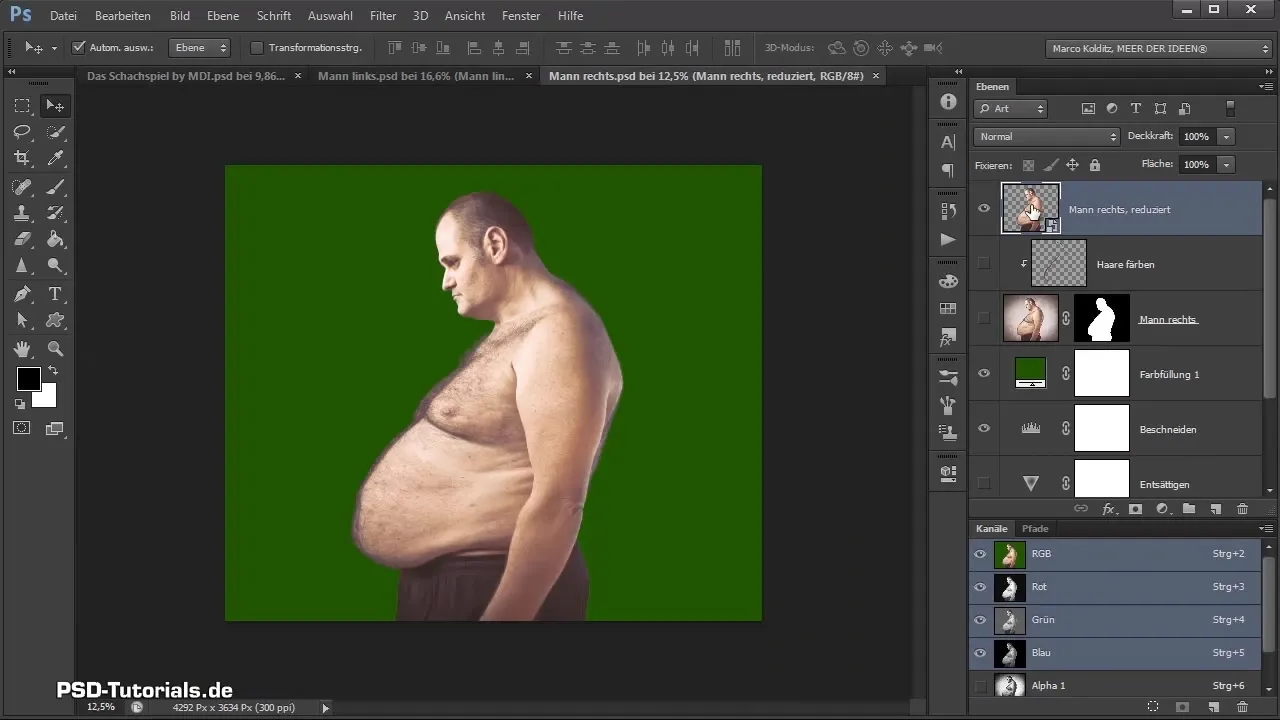
First, I pull the left person into our composing. I momentarily drop the layer and then select the already created right person. I also pull this onto the composing, allowing us to present both men together.
Once both men are in the composing, we take a look at the layers palette. Both have ended up in the “Background” group, which is not ideal for our organization. Therefore, I will create new groups and name them accordingly: “Men”, “Man Right”, “Man Left”, and “Body”.
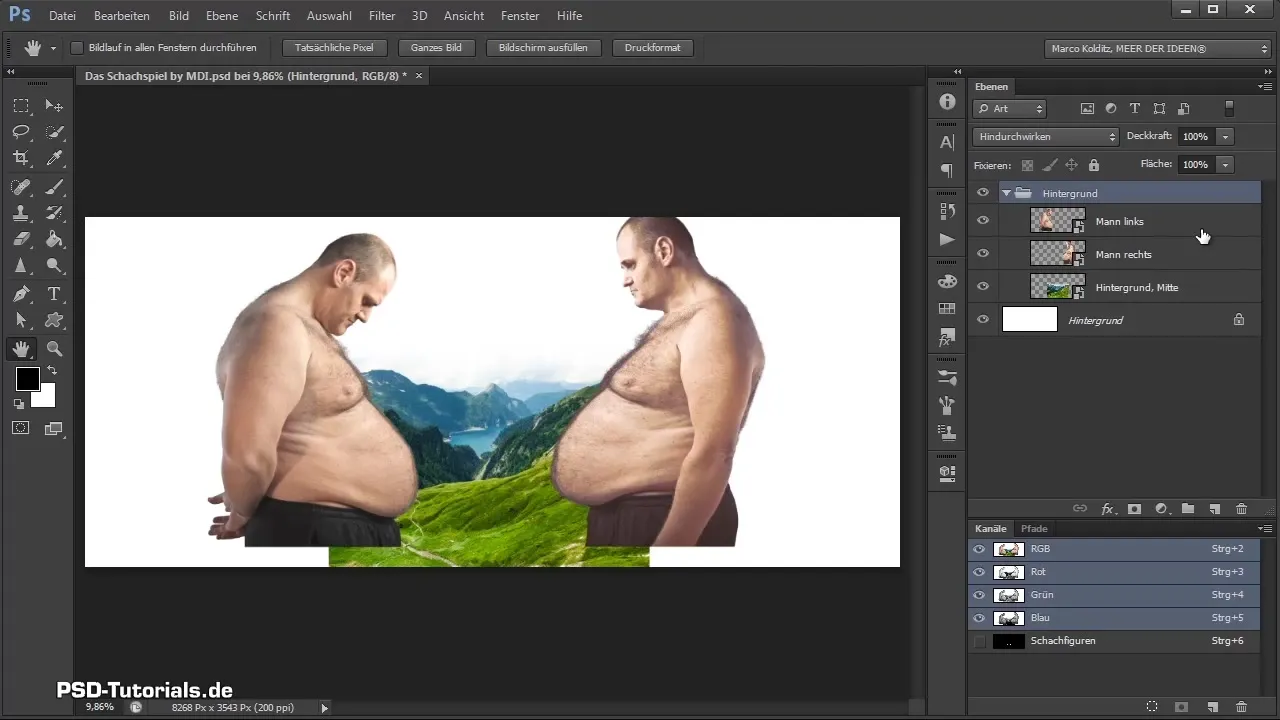
After creating the new groups, I move the Body group into the “Man Right” group and the “Man Left” group into the Men group. This way, clarity in the layers palette is maintained.
Now we need to adjust the proportions of the images. I click on the left person, then press Control + T to activate the transformation. Holding down the Shift and Alt keys, I can change the size proportionally. Make sure that the images fit well and integrate harmoniously into the overall context.
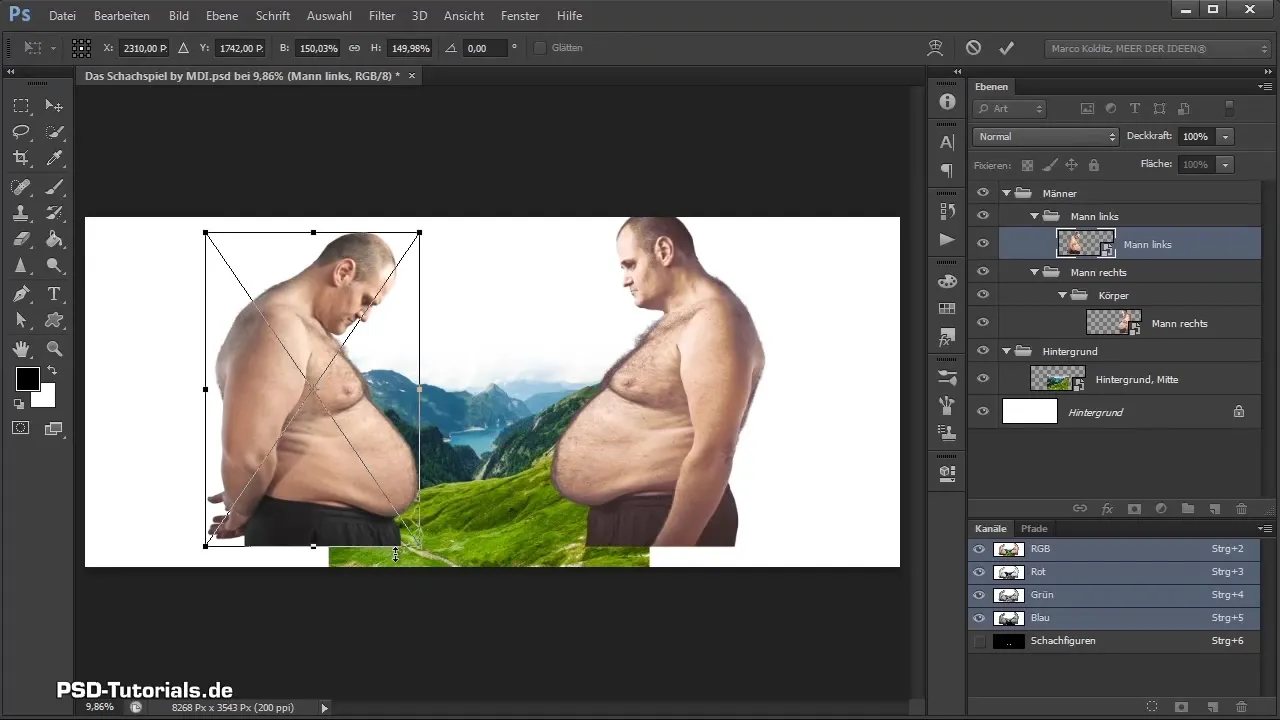
The person may move jerkily while enlarging. This is because the align function in Photoshop is activated, which can cause it to "snap" to the edges while enlarging. Therefore, I deactivate the align function to have more freedom in positioning.
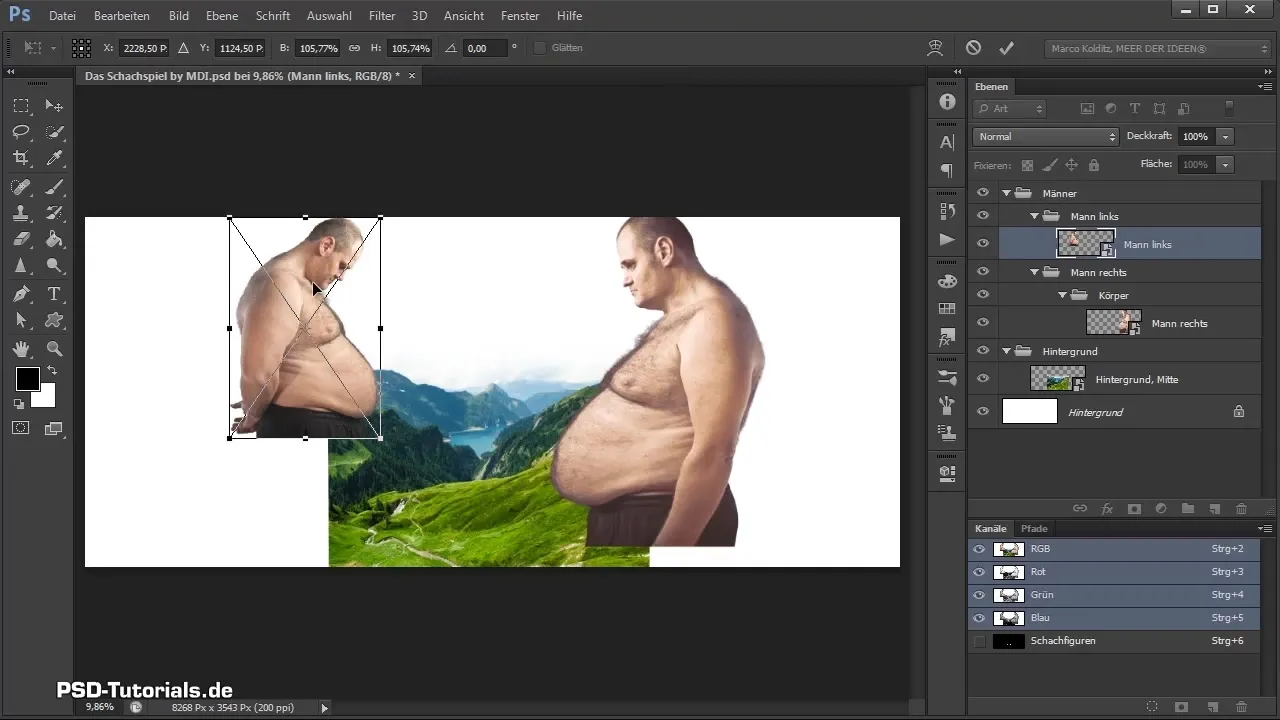
Now start arranging the images so that they fill the space well. In this step, the goal is to position the images harmoniously relative to each other. I take the time to check the size and position of both men to ensure they look appealing.
I apply the same approach to the right person. I position them so that they fit well into the overall picture and the composition stands out optimally on the chessboard. Of course, you can take your time to find the best position.
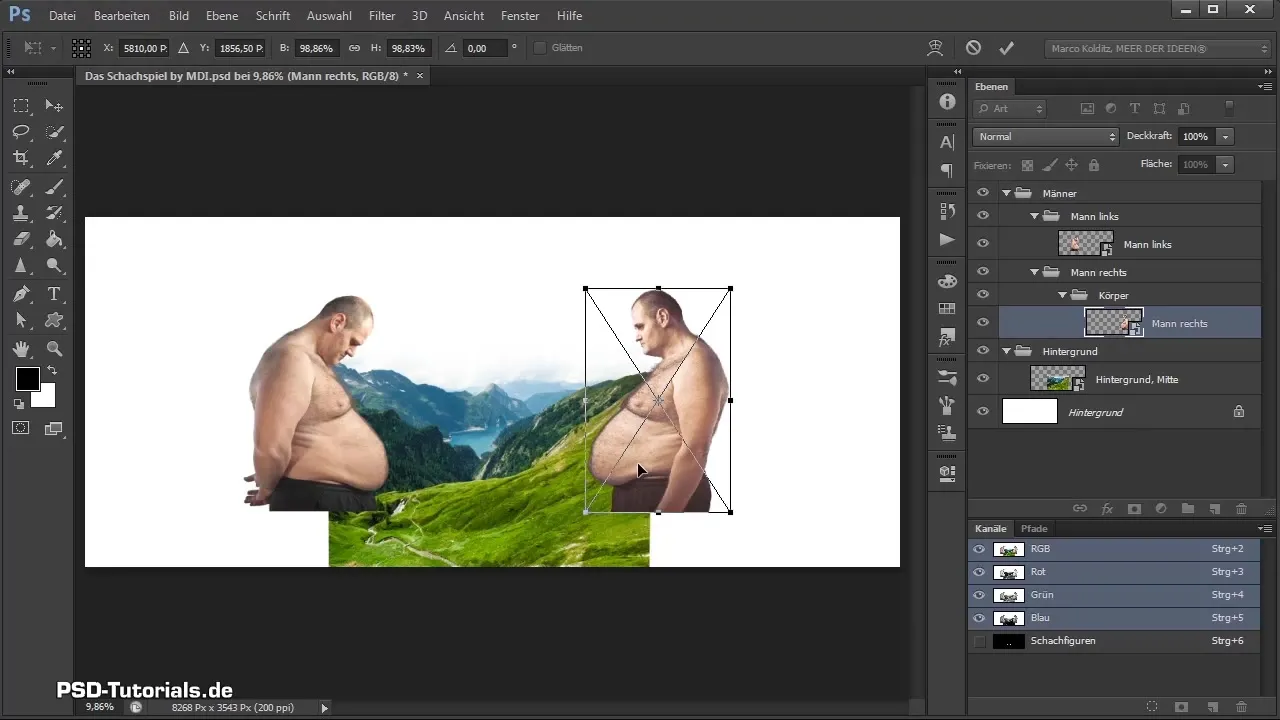
With that, the two men are now well placed. In the next part of the tutorial, we will continue with cutting out rocks and preparing them for the composing. This will be an exciting challenge!
Summary - Chess Composition: Cutting Out Left Person and Placement
In this tutorial, you learned how to cut out the left person, integrate them into your composing, and arrange both men harmoniously. With the right tools and methods, you can create impressive compositions that reflect your creativity.
Frequently Asked Questions
What is the best way to cut out a person in Photoshop?The best techniques are using selection tools and applying masks to achieve precise cutouts.
How can I better organize my layers in Photoshop?Use groups to consolidate related layers and keep your layers palette neat and organized.
What should I do if the proportions of my images don't match?Use transformation tools such as scaling to adjust the proportions to the desired size.
How can I work with smart objects in Photoshop?Smart objects provide flexibility because you can scale and transform them without compromising image quality.
Why does my image have a blue tint?A blue tint may be caused by false colors in the image settings. Check the color correction and adjust it to fix this.


