You have gone through all the stages of composing and carefully edited your image. Now it's time to add the finishing touches. In this tutorial, I will show you how to add additional contrast to your image, optimize highlights and shadows, and create an impressive lighting effect. The process will be completed by applying a noise effect that perfectly rounds off your composing. Let's go through the final steps together.
Key Insights
- The contrast of your image can be significantly enhanced using various techniques.
- Layer masks are valuable tools for specifically optimizing certain areas of the image.
- Hue adjustments can give the overall mood of your image a new direction.
- The noise effect helps tie different textures together and creates a harmonious overall image.
Step-by-Step Guide
1. Create and Group
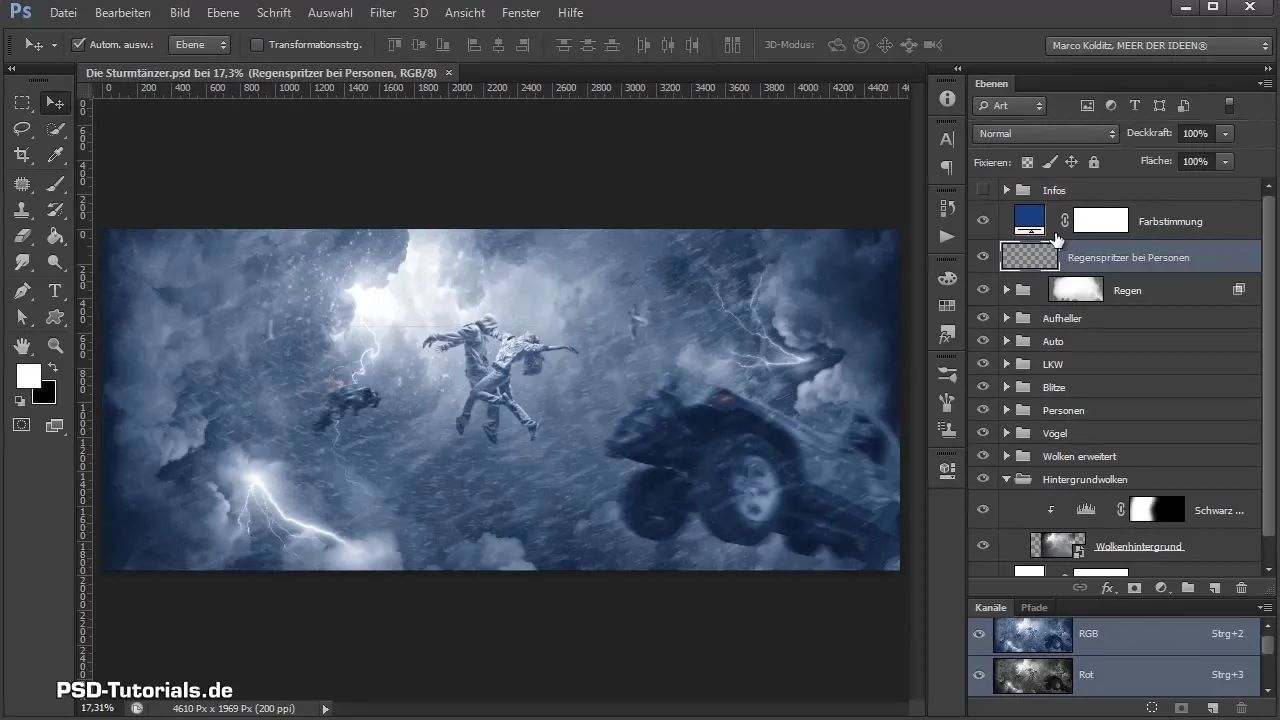
First, we create a group for the final editing steps. Click on the new group icon in the layers palette and name it "Final". Now we merge all editing layers into a new layer. Deactivate the color layer and use the keyboard shortcut Ctrl + Alt + Shift + E to create a merged layer.
2. Increase Contrast
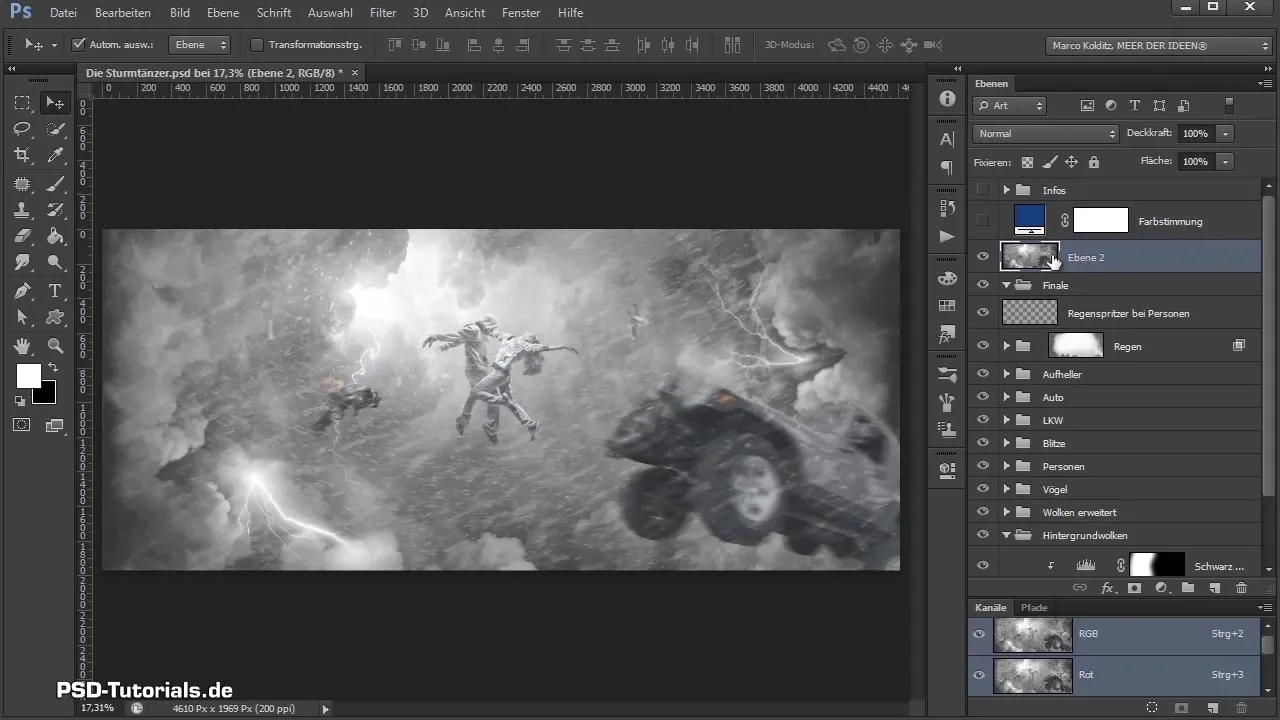
Name the new merged layer "Contrast" and move it into the "Final" group. Set the layer mode to "Soft Light" to enhance the contrast in the image. Reactivate the color layer to see what has changed.
3. Make Area-Specific Adjustments
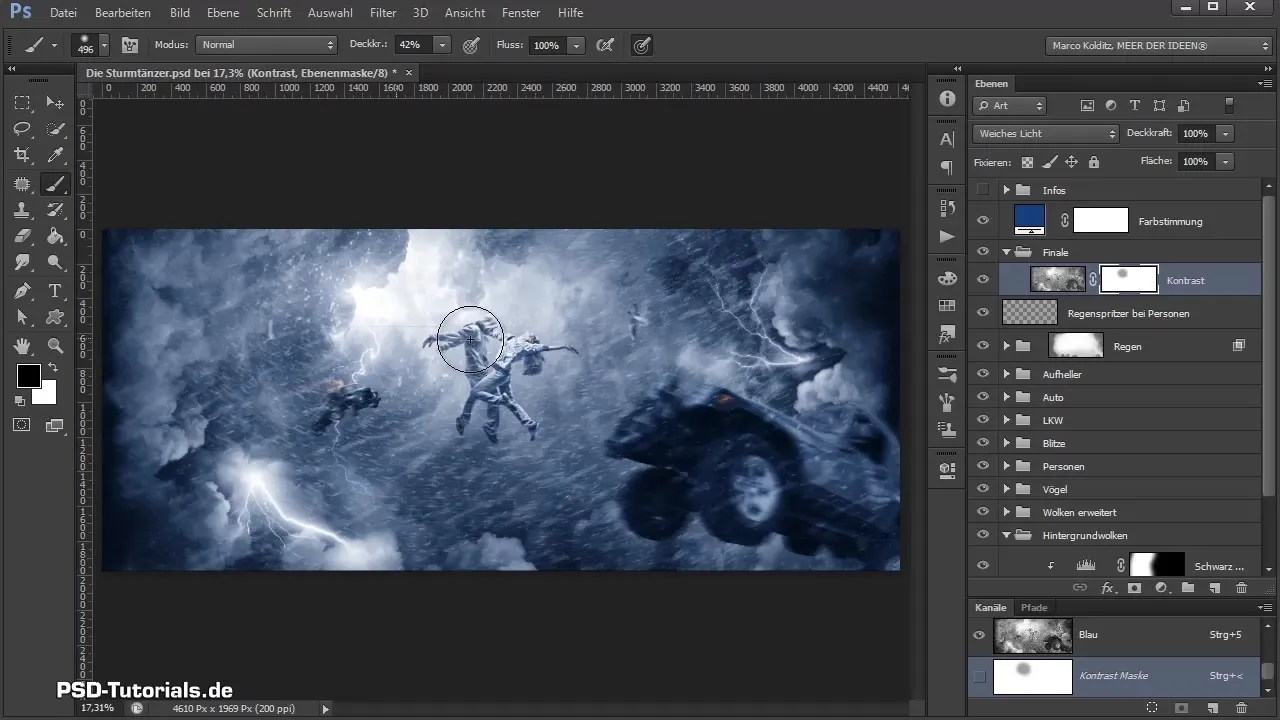
To avoid applying contrast uniformly across the entire image, create a layer mask on the contrast layer. With black foreground color, you can mask out the affected areas, e.g., in the brighter highlights and dark parts. Vary the opacity to make the adjustments subtler.
4. Perform Tonal Corrections
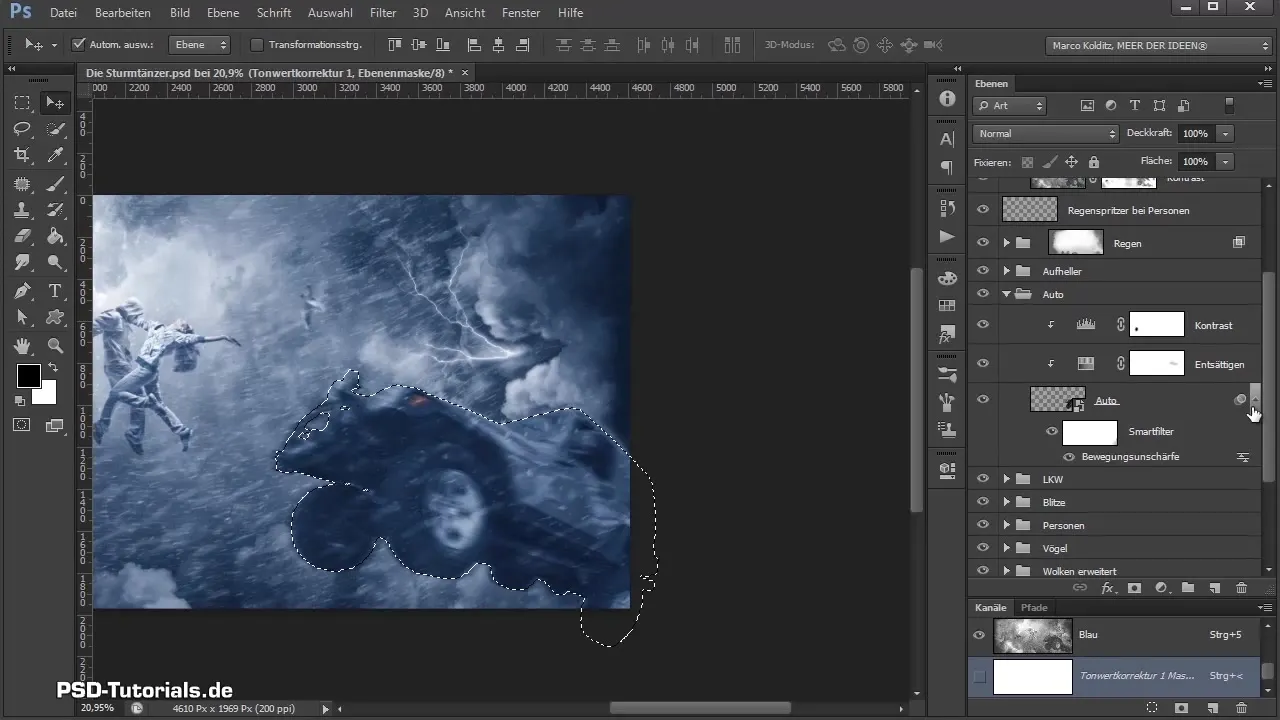
Correct any overly emphasized areas using the tonal correction. Select the "Auto" layer to make adjustments to the lighter and darker tones. Make sure that the corrections only affect specific parts of the image.
5. Darken Dark Areas
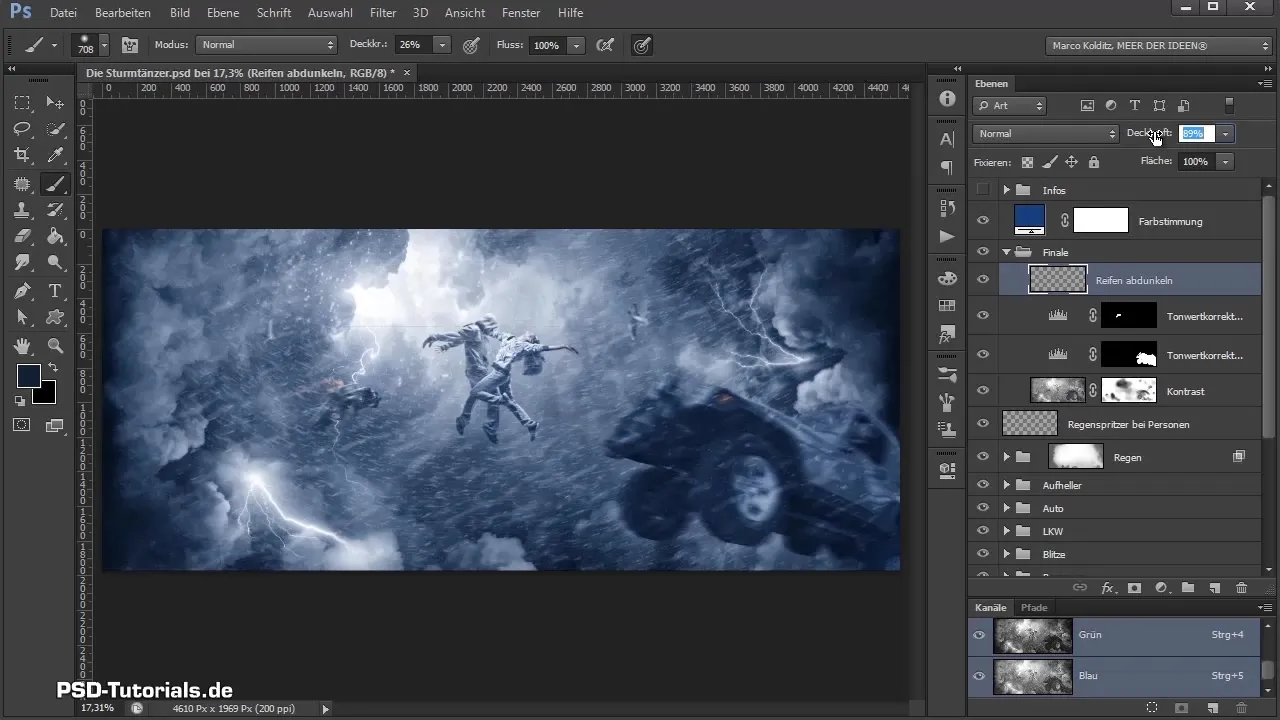
For a harmonious design, it may be necessary to darken some areas, like the tires. Create a new layer, name it "Darken Tires," and use the brush to selectively darken these areas.
6. Hue Adjustment
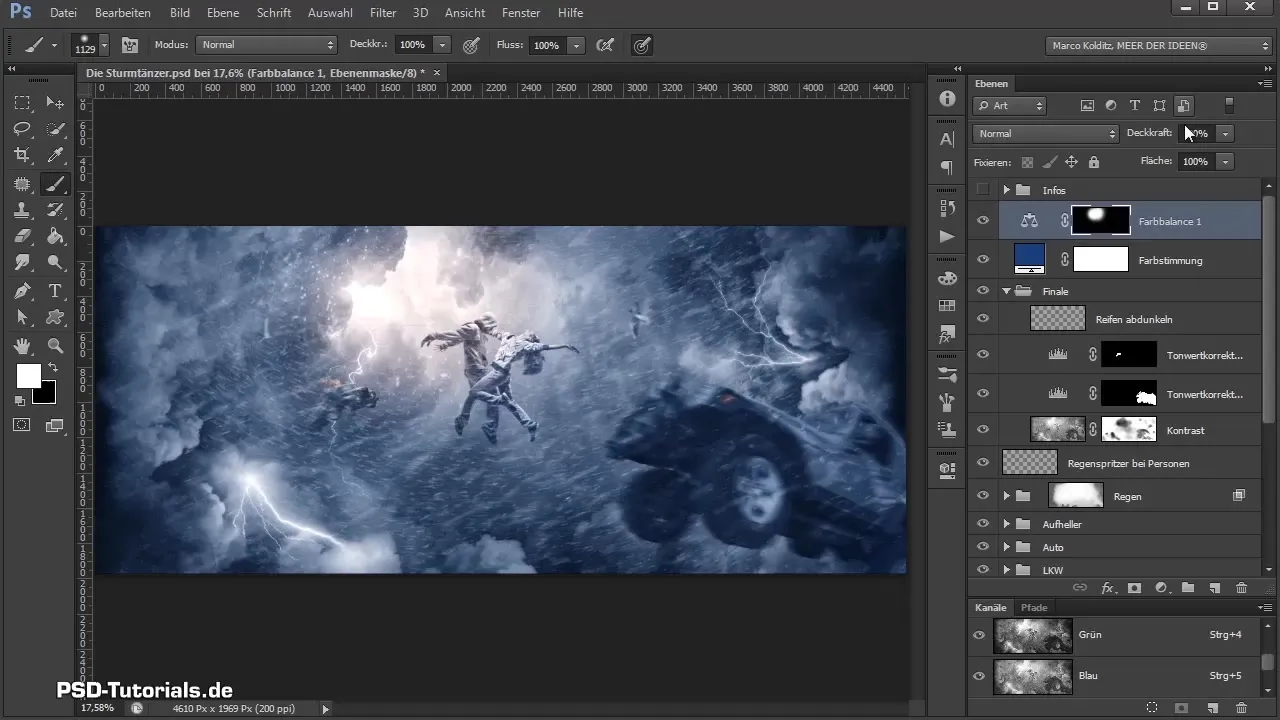
To give the image a warmer atmosphere, create a hue adjustment above the hue mood layer. Set the individual hues as needed and invert the mask to specifically paint the adjustments into the image using white foreground color.
7. Final Review of Opacity
Reduce the opacity of the hue adjustment to about 50% to achieve a natural result. Ensure that the editing is not too pronounced so as not to lose the character of the original image.
8. Add Noise Effect
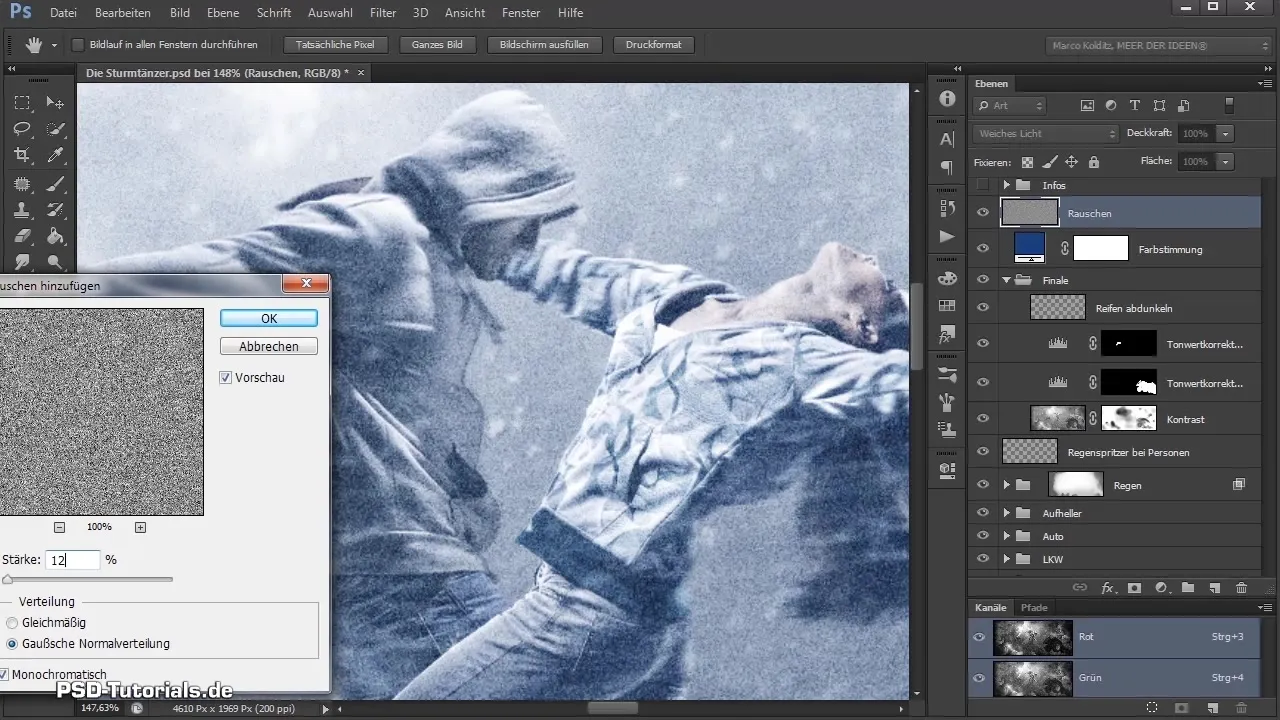
Create a new layer, name it "Noise," and set it to "Soft Light" mode. Fill the layer with gray color to create transparent noise. Apply a noise filter to create a certain degree of blur and softness.
9. Check Final Rendering
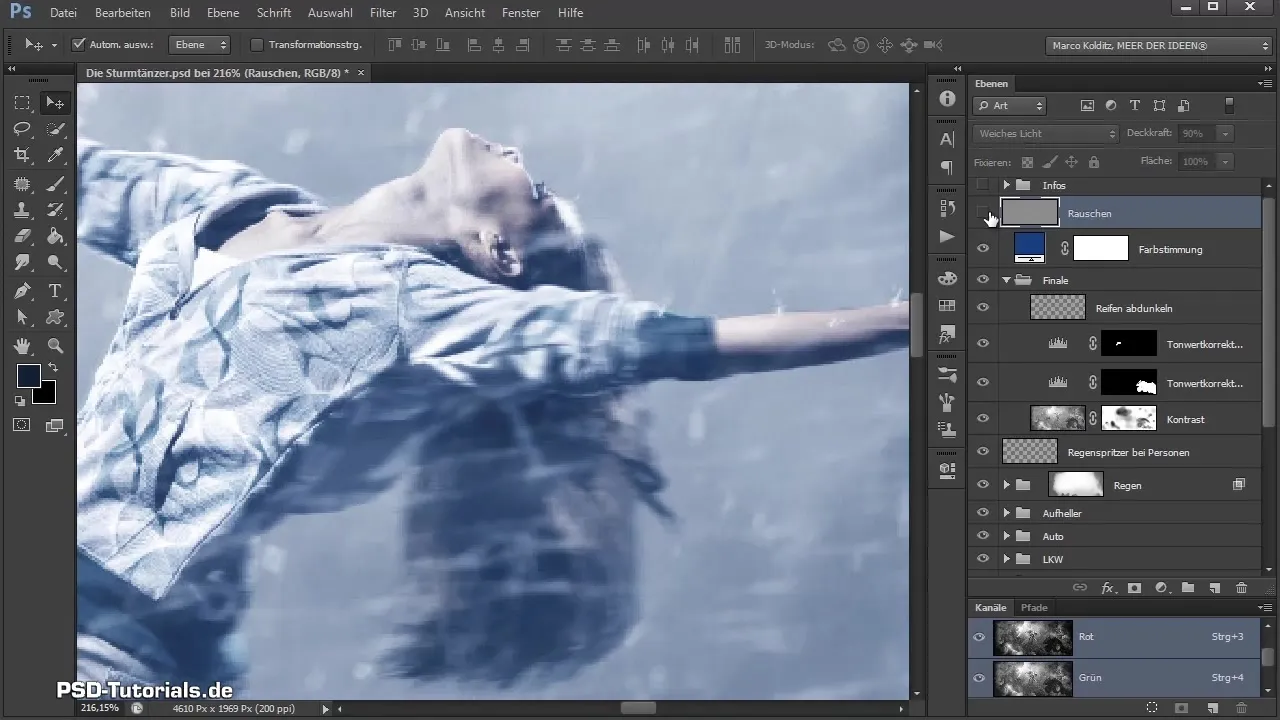
Don't forget to compare the before-and-after result. The noise effect connects edited areas together, making the image appear more natural and cohesive.
Summary – Final Steps in Photoshop Composing
By following the mentioned steps, you can give your Photoshop composing the final touches. You will apply contrast adjustments, local corrections, hue adjustments, and noise filters to significantly enhance the overall impact of your image.
Frequently Asked Questions
How do I create a layer mask?Click on the mask icon in the layers panel to create a new mask.
What can I do if the colors are too intense?Reduce the opacity of the adjusted color layer or the effects layer.
How do I use the noise effect?Fill a new gray layer and select the noise filter from the filter menu.
Can I compare multiple images before finalization?Yes, save different versions and use Photoshop's "Before-After" feature.
What is the advantage of grouping layers?Grouping layers helps maintain clarity and makes working on complex compositions easier.


