The exciting task is to realistically stop the clouds near the lightning and make them glow. In this tutorial, I will show you how to achieve an impressive effect with simple steps that will elevate your composings to the next level. We will use various layer techniques and the dodge tool to optimize the lighting mood in your image.
Main insights
- Create and use gray layers in “soft light” mode.
- Use the dodge tool to brighten specific areas.
- Make the lighting effects dynamic and realistic.
Step-by-Step Guide
To effectively brighten the clouds, follow these steps:
Step 1: Create a New Group
First, create a new group where you will organize the different layers. Click on the new group icon in your layers panel. Name this group “Brighteners”.
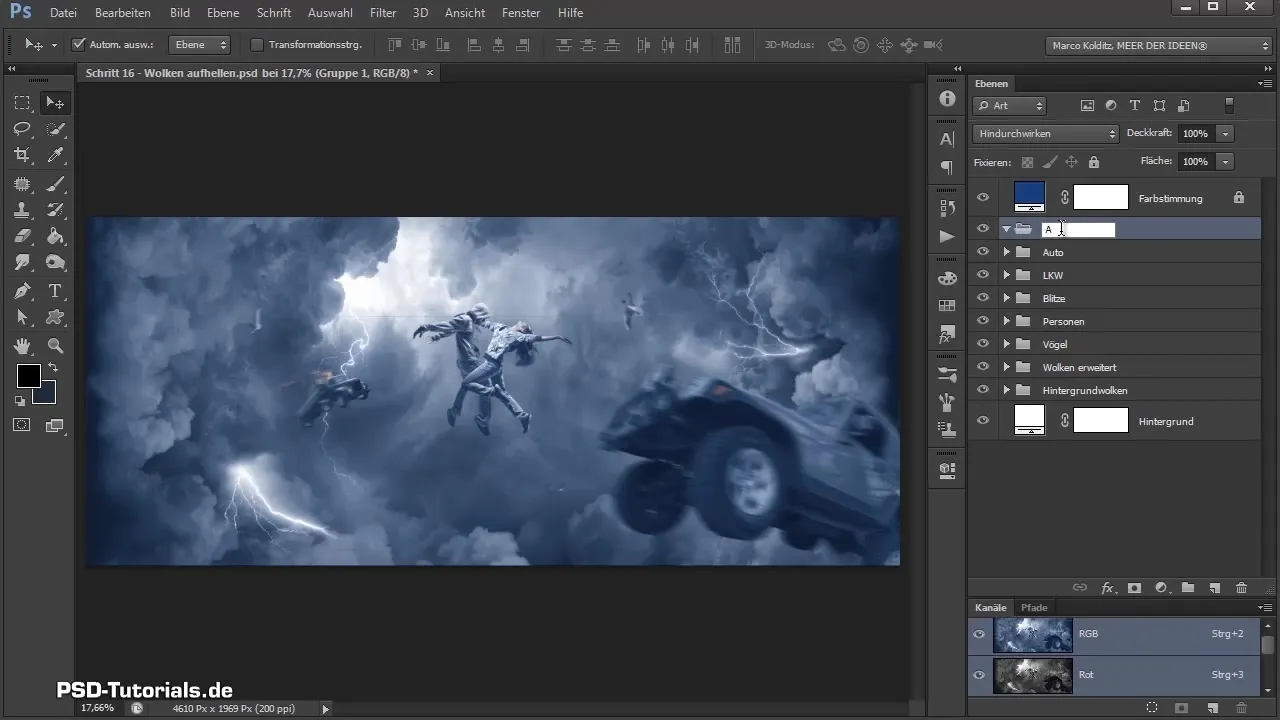
Step 2: Create the First Brightening Layer
Create your first layer. Hold down the Alt key and click on the new layer icon. A dialog box will open where you give the layer the name “Brightening”. Set the layer mode to “soft light” and fill the layer with a 50% gray tone. This gray will become transparent in “soft light” mode, thereby only affecting the brighter areas.
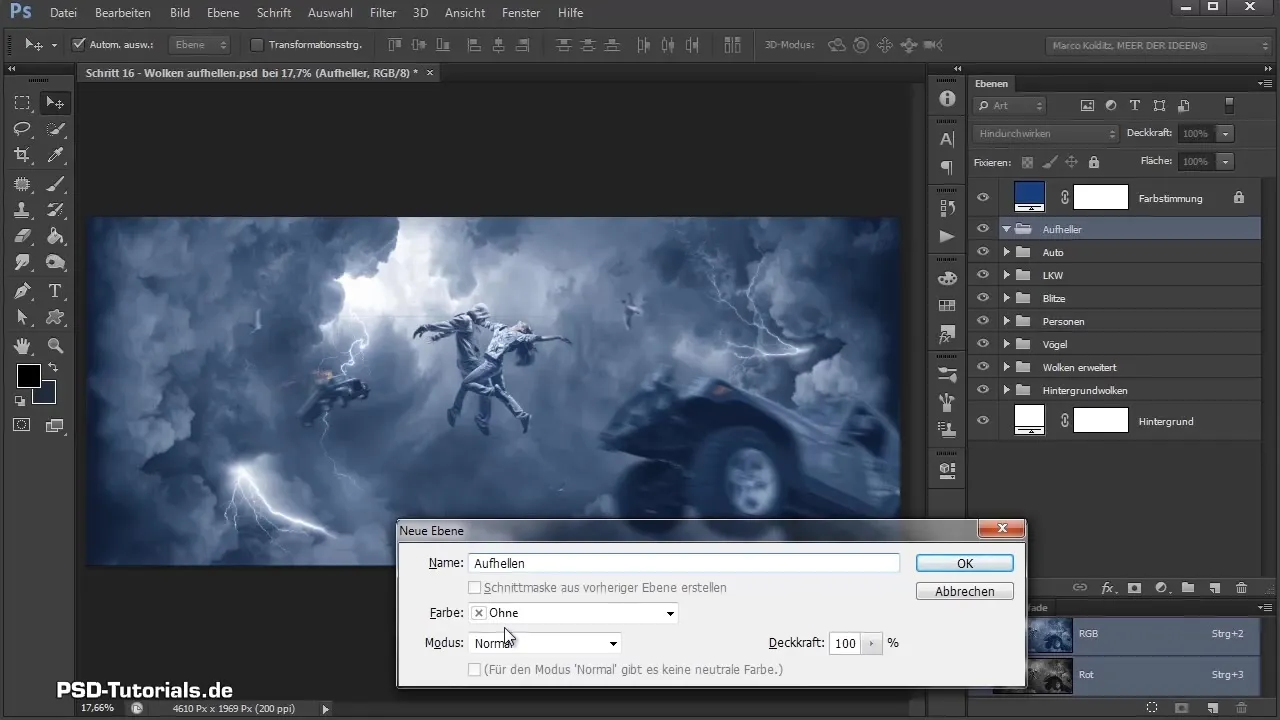
Step 3: Create the Second Brightening Layer
Repeat the process and create a second layer that you will call “brightening s”. Again, use 50% gray and set this layer to the “soft light” mode as well as “overlay”. Now you have two gray layers active that will help you in the brightening process.
Step 4: Use the Dodge Tool
Now it's time to choose the dodge tool. With this tool, you can work specifically in the mid-tones to brighten the gray areas. Make sure to adjust the brush size so that you can paint precisely. Set the tool's opacity to about 25%.
Step 5: Brightening the Clouds
Start by brightening the clouds. In just a few strokes, you can significantly brighten the clouds, especially the areas near the lightning. It's important to paint along the shapes of the clouds to create a natural, soft transition.
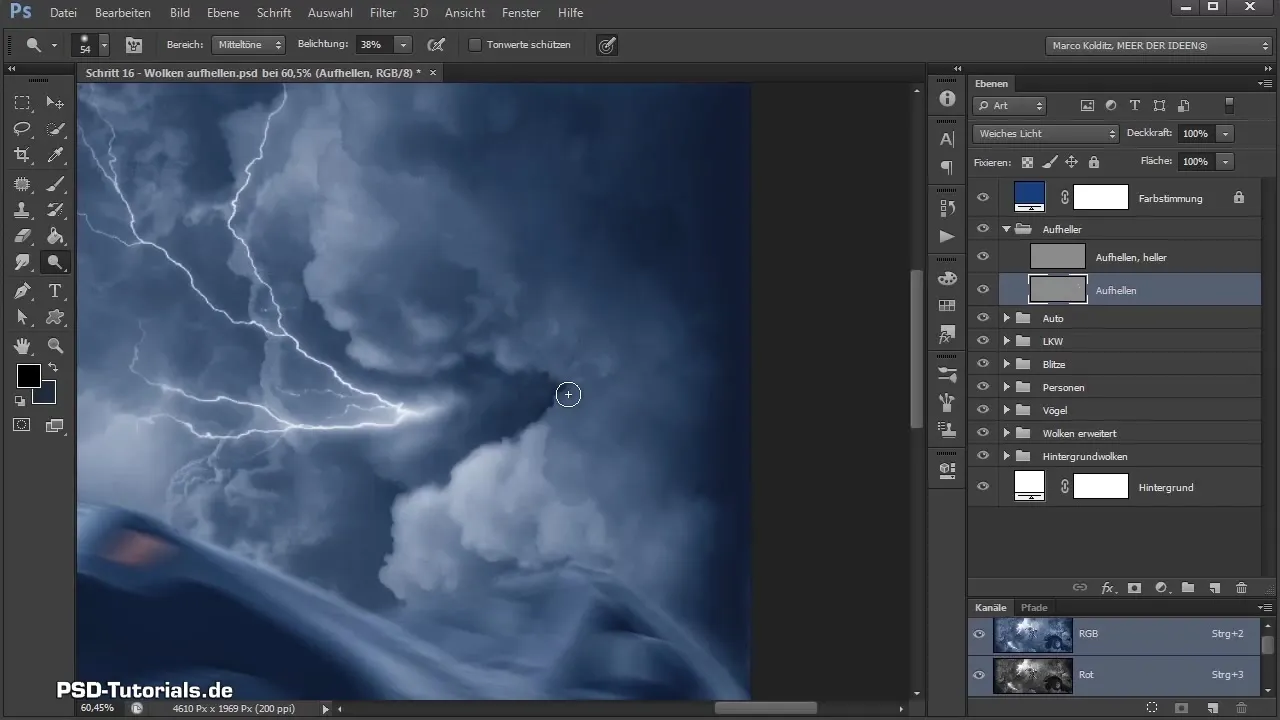
Step 6: Further Cloud Editing
Continue with the same technique and repeat the process for each cloud that needs more light. Don't be discouraged; even small details can have a big impact on the overall ensemble. Experiment with the brush size to create different effects.
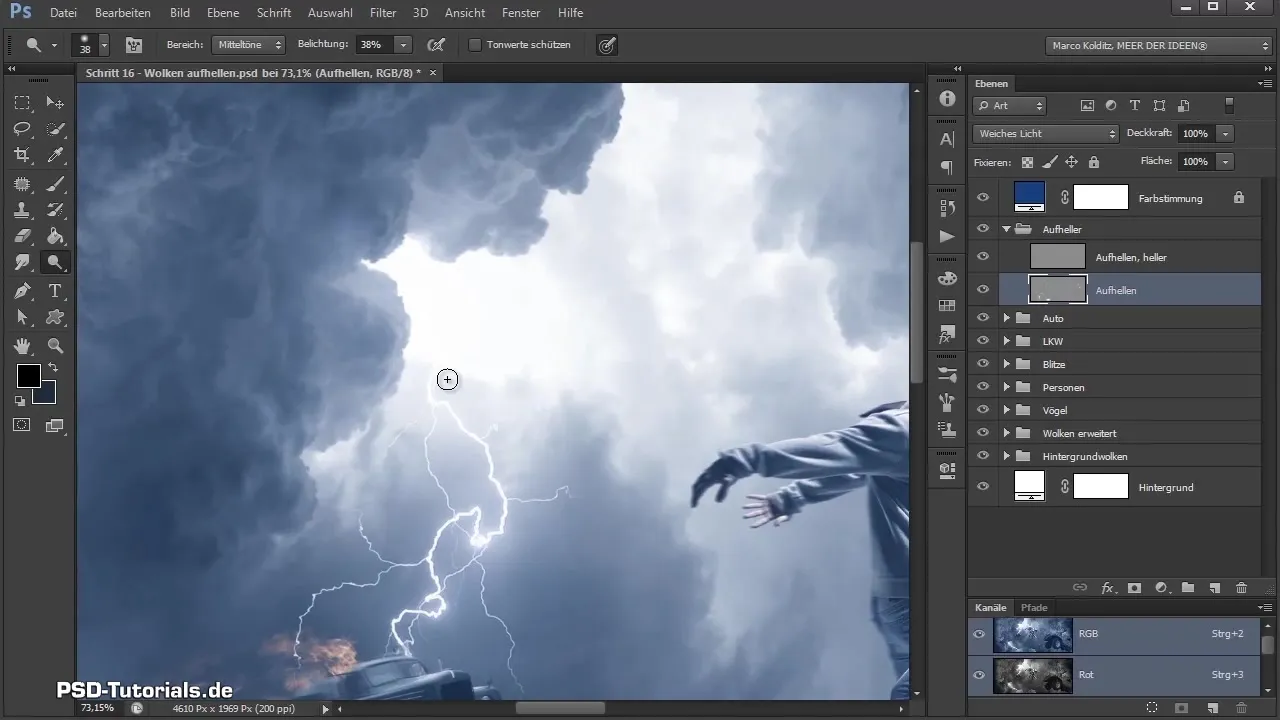
Step 7: Highlights and Spotlights
After you have brightened the clouds, switch to the “brightening s” layer mode. Here you have the opportunity to set even more intense light accents. A light brush stroke is often enough to create fascinating highlights. Use this opportunity to place spotlights where the light is strongest.
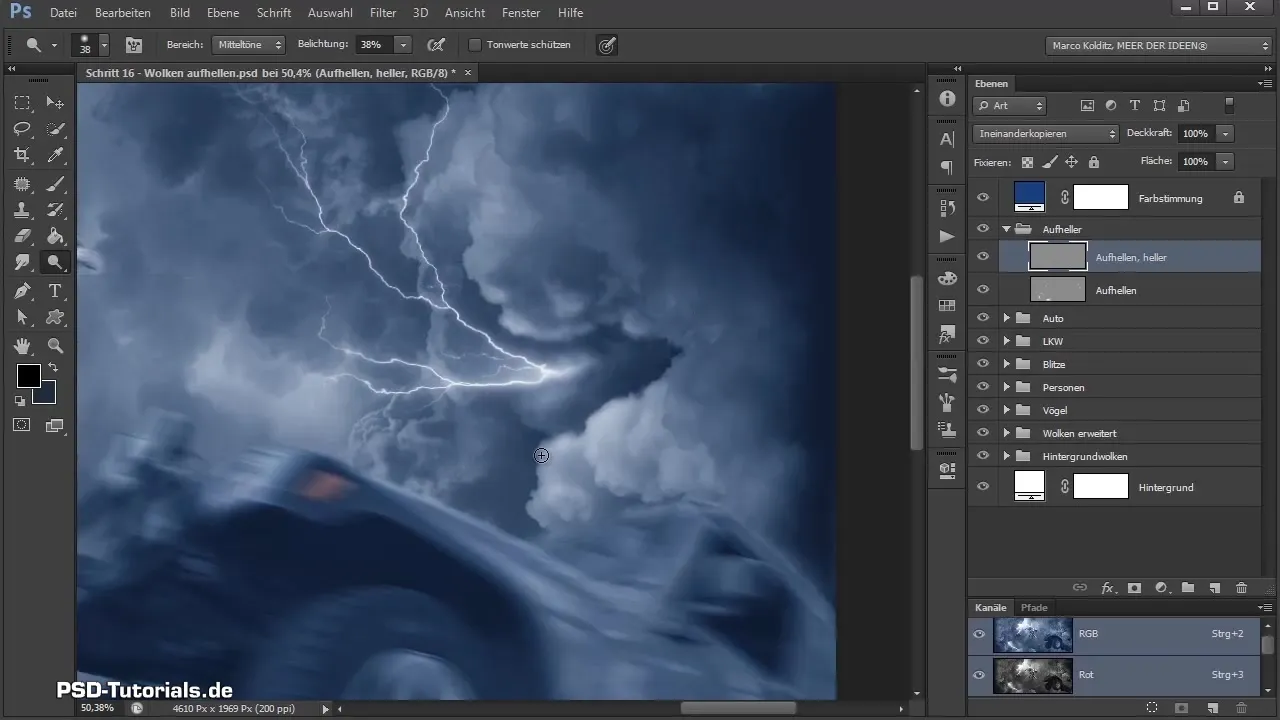
Step 8: Fine-Tuning with the Burn Tool
To further adjust the image, you can use a burn tool to highlight darker areas and create better contrast. With this technique, you enhance the realism of your composite image.
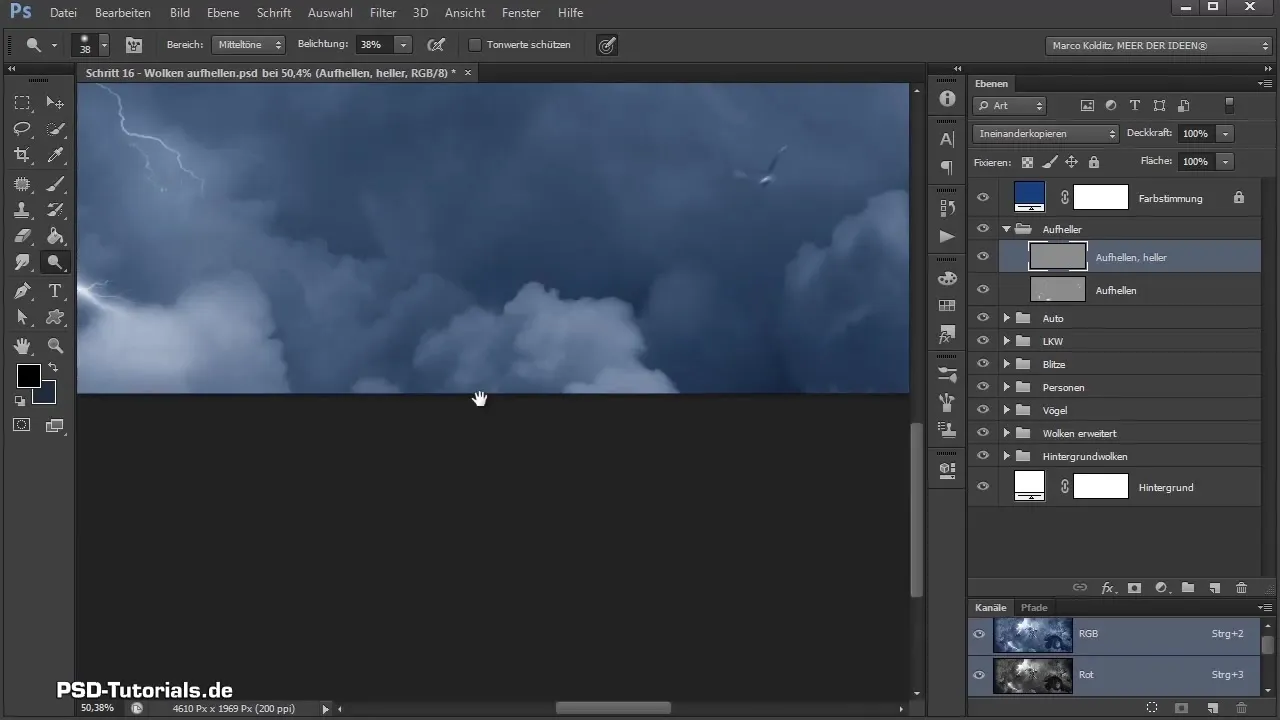
Step 9: Final Adjustments
After setting the light effects, take a moment to refine the lights as a final touch. Go through your various layers, make final adjustments, and export your final result.
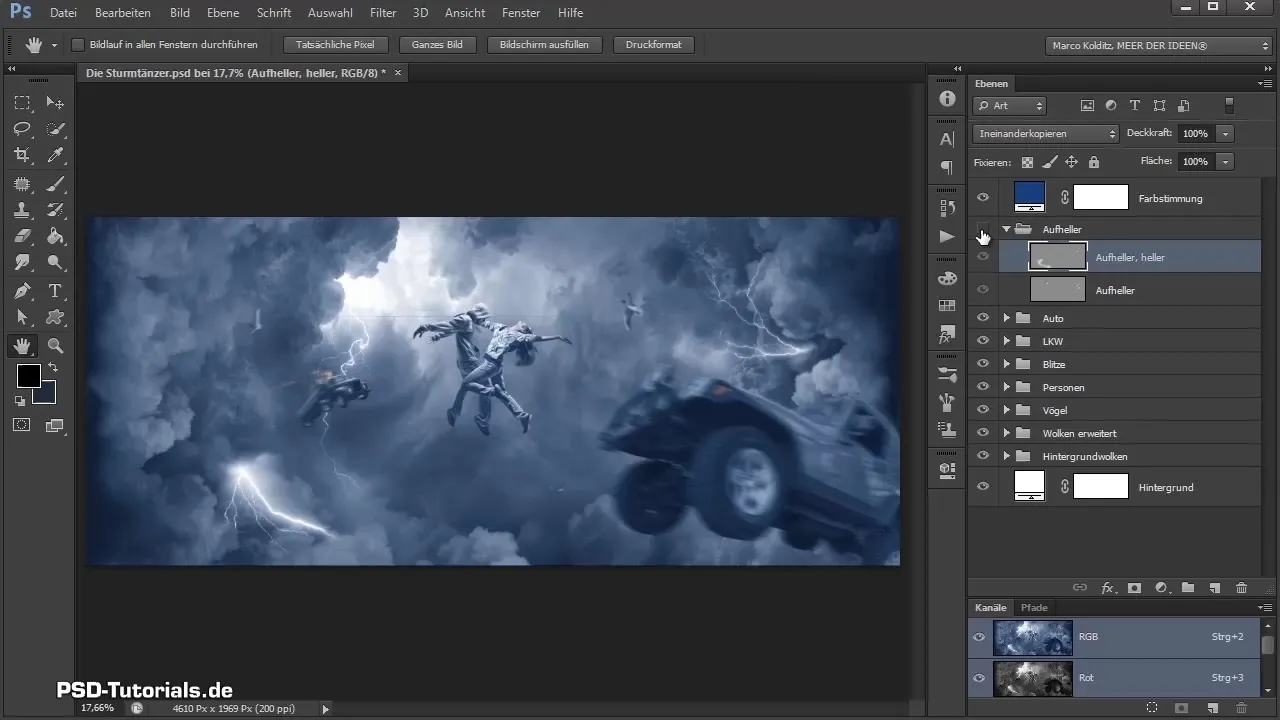
Summary - Photoshop Composing: Brightening Clouds Step-by-Step
Through targeted editing with gray layers in “soft light” mode and the dodge tool, you make your clouds glow. With these techniques, you create a convincing light mood that brings your composings to life.
Frequently Asked Questions
How do I create a new group in Photoshop?Click on the new group icon in the layers panel.
What is “soft light” mode?“Soft light” only affects the light and dark areas of the layer, creating a gentle transition.
How do I use the dodge tool?Select the tool and adjust the brush size and opacity to brighten specific areas of the image.
Why should I use 50% gray?50% gray is transparent in “soft light” mode and allows you to only influence the light and dark parts of the image.
How can I adjust the contrast in my image?Use the burn tool to highlight darker areas and improve contrast in the image.


