Digital composing can be both an art and a technical challenge. In this section, I will show you how to insert and realistically integrate a mechanical ear into your existing Photoshop project. We will go through the entire process of cutout, placement, and shadow design to ensure that the result not only looks good but also feels natural.
Main insights
- Learn how to cut out a machine part and integrate it efficiently.
- Understand the importance of shading to create depth and realism.
- Get valuable tips on using selection tools and masks.
Step-by-step guide
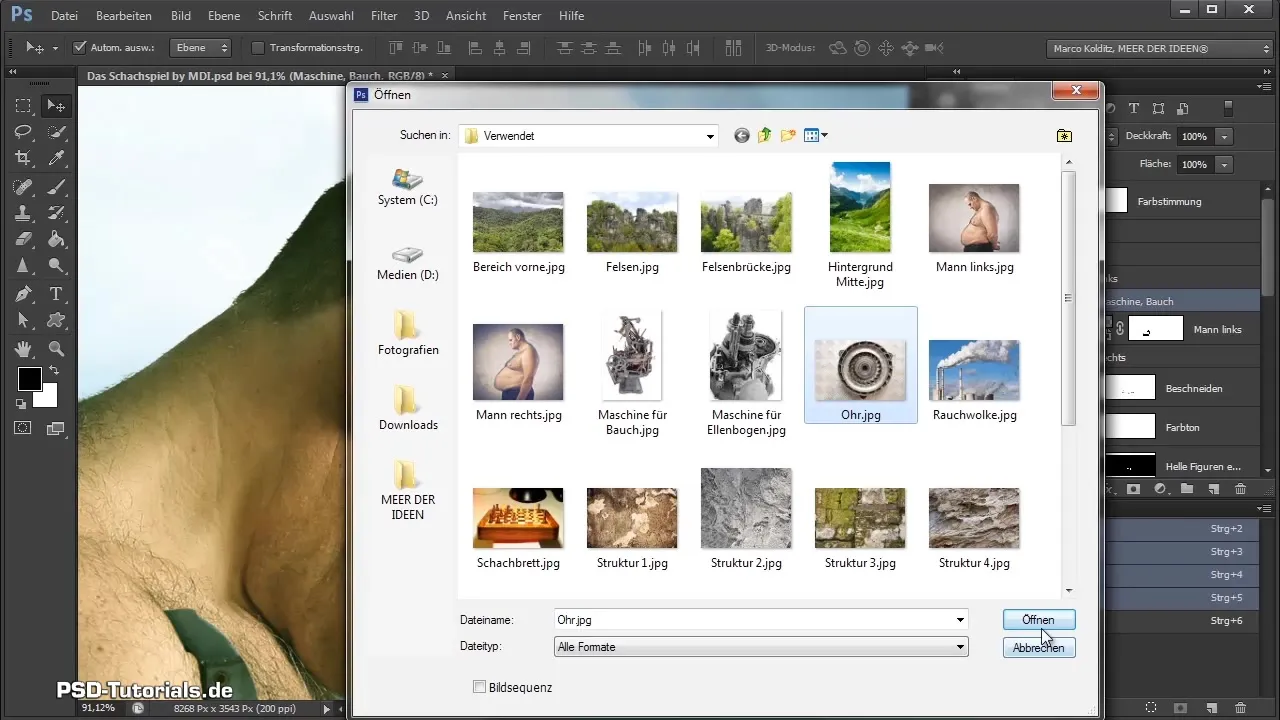
First, open the file with the mechanical ear. In the "File" menu, select "Open" and choose the corresponding file. The machine part, from which smoke will later emerge, is now added.
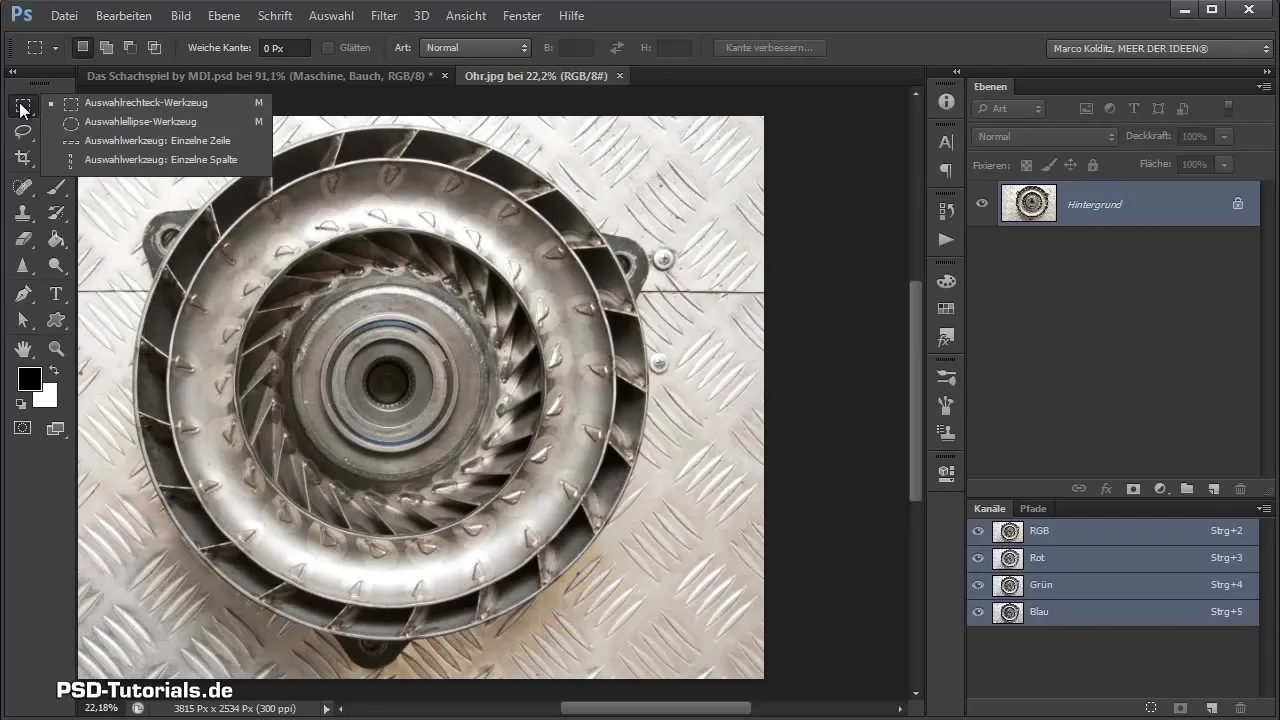
Once the image is open, go to the rectangle selection tool. Select the elliptical selection tool by holding down the mouse button to make an elliptical selection. Hold the Shift key to create perfect circles.
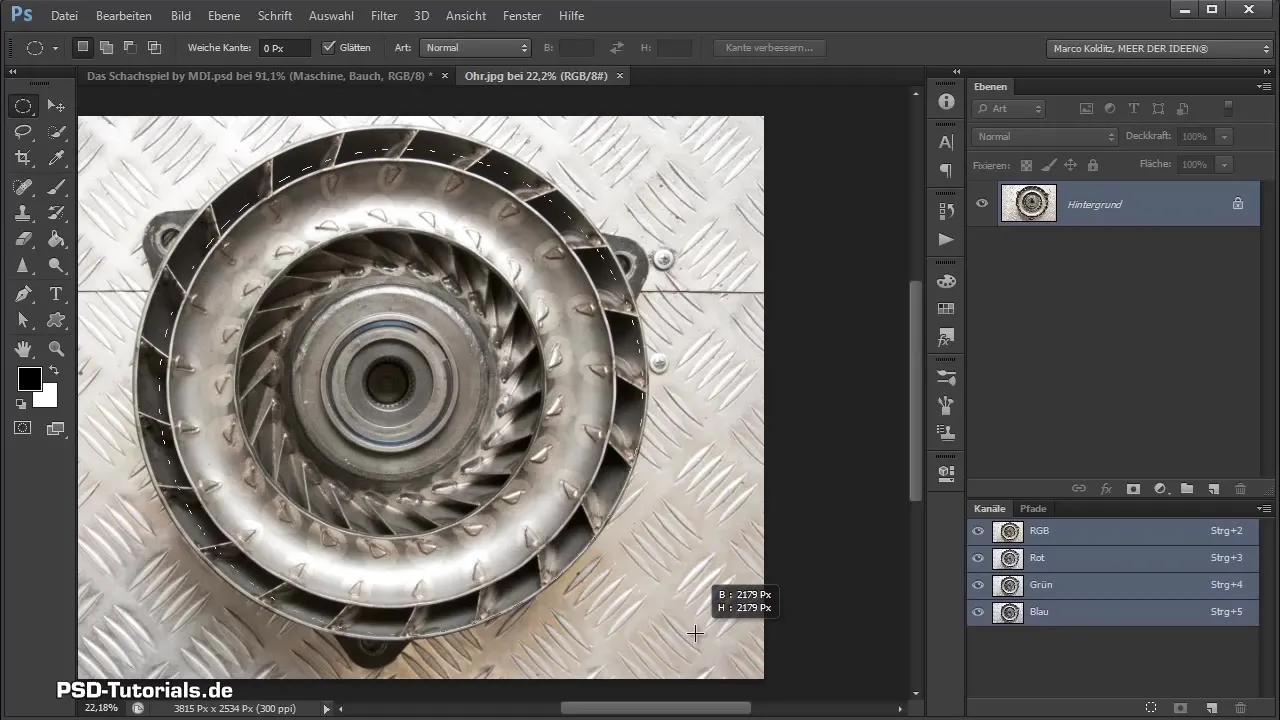
Strategically place the ellipse at the desired location. Hold the Shift key to adjust the size and move the selection.
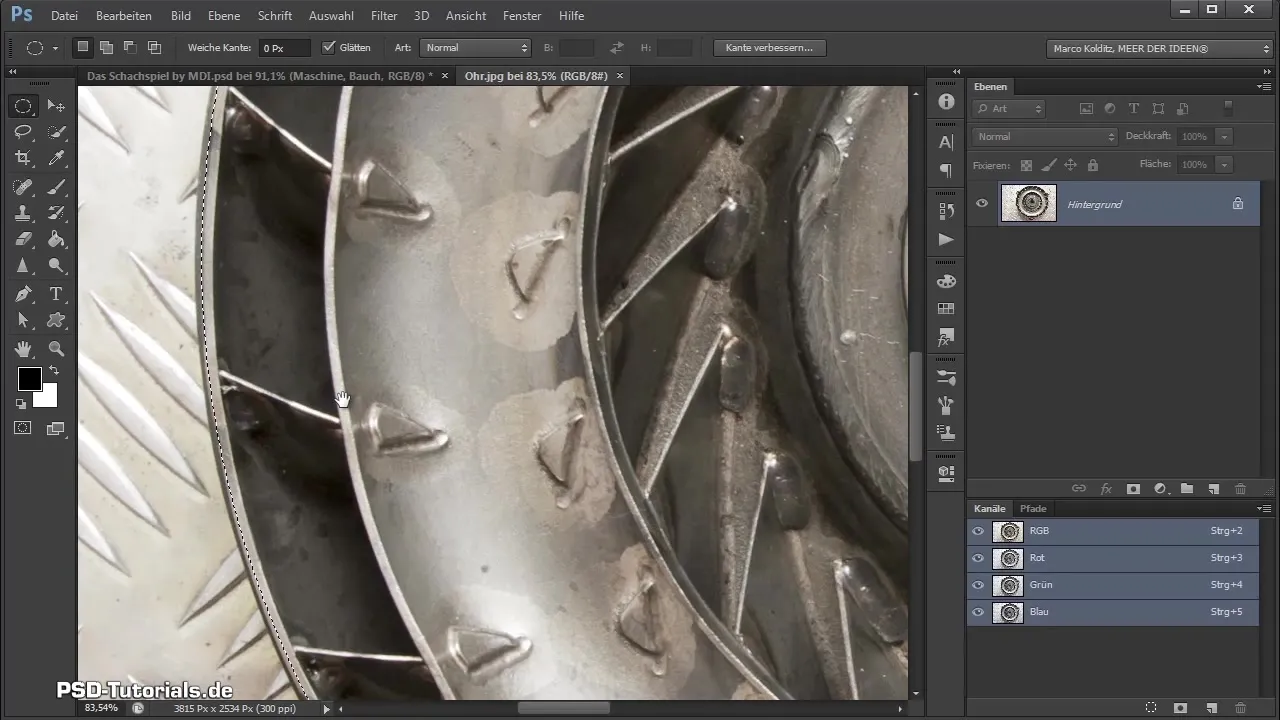
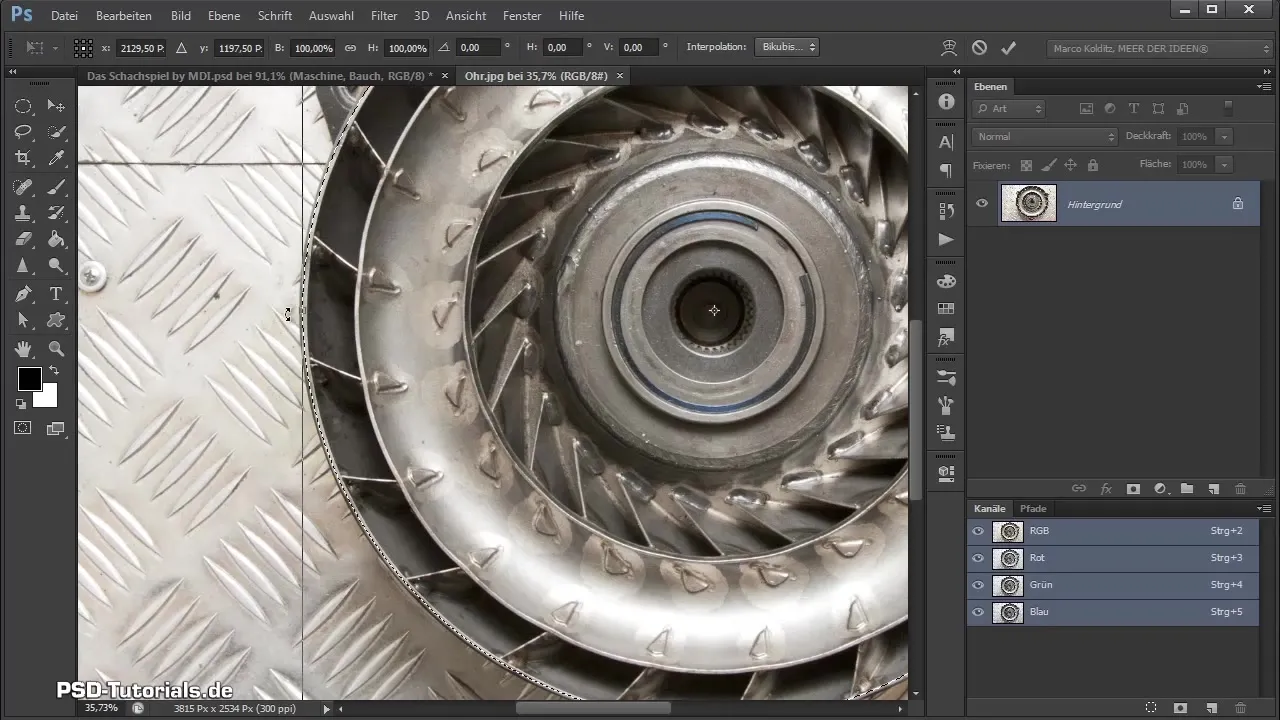
Enlarge the selection so that the marching ants are visible at the edge of the machine part. When you zoom in, be aware that the selection may still not fit perfectly in some areas.
To optimize the selection, right-click in the selection area and choose "Transform selection". Here you can drag the handles to align the selection exactly with the contours of the machine part. Confirm your selection with Enter.
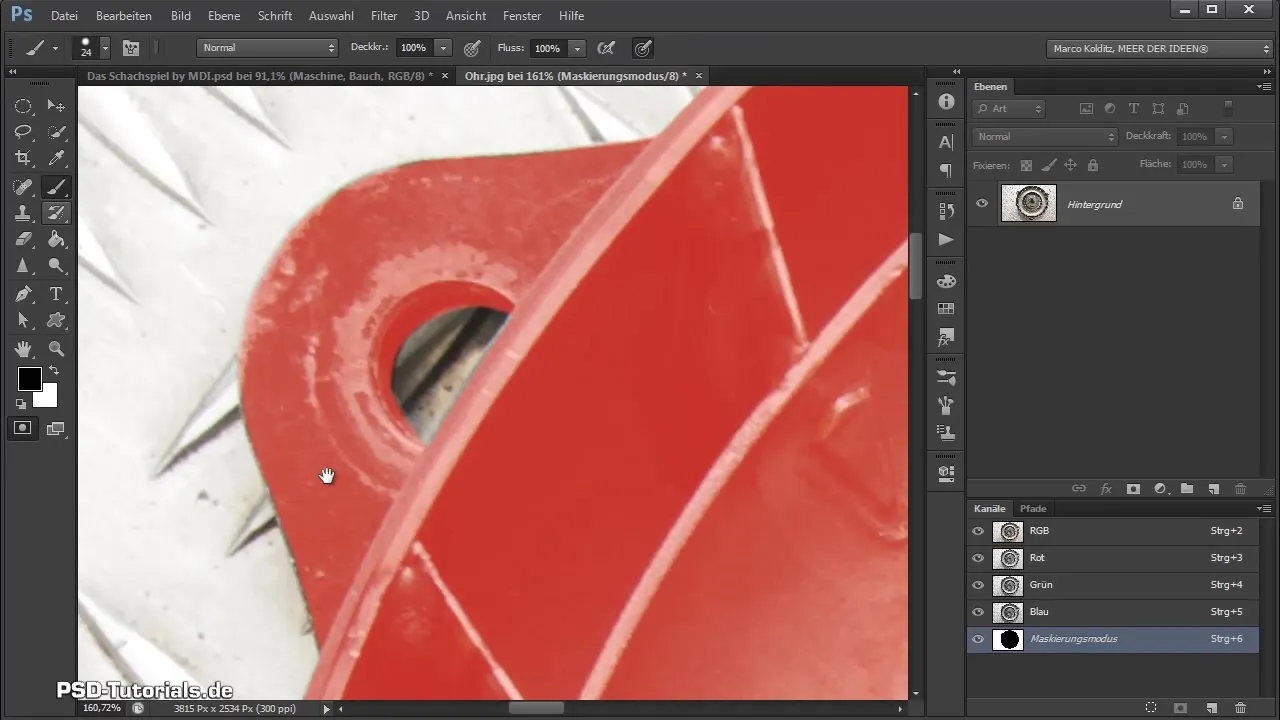
Now switch to the masking mode to mask the inner areas and apply the principle of masking. You choose a hard brush and paint the desired areas out. Be careful not to paint too far beyond the contours.
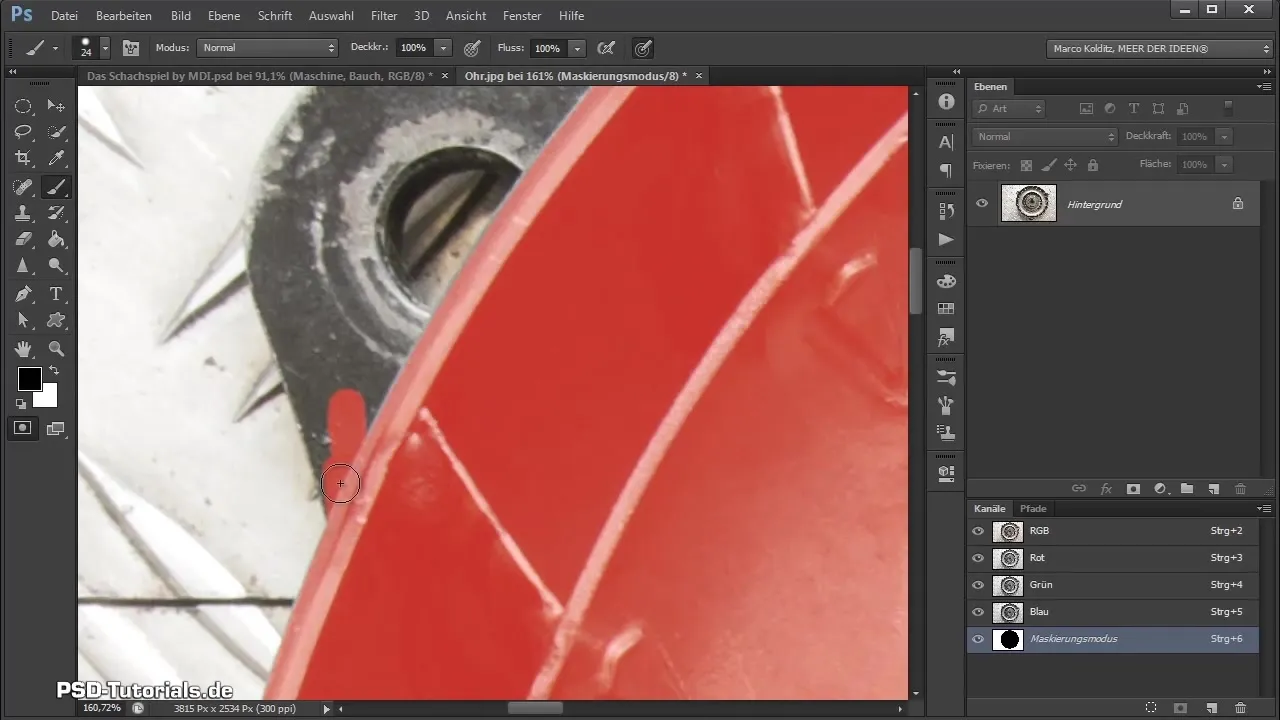
Corrections can be made with the foreground and background color by switching the respective colors. When you achieve a closed contour, you can fill that area.
After masking the outer parts, exit the masking mode and click on the mask icon to mask the selection.
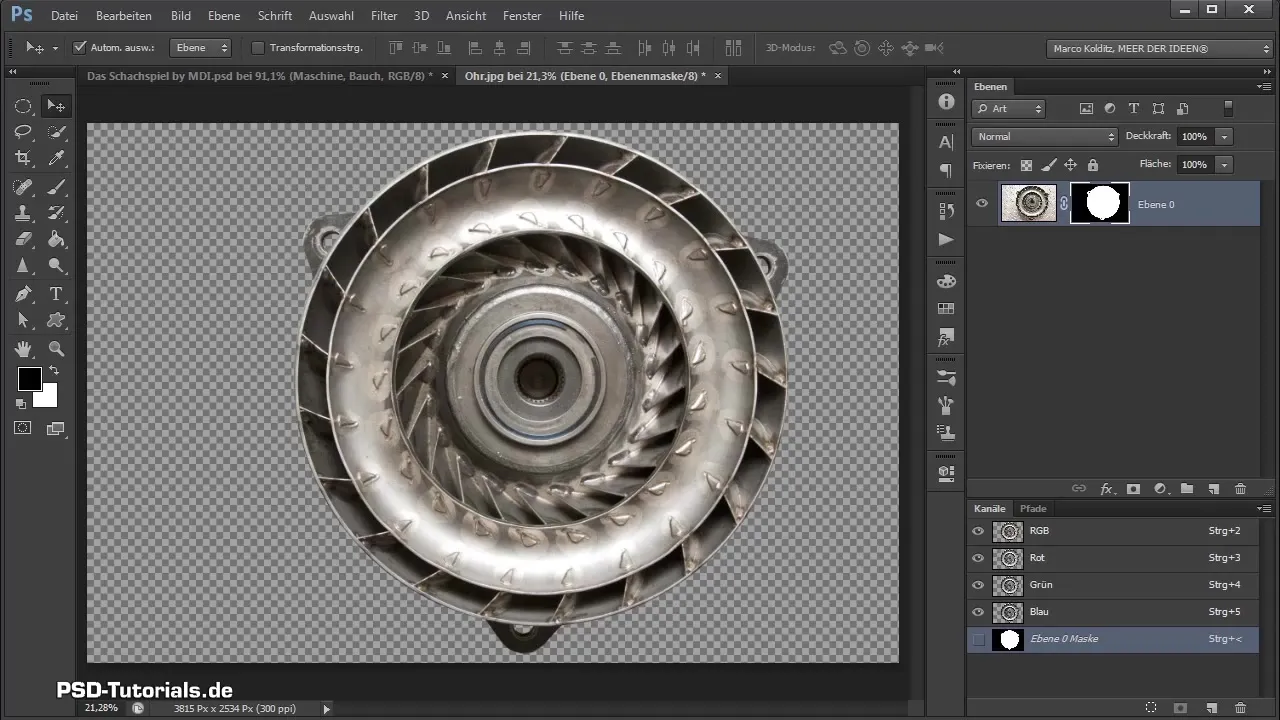
Now it's time to convert the machine part into a smart object. Select "Convert to Smart Object" and drag the object onto your composing.
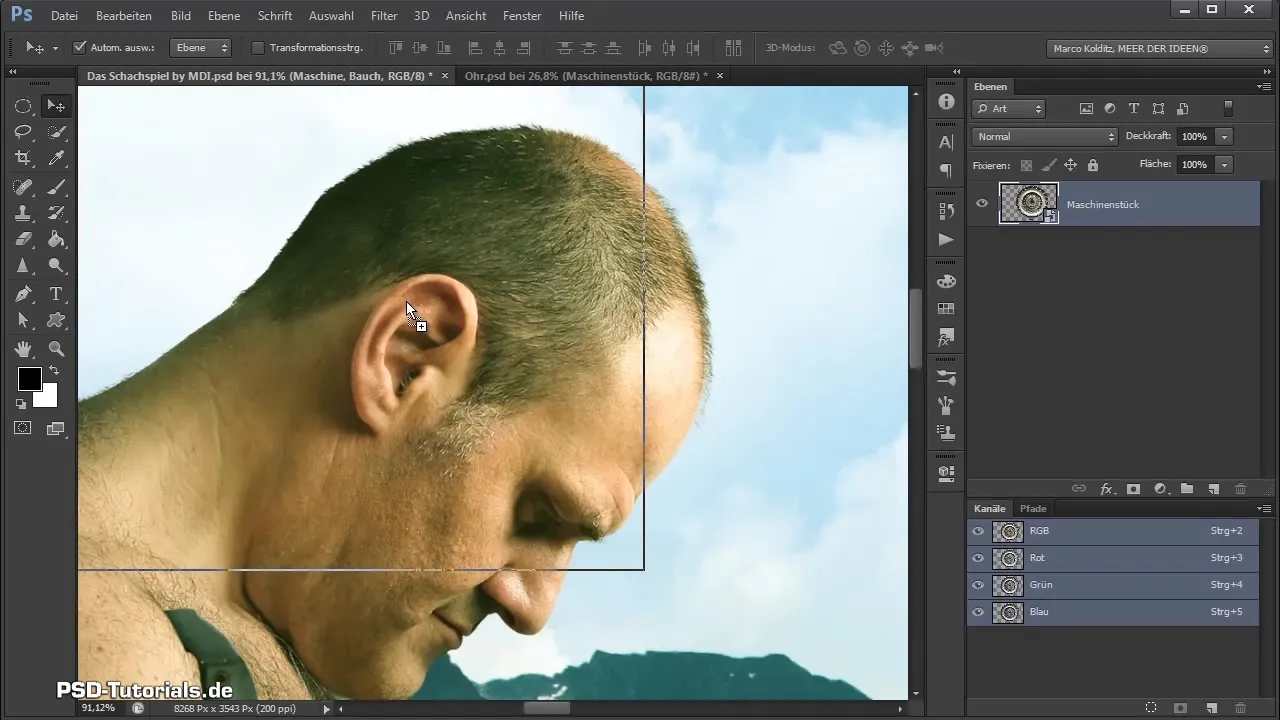
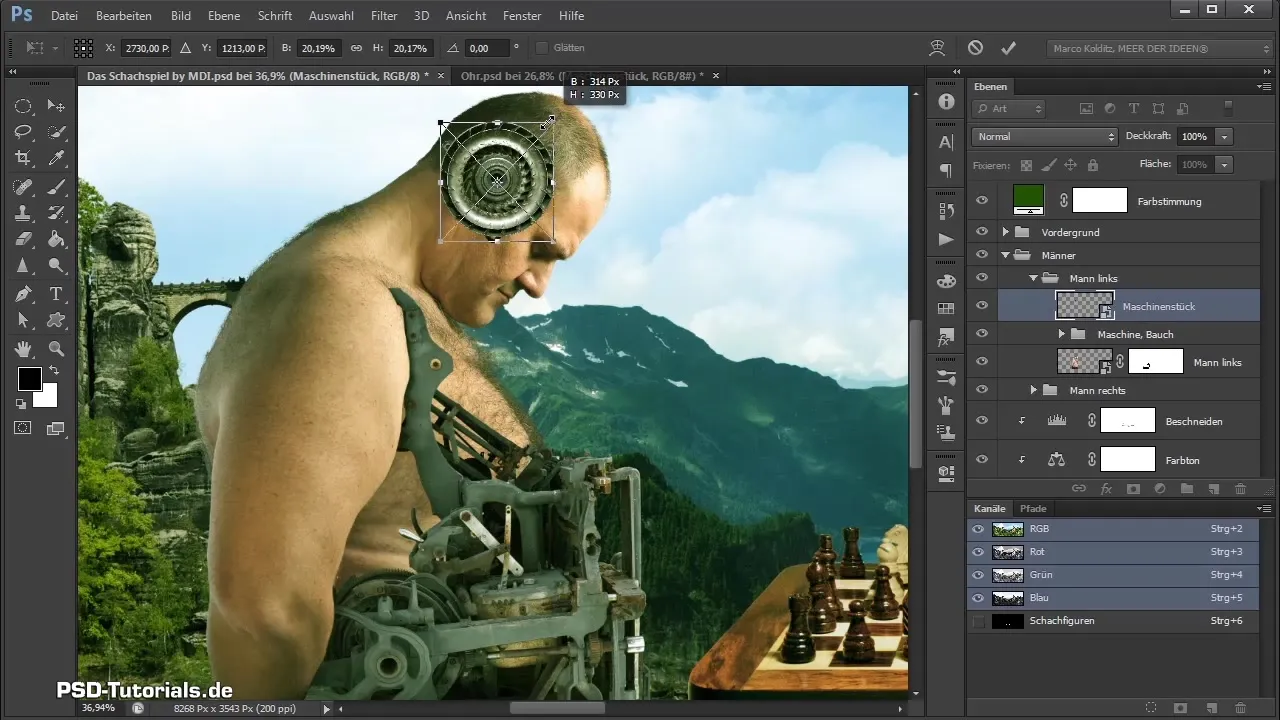
You will notice that the ear currently looks large. Click on "Ctrl + T" to adjust the size and place it strategically in the image.
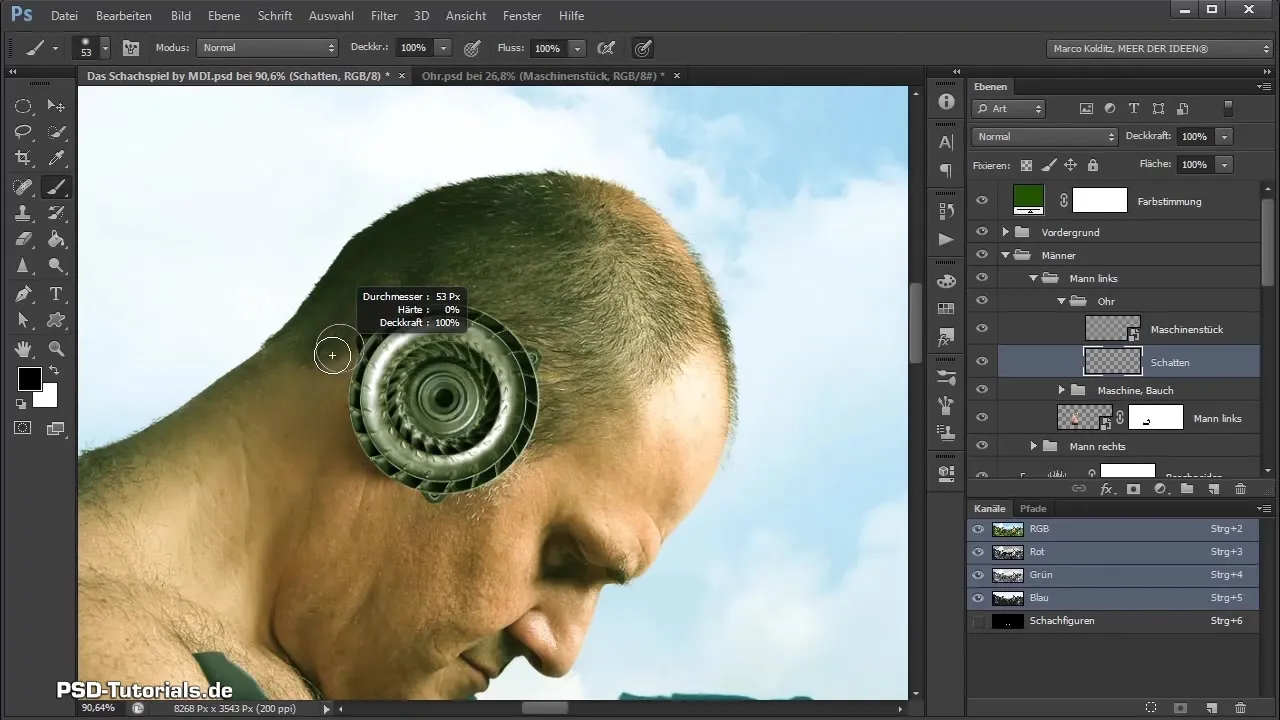
Finally, rename the new layer to "Shadow" and paint with a soft black brush to create shadows. Pay attention to where the light is coming from to make the shadows realistic.
As the shadows appear too dark, reduce the opacity of the layer to harmonize the overall image. You can also work with masks to bring back shadows in specific areas.
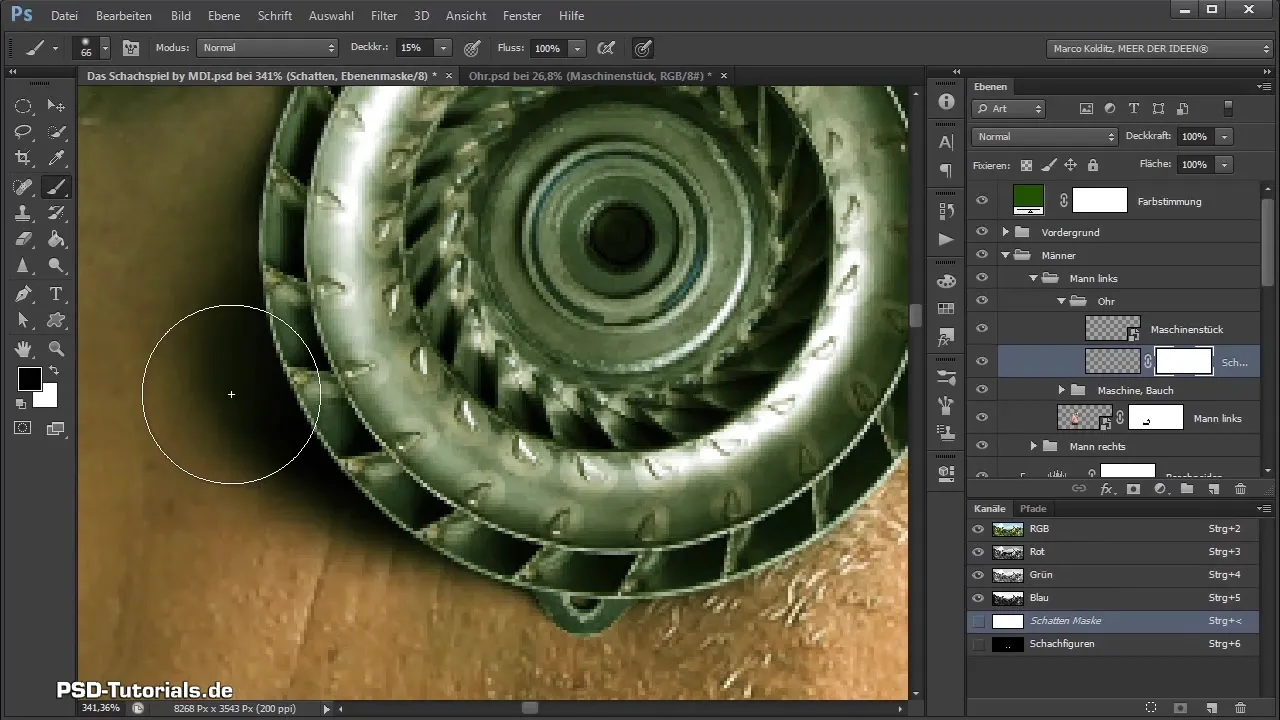
By adjusting the opacity of the shadows and working with the brush, you achieve a sculptural and realistic result. Thus, you have successfully placed the mechanical ear, and it looks much better already!
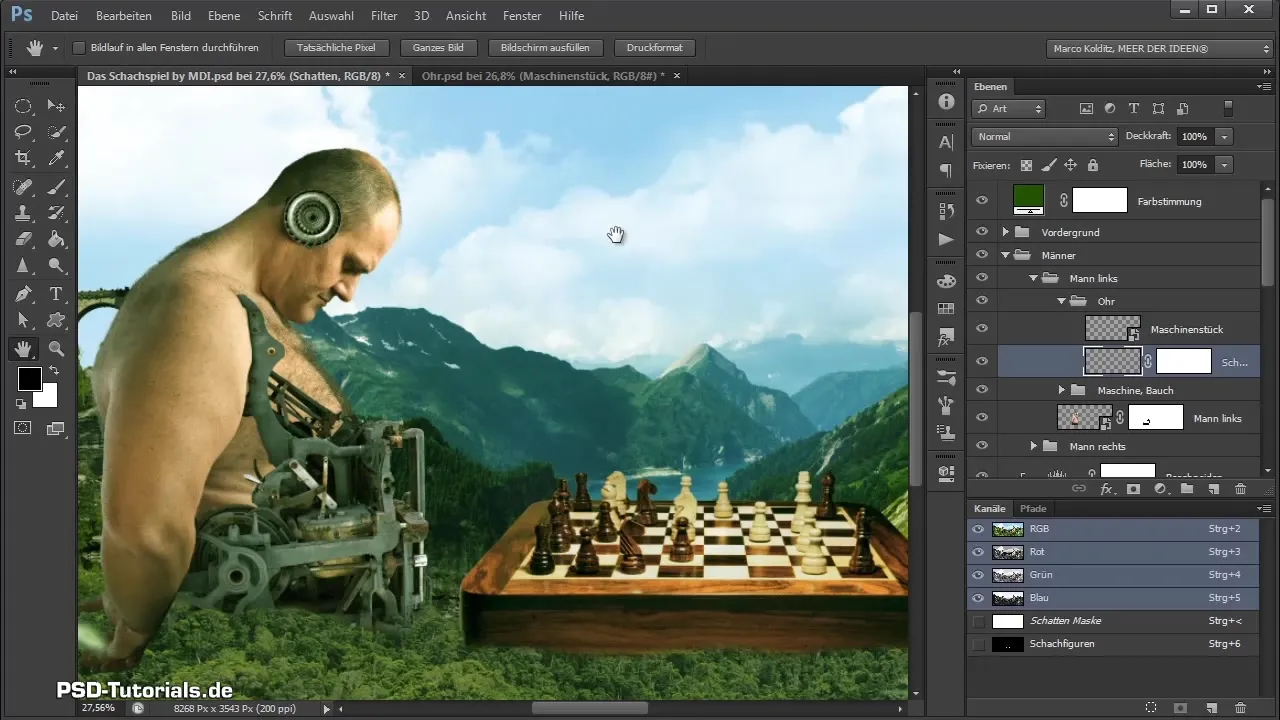
Summary - Mechanical Ear in Photoshop Step by Step
In this tutorial, you learned how to integrate a mechanical ear into your Photoshop project and realistically represent it through effective use of selection tools, masking, and shading. The development in each step leads to a unique and engaging result in your composing.
Frequently Asked Questions
What is a smart object?A smart object is an intelligent layer that allows non-destructive editing of content and effects.
How can I make the shadow look more realistic?Be sure to consider the light source and vary the opacity and brush size.
Which tool should I use for selection?The elliptical selection tool is ideal for precisely selecting round or elliptical shapes.
How can I refine my selection?Use the "Transform selection" feature and adjust the handles to the contours of your object.
How can I correct overpainted areas?Switch the foreground and background color to easily bring back the desired areas.


