The targeted cutting out of image objects is an art in itself. In this tutorial, I will show you how to efficiently prepare foreground elements in Photoshop to later enhance the depth effect in your composing. We will focus on the steps to cut out and optimize three specific elements: a left, a middle, and a right foreground element.
Main Insights
Main Insights
- Manual cutting out is often more precise than automated techniques.
- The masking mode in Photoshop offers extensive options for image editing.
- Patience and accuracy are crucial to achieve a high-quality result.
Step-by-Step Guide
Let's start by cutting out the foreground elements. You will see how important it is to apply the right technique and to have the necessary patience.
Preparation
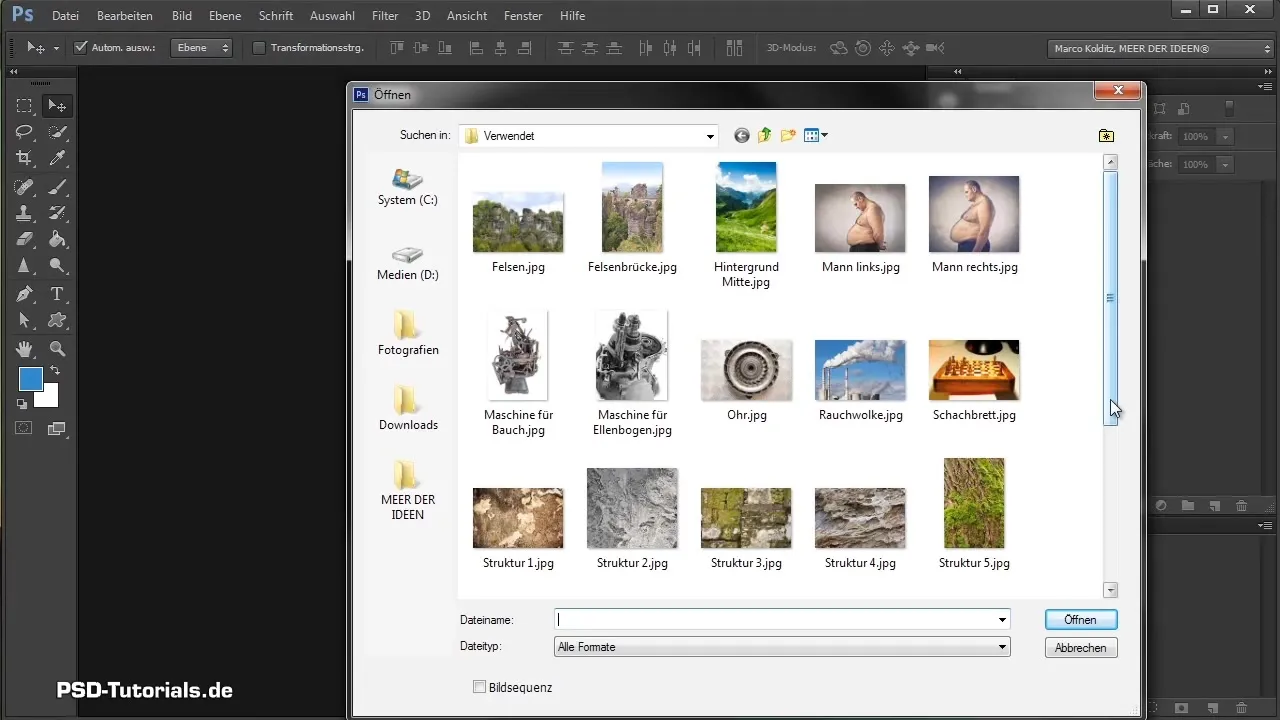
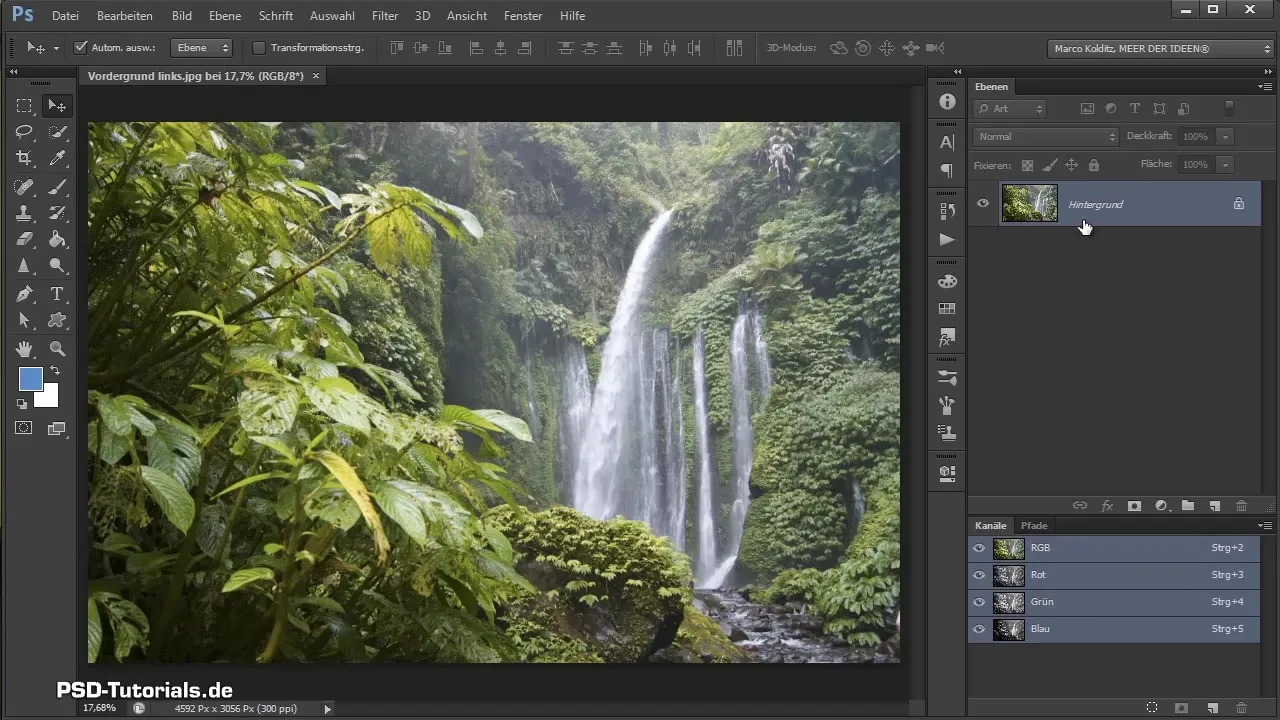
First, open the file with your foreground elements. In our case, we are working with three images: one for the left side, one for the center, and one for the right side of the composing. The first element we will tackle is the left foreground element.
Selecting the Masking Mode
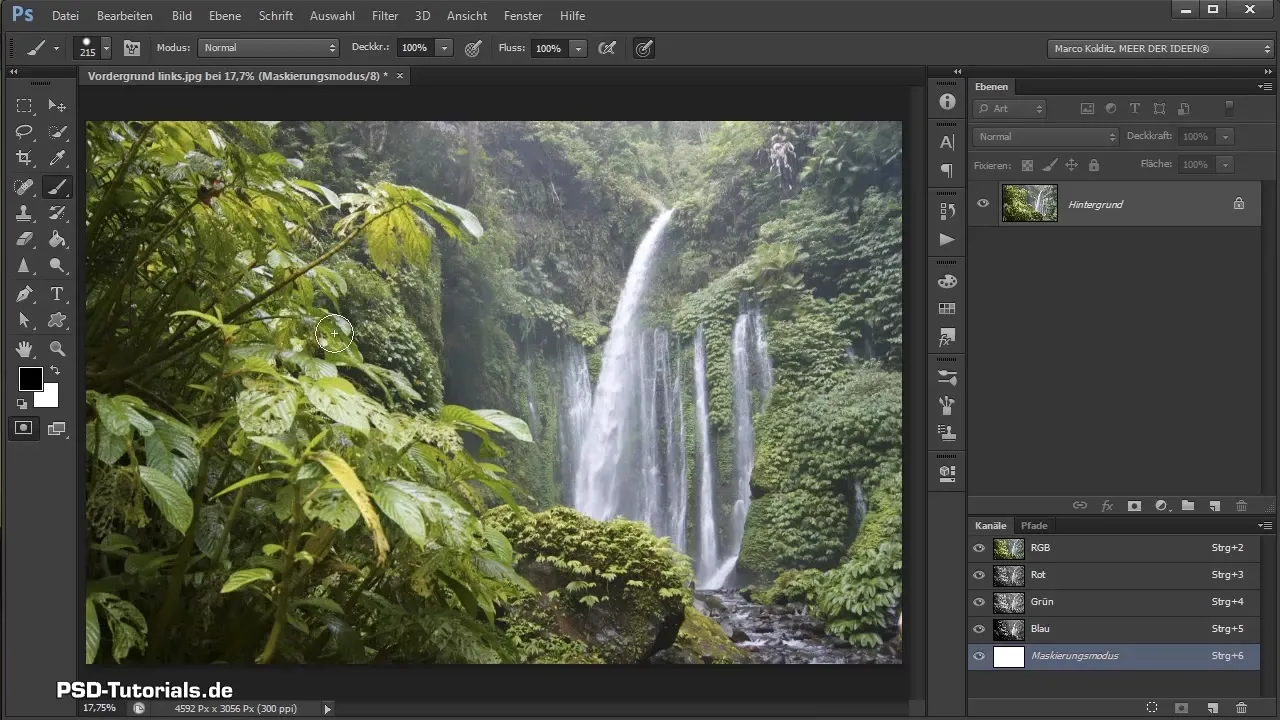
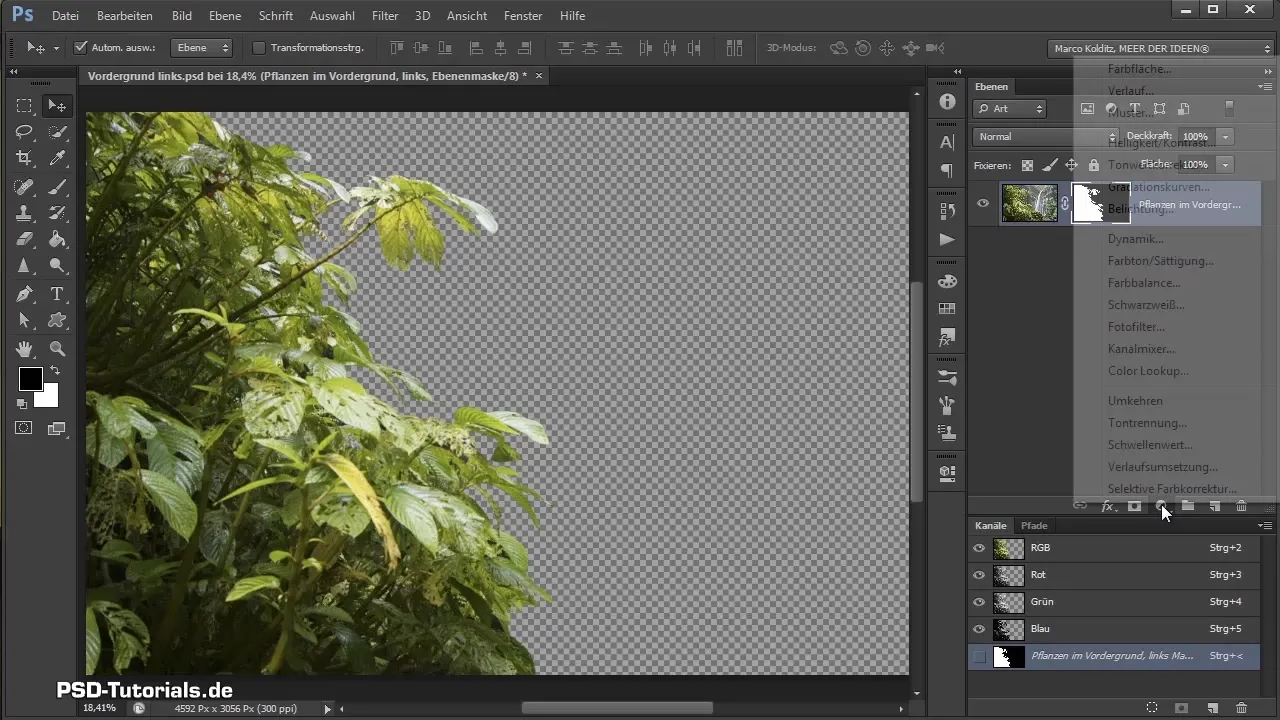
To optimally cut out the plants, activate the masking mode. This is activated by a specific icon, and it is important to know that in masking mode, your foreground color will not be black as usual – instead, it will be displayed in red.
Cutting Out the Plants
Using a brush with a hardness of about 97%, you start working. Be sure to cut out the plants so that everything you do not need is hidden. Precision is required, especially in areas with fine details. You do not need to be pixel-perfect since some areas will appear blurred later anyway.
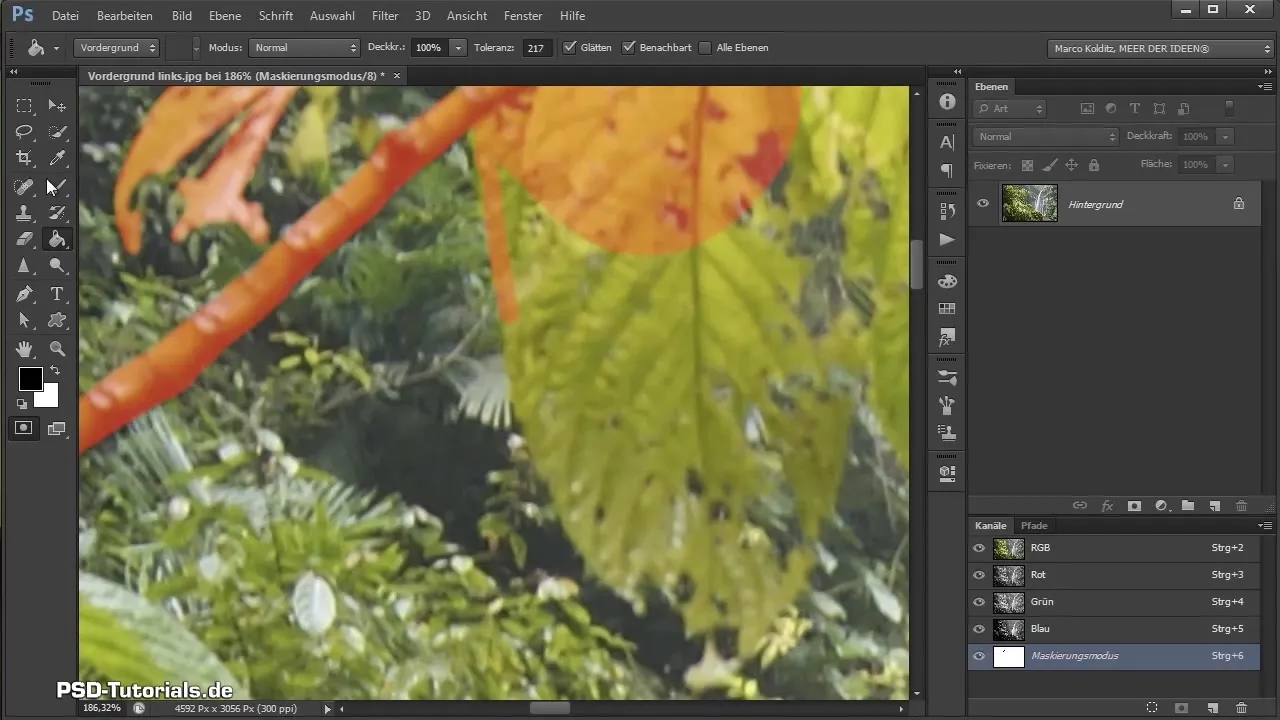
Using Selection Tools
You can also use the fill tool to process large areas faster by utilizing simple closed shapes. Make sure to adjust the tolerance according to the image to ensure a clean selection.
Creating Masks
Once you have marked all the desired areas in color while in masking mode, you exit this mode. Afterwards, create a mask from your selection. This mask is the heart of your foreground elements and allows you to hide the background and highlight the front layer.
Working on the Middle Foreground Element
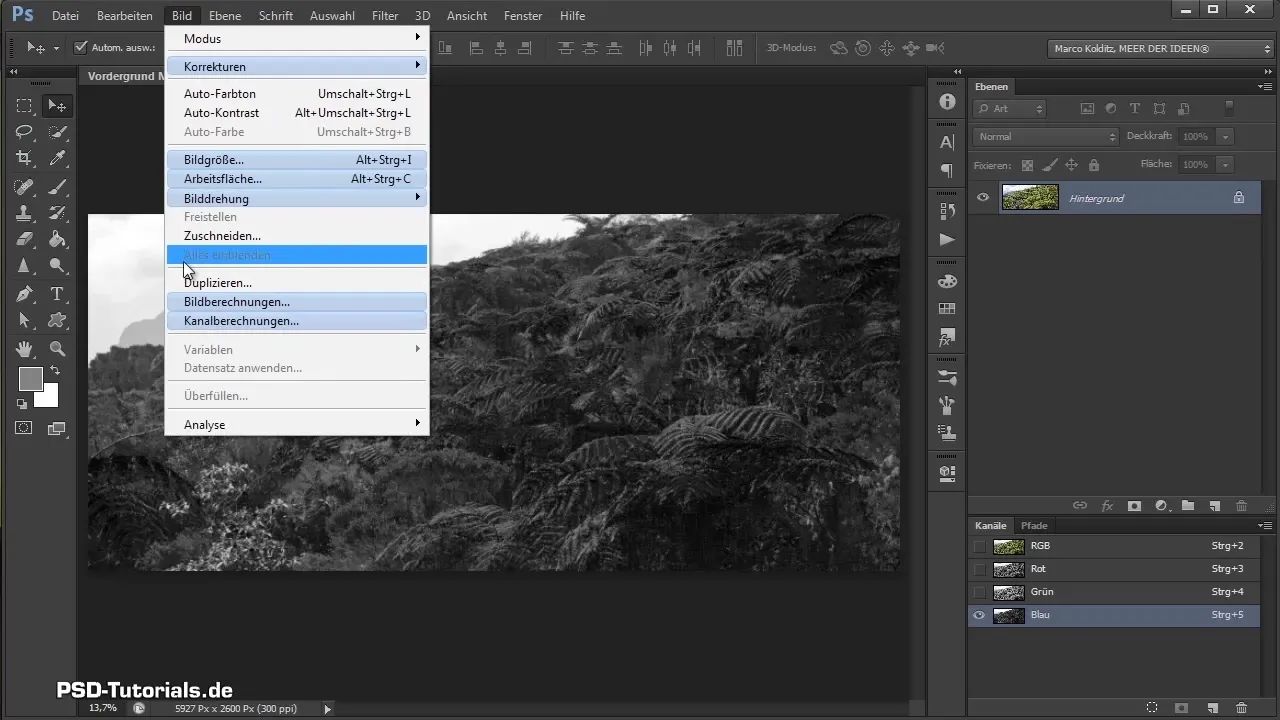
After successfully cutting out the left element, focus on the middle foreground element. Here, it's worth looking into the channels to find the strongest contrast – often the blue channel is the most suitable. In this case, the cutting out process is significantly simplified.
Further Optimization
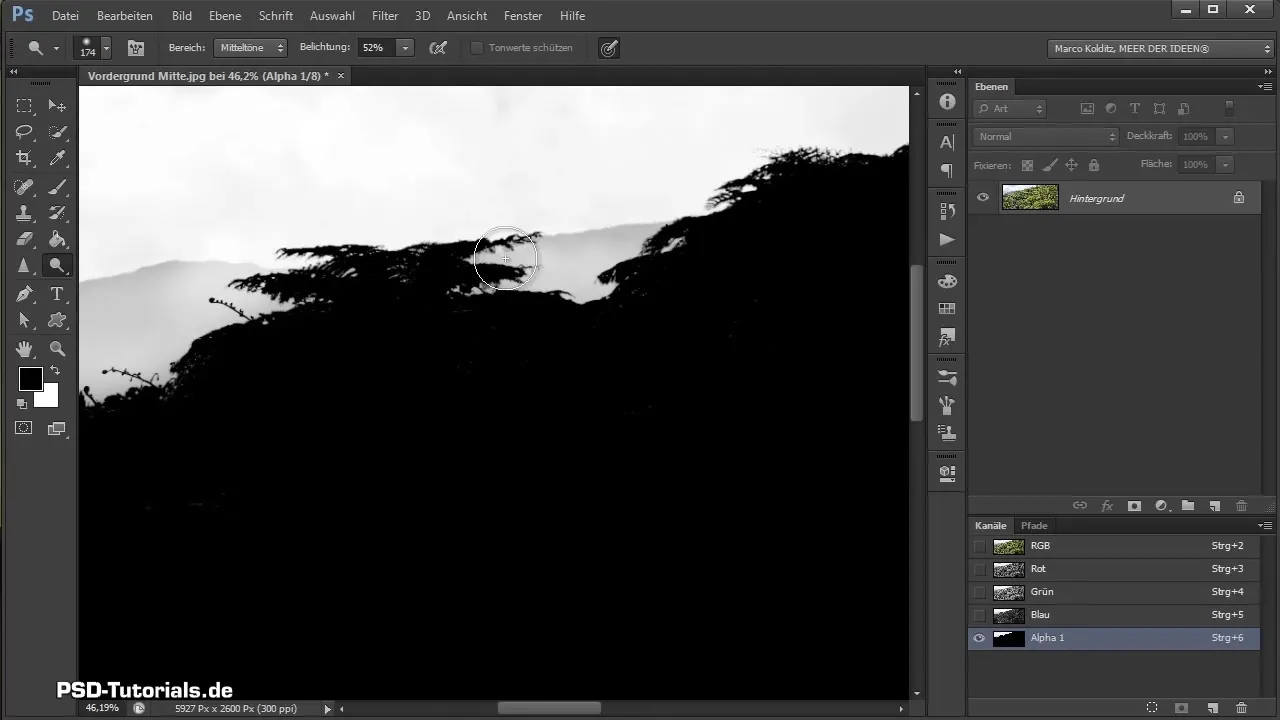
Here, you use the available tools like the dodging tool to further optimize the image. Contrast and brightness can be quickly adjusted. Pay special attention to the transitions, which are important to achieve a harmonious overall picture.
Final Adjustments
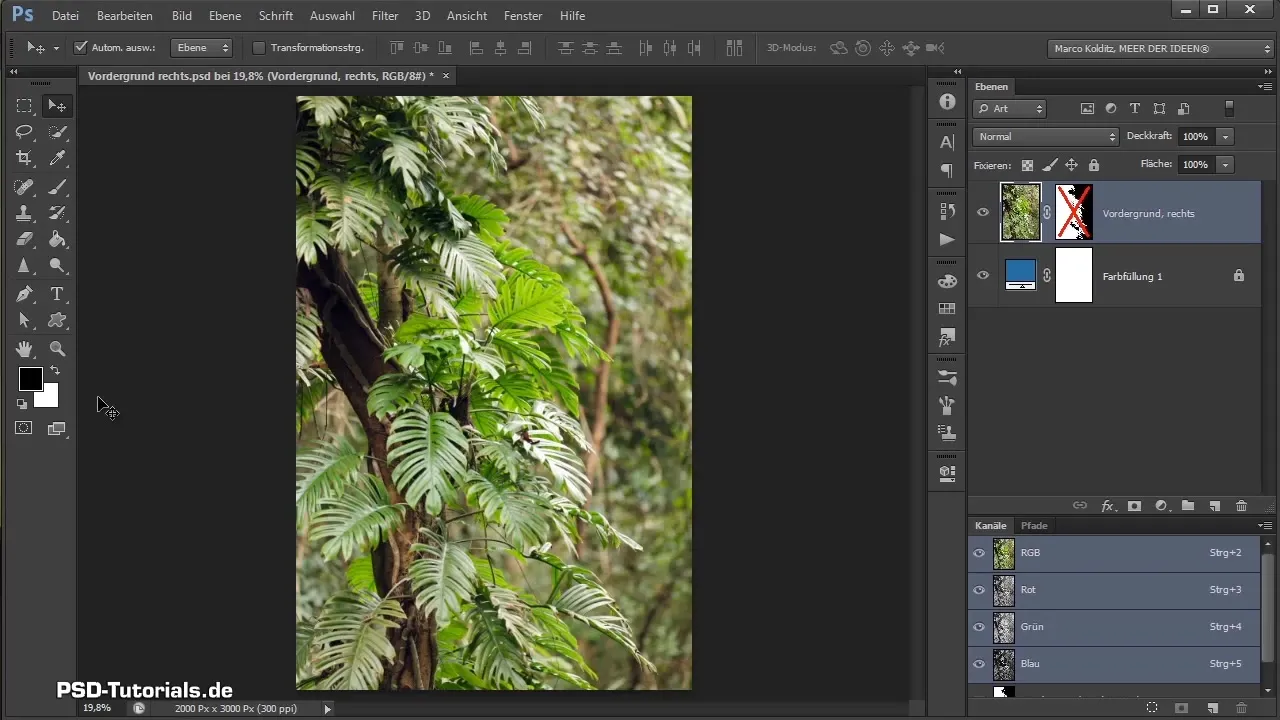
For the last foreground element, go through the same process: activate the masking mode, cut out the elements, and then refine the image. Each element must be carefully examined and processed to integrate well into the overall picture.
Summary - Effective Cutting Out of Foreground Elements in Photoshop
You have learned how important an accurate and patient approach is when cutting out foreground elements. With the masking mode and the right tools, you can achieve impressive results that give your composing more depth. Take the time you need to edit each detail, and enjoy the process!
Frequently Asked Questions
How important is the masking mode when cutting out?The masking mode enables precise selection and is a crucial tool for high-quality cut-outs.
Can I use automated techniques?Automated techniques are often less precise; manual methods provide more control over the final outcome.
How long does it take to cut out foreground elements?The time depends on the level of detail; take your time for thorough editing to achieve better results.


