The targeted cutout of objects, such as in this case the gas tank of a truck, is a central part of compositing in Photoshop. It allows you to seamlessly insert objects into different backgrounds and achieve an impressive visual effect. In this tutorial, we will focus on isolating the gas tank of the truck against a bright white background while reconstructing parts of the gas tank to create a harmonious overall image.
Main insights
- Using the masking mode makes precise cutouts of objects easier.
- Channel calculations are a useful technique, but can be problematic with fuzzy edges.
- Reconstructing parts of the object is important to create a complete image that looks good in compositing.
Step-by-step guide
Step 1: Prepare the truck image
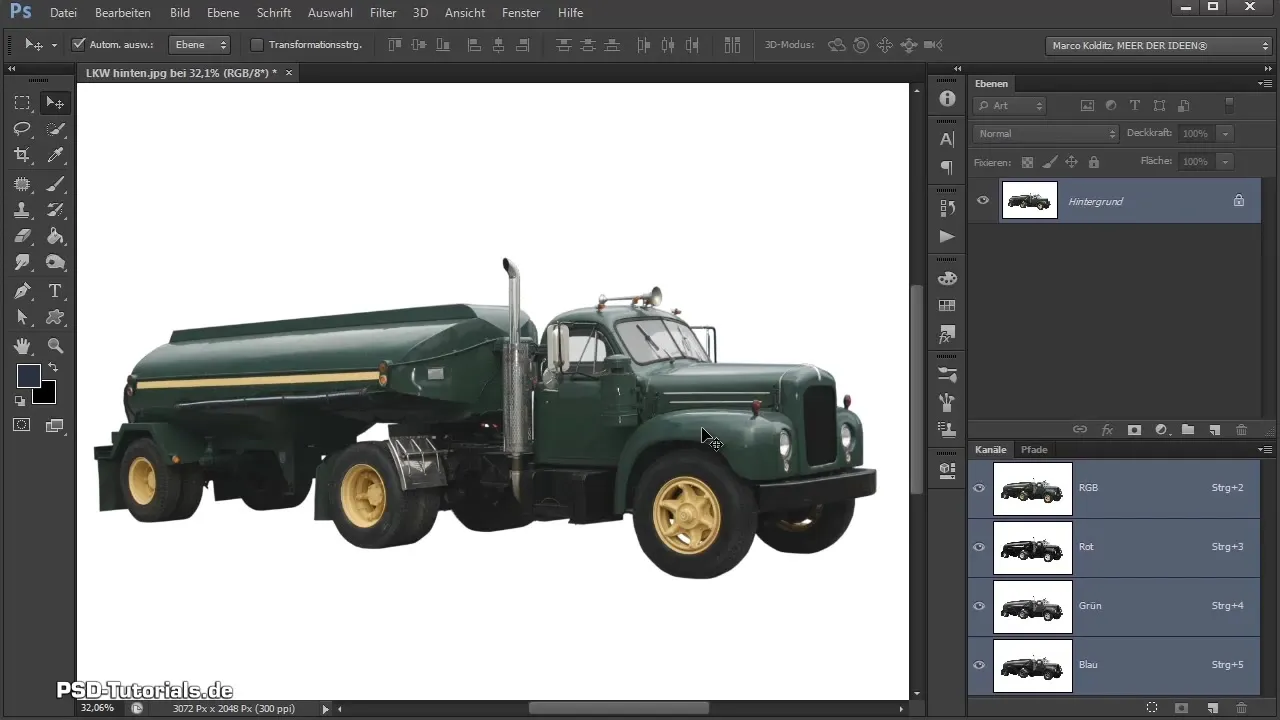
Start with the image of the truck that has already been cut out from another perspective. Your focus is now on the rear part, the gas tank. Make sure the image is placed on a white background to see contrasts later.
Step 2: Select the red channel
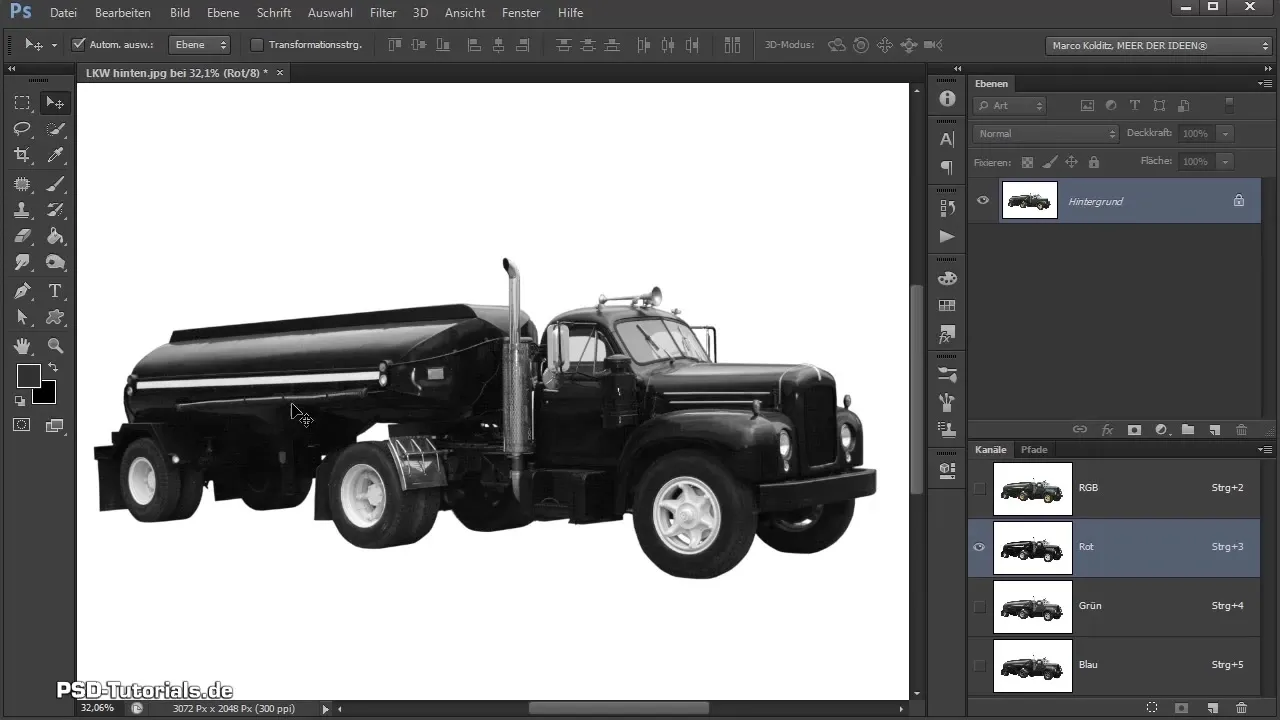
To effectively isolate the gas tank, start with the Channels palette. Check the red channel, as it usually provides high contrasts. However, you may encounter issues if the edges are soft and fuzzy.
Step 3: Channel calculation
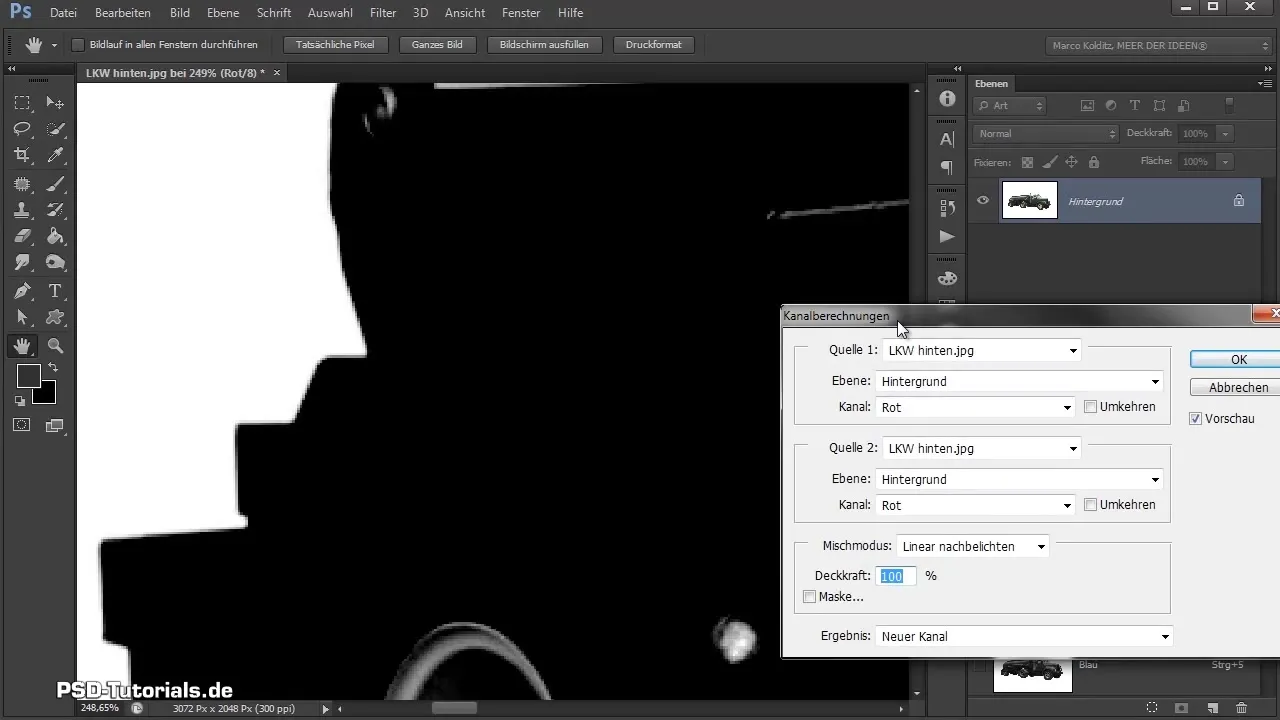
Go to the Channel Calculation, select the red channel, and compute the selection to create a matte black-and-white mask. Be sure to enable the preview to observe the edges.
Step 4: Activate masking mode
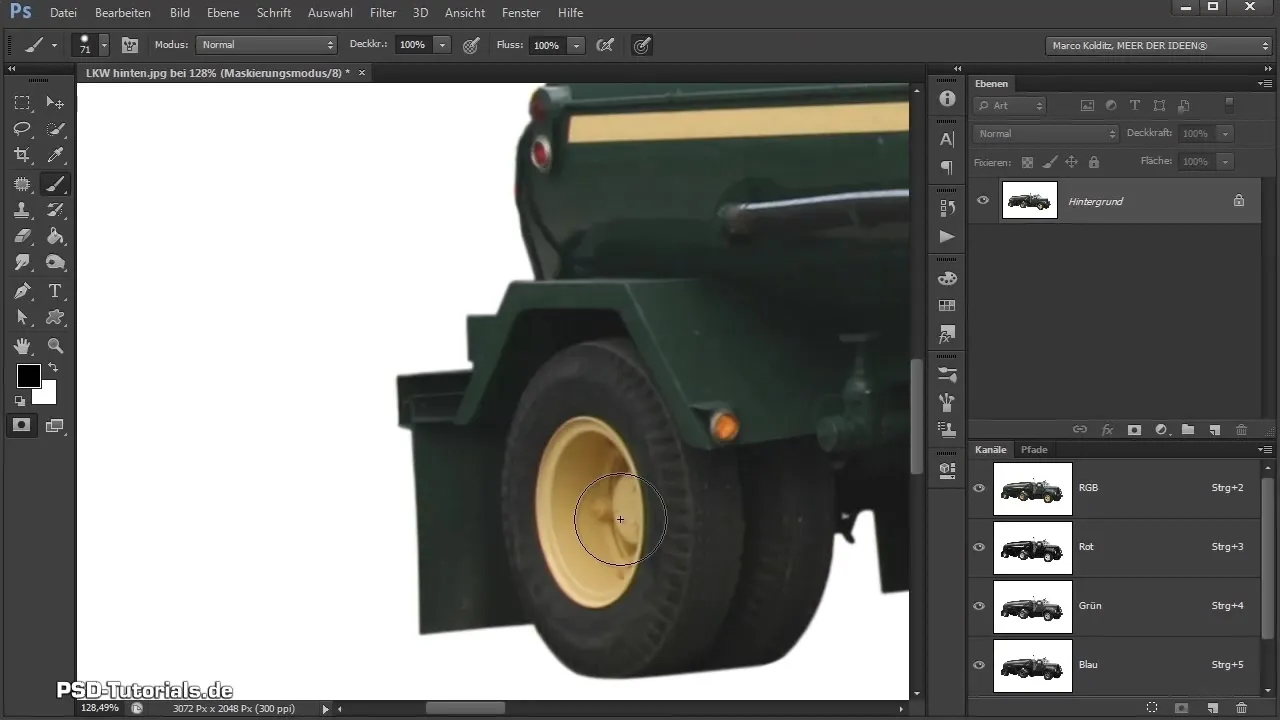
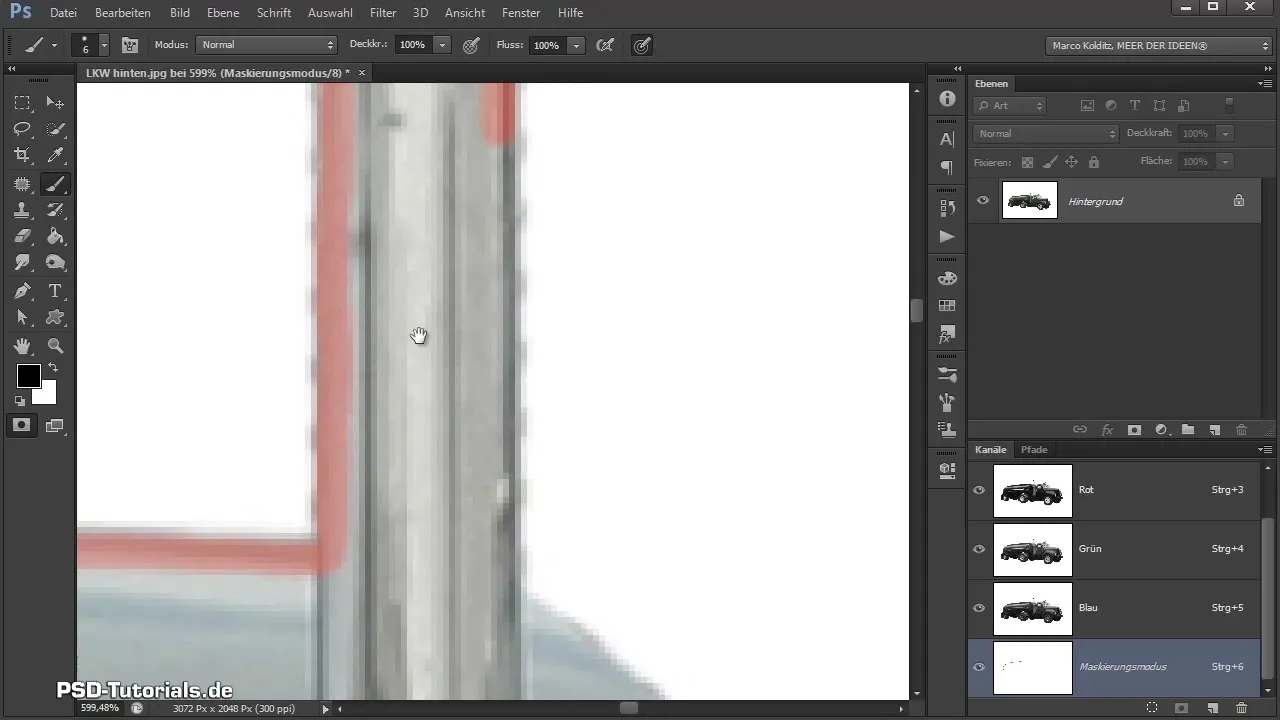
If the channel calculation does not yield the desired results, switch to masking mode. Here you can precisely mark the area without going into the white area. Focus on the dark, dense areas of the gas tank.
Step 5: Outline tracing
Go along the contours of the gas tank and take your time to work out the fine details as well. Hold down the Shift key to create straight lines where necessary.
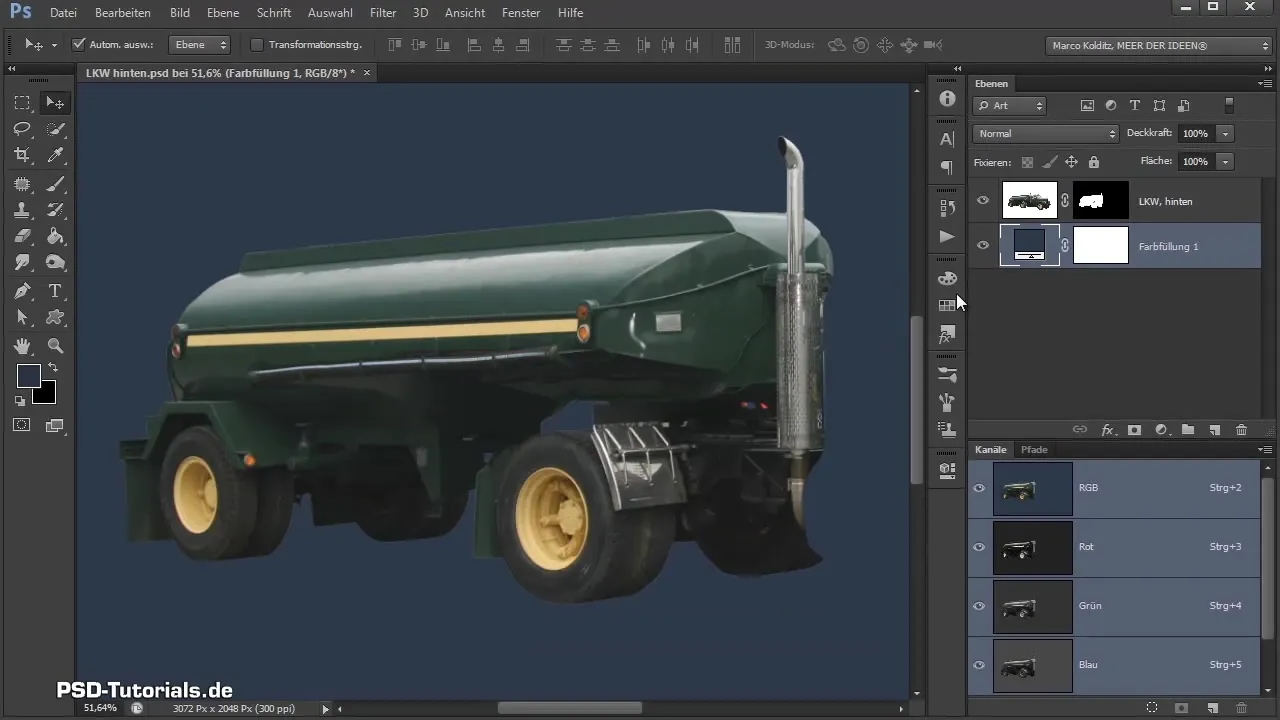
Step 6: Isolate the gas tank
Once you have traced the contours, you can isolate the gas tank. Create a new helper layer in a dark color to check the results of your work.
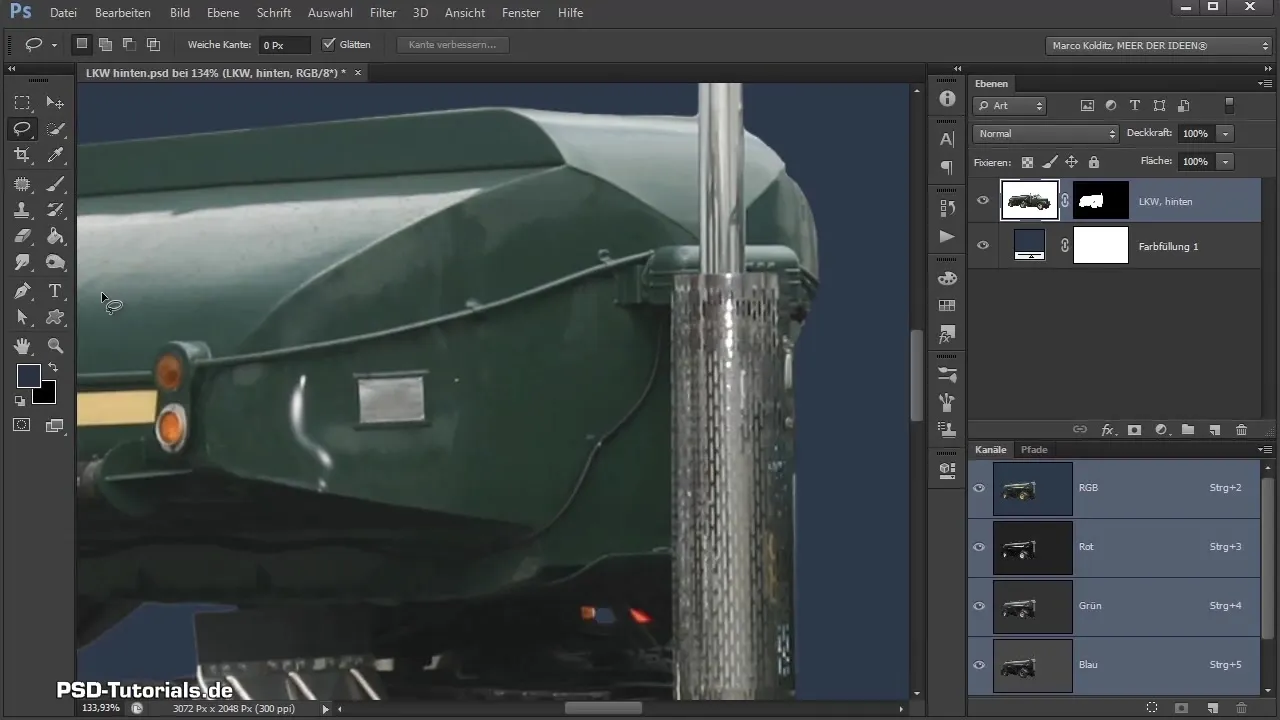
Step 7: Reconstruction of missing parts
Move back to the truck layer to reconstruct missing parts of the gas tank. Use the lasso tool for a rough selection, and then add a new layer to edit these parts.
Step 8: Mirroring and transforming
Use the transformation options to mirror and adjust the reconstructed part of the gas tank. Ensure that the dimensions and perspectives match.
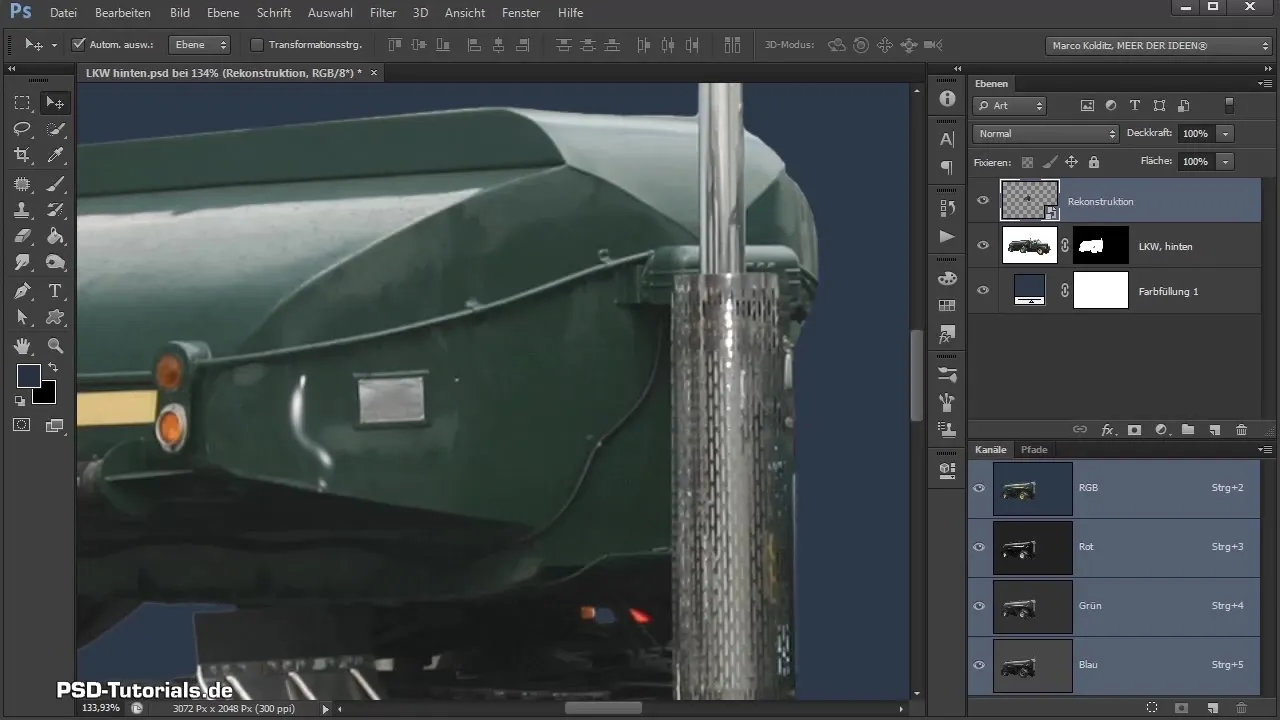
Step 9: Fine-tuning and applying the mask
After the transformation, a mask is applied to erase excess areas to make the gas tank look realistic. Regularly check the result to ensure everything harmonizes well.
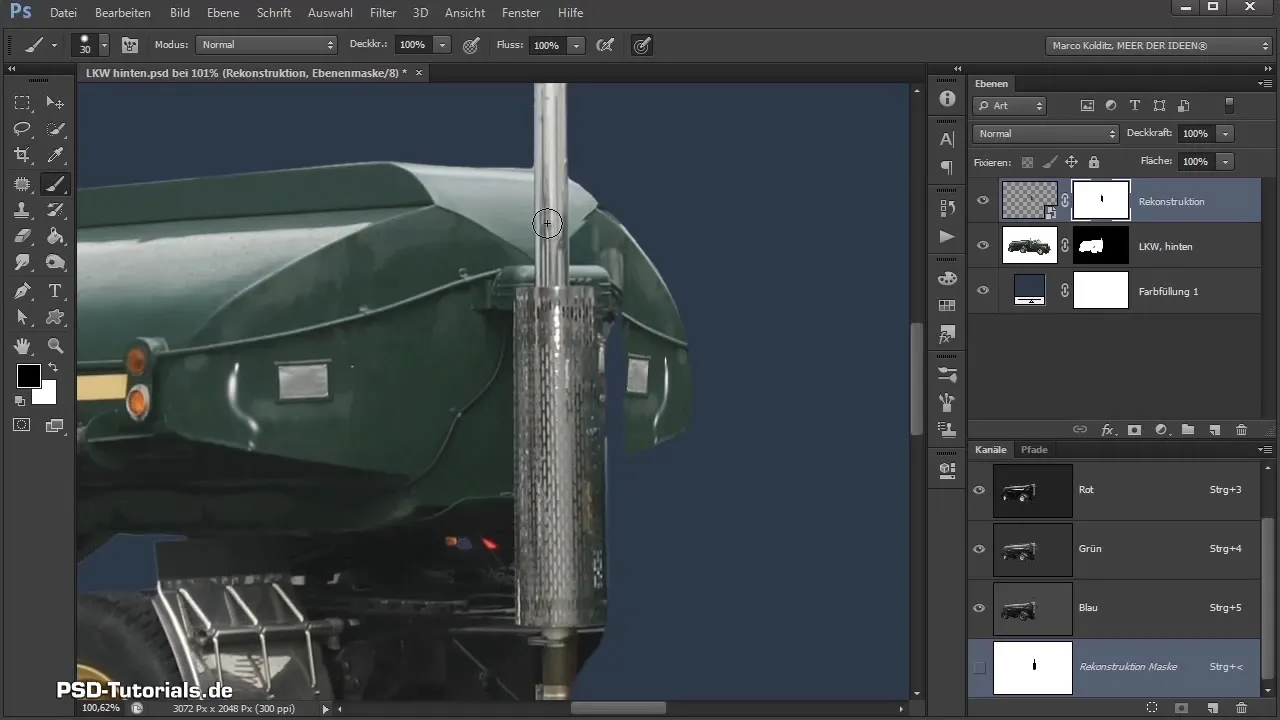
Step 10: Adjust backgrounds and final check
Hide the background layer and create a floating layer for the truck. Use the keyboard shortcuts to bundle the layers and drag the truck onto the canvas. In the next session, you will combine the gas tank with the front part.
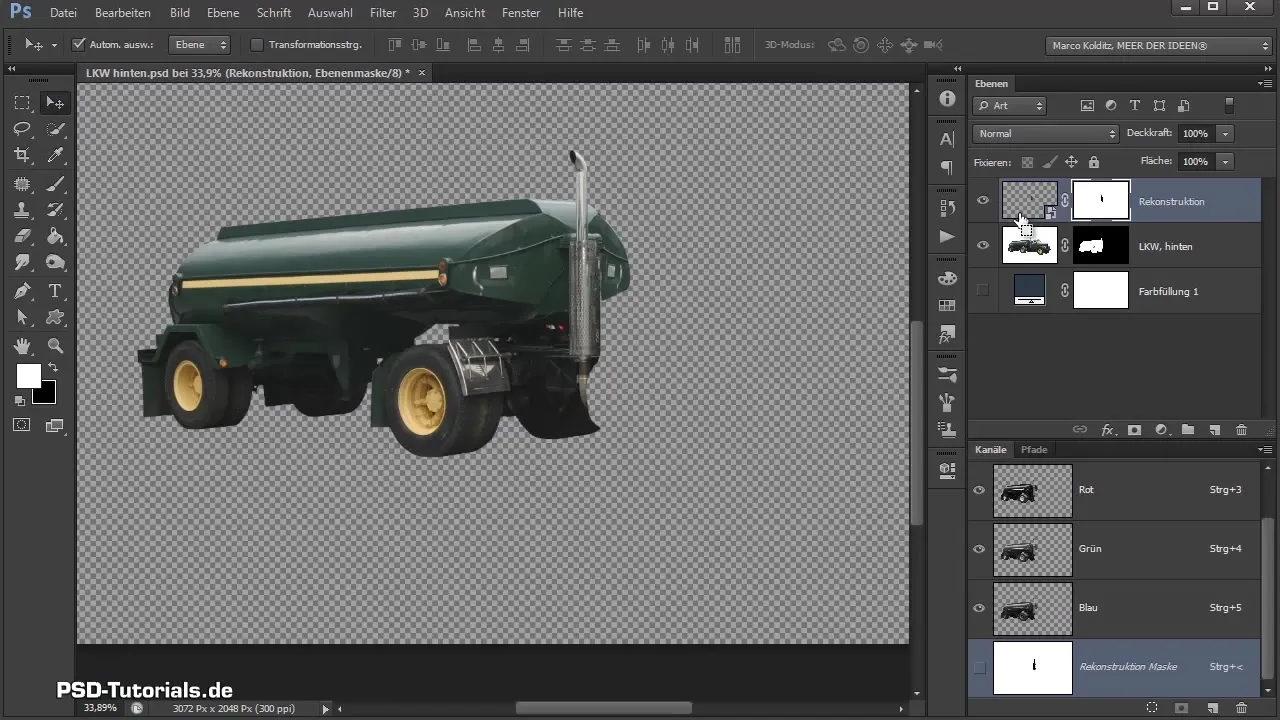
Summary - The Art of Cutout: How to Optimize the Gas Tank of Your Truck in Photoshop
In today's tutorial, you learned how to precisely isolate the gas tank of a truck and reconstruct missing parts to achieve a perfect compositing. The importance of detailed work and the flexibility of Photoshop showed you that the path to the perfect image often leads through creative solutions.
Frequently Asked Questions
How do I best isolate the contours of the gas tank?Use the masking mode to work precisely and avoid unnecessary white areas.
When is channel calculation useful?It is helpful when the edges are sharp and there is a clear contrast between the object and background.
How can I reconstruct parts of the truck?Use the lasso tool and create a new layer to adjust the reconstructed shape according to the already existing parts.


