Procreateis a powerful tool for digital drawing that not only offers many creative possibilities but also a flexible galleryfor organizingyour work. As you gather more graphics and illustrations in your gallery over time, it becomes important to organize them properly. To help you keep track, I’ll show you how to name your images, sort them into folders, and manage them efficiently.
Key Insights
- Rename images and assign the correct name.
- Organize images in folders (stacks) to improve overview.
- Export or delete multiple images at once.
- Use the preview function to quickly get insights into the graphics.
Step-by-Step Guide
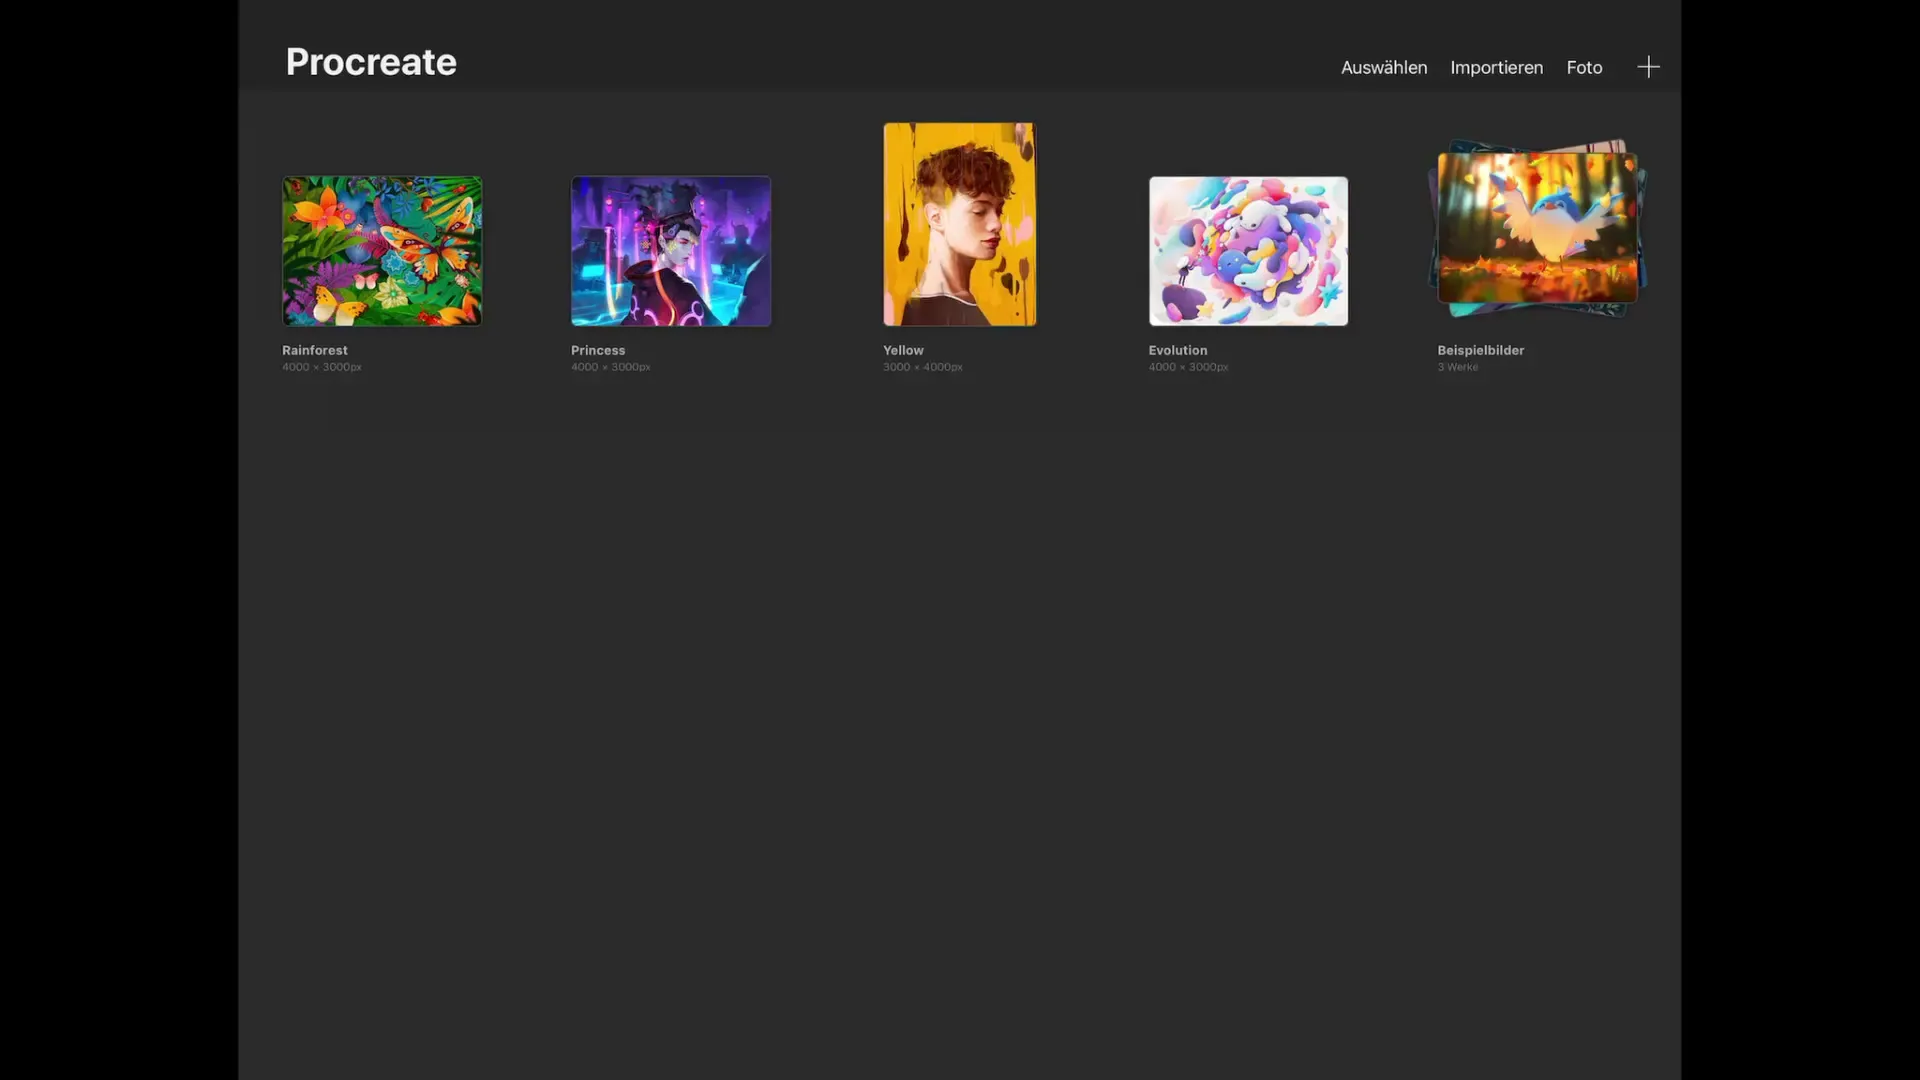
First, open Procreate and you’ll land on the gallery overview. Here, you can already see some example graphics. These example images are perfect for familiarizing yourself with the app's features. To get started, simply tap on an image to open it and work on it. However, if you want to organize the gallery, go back by tapping on the gallery.
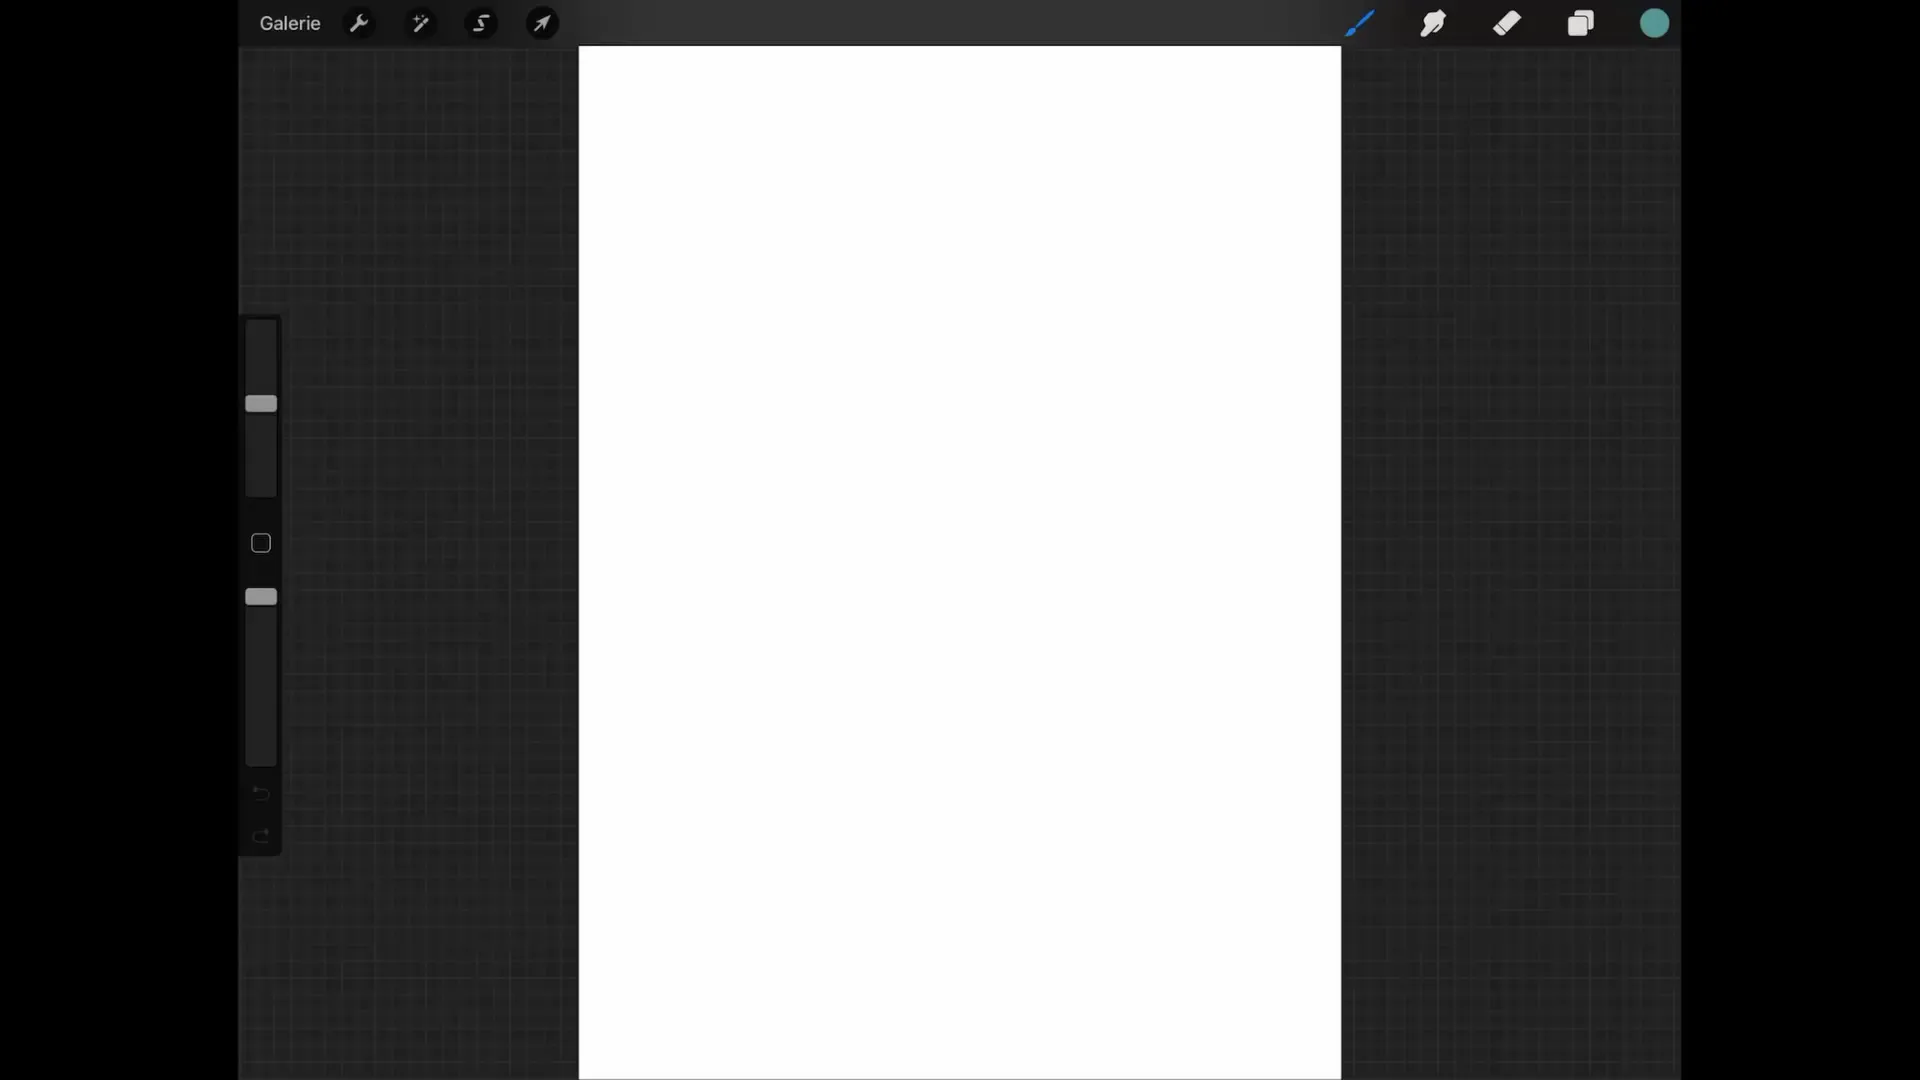
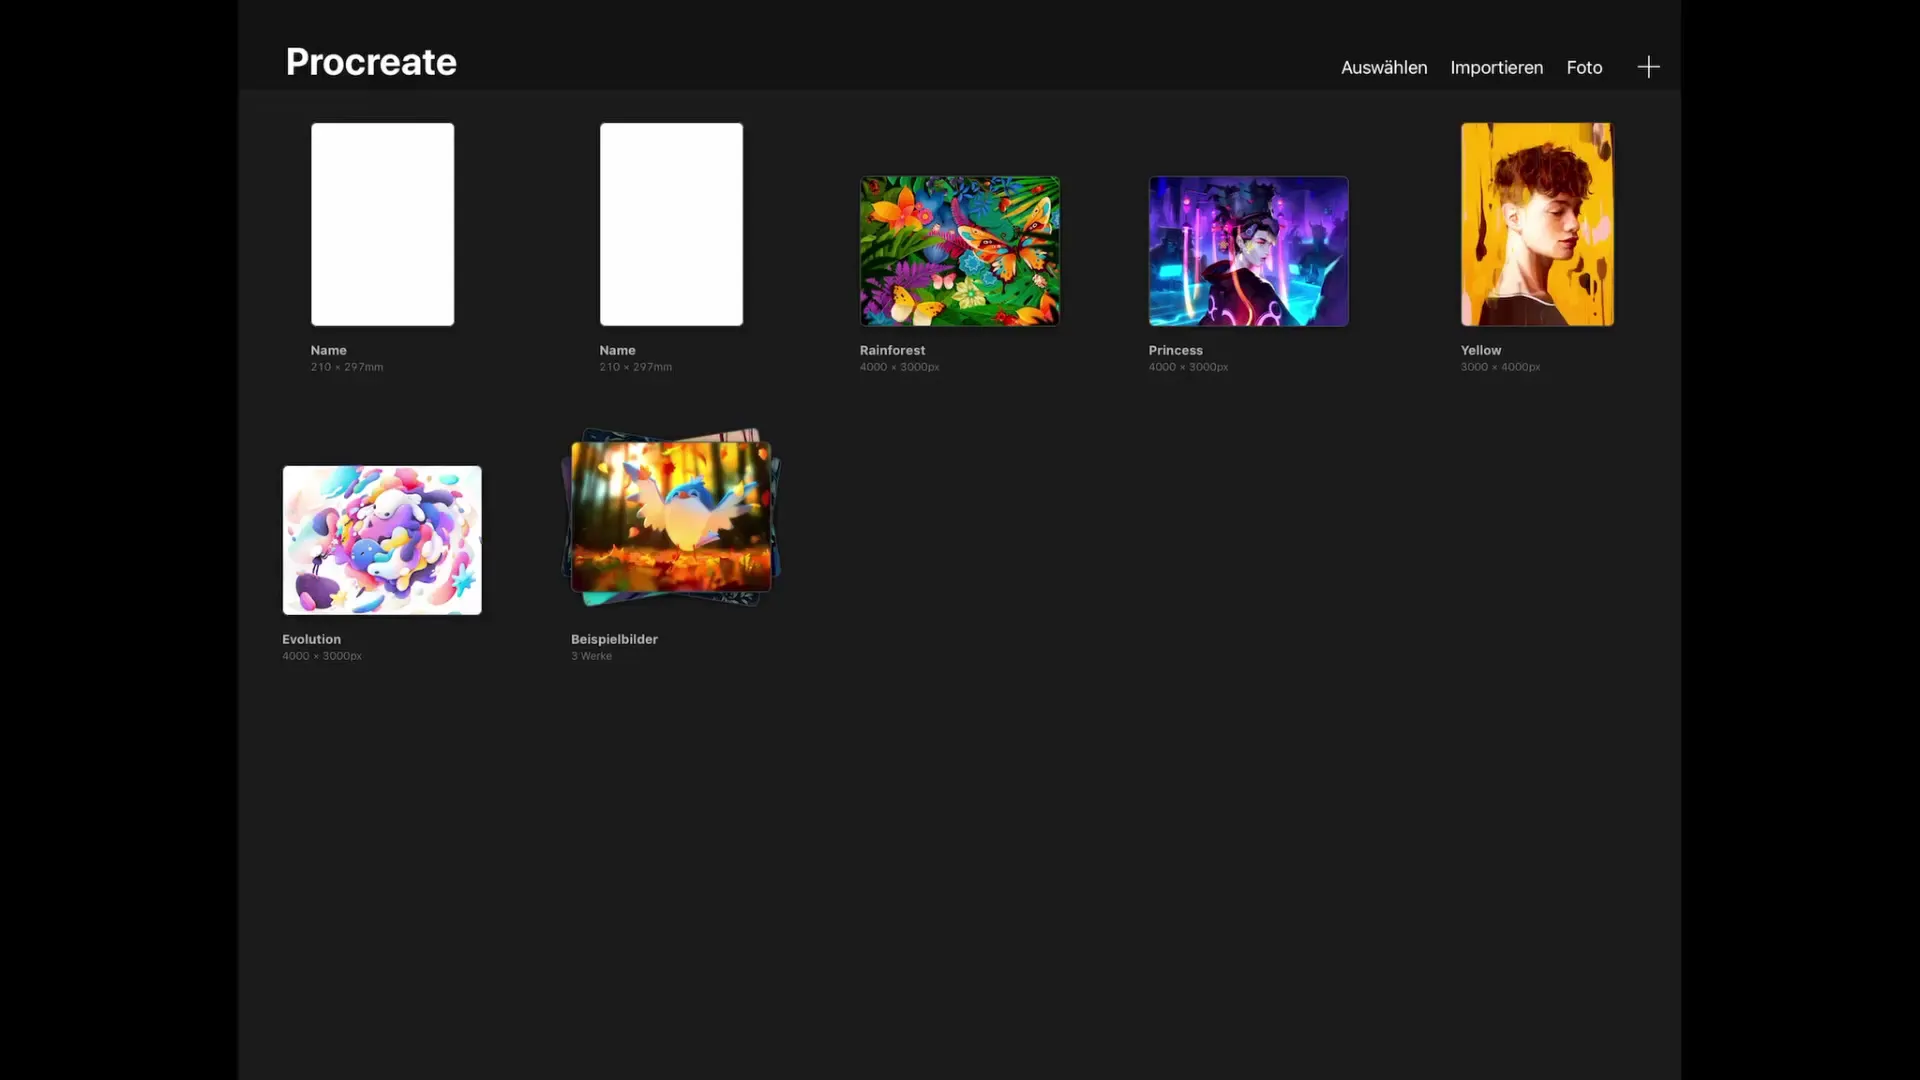
The next step you can take is to rename your images. To do this, tap on the “plus sign” to create a new image and save it in your gallery. It will be saved as “untitled work.” To rename it, tap on the text “untitled work” and enter a new name. Below the name, you will also see the dimensions of your image in millimeters or pixels, depending on the setting you have chosen for the canvas.
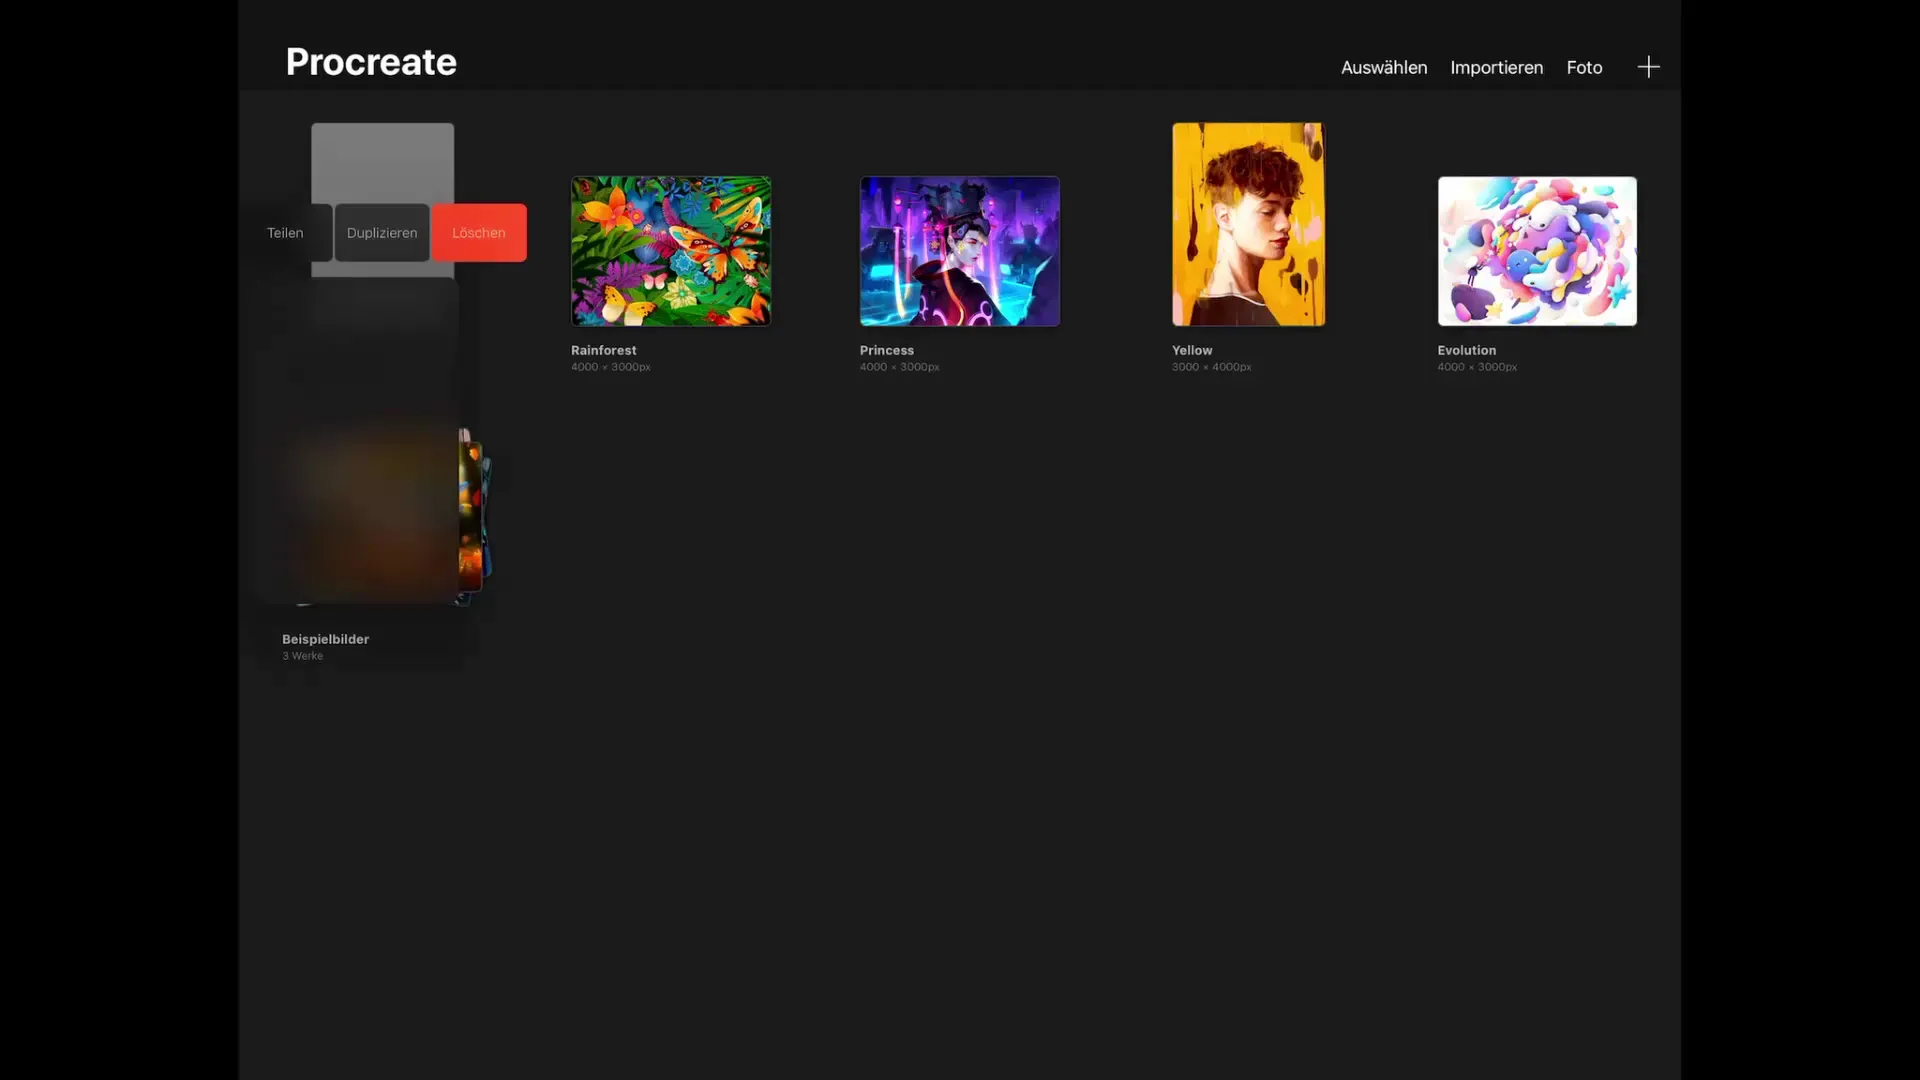
Once you have organized images in the gallery, you will find that by swiping left, you have many options: You can share, duplicate, or delete the image. Sharing means you can save the image in various file formats such as PSD, PDF, JPEG, PNG, or TIF. When you export the image in another format, you can retain all information and layers for further editing.
To duplicate an image, simply tap the corresponding button. This way, you can create multiple versions of an image and work on them without altering the original. If you want to delete many images at once, tap “Select” at the top. You can then click on the images you want to delete individually or swipe across the top row to select them.
After selecting the images, you have the option to delete or duplicate them by tapping the corresponding option on the right. Be mindful when using the delete function, as the images cannot be restored. When you are ready, press “Delete” and confirm your selection to permanently remove the images.
If you want to further structure your gallery, you can group images into folders. This way, you can create a stack of images to categorize them better. To do this, tap and hold on an image while dragging it onto another image. After a moment, the image will be highlighted in blue, and you can release it to create the stack. You can then rename the stack to make it clearer.
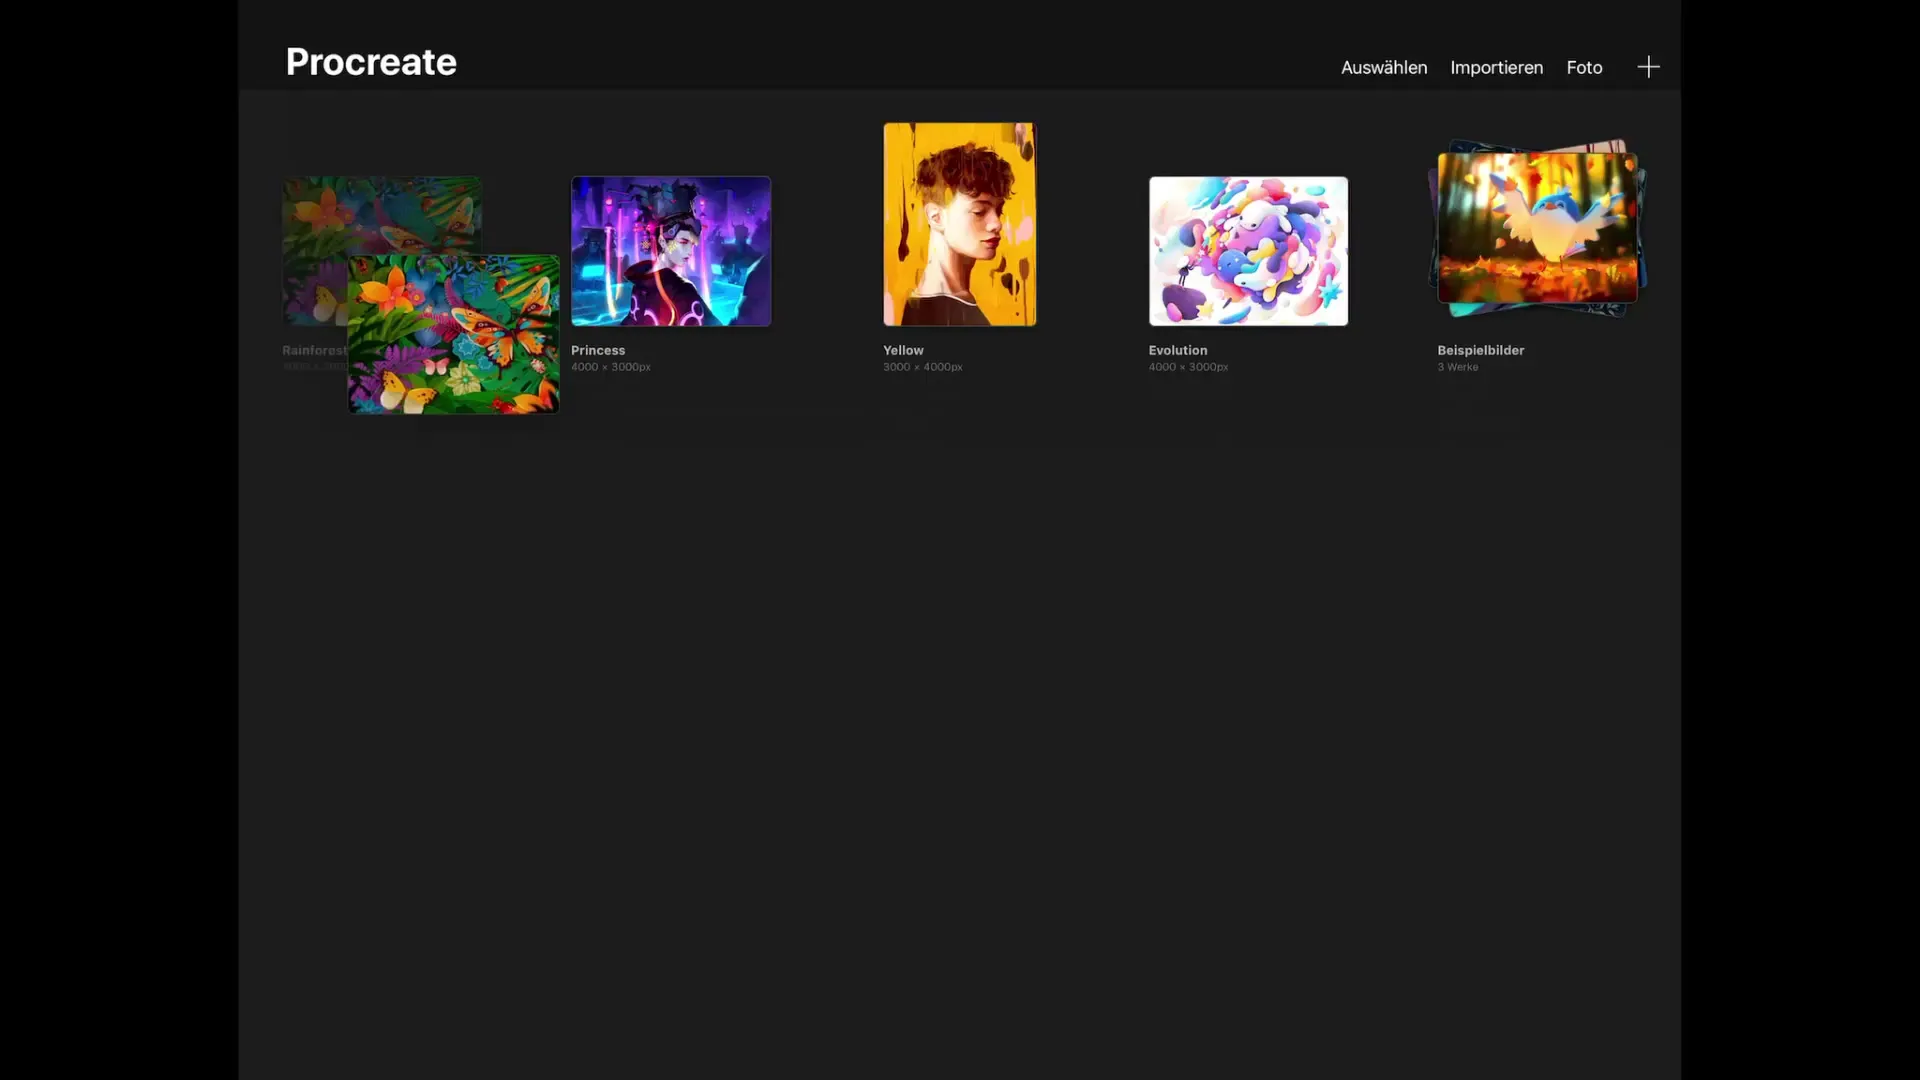
To add images to your new stack, tap on the stack and then on “Select.” You can select multiple images and efficiently pack them into a folder. Once you have created a stack, you can open it and see which graphics are in it. If you want to pull an image back out, simply drag it onto the stack name.
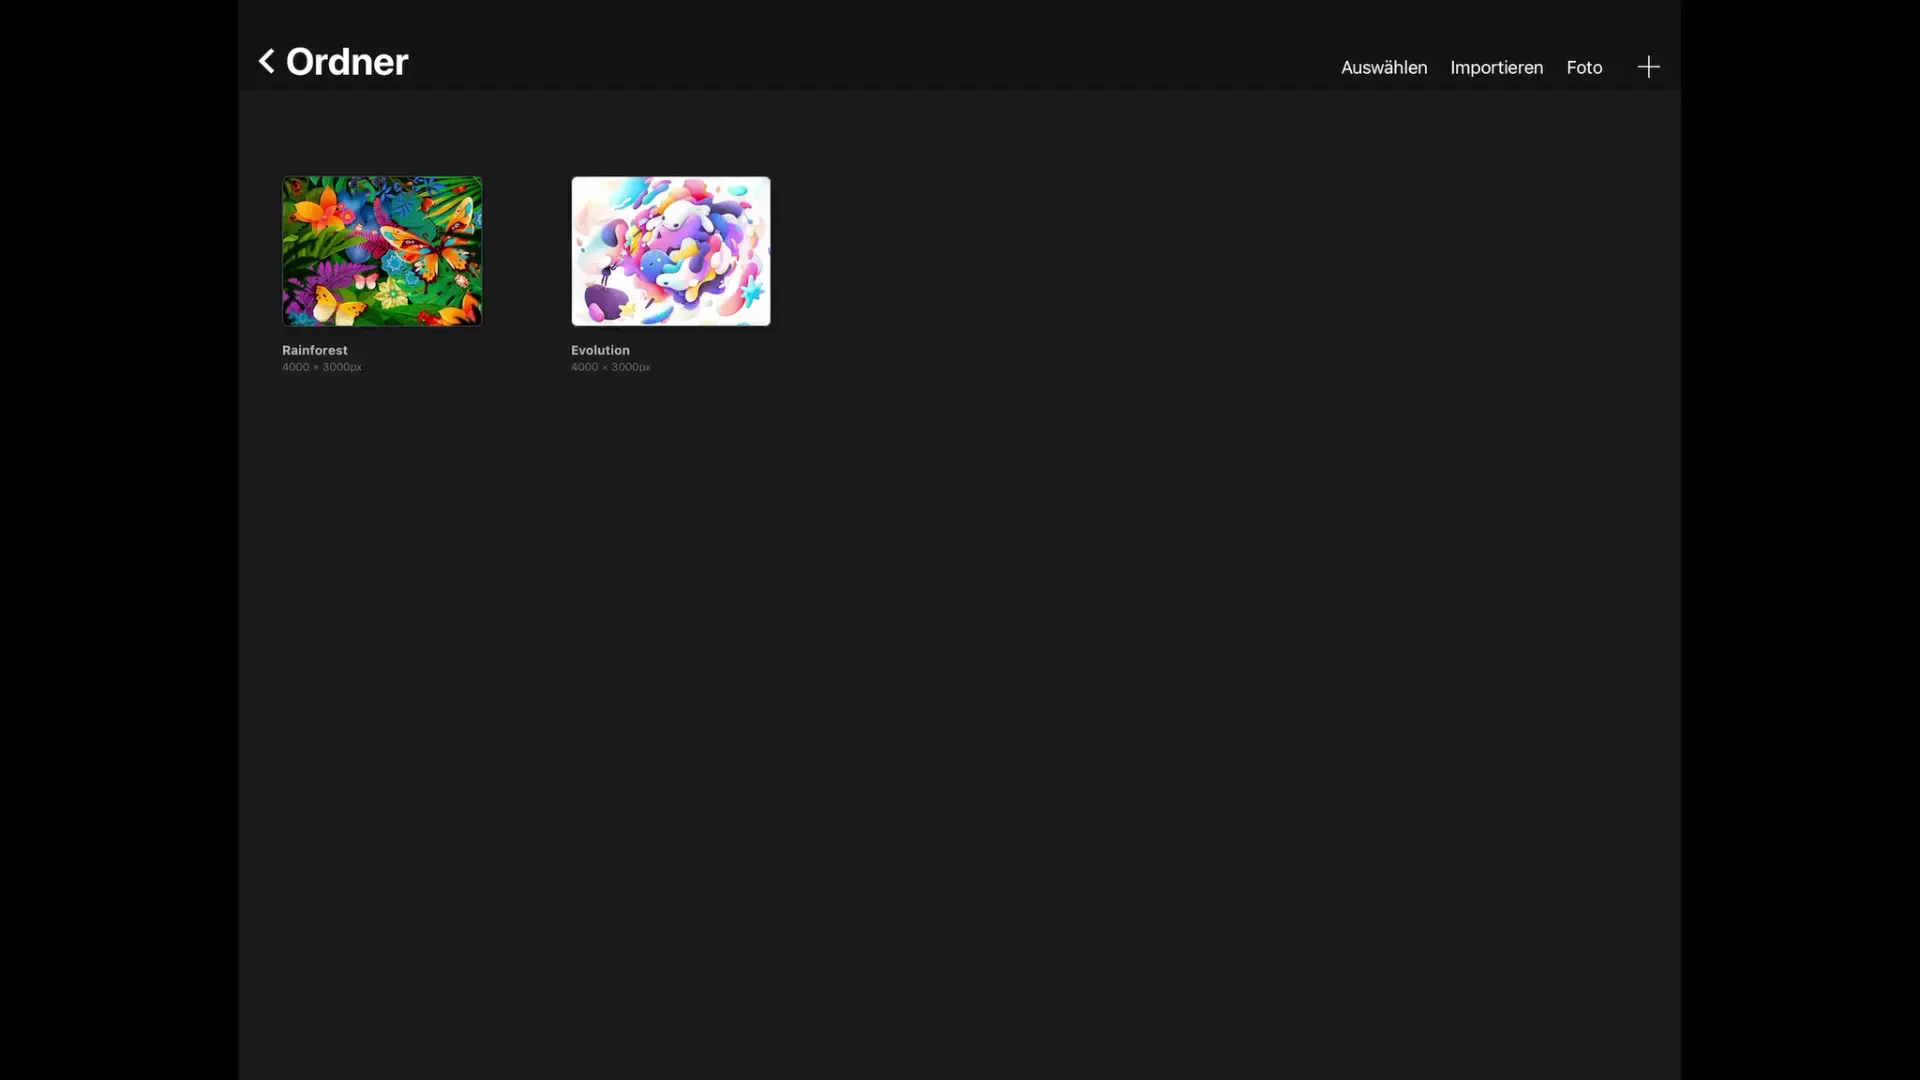
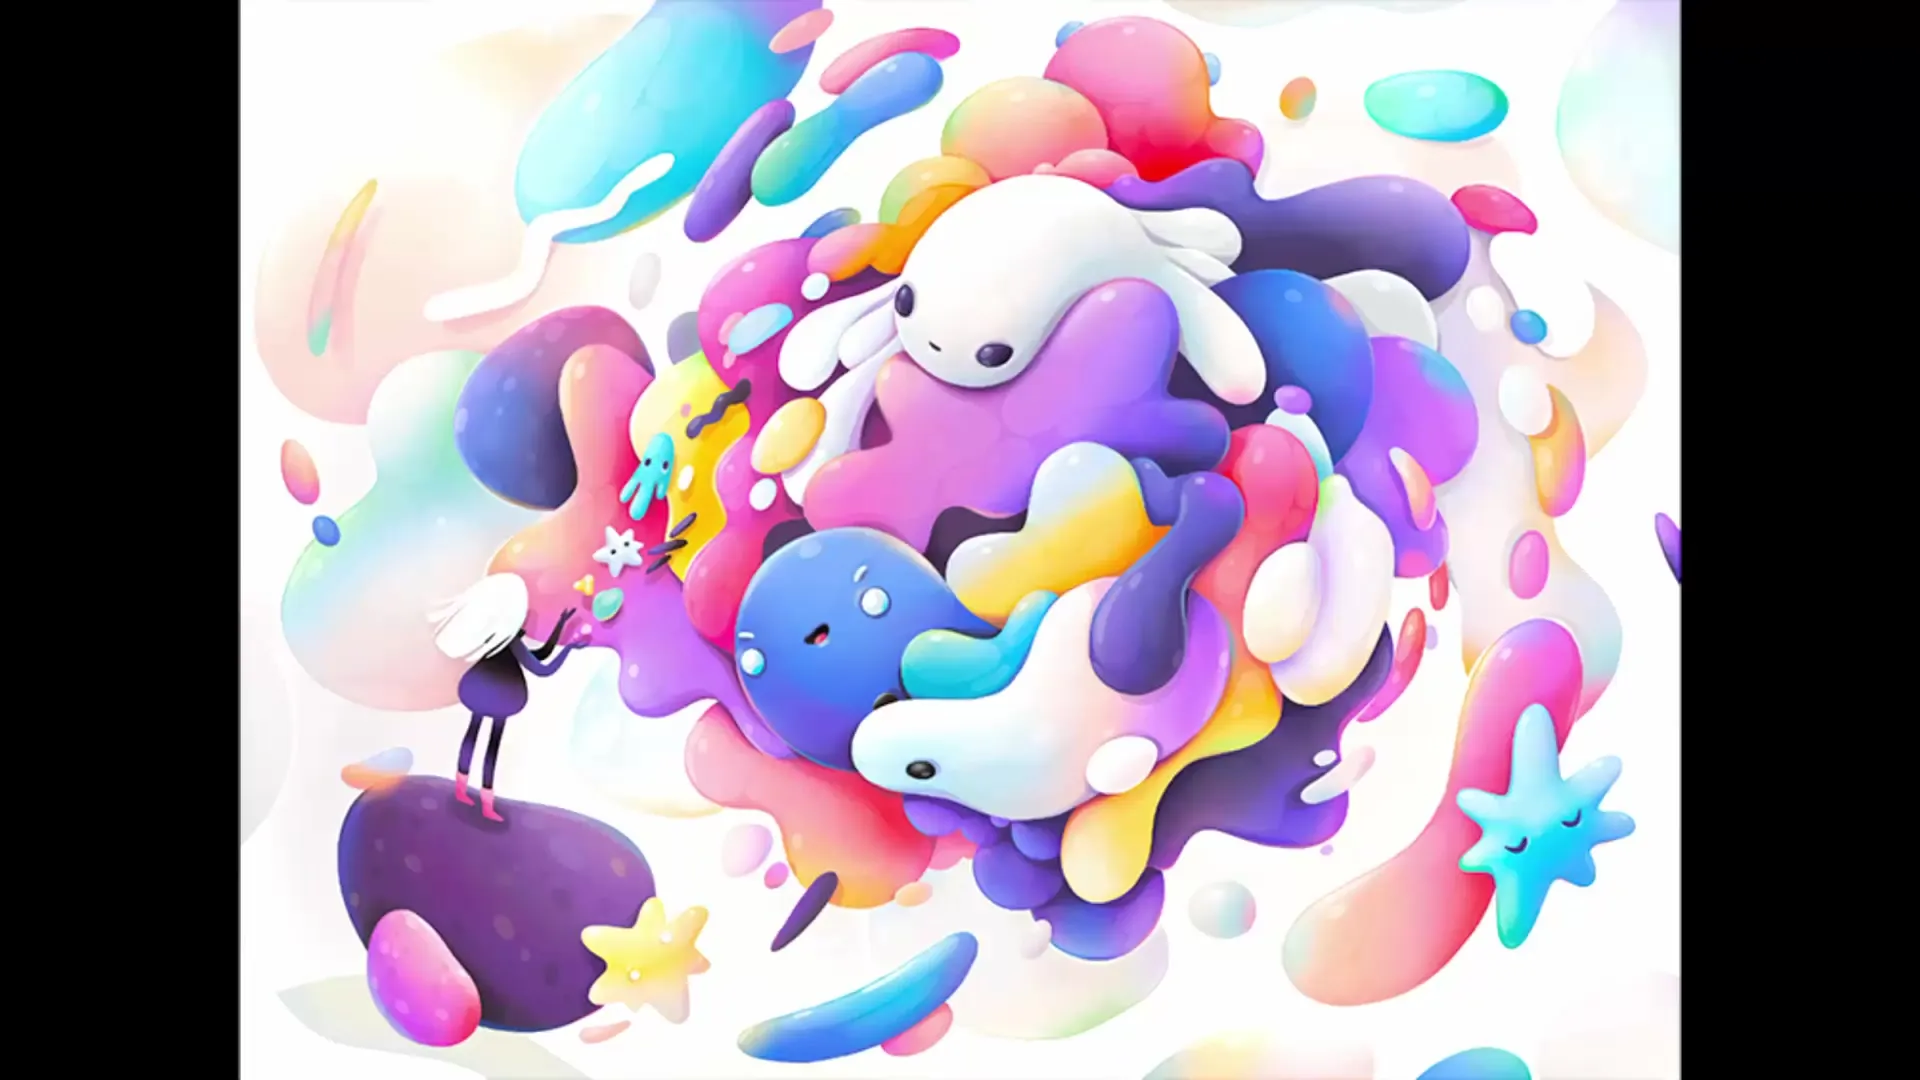
Another useful feature is the preview function. You can quickly view images in the gallery without loading them in detail. This allows you to have an overview of your work. When you have selected an image, you just need to tap it to open it in edit mode if you want to work on it.
The import function allows you to add photos directly from your media library or file system. This applies to images that you may not necessarily have in the gallery but want to edit. This way, you can further expand your creative possibilities. The plus sign in the gallery is there to create a new canvas and get started immediately.
Summary – Organizing the Gallery in Procreate
By following these steps, you can efficiently organize your Procreate gallery. The options for renaming, creating folders, and editing multiple images help you keep track of your creative projects.
FAQ
How do I rename my images in Procreate?Tap on the image to open it, then on the current name to enter a new one.
Can I delete multiple images at once?Yes, tap on “Select” and choose the images you want to delete. You can then delete them together.
How do I create a folder (stack) in Procreate?Drag an image onto another to create a stack. You can rename the stack afterwards.
What file formats can I choose when sharing my images?You can select PSF, PDF, JPEG, PNG, or TIF, depending on your needs.
Can I quickly preview my images?Yes, tap on the image to see a preview; the loading time is significantly shorter.


