Layer blending modes are a fascinating feature in Procreate that help you enhance depth and dimension in your digital drawings. In particular, the “Darken” blending mode allows you to specifically manipulate a main layer to achieve various artistic effects. In this guide, you will discover how to make the most of this feature.
Main Insights
- Blending modes affect the representation of color values in the underlying layers.
- The “Darken” mode applies various mathematical methods to control the brightness of pixels.
- Each blending method has its unique properties and applications.
Step-by-Step Guide
Step 1: Open the Layers Menu
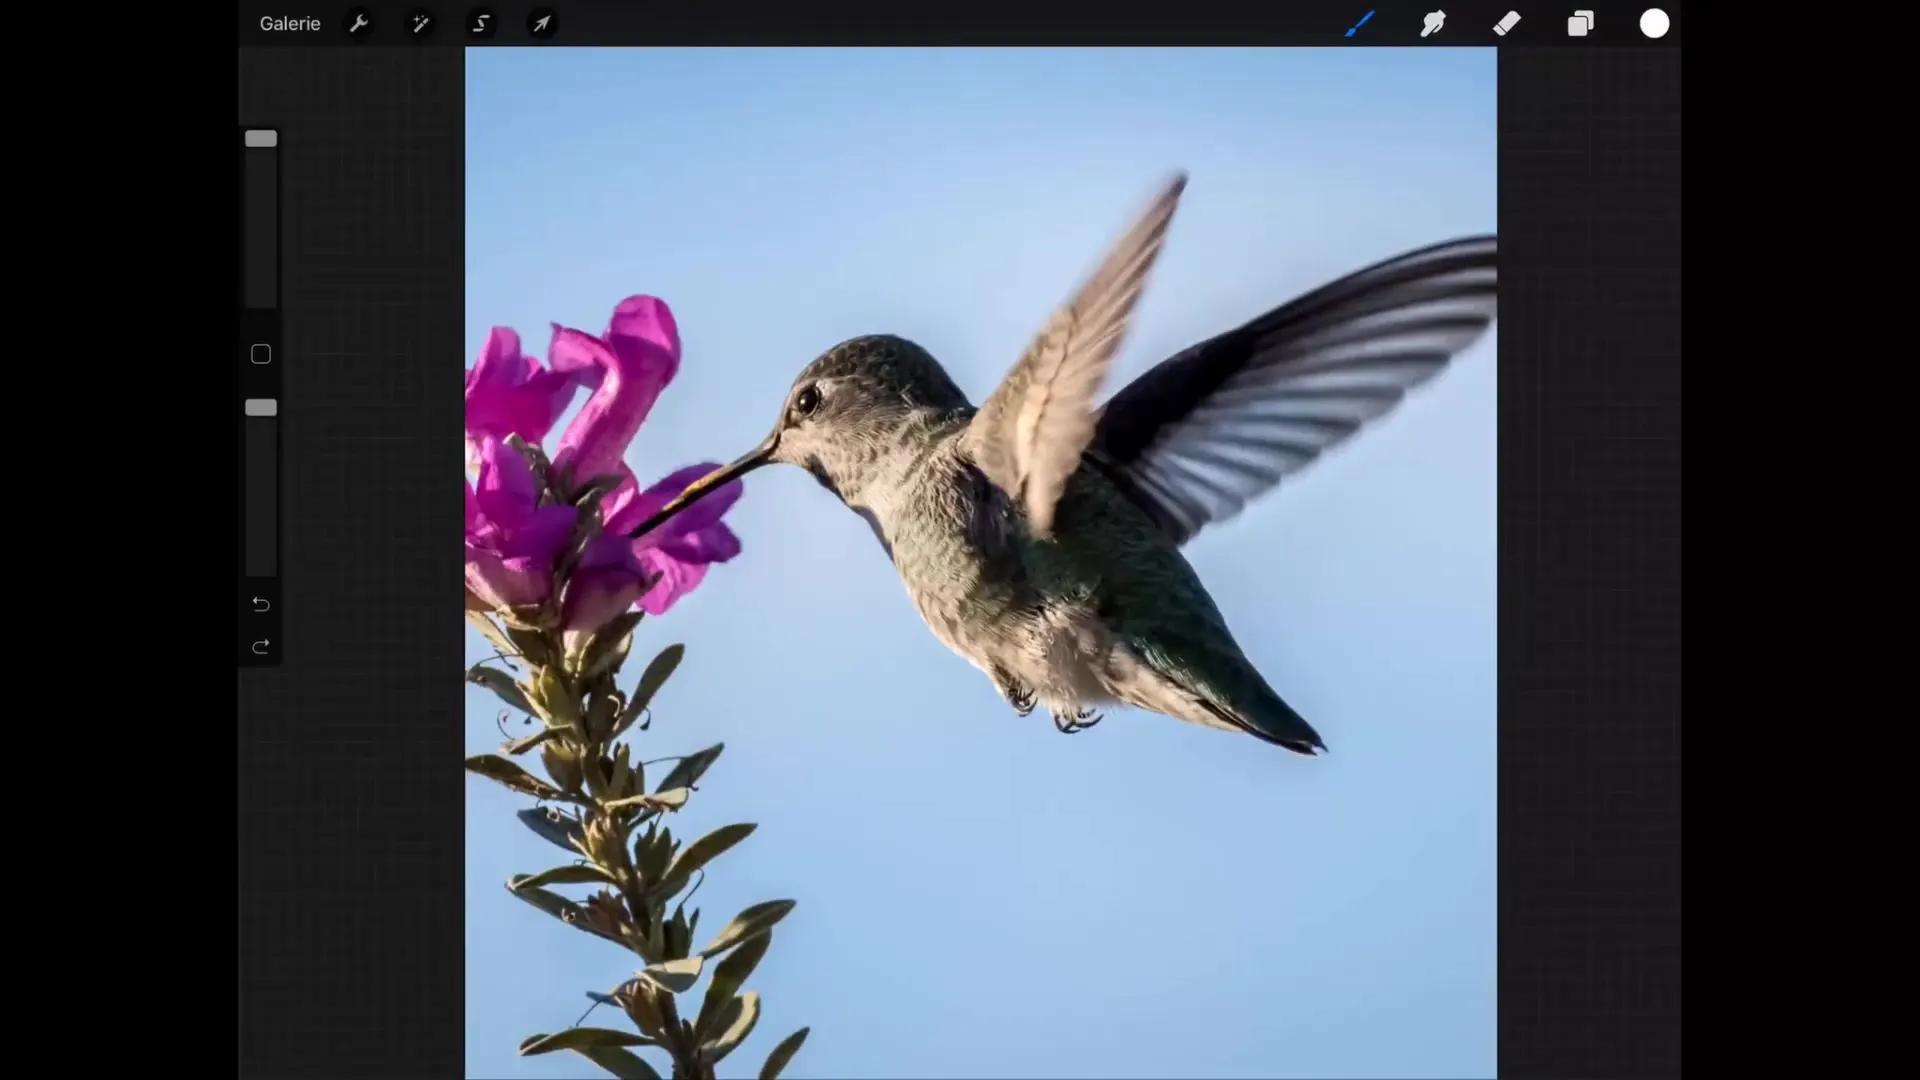
First, open the layers menu in Procreate. This is where you can manage all of your layers. You will find the layers menu in the upper right corner of the screen. Look at the small letters displayed on the layers. When you tap the small “N,” the current blending mode for that layer will become visible.
Step 2: Create a New Layer
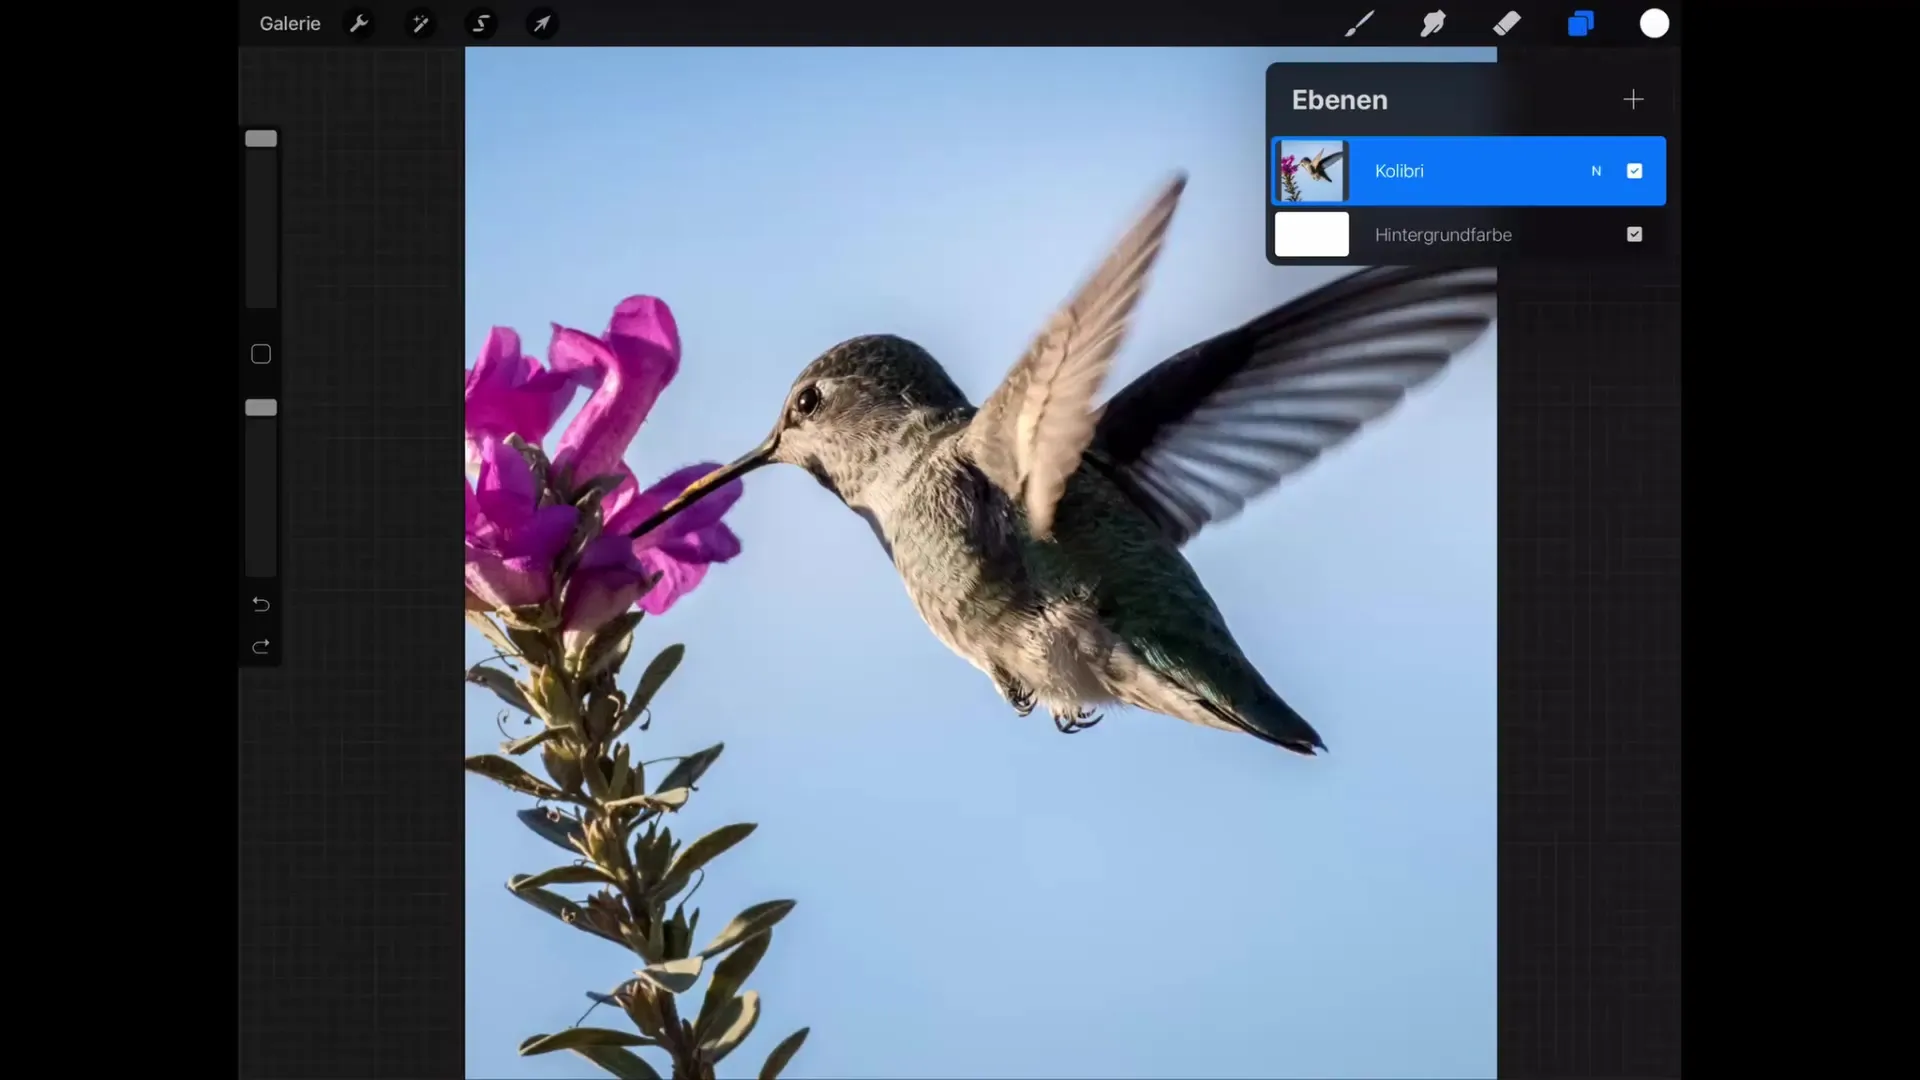
To try out the different blending modes, first create a new layer. Tap the “+” symbol in the layers menu. Now you have an additional layer that you can edit to test the functions of the blending modes.
Step 3: Select a Blending Mode
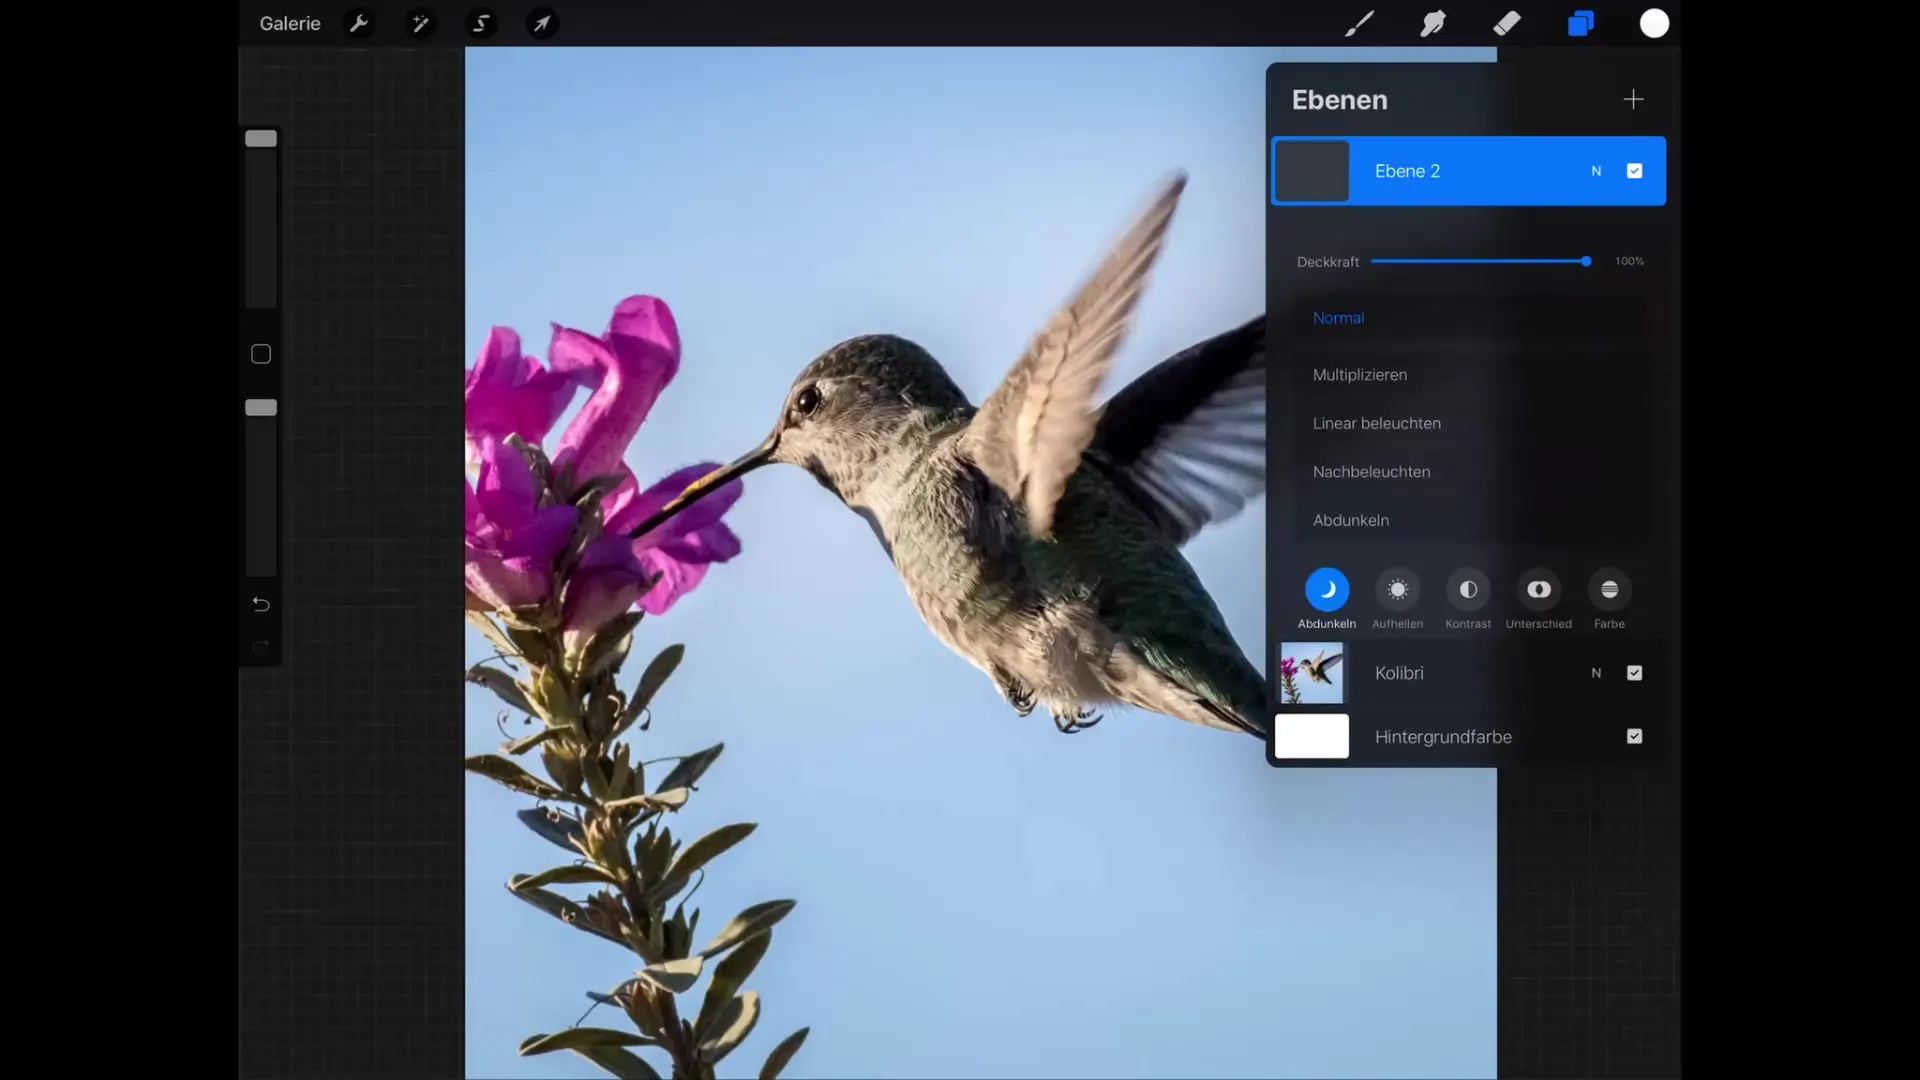
Once the new layer is created, tap again on the “N” next to your new layer. A list of blending modes will now be displayed for you to choose from. For this guide, we will focus on the “Darken” category.
Step 4: Test Blending Modes
First, click on “Multiply.” This mode causes all intended color values of the new layer to be multiplied with the underlying values. The darker the color you use, the more the image will darken. Experiment with different shades of gray to see the effect.
Step 5: Draw with the Brush
Now take your brush. Make sure to choose a darker shade, ideally a gray or black, and start drawing on your new layer. Depending on the color values you choose, you can create different darkening effects. This is also a great method for simulating shadows.
Step 6: Try Other Modes
Test the other blending modes in the “Darken” category, such as “Linear Burn” and “Dodge.” You will see that each mode produces slightly different results. These variations give you more creative freedom in your works.
Step 7: Adjust Colors
Experiment with color selection using the color picker tool. This allows you to select a darker tone from your existing image. If you continue painting with the airbrush tool, you will achieve smoother and softer transitions.
Step 8: Understand Darkening
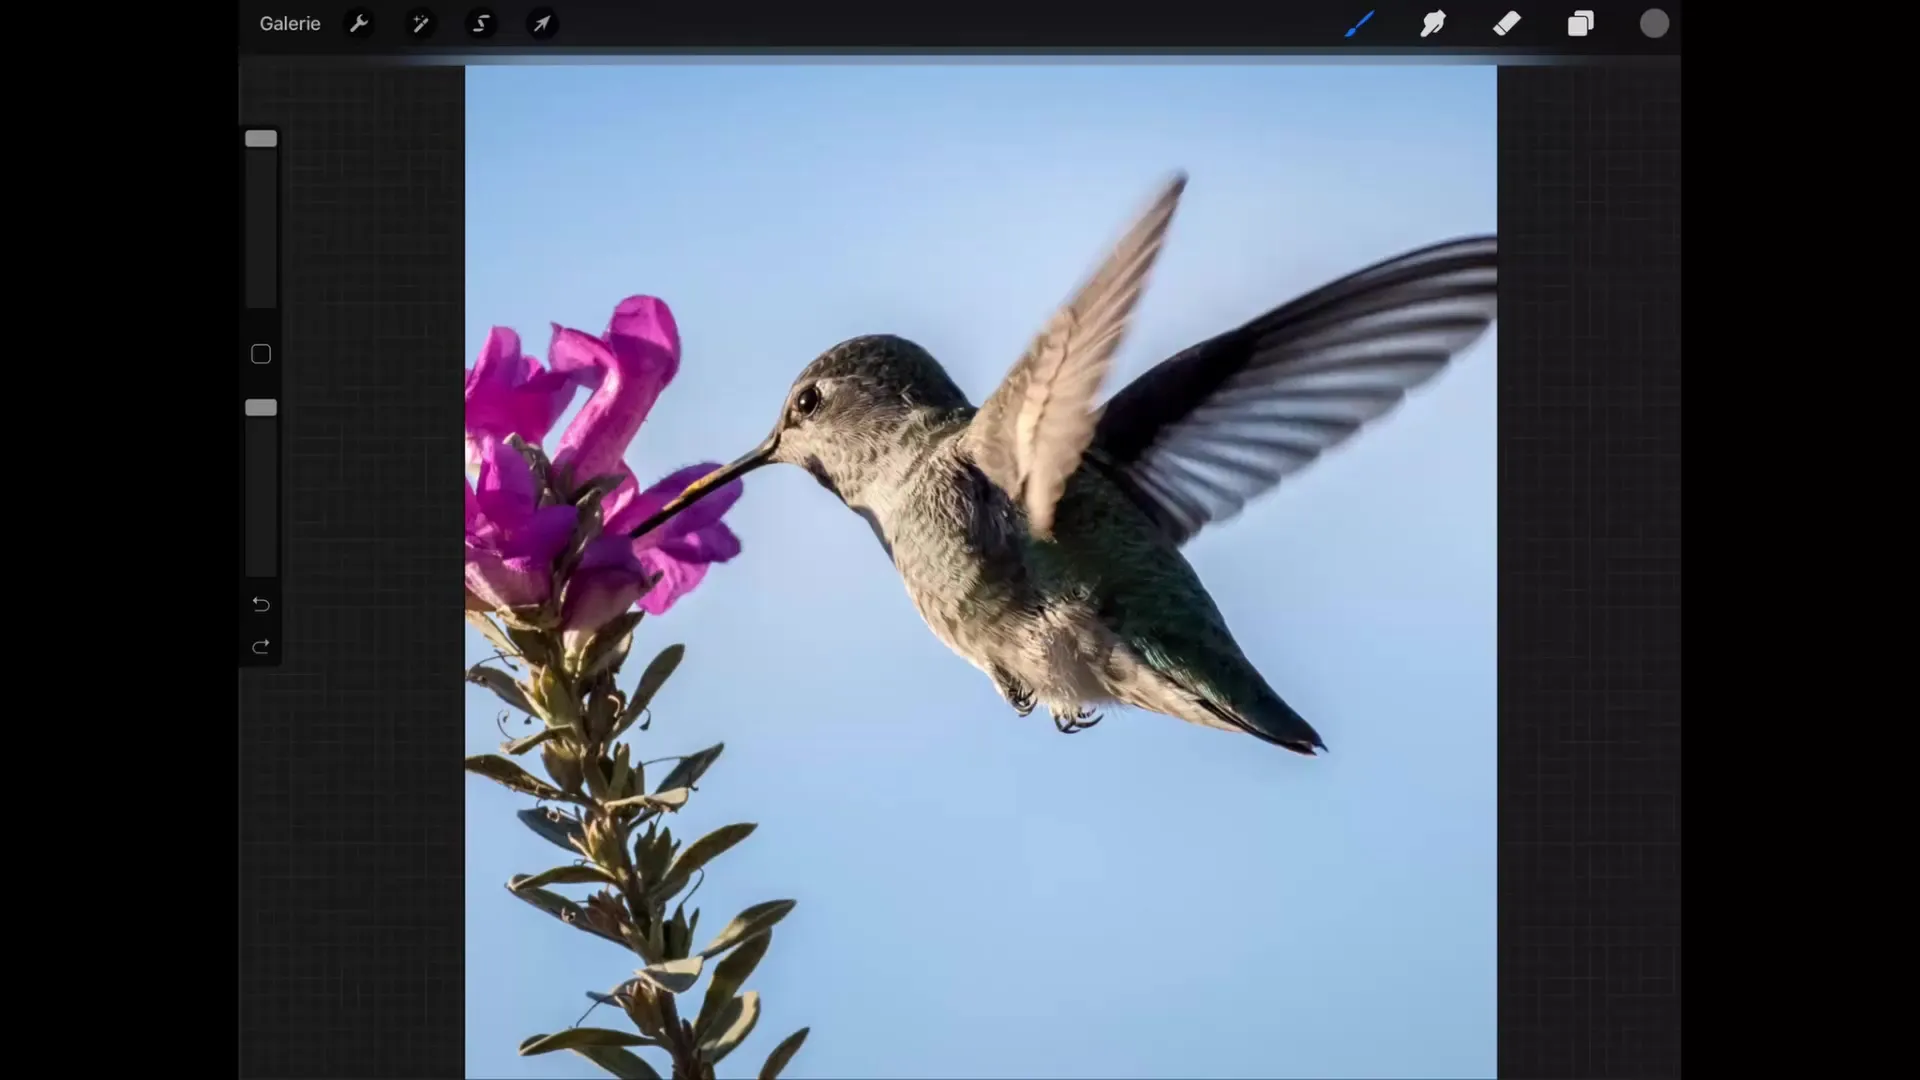
In the “Darken” blending mode, the darker value of the two layers is retained. This means you can paint darker tones in slightly lighter areas without altering the darker tones. This allows you to create subtle shadows and depth.
Step 9: Effective Application
Remember that you can also darken the spots in the back areas of your drawing while keeping the already dark pixels intact. This way, you can work deliberately with light and shadow to enhance your composition.
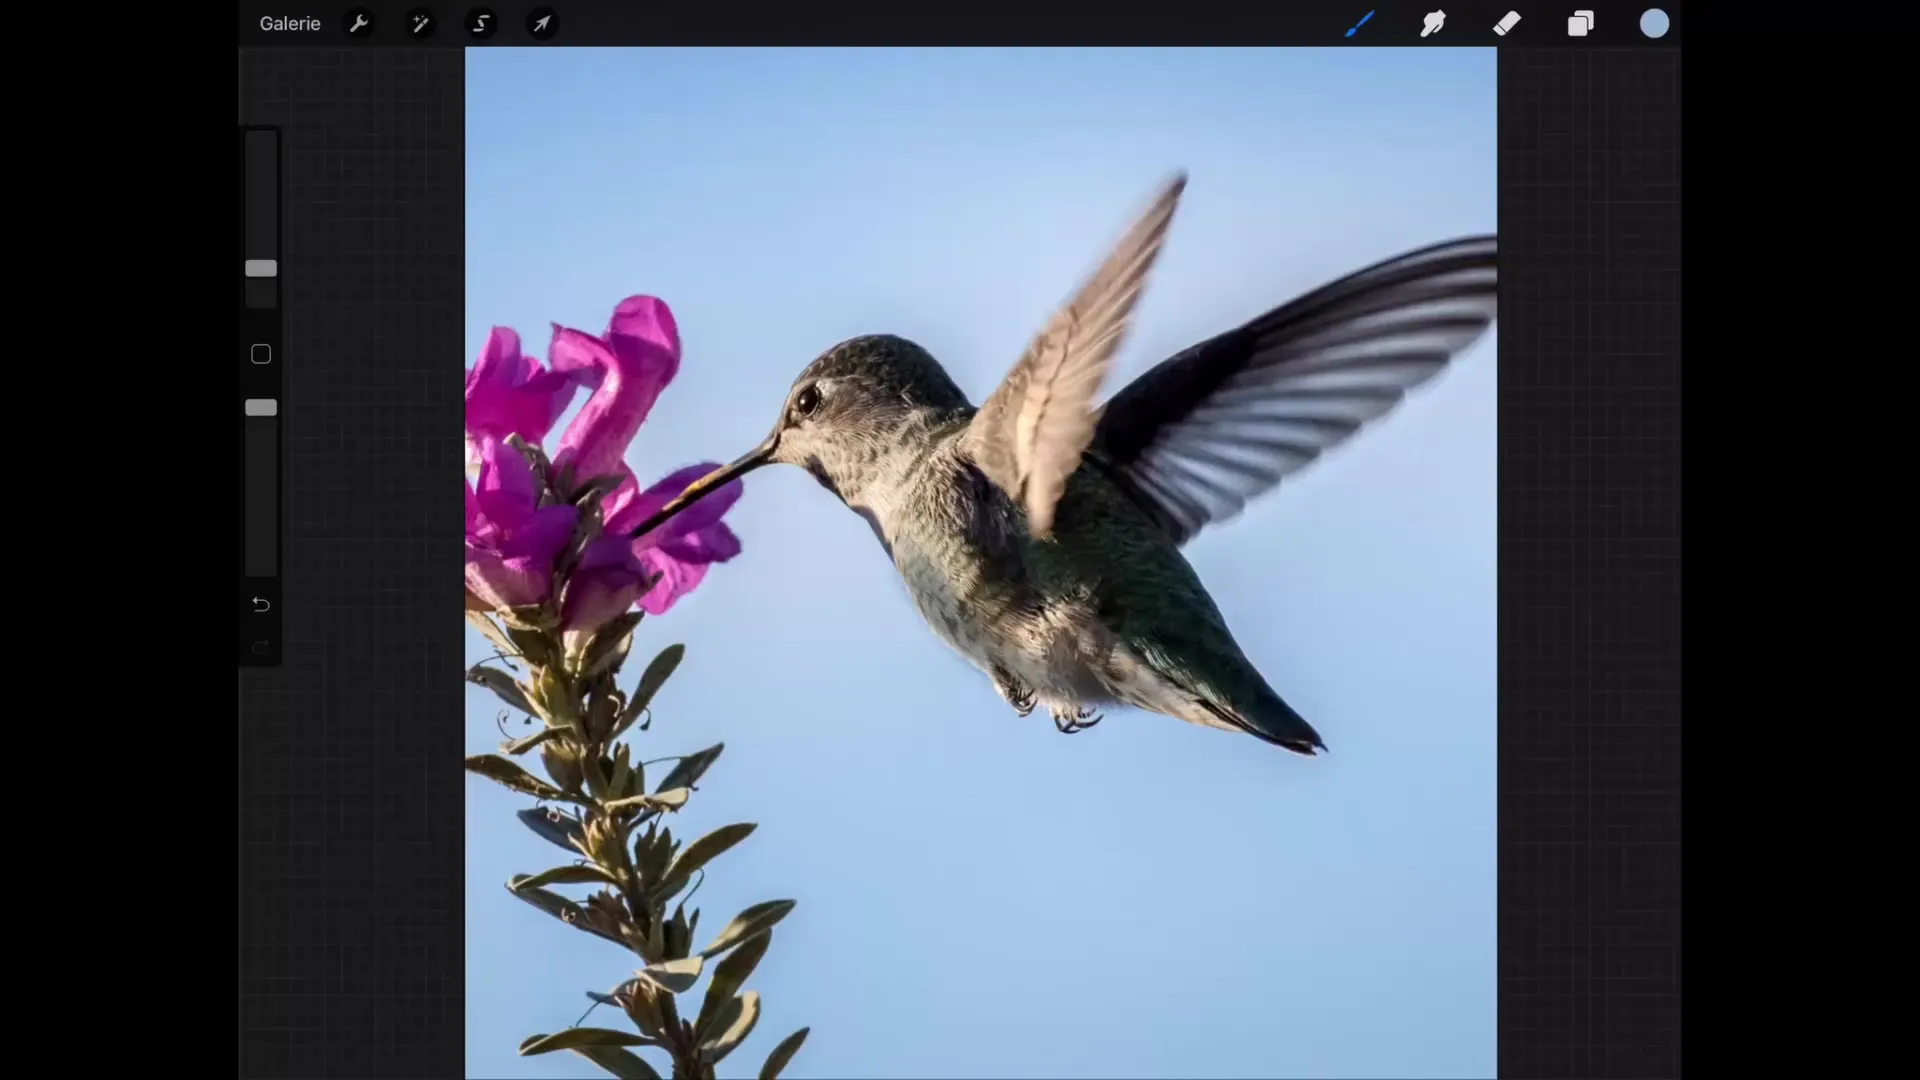
Summary – Procreate Tutorial: Layer Blending Modes for Effective Darkening
Throughout this guide, you have learned how blending modes work in Procreate, especially the “Darken” mode. You have learned how to effectively control your image impact and create realistic shading by experimenting with different color tones and techniques. Use these tricks to take your digital drawings to the next level.
Frequently Asked Questions
How does the “Multiply” blending mode work?The “Multiply” blending mode darkens the underlying layer by multiplying the color values. Darker colors result in a stronger darkening effect.
Can I adjust the intensity of the darkening?Yes, you can influence the darkening by varying the brush size and the chosen colors.
What do the other blending modes in the “Darken” category do?Each mode has a different effect: “Linear Burn” leads to less saturated colors, while “Dodge” emphasizes the highlights.


