Digital art requires not only creativity and skill but also a certain technical understanding, especially when selecting the right canvas. In this tutorial, you will learn how to create a canvas in Procreate. We will look at the key aspects of image size and resolution that you need for printing.
Main insights
- The correct DPI (dots per inch) is crucial for print quality.
- Pay attention to the maximum layers available at higher resolutions.
- You can create custom canvas sizes and save presets.
Step-by-step guide
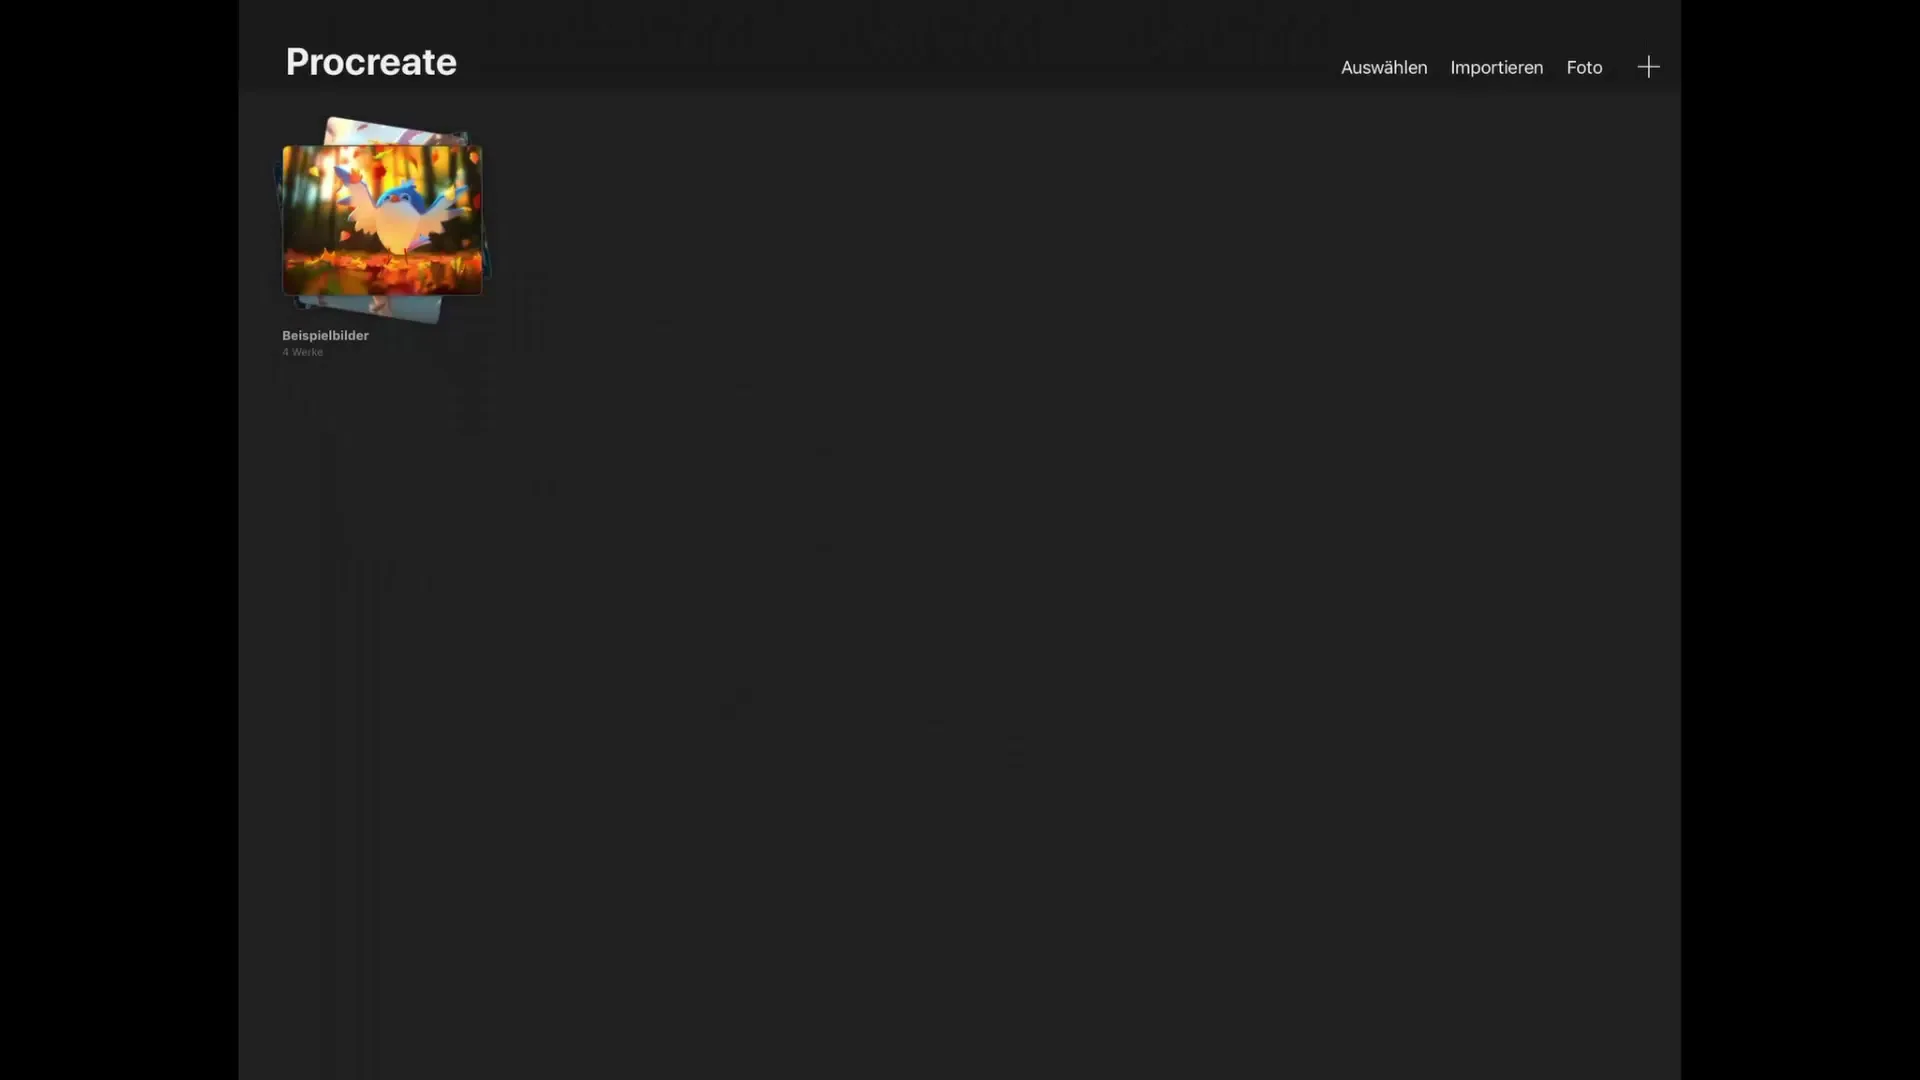
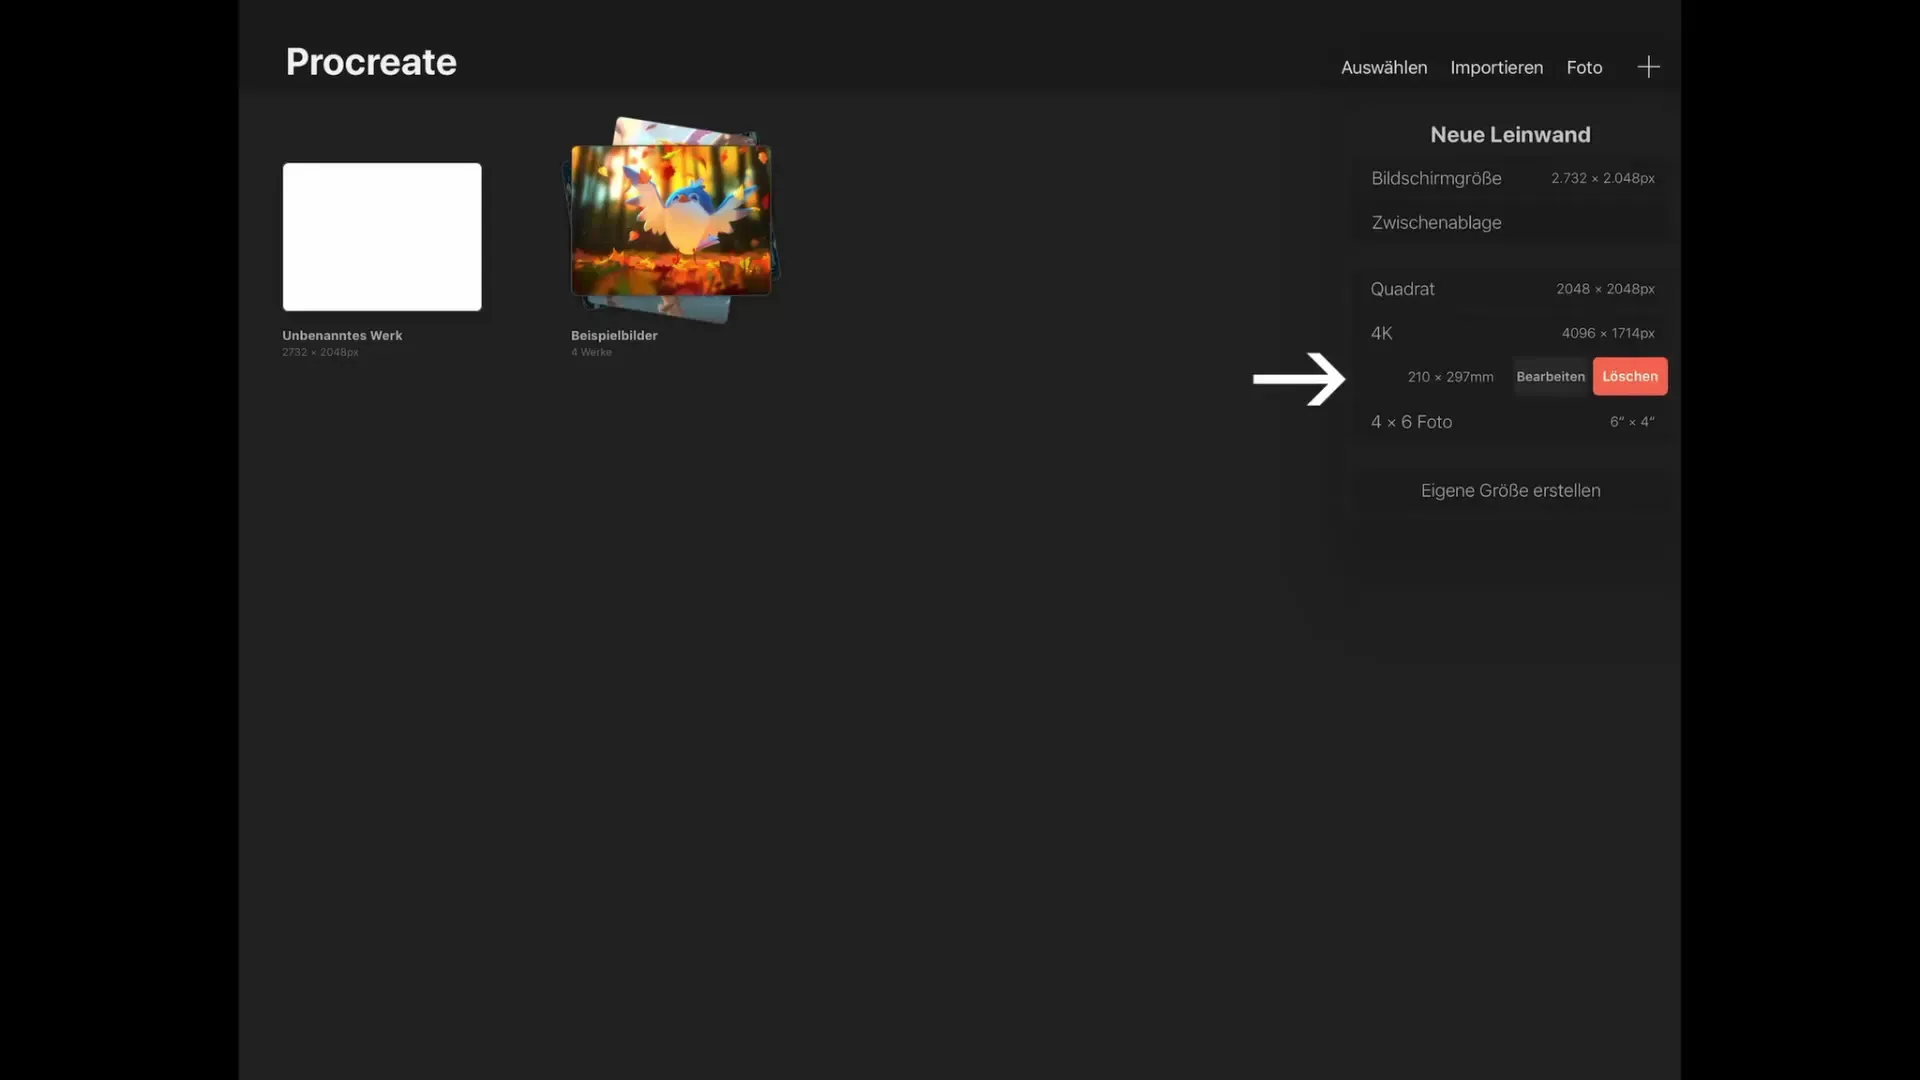
Start by opening Procreate on your iPad. In the upper right corner, you will see a plus sign. Tap on it to open the new canvas menu. Here you will find various preset image sizes. If you want to use the screen size of your iPad, tap on the corresponding option. This will give you a canvas that exactly matches the size of your screen.

If you want to return to the gallery, the menu is in the upper left corner. Tap on "Gallery" to go to your overview. There you can view the properties of already existing canvases.
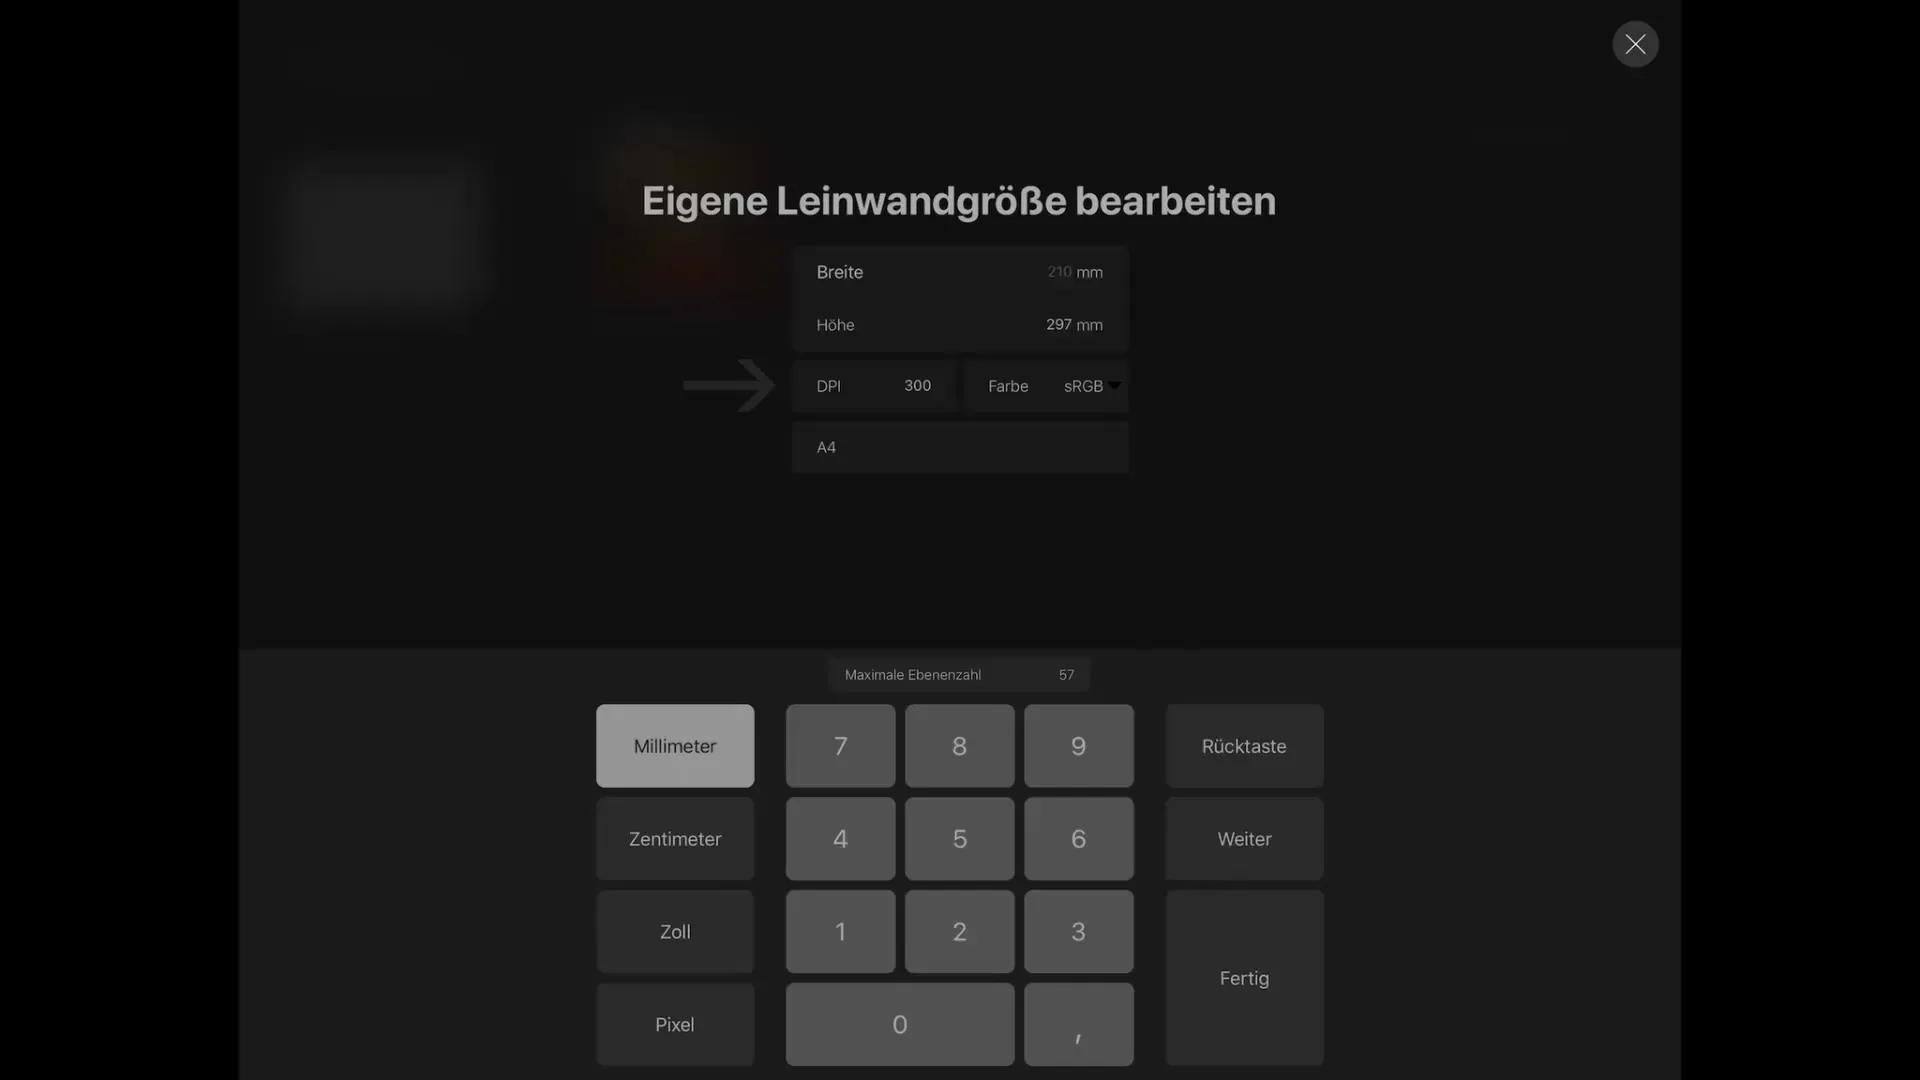
Let's say you want to create an A4 canvas. Scroll to the pre-made A4 element, swipe it to the left, and tap "Edit". This will show you the preset dimensions for A4, which are 210 mm x 297 mm. These dimensions are just right for an A4 sheet.

When creating a canvas, the DPI number is especially important as it affects print quality. If your printer works at 300 DPI, it is advisable to choose the same resolution for your canvas. The higher the DPI, the better the image quality, but there are some aspects to consider.

This means that the higher you set this number, the more storage space the file will need on your iPad. This is because the maximum number of layers you can create is limited by the size of the canvas and its resolution.
For example: If you enter 3000 for the DPI, the canvas will become so large that you can no longer add enough layers. If you lower the DPI to 600, the maximum number of layers decreases from 57 to 11. This shows how important it is to find a balance. For most work, choosing 300 DPI is ideal as it also maximizes the number of layers while achieving good print quality.
Tip: You can also create a custom size for your canvas by entering your specific dimensions. For example, if you want to create an A3 image, enter the values 297 by 420 in millimeters.
With A3 at 300 DPI, you will get a maximally acceptable number of 26 layers, which offers some creative possibilities. You can also adjust the color spaces, with sRGB usually being perfectly sufficient. Once you have made your settings, tap "Create".
When you return to the gallery, you'll see your new preset at the bottom of the menu. This allows you to bypass all the work next time you create an A3 image and reuse the saved preset.
If you no longer need this preset, you can easily delete it. Simply swipe left and tap "Delete" to remove the unwanted preset.
Summary – Procreate: Effective Canvas Creation on the iPad
You have now learned how to create a canvas in Procreate. You are familiar with the key aspects of DPI and how to save presets. This knowledge allows you to create digital artworks in optimal quality while working more efficiently.
Frequently Asked Questions
How do I choose the right DPI for my print?A DPI of 300 is ideal for most prints as it ensures good quality.
Can I create my own canvas size in Procreate?Yes, you can enter your own dimensions in millimeters or inches and adjust your canvas accordingly.
How can I delete my predefined canvas size?Simply swipe left on the preset and tap "Delete" to remove it.


