The “Liquify” tool in Procreate opens up fascinating possibilities for making your digital drawings more vibrant and dynamic. It allows you to manipulate parts of the image in various ways, whether by enlarging, shrinking, or rotating. These functions are particularly useful for fine-tuning details in your work and achieving different effects. In this guide, you will be taken step by step through the use of the Liquify tool and receive useful tips to elevate your designs to the next level.
Main insights
- Liquify offers several tools for manipulating parts of an image.
- The tools allow for puffing up, squishing, and swirling image areas.
- You can adjust the size, pressure, and momentum of the effects.
- Several tools have similar functions, but differ in the details of application.
Step-by-step guide
Getting started with the Liquify tool
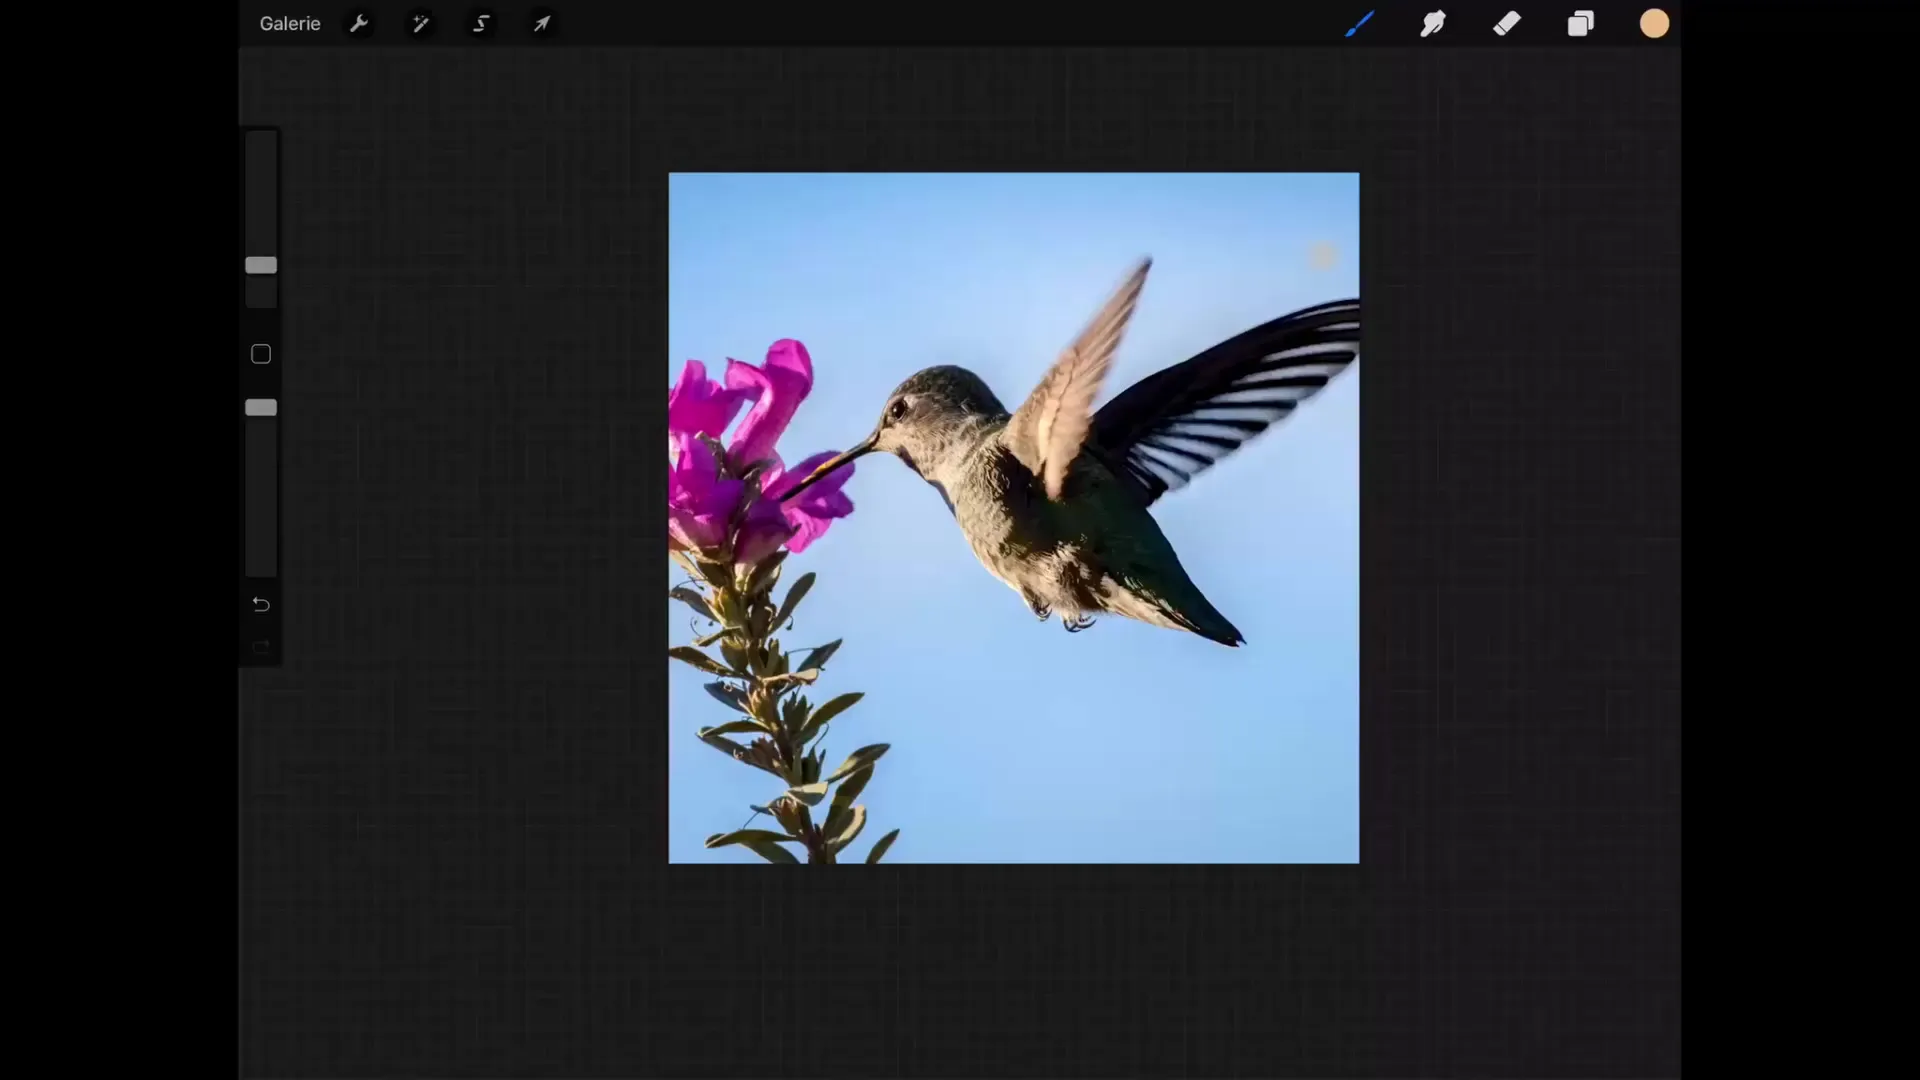
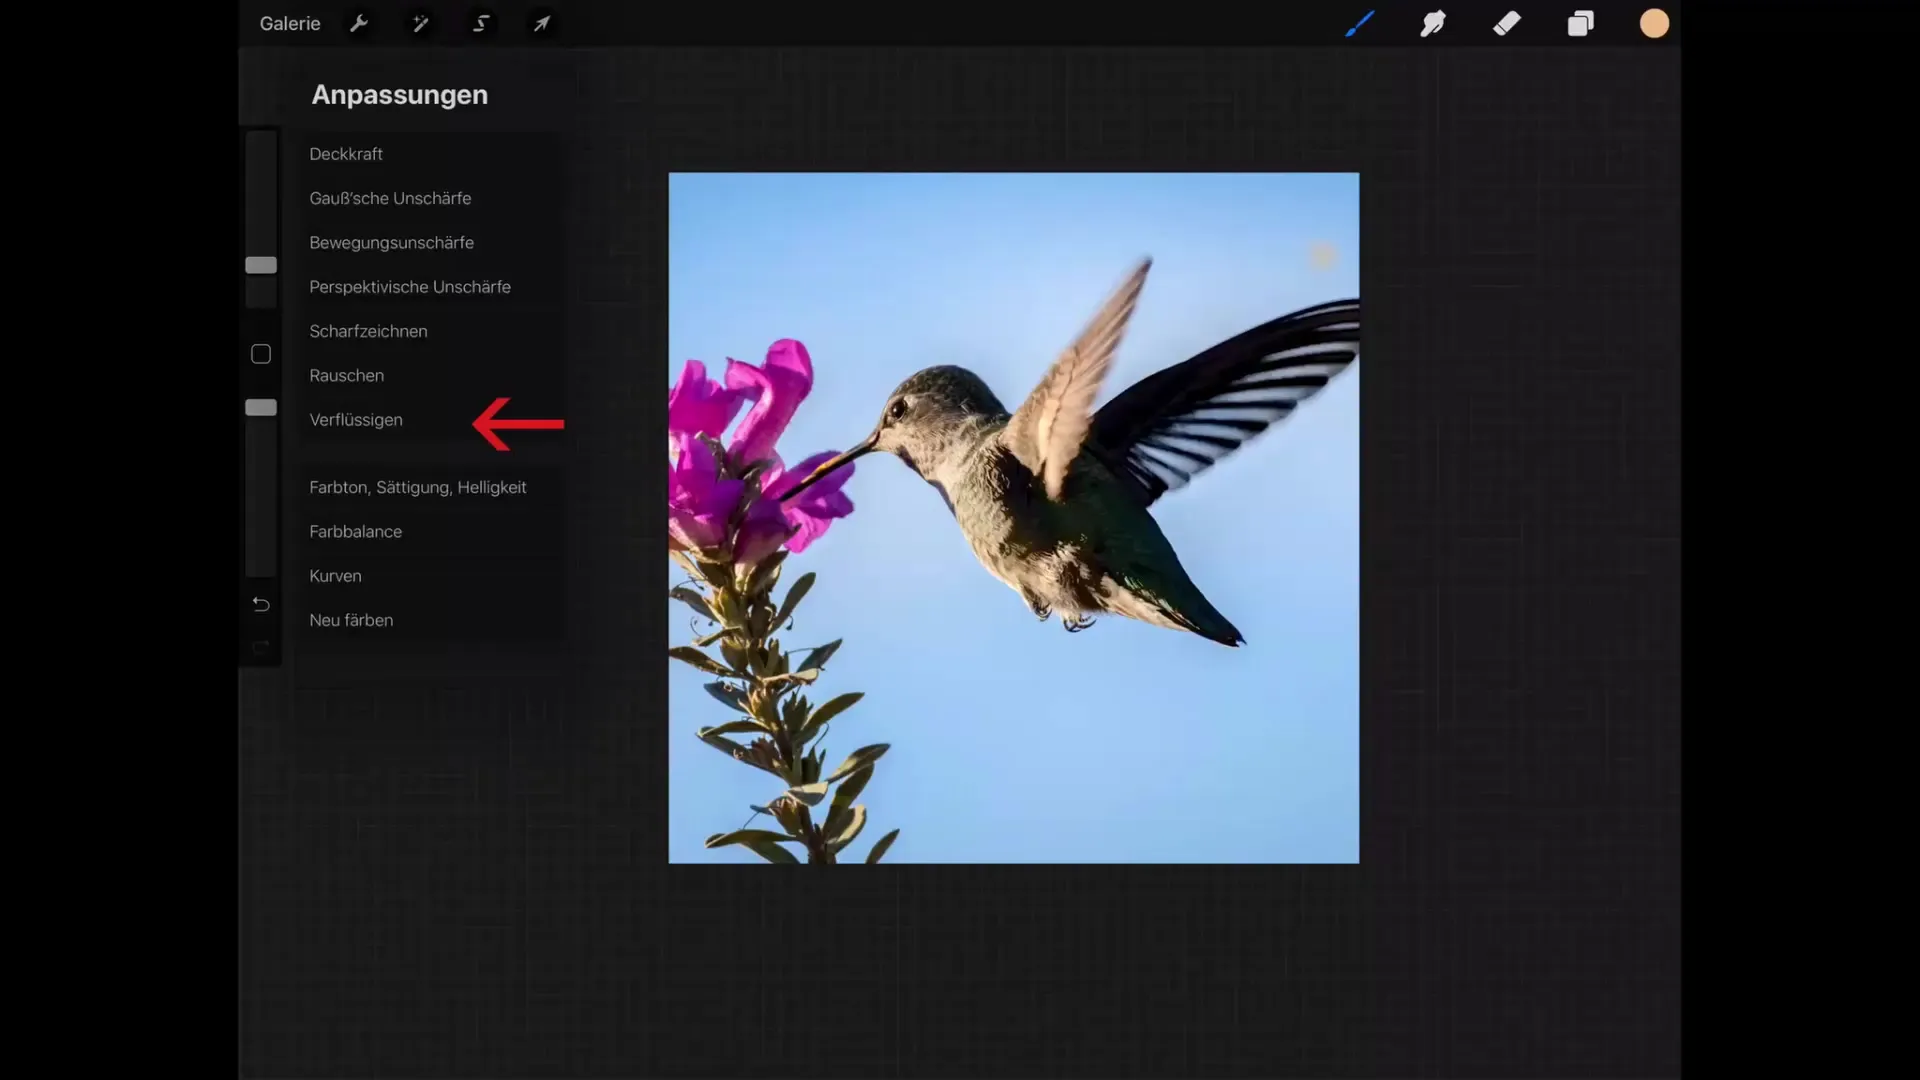
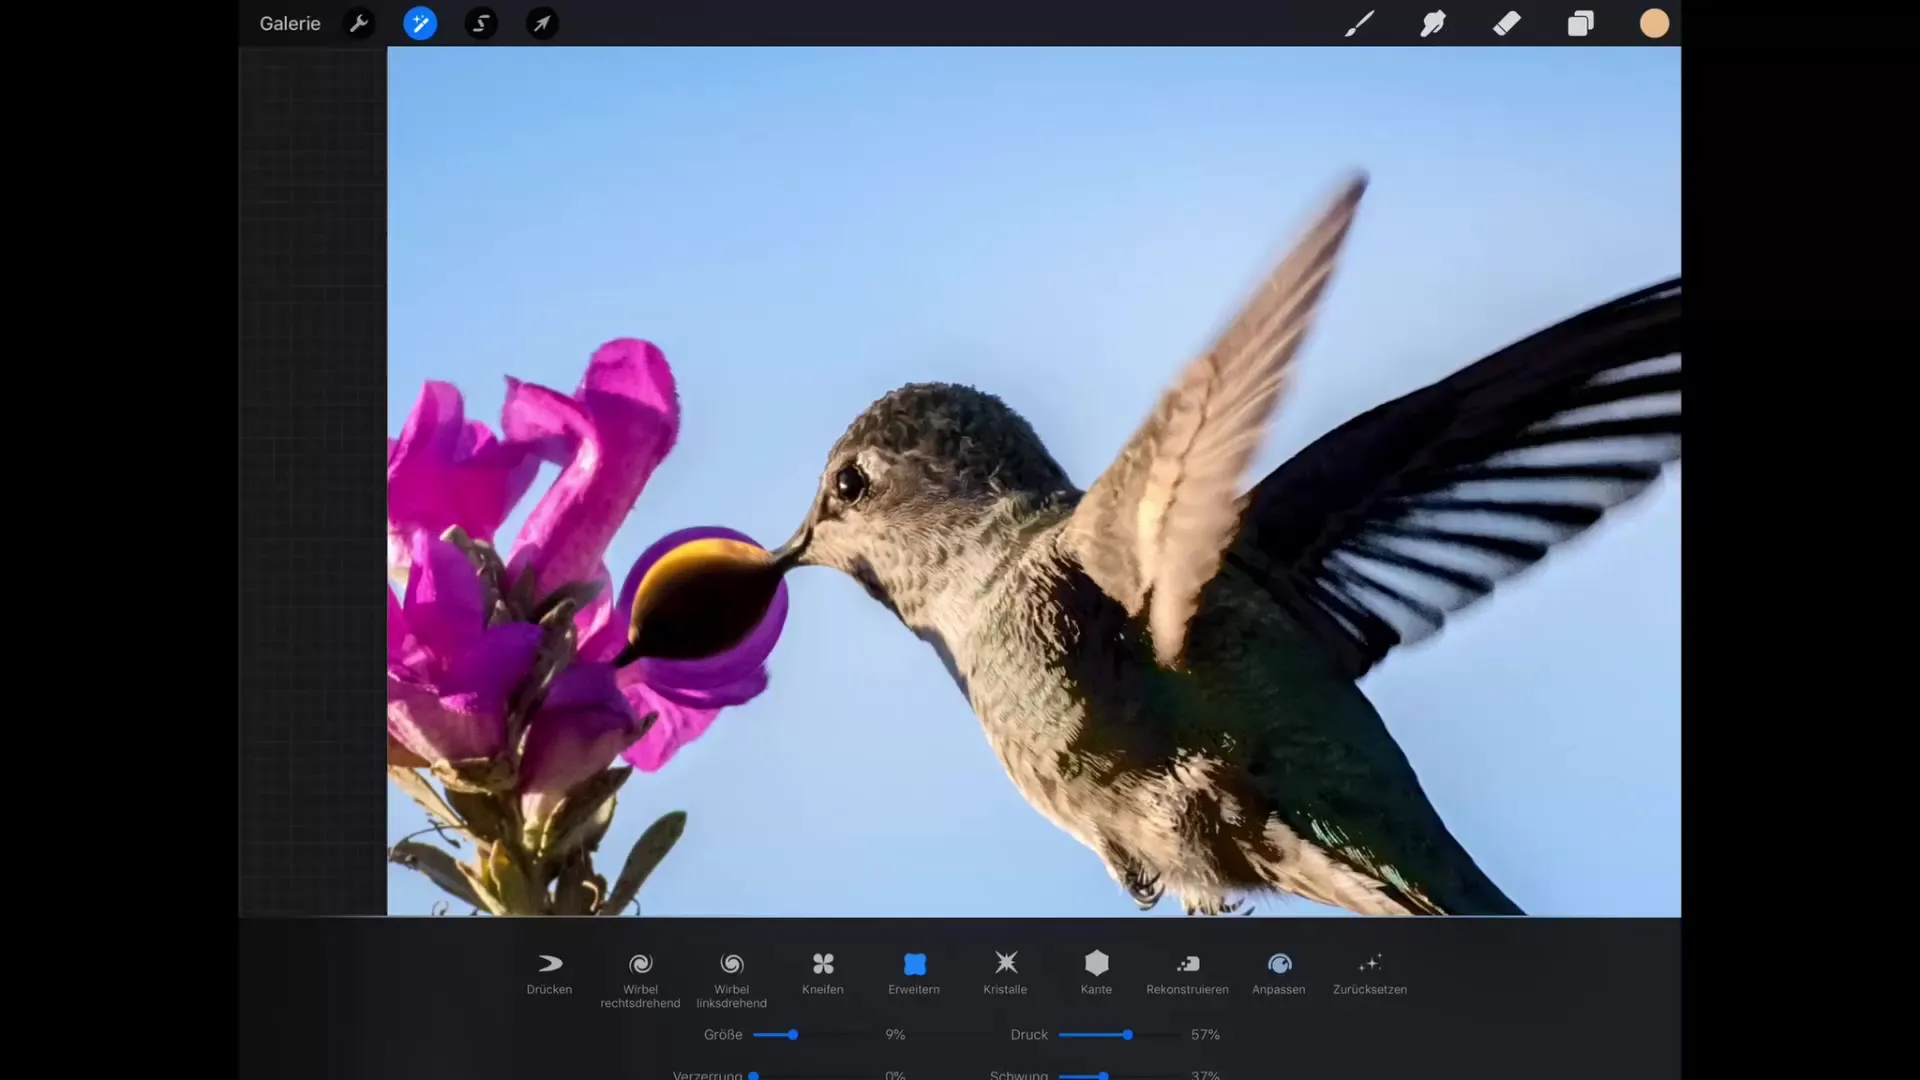
To find the Liquify tool, navigate to the icon that looks like a magic wand. There you will find the powerful tool that offers you many options for manipulating your image.
Selecting tools
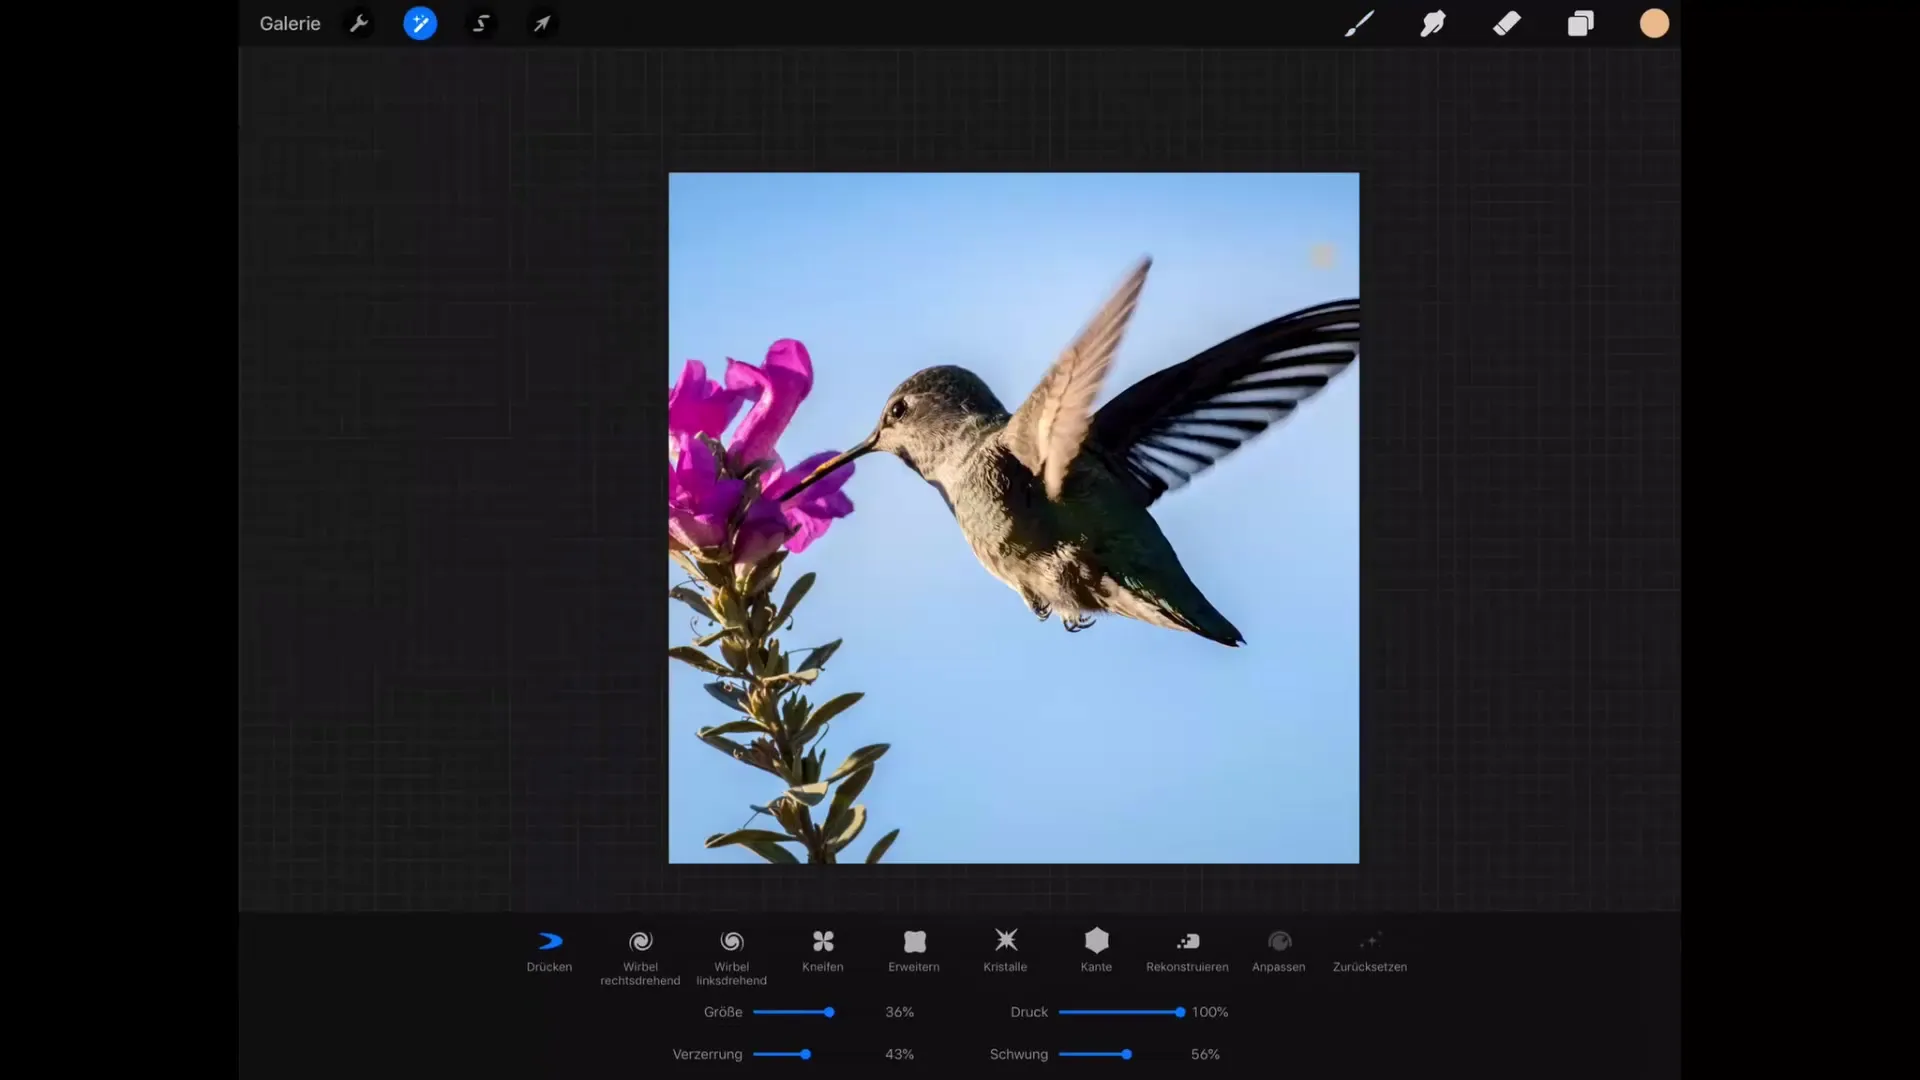
In the upper area of the Liquify menu, you will find the various tools, while the settings such as size, distortion, pressure, and momentum can be found in the lower part. With these tools, you can push the pixels of your image in the desired direction.
Using the WIS Finger tool
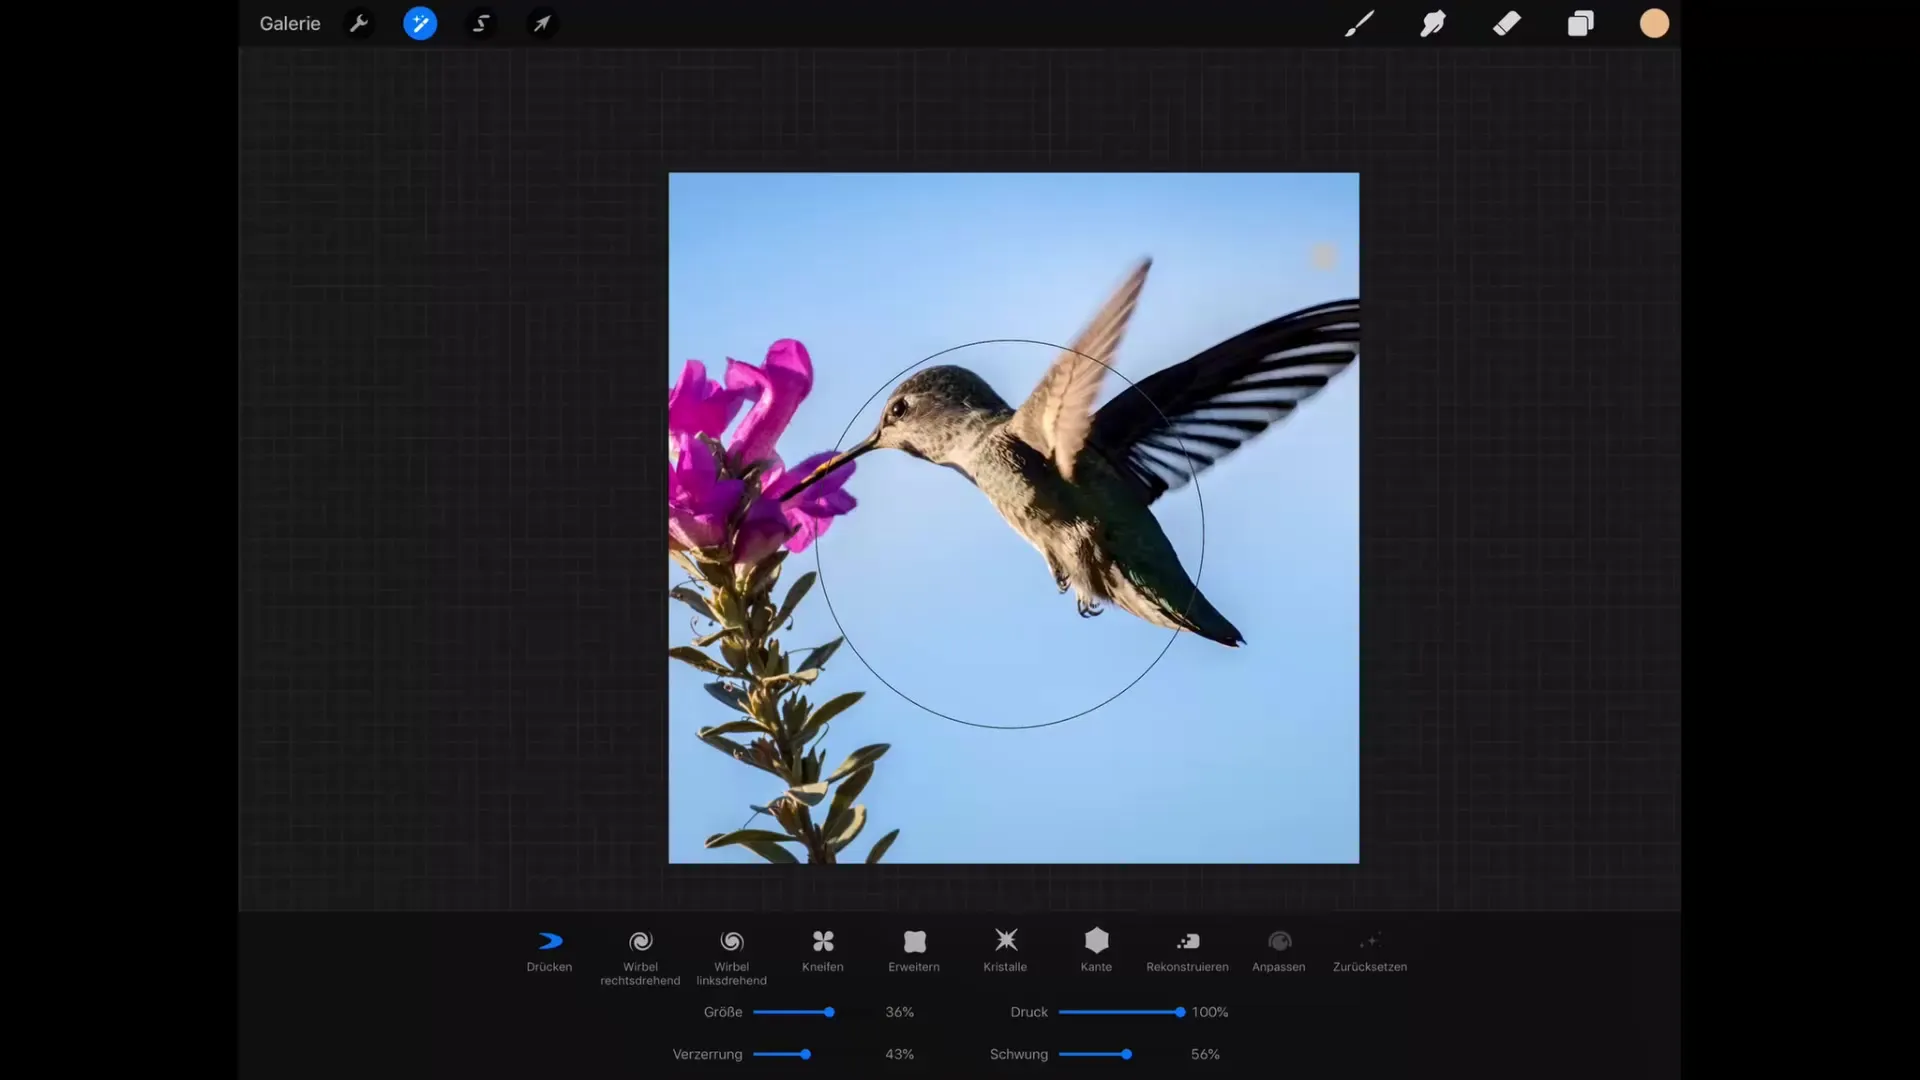
The WIS Finger tool is one of the options in the Liquify tool. If you want to push pixels in one direction, this tool is very useful. Note that the center of the tool has the strongest influence on the underlying pixels, while the effect decreases towards the edges.
Making adjustments
You can adjust the size of the tool to achieve different effects. The distortion setting varies depending on the application; it is worth trying out different values to achieve the best effect.
Undoing tools
If you are not satisfied with your adjustments, you can always undo the last actions. This gives you the freedom to try out different styles without permanently committing to changes.
Implementing the momentum tool
With the momentum option, you can create the impression of dynamic movement. For example, when drawing the wing of a bird, increasing the momentum makes the editing smoother and extends to the end of the drawn area.
Adjusting pressure
The pressure refers to the strength with which the tool affects your image. By adjusting the pressure, you can control how strongly the manipulation is visible in your image.
Specific tools in detail
In the Liquify menu, there are also specific tools such as “Crystals,” which creates an interesting effect by pulling pixels toward the center. Through refined adjustments, you can develop a unique style.
Manipulation adjustments
The Adjust tool functions to influence the last manipulations. You can subtly weaken the editing by resetting the last actions to make fine adjustments without losing the original image data.
Summary – Procreate Tutorial – Basics of Digital Drawing on the iPad: Liquify
The Liquify tool in Procreate is an incredibly versatile tool that allows you to creatively manipulate your digital artworks. With each tool, you can achieve different effects that give the image dynamism and expression.
Frequently Asked Questions
What is the Liquify tool?The Liquify tool allows you to manipulate parts of an image in various ways, such as by enlarging or shrinking.
How do I find the Liquify tool?The tool is hidden behind the magic wand icon in the Procreate main menu.
What settings can I adjust?You can adjust the size, distortion, pressure, and momentum of the effects when liquifying.
Can I undo adjustments?Yes, you can always undo the last actions to try out different variations.
What does the Adjust tool do?The Adjust tool allows you to subtly weaken or strengthen the effects of the last manipulations.


