Procreateis a powerful tool that gives you the freedom to be creative and implement your ideas digitally. The user interfaceof Procreate is intuitively designed, yet it may seem overwhelming at first. In this guide, I will show you how to use the essential functions of Procreate so that you can better orient yourself and work more effectively.
Key Insights
- With two fingers, you can zoom in, zoom out, and rotate the canvas.
- The function for adjusting the canvas size is crucial for your project.
- Procreate allows for the manipulation of images and their proportional scaling.
Step-by-Step Guide
1. Create a New Canvas or Import a Photo
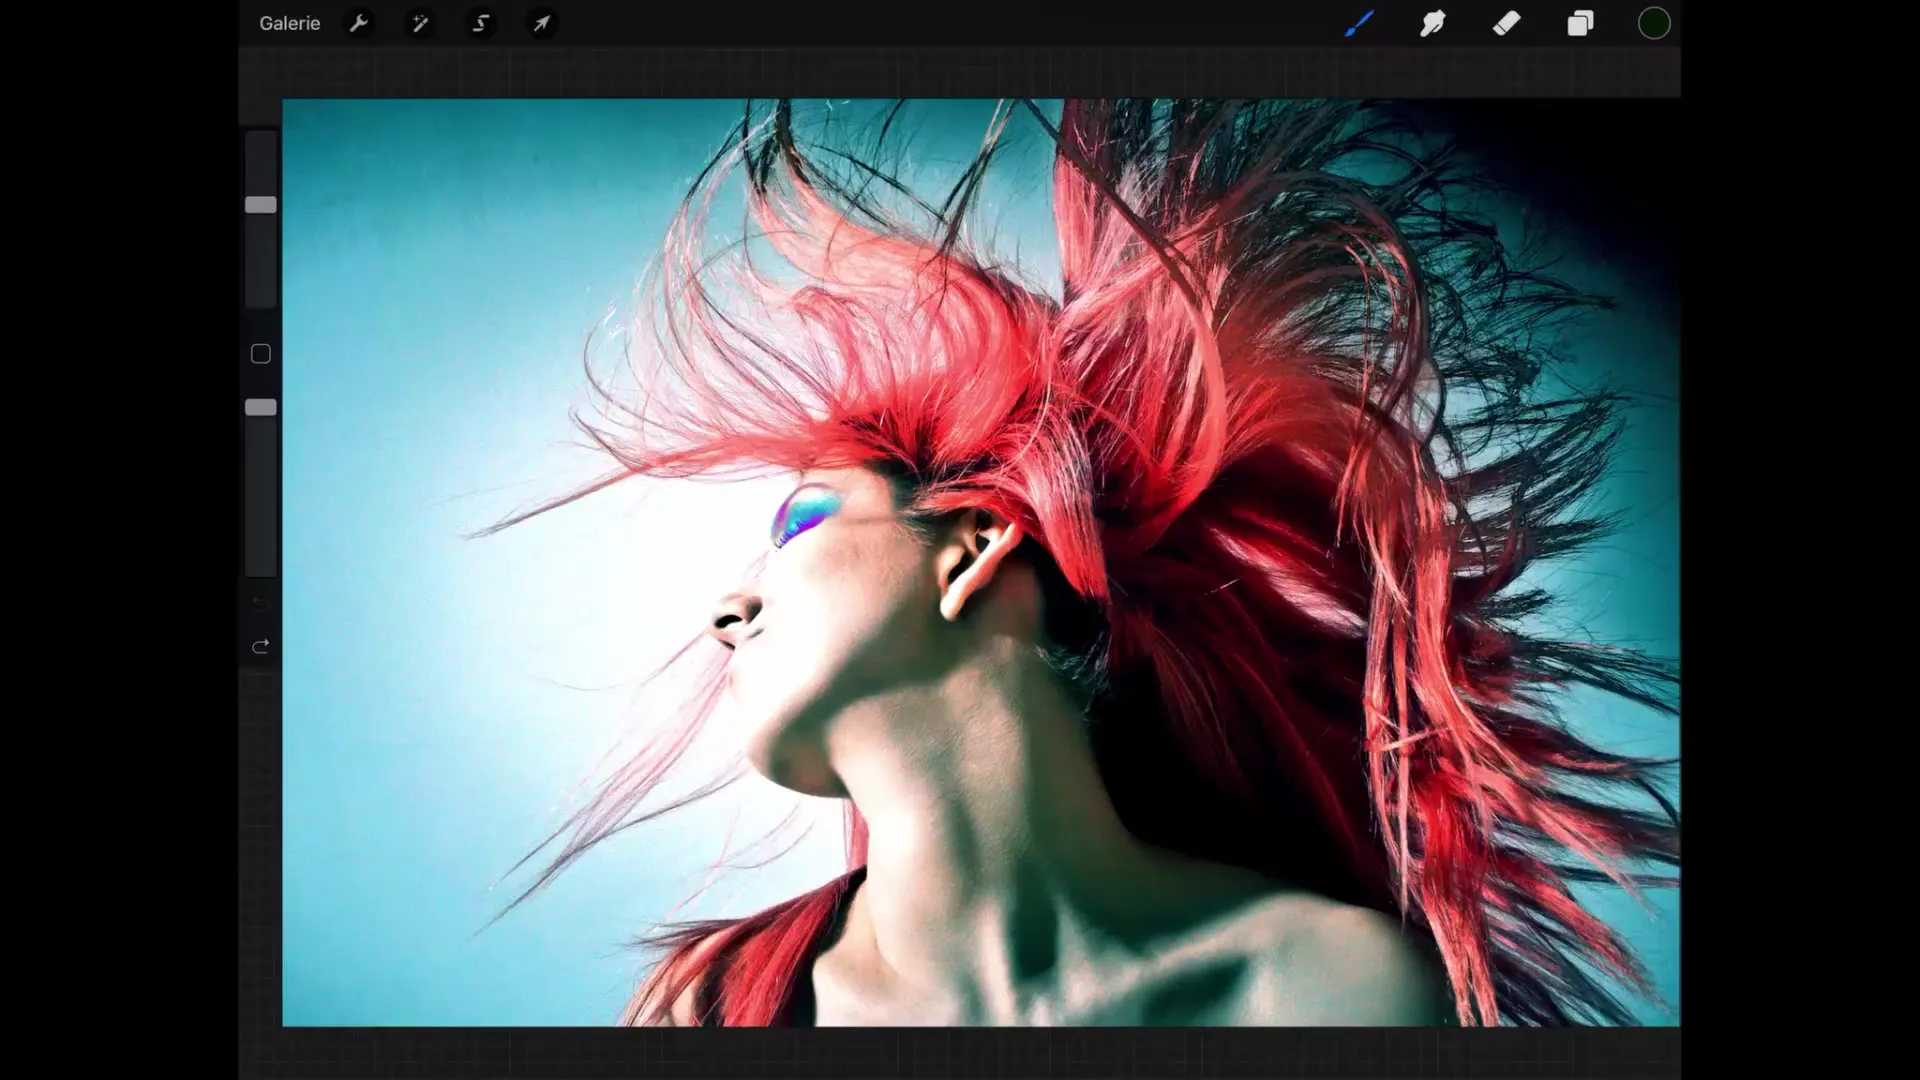
When you create a new canvas in Procreate or import a photo, it will be displayed in such a way that it fills as much of the workspace as possible. This allows you to start the creative process right away.
2. Zoom In for Detailed Work
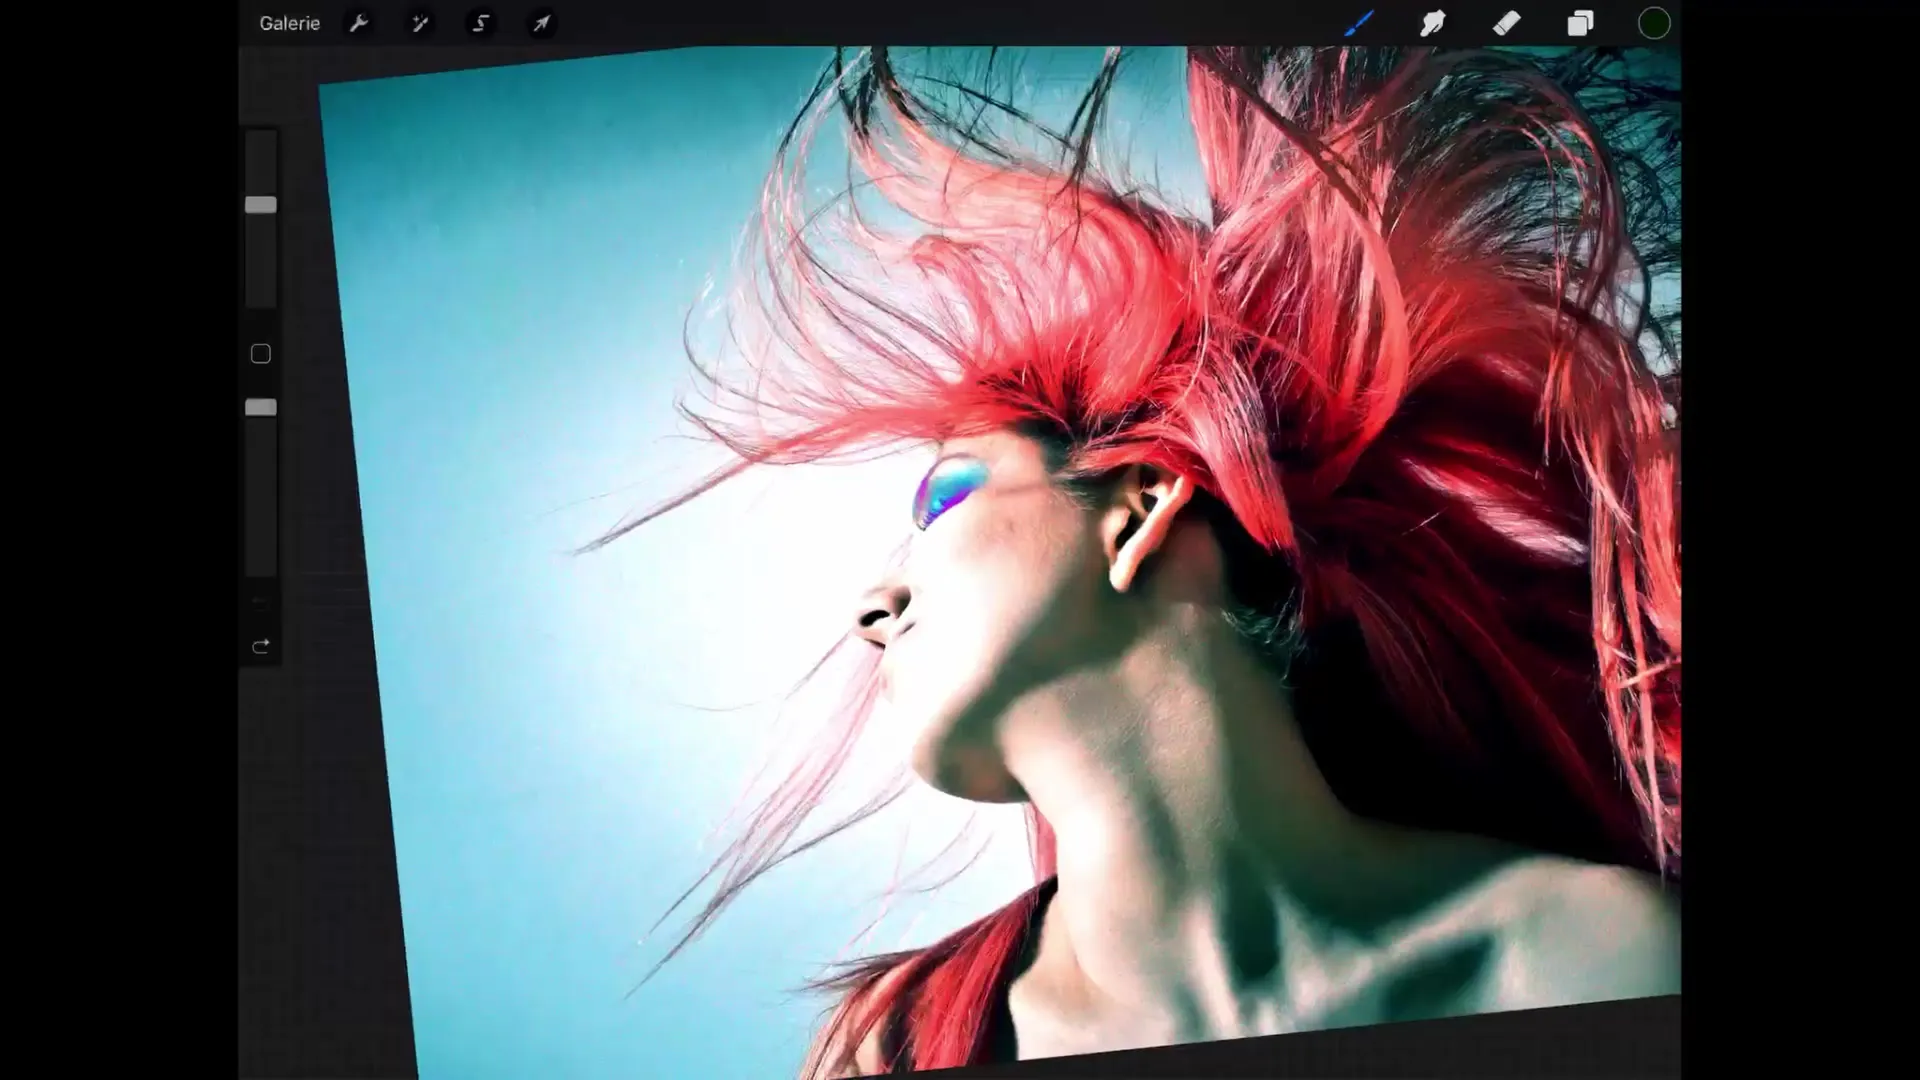
While you see the entire picture, you may want to zoom in for more precise manipulations. To do this, simply tap the canvas with two fingers and spread your fingers apart. To rotate the view, tap again with two fingers and perform a rotation motion. This control is relatively intuitive as it works similarly in many apps.
3. Return to the Original View
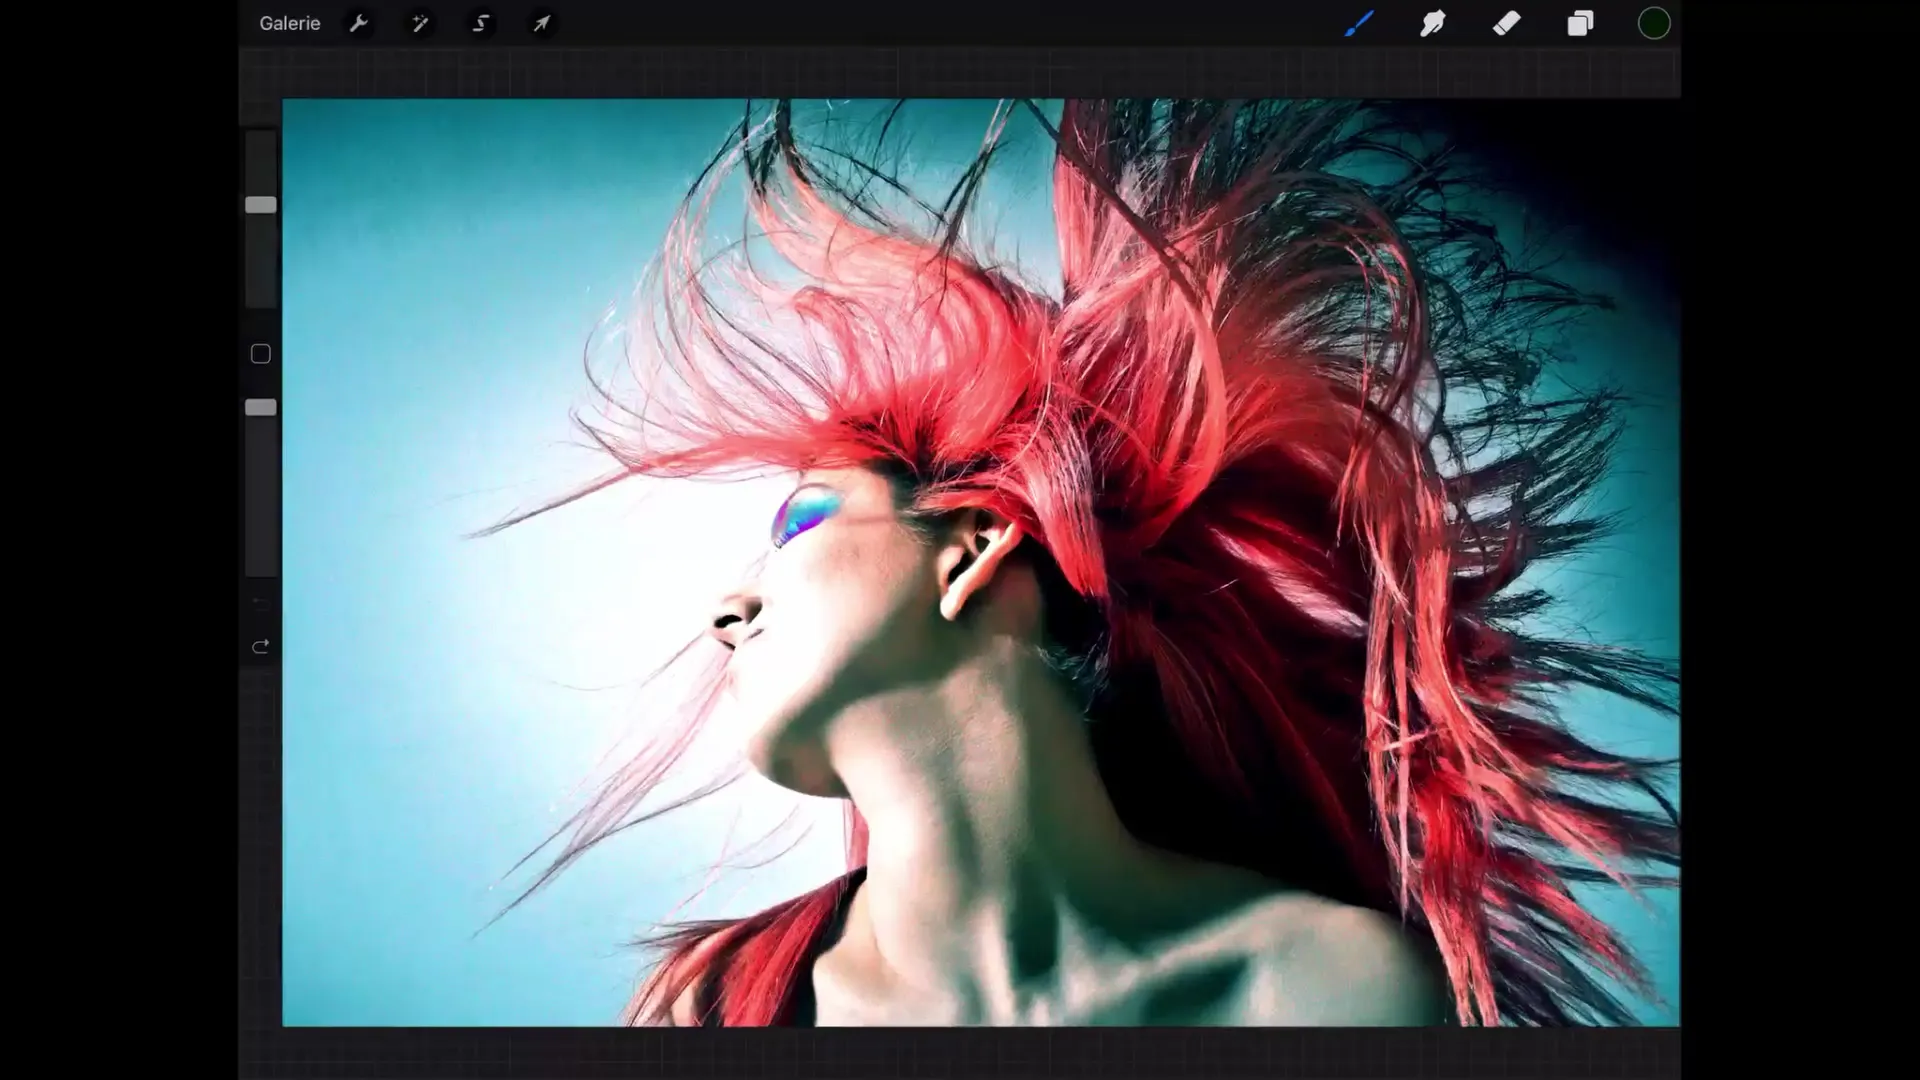
To navigate back to the original size and starting position, tap again with two fingers on the workspace and bring them together quickly. Procreate will then automatically restore the standard view. However, if your image has been rotated by 90°, you will need to rotate it back before you can restore this view.
4. Adjust Canvas Size
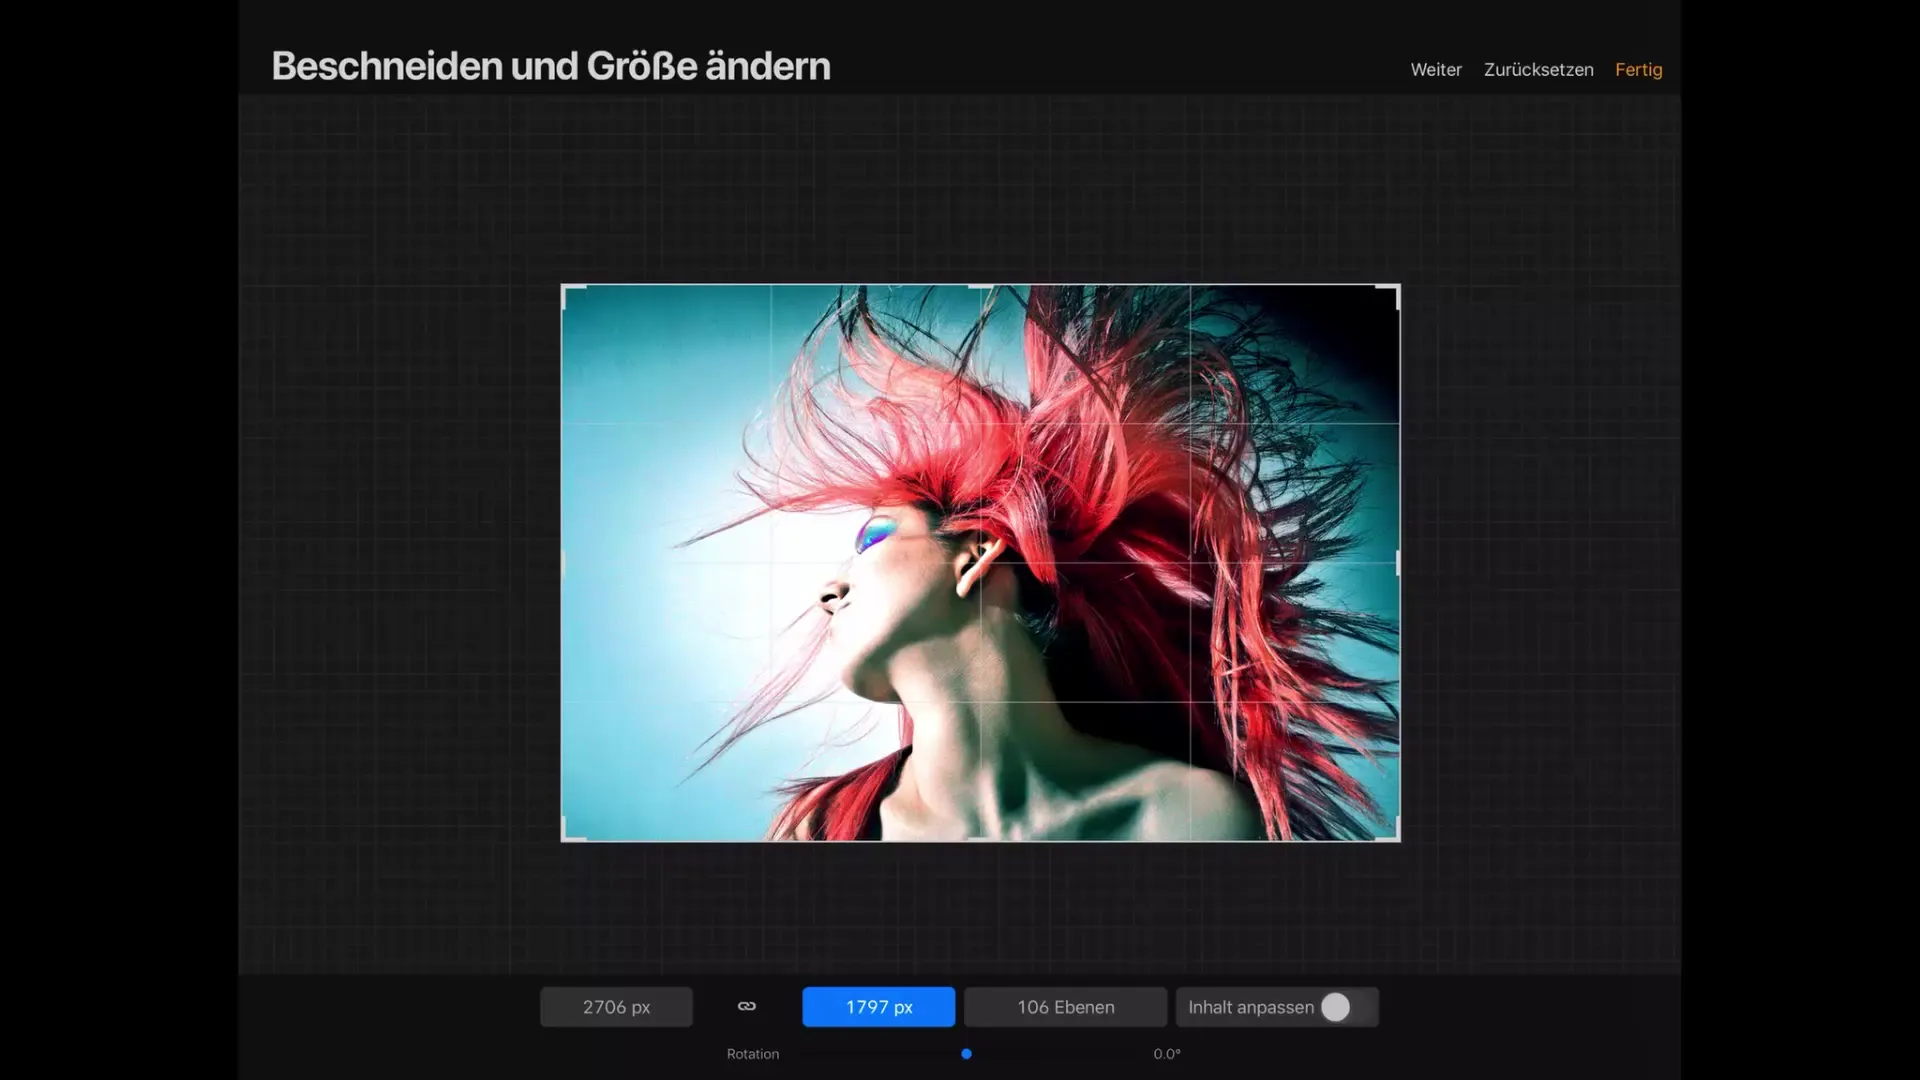
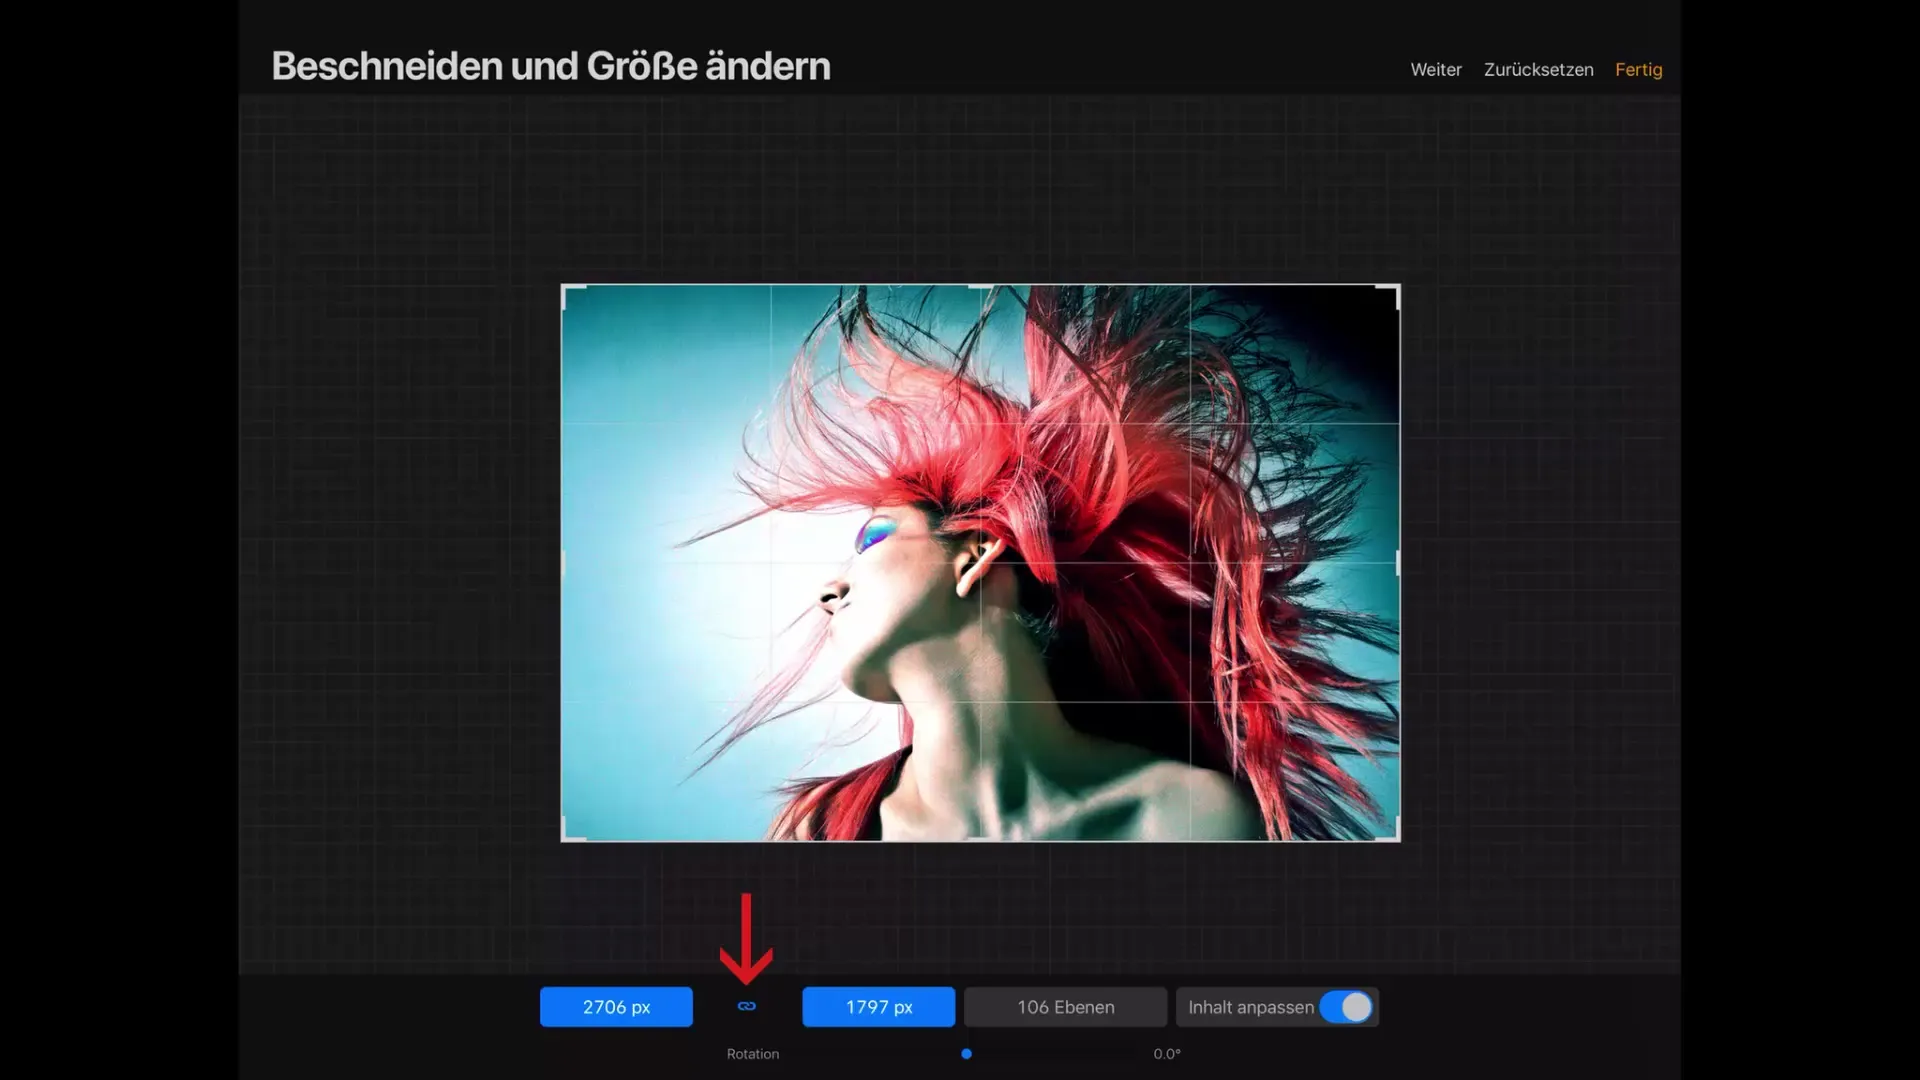
It may happen that the original canvas size is not optimal for your project or that you want to crop the imported image. In this case, tap on the small wrench icon and select "Canvas" to use the "Crop and Resize" option. Below you will see information about the current size in pixels.
5. Understand Layers and Resolution
With the current resolution, you can create up to 106 layers. Make sure you do not enter pixel values that are too large, which could exceed the maximum number of layers, as Procreate will then not allow you to make these changes.
6. Adjust Content
When you change the canvas size, the content is scaled proportionally. To ensure that this is the case, enable "Adjust Content". When you change the canvas size, you will see that both width and height are highlighted in blue. This means that proportional change is activated.
7. Fine-tune the Canvas
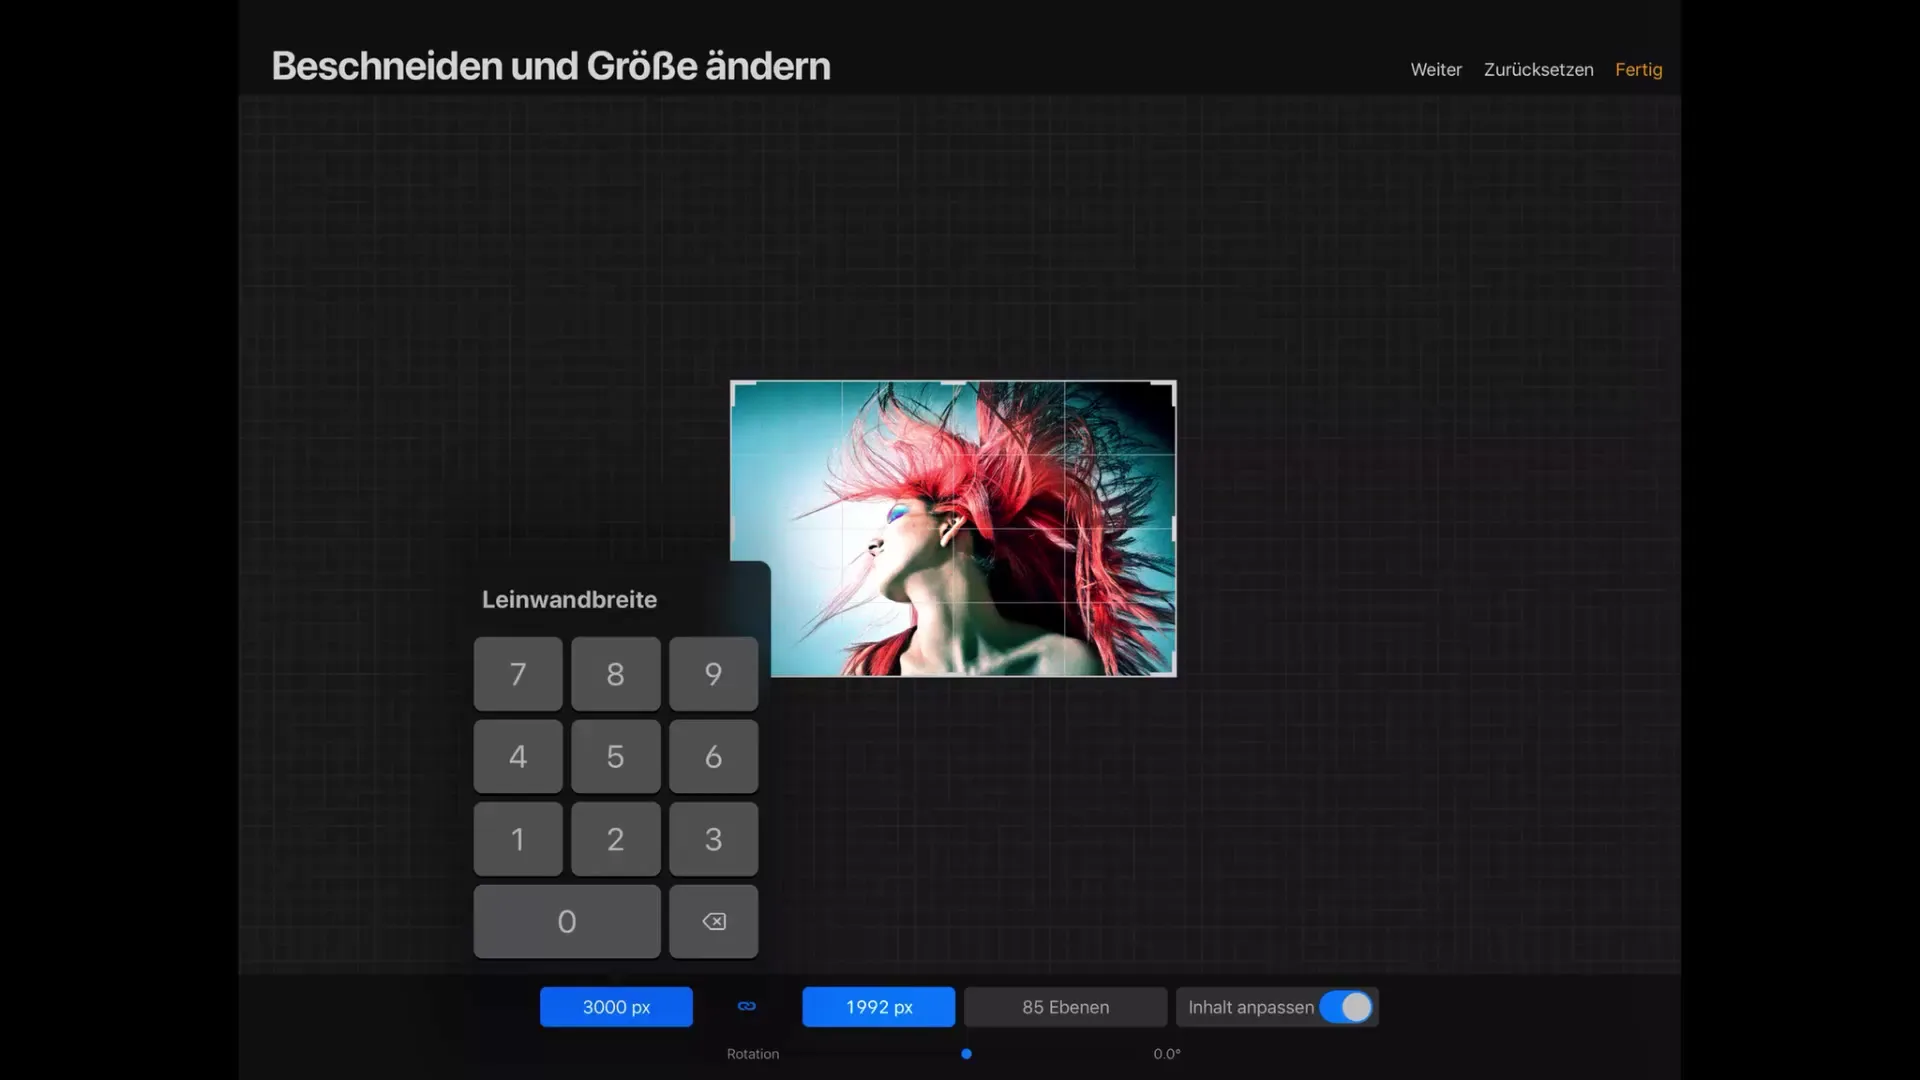
You can directly adjust the canvas by specifying pixel values precisely. If you change the width to 3000 pixels, the height will adjust automatically, and vice versa. This may decrease the number of possible layers. Check the canvas data to see the new pixel sizes.
8. Improve Canvas Position
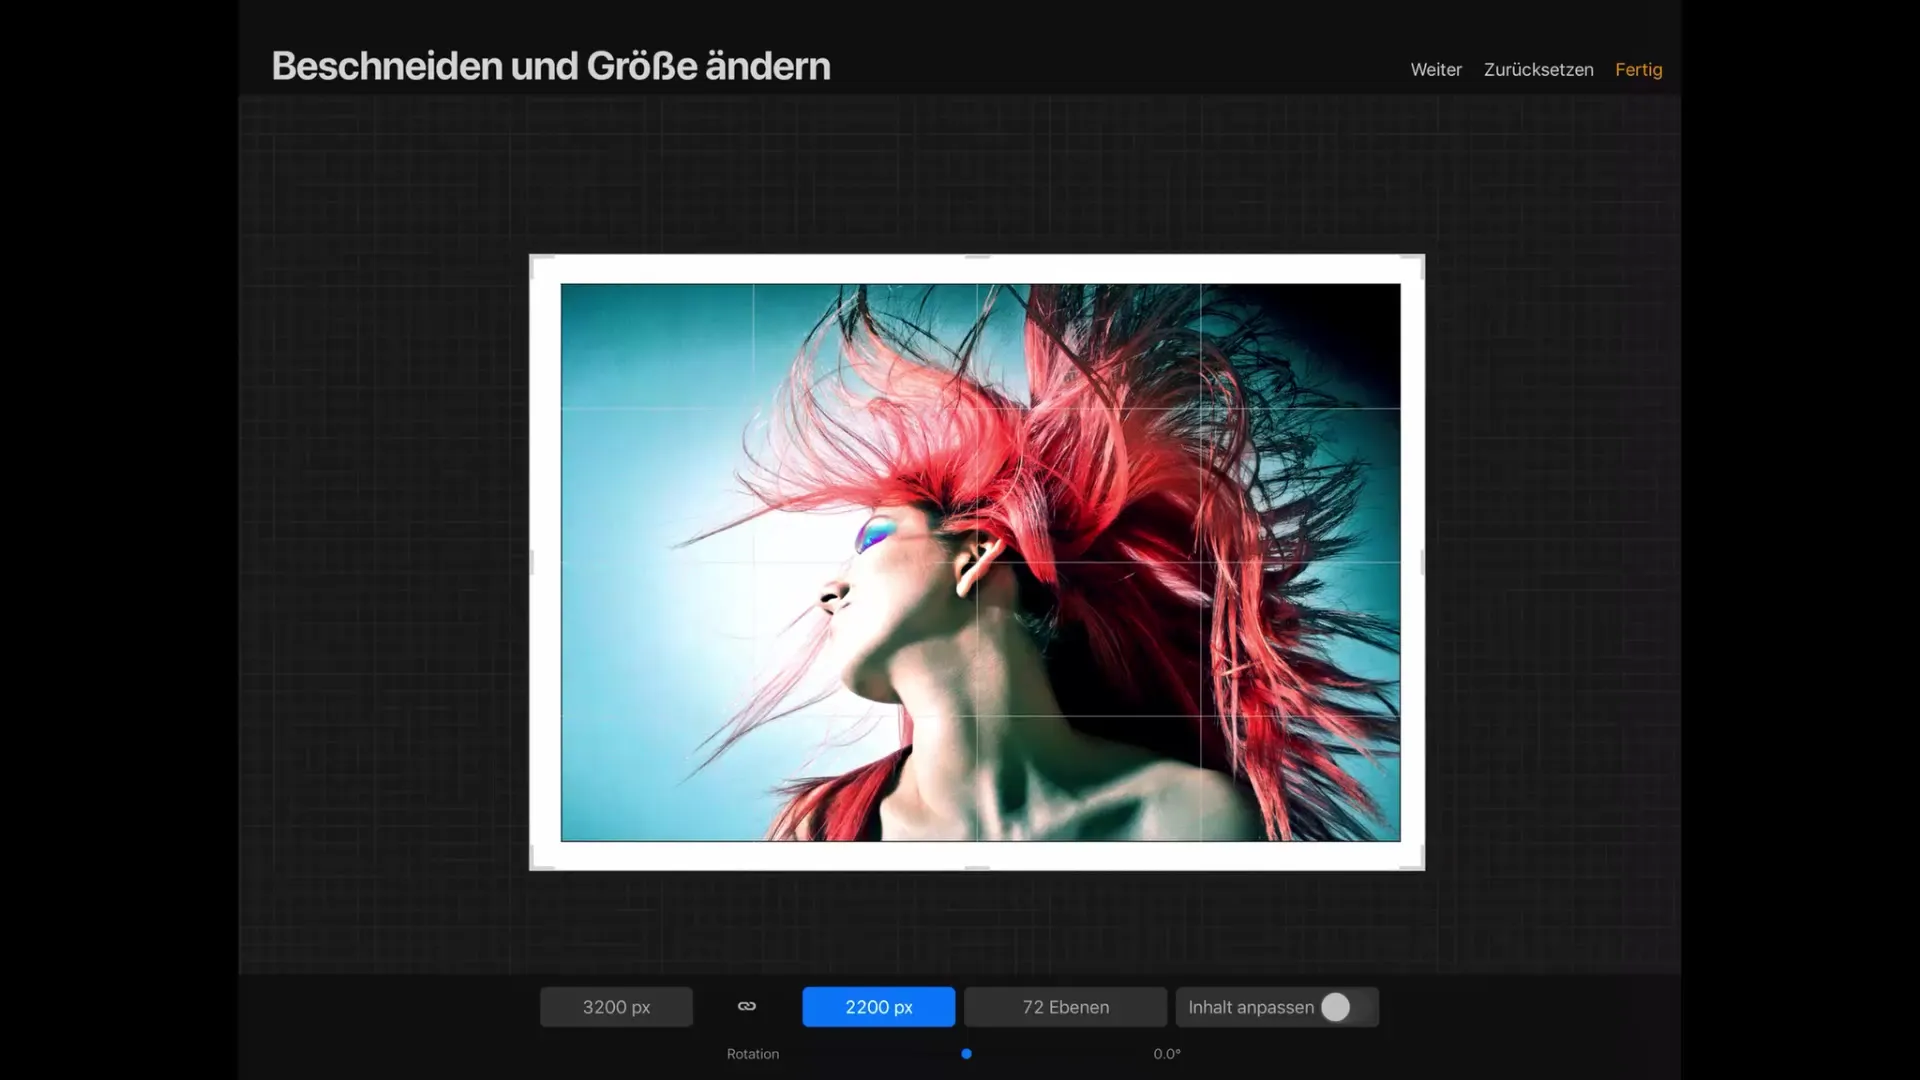
If you still do not see changes in the image, it is because the proportions of the image and the canvas are identical. You can move the canvas as needed to better position your image. Tap on the canvas and move it to adjust the position.
9. Image Rotation
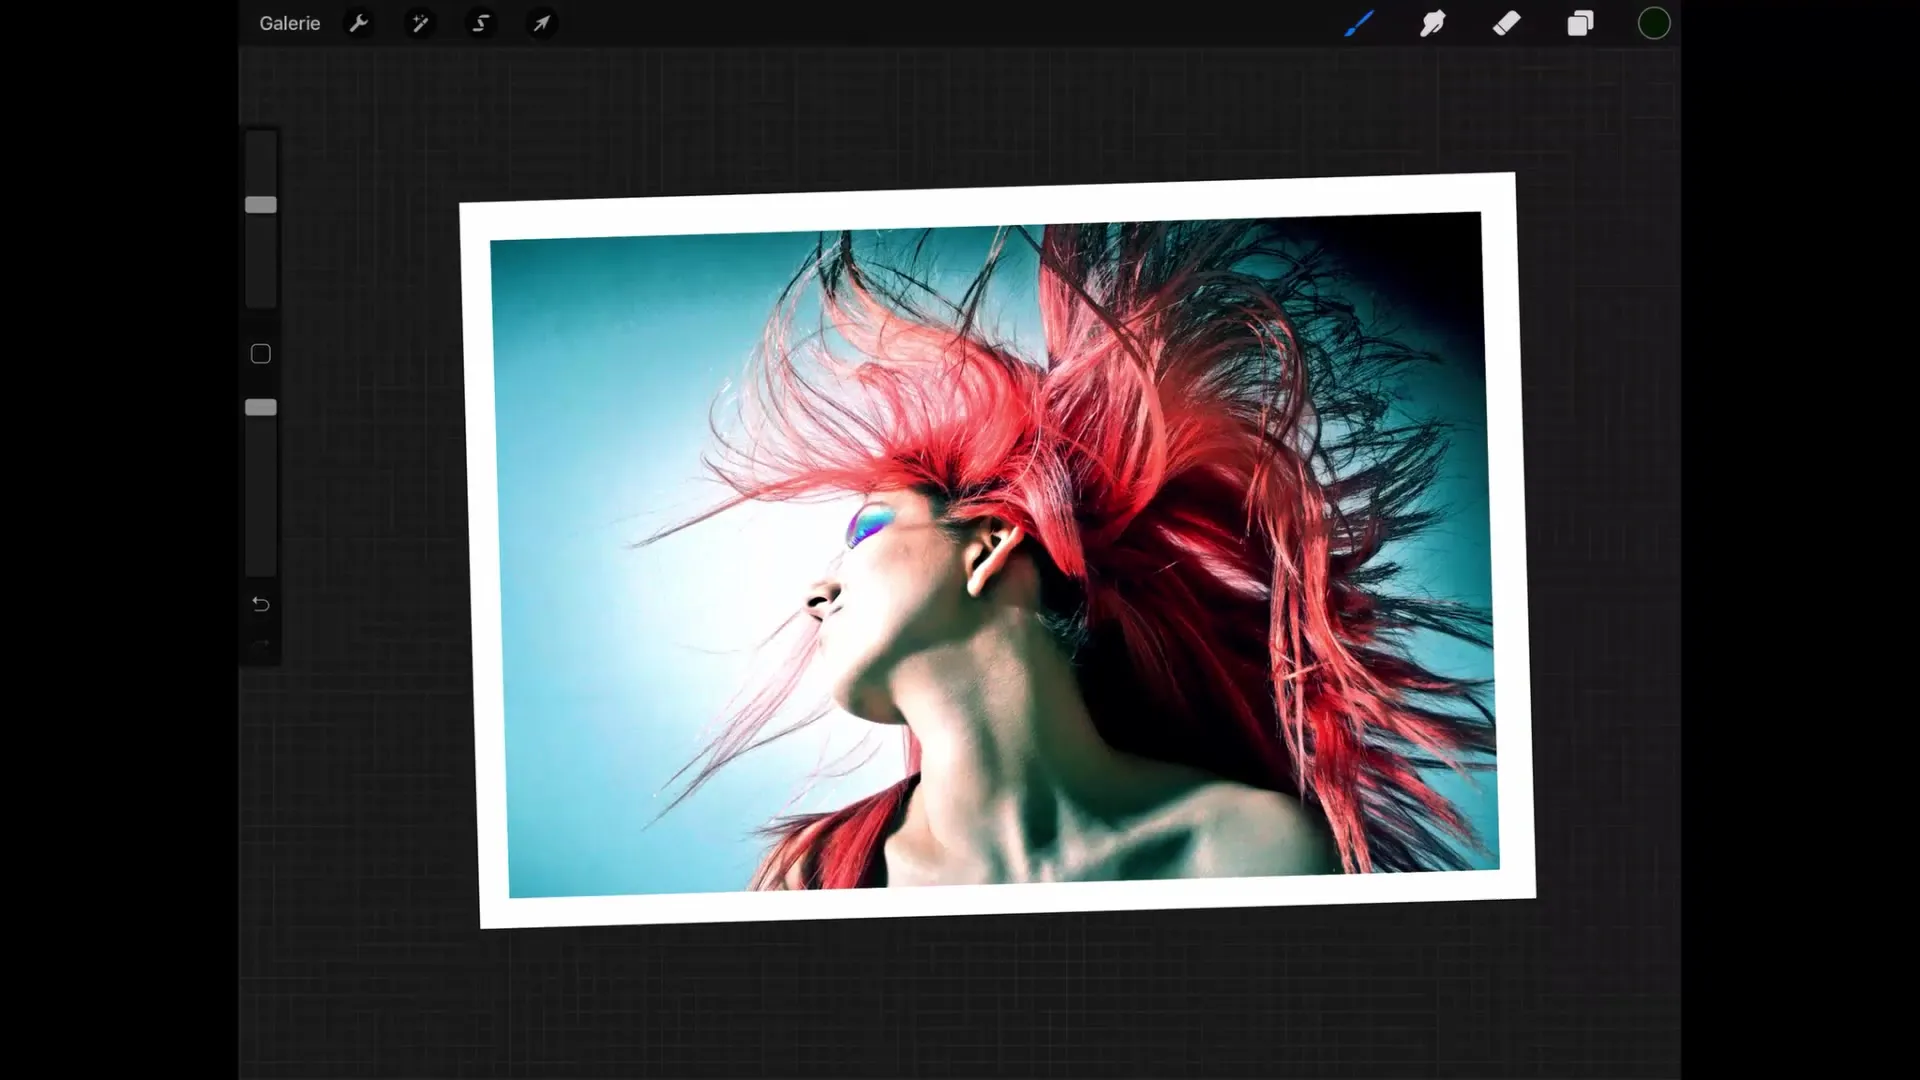
Another aspect you should consider in your work is image rotation. With the appropriate slider, you can turn the image as needed. This function is also self-explanatory and allows you to utilize the canvas optimally.
10. Give the Final Touches
If you want to change the size of the canvas, go back to the "Canvas" menu, select "Crop and Resize" and enter the desired dimensions. Tap "Done" to save your settings and continue working right away.
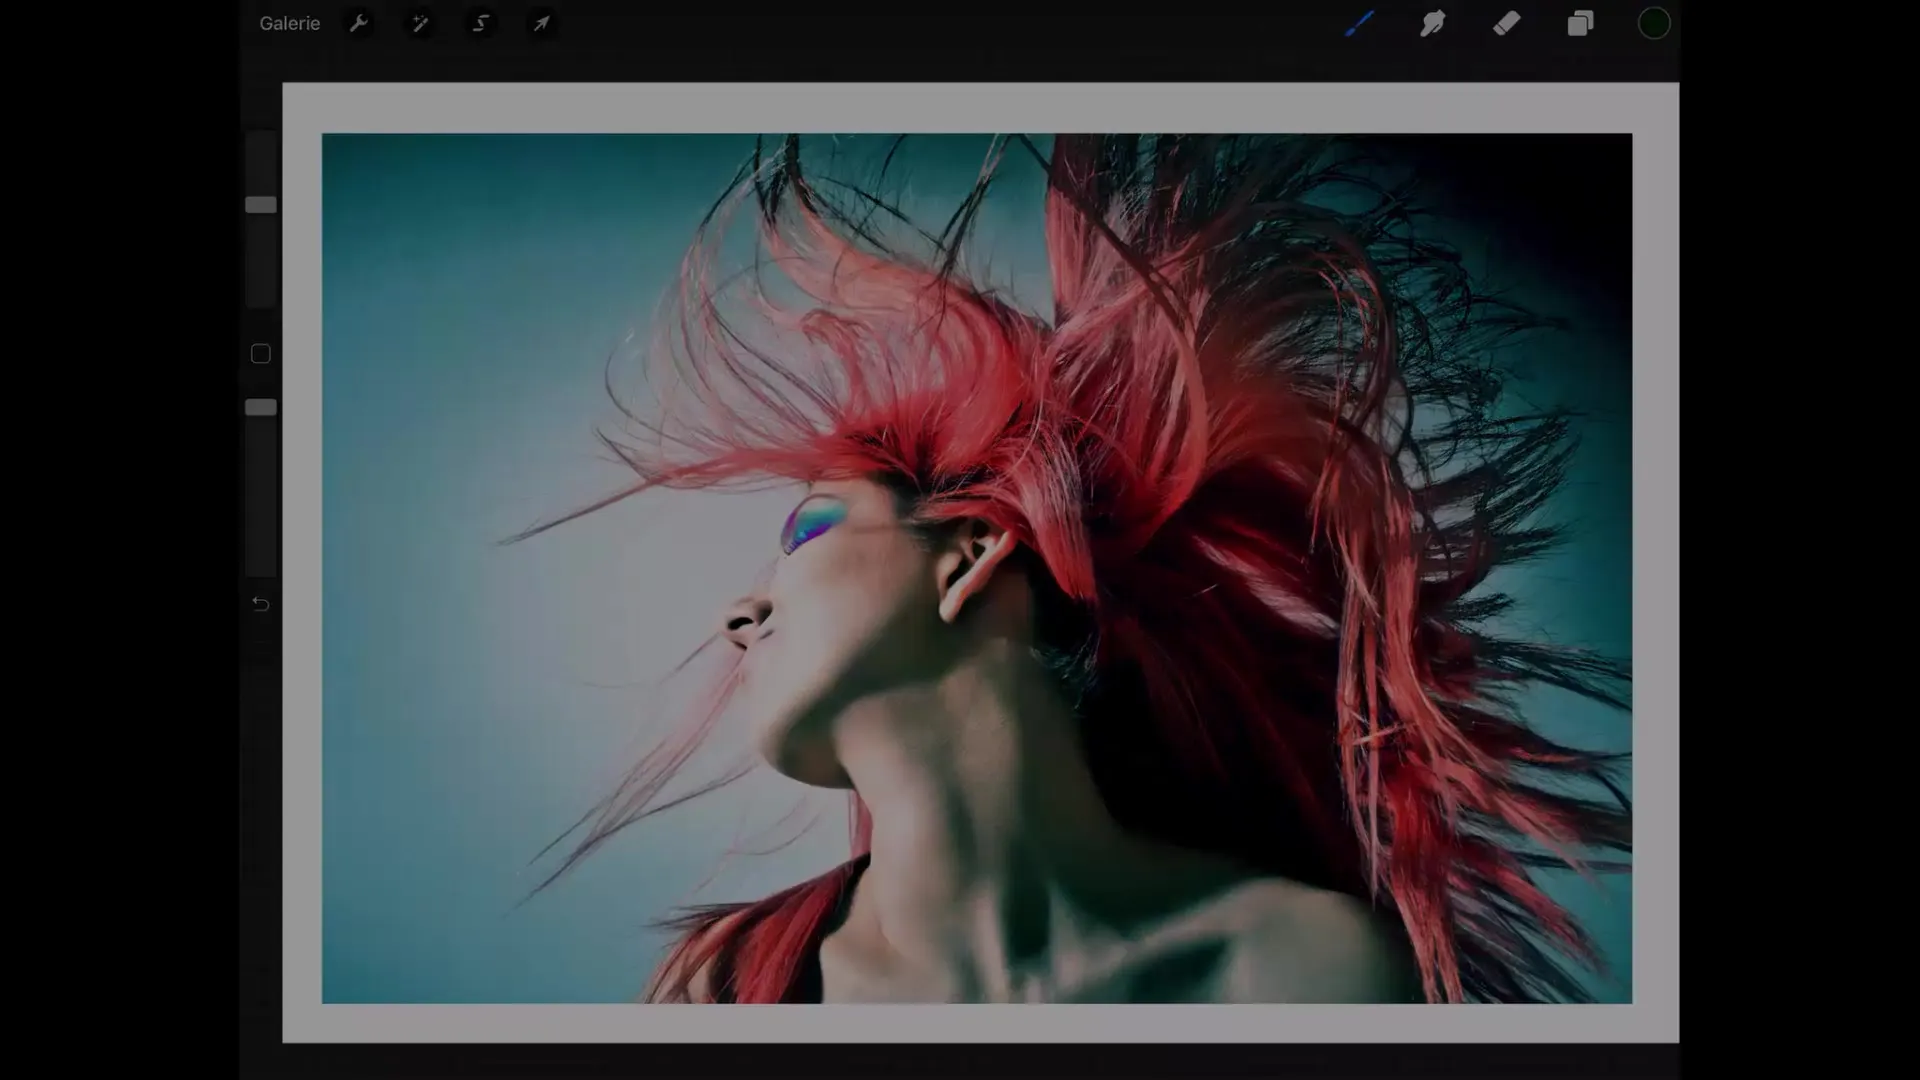
Summary – Procreate Tutorial: User Interface Made Easy
In this tutorial, you have learned how to effectively utilize the basic functions of Procreate. From creating a new canvas to adjusting the size to image editing options, this introduction will help you navigate the user interface of Procreate more easily.
FAQ
How can I change the canvas size in Procreate?You can change the canvas size by tapping the wrench icon and selecting "Canvas".
How do you zoom in or out in Procreate?Tap with two fingers on the canvas and either spread your fingers apart or bring them together to zoom.
What happens if I enter too large pixel values?If the pixel values are too large, Procreate may not allow you to save these settings as the maximum number of layers will be exceeded.
How can I rotate the image in Procreate?You can rotate the image by tapping with two fingers on the canvas and performing a rotation motion.
Can I manually adjust the image size?Yes, to manually adjust the image size, use the "Adjust Content" option in the canvas menu.


