Procreateis a powerful tool for digital drawing that offers a variety of features for both beginners and experienced artists. One of the central features in Procreate is the LayersMenu, which gives you the ability to create and control complex compositions. Below you'll find a detailed guide on how to effectively usethe Layers Menu to bring your creative ideas to life.
Key Insights The Layers Menu allows you to adjust the visibility of each layer, duplicate or delete layers, enable Alpha Lock, and use many other useful features. You can also group layers and use special blend modes for creative effects.
Step-by-Step Guide
Opening the Layers Menu
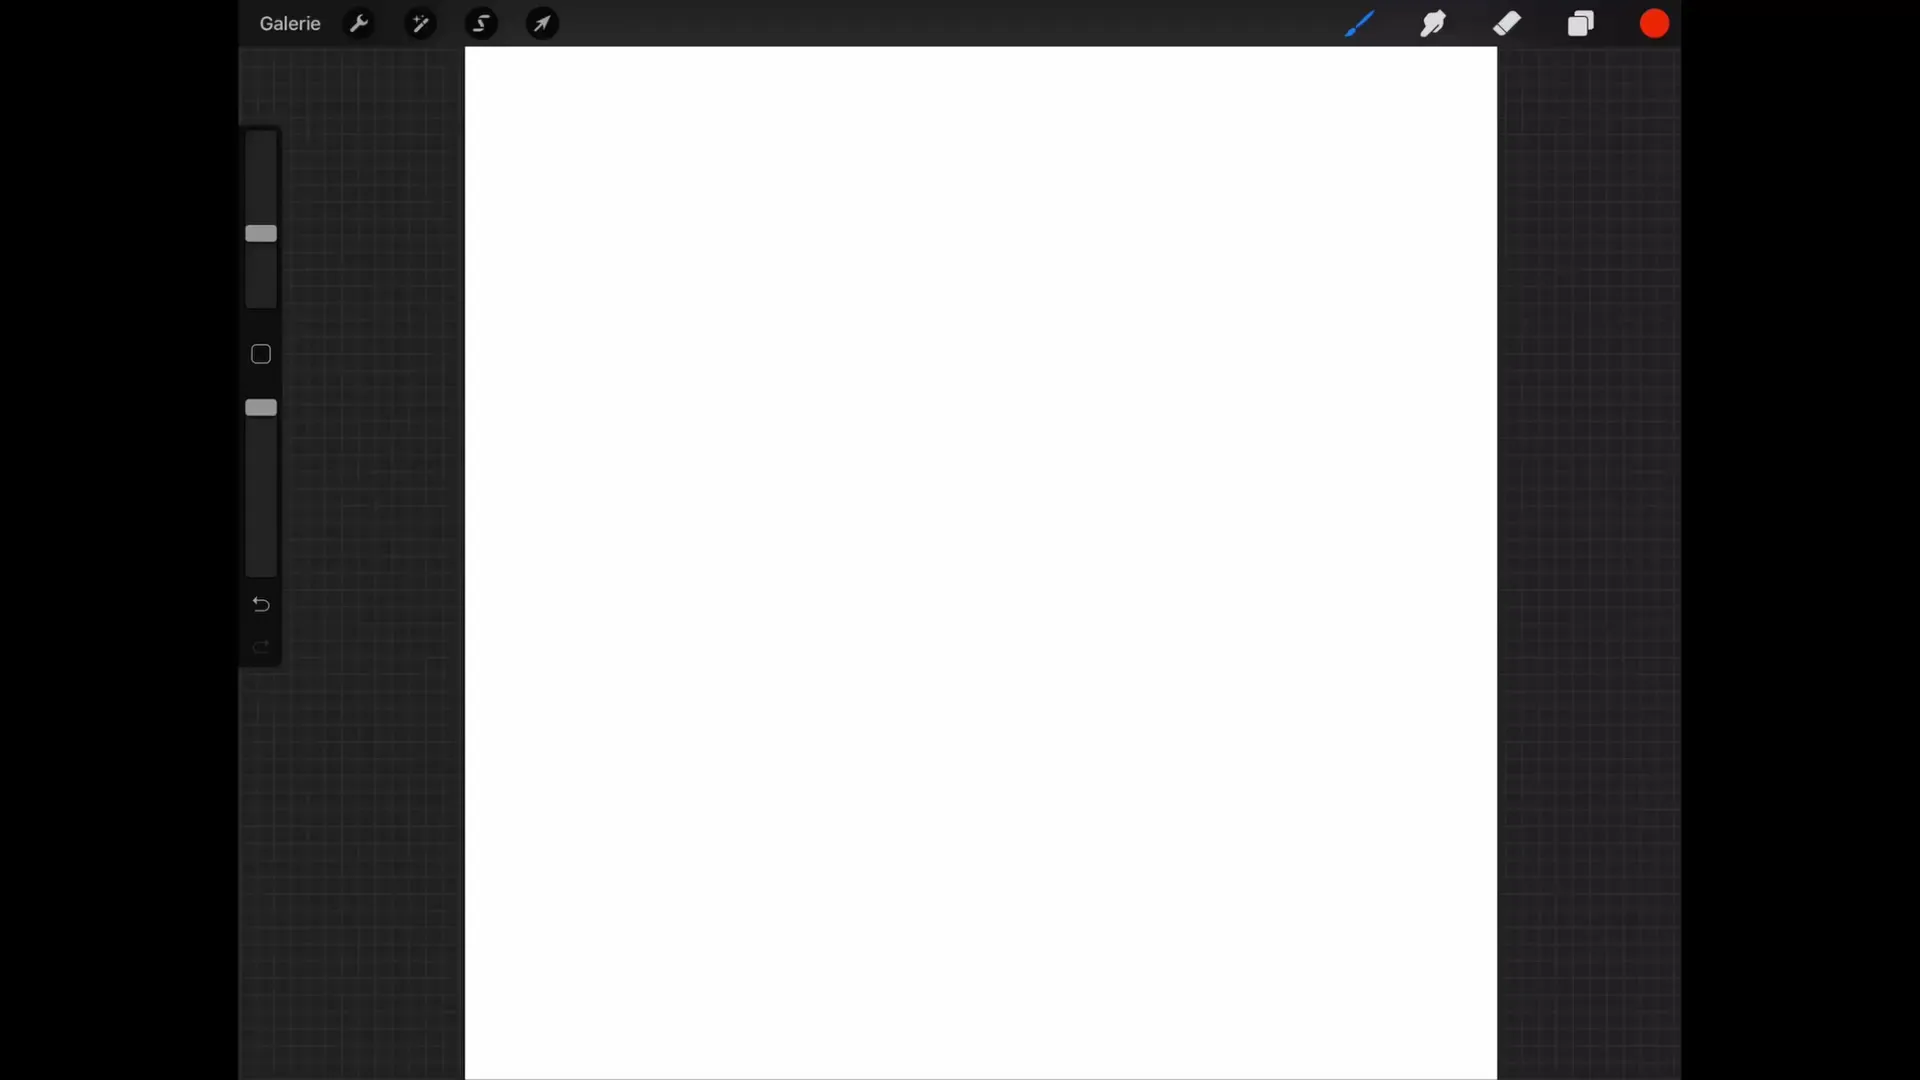
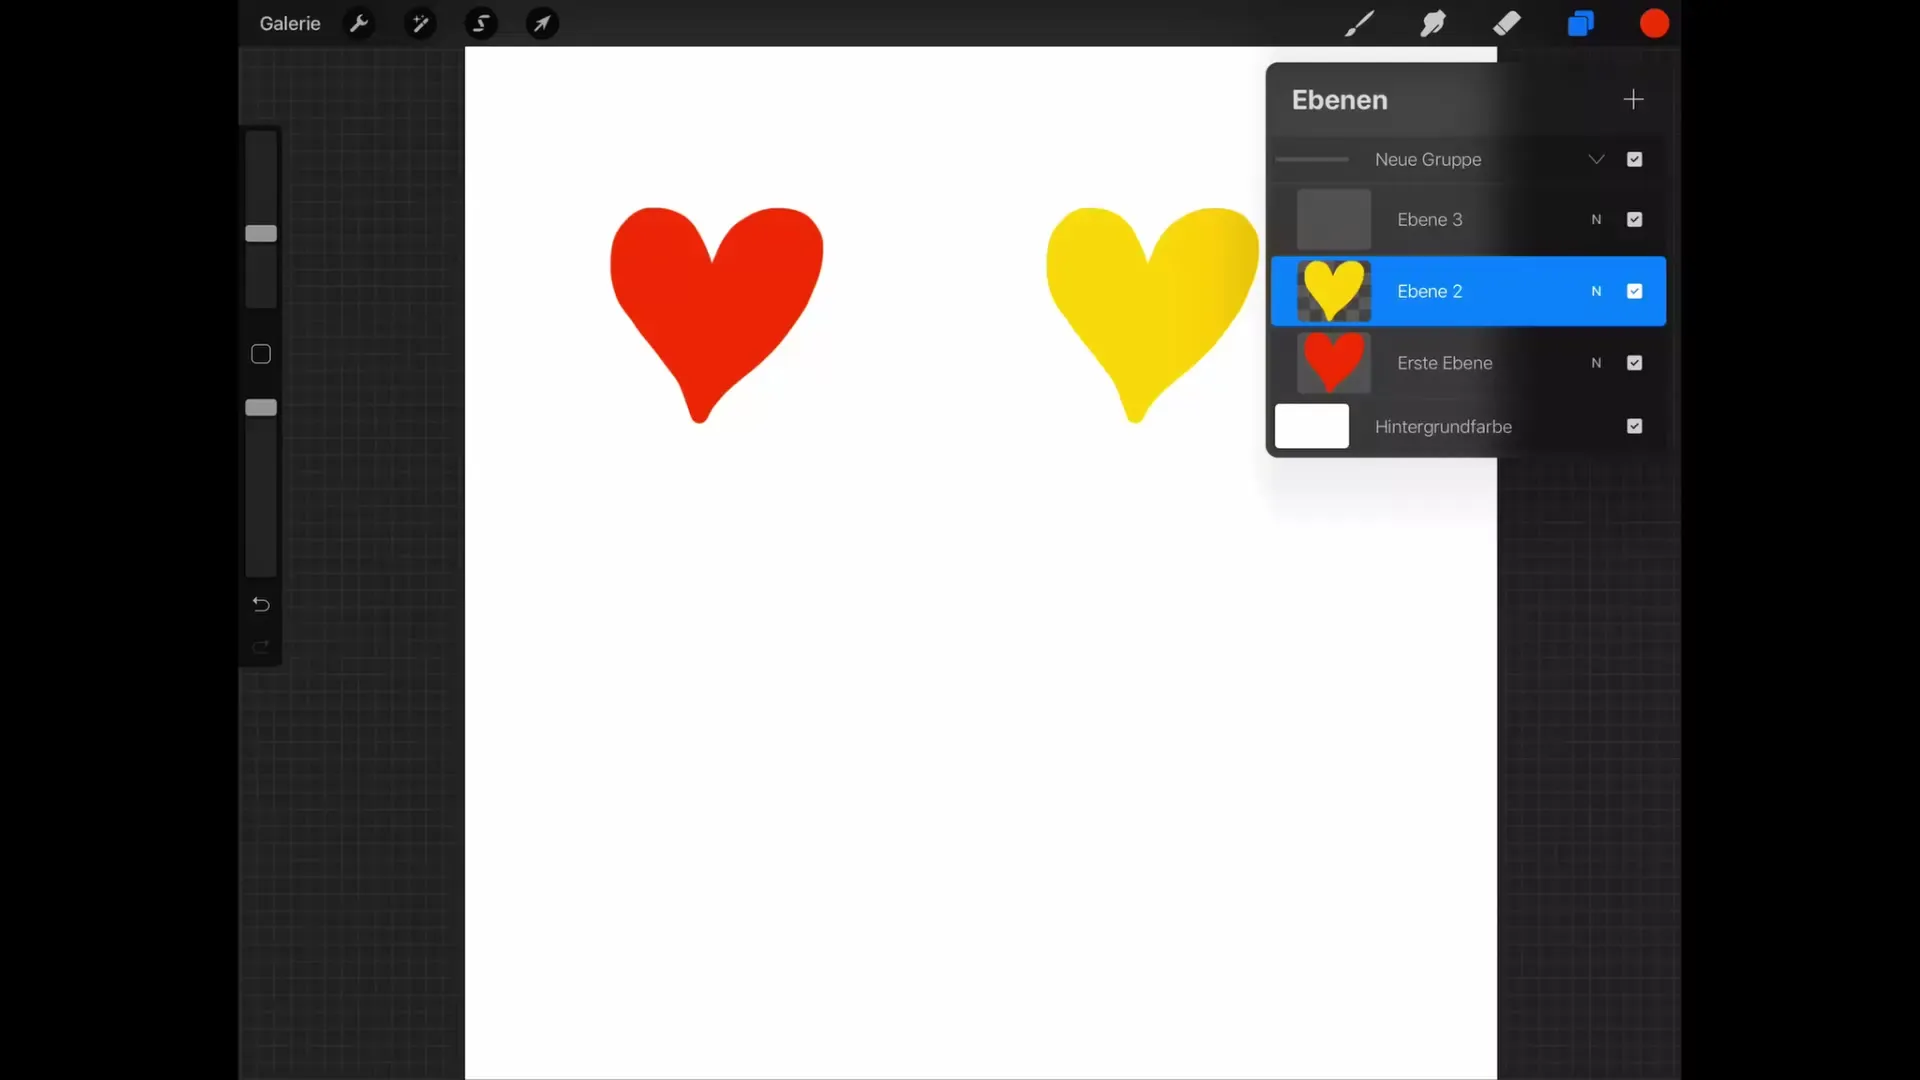
First of all, you need to find the Layers Menu. You can find it at the top of the screen, represented by two overlapping small rectangles. Tap on it to open.
Adjusting the Background Layer
In your new image, there is already a background layer that you can fill with a specific color. You can change the background color or hide the layer if you need a graphic with a transparent background. Hiding it is essential before exporting the image.
Renaming Layers
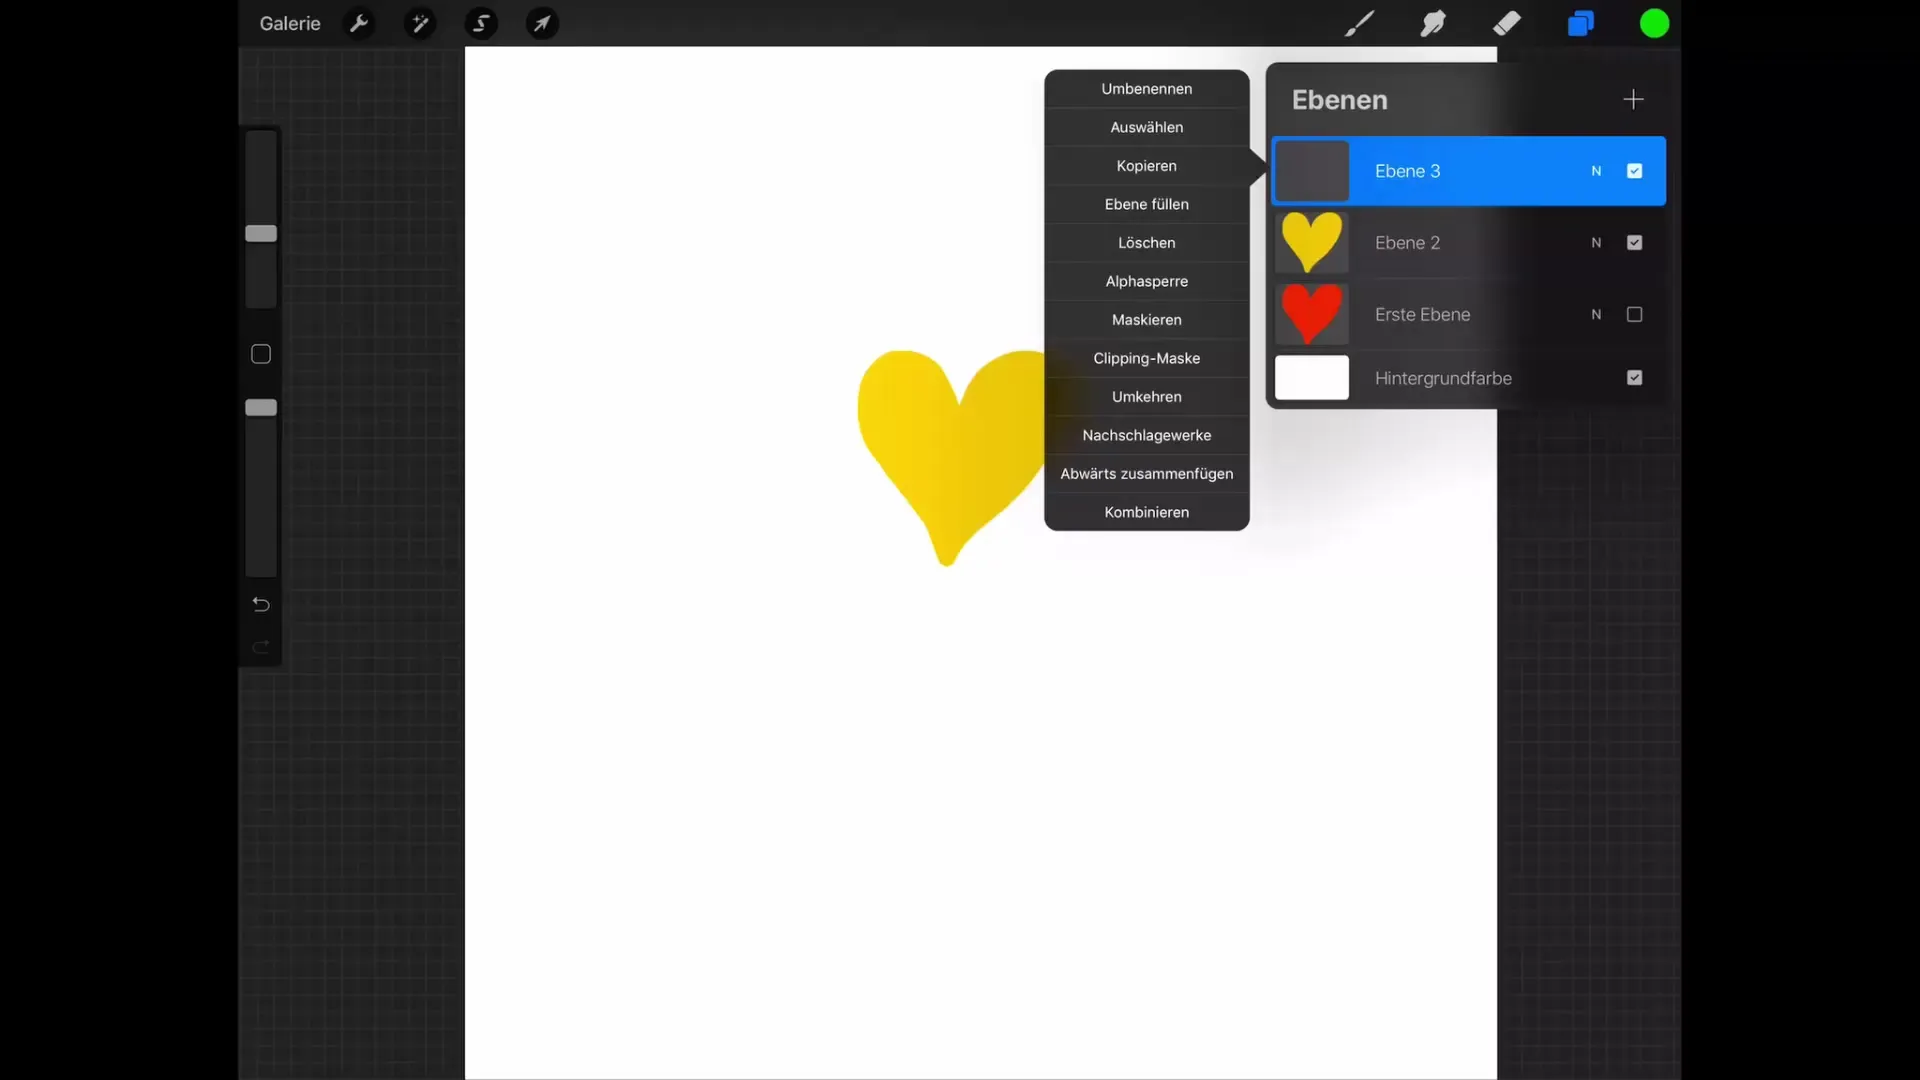
To improve clarity, it’s important to name your layers. Simply tap on the layer you want to rename, and the Layers Menu will open. There you will find the option "Rename" at the top, where you can enter a new name.
Duplicating and Deleting Layers
If you want to duplicate a layer, you can swipe left and tap on "Duplicate." This way, you have an exact copy of the layer. You can also delete or lock a layer. When you lock a layer, you cannot paint or change it anymore. If you still want to try something, Procreate will offer you the option to unlock the layers to make changes.
Selecting Content on a Layer
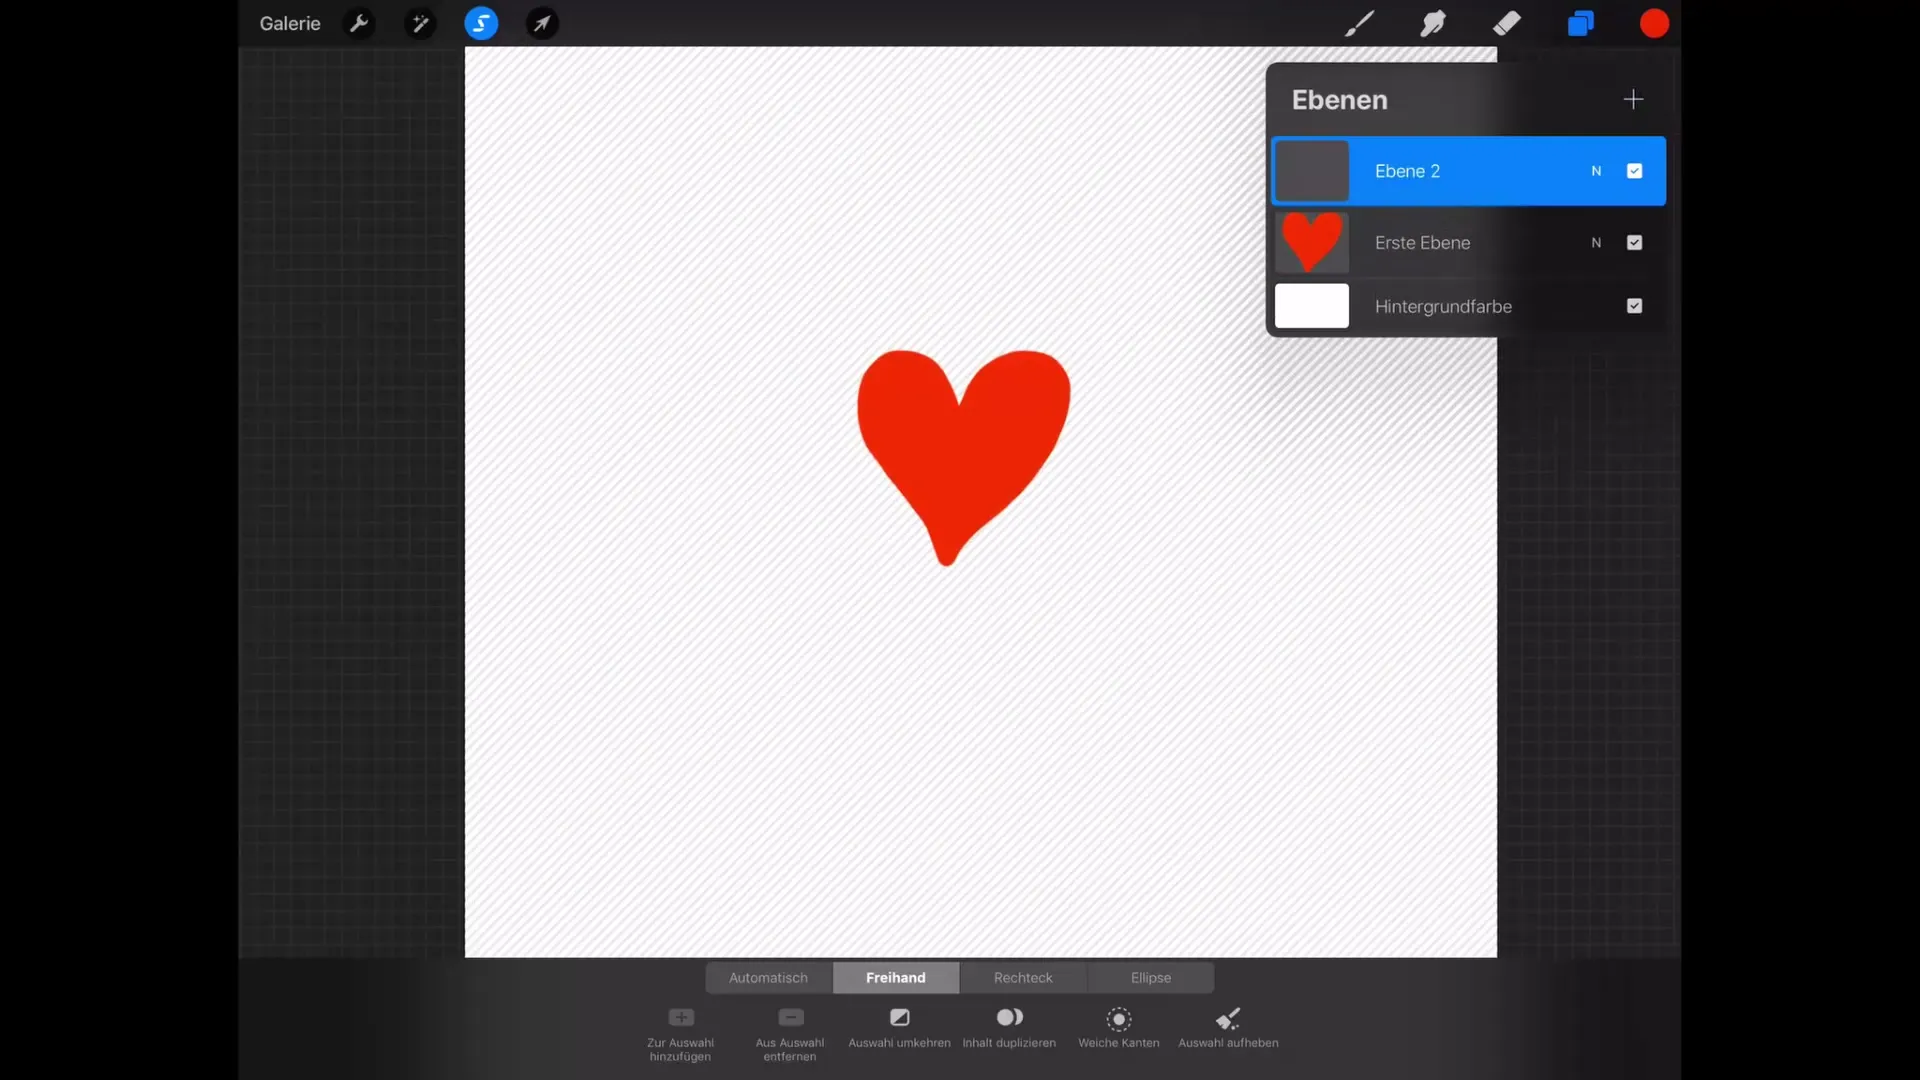
A useful feature is the selection, which allows you to highlight everything on the current layer. For instance, if you want to make a selection, tap on "Select," and everything on the layer will be highlighted. This means you can only edit the highlighted area.
Filling Colors
When you create a new layer by tapping on the plus symbol at the top and hiding your current heart, you can fill the selected shape with a color. Alternatively, you can also use the "Fill Layer" function to fill the entire layer if no selection has been made.
Using Alpha Lock
Alpha Lock is a particularly useful feature when you want to change content without affecting the transparent pixels. For example, when you add a color and enable Alpha Lock, you can only paint on the already existing pixels. You can activate this feature in the Layers Menu or by swiping right.
Grouping Layers
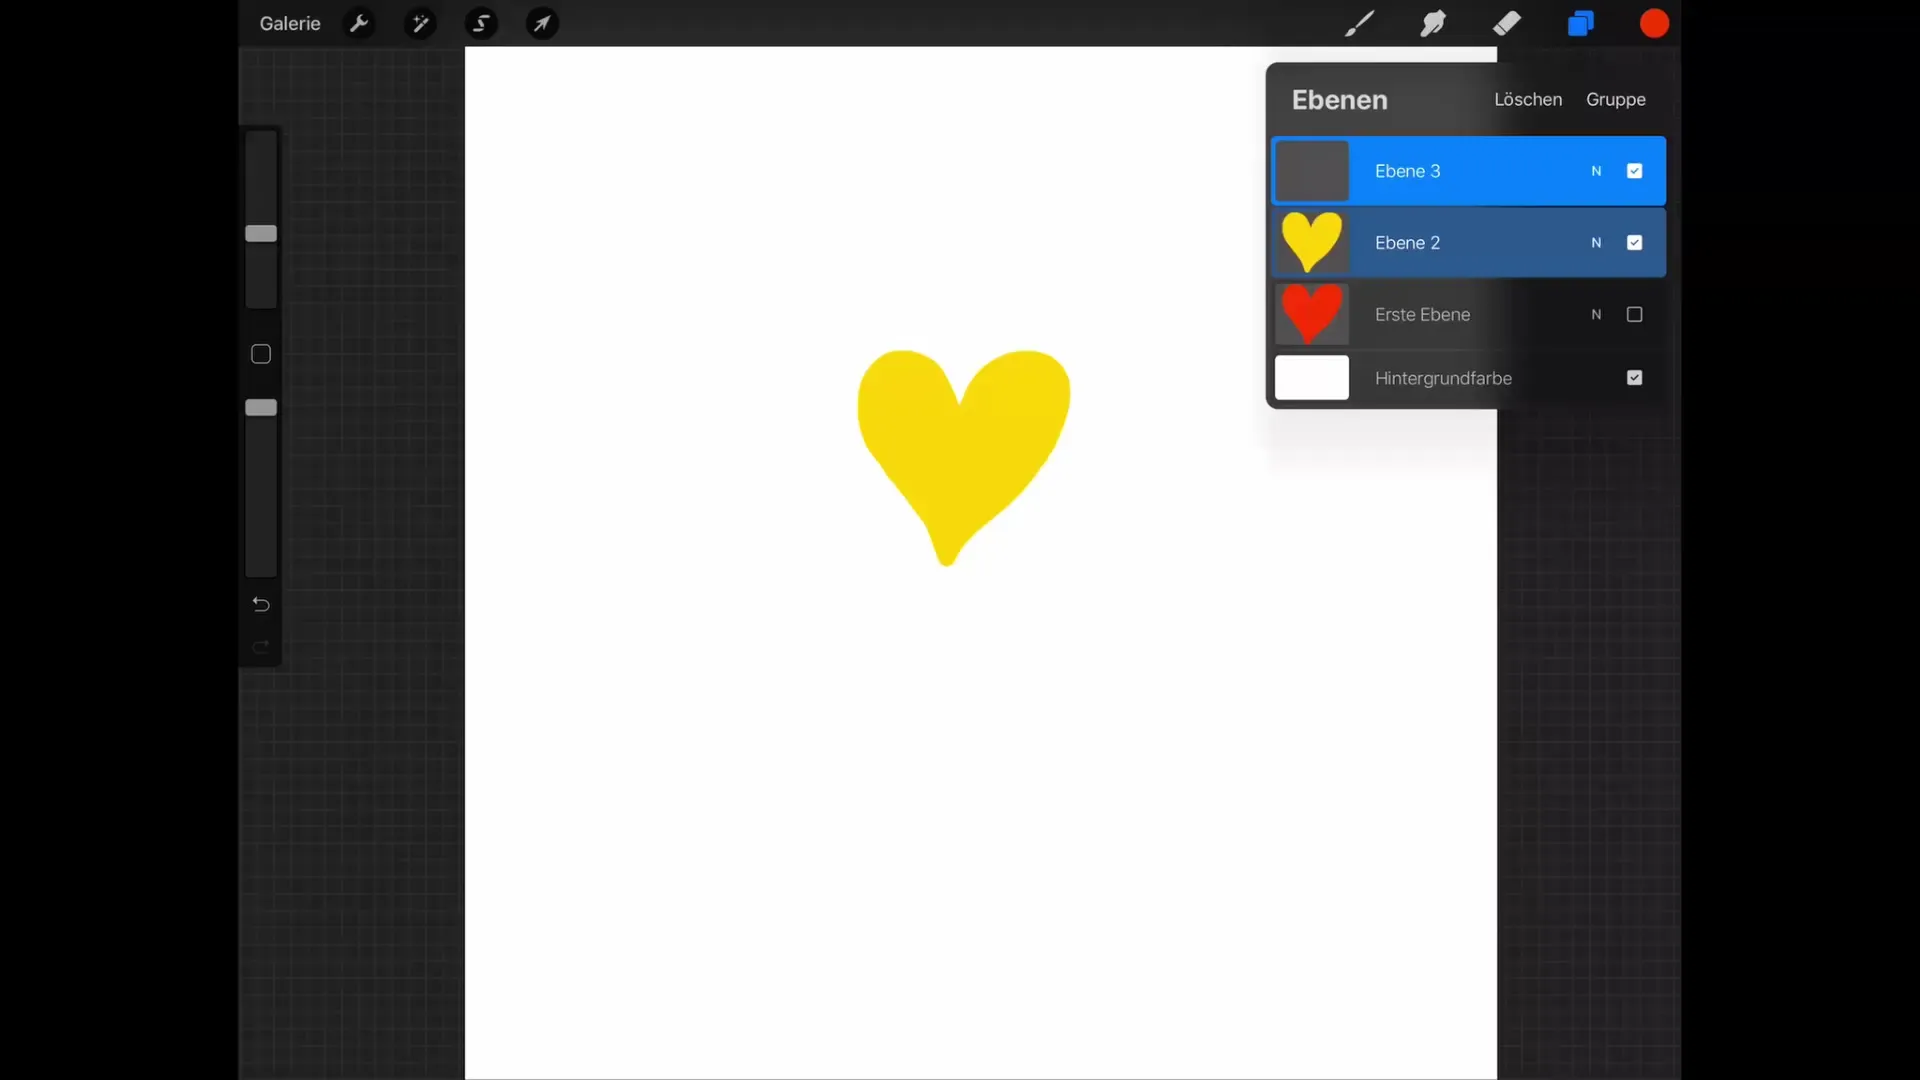
Grouping layers is an efficient way to simplify the management of your artwork. Swipe right to select multiple layers, and then tap on "Group" to create a new group containing all selected layers. This makes it easier to edit several layers at once.
Merging Layers
If you want to connect graphics, you can merge layers in two ways. One way is to select "Merge Down" in the Layers Menu. You can also use two fingers to pinch layers together. If you do this, the result will appear as a new layer.
Summary – Procreate Tutorial: Basics of Digital Drawing on the iPad
In the Procreate Layers Menu, you have complete control over your layers. From adjusting visibility to grouping or merging layers – the features provide you with the flexibility you need to work creatively. Use these tools to optimally shape your digital artwork.
FAQ
What is Alpha Lock and how does it work?Alpha Lock allows you to paint only on already existing pixels without altering the transparent areas.
How can I duplicate layers?You can duplicate a layer by swiping left and tapping "Duplicate."
How can I select multiple layers at once?Swipe right on the desired layers and then tap "Group" to merge them.
How do I hide a layer?Tap the checkbox next to the layer in the Layers Menu to hide it.
Can I merge layers?Yes, you can merge layers by selecting "Merge Down" in the Layers Menu or by pinching layers together with two fingers.
