Digital drawing on the iPadoffers a variety of options for color adjustment and manipulation. With Procreate, you can not only change the colors of your entire image, but also modulate specific color channels to achieve the desired visual effect. In this tutorial, you will learn how to use different tool options in Procreate to optimally manipulate your colors.
Main insights
- Use the main tools like hue, saturation, and brightness to make basic color changes.
- Experiment with the color balloons for more precise adjustments of individual color channels.
- Understand the functions of the curves to specifically influence shadows, midtones, and highlights.
Adjusting Hue, Saturation, and Brightness
To manipulate all colors in your image at once, go to the wand tool at the bottom of the app. There you will find the option “Hue, Saturation, and Brightness.” When you move the hue slider, you change all colors according to the specified scale. Depending on the position of the slider, you can create creative effects and completely redesign your image.
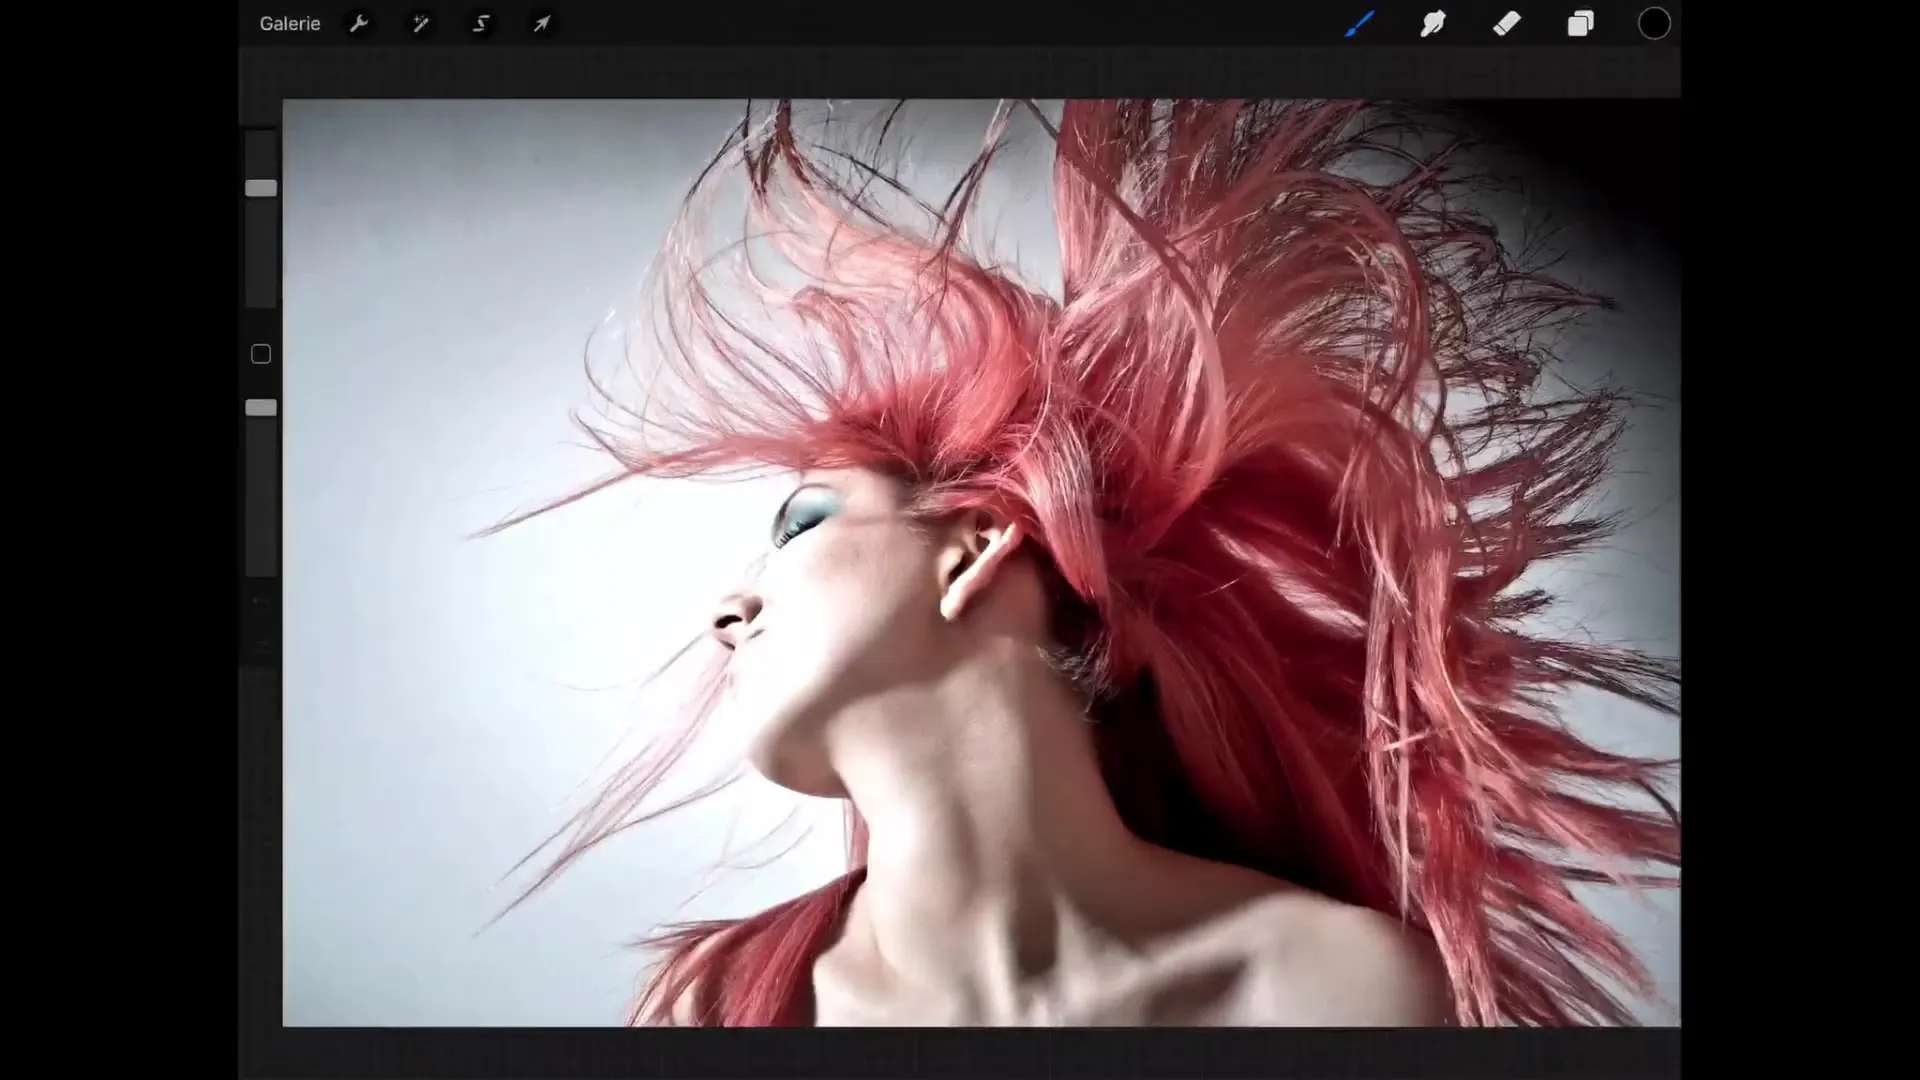
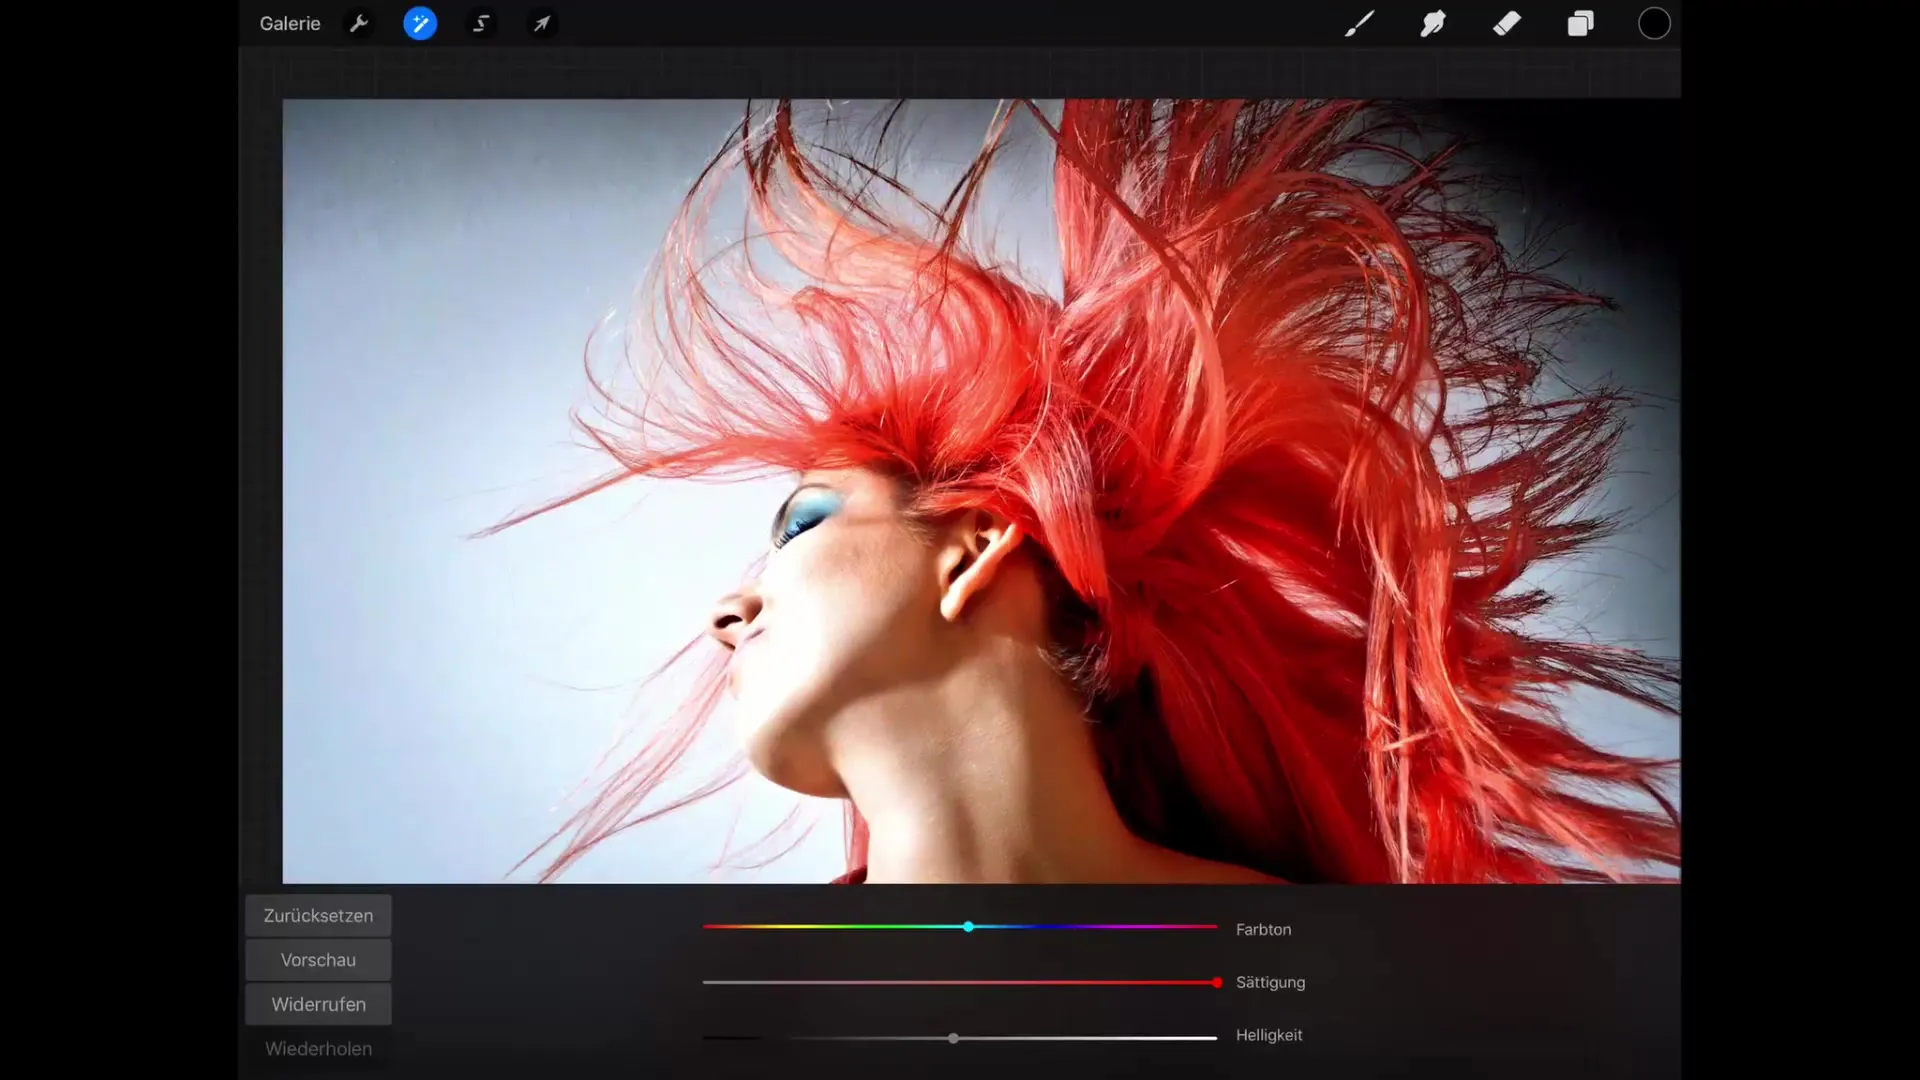
You can also adjust the saturation. Increasing the saturation intensifies the colors, and gray tones disappear. With the help of brightness, you can brighten or darken your image simply by adjusting the corresponding slider.
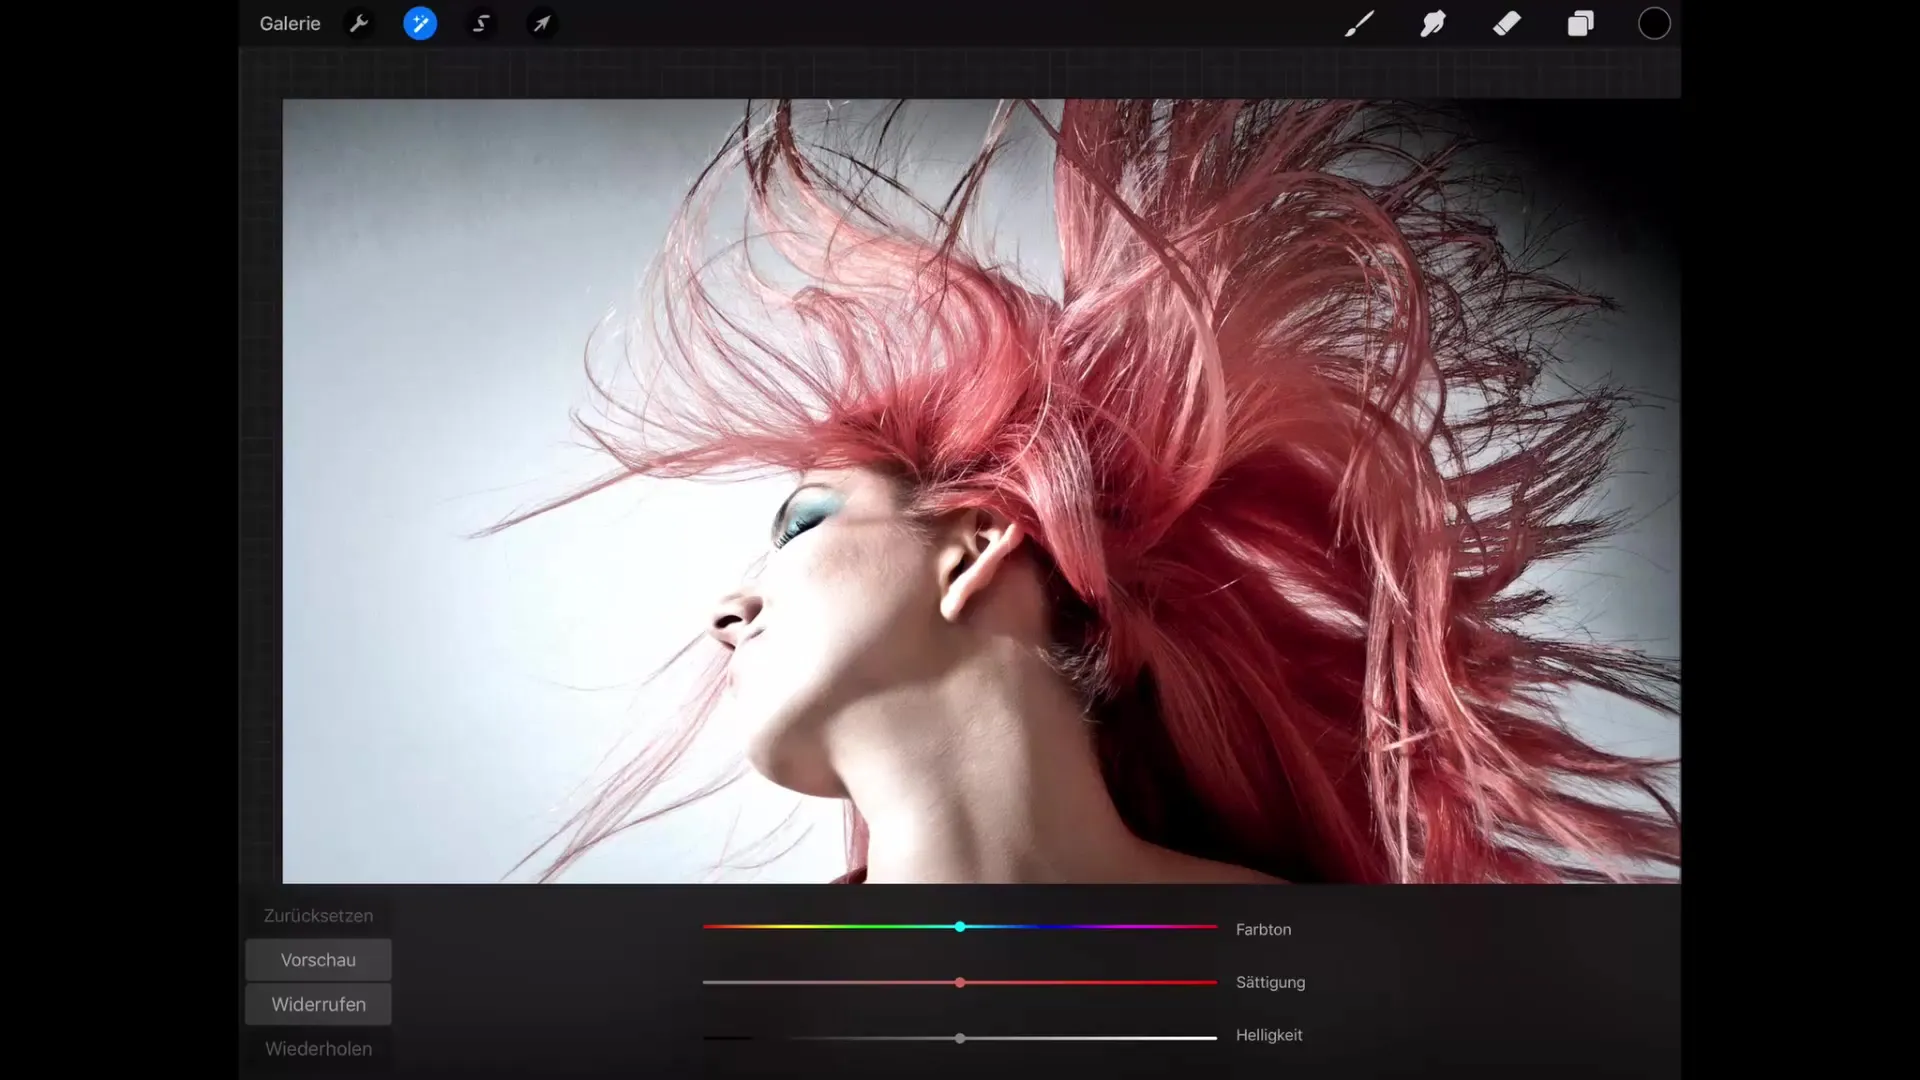
A practical feature here is the ability to reset effects or preview changes. With the “Reset” button, you can return to your original image, while “Preview” shows you how the image looked before the changes.
Using Color Balloons
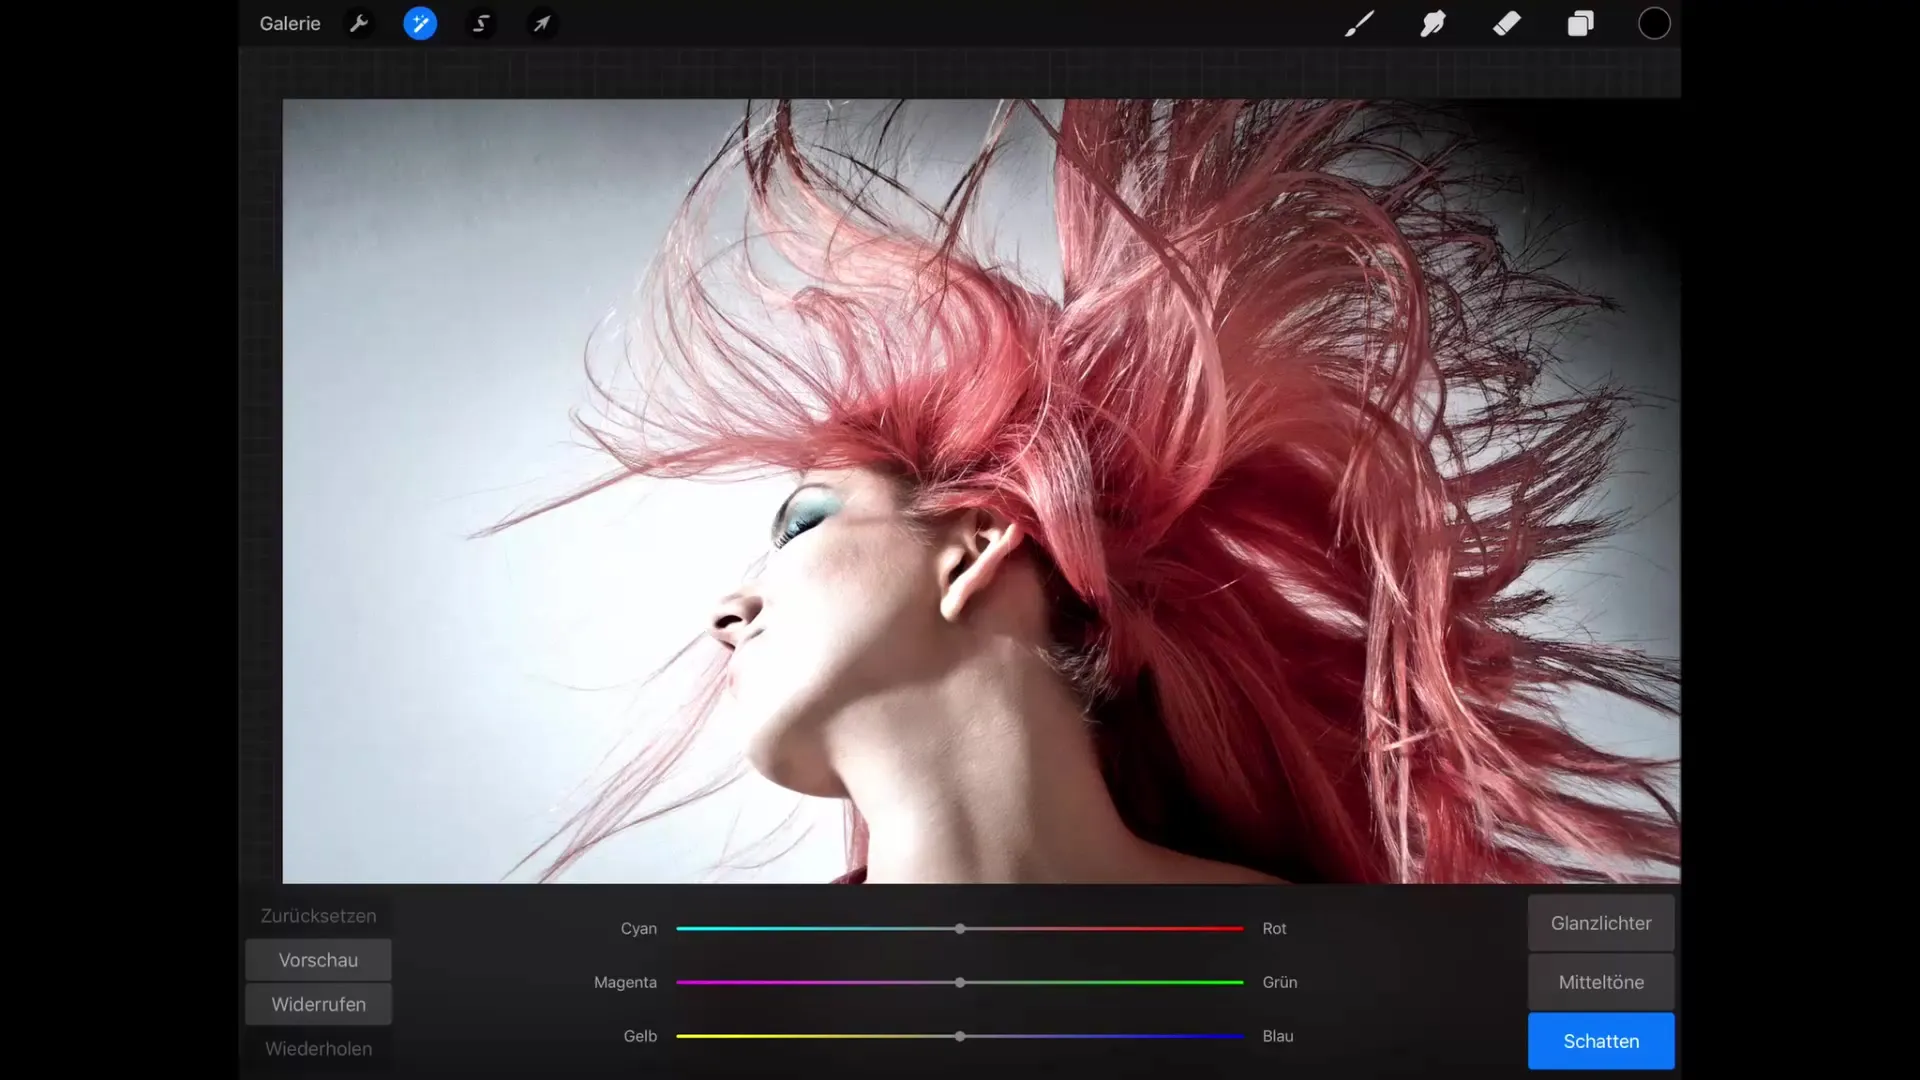
In the next step, we will look at the color balloons. They provide a detailed representation of the color channels and allow you to specifically control the individual colors. For example, if you pull the slider towards cyan, the corresponding values are increased, while red is decreased.
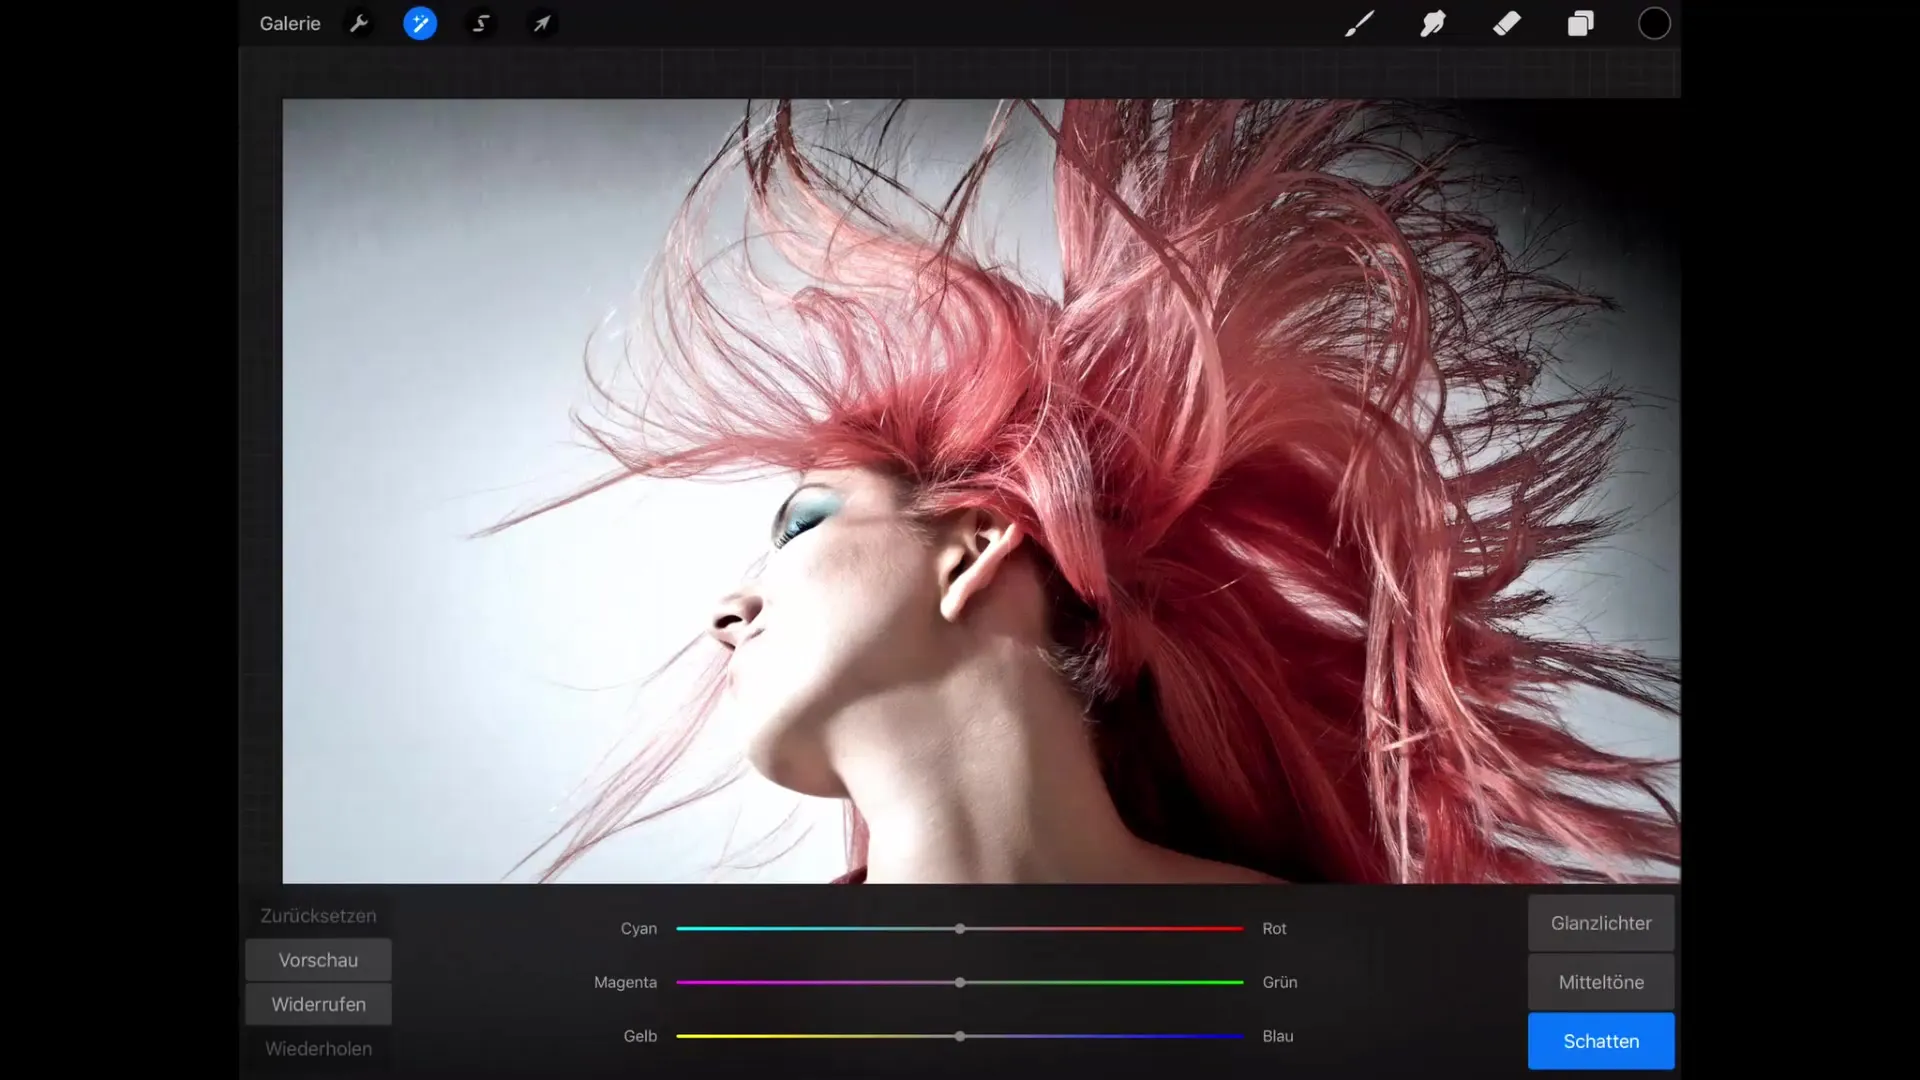
Pay attention to the selection of highlights, midtones, or shadows. This selection affects which areas of the image are affected by your adjustments. For example, if you want to remove red tones from the shadows, pull the slider towards greenish tones and observe how the changes influence the hue of the shadows.
Using Curves
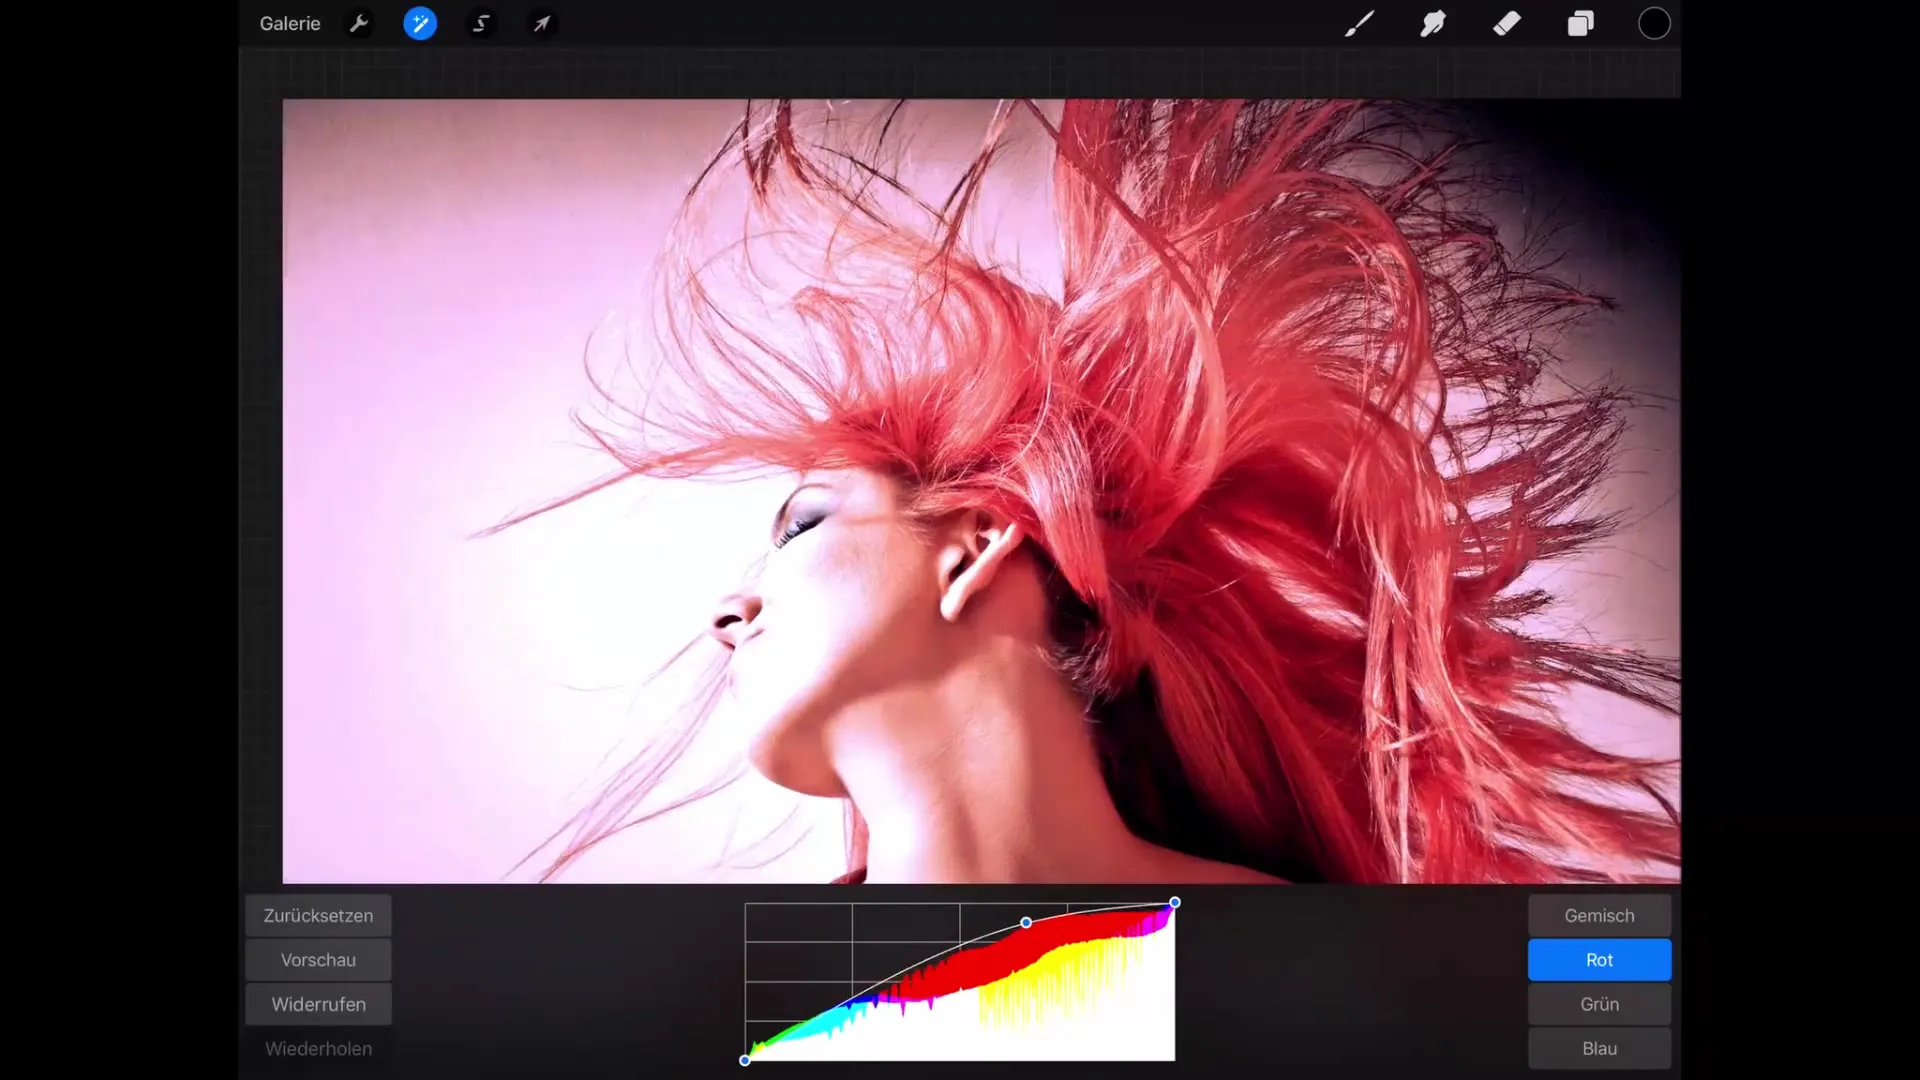
The curves offer an advanced way to manipulate colorsand are one of the more advanced options in Procreate. Break down the values into dark areas, midtones, and light areas and imagine these arranged on the X-axis from left to right.
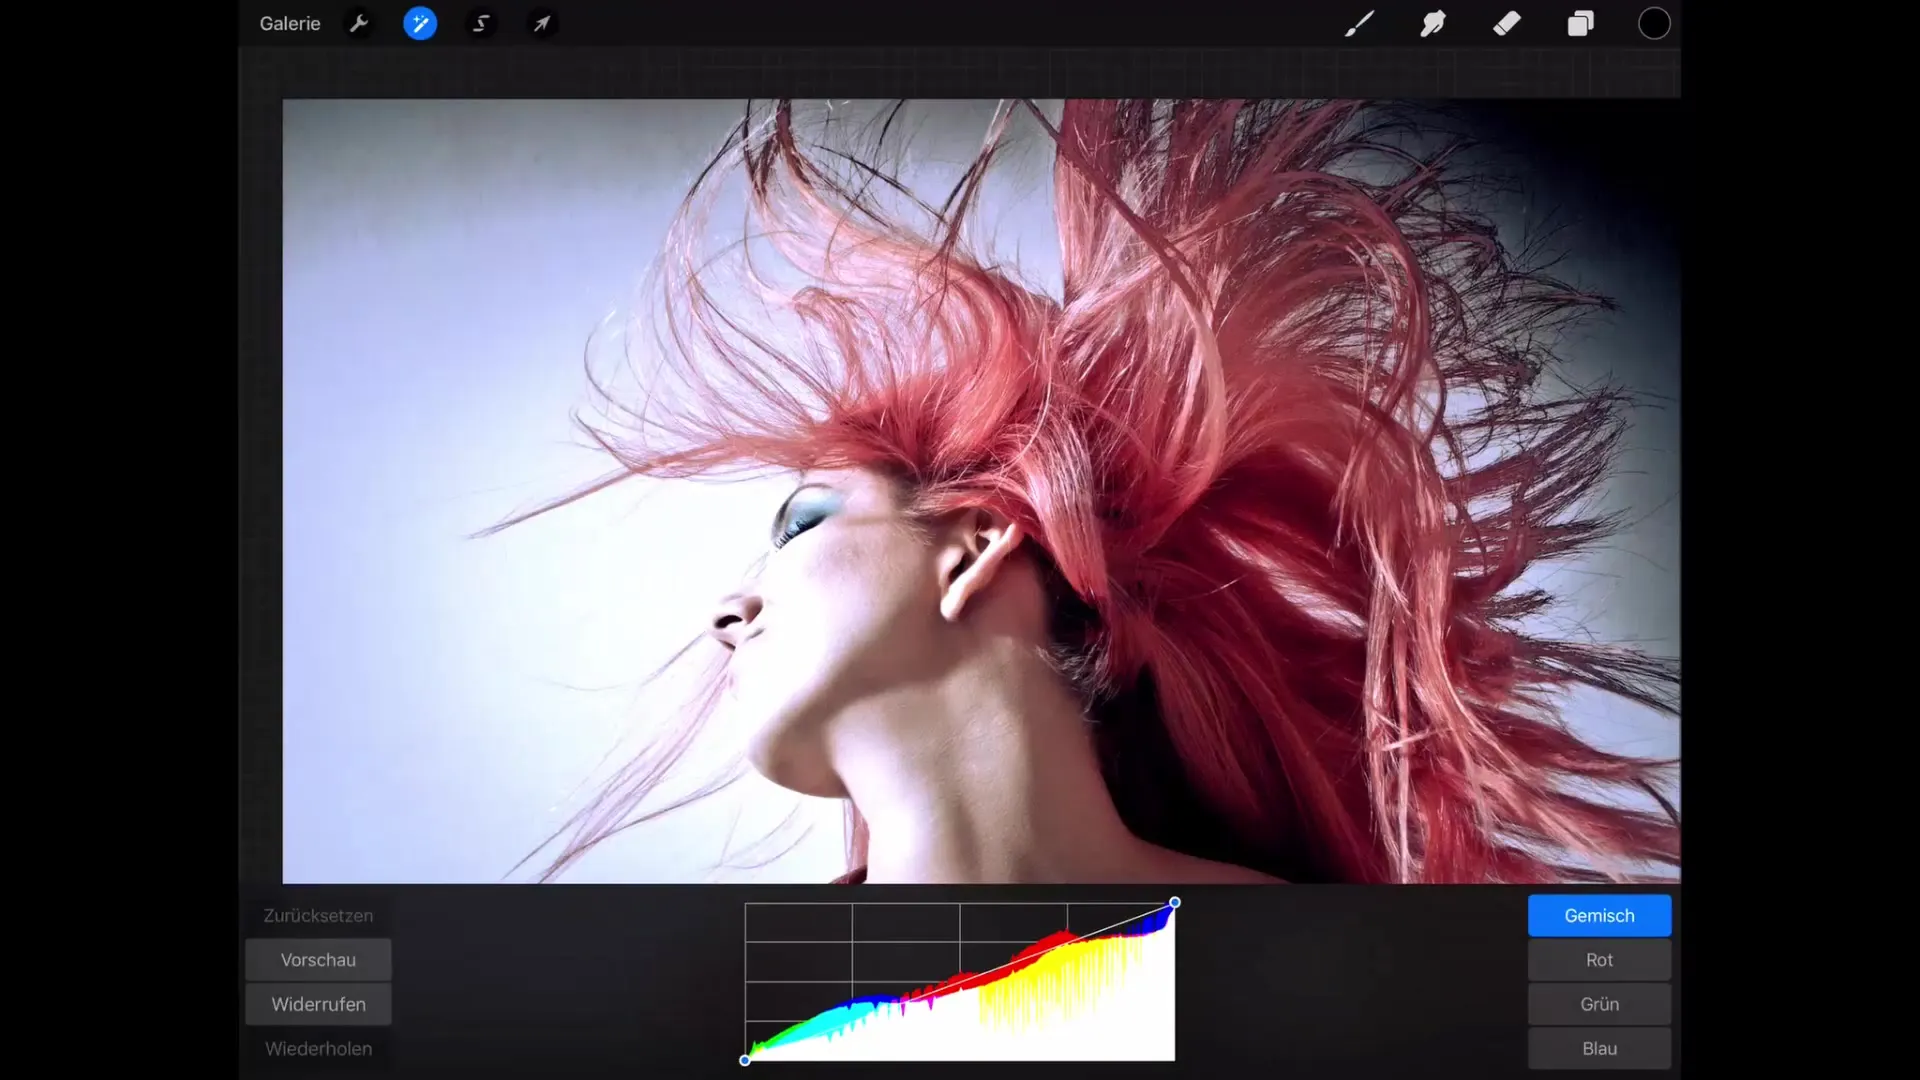
In the menu, you can choose between the color channels (red, green, blue) or edit all three simultaneously. Moving a point on the curve down darkens the entire image. Conversely, raising a point brightens the image. By creating your own points, you can affect specific parts of the image while leaving others unchanged.
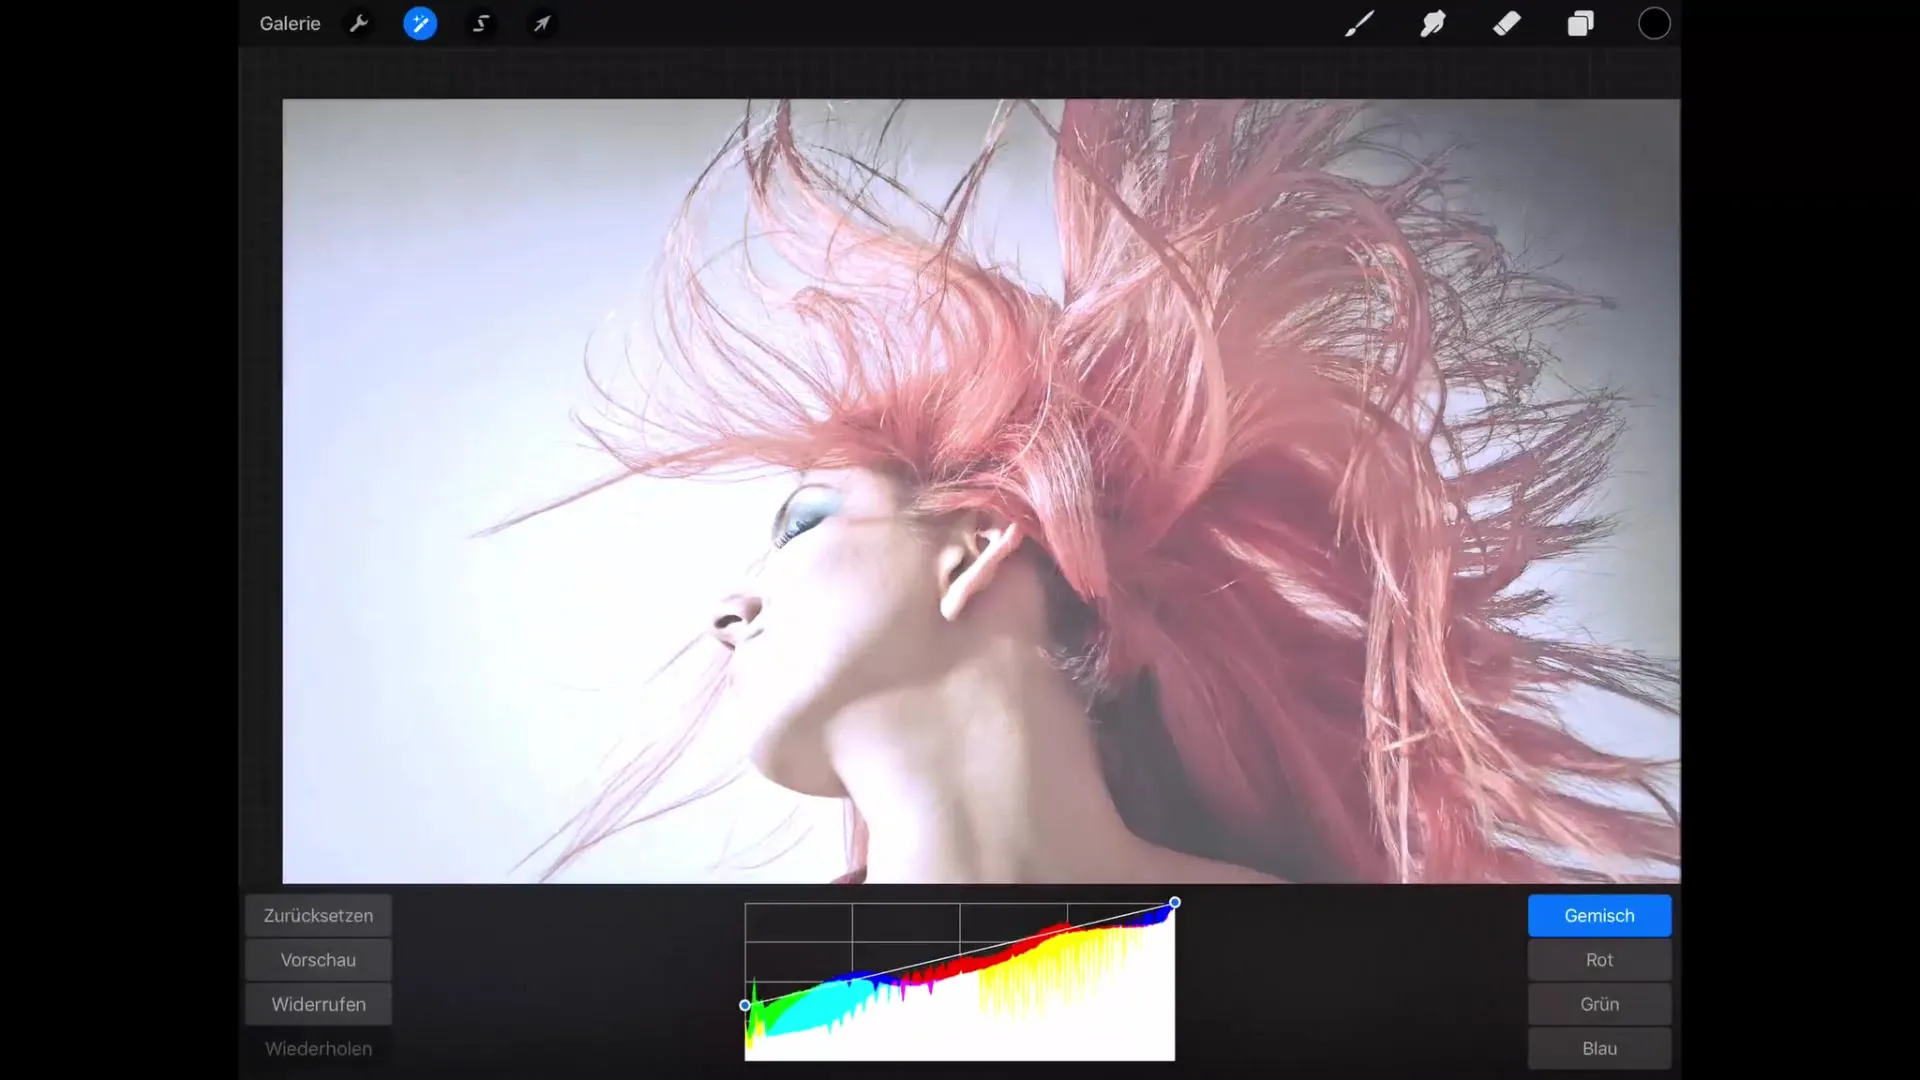
Manipulating individual color channels immediately affects the overall color rendering of the image. For example: If you pull the curve for the red channel up, the lighter red tones become more intense. At the same time, the complementary color cyan is highlighted if you lower the red channel.
Summary – Color Manipulation in Procreate!
In summary, you have learned how to effectively use various tools in Procreate to manipulate the colors of your image. From basic adjustments to color balloons to the curves – the possibilities are virtually limitless. Experiment with the techniques presented and discover your individual style!
FAQ
How can I reset the hue, saturation, and brightness values?Use the “Reset” button in the menu to return to the original values.
Can I undo the changes to the curves?Yes, you can use the “Undo” function to revert your last step.
What happens if I set the saturation to 0?The colors will be completely desaturated and appear in grayscale, giving the image a monochromatic look.
How do the color balloons affect image editing?The color balloons allow for precise adjustment of individual complementary colors and their brightness in different areas of the image.
