You are at the beginning of your photographic journey and want to gain full control over your images? The manual Mode (M-Mode) of your camera is key to this. Here, you deserve to learn not only how to take pictures but also how to use light and settings to your advantage. Though it takes some practice to master manual exposure, the possibilities this mode offers you are remarkable.
Main Insights
- The manual mode allows complete control over exposure time, aperture, and ISO value.
- It is crucial to bring a spirit of experimentation to discover the right interplay of these settings.
- The live view mode and exposure scale help you find and adjust the optimal exposure.
Step-by-Step Guide
Step 1: Activate Manual Mode
Start by selecting the manual mode on your camera. You can usually do this via the mode dial on the top of the camera. Make sure you are in "M" mode, as this allows you to make all settings manually.
Step 2: Make Basic Settings
You need to understand the three basic settings for exposure: aperture, shutter speed, and ISO. The aperture determines how much light passes through the lens to the sensor, the shutter speed controls how long light hits the sensor, and the ISO value increases the sensor's sensitivity to light.
Step 3: Take Your First Test Shot
To get a feel for the space you are working in, simply take a test shot with your initial settings. If your camera is set to an aperture of f/18, ISO 100, and a shutter speed of 1/50 seconds, check the result. If the image appears too bright, you know adjustments are needed.
Step 4: Make Adjustments
You have now taken the picture – was it too bright or too dark? Here you need to make decisions. If, for example, you want to combine sharpness in the foreground with a blurred background, you should adjust the aperture accordingly. If the aperture is too high, it may be necessary to reduce the shutter speed.
Step 5: Adjust Shutter Speed
Change the shutter speed to make the image lighter or darker. For example, switching to 1/250 seconds will make the image darker. Experiment until you find the right balance.
Step 6: Activate Live View
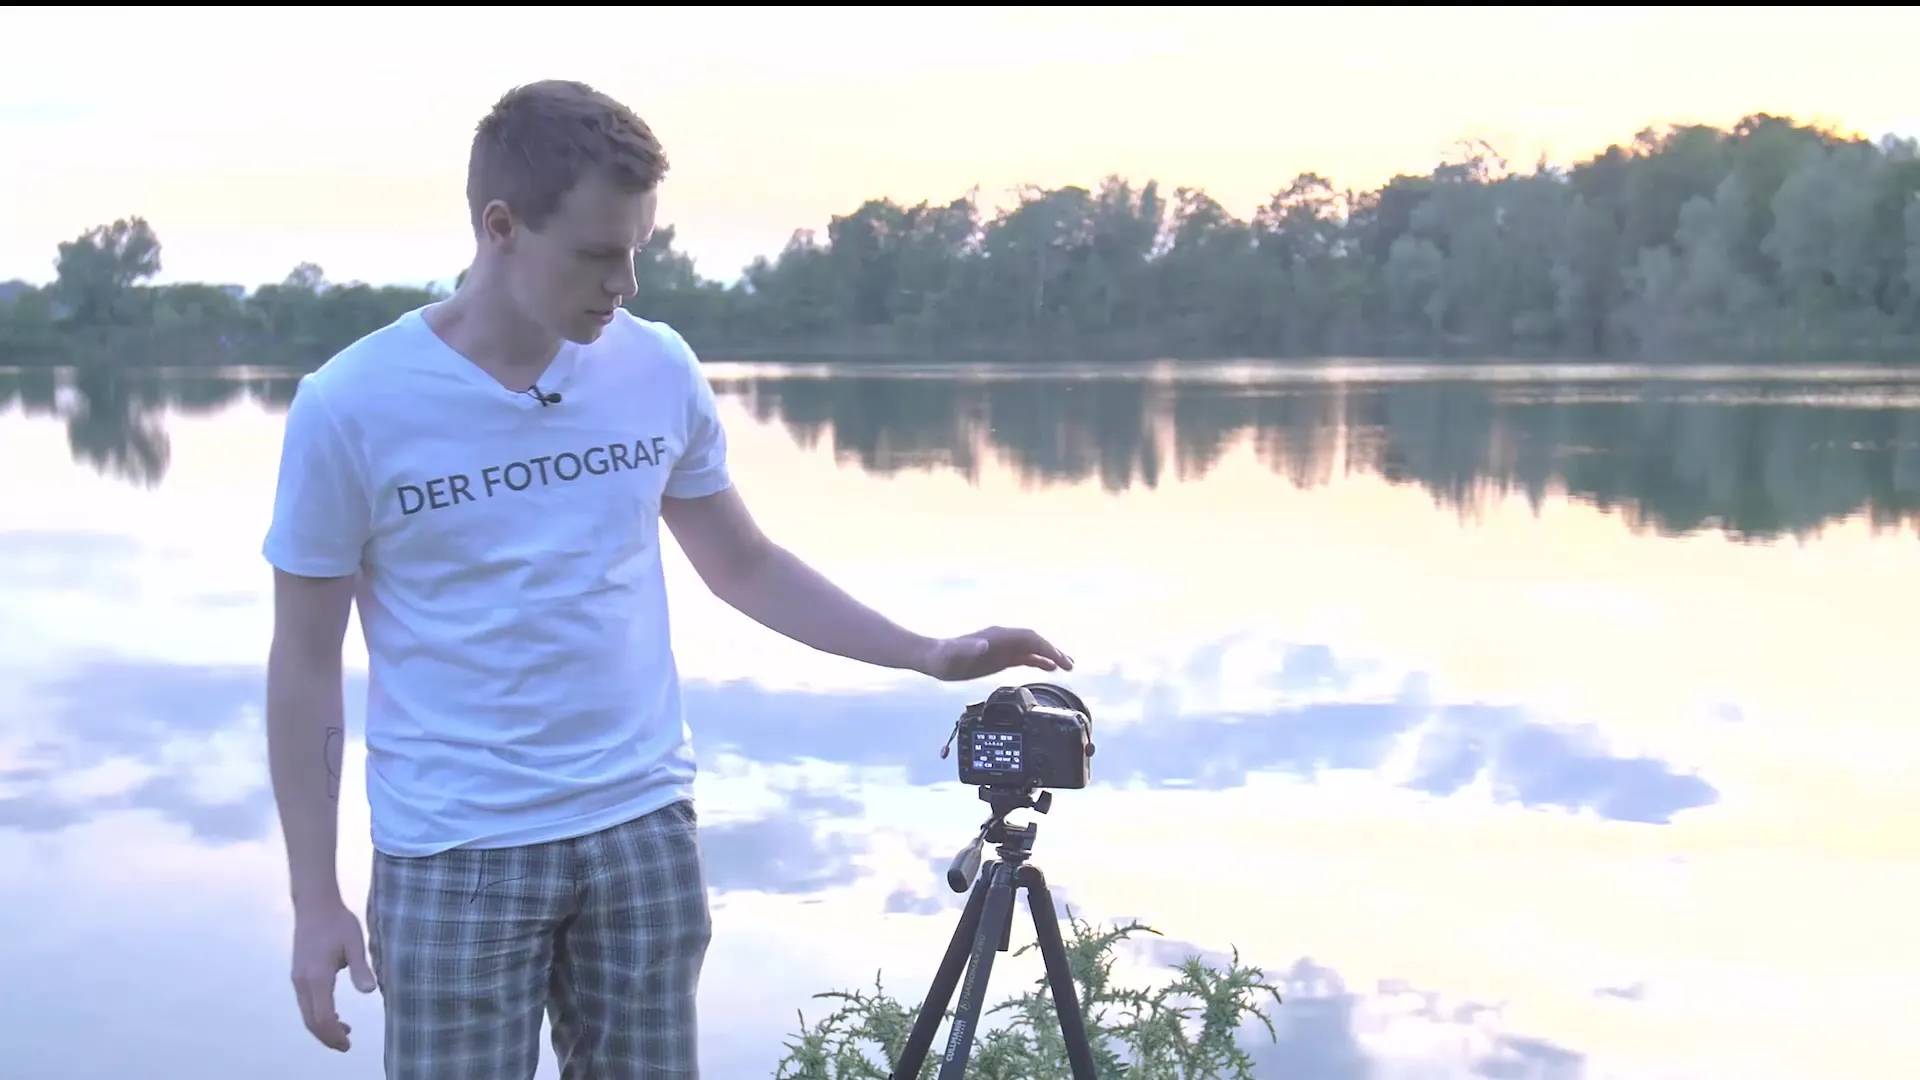
Turn on live view to see the image preview directly on the screen. This is especially useful for landscape shots, where you have more time for adjustments. Here you can see the pre-set values in real-time and make adjustments.
Step 7: Use the Exposure Scale
When you press the shutter button, you will see the exposure scale on your display. This shows you whether the image is too bright or too dark. You can now make precise adjustments to aperture or shutter speed to achieve the ideal exposure.
Step 8: Trust Your Instincts
After several trials and errors, you will develop a better feel for which setting works best under which conditions. You will understand more quickly how the different values relate to each other and how they affect your final image.
Step 9: My Tip – Stay Patient
Manual photography may feel unfamiliar at first and can be frustrating. But over time, it will become easier for you. Keep at it, work on your skills, and enjoy the creative process.
Summary – Learning to Photograph: How to Master the Manual Mode of Your Camera
In summary, with the M mode, you can significantly expand your photographic skills. You can be creative and create tailored photographs that reflect your vision. Approach the process with an open mind, experiment, and share your experiences. It’s worth it!
Frequently Asked Questions
What is the difference between manual and automatic mode?The manual mode requires you to set shutter speed, aperture, and ISO yourself, while the automatic mode does this for you.
How do I find the right exposure for my photos?Test various combinations of aperture, shutter speed, and ISO value, and pay attention to the feedback from your camera's exposure scale.
Do I need special equipment for manual photography?Generally not, but a tripod can be helpful, especially for longer exposure times.
How can I improve my skills in manual mode?Practice regularly, play with different settings, and analyze your results. Feedback from other photographers can also be valuable.
What do I need to consider when photographing at aperture f/1.8?With a large aperture like f/1.8, you'll achieve a shallow depth of field, meaning only a small part of the image is in focus.
