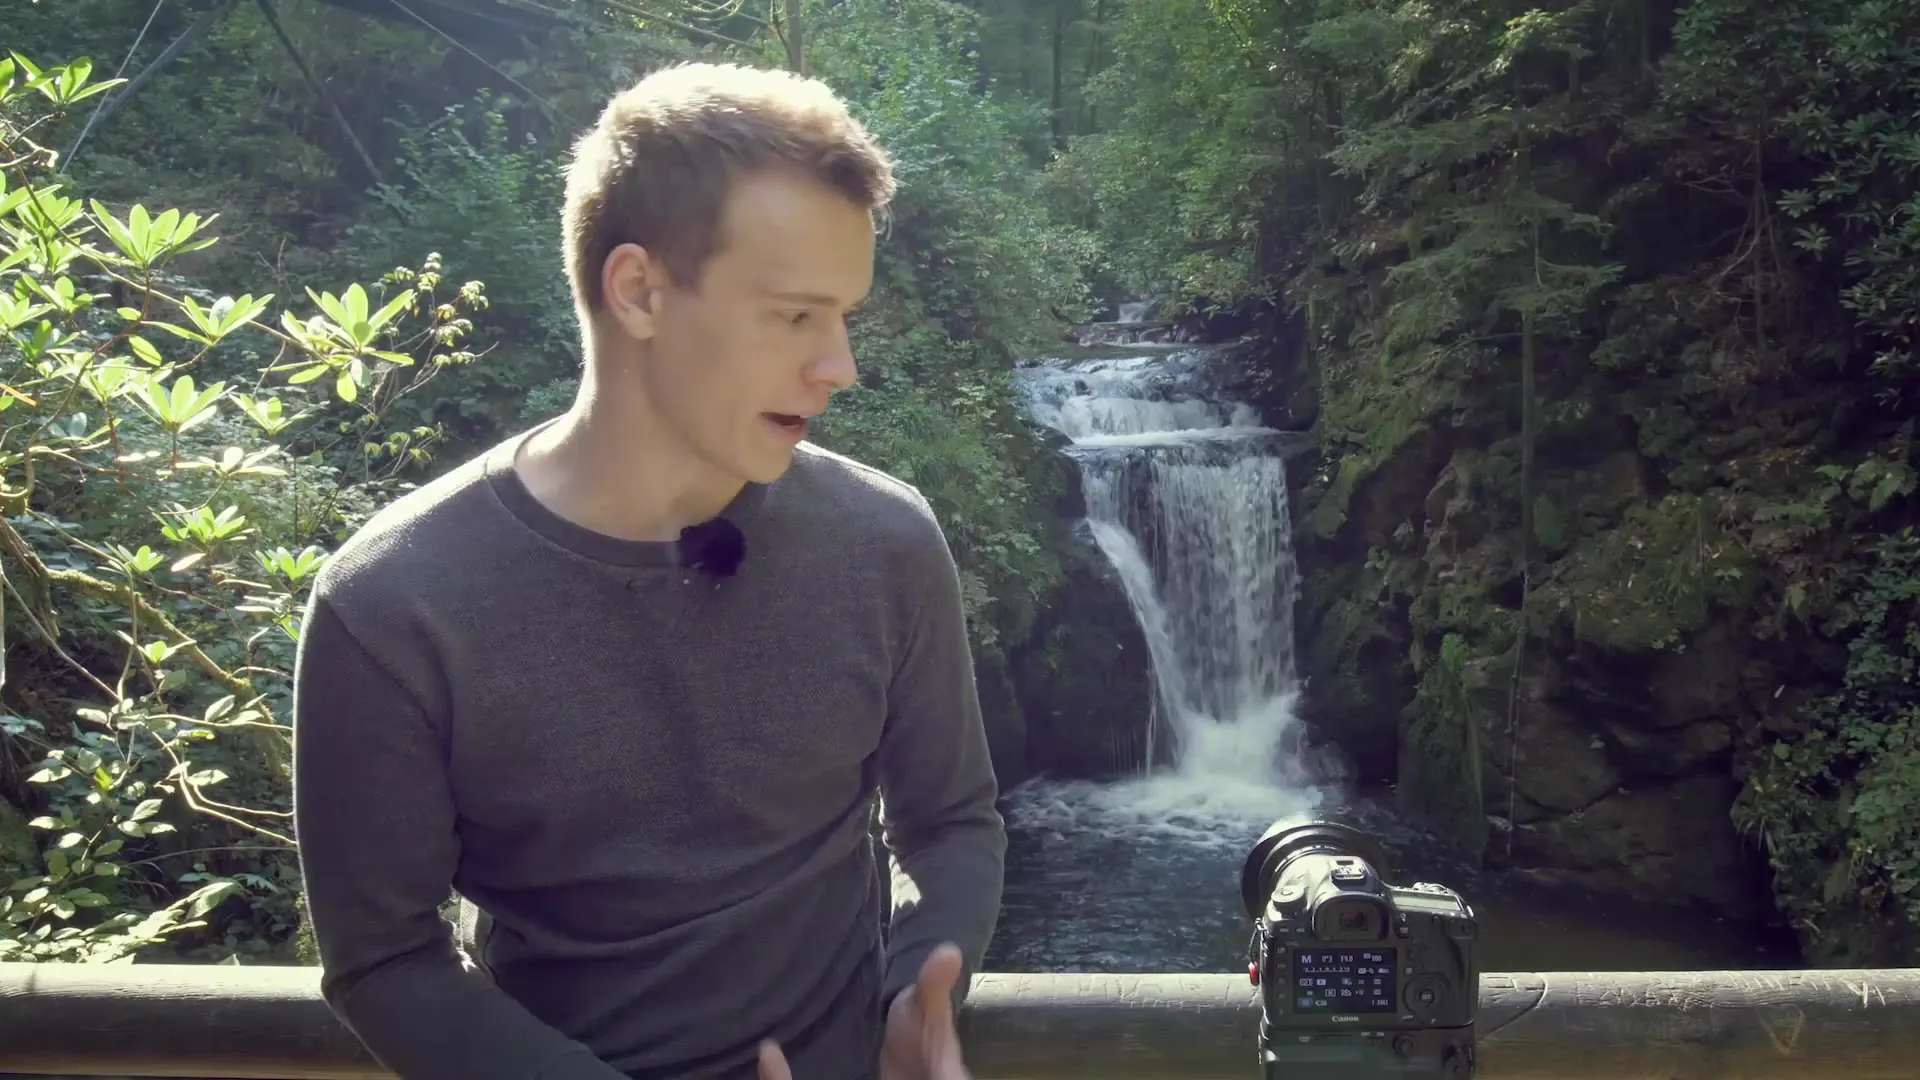
You stand at the edge of a waterfall and watch as the water cascades down. The challenge is to capture the dynamics of the water while also conveying the atmosphere of the landscape. In this guide, you will learn how to take impressive photos of waterfalls with the right technique and creative decisions. Let’s dive into the details step by step.
Key insights
- A long exposure can be creatively utilized with different exposure times.
- Aperture and ISO are crucial factors for image quality.
- Use a tripod and a timer to avoid camera shake.
- Manual focus is important to maintain consistent sharpness.
- Experiment with different perspectives and compositions.
Step-by-step guide
Step 1: Place the camera on a tripod
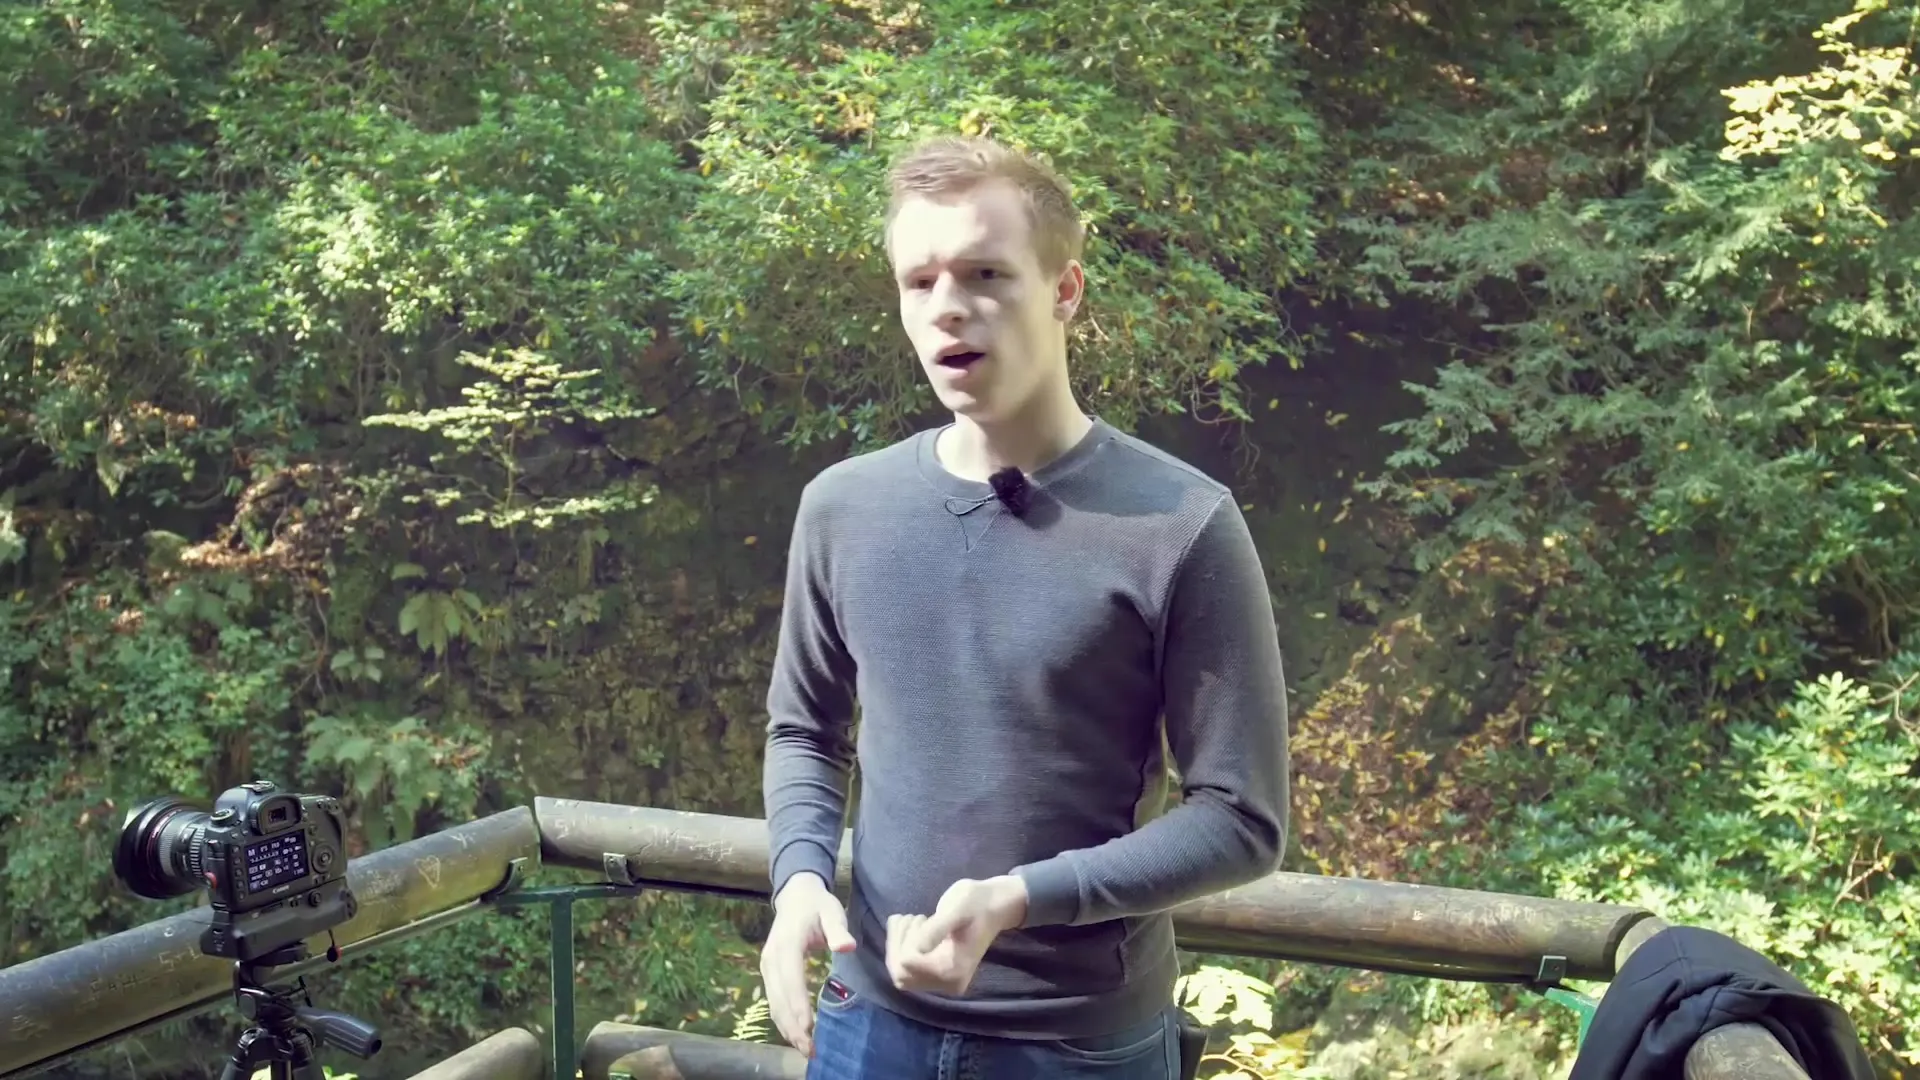
Before you start photographing, ensure that your camera is stable on a tripod. This is particularly important for long exposures to avoid camera shake. The camera should be steady when you trigger the shutter. Position the tripod at an optimal distance from the waterfall to capture the desired image frame.

Step 2: Adjust camera settings
When photographing a waterfall, you can play with aperture and ISO. An aperture of f/9 is ideal for allowing enough light while optimizing sharpness in the image. A low ISO value, such as ISO 100, helps minimize image noise and ensures a clearer image.
Step 3: Set exposure time
Set your exposure time to 0.3 seconds. This is a good compromise to show the movement of the water without everything appearing too blurry. An exposure time that is too long can make the image appear unclear. It's important to find a balance between capturing movement and maintaining sharpness.
Step 4: Use the timer
To ensure that your images are not shaky, activate your camera's timer. Wait 2 seconds before the camera takes the shot. This reduces the risk of shake that could occur from pressing the shutter button.
Step 5: Switch autofocus to manual
Set your focus to manual to maintain consistent sharpness in the image. If you stay in autofocus, the focus may change every time you press the shutter, leading to blurry images. Manual focus ensures your images are sharp as long as the subject remains stationary.
Step 6: Take photos
Now you are ready to take your first shot. Press the shutter and let the camera do the work. You will quickly find that with the right technique, dynamic landscape shots can be achieved. Check the result and adjust the exposure time if necessary to achieve the best quality.

Step 7: Experiment with perspectives
Before finishing your photography session, look for different perspectives and compositions. An interesting composition can be achieved with a bit of movement – move left or right to vary the framing. Try different angles to bring more creativity to your landscape photography.
Summary – Learning to Photograph: Waterfall Long Exposure
In this guide, you have learned how to create impressive waterfall photos using the right camera techniques and creative decisions. From camera positioning to the correct settings and composition – every detail contributes to improving your image. Go outside, experiment with your settings, and discover the beauty of nature through your lens.
Frequently Asked Questions
What is long exposure?Long exposure is a technique where the exposure time of a photo is extended to capture movements, such as in a waterfall.
Why is a tripod important?A tripod prevents shake and allows for longer exposure times without image blur.
What aperture is optimal for waterfall photos?An aperture of f/9 is ideal for allowing enough light while ensuring good depth of field.
How do I set the focus manually?Activate the manual focus mode on your camera and set the focus on the subject before you start photographing.
Can I also use autofocus for photography?Yes, but manual focusing is better to keep sharpness consistent throughout the exposure.


