Smartphone-Photography offers an excellent way to capture everyday moments and be creative without needing a lot of equipment. In this guide, you will learn how to take your smartphone photos to the next level. With simple tips and tricks, you'll create impressive images that showcase both technology and your creative potential.
Key Insights
- Pay attention to perspective when photographing portraits.
- Use manual autofocus to control sharpness and exposure.
- The HDR mode helps to balance light differences.
- Photo editing with apps like Snapseed significantly improves image quality.
- Experiment with silhouettes and exposure measurement.
Step-by-Step Guide
1. Portrait Photography: Perspective is Key
The first step to impressive portraits is choosing the right perspective. Instead of photographing at eye level, lower the camera to chest height or slightly below. This greatly changes the impact of the image and makes the subjects appear more impressive.
2. Manual Autofocus Settings
Make sure to manually adjust the autofocus to control sharpness precisely. Just tap on the area of the image you want to be sharp and watch the resulting box that indicates sharpness and exposure. This prevents unpleasant disturbances in your images.

3. Using the HDR Mode
The HDR mode (High Dynamic Range) is a useful tool for ideally balancing bright and dark areas of an image. It takes multiple exposures and combines them into a harmonious image. However, be careful to avoid using this mode for fast movements, as it can lead to unwanted ghosting.
4. Image Editing with Snapseed
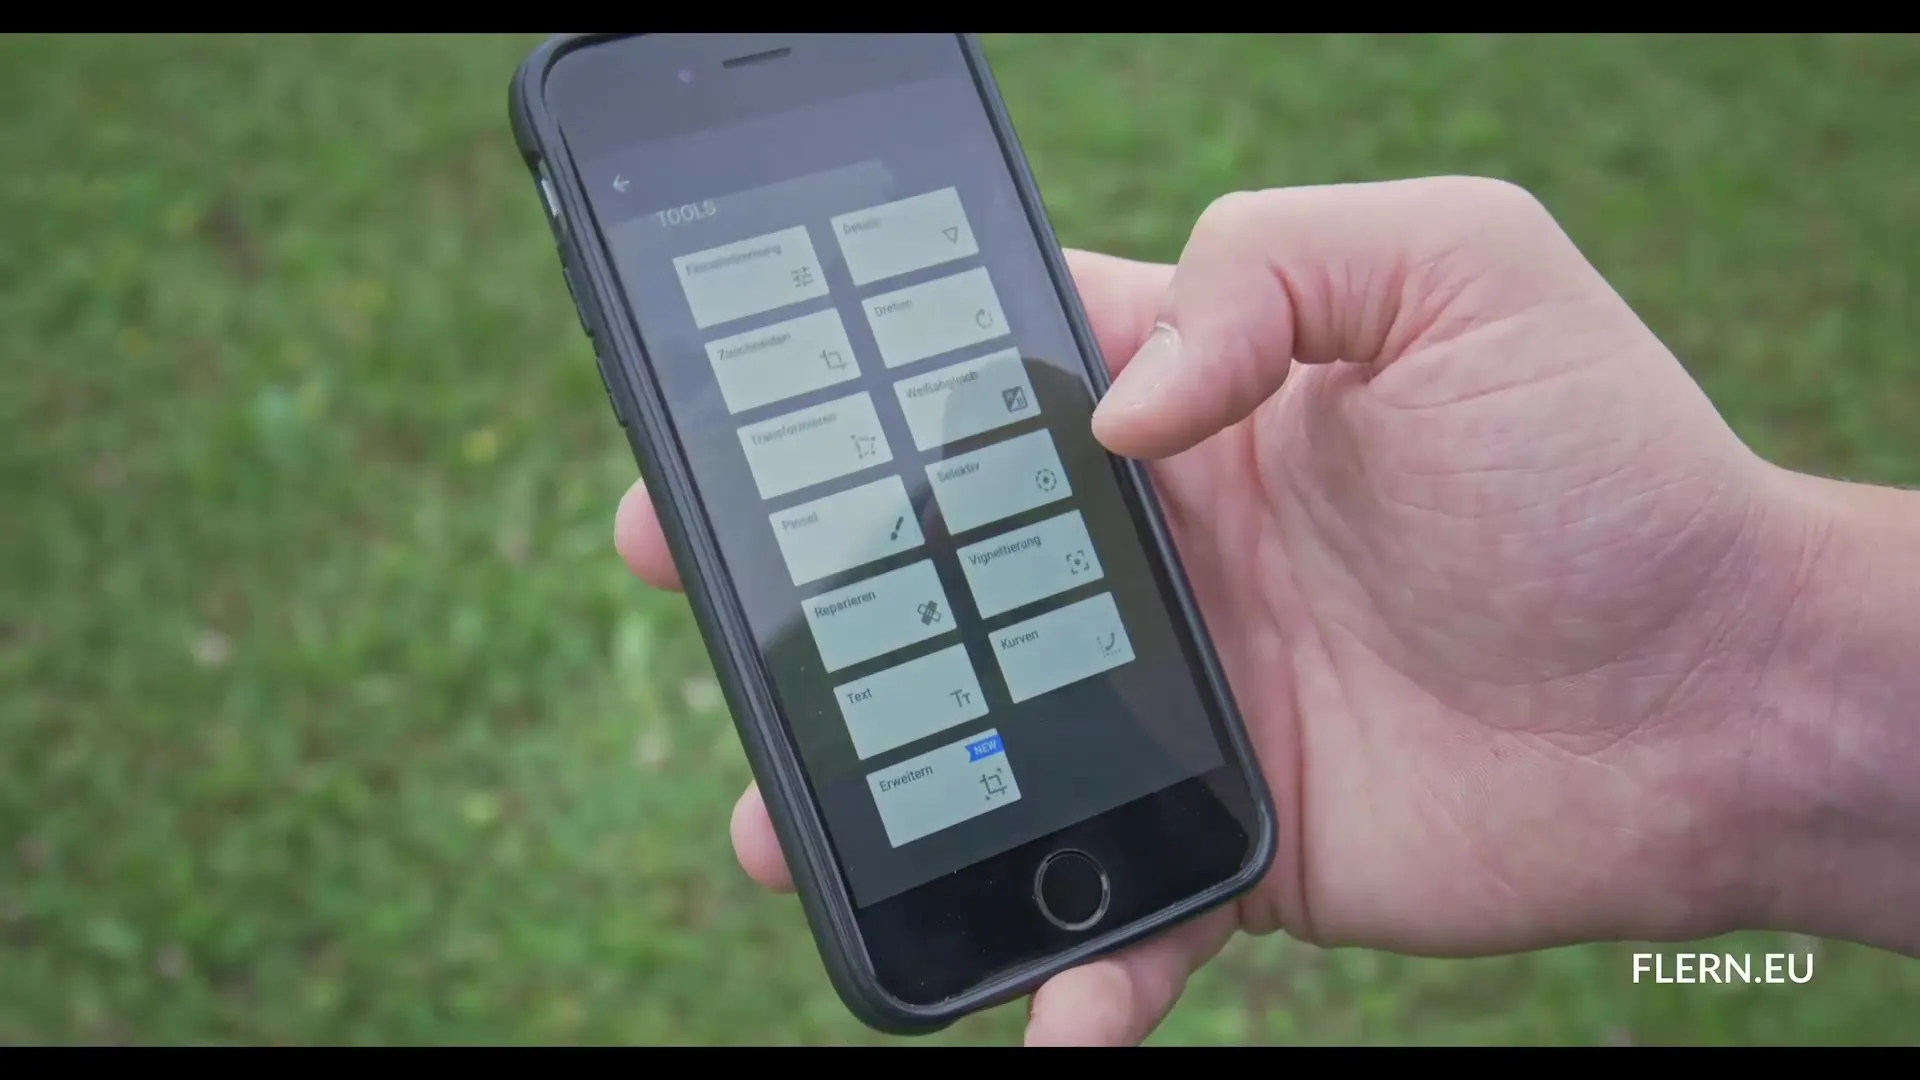
With the Snapseed app, you can edit your photos afterward and significantly improve them. Open your image in the app and go to the fine-tuning settings. Here, you can adjust brightness and contrast or specifically fine-tune shadows and highlights. These steps are crucial for highlighting details and optimizing image quality.
5. Retouching Unwanted Objects
Snapseed also offers the retouching feature. If you have unwanted elements in your image, you can easily remove them by swiping over the object with a finger. This feature is practical and allows for a clean image design.

6. Dynamism Through Color Corrections
Adjusting the white balance helps you control the color temperature of your images. With Snapseed, you can make the image both redder and bluer. These fine adjustments give your image more depth and dynamism.
7. Vignetting for a Special Effect
Lightly applied vignetting gently darkens the outer areas of the image, drawing attention to the main subject. This creates an engaging focus and gives the image a creative touch. Be sure to use vignetting moderately.
8. Beyond Basic Edits
There are many other ways to edit and improve your image. Experimenting with filters or specific settings for contrast and sharpness can greatly enhance your image. Sometimes less is more, so find a good balance.

9. Saving and Sharing Your Edited Images
After making all desired changes, save your image. You can decide whether to create a copy or overwrite the original. This gives you the flexibility to keep different versions of your image.

10. Silhouettes: The Art of Shadows
Another creative tip is to photograph silhouettes. To create these, you need to adjust the exposure measurement. Lower the exposure measurement until your subject appears black and the background is clearly visible. This may require some practice, but the results are impressive.
Summary - Smartphone Photography: Tips for Impressive Images
By applying the tips mentioned above, you can quickly improve your skills in smartphone photography. Pay attention to perspectives, use the right settings, and edit your images creatively. It’s often small adjustments that lead to great results. Try out different techniques and find your personal style!
Frequently Asked Questions
How can I change the perspective when photographing?By holding the camera slightly lower, you can photograph from chest height or slightly below, which improves the image effect.
What is the difference between manual and automatic autofocus?Manual autofocus gives you control over which area of the image is focused, while automatic autofocus focuses the image independently.
What does the HDR mode do?The HDR mode balances light differences by combining multiple exposures, allowing details in bright and dark areas to remain visible.
Which photo editing app do you recommend?Snapseed is a recommended app that offers many features for photo editing and is easy to use.
How do I photograph silhouettes?By lowering the exposure measurement until your subject turns black and the background becomes visible, you can achieve impressive silhouette effects.


