Photography is more than just pressing a button. It's about controlling light, creating mood, and capturing moments. Once you master the basics, you can unleash your creativity. In this tutorial, we will focus on aperture priority – a “semi-automatic” mode that allows you to control the aperture while the camera manages the other settings for you. This is the ideal starting point for diving into the world of manual photography.
Key insights
Aperture priority (AV mode) allows you to manually set the aperture while the camera automatically calculates exposure time and ISO. With an open aperture, you can influence the sharpness of the background, which creates creative effects. When you choose a closed aperture, you increase the depth of field of the image.
Step by Step to Aperture Priority
1. Mode selection
The first step is to ensure your camera is set to AV mode. This mode allows you to manually select the aperture while the camera calculates the other values. Look for the designation “AV” or “A” on your camera's mode dial.
2. Set the aperture
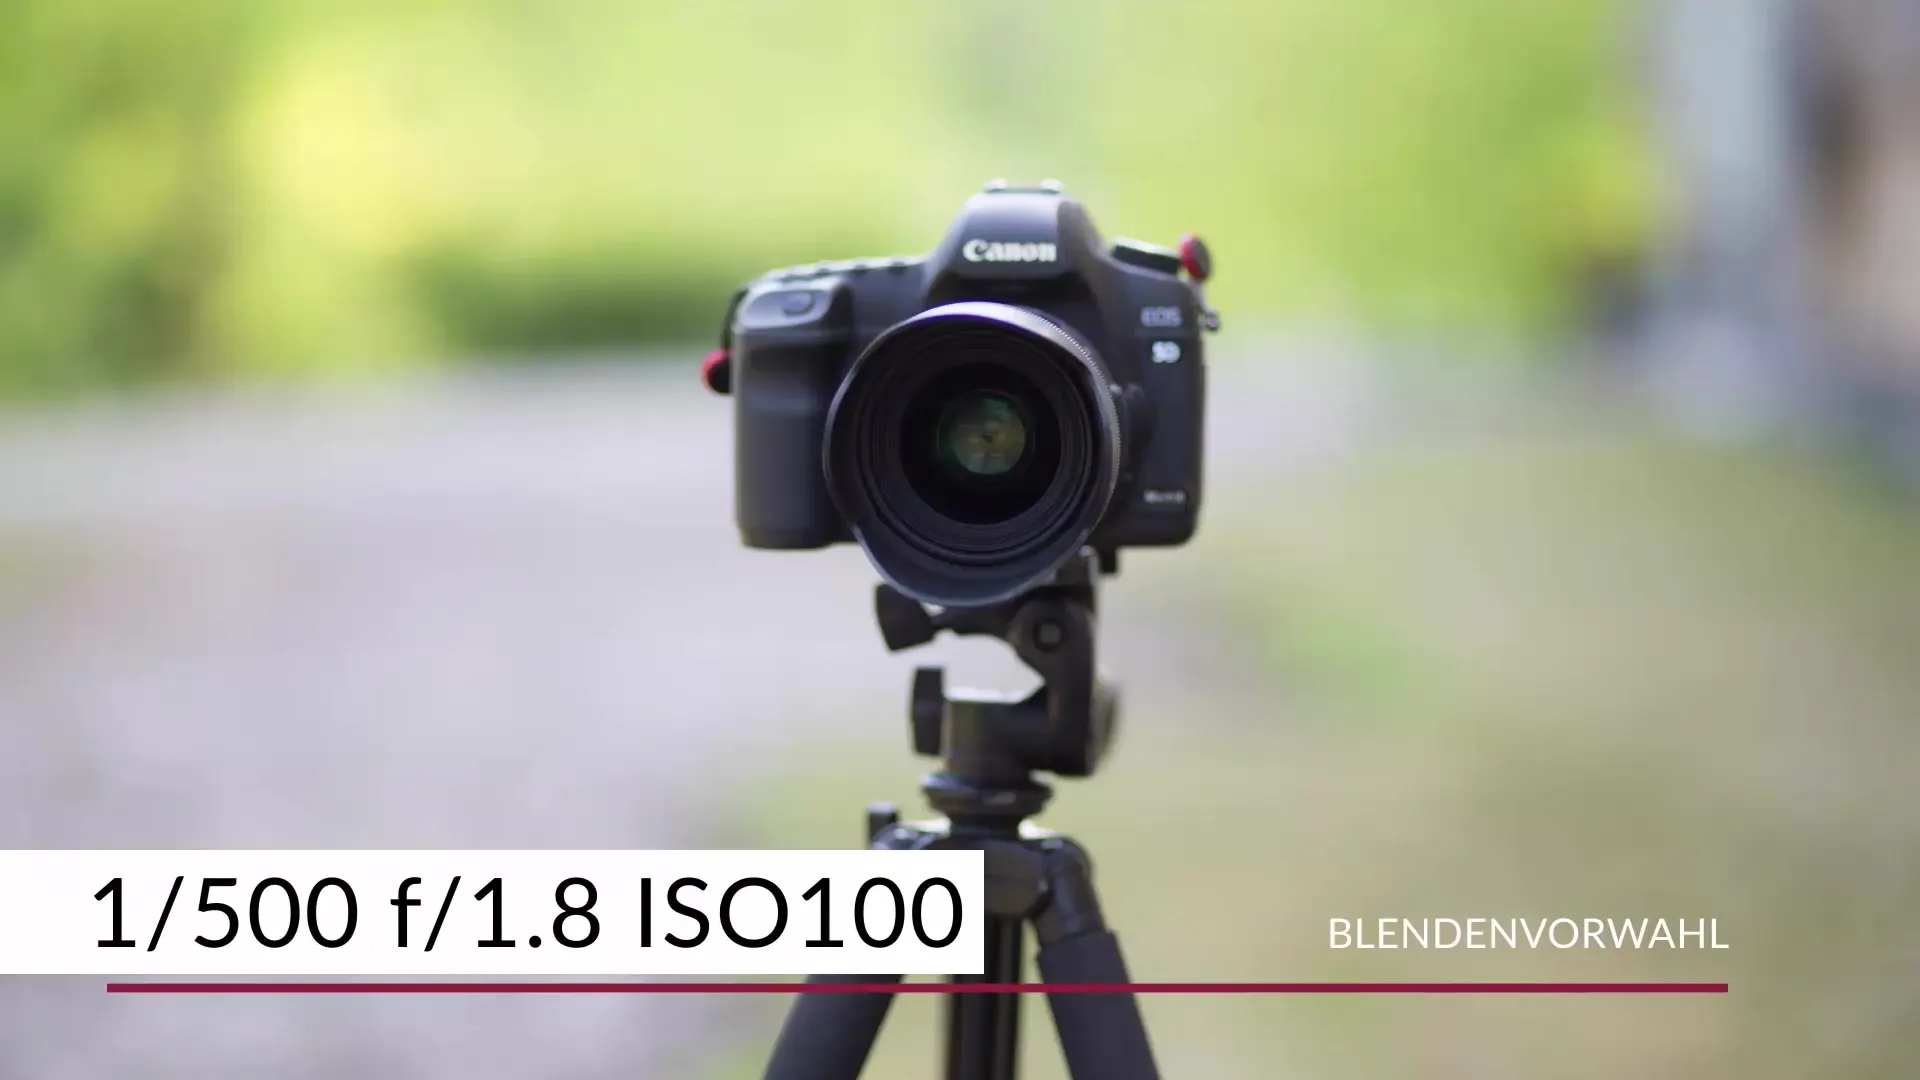
Now it's time to determine the aperture. You can set values such as f/1.8 to f/22. An open aperture (low number) lets in a lot of light and creates a blurred background, while a closed aperture (high number) increases the depth of field and makes more background details visible. Choose an aperture that corresponds to your desired effect.
3. Capture images with an open aperture
Let's say you choose an aperture of f/1.8. Photograph your subject and note how blurred the background becomes. This is especially useful for portraits or when you want to focus on a specific object.
4. Release exposure compensation
Before you take the picture, make sure that the exposure compensation is turned off to get a correctly exposed image. The camera should now be able to calculate the exposure correctly.
5. Capture images with a closed aperture
Now change the aperture to f/22. Make sure you also set the ISO value to “Auto”. This gives the camera the opportunity to better compensate for exposure, especially with a closed aperture.
6. Compare results
After you have taken both images, compare the results. With an open aperture, you have a blurred background, while with a closed aperture, more details are visible in the background. This allows you to have creative control over your shots.
7. Optimize settings
Note that when photographing with a closed aperture, you may need to manually adjust the exposure time to avoid over- or underexposure. Depending on lighting conditions, it may be necessary to set the camera to avoid falling below a certain exposure time to prevent shake.
8. Pay attention to the results
At the end of the process, you should analyze your images. Note the differences in sharpness and lighting. Whether you choose an open or closed aperture depends on the composition of the image and the mood you want to create.
Summary – Learning Photography: Understanding Aperture Priority Made Easy
Aperture priority is a powerful mode that helps you photograph more creatively. You have control over the aperture while the camera adjusts the other parameters. Practice this mode to develop a better understanding of light and sharpness in your images. With aperture priority, you can greatly enhance the artistic expression of your photographs and achieve a variety of stylistic effects.
Frequently asked questions
What does AV mode mean?AV mode stands for aperture priority and allows you to manually control the aperture while the camera automatically adjusts the exposure time.
How does the aperture affect my image?An open aperture (small number) creates a blurred background, while a closed aperture (large number) increases depth of field and makes more details in the background visible.
Can I manually set the ISO?Yes, you can manually adjust the ISO to increase or decrease your camera's sensitivity to light.
What aperture should I use for portraits?For portraits, it's advisable to use an open aperture (e.g., f/1.8) to blur the background and highlight the subject.
How can I use exposure compensation?Exposure compensation allows you to make the image darker or lighter, regardless of the camera's automatic settings.
