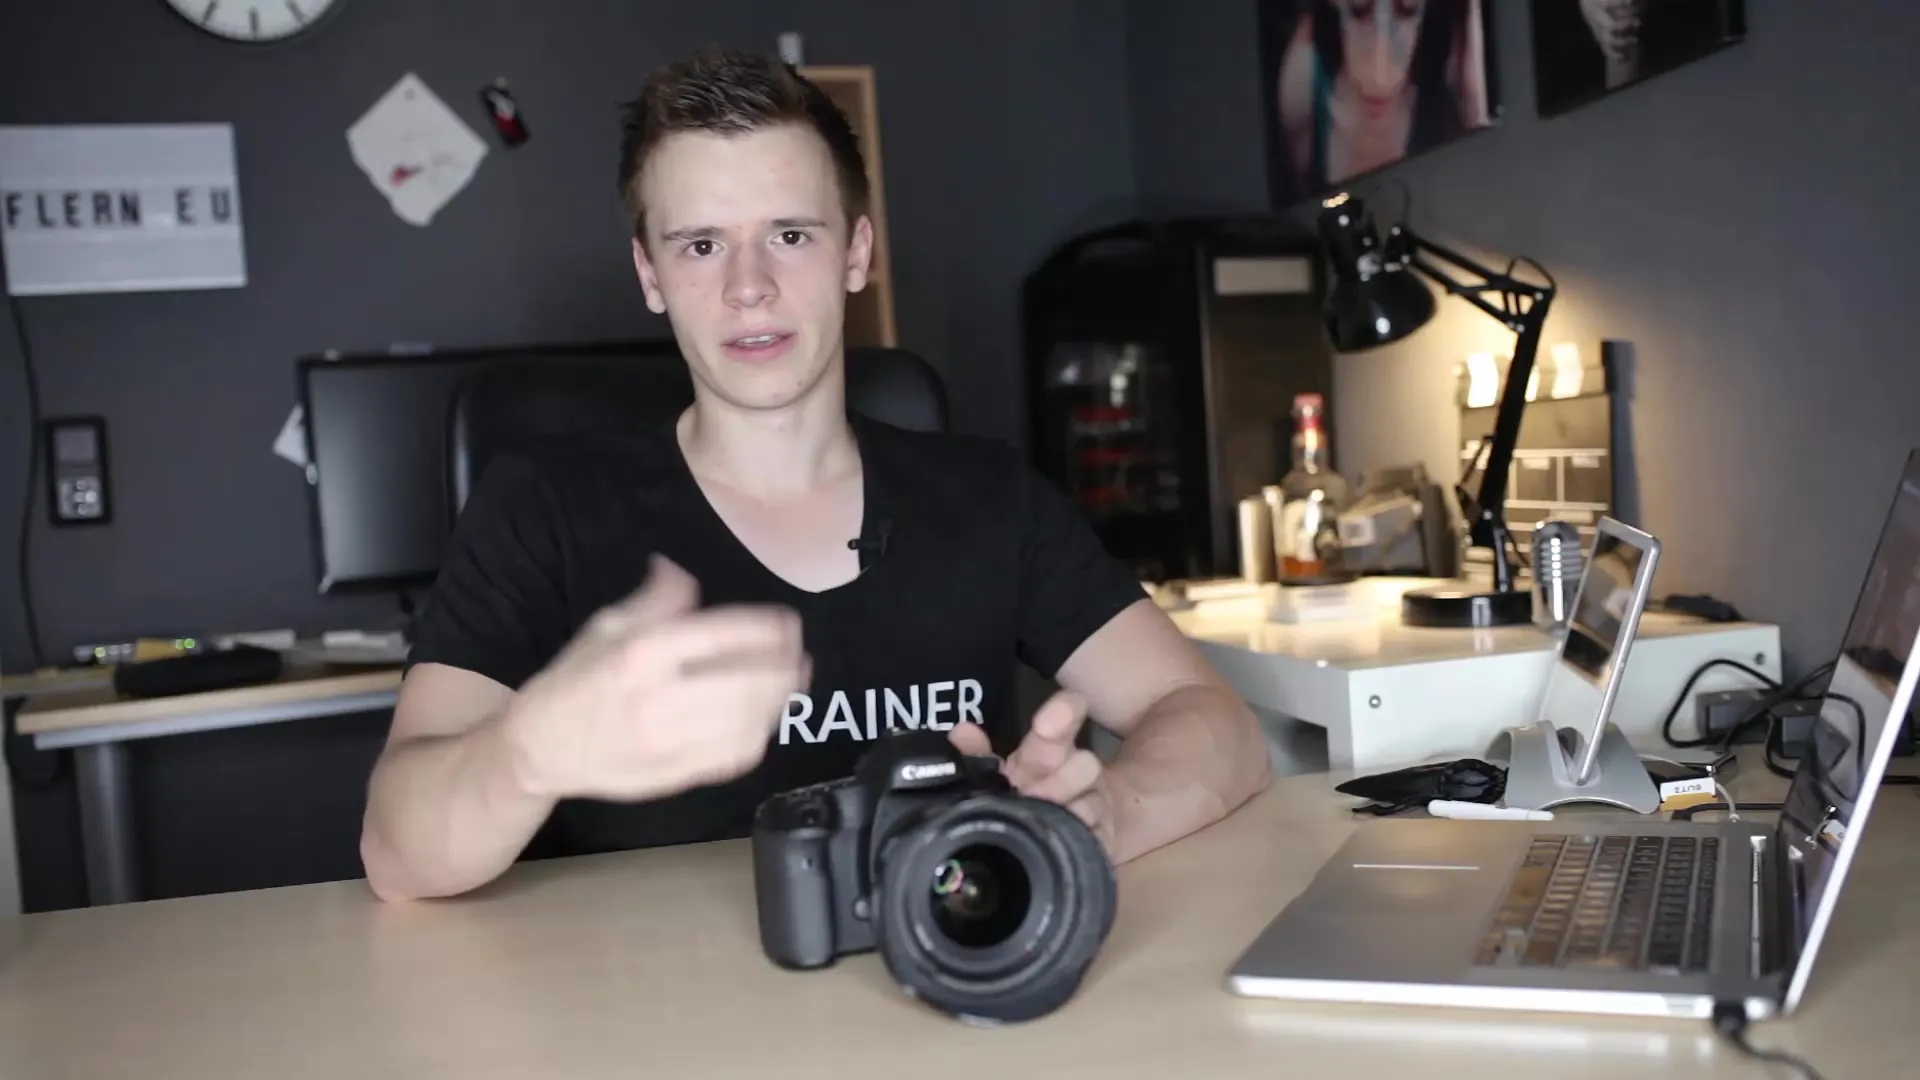
The ability to create your own camera modes can revolutionize your photography. Instead of painstakingly adjusting settings for each picture manually, you can save pre-configured settings and access them immediately. This saves time and allows for more efficient work, especially when you often take similar shots. In this guide, you will learn how to set up and effectively use custom modes in your camera.
Key takeaways
- Custom Modes (C1, C2, C3) allow you to save specific camera settings.
- You can create individual modes for various photography styles, such as HDR, portrait, or video.
- Saved settings are quickly accessible and enable spontaneous shooting.
Step 1: Find the right mode
First, you should find out if your camera supports custom modes, such as C1, C2, and C3. These options are usually found in the upper menu of your camera. In professional models, these modes are typically available.
Step 2: Adjust the desired settings
Before you can save your custom modes, you need to adjust the settings you frequently use. For example, you can set the aperture to 11, exposure, ISO, RAW, and white balance for HDR photography. These specific settings form the basis for what you will save later.

Step 3: Registering the mode in the menu
Now comes the crucial step. Go to your camera's menu and select the option to save or register your current mode to one of the custom mode slots (C1, C2, or C3). This is where you name and pin the mode, so you can access it immediately in the future.
Step 4: Using the saved modes
Once you have set a custom mode, you can simply select it, and all the previously defined settings will be available immediately. This means that if you're looking for an HDR mode, you just select the custom mode C1, and the correct settings are activated.
Step 5: Creating more modes
Experiment with different shots to create additional custom modes. For example, you can define a mode for videography with specific settings or a wide aperture for portraits. This not only saves you time but also ensures you can react quickly in the right situation.
Step 6: Make adjustments if necessary
You may want to adjust your custom modes from time to time, especially as your photography techniques or preferences change. Simply go back to the menu, make the desired changes, and save the updated settings.
Summary – Creating your own camera modes: Step-by-step guide
In this guide, you have learned how to create your own camera modes to save time in photography and optimize your shots. The user-friendly saving of preferred settings allows you to quickly respond to specific scenarios. Experiment with different modes and discover which settings work best for you.
Frequently Asked Questions
Which camera models support custom modes?Most professional cameras support custom modes C1, C2, C3. Check your model.
Can I change the saved settings at any time?Yes, you can go into the menu at any time and adjust your settings and save them again.
How many custom modes can I save?It depends on your camera model. Higher-end models usually offer multiple storage options.
Are custom modes only useful for professionals?Not necessarily. They can also be helpful for hobby photographers to achieve better efficiency.


