HDR (High Dynamic Range) photography allows you to capture landscapes with greater contrasts impressively. Often, when photographing, you face the challenges that either the sky is overexposed or the landscape is underexposed. This guide will show you step by step how to effectively take HDR images and later process them into an impressive final product.
Key Insights
- HDR photography uses multiple exposures to depict a larger dynamic range.
- The camera can automatically take multiple exposures, simplifying the process.
- Proper post-processing is essential to make the HDR image look natural.
Step-by-Step Guide
Step 1: Prepare the Camera
Before you start photographing, it's important to set up your camera correctly. You should choose the mode that allows you to take multiple exposures. For Canon cameras, you can find this setting in the menu and adjust it with the exposure dial. By selecting 3, 5, or even 7 exposures as needed, you prepare yourself for HDR photography.

Step 2: Choose the Right Location
Select a suitable location that exhibits strong contrasts between light and dark areas. This could be a landscape with a bright sky over a dark forest or an urban view during the blue hour. It's important to capture the desired area both in the dark and in the light to achieve the best results later on.
Step 3: Take the Exposures
After setting up your camera and selecting the location, you can proceed to take your shots. Make sure your settings are set for a normal exposure. Focus on finding the ideal midpoint between the light and dark areas. The camera will then automatically take the appropriate exposures without you having to worry about the individual settings.

Step 4: Post-process the Images
Post-processing is crucial when it comes to creating an HDR image that doesn't look exaggerated. Avoid overloading the image with overly vibrant colors or contrasts. The goal should be to preserve the natural feel of the scene. Combining the different exposures can help you enhance the desired details in both the bright and dark areas.
Step 5: Choose the Right Photography Technique
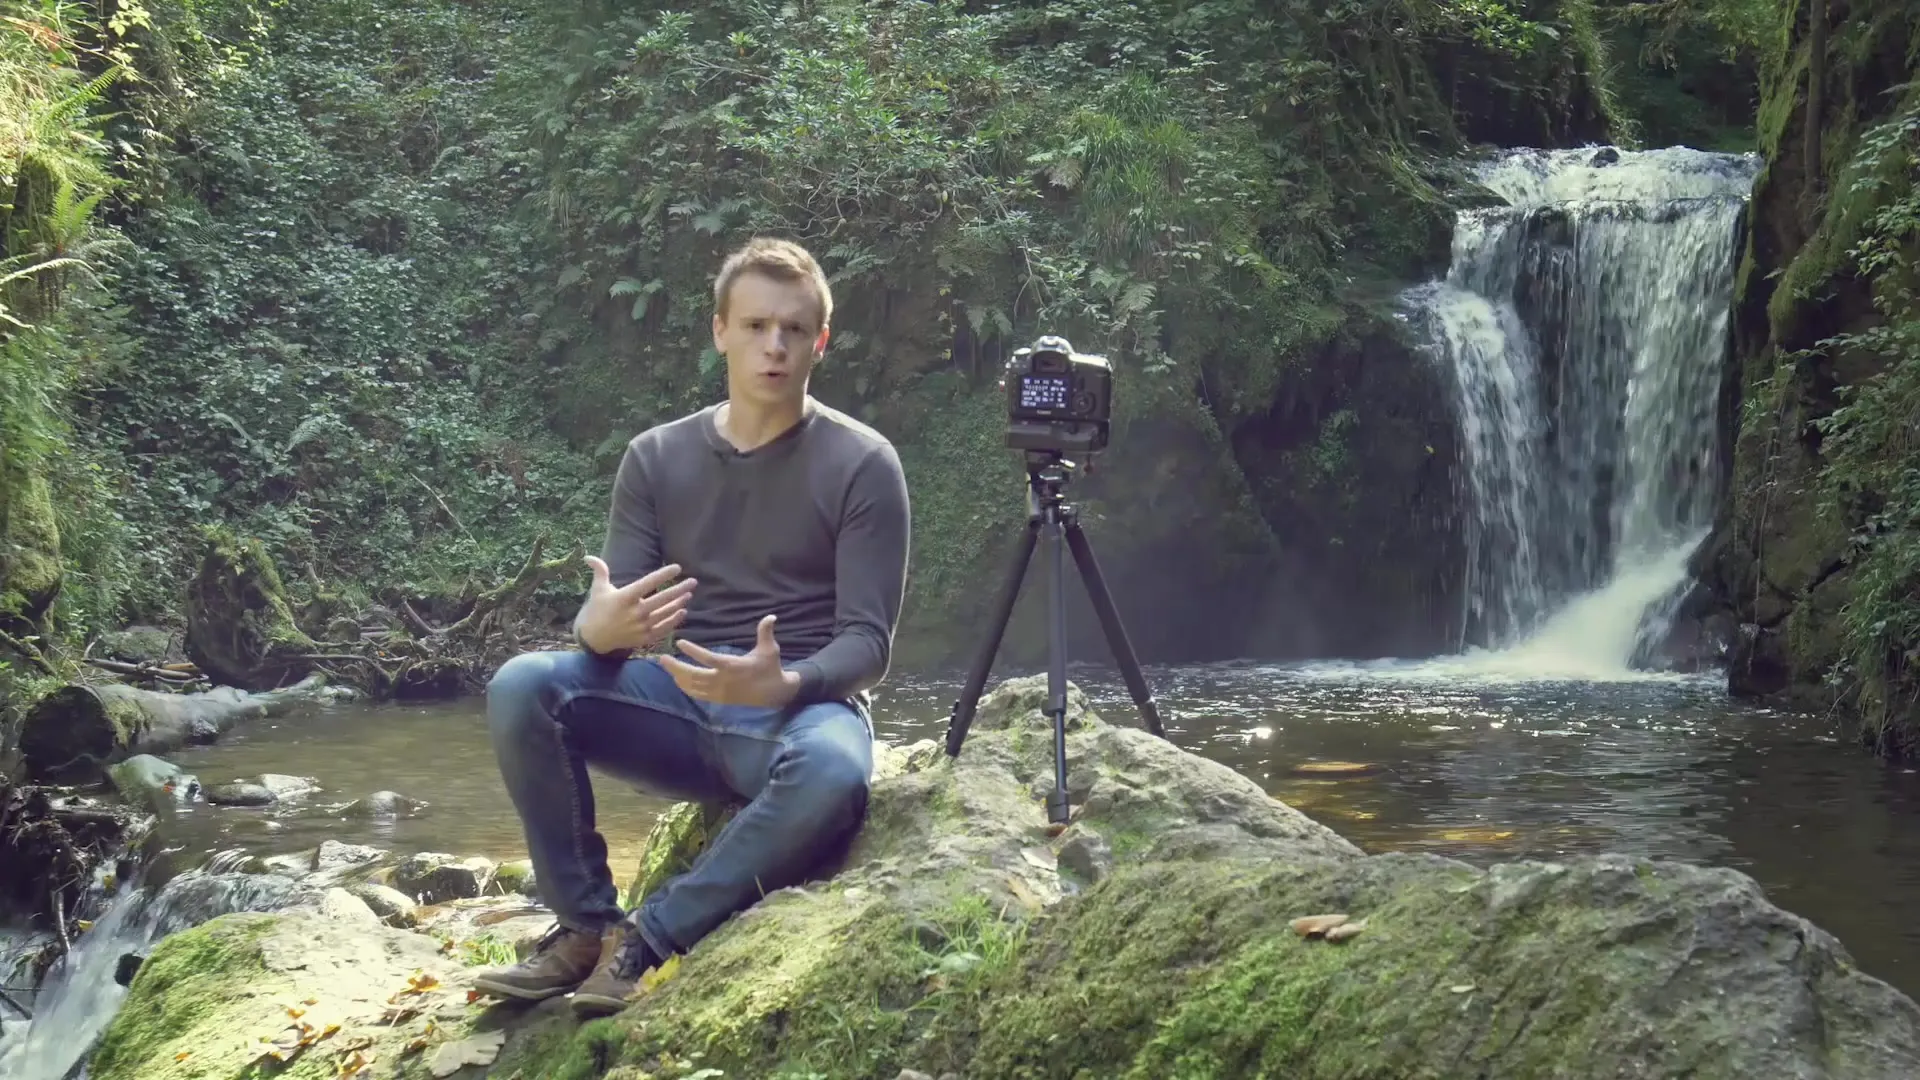
In HDR photography, it’s important to decide how you want to adjust the exposure. You can either vary the shutter speed or the aperture. Be careful not to open the aperture too wide, as this can affect the depth of field. Ideally, this should be controlled with shutter speed, especially in dynamic scenes like a waterfall.

Step 6: Keep an Eye on Exposure Times
Make sure the camera is in the right mode. Often, it’s beneficial to vary the exposure times to achieve an even distribution of light. If you're using manual mode, leave the timing to the camera to ensure the exposures are evenly spaced. Models that automatically take 3, 5, or more images in different exposure settings are ideal.
Summary – Learning Photography: HDR Photography Step-by-Step
In this guide, you’ve learned how to take HDR images and transform them into impressive photos through careful post-processing. Always strive to create a natural balance between light and dark areas in your images, and utilize your camera's strengths to achieve the best possible results.
Frequently Asked Questions
What does HDR mean in photography?HDR stands for High Dynamic Range and allows the capture of greater contrasts in images.
How many exposures are needed for HDR?Typically, 3 to 7 exposures are recommended to respond to different brightness levels.
How does aperture affect HDR photography?Changes in aperture affect depth of field, so it’s better to adjust shutter speed.
Why is post-processing important for HDR photos?Post-processing helps to balance the exposures and make the image appear more natural.
Can I create HDR images with a compact camera?Yes, many modern compact cameras support HDR modes that automatically capture multiple exposures.


