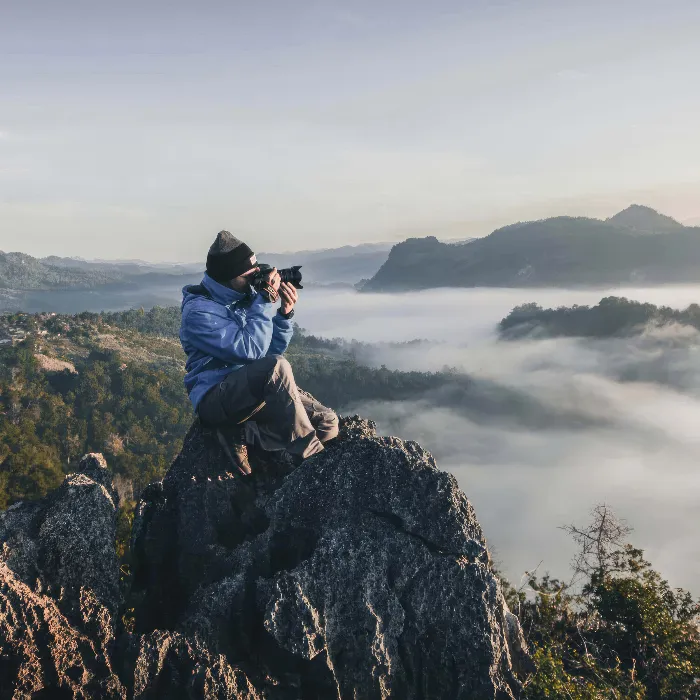
The control of manual focus is not only a challenge, but also an art. Especially under difficult lighting conditions, this aspect of photography proves to be crucial. Whether you are working in landscape photography or portraits, focusing correctly can make the difference between a successful and an unsuccessful image.
Key Insights
- Manual focus is particularly well-suited for long exposures in landscape photography.
- With the live view function and zoom button of your camera, you can perform precise focusing.
- It is important to set the camera to manual focus mode to avoid unwanted adjustments during shooting.
Step-by-Step Guide
1. The Necessity of Manual Focus
When the light is low or the scene appears challenging, autofocus can often struggle to capture the right details. This is where manual focus comes into play. It allows you to consciously choose the subject and ensure that the focus is exactly where it should be. An image that is properly focused has a clarity that significantly enhances the picture.
2. Activate Live View
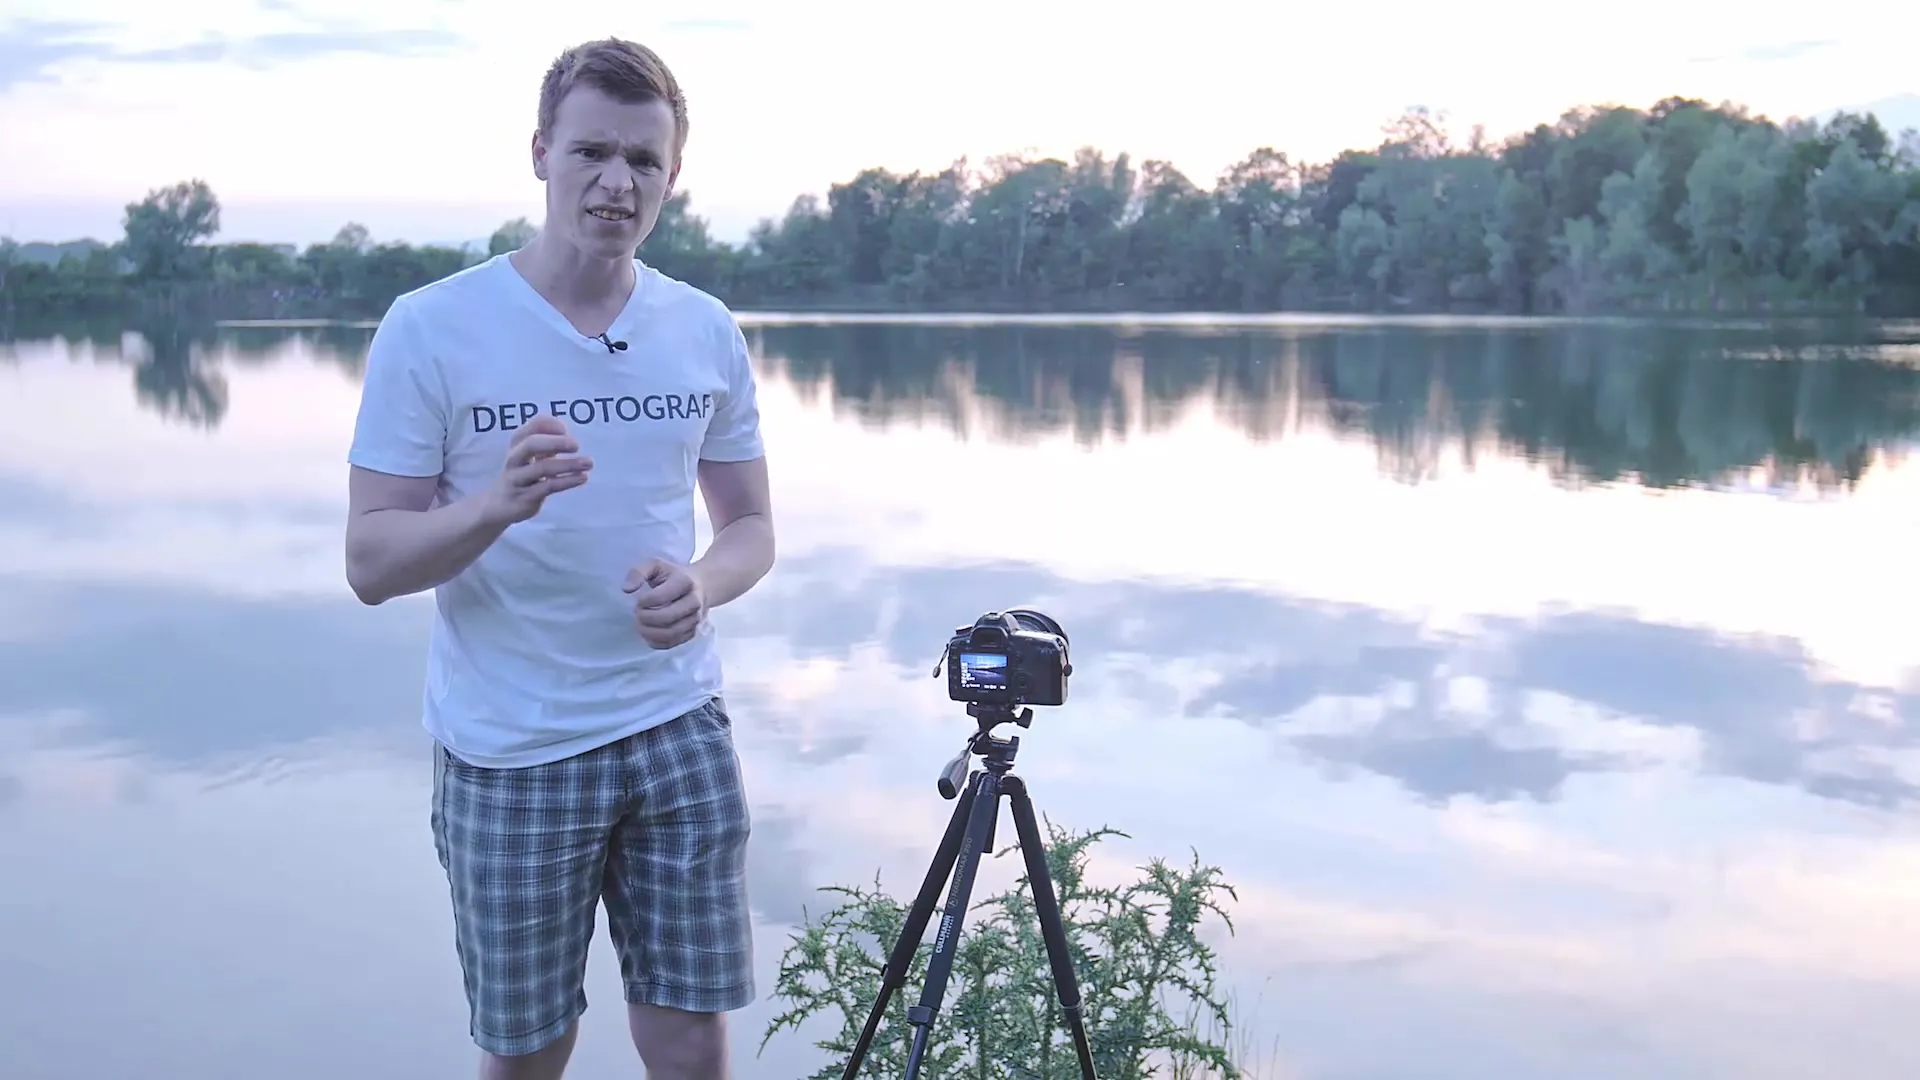
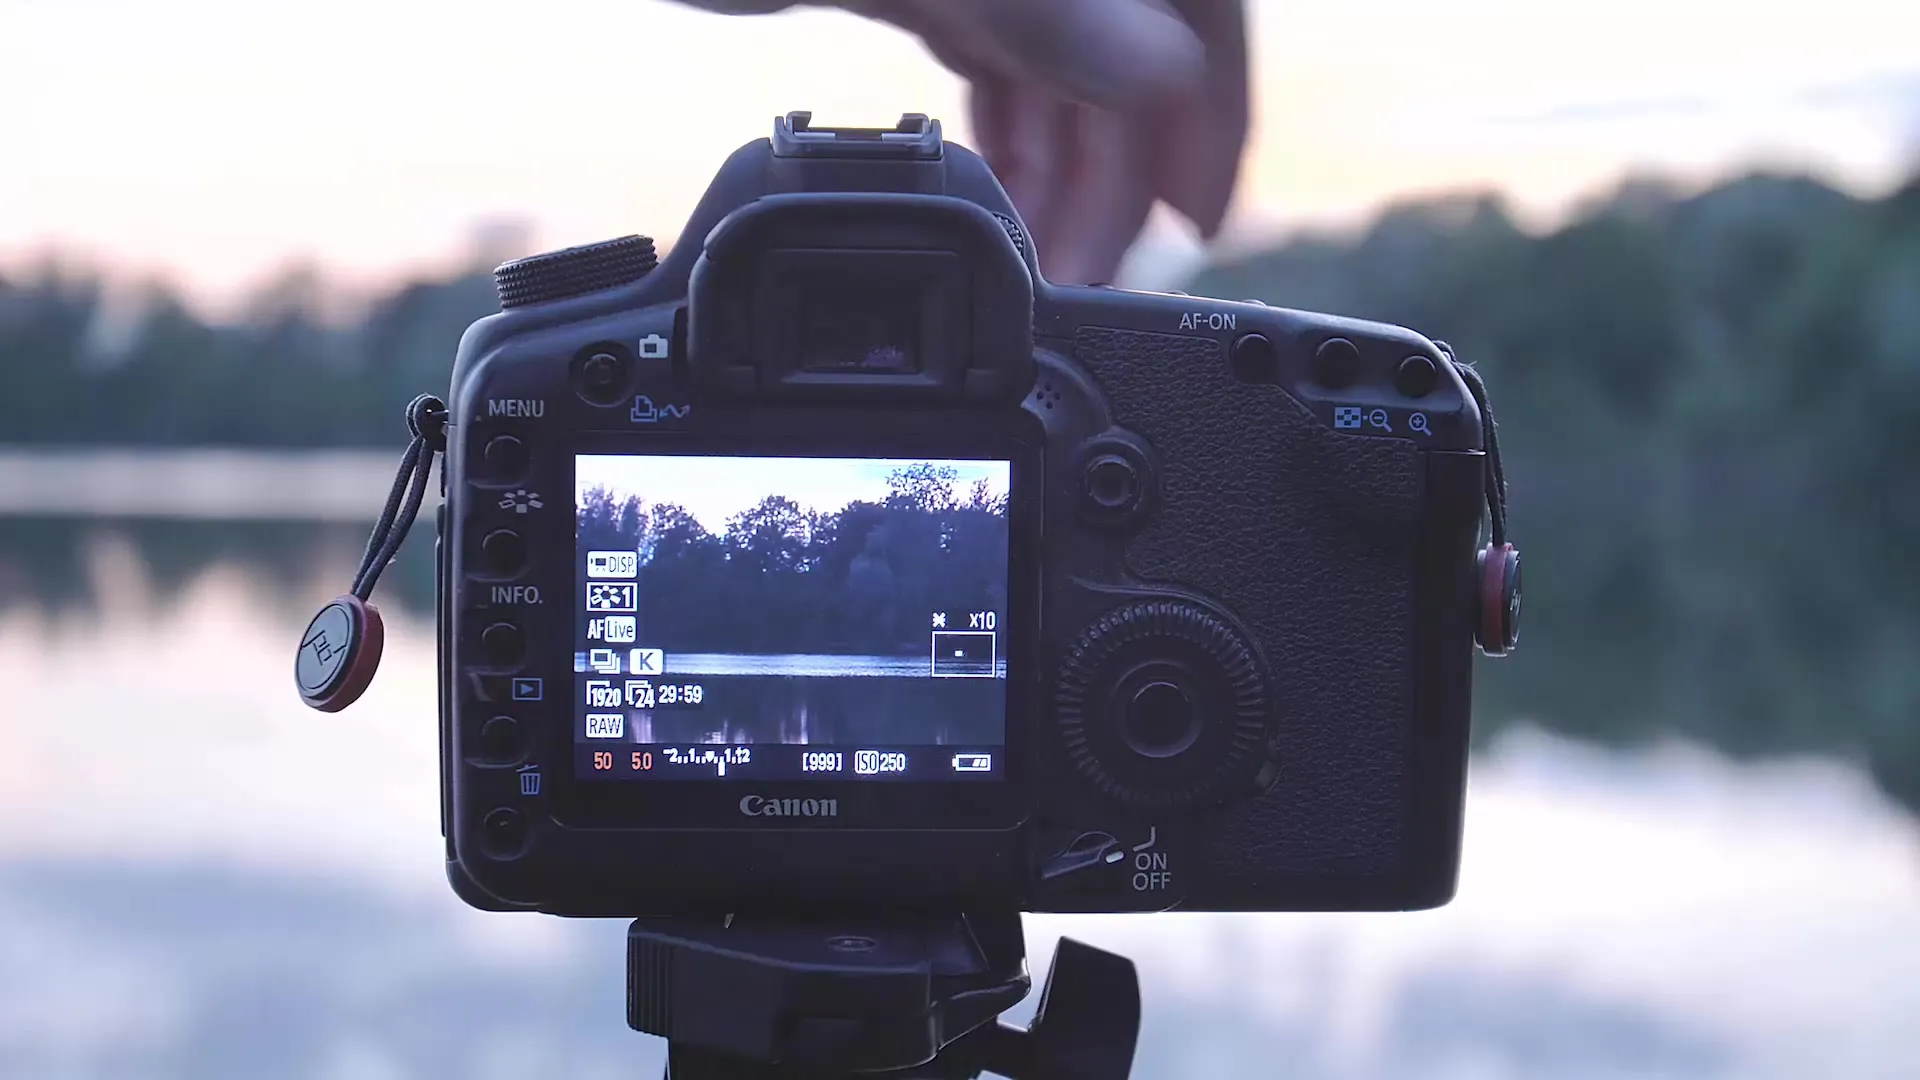
One of the most effective methods for precise focusing is using the live view mode of your camera. This mode gives you a better overview of the subject, especially when working in low light conditions. Turn on live view to zoom into your scene more easily and highlight details you wish to focus on.
3. Use the Zoom Button
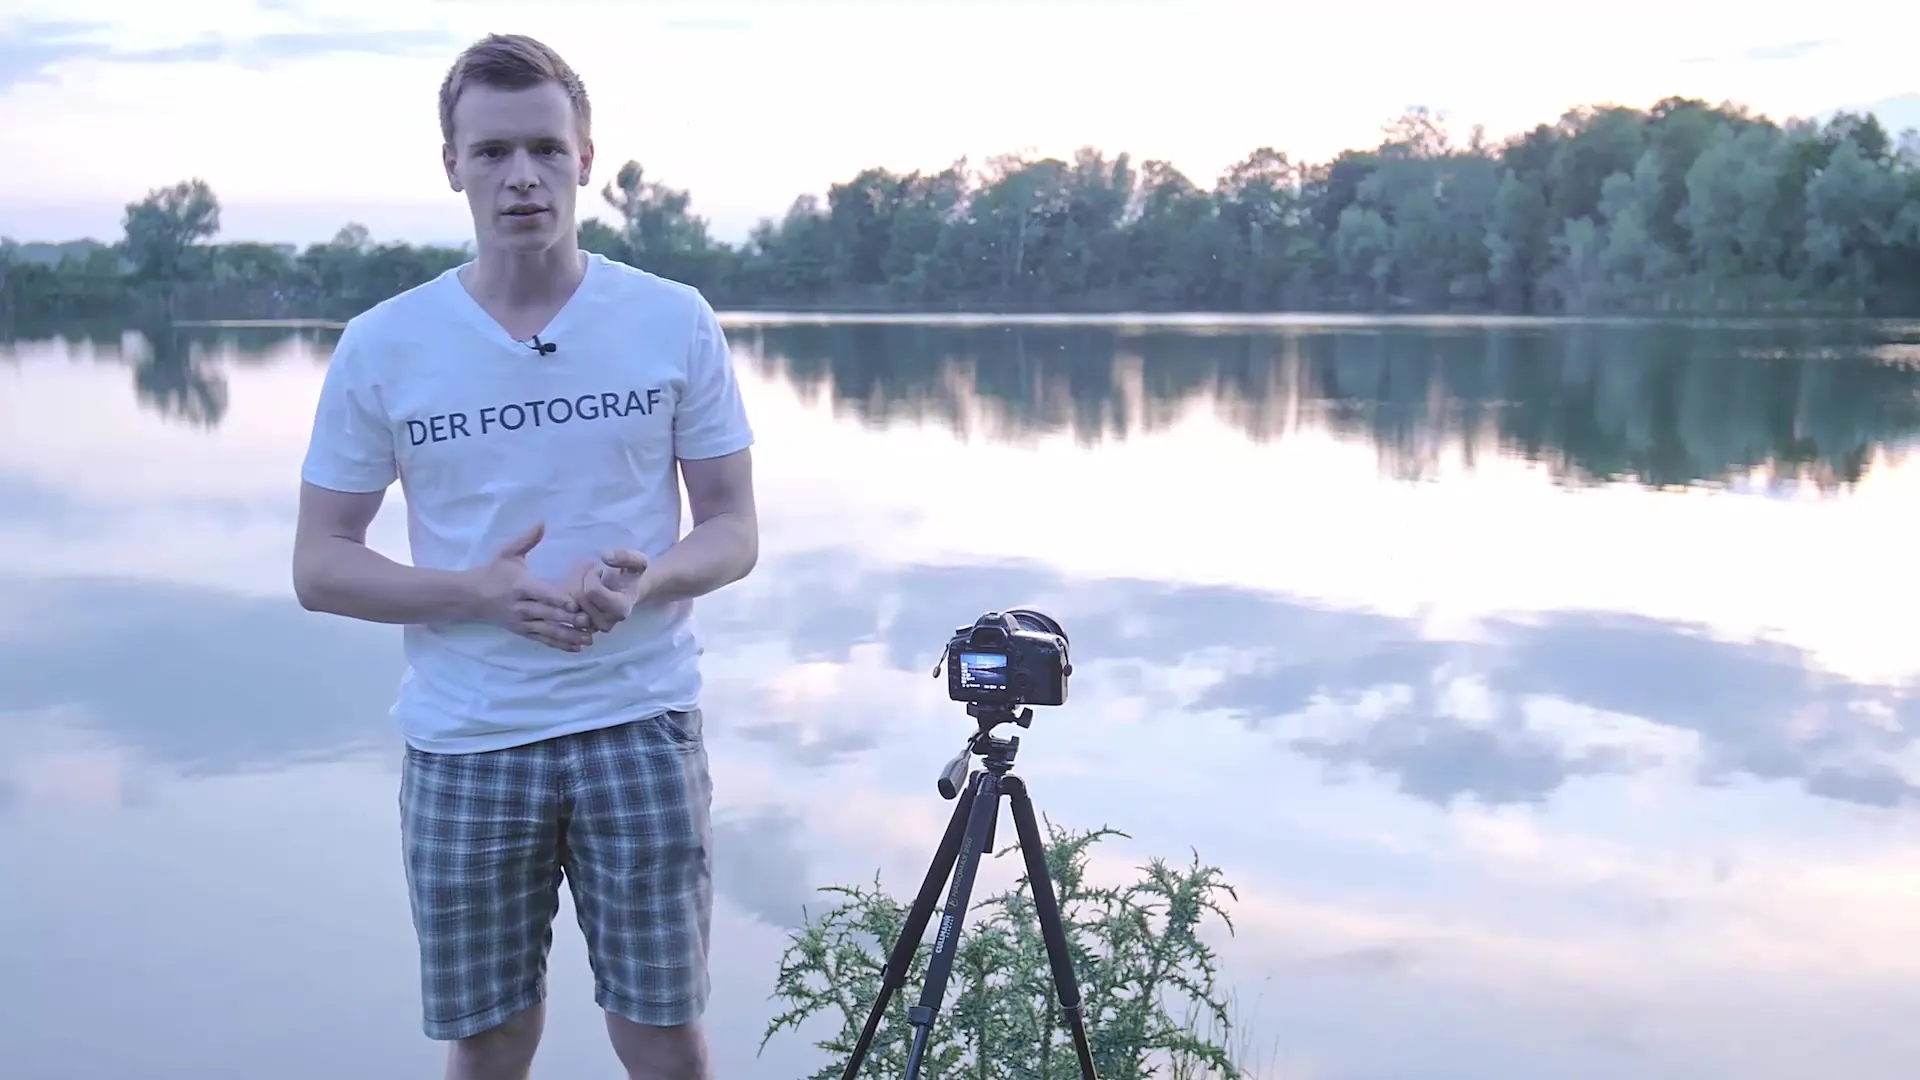
Most modern cameras come with a zoom button that allows you to zoom into the image view. This button enables you to select the exact point you want to focus on. Locate the zoom button on your camera and use it to enlarge the desired area. This is particularly useful in landscape photography, where you want to focus on fine details like tree bark or rocks.
4. Turn the Focus Ring
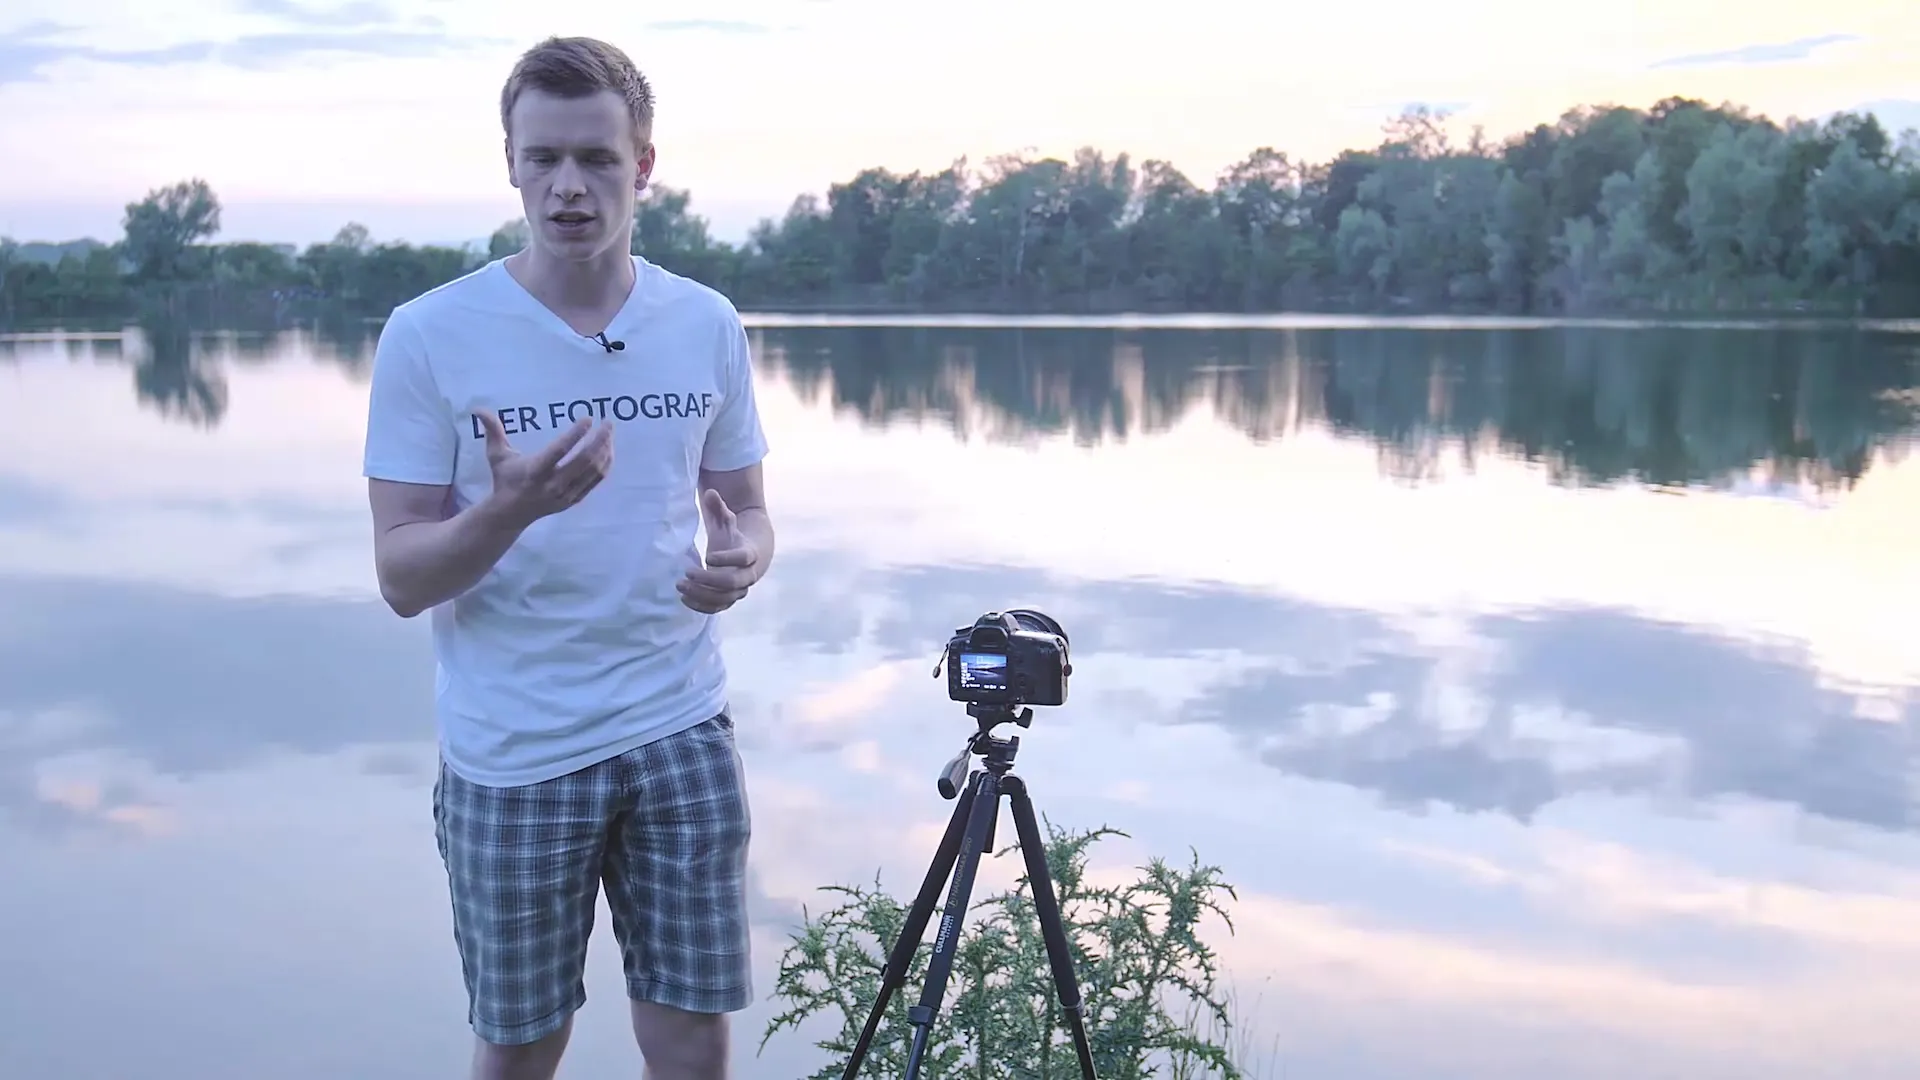
Once you have zoomed in on the desired detail in live view mode, it is time to turn the focus ring on your camera. You should notice that the image becomes sharper with each slight movement of the focus ring. Ideally, use a tenfold magnification to ensure that everything is perfectly focused. This ensures you set the sharp point optimally without relying on luck.
5. Zoom Out and Take the Shot
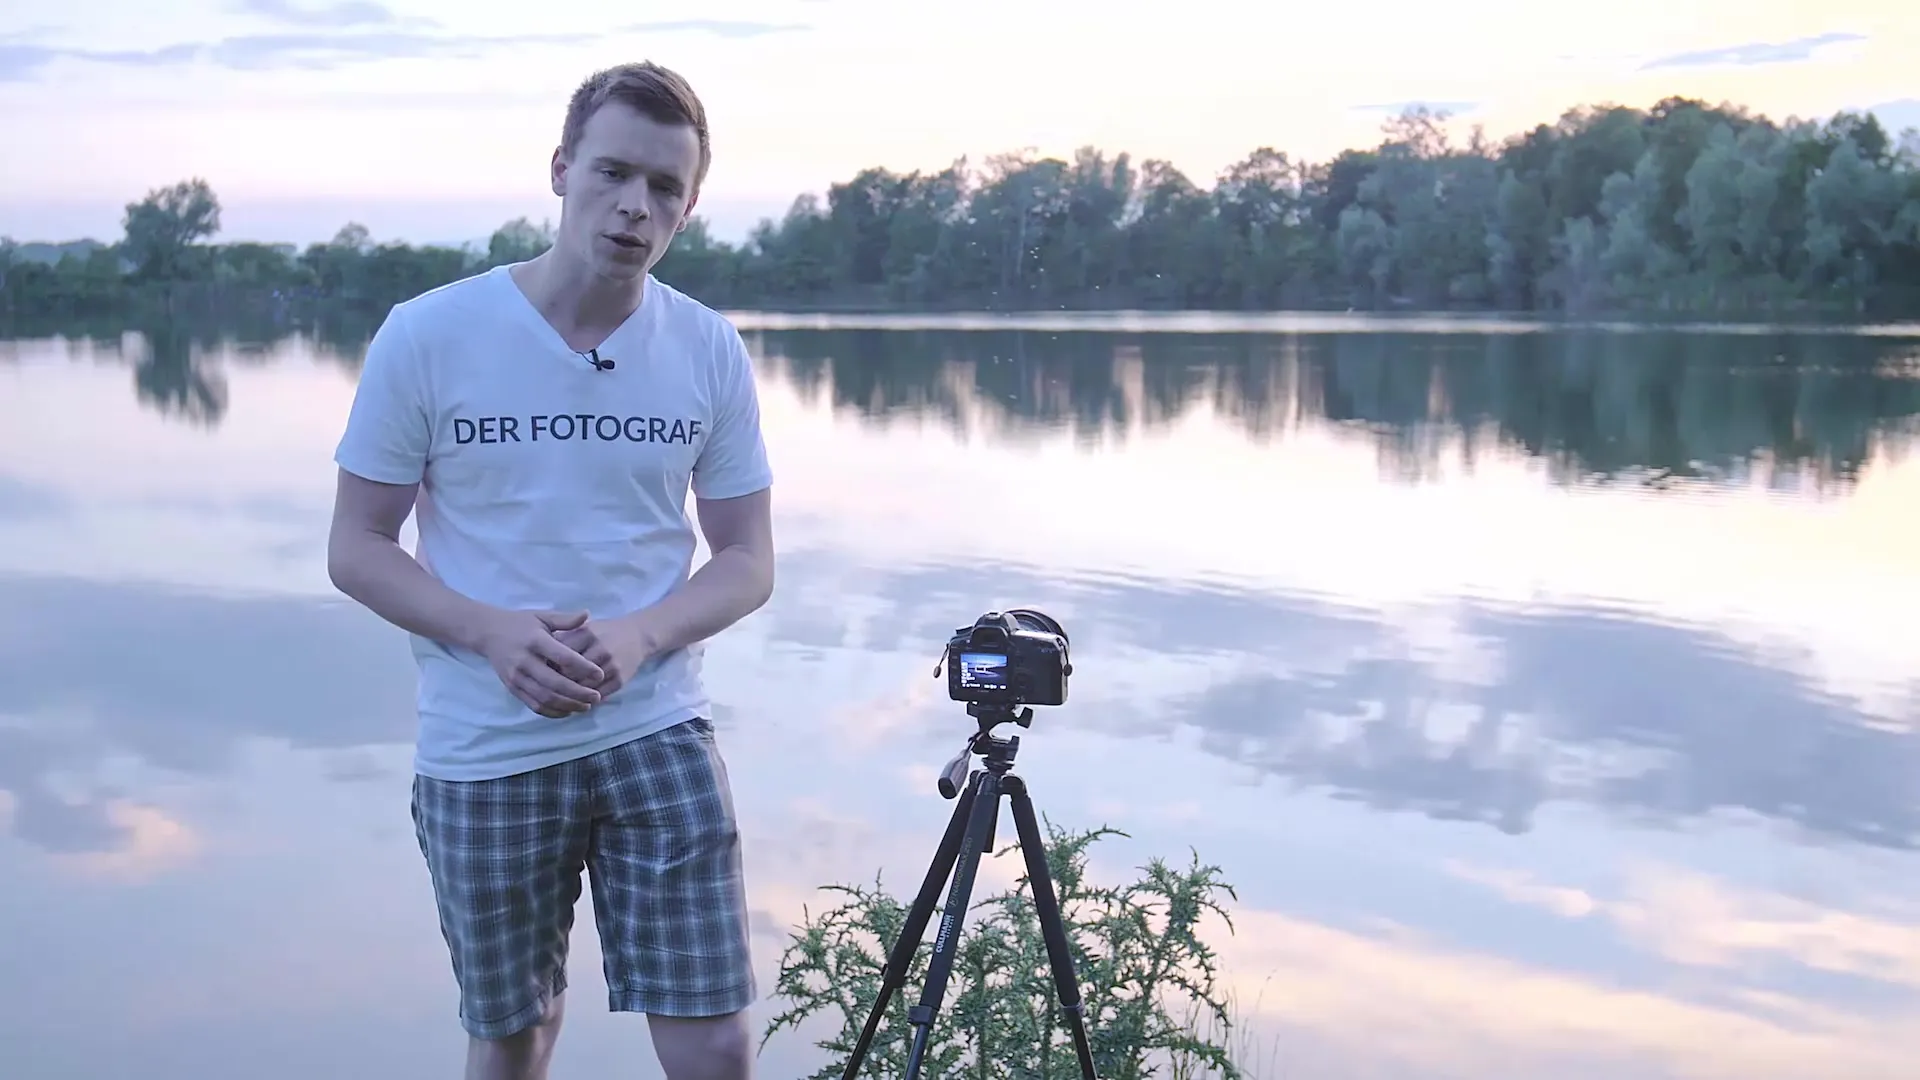
After completing the focusing process, you can zoom out again. Now you don't have to worry about whether the image is actually sharp, as you have already checked it at 100%. Turn the manual focus on your camera to prevent the focus from changing during the shot. This is especially important when you are on a tripod and the scenery remains still.
6. Tips for Portraits in Low Light Conditions
If you want to take portraits in darkness or near darkness, there is also a method to set the focus manually with success. The trick is to have a good lighting setup first, whether through artificial light sources or natural light. Then temporarily turn on autofocus to set an initial focus before switching the camera to manual focus to ensure accuracy.
Summary – Manual Focus for Impressive Photos
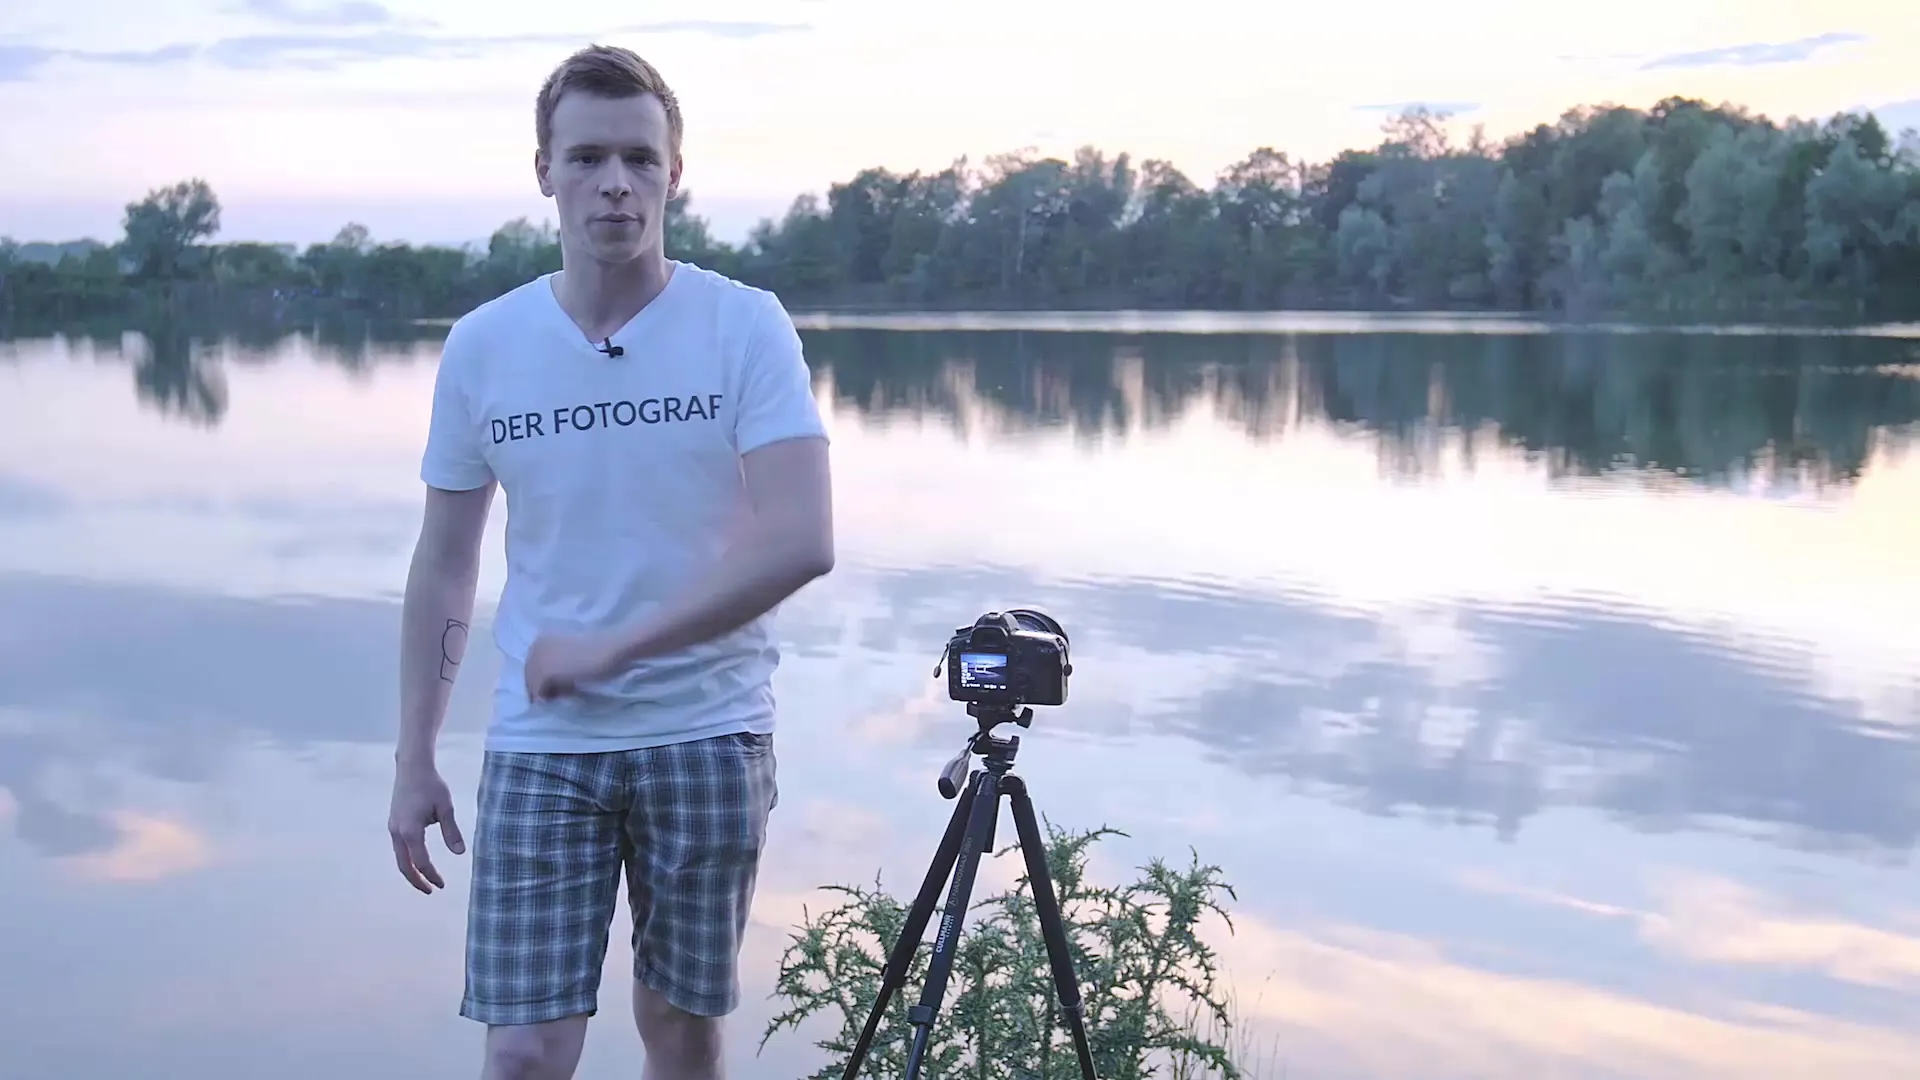
Learning how to effectively use manual focus can greatly enhance your photographic skills. With the right technique and the steps mentioned above, you can capture appealing and sharp images even in low light conditions.
Frequently Asked Questions
How do I activate the live view mode on my camera?The live view mode is activated in most cameras via a special button or in the menu.
Can I use manual focus at night?Yes, manual focus is particularly useful in low light; use a good light source for the initial focus.
What is the advantage of the zoom button?The zoom button helps you to focus more precisely by bringing details closer.
Why should I turn off autofocus when manually focusing?If autofocus remains activated, it could change the focus during the shot, leading to blurry images.
Is manual focus suitable for moving subjects?Manual focus can be challenging with moving subjects, but it is very effective with static subjects in challenging lighting situations.
