Creating beautiful clouds in digital artworks can be a challenge. Often, the right techniques and understanding of the interplay of colors and sharpness are lacking. This guide will show you how to effectively use cloud brushes to achieve authentic results. You will learn to pay attention to the ambient color and blurriness so that your clouds look natural.
Key insights
- Choose cloud brushes wisely and pay attention to opacity.
- Always work on new layers to achieve a clean result.
- Consider sharpness and the surrounding colors for greater authenticity.
- Use adjustment layers to optimize the appearance.
- Pay attention to composition so that clouds blend seamlessly into the image.
Step-by-step guide
To get the most out of your cloud brushes, here is a detailed step-by-step guide.
Step 1: Choose a brush pack
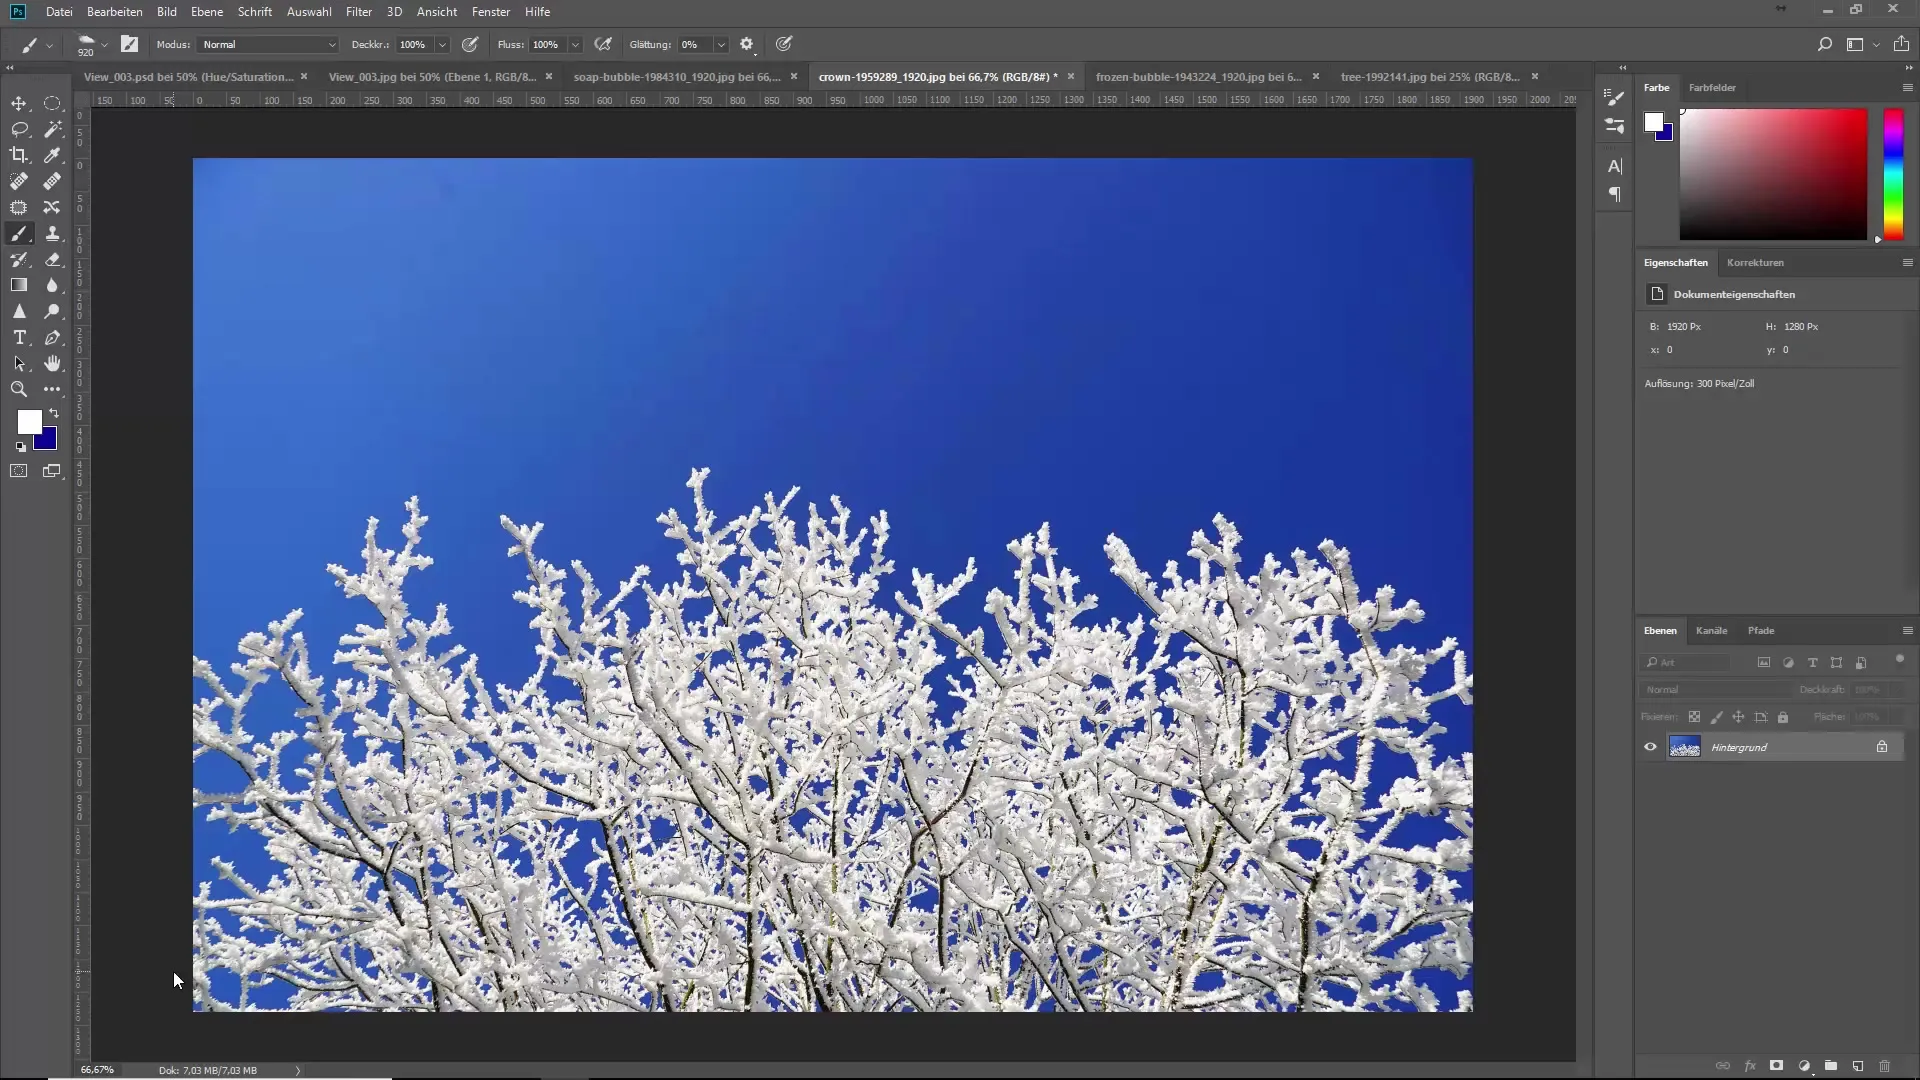
Start by downloading a brush pack that specifically contains cloud brushes. In our example, we are using Mario Jakob's cloud brushes. Import the brush pack into Photoshop.
Step 2: Select and adjust the brush
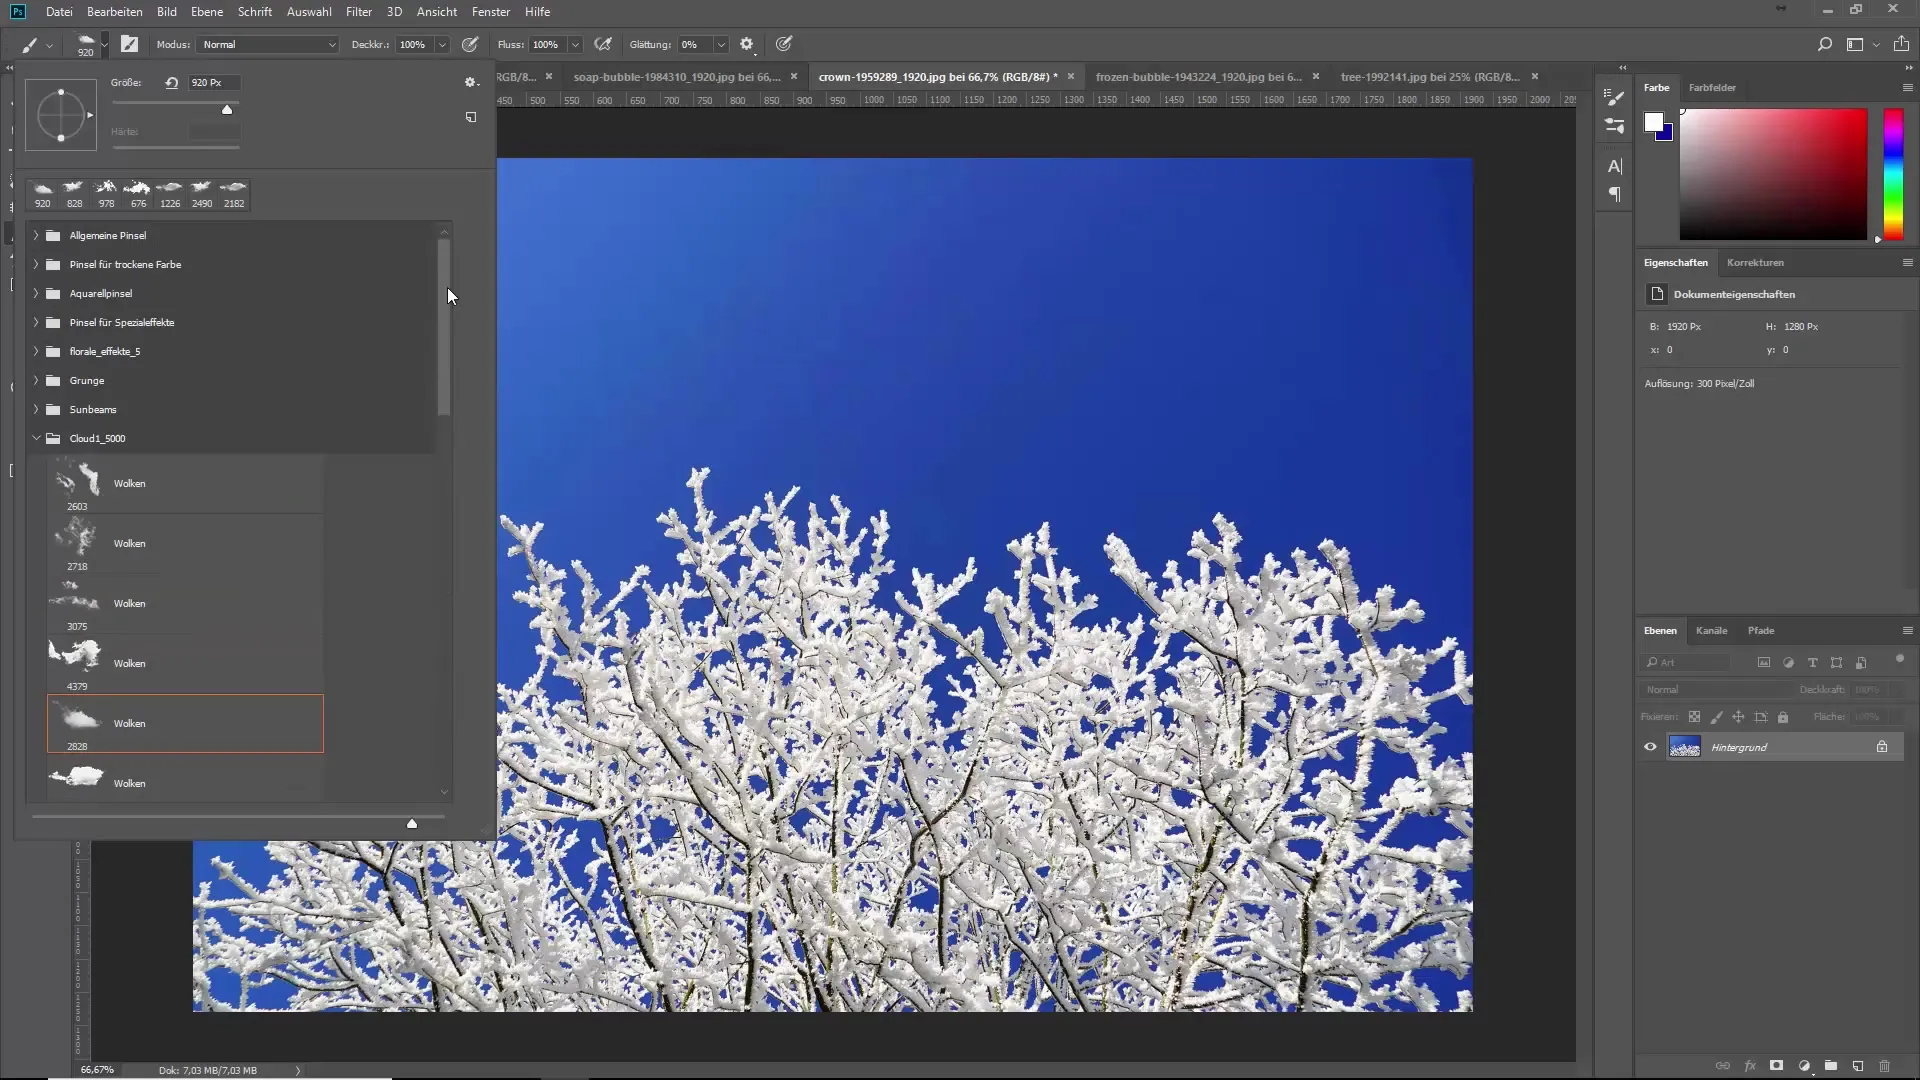
Now select a brush tip from your cloud brush pack. It makes sense to start with 100% opacity to assess the effect of the brushes. To refine the result further, you can gradually reduce the opacity to about 70-80%.
Step 3: Create clouds
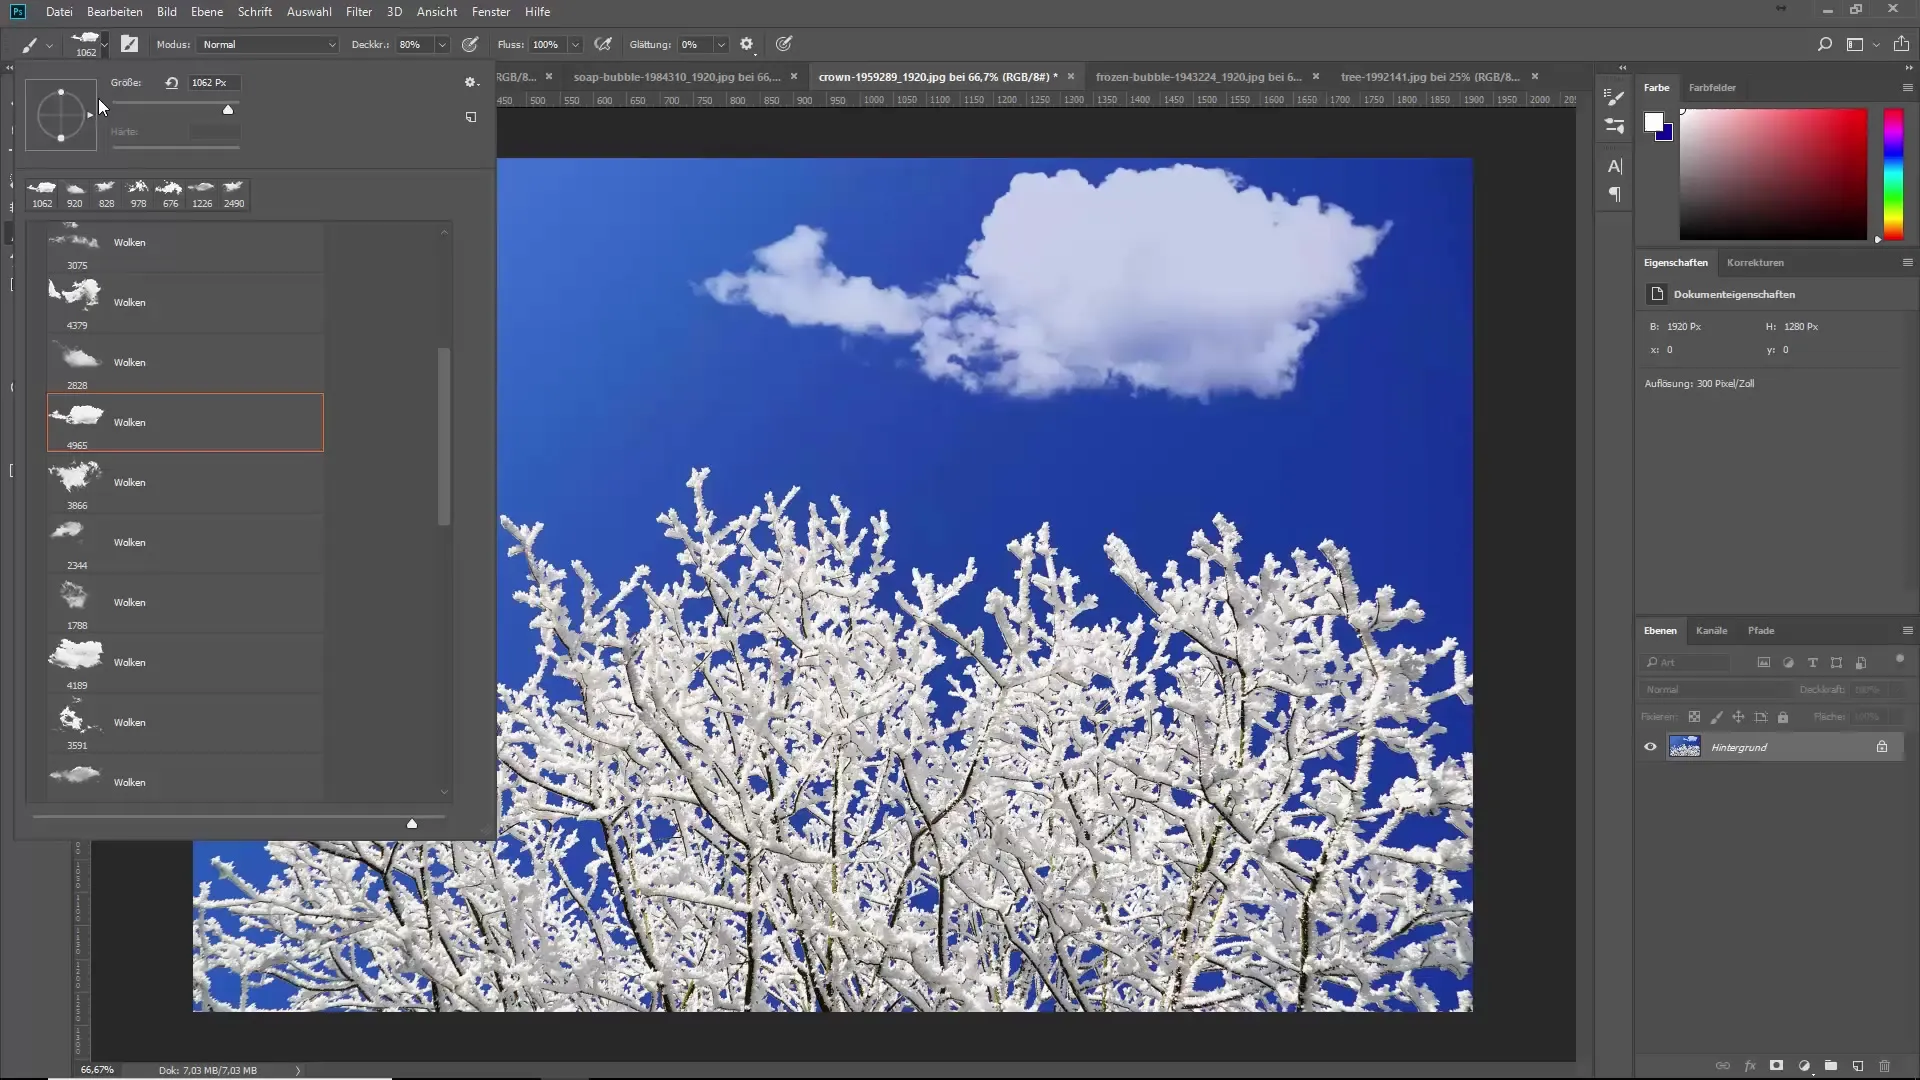
With the selected brush, you can now apply clouds on your workspace. Experiment with pressure sensitivity to create different textures. Distribute the clouds so that they form a harmonious overall image.
Step 4: Check sharpness
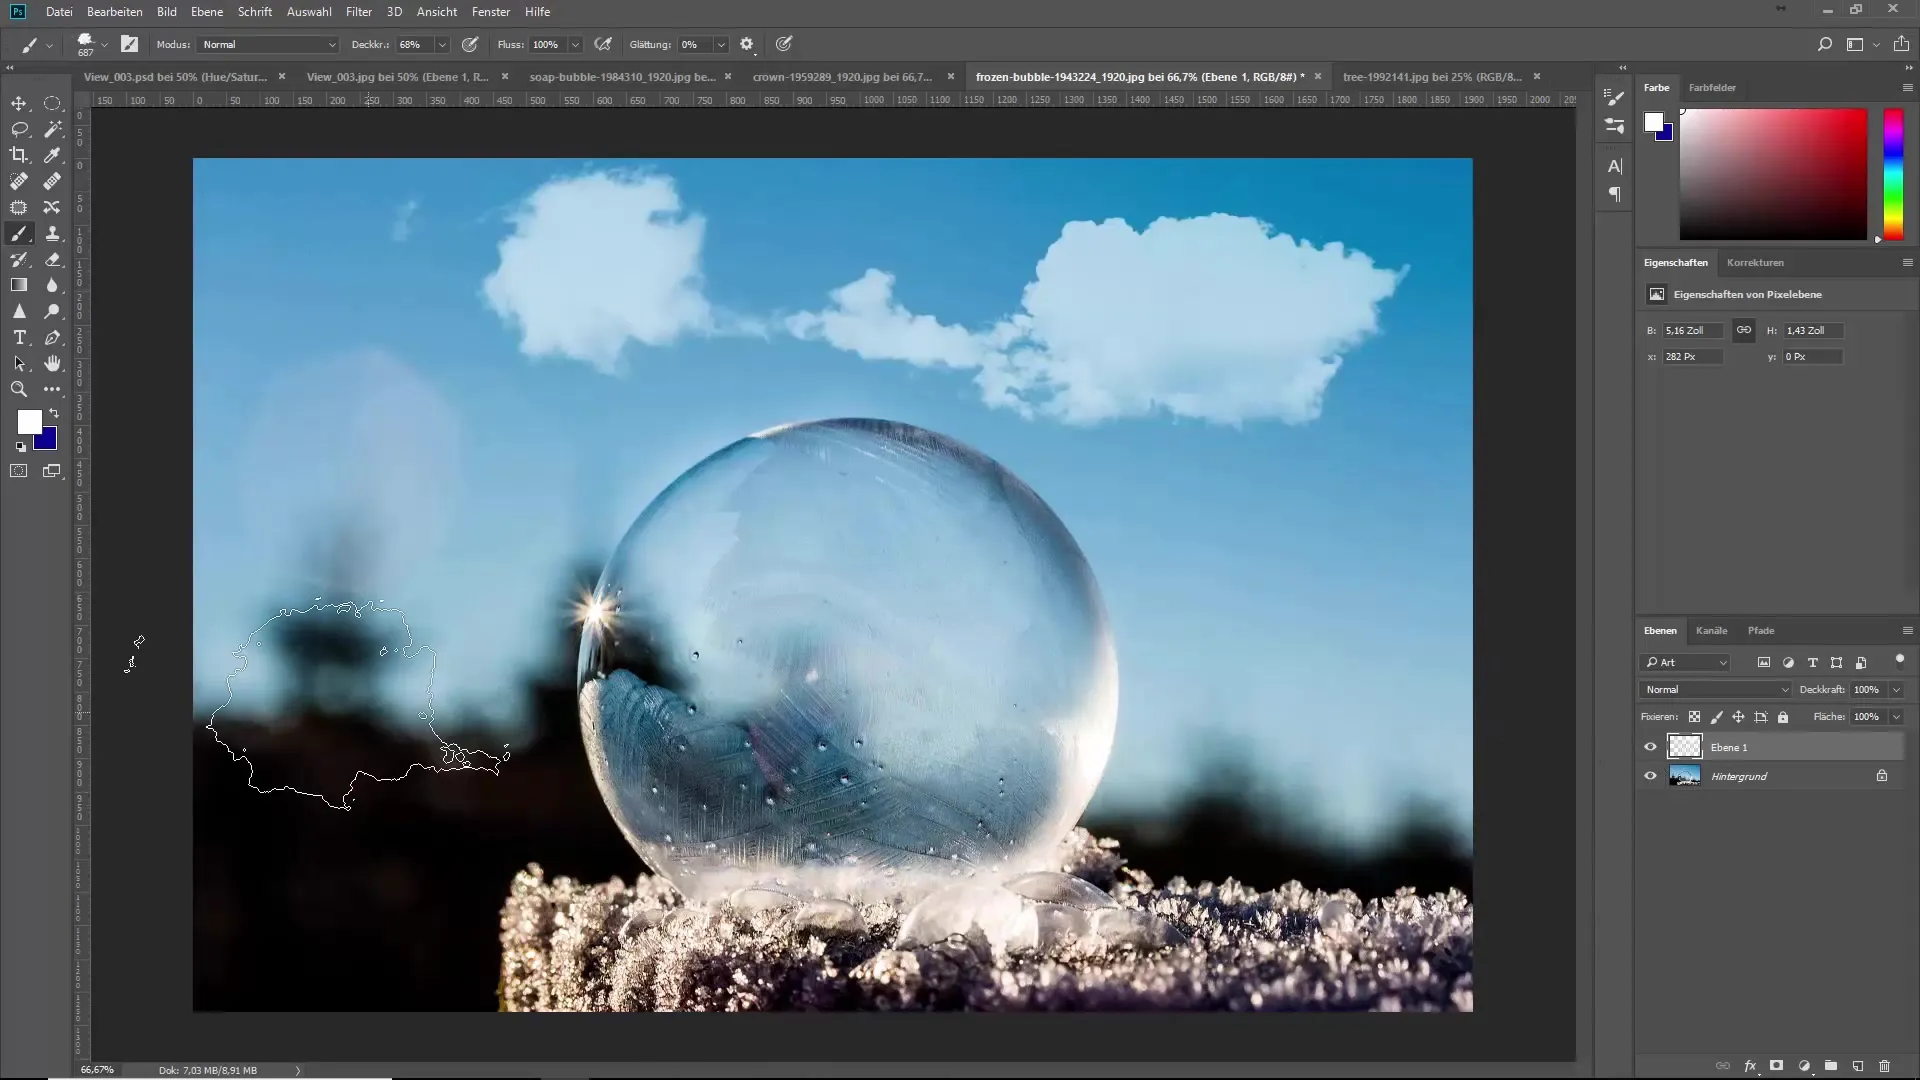
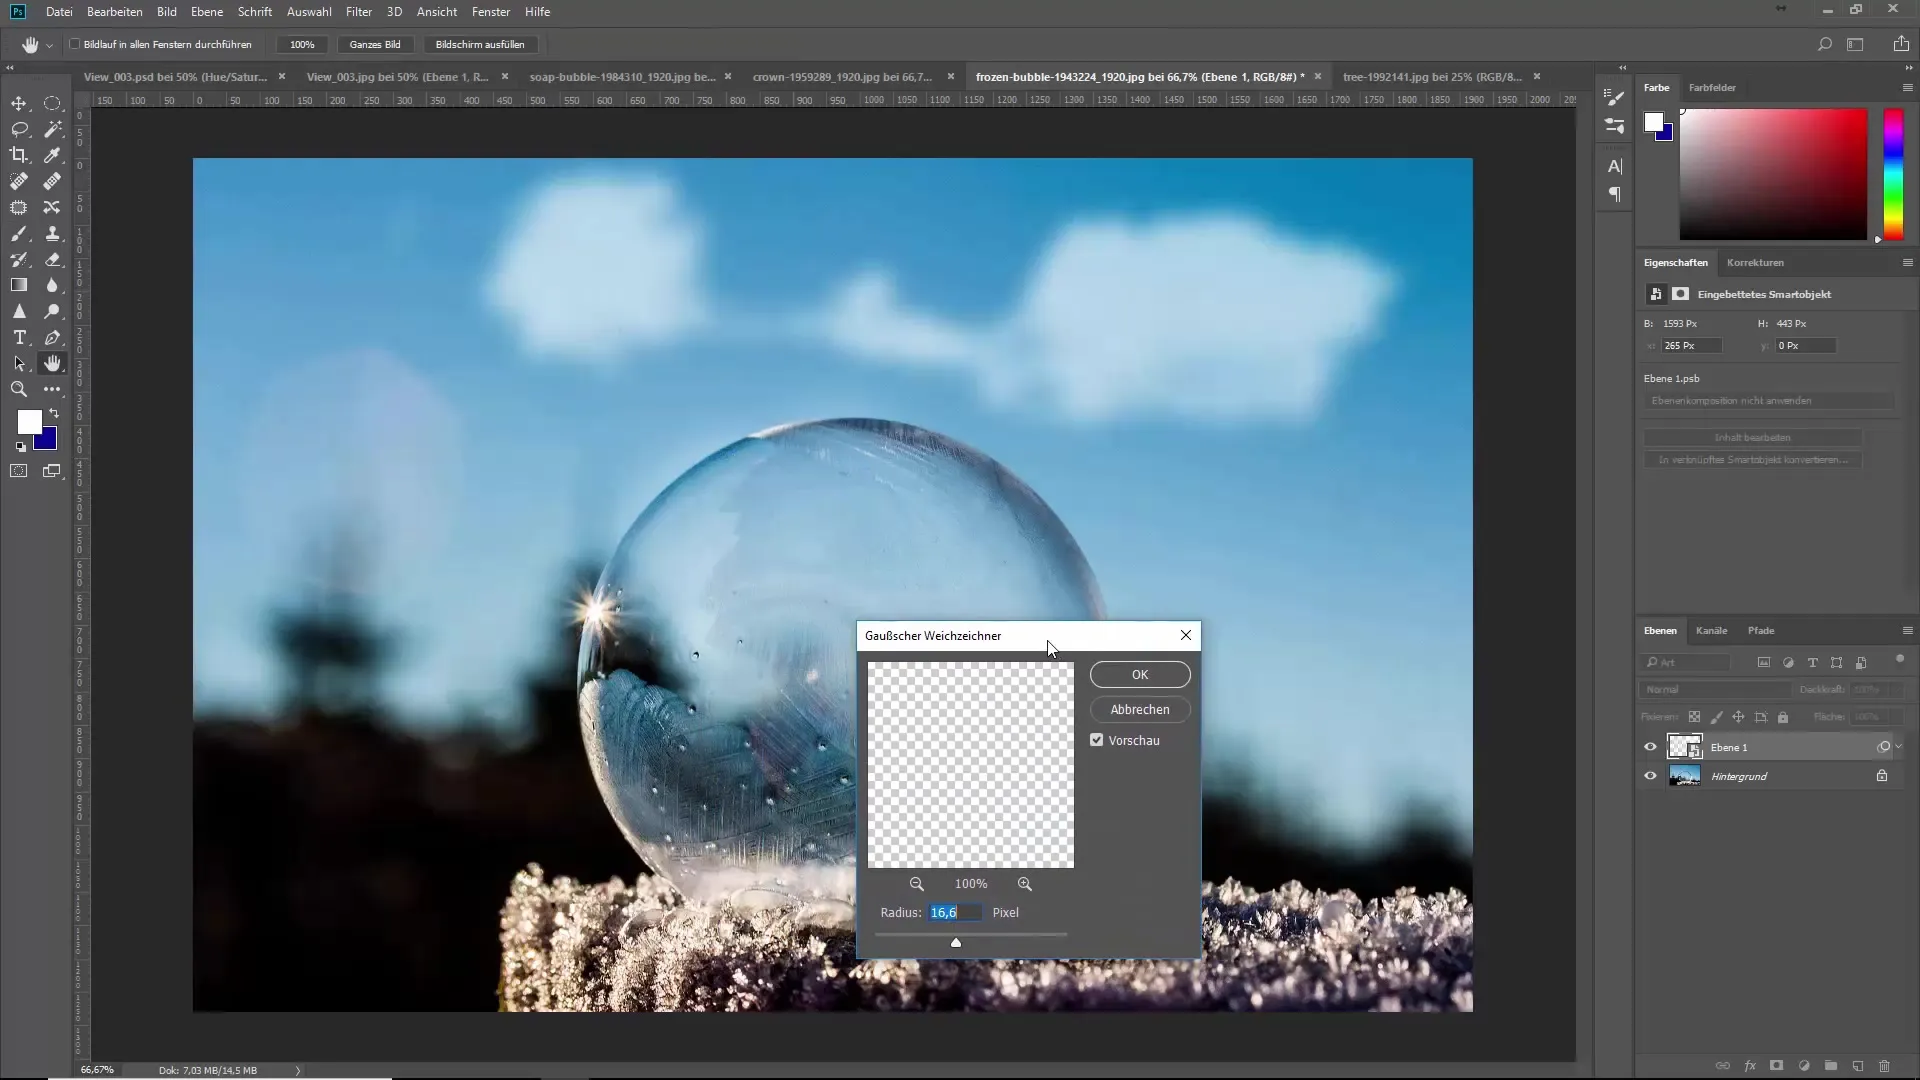
Ensure that the foreground and background have the appropriate sharpness. Often, the clouds in the foreground are sharp while the background appears blurred. This can impair the authenticity of your clouds.
Step 5: Adjust background
To enhance authenticity, you should adjust the background elements to match the clouds. Convert the layer with the clouds into a smart object. Then go to the filter options and choose Gaussian Blur to make the background blurry.
Step 6: Make color corrections
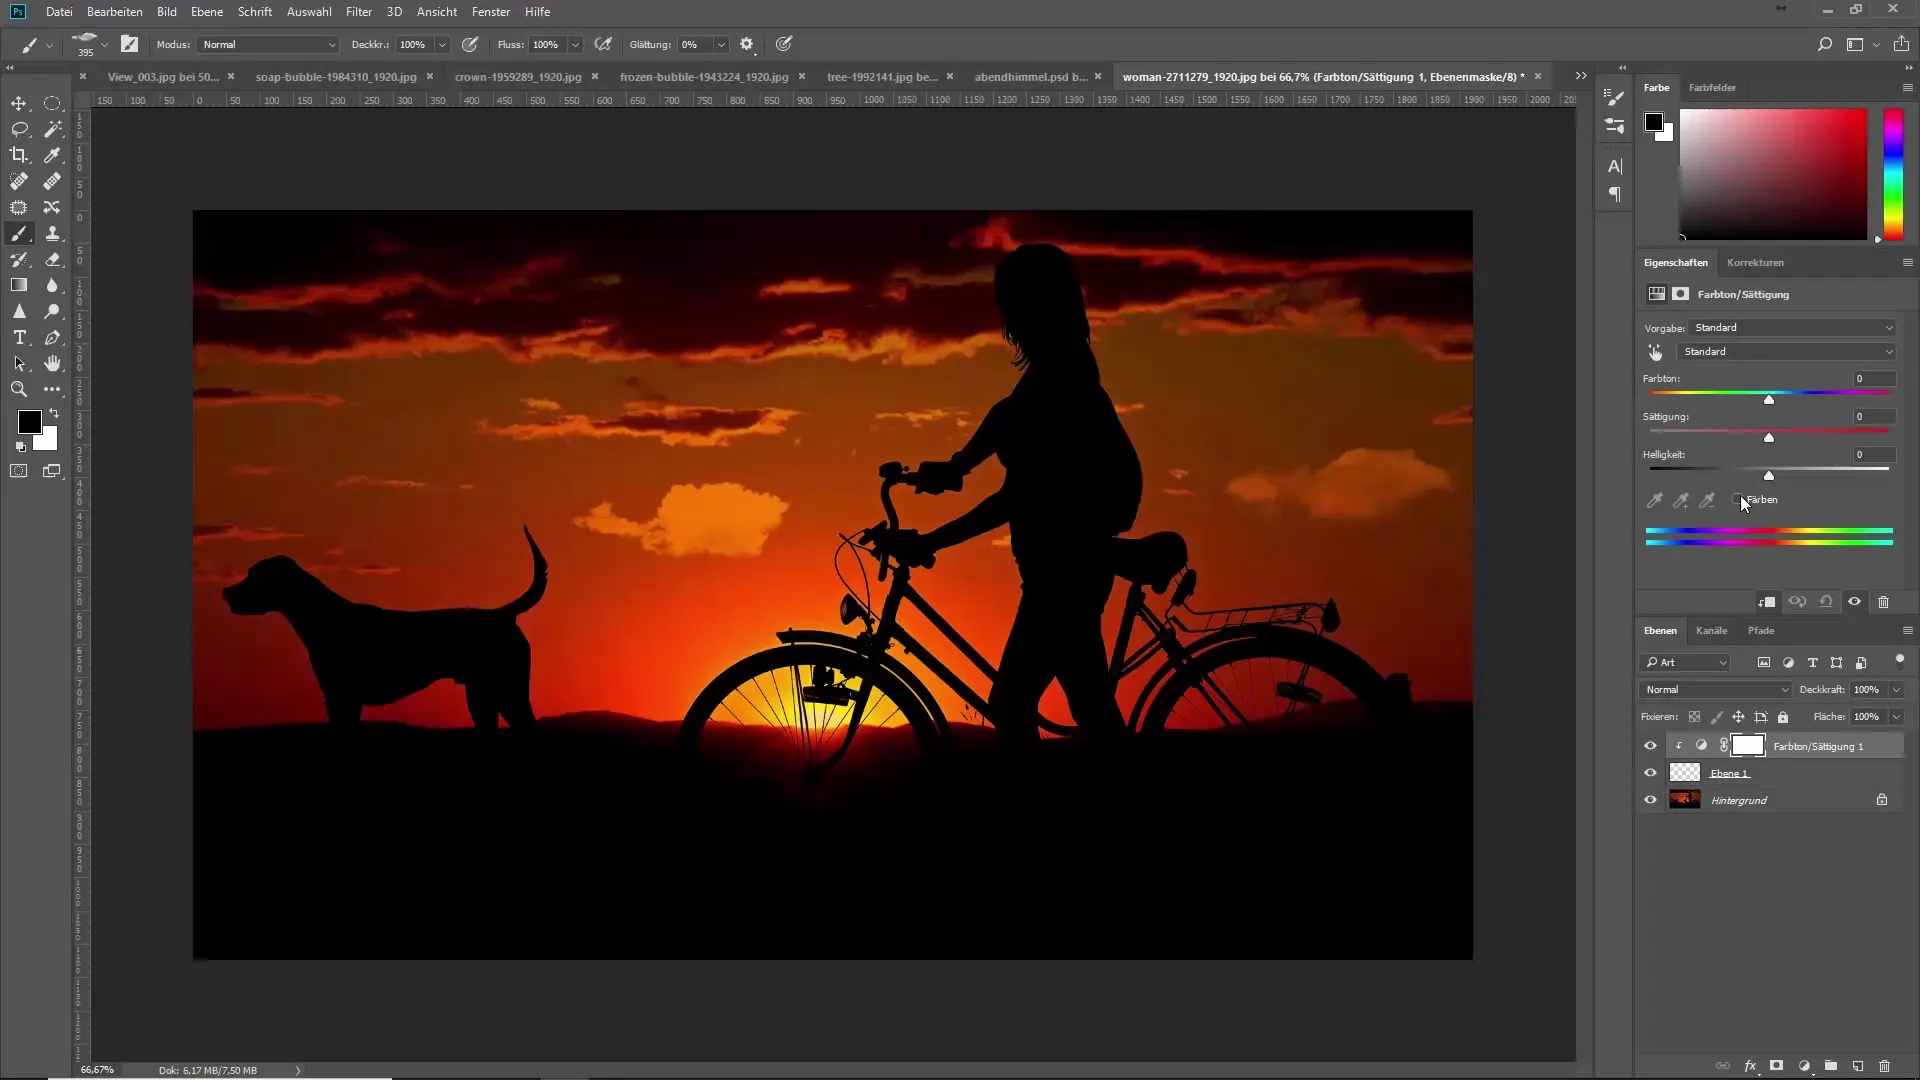
In addition to sharpness correction, it's important to coordinate the colors of your clouds with the environment. Use adjustment layers like Hue/Saturation to ensure that the colors of the clouds fit well with the surroundings.
Step 7: Adjust the clouds
Depending on the lighting conditions of the environment, you can further adjust the clouds. Use blending modes such as "Soft Light" or "Overlay" to merge the clouds with the surroundings.
Step 8: Fine-tune
If necessary, add additional settings to further optimize the image. Be sure to adjust the contrasts well and, if needed, mask areas to emphasize detail accuracy.
Step 9: Check overall impression
Regularly check your overall image. There should be a harmonious balance between all elements. If you have considered everything, your clouds should be almost seamlessly integrated into the image.
Summary – The ultimate brush training for cloud brushes
In conclusion, you now have comprehensive knowledge about how to effectively use cloud brushes to achieve realistic and authentic results. Always pay attention to the ambient color, sharpness, and overall composition so that your digital clouds look expressive and credible.
Frequently asked questions
How do I load brushes in Photoshop?Go to the menu "Edit" -> "Load Brushes" and select your brushes.
Can I customize the cloud brushes?Yes, you can adjust the opacity and size of the brushes in the brush settings.
What are smart objects?Smart objects are layers that allow for non-destructive editing.
How can I adjust the colors of my clouds?Use adjustment layers like "Hue/Saturation" to match the clouds to the environment.
Why should I work on new layers?Working on new layers allows for easier editing and better control over individual elements in the image.


