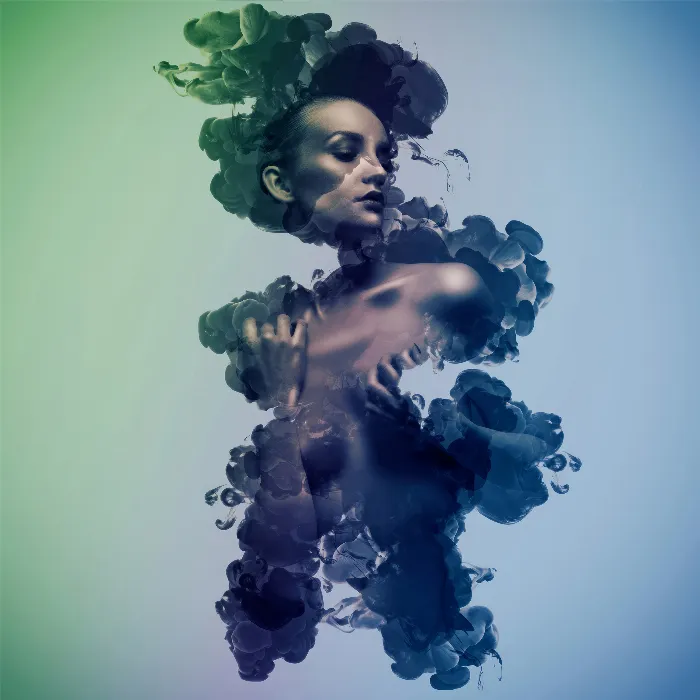
Do you want to turn your portrait photo into a creative artwork? With the right technique and the right brushes, it's easier than you think. In this guide, I will show you how to achieve impressive effects in Photoshop using ink brushes and layer masks. We will proceed step by step, so even beginners will be able to achieve the desired result. Let's dive directly into practice and create exciting creative looks together!
Key Insights
- Layer masks allow for targeted adjustments and distortions.
- The use of ink brushes creates unique effects.
- With Photoshop actions, you can achieve impressive results quickly and efficiently.
Step-by-Step Guide
Step 1: Preparing the Work Material
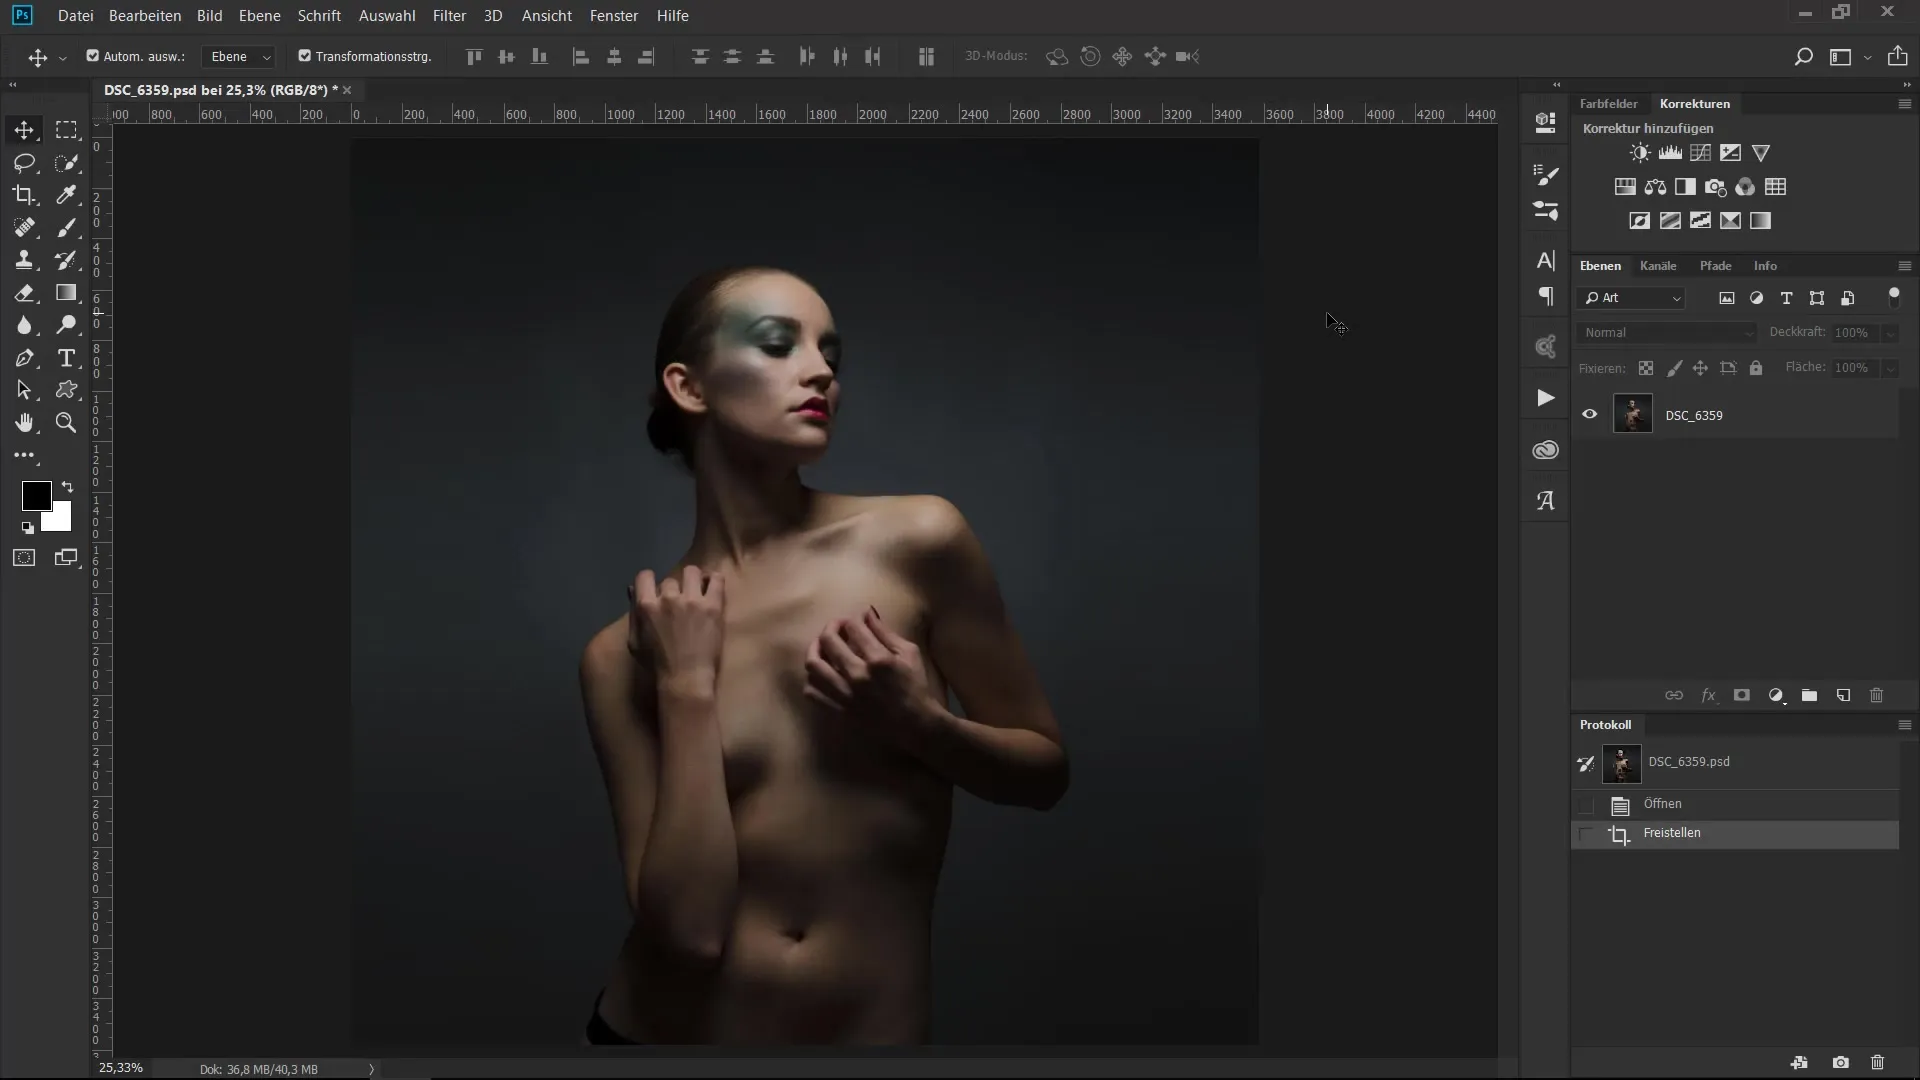
First, you need a regular portrait photo that we will use as the base material. You don't need to do any elaborate cutouts or retouching, you can start editing right away. You should place a white color area behind your image, which we will use later for the background.
Step 2: Creating the Layer Mask
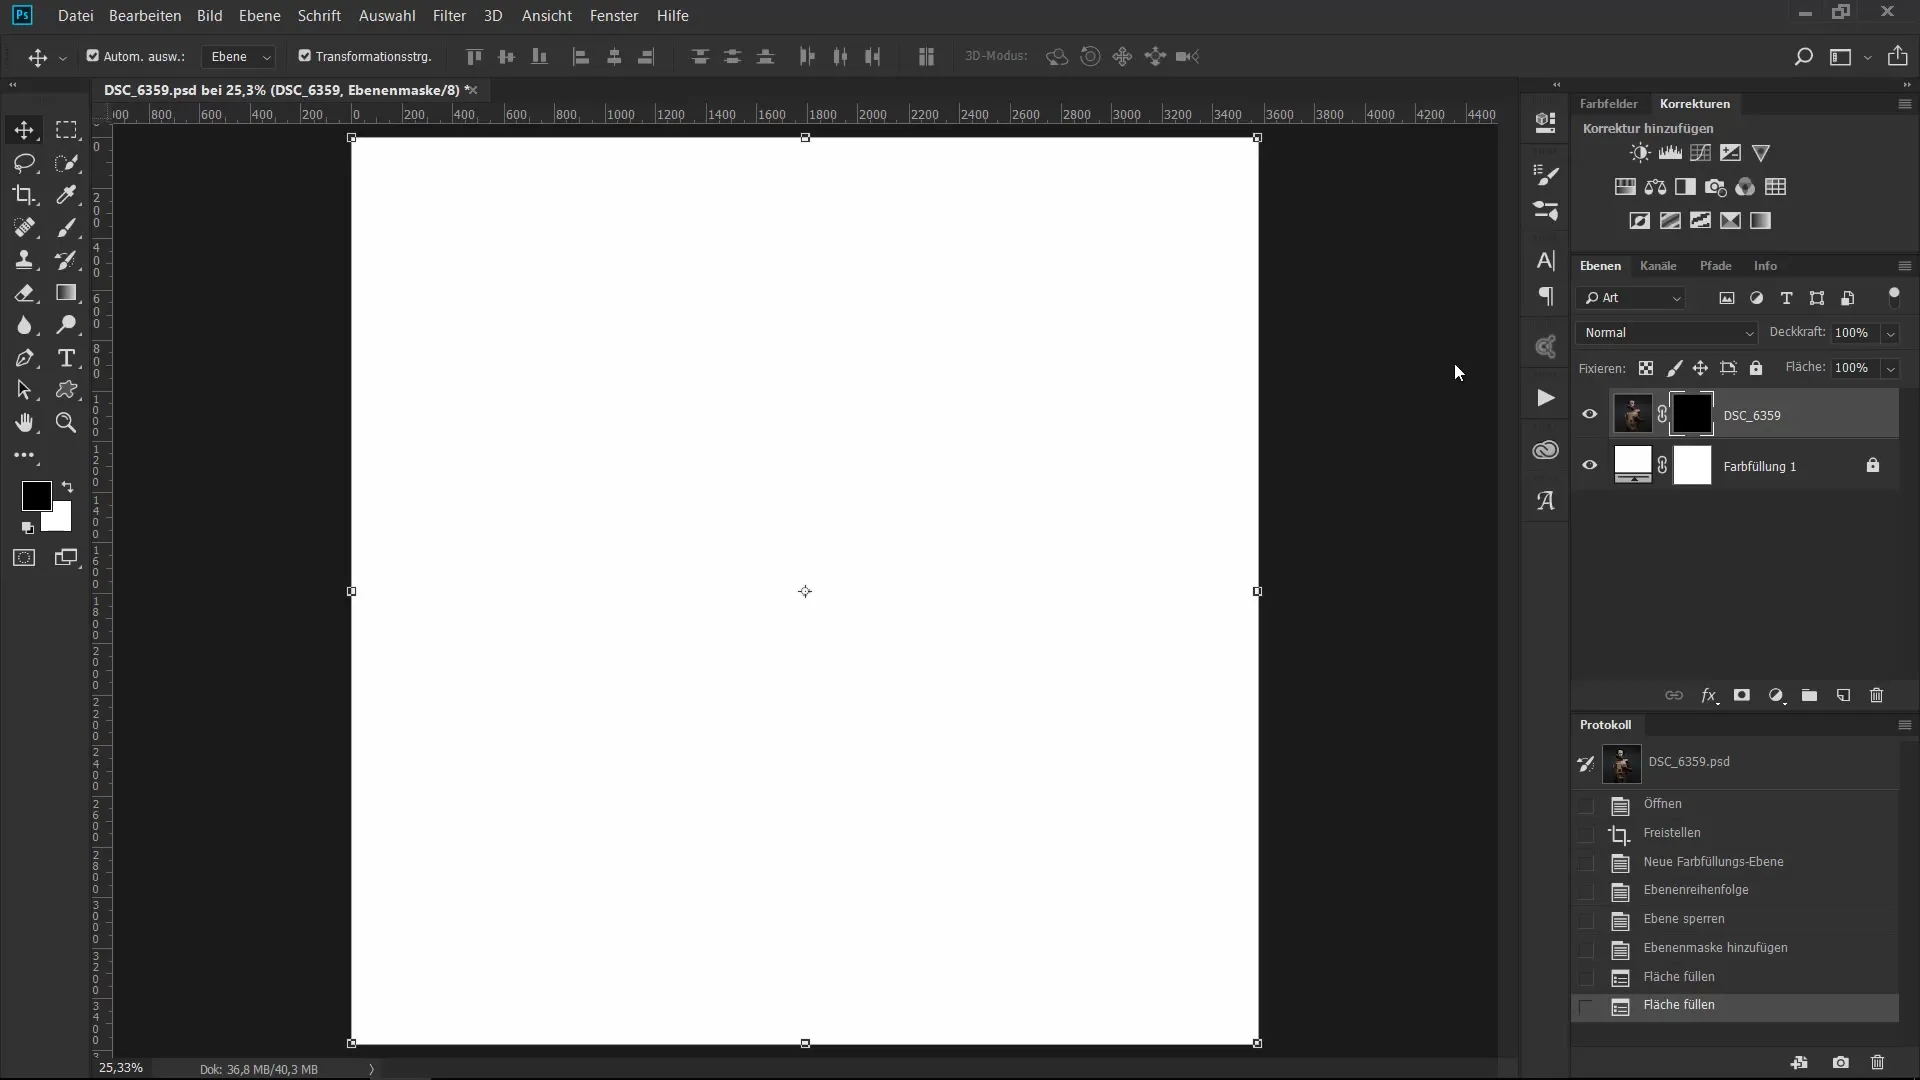
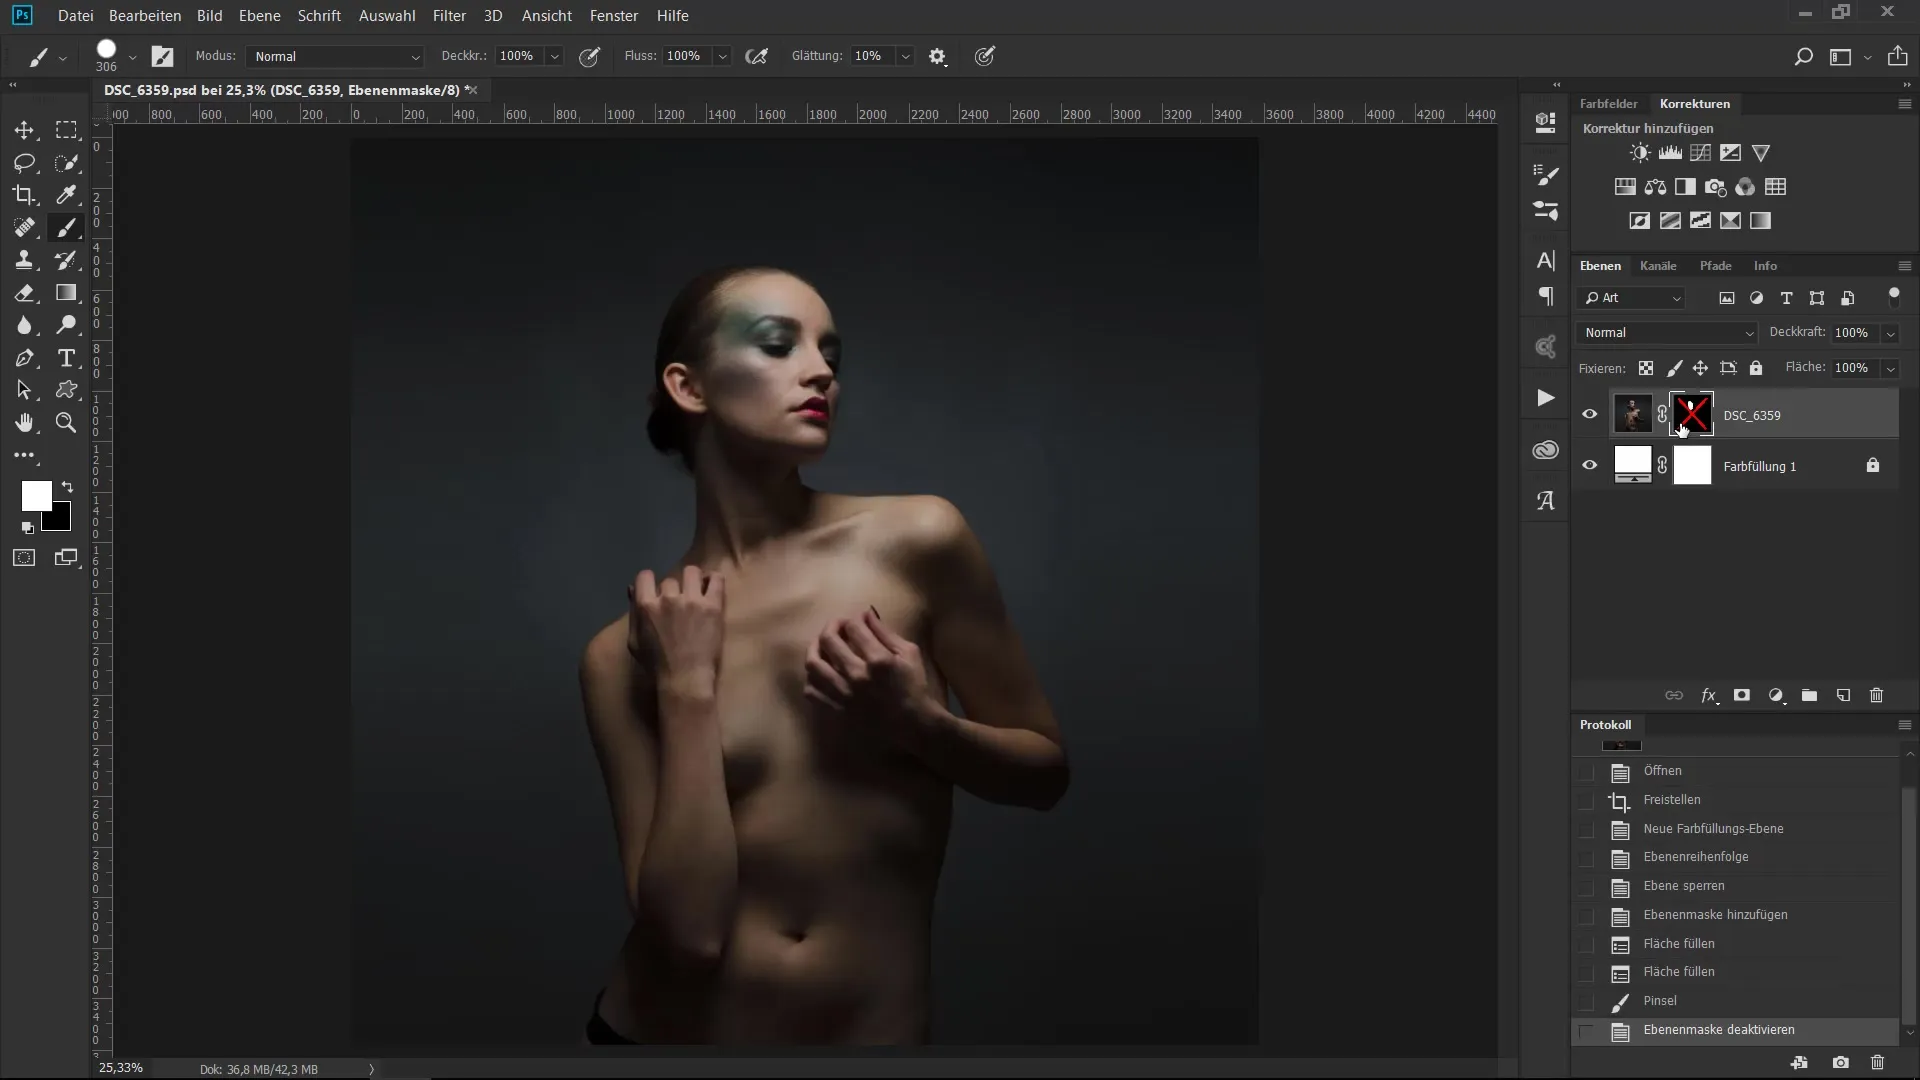
To reveal the areas of the image that you want to keep, apply a layer mask to your portrait. Hold down the Alt and Backspace keys and fill the layer mask with the color black. This will make everything you create initially invisible.
Step 3: Choosing the Brushes
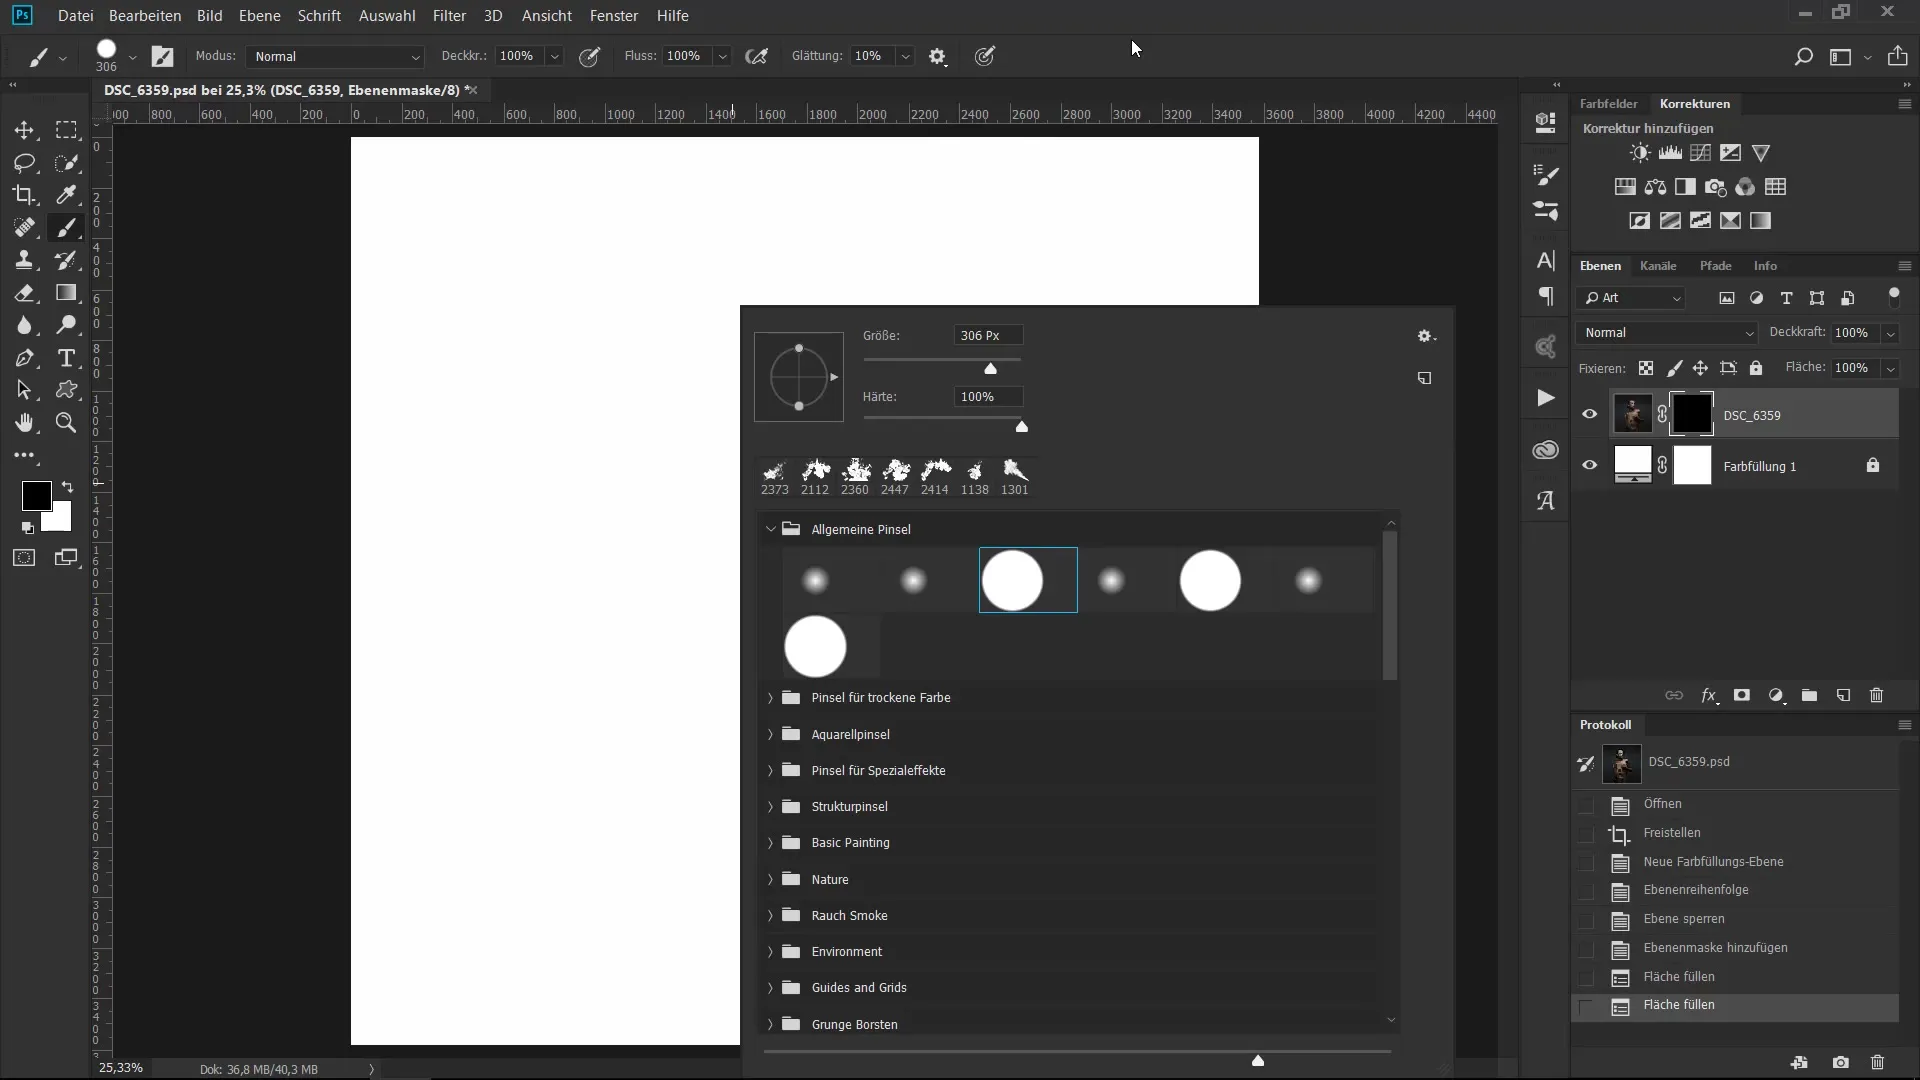
Now it's time to select your brush. You will use a hard brush with 100% opacity to gradually reveal the important parts of the portrait. For starters, you can simply set the foreground color to white.
Step 4: Painting Over the Important Passages
Now start to repaint the areas of the portrait you want to show. You can focus on the arm, the shoulder blade, and the face, for example. Be careful not to make all details visible immediately. Play with transparency and leave some parts of the image in the background.
Step 5: Considering Details
As you paint, a beautiful effect will develop. You can click on the mask holding the Shift key for more control and to ensure you are editing the correct area. It’s not about making everything perfect, but rather about creatively playing with light and shadow.
Step 6: Playing with the Ink Brushes
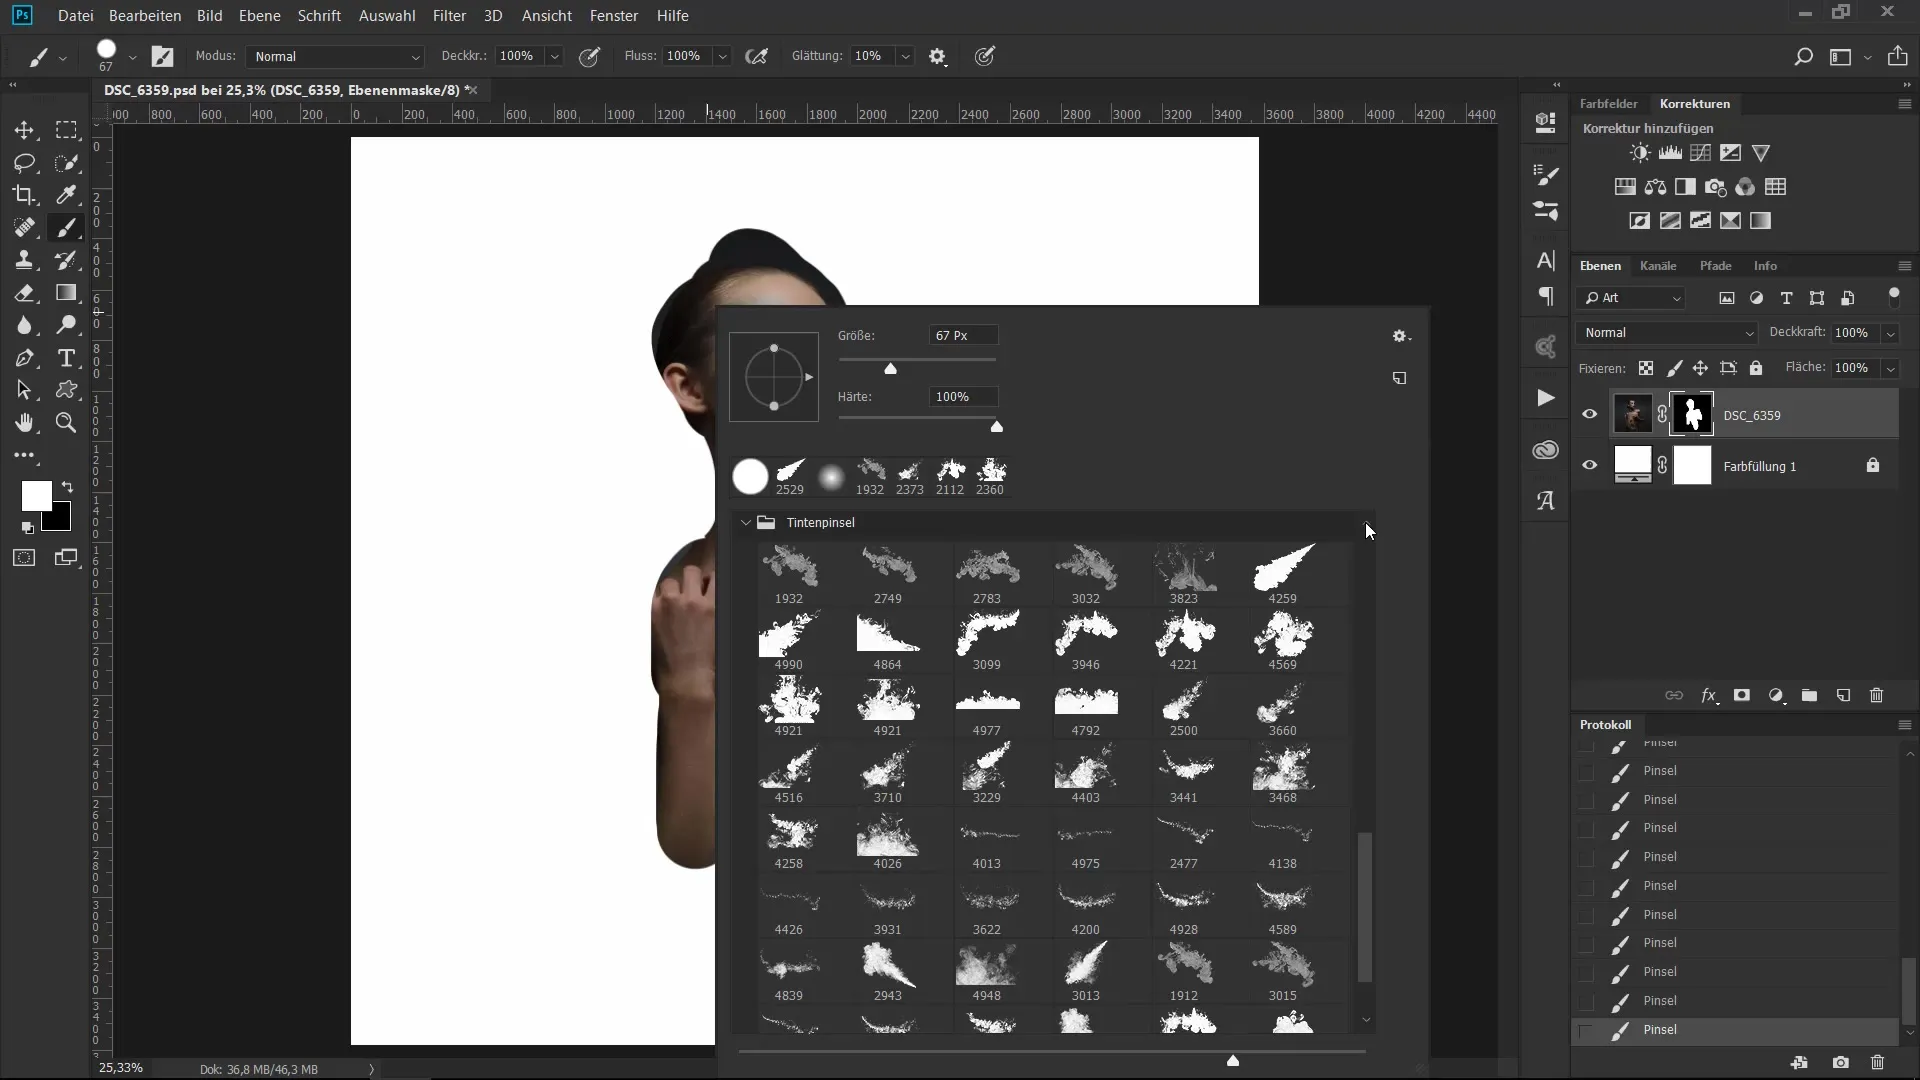
In the next step, we will start using the ink brushes to give the portrait more depth and character. Use your brush to trace the contours of the model. It may take some time, so be patient and enjoy the process.
Step 7: Reversing the Process
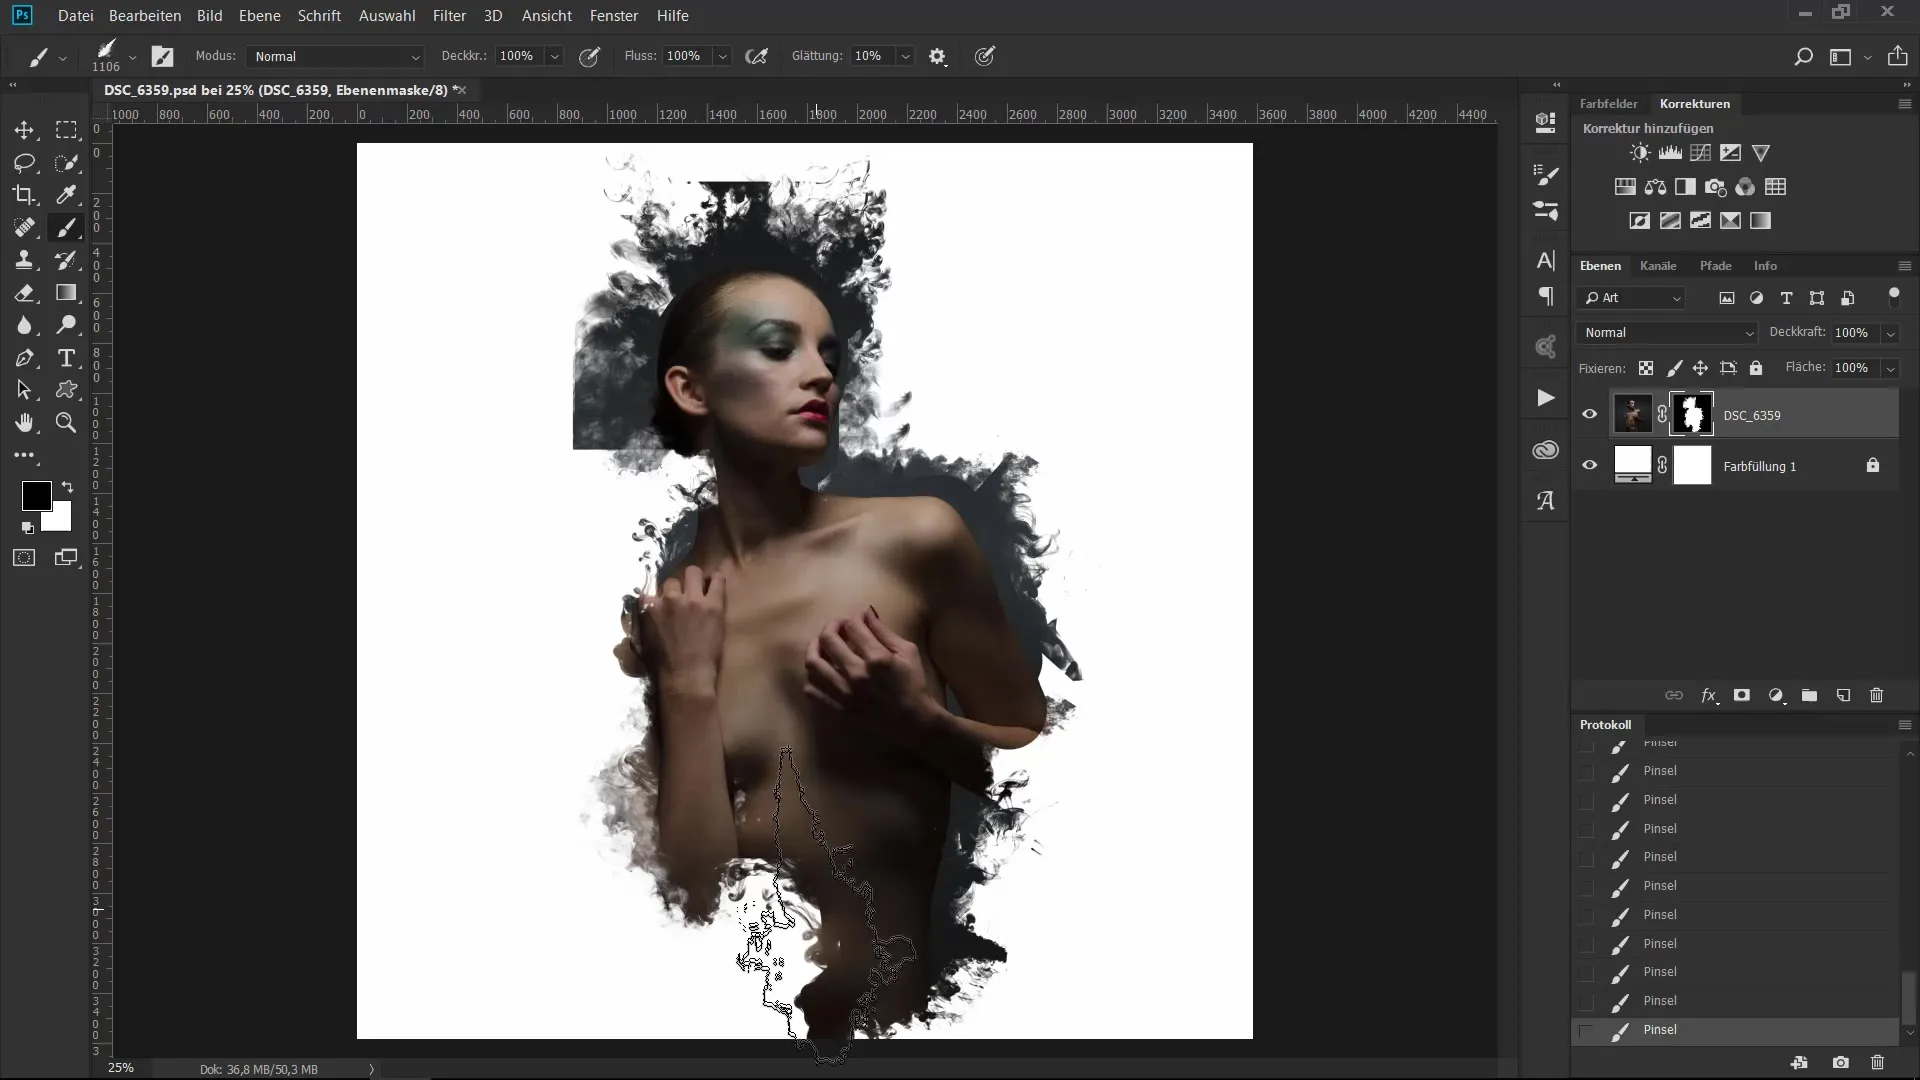
After you have set the contours, you need to paint back the selective areas to create a smooth transition between colored and transparent areas. Switch back to the foreground color black and use the same technique to hide parts again.
Step 8: Adding Color Areas
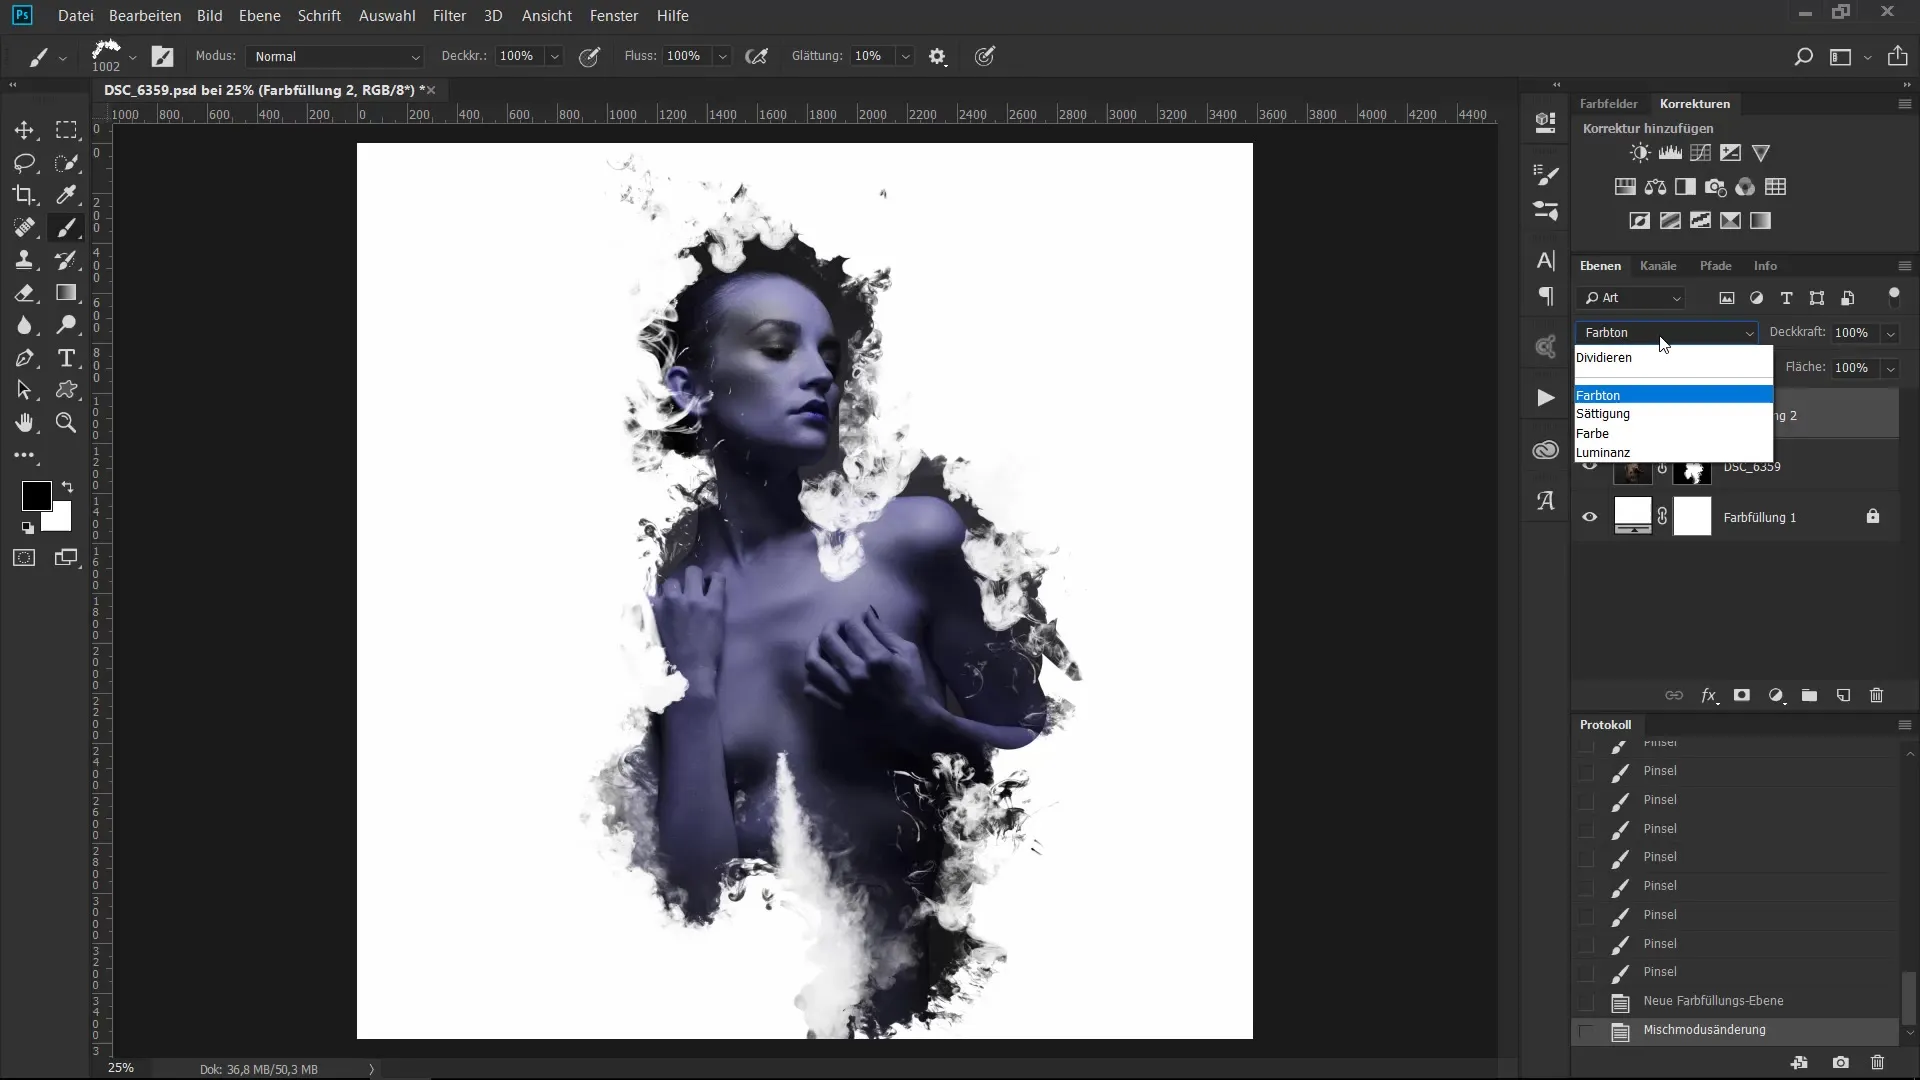
To round it off and make the artwork even more emotional, you can place a color area on top. Experiment with different blending modes to see which hues harmonize best and create the desired effect.
Step 9: Alternative Method Using Photoshop Actions
If you prefer something quicker and easier, there’s an exciting option that also delivers great results. Through the PSD shop, you can download creative Photoshop actions that are already optimized to create wonderful ink and color gradients.

Step 10: Applying the Action
Create a new layer above the portrait and select the foreground color black again. Paint some curved lines to give your design more dynamism. Then let the action play out and look at the result – you will surely like it.
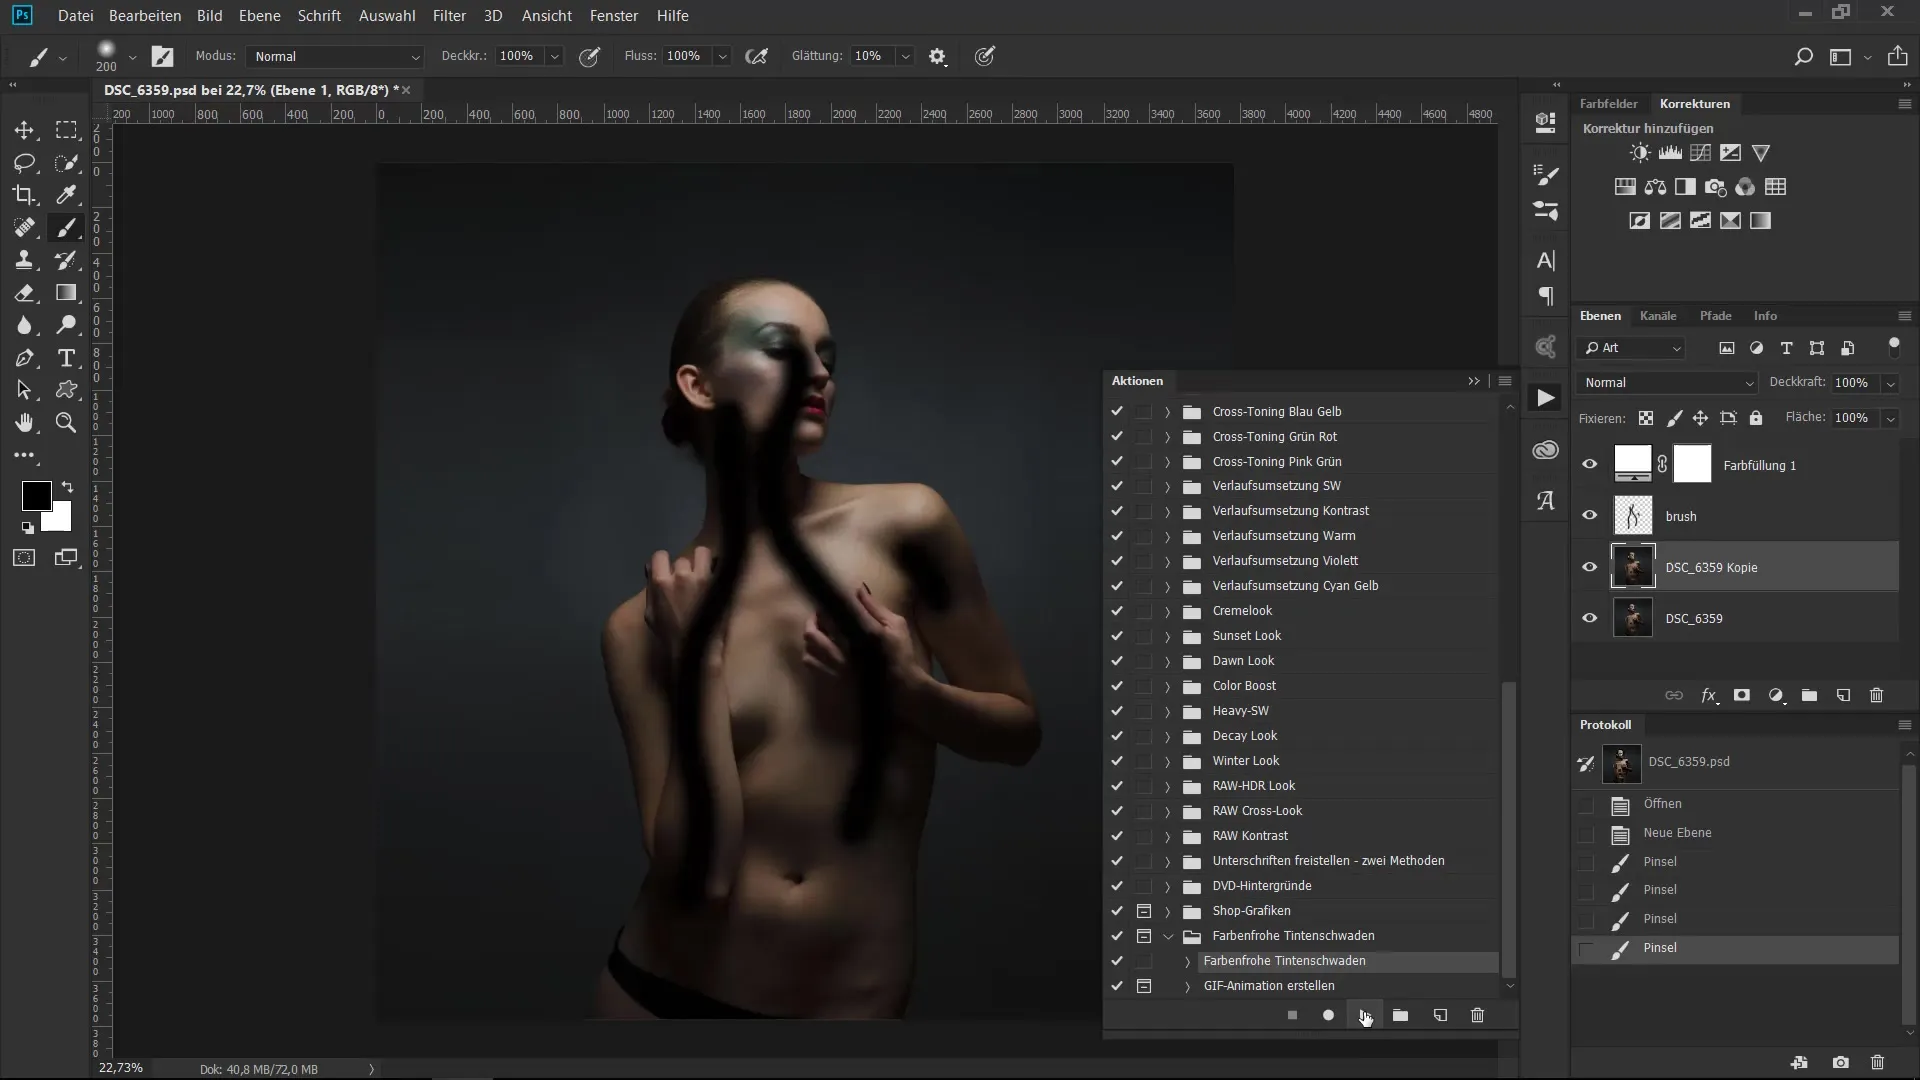
Summary – The Ultimate Brush Training: Creative Portrait Distortion in 2 Variants
You have now learned how to turn an ordinary portrait into an impressive piece of art with simple means and a bit of creativity. Whether you chose the time-consuming method with ink brushes or use the quick Photoshop action for your design, what matters is the trained eye and experimenting with colors and masks.
Frequently Asked Questions
How do I create a layer mask in Photoshop?You create a layer mask by holding down the Alt and Backspace keys and selecting the appropriate option.
What are brush actions in Photoshop?Brush actions are a sequence of commands that are executed automatically in succession to achieve a specific effect.
How can I install ink brushes in Photoshop?Download the brushes and import them via the brush panel in Photoshop.
