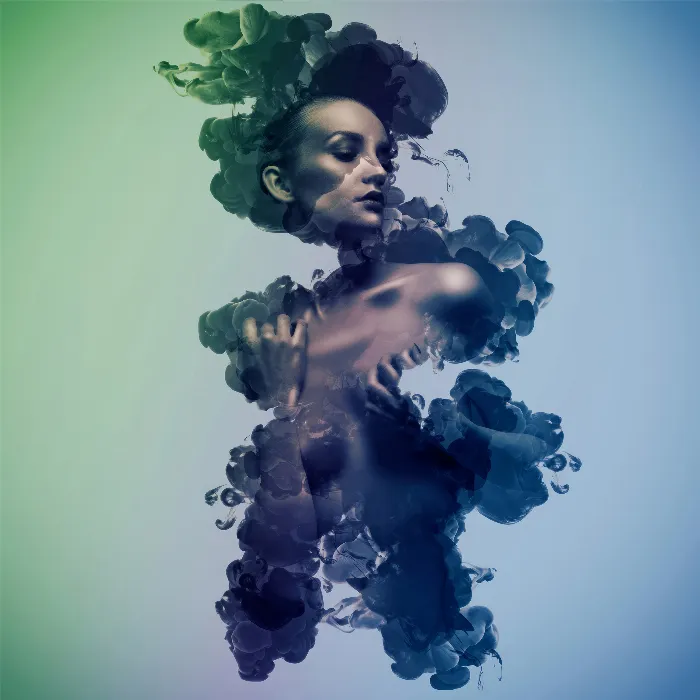
If you work in digital art, you are surely familiar with the versatility of brushes. They not only provide the opportunity to create artistic effects but are also crucial for the finish of your images. In this guide, I'll show you how to use brushes effectively to perfect your work. Let's dive into the world of brush tips and discover how you can use them creatively.
Key Insights
- Brush selection and handling are essential for image finishing.
- The right opacity and color choice enhance image quality.
- Working with different blending modes optimizes texture and depth.
- When positioning brushes, working non-destructively is advantageous.
- Effectively duplicating layers enhances visual effects.
Step-by-Step Guide
1. Create a New Layer
Start by creating a new layer. This is important to ensure the integrity of your original image while experimenting with brush techniques.
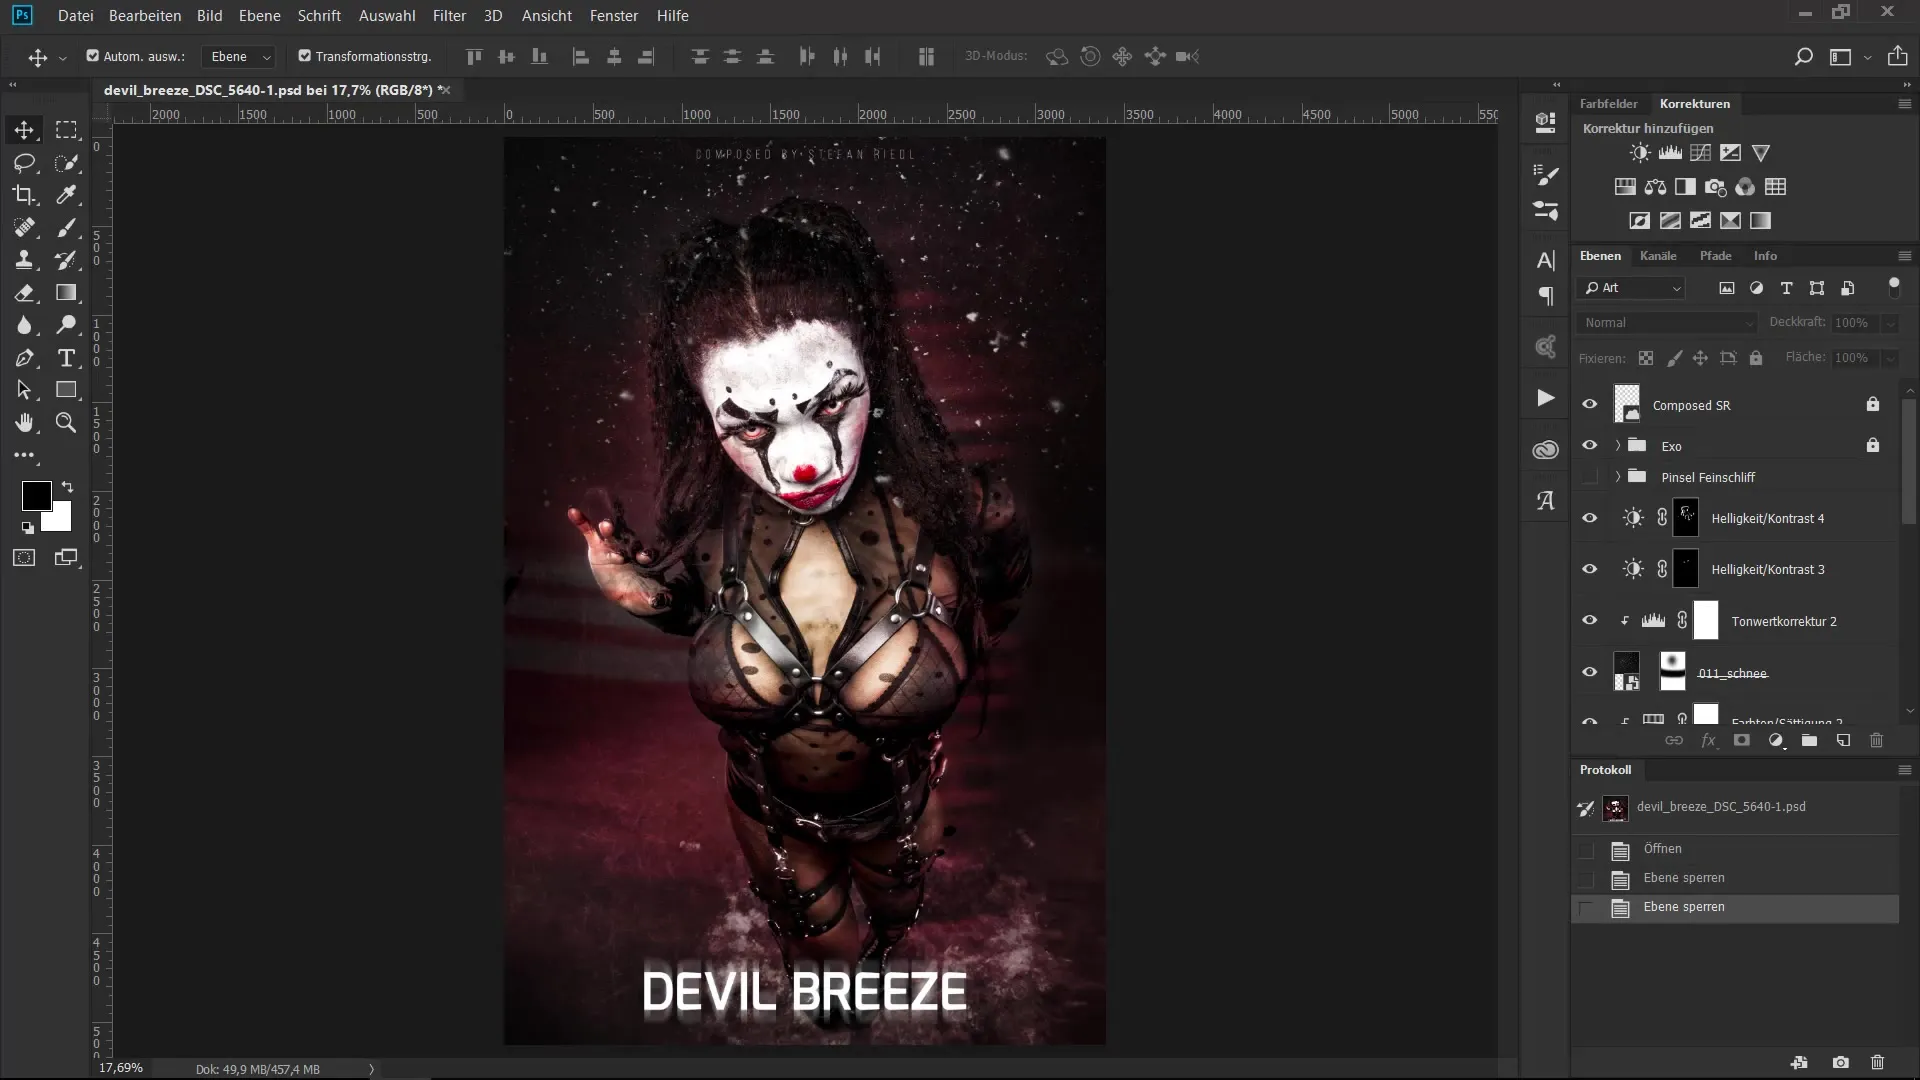
2. Choose a Brush and Adjust Size
Select your preferred brush and adjust its size. Hold down the Control key (CTRL), the Alt key (ALT), and the right mouse button while dragging the mouse left or right to quickly change the size of the brush tip.
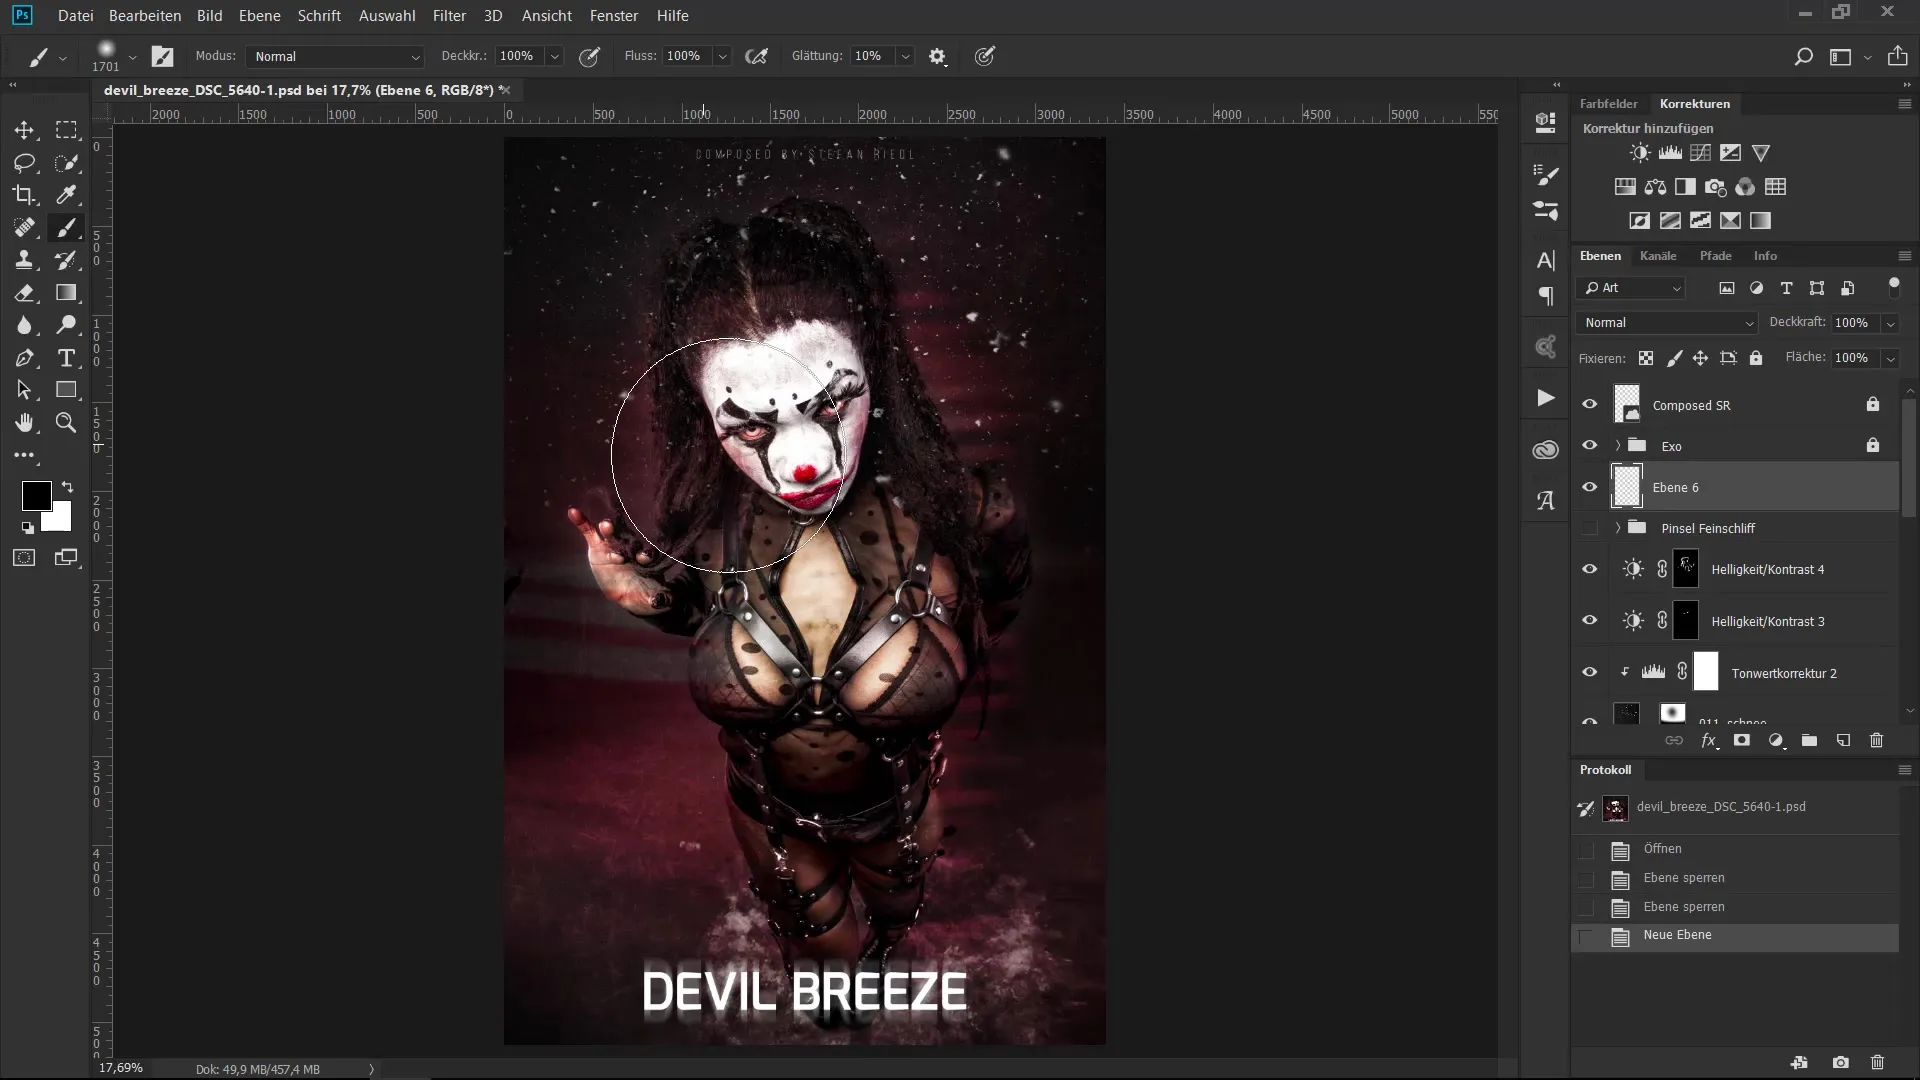
3. Work with White and Opacity
Use white at 100% opacity to draw, for example, a curve. This first shape helps you set the direction and style of your brush strokes.
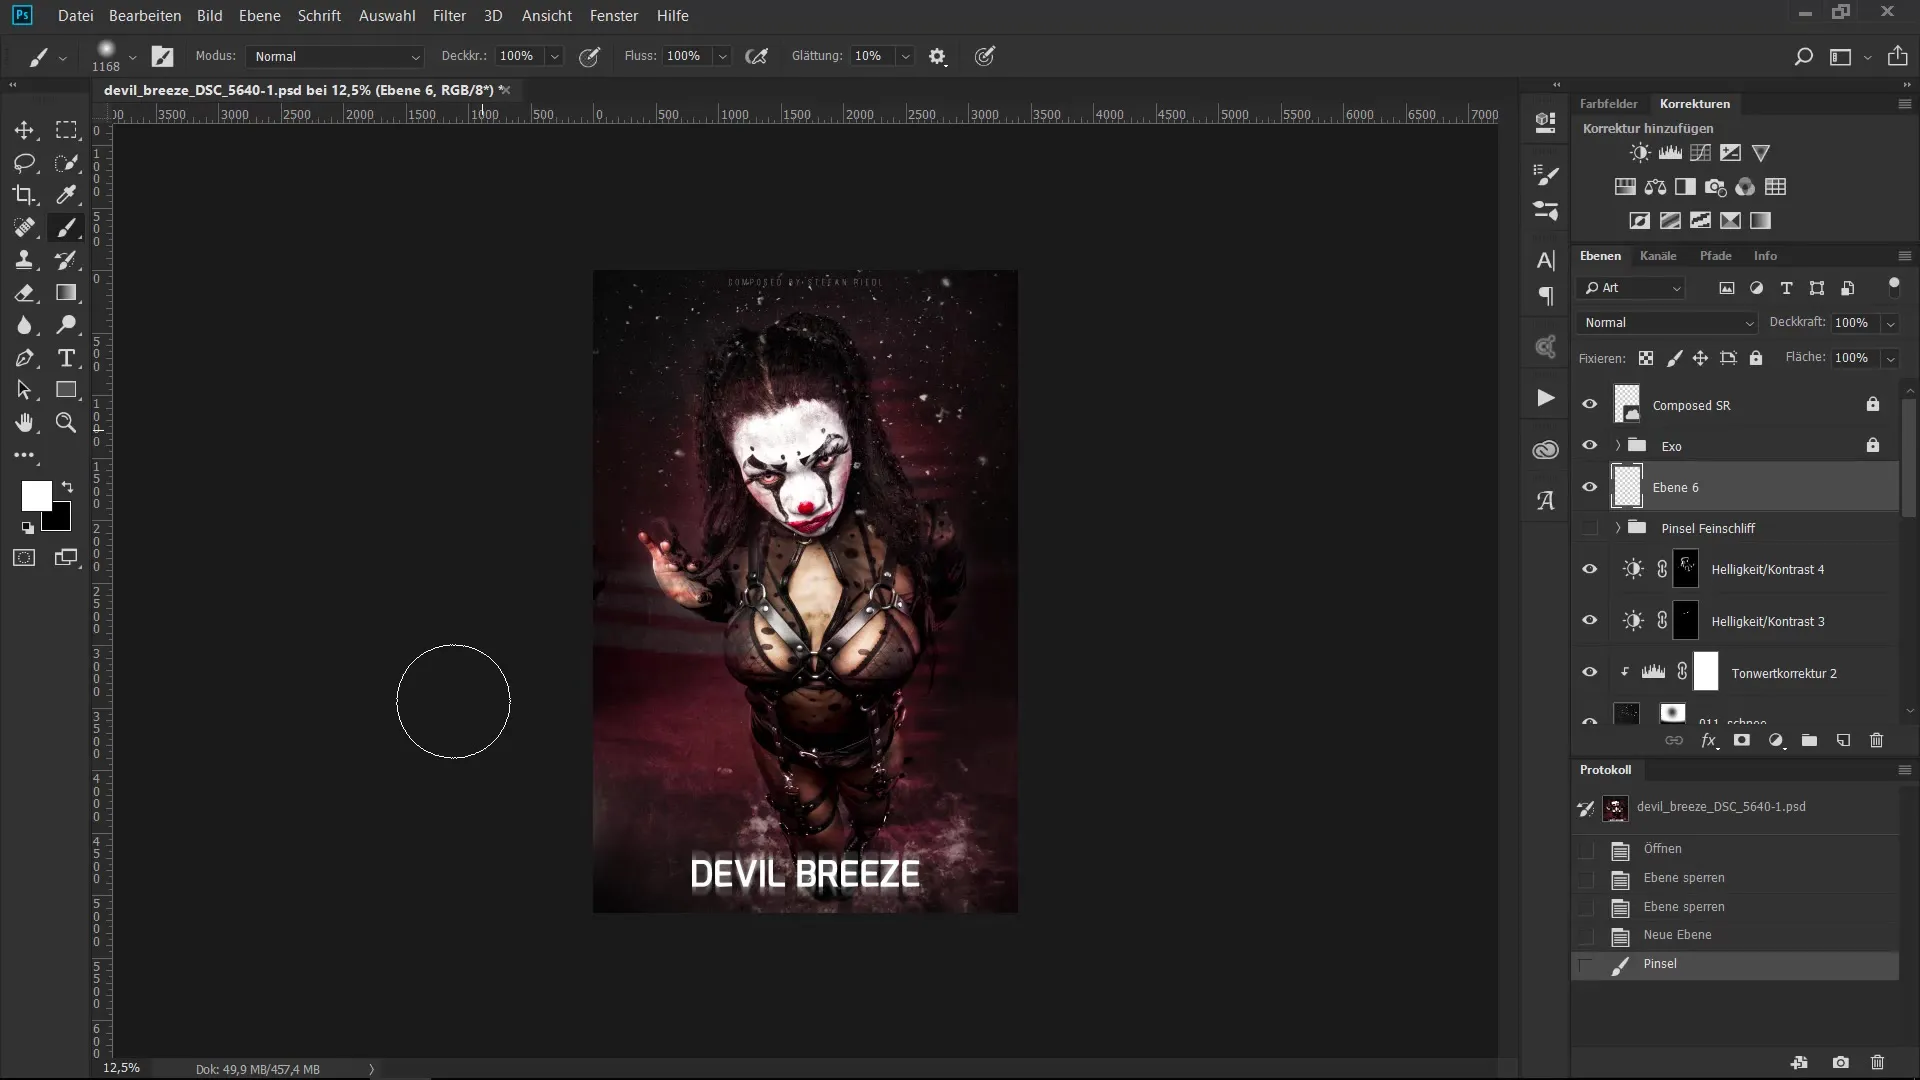
4. Manually Adjust Opacity
Now go to the opacity sliders and manually set the opacity to about 52%. This will achieve a soft, diffuse effect that gives the image some depth.
5. Add Ink Splotch Effects
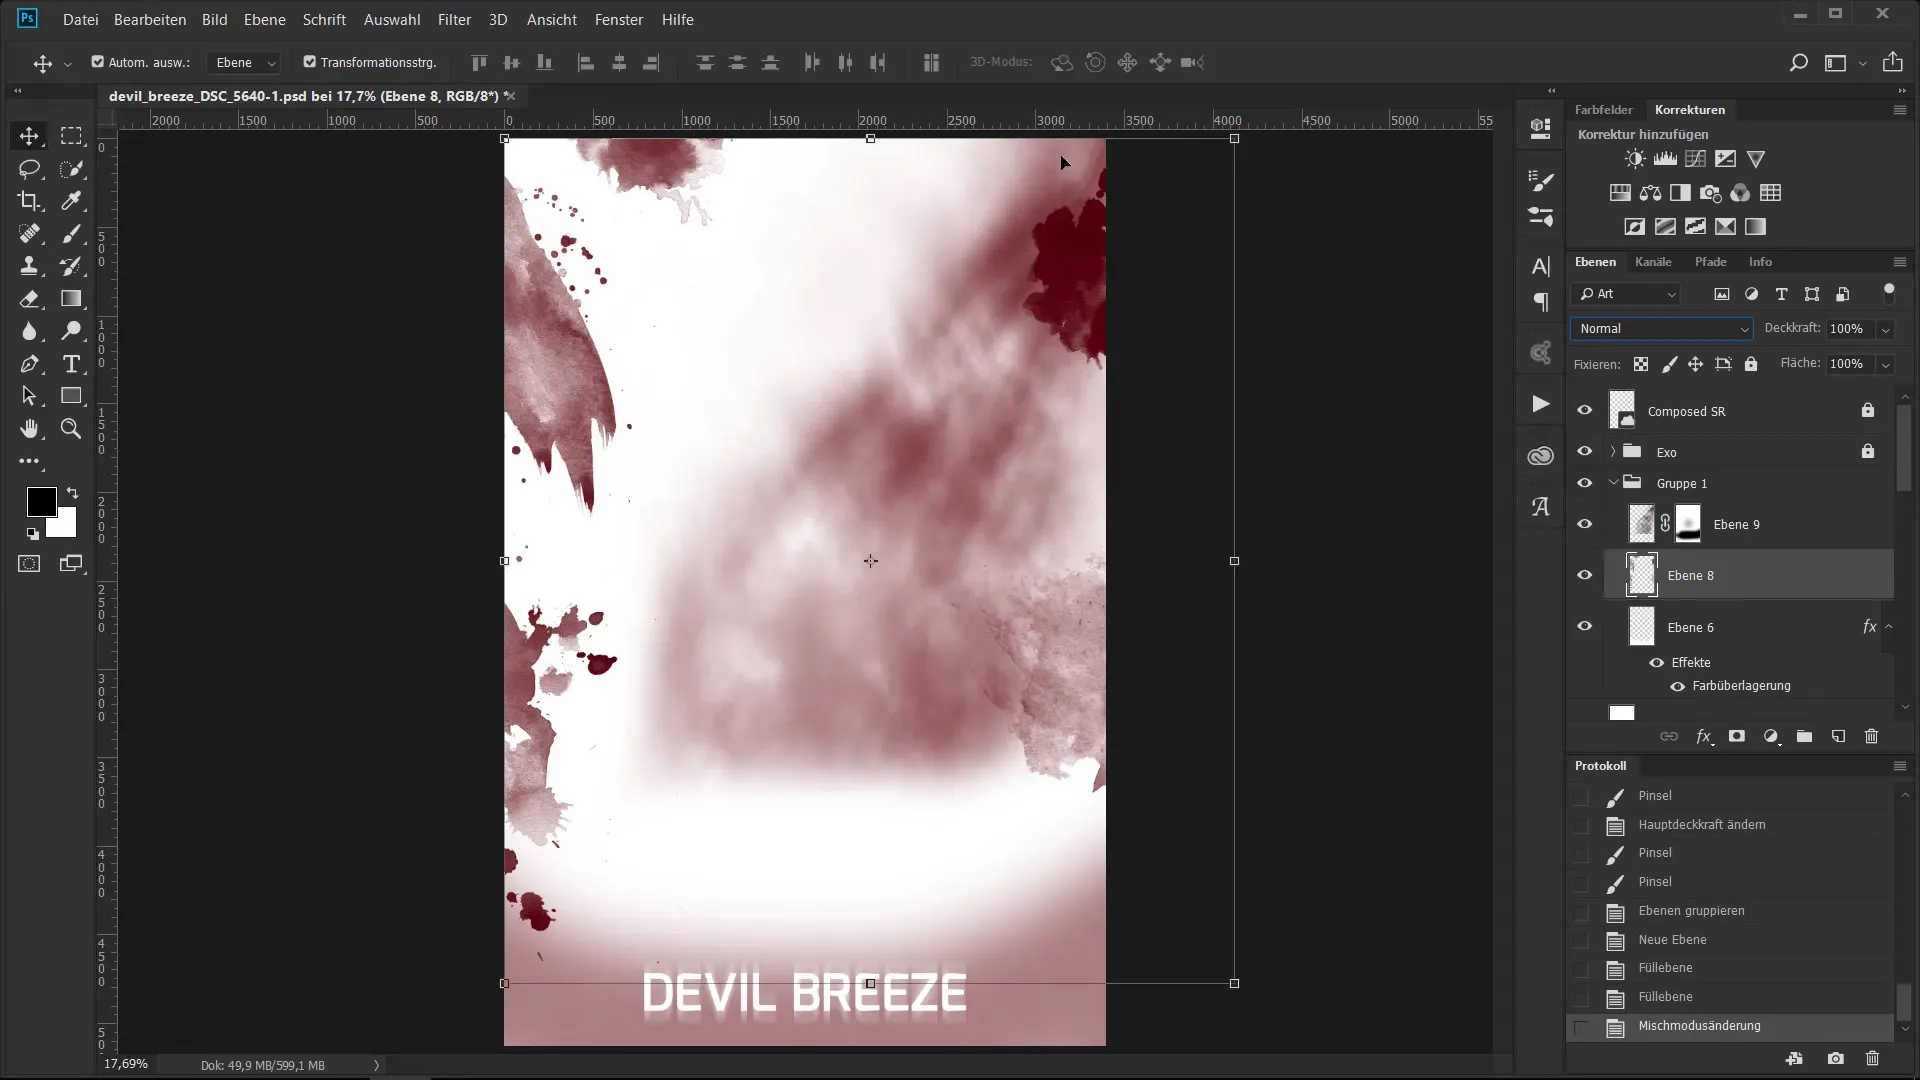
Create another layer and select a brush to add ink splatter-like effects. Experiment with different colors and sizes to achieve a chaotic yet appealing look.
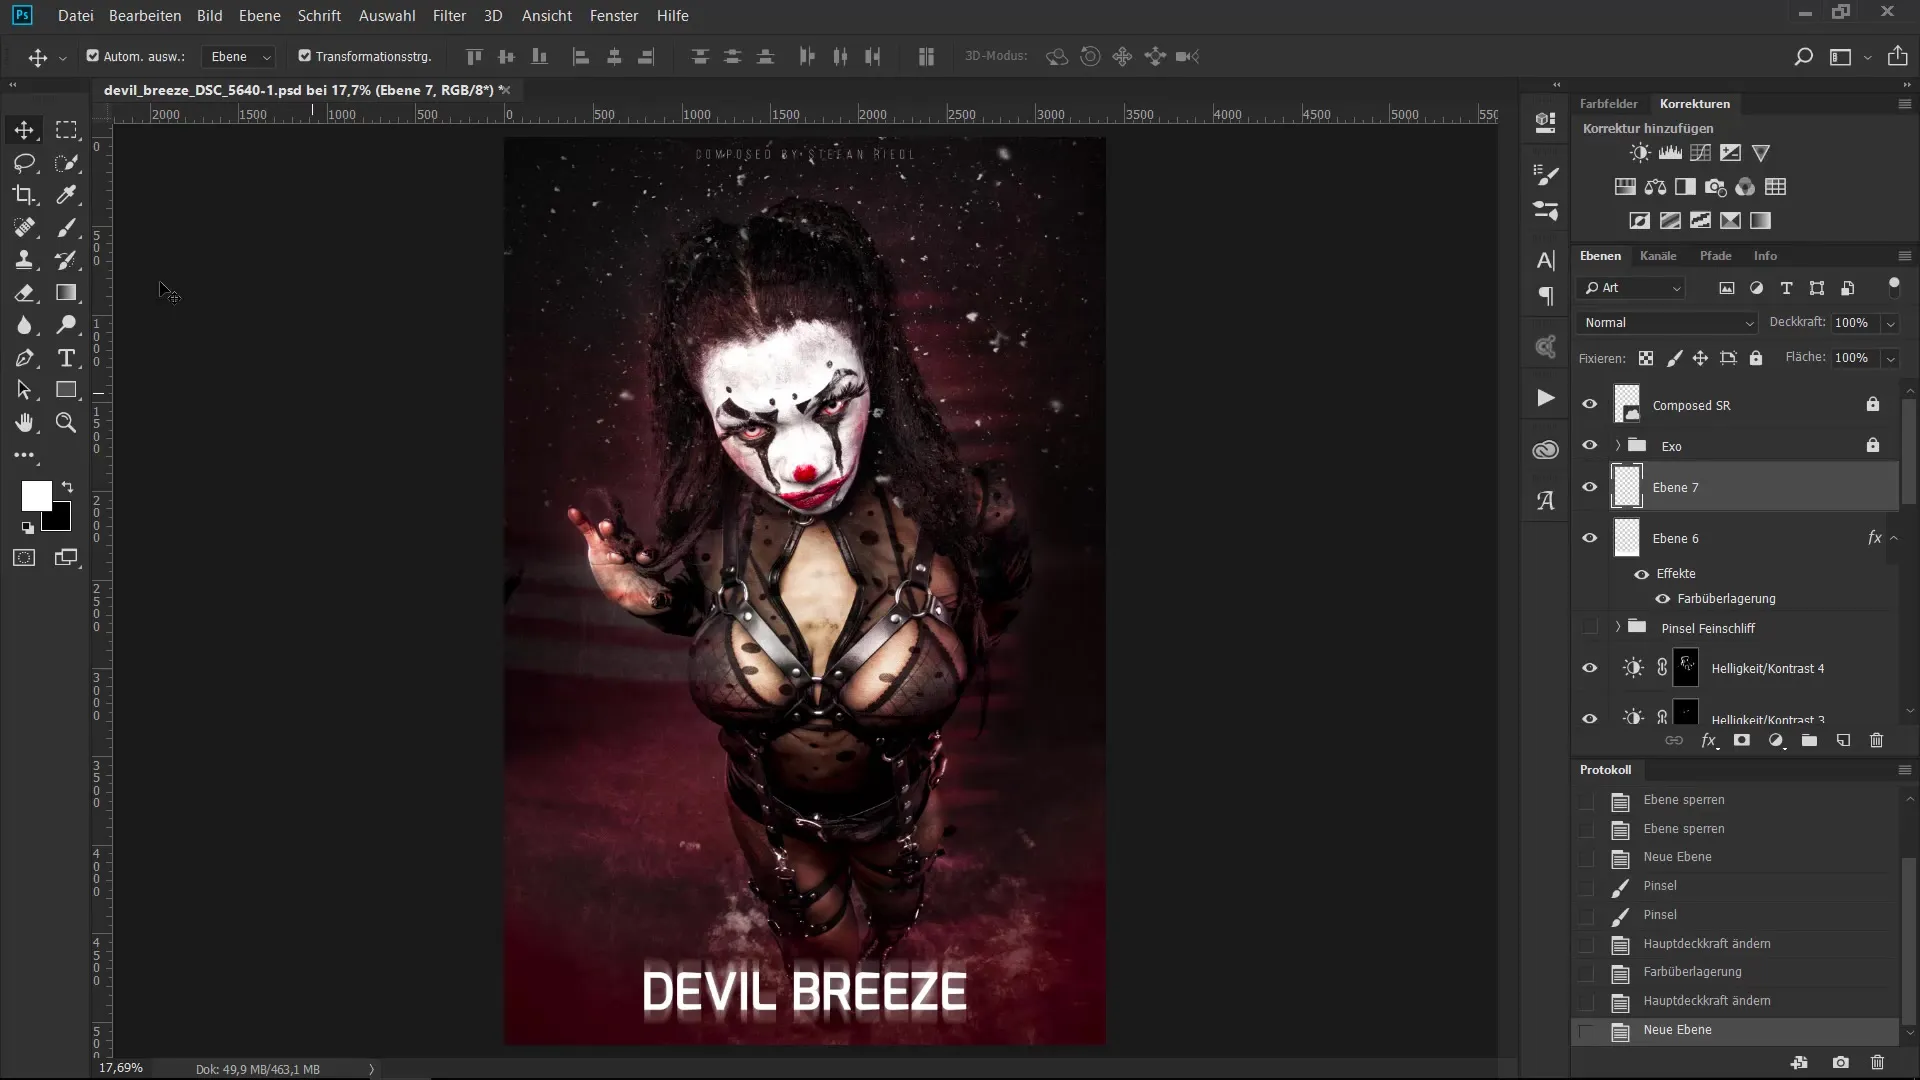
6. Brush Positioning
If a brush is not in the desired location, you can simply move it. It is more efficient to place the brushes in the center of the image first and then move them to the desired position later.
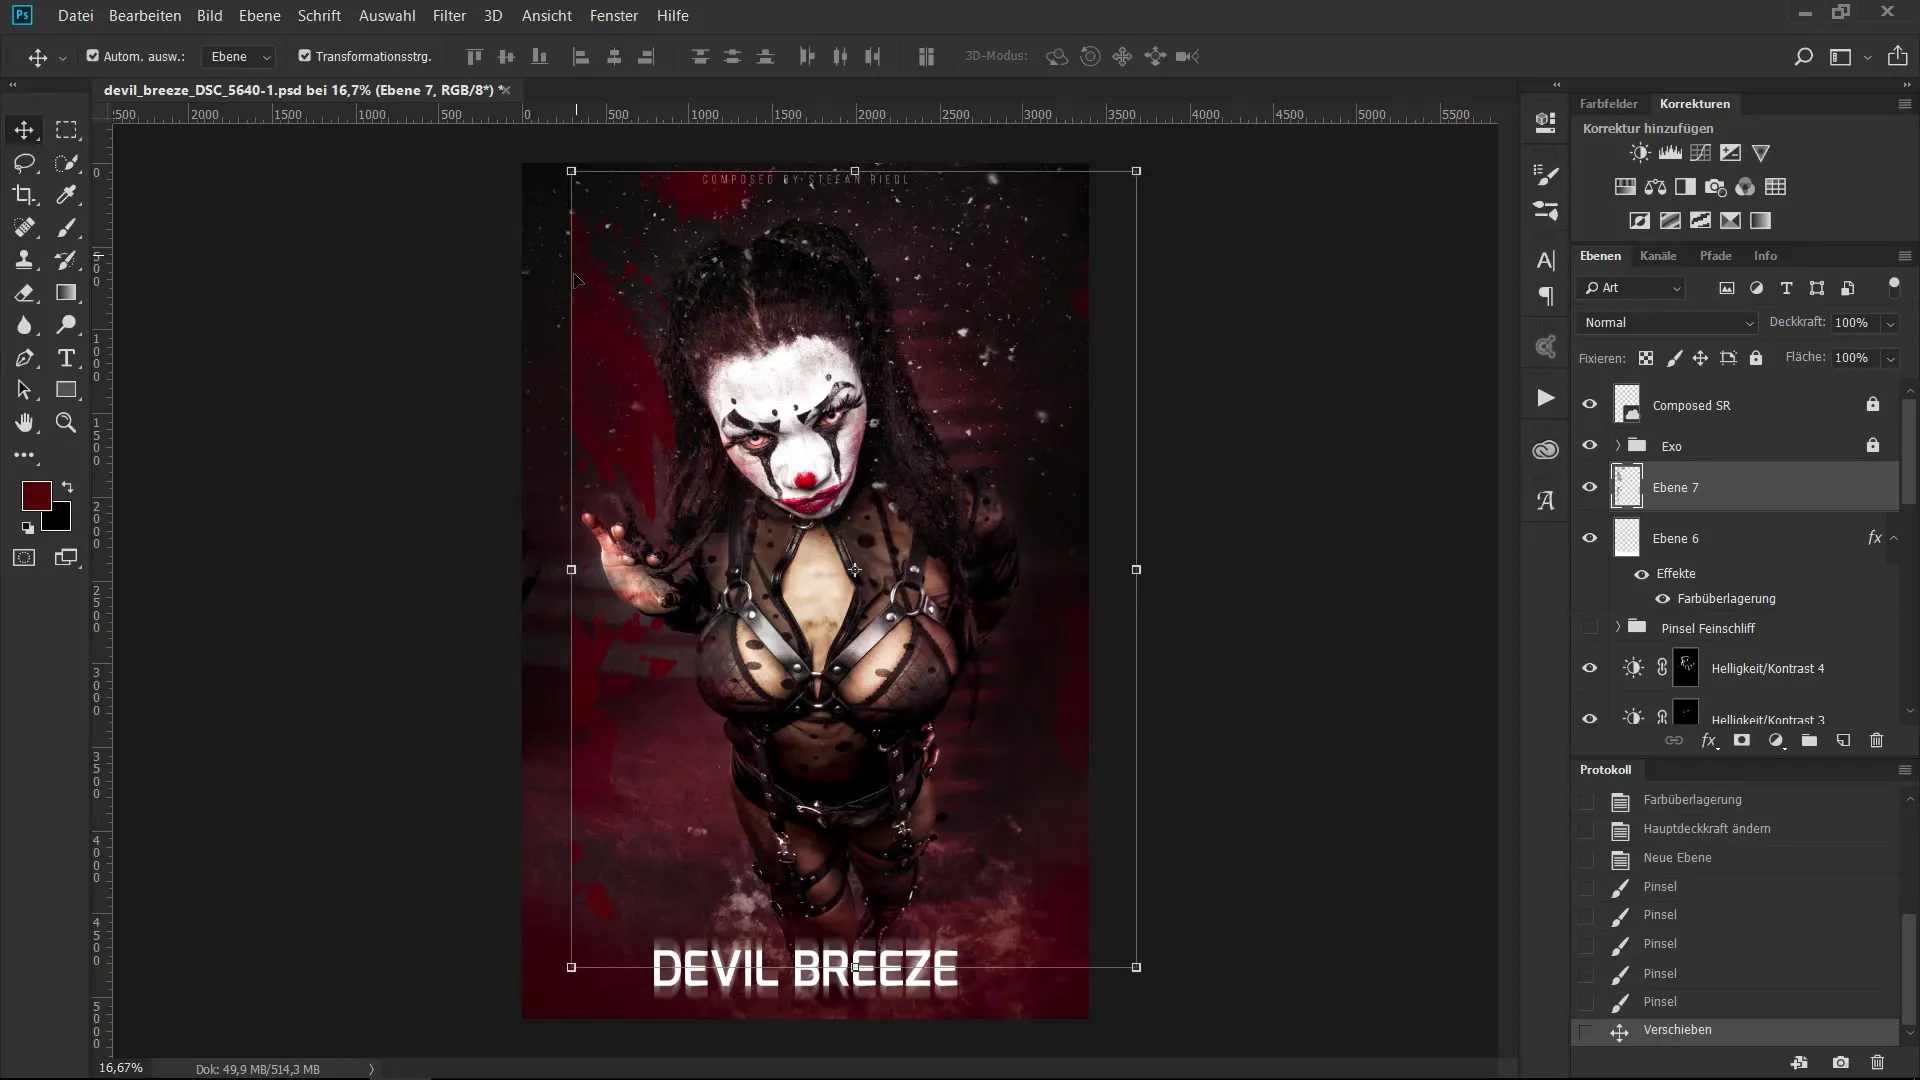
7. Working with Blending Modes
Experiment with different blending modes to combine the color layers. Using the "Multiply" mode can create particularly exciting effects.
8. Duplicating Layers
If the effect isn't strong enough, you can duplicate the layer by pressing Control (CTRL) and J. This will intensify the effect without having to start over.
9. Perspective Distortion
Apply perspective distortions to your brushes to fit them to the image composition. Hold down the Control key (CTRL) while pulling at the corners of the layer.
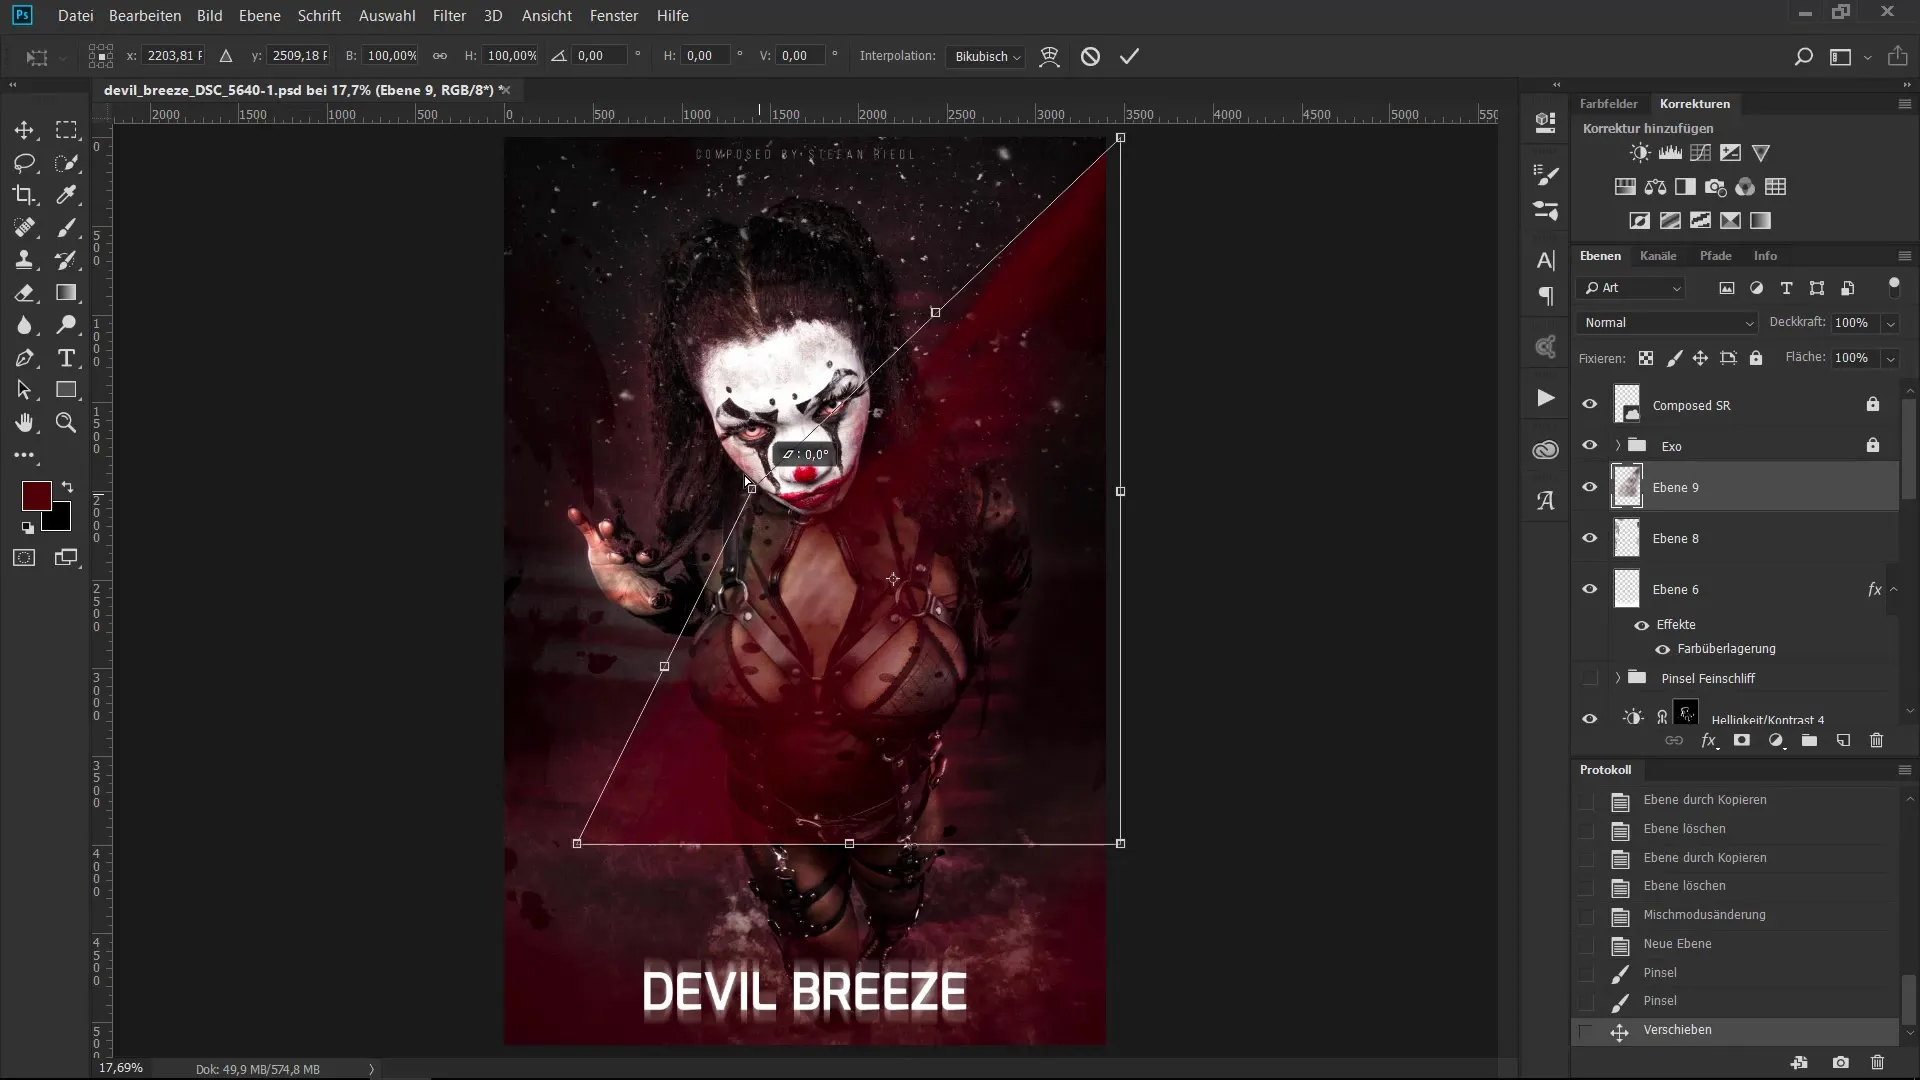
10. Erasing and Non-Destructive Work
To soften hard edges, use either the eraser or work with layer masks to work non-destructively. This allows you to adjust the effect later if you change your mind.
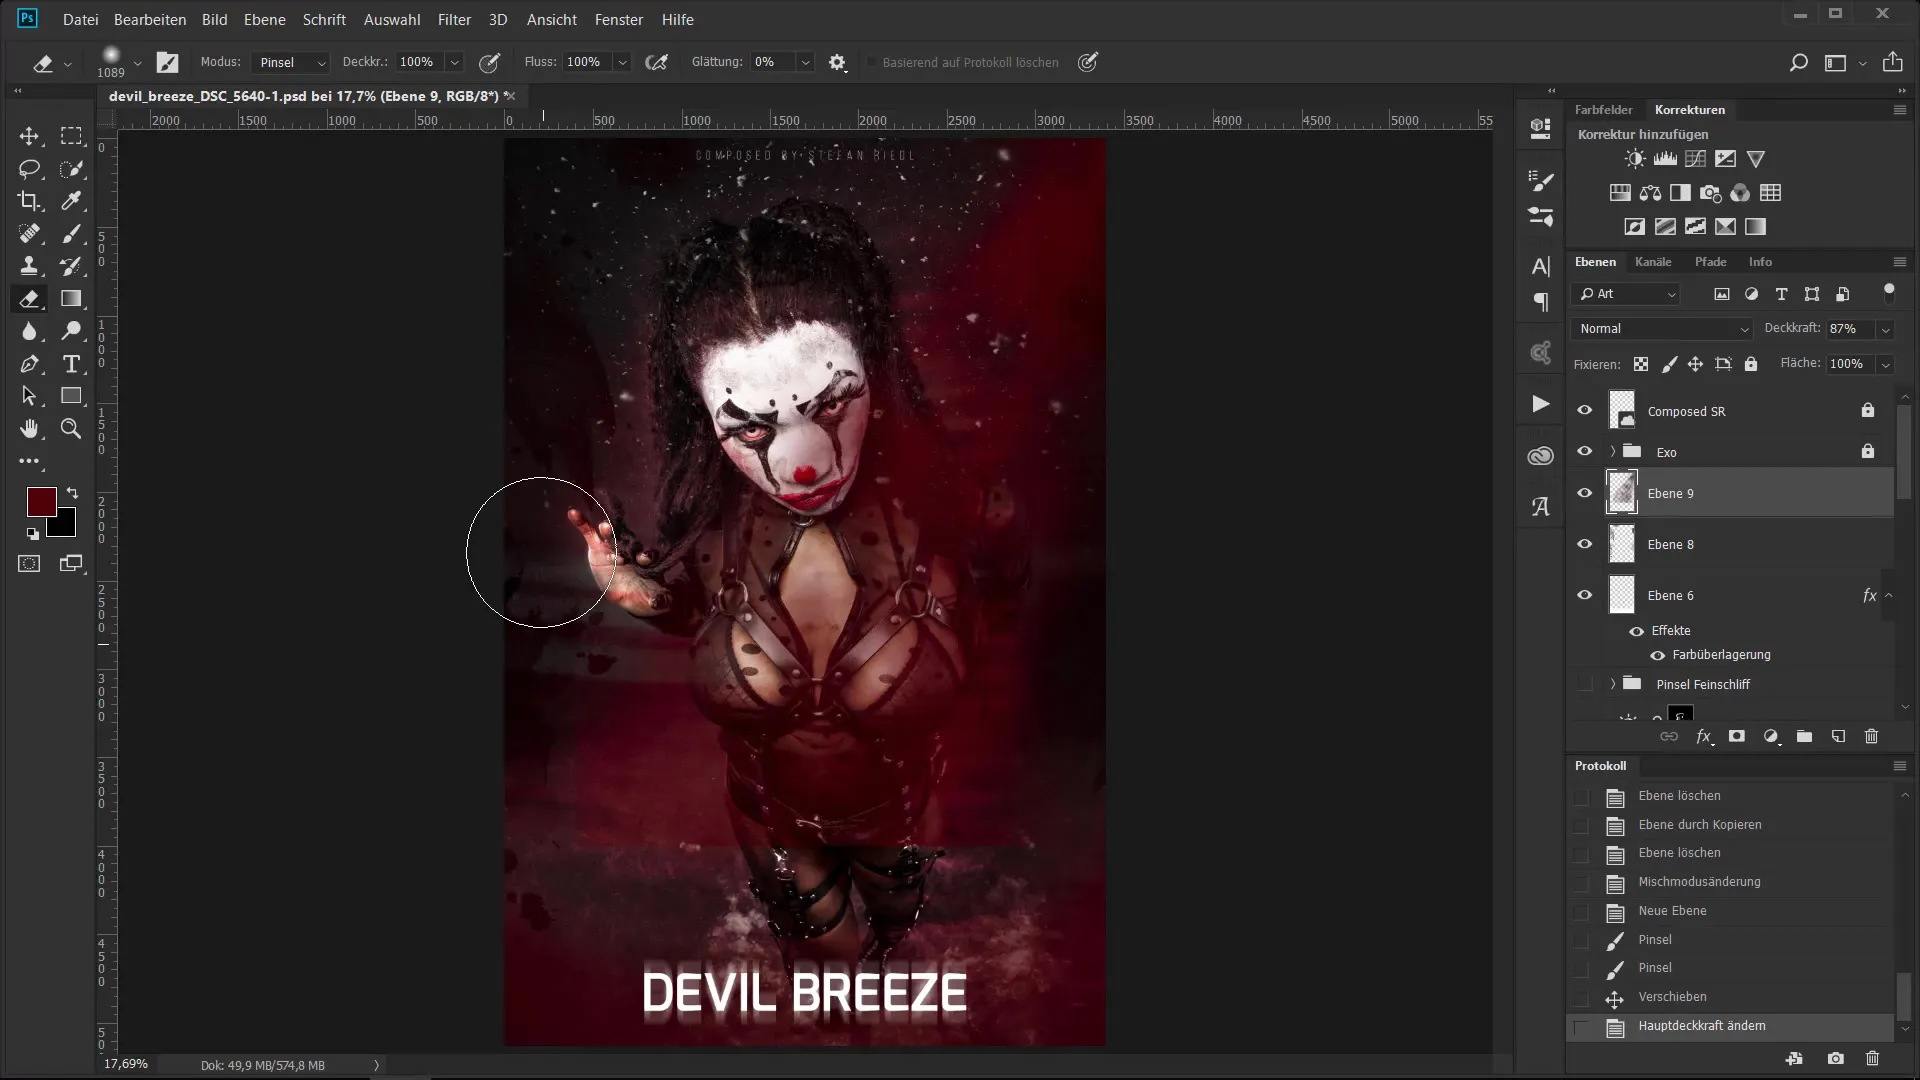
11. Fine-Tuning with Blending Modes
Set the blending mode to "Soft Light" to achieve a harmonious combination of colors. This can be further refined by making appropriate adjustments in opacity.
12. View the Final Image
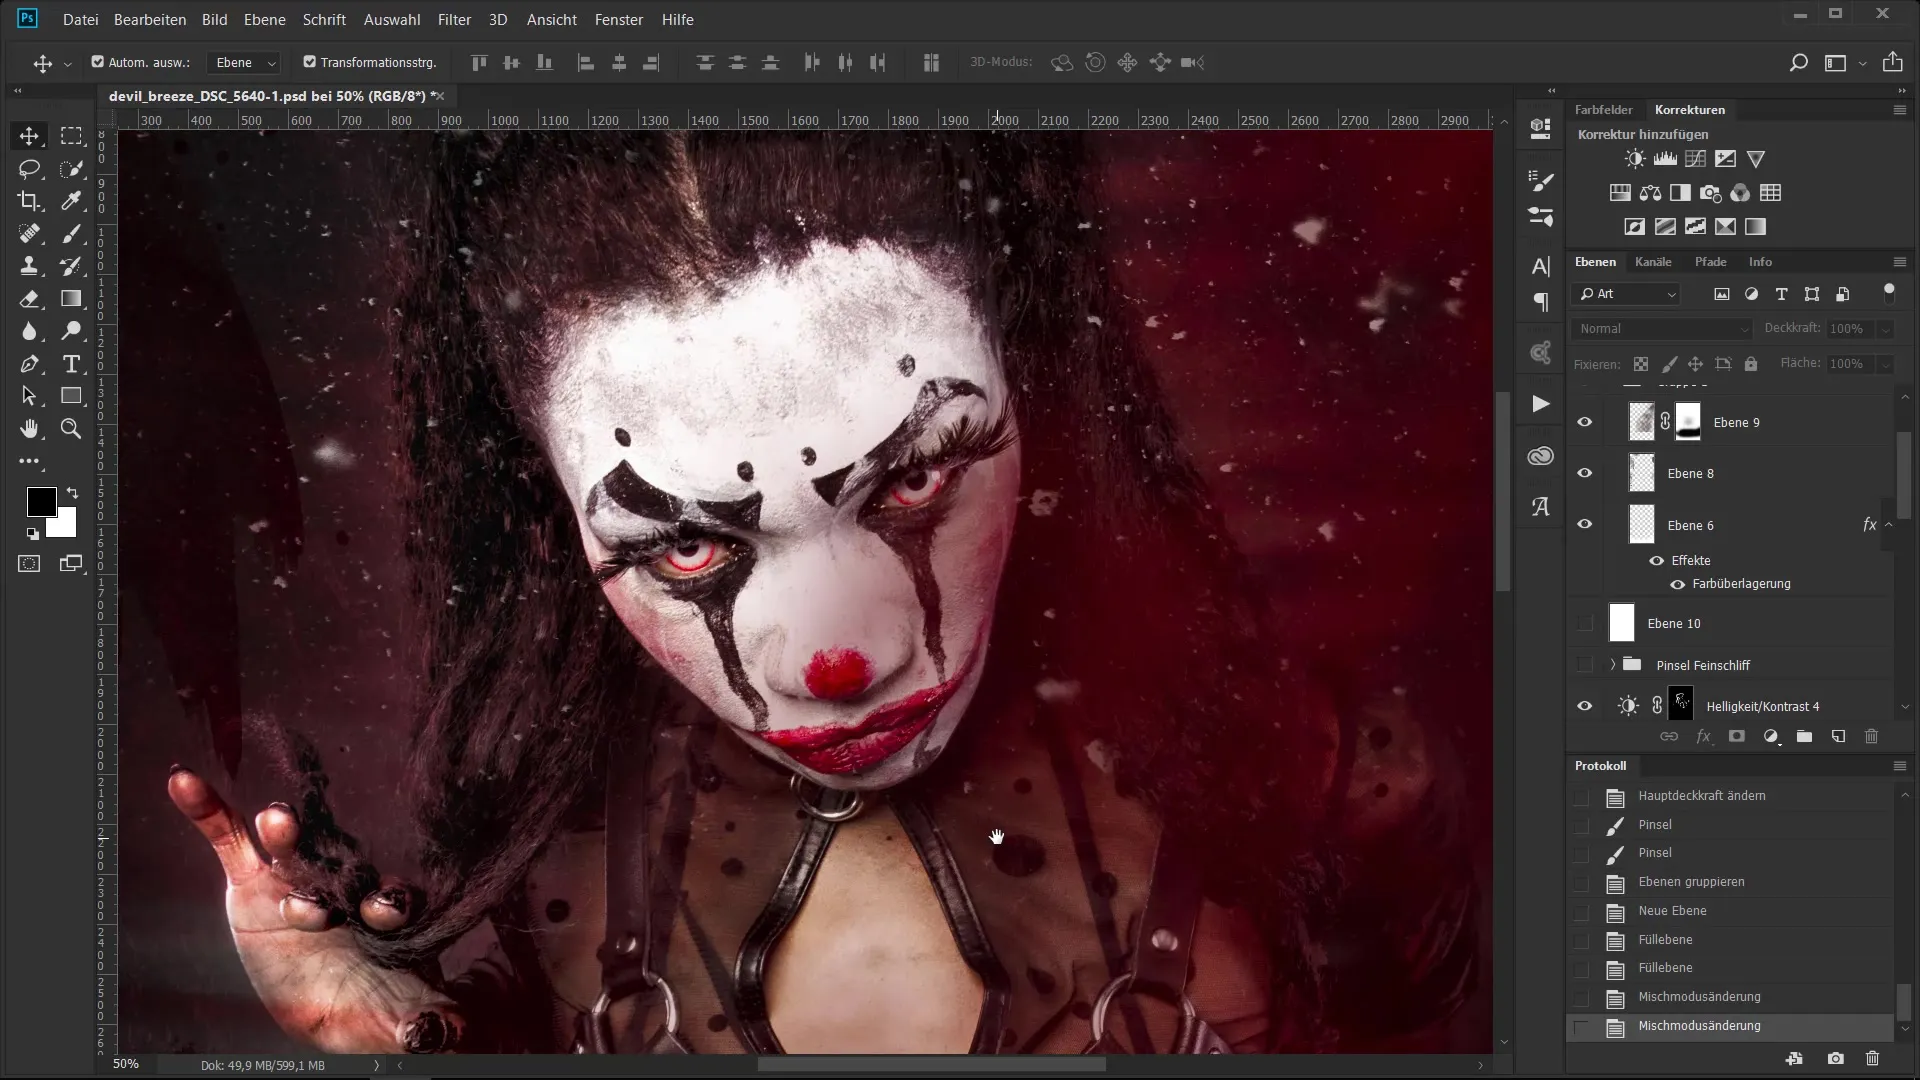
Once all brush strokes and effects have been added, take a look at the finished image to ensure it meets your expectations. Adjust the final details as needed.
Summary - Brushes as a Creative Tool for Image Finishing
In this guide, you have learned how to effectively use brushes in your digital art. You have explored various techniques to refine your work through targeted color overlays and effective layer structures. With these methods, you can elevate your images to a new level and give them the finishing touch.
Frequently Asked Questions
What is the advantage of non-destructive work?Non-destructive work allows for changes to be undone or adjustments to be made without damaging the original image.
How can I quickly adjust the opacity?You can adjust the opacity using the sliders in the interface or manually using shortcuts.
Which blending modes should I try?Multiply and Soft Light are good starting points to achieve interesting color effects.
How can I adjust the brush size?Hold down the Control key, Alt key, and the right mouse button while moving the mouse.
What is the quickest way to amplify an effect?By duplicating the corresponding layer with Control key J, the effect is doubled.
