Digital art opens up countless possibilities for creative expression. Especially through brush tips, you can achieve unique effects. In this guide, we will focus on brush and jitter settings to create a variety of hearts. These settings are suitable not only for hearts but also for other motifs like snowflakes, rose petals, or confetti. Let's explore together how you can bring more variation into your work with jitter settings.
Main insights
- Jitter settings allow for varied placement, rotation, and coloring of brush strokes.
- By skillfully adjusting the properties, you can achieve dynamic and varied results.
- These techniques are applicable to various motifs, not just hearts.
Step-by-Step Guide
Start by creating a new document. Press Ctrl + N to create a file with dimensions of 300 x 300 pixels. This will be the foundation for your work.
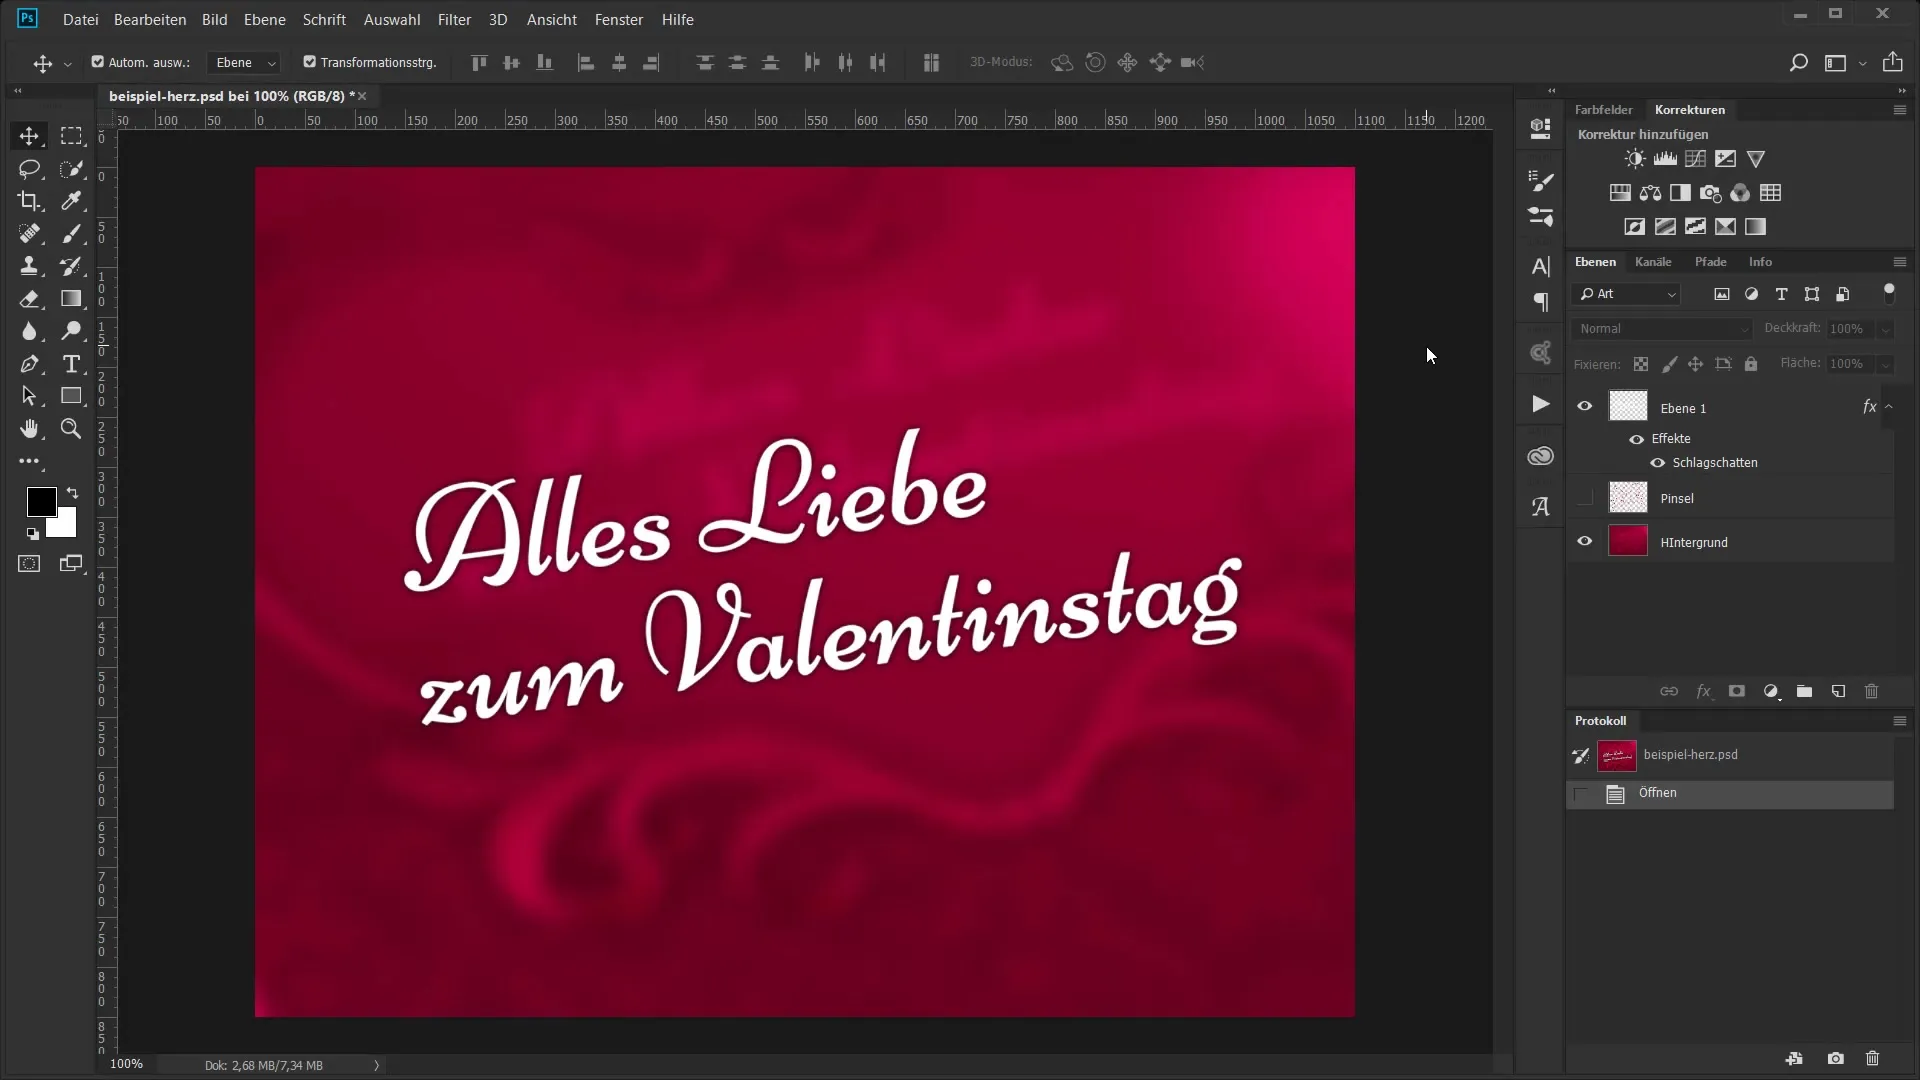
Select the custom shape tool from the tools and choose a heart as your brush tip. Hold the Shift key while dragging the heart to make it symmetrical.
Now select everything by pressing Ctrl + A. Then go to "Edit" and choose "Define Brush Preset." Give it a name like "Little Heart" and save the brush tip.
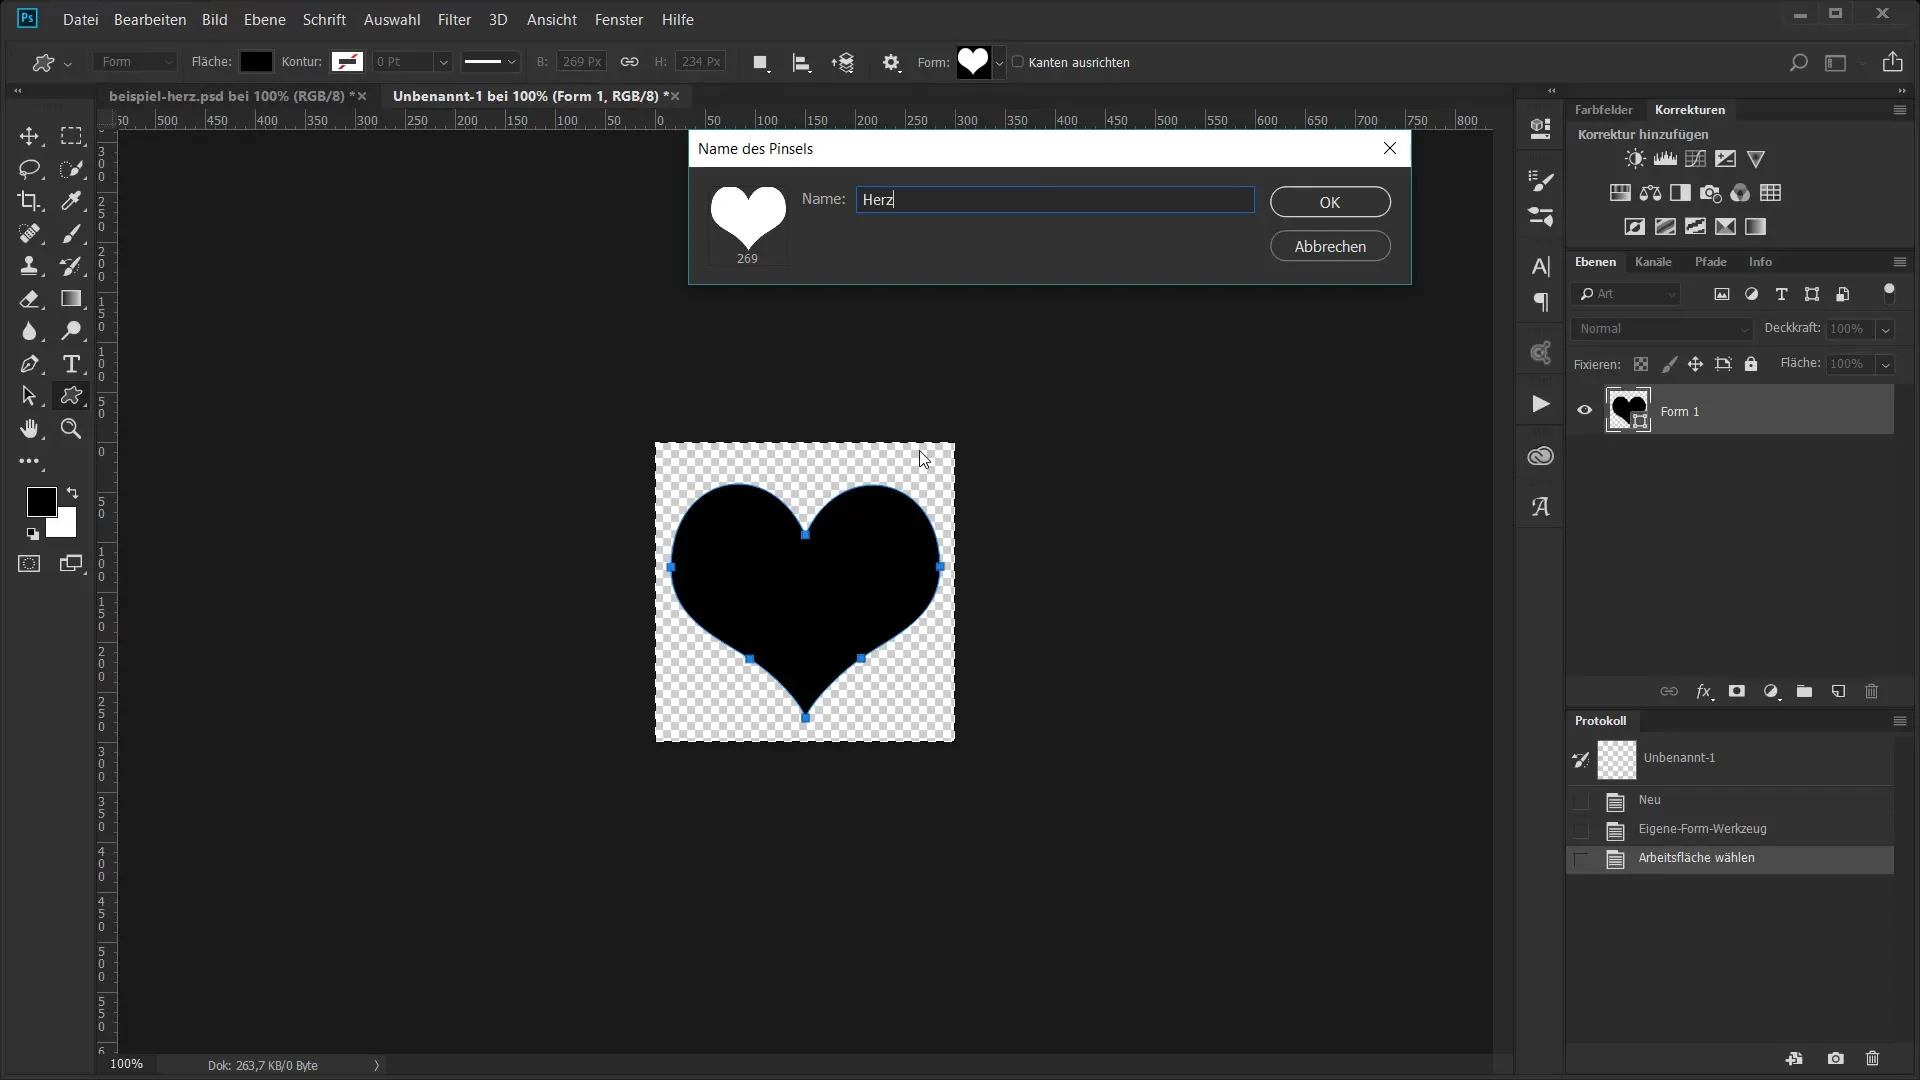
Next, go back to your document and create a new layer. You will use your new brush tip on this layer.
Open the brush settings to produce uniform hearts. Increase the spacing between brush strokes to 180–185% to achieve a wider spread.
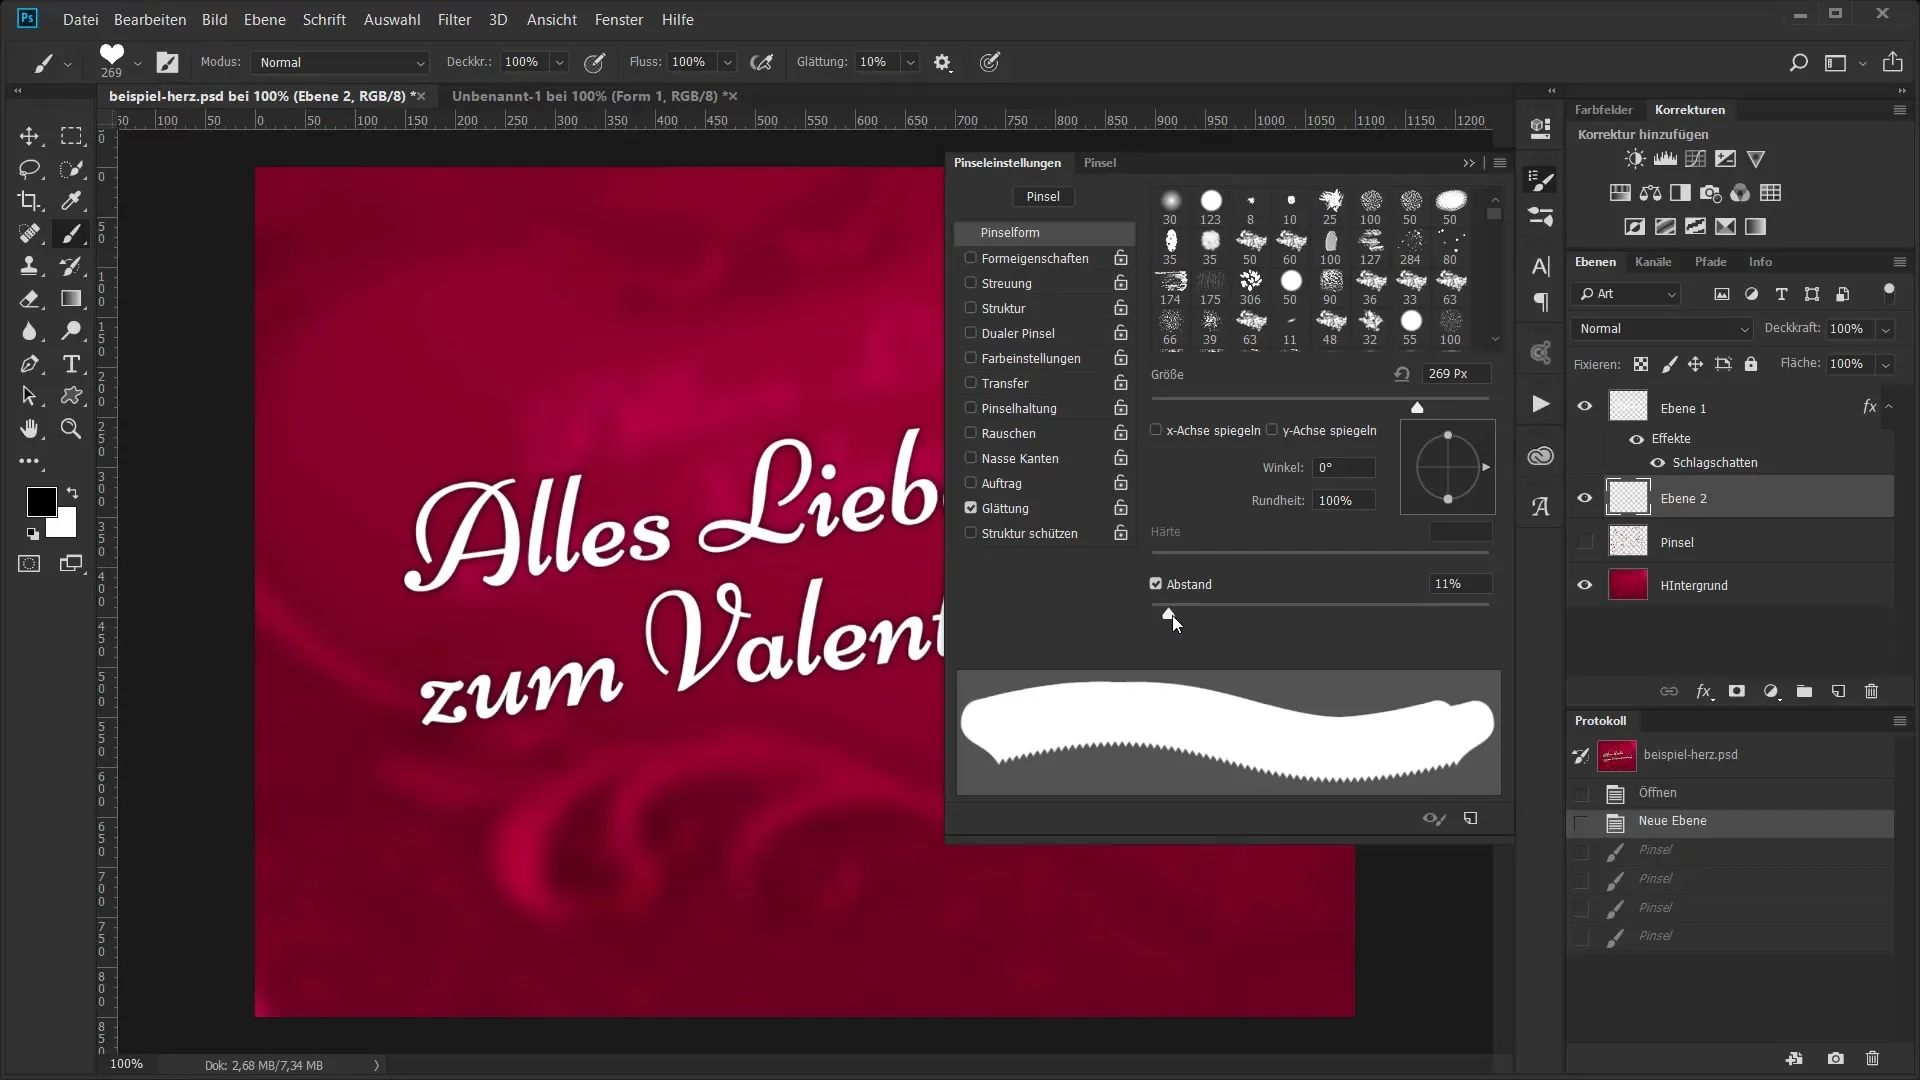
Scroll to the shape properties and set the size jitter to 68% to allow variations in the size of the hearts.
Adjust the angle jitter to rotate the hearts around their center axis. Set this to 50%.
Use the control setting to vary the positioning of the brush strokes on both axes. You can experiment with a value of up to 800%.
Now let's set the foreground and background jitter. Set this to 20%. This allows you to define two different colors for your hearts.
Choose a foreground color and a slightly darker background color for a varied color scheme. Increase the jitter slightly higher for even more variation.
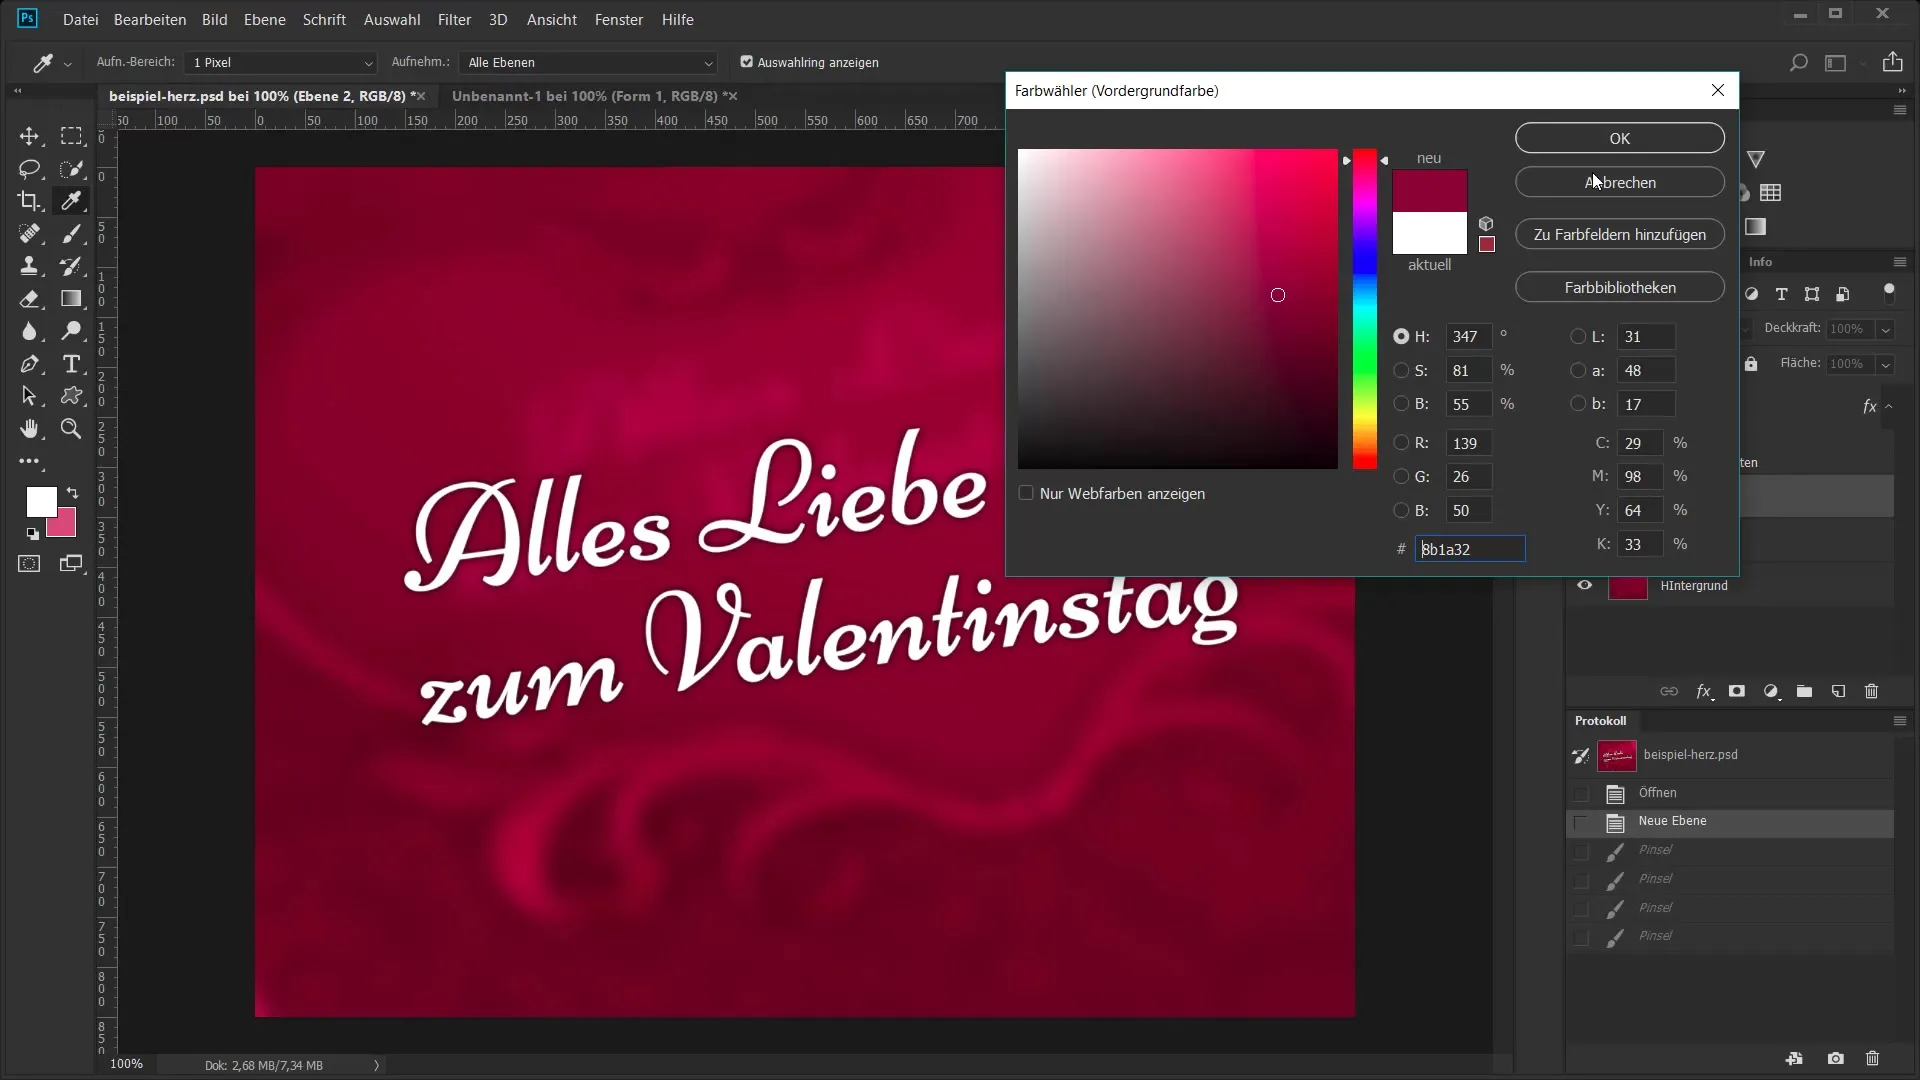
To further refine the effect, you can add an opacity jitter. Go to the transfer settings and set the value to 50% to achieve a gentle transparency.
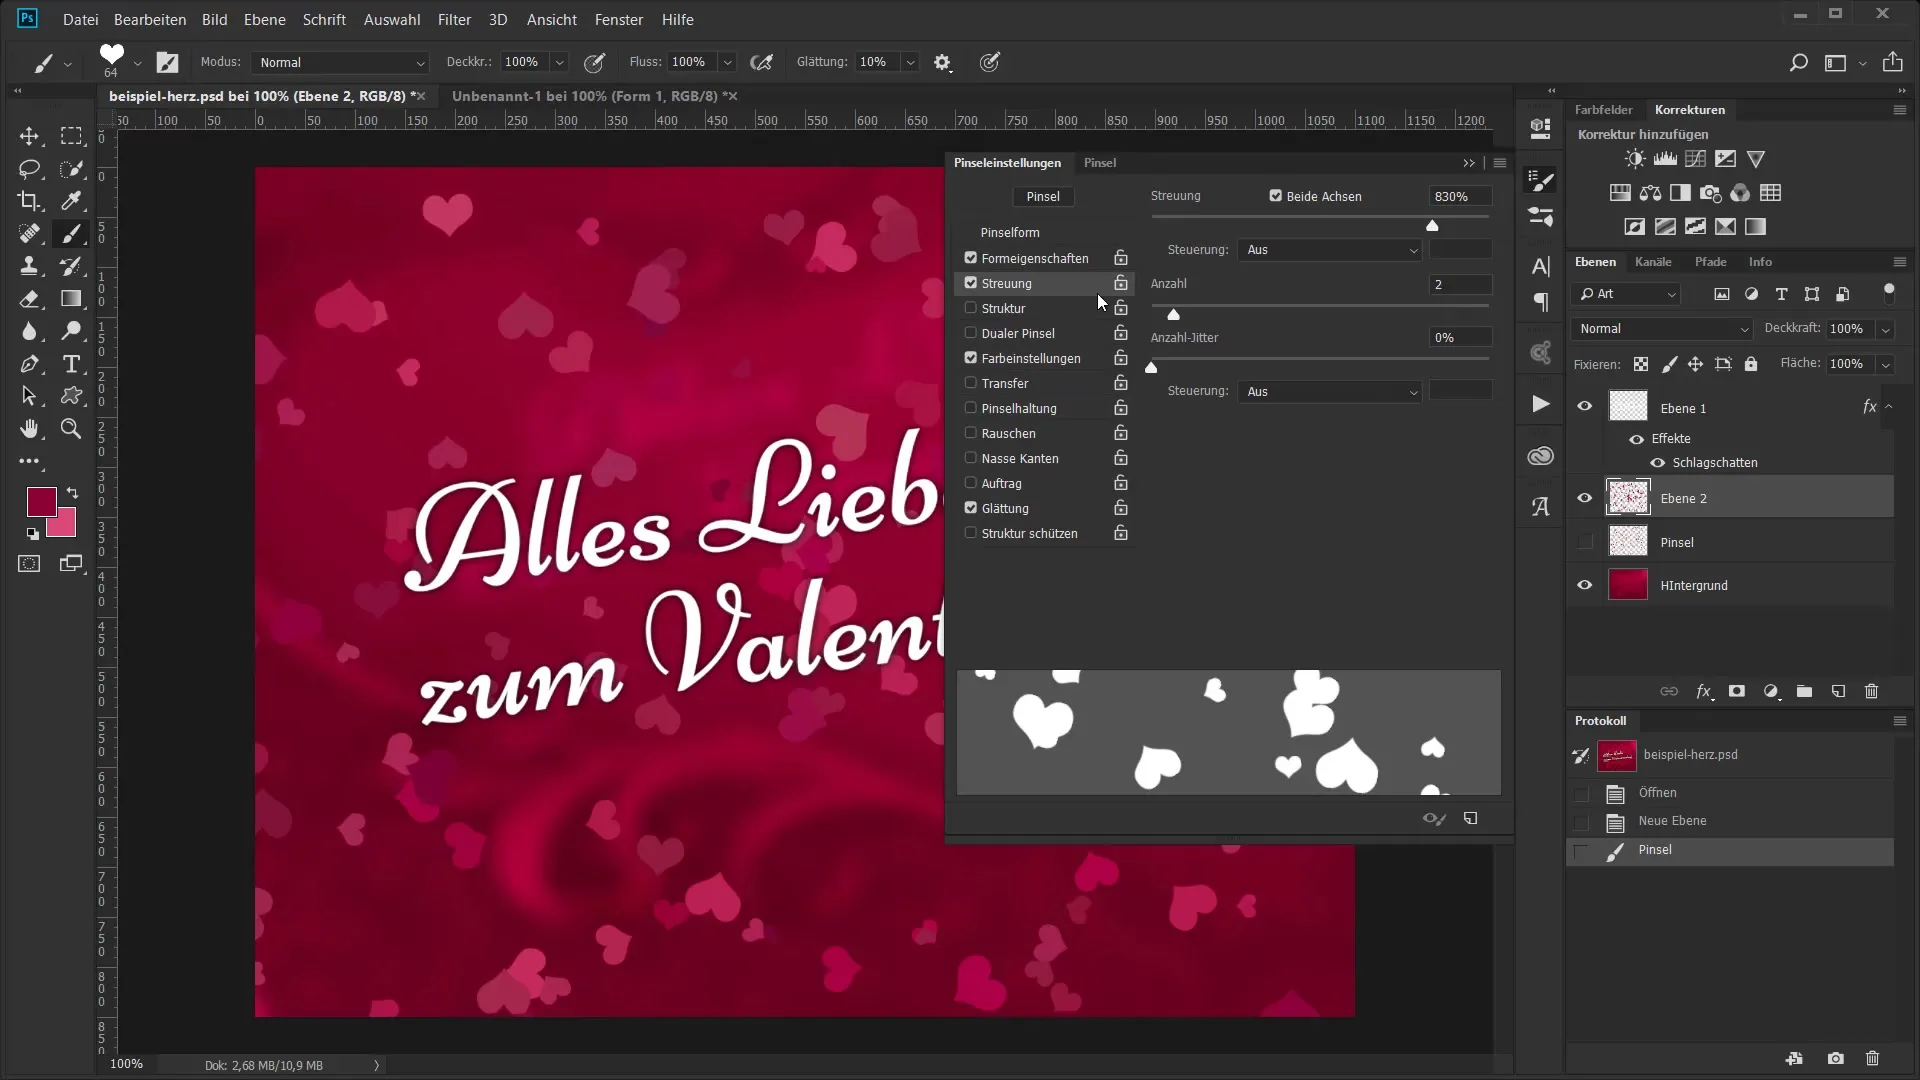
Now you can see how the varying hearts fly across your canvas. With these settings, you have generated hearts on a large scale.
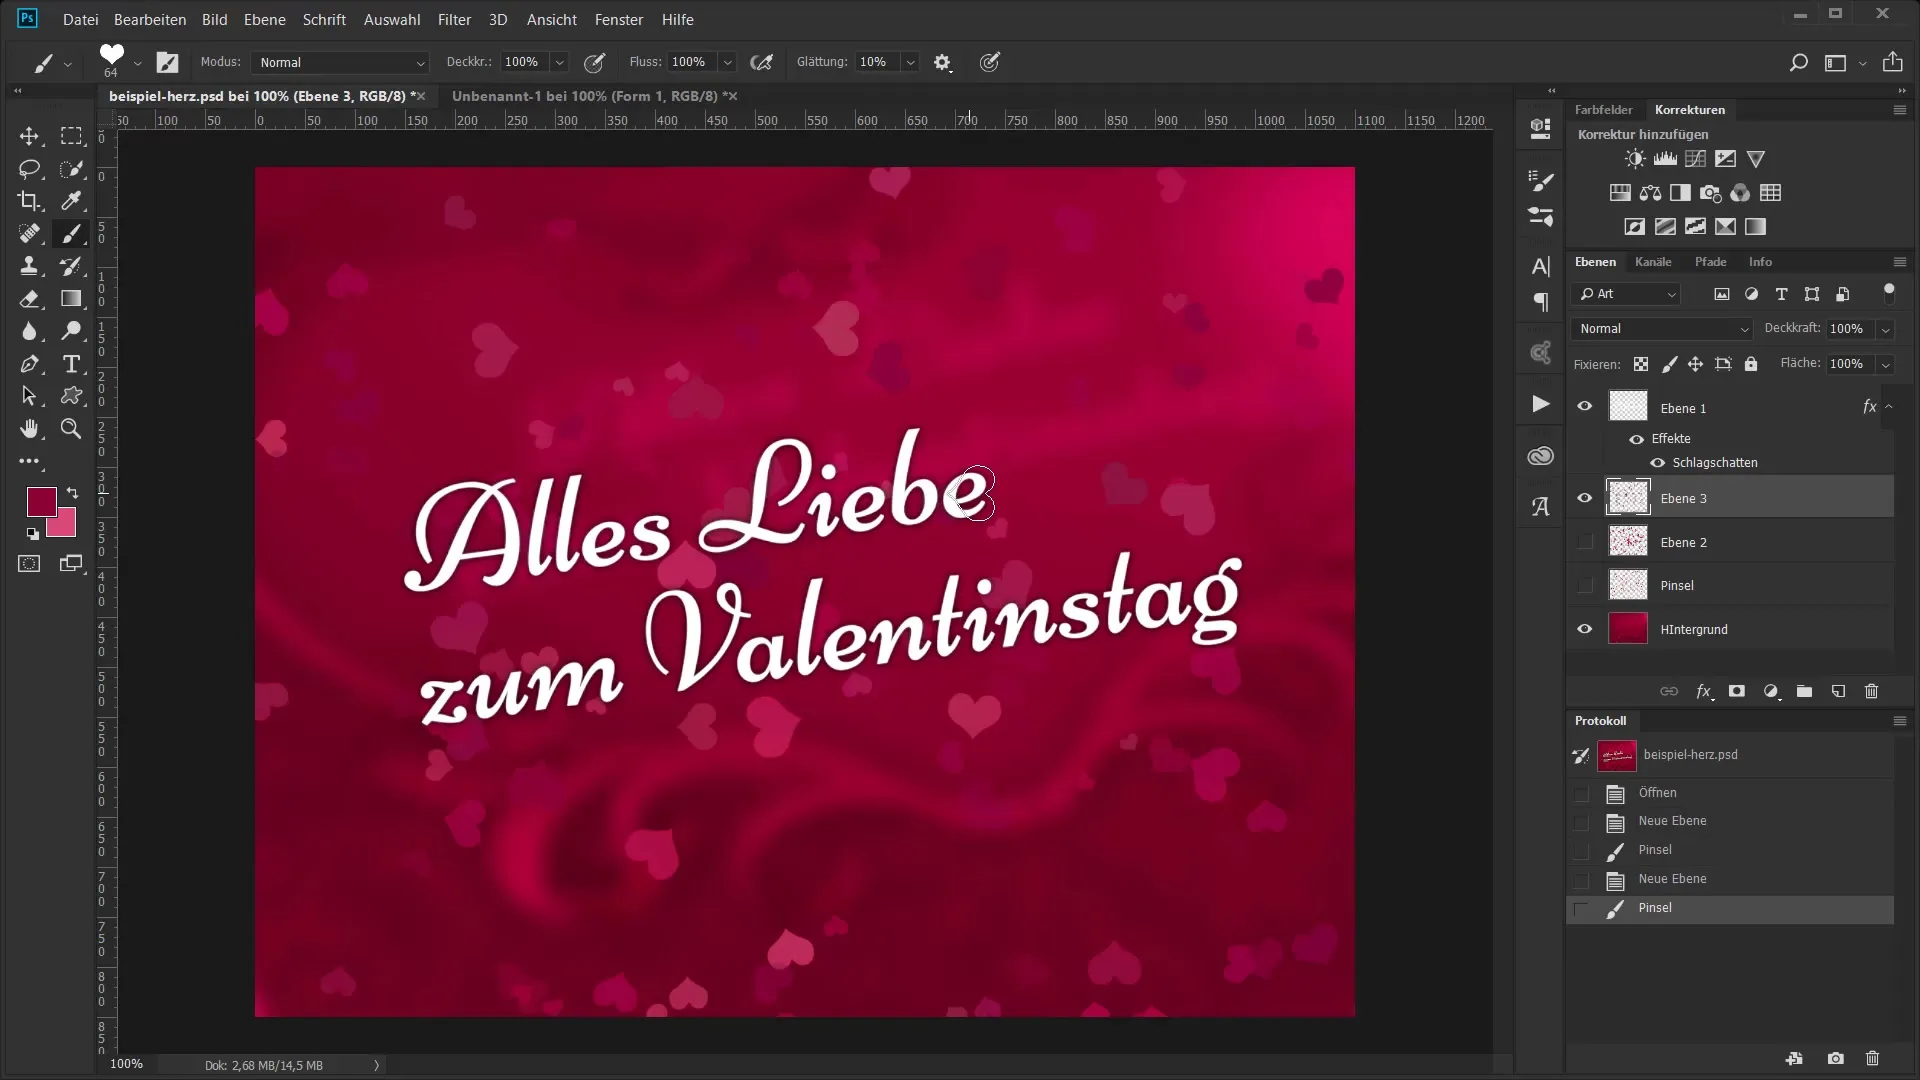
Remember: these settings can also be applied to other objects. Whether you want to create snowflakes for a winter look or leaves for an autumn scene.
With jitter settings, you are capable of quickly creating creative and versatile designs. No matter which motifs you choose, the principle remains the same.
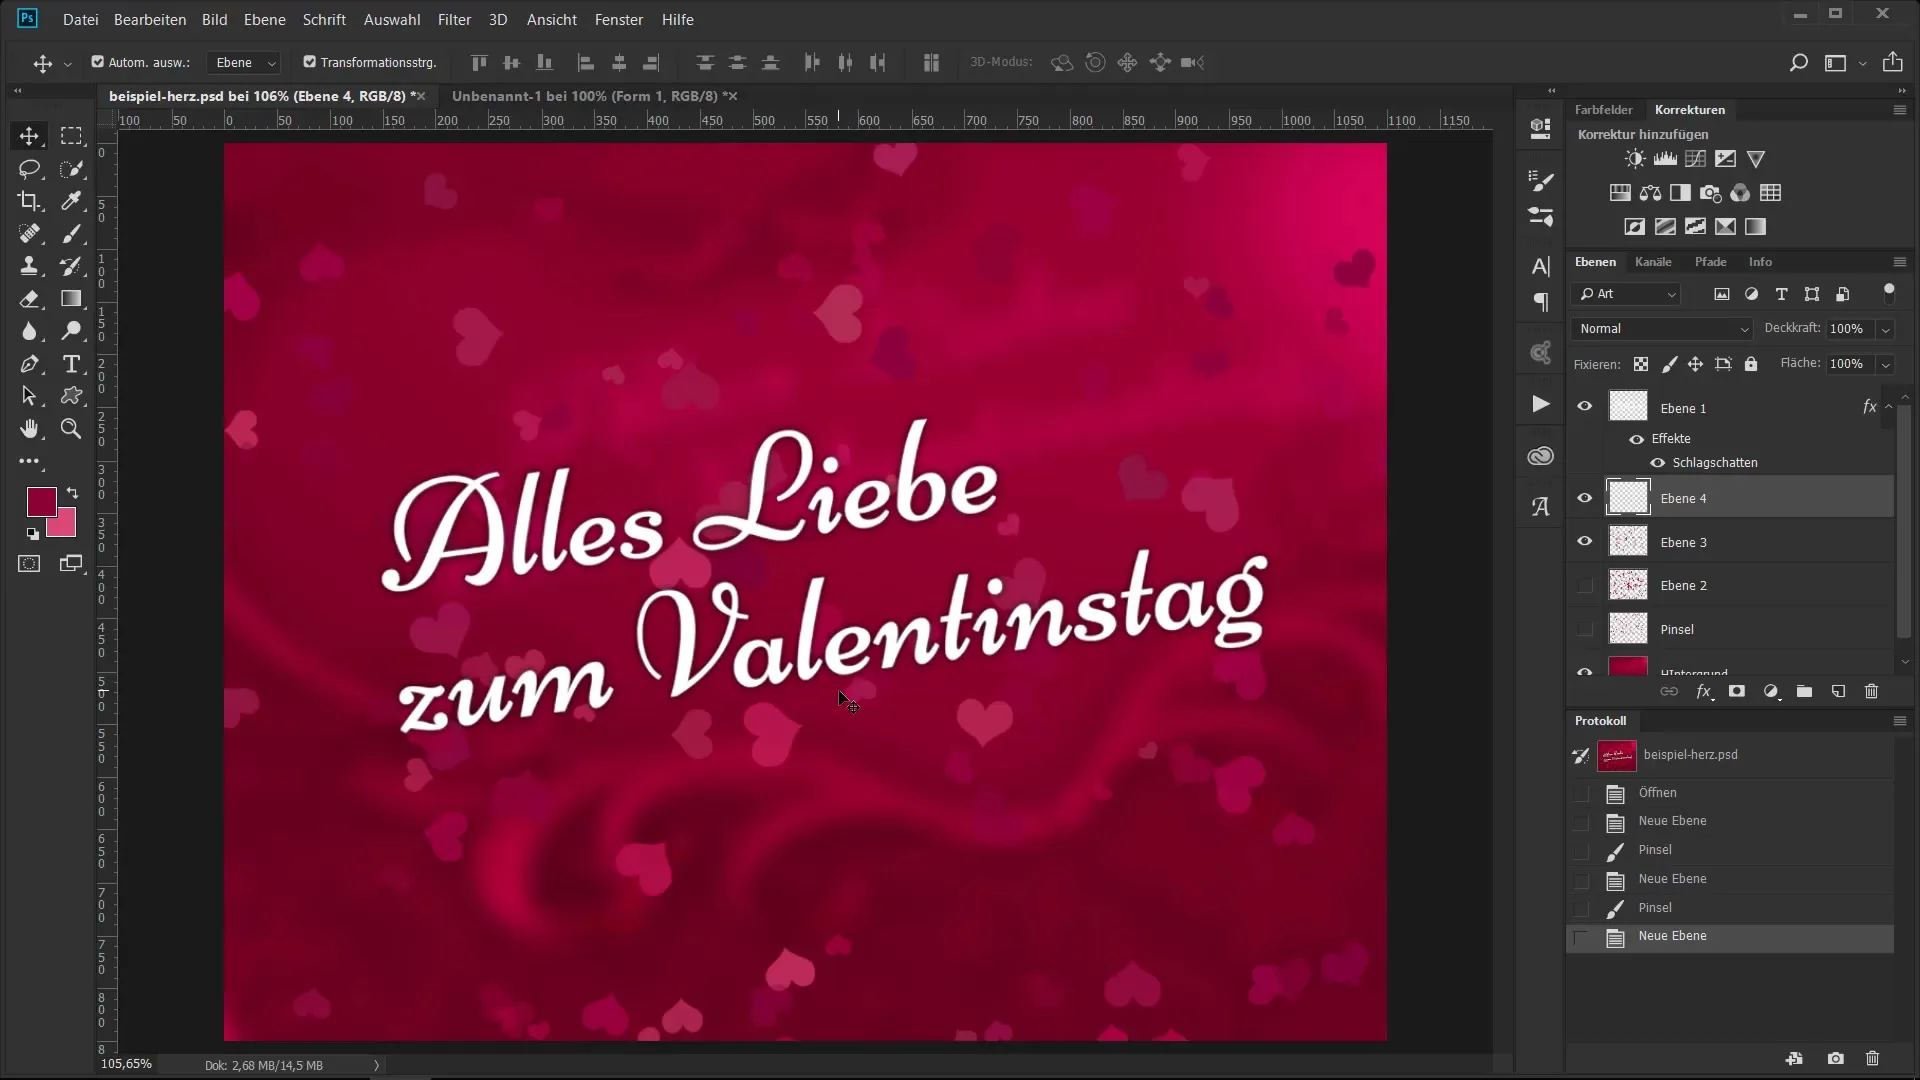
Summary – Brush and Jitter Settings for More Variation: Hearts
The brush and jitter settings provide a powerful method to quickly and effectively create duplicated motifs like hearts. By skillfully adjusting the parameters, you can playfully achieve variations in size, color, and position.
Frequently Asked Questions
How do I create a new document in Photoshop?Press Ctrl + N and choose the dimensions you want.
Can I use the brush and jitter settings for other motifs?Yes, you can use these settings for different motifs like snowflakes or leaves.
How do I change the size of the brush tip?Adjust the size jitter in the shape properties.
How do I achieve a variation of color?Use the foreground and background jitter in the color settings.
Can I adjust the opacity of a brush stroke?Yes, you can add an opacity jitter in the transfer settings.
