Welcome to an exciting tutorial where you will learn how to create a highly realistic fern brush using paint and jitter settings. This tutorial is especially valuable for digital painters looking to add more depth and variation to their vegetation representations. Let's dive into the world of digital painting and develop an effective brush step by step.
Main Insights
- Creation of a custom fern brush from simple geometric shapes.
- Optimization of brush and jitter settings for more variation and authenticity.
- Techniques for applying color and opacity for realistic effects.
Step-by-Step Guide
To create the ideal fern brush, we will go through some basic steps. Be sure to follow the instructions closely and bring your creativity into the process.
Step 1: Create a New Workspace
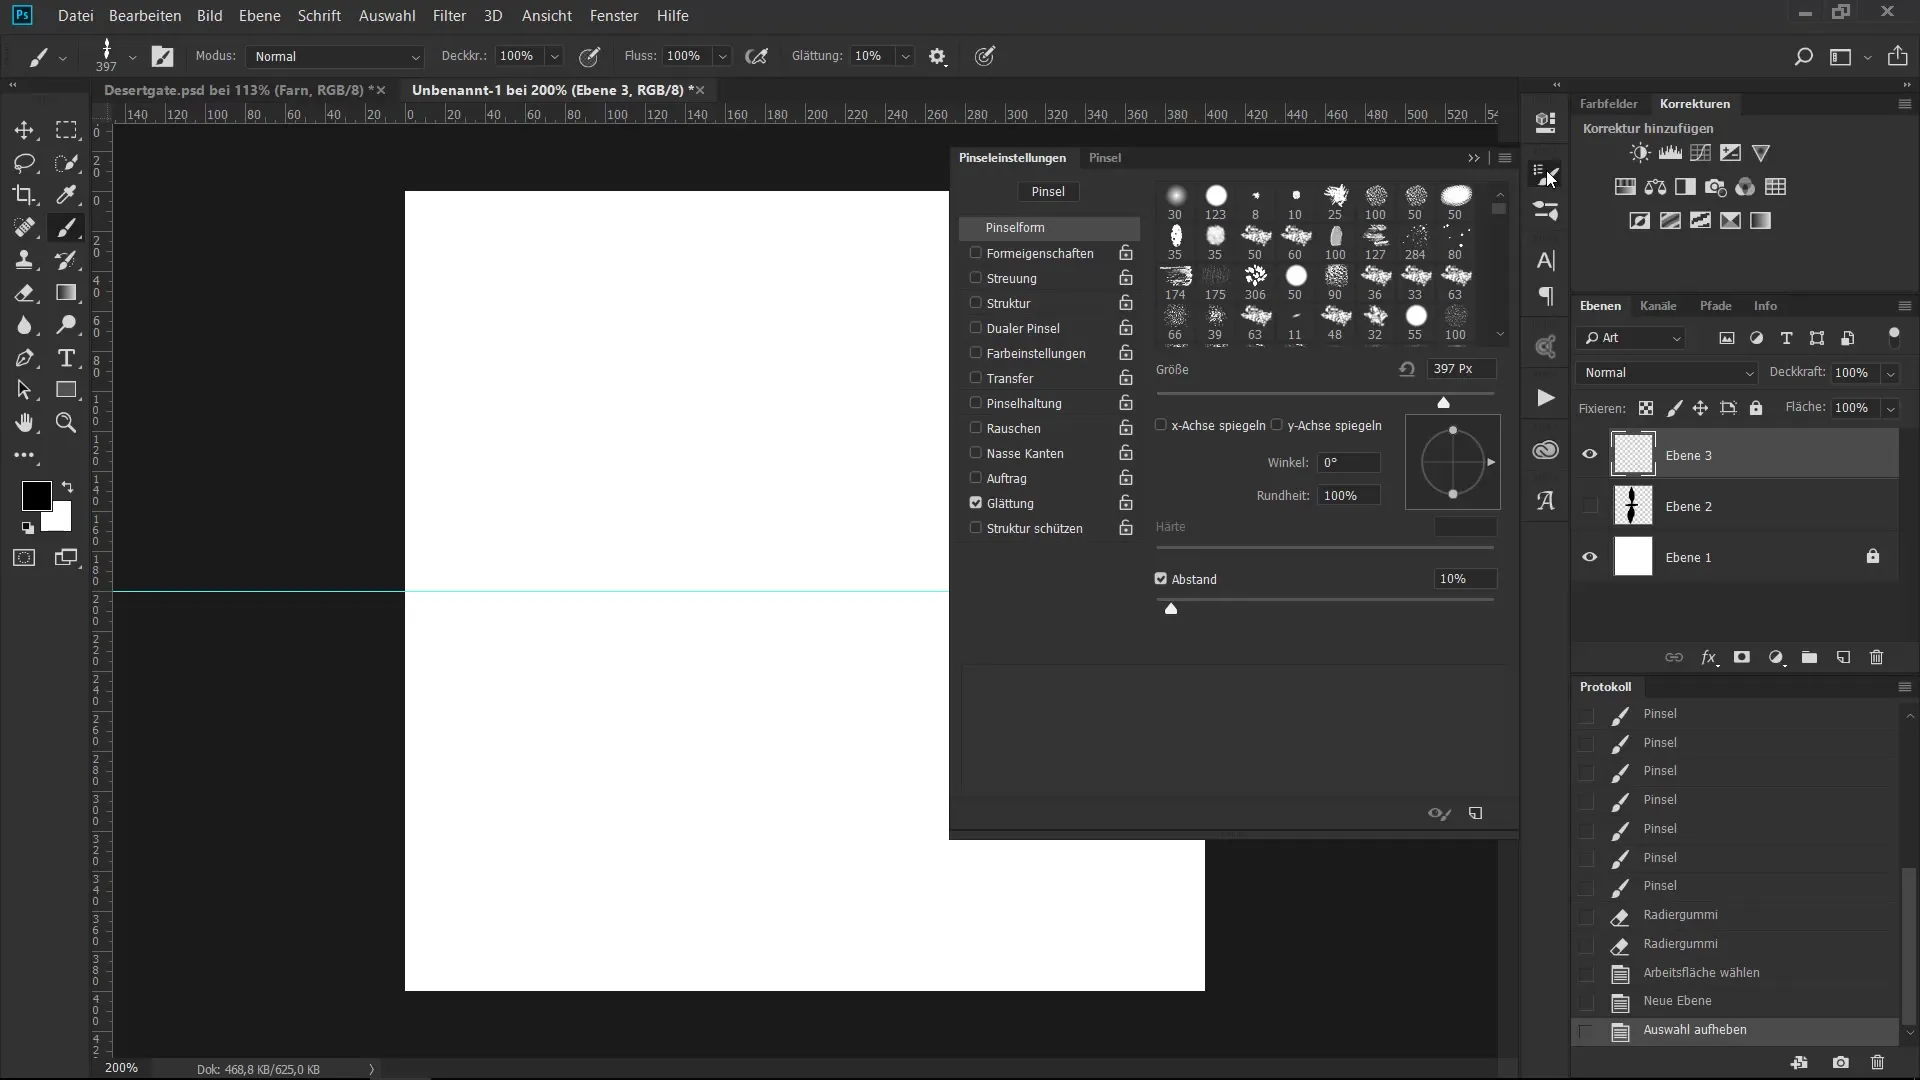
First, you should open a new project in your digital painting program. Open a file with a size of 400 x 400 pixels. Set the background color to white. This will give you a neutral base to work on.
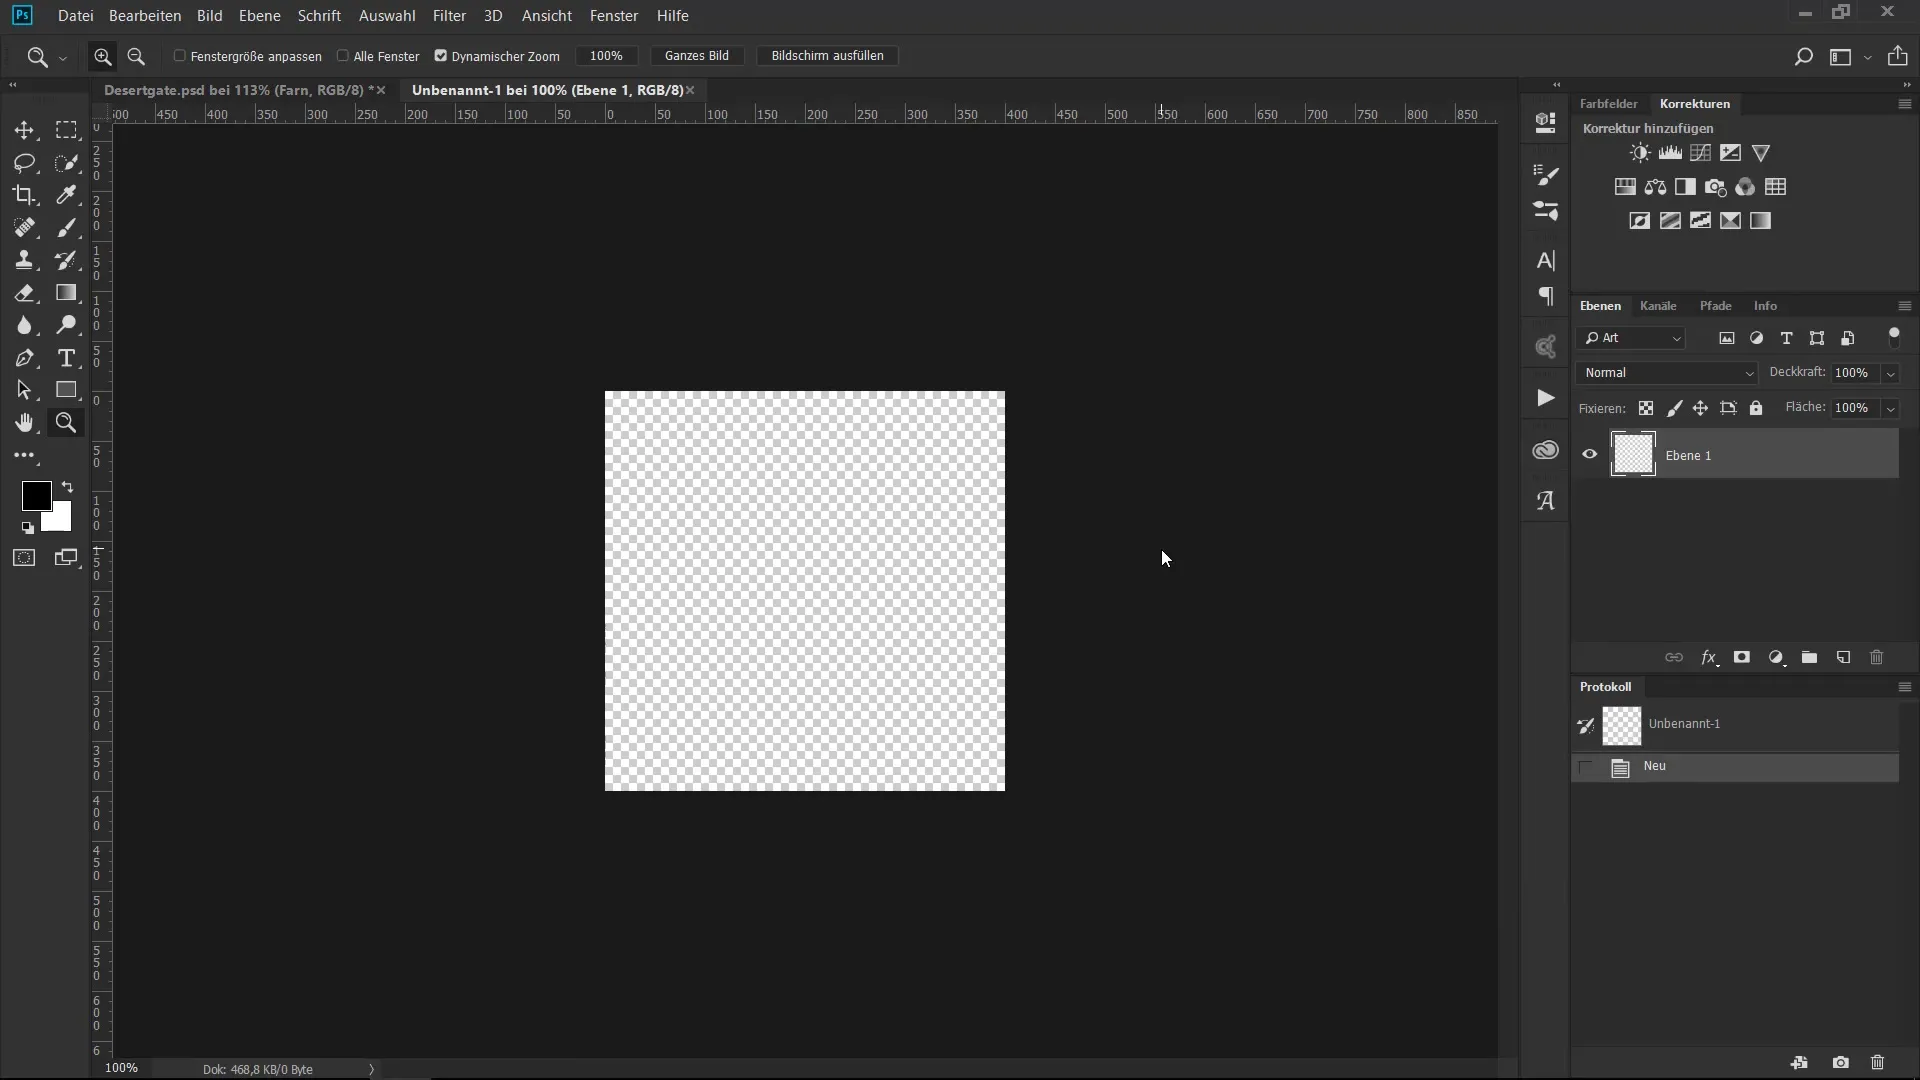
Step 2: Drawing the Fern Segment
Create a new layer and set the brush to 100% opacity with a hard edge. Reduce the brush size to a comfortable level for painting. Now start drawing a single leaf for your fern. Use a guide line in the middle to shape the leaf symmetrically. Make sure that the starting and ending points are aligned to achieve a harmonious overall picture.
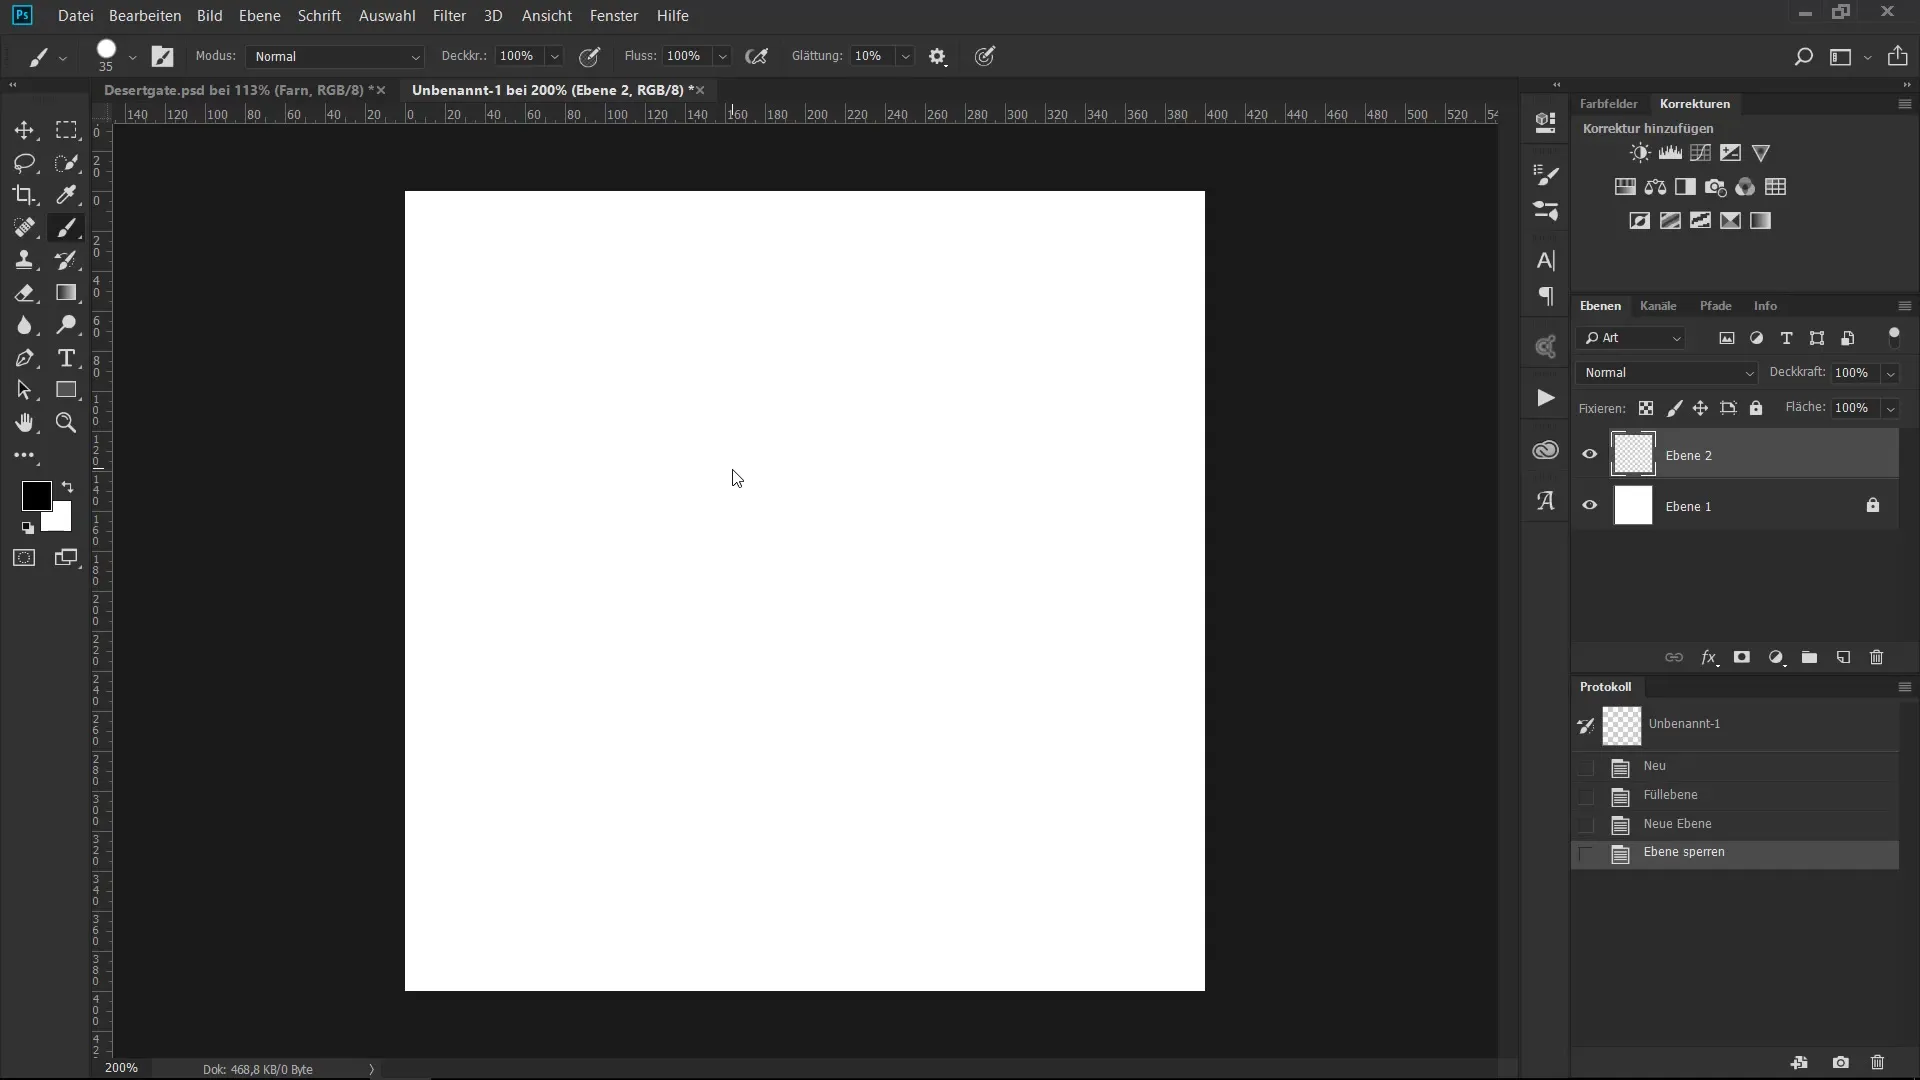
Step 3: Adjust the Shape
Once you have drawn the segment, you can adjust the shapes using the eraser tool (Shortcut E). The edges don’t have to be perfect – a little asymmetry gives your fern more character. Experiment with the shapes until you are satisfied with the result.
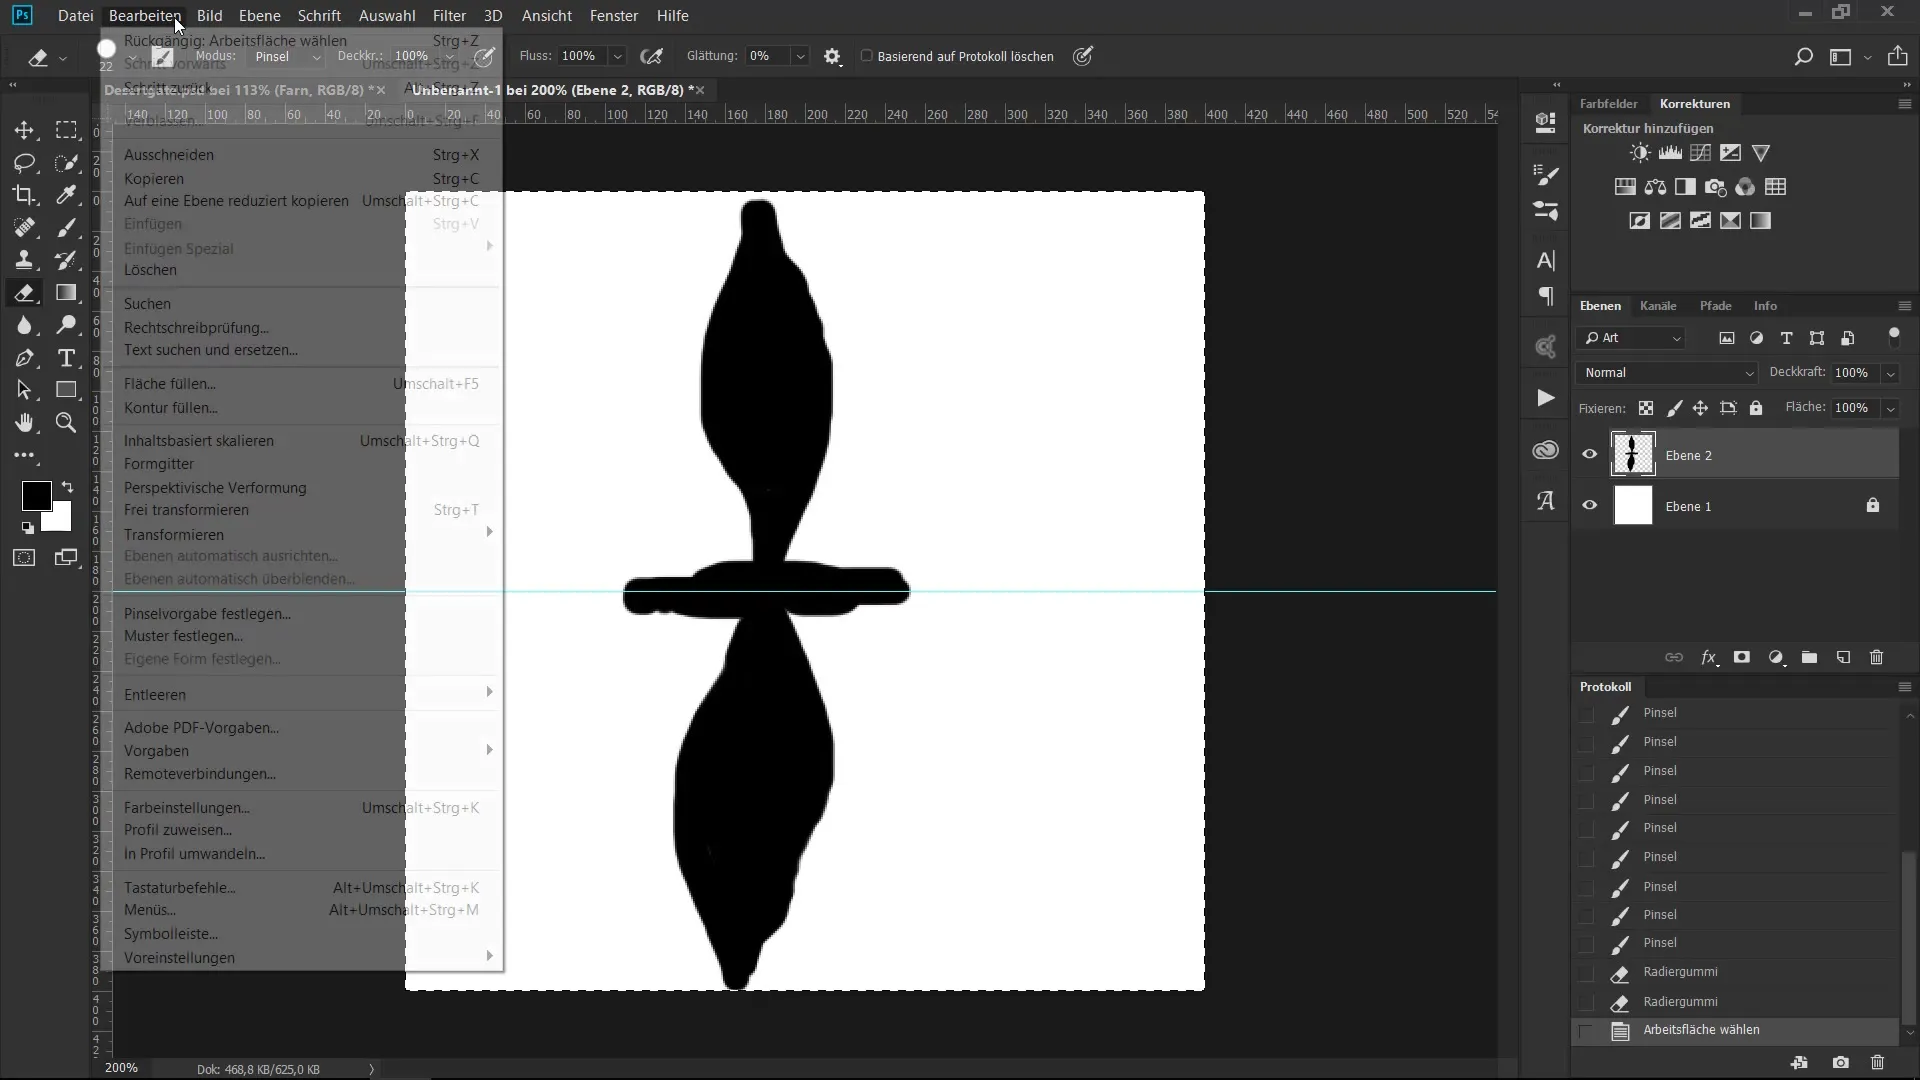
Step 4: Save the Brush Preset
Now it’s time to save your fern segment. Go to “Edit” and select “Define Brush Preset”. This marks the segment as a brush and makes it ready for your next creative works.
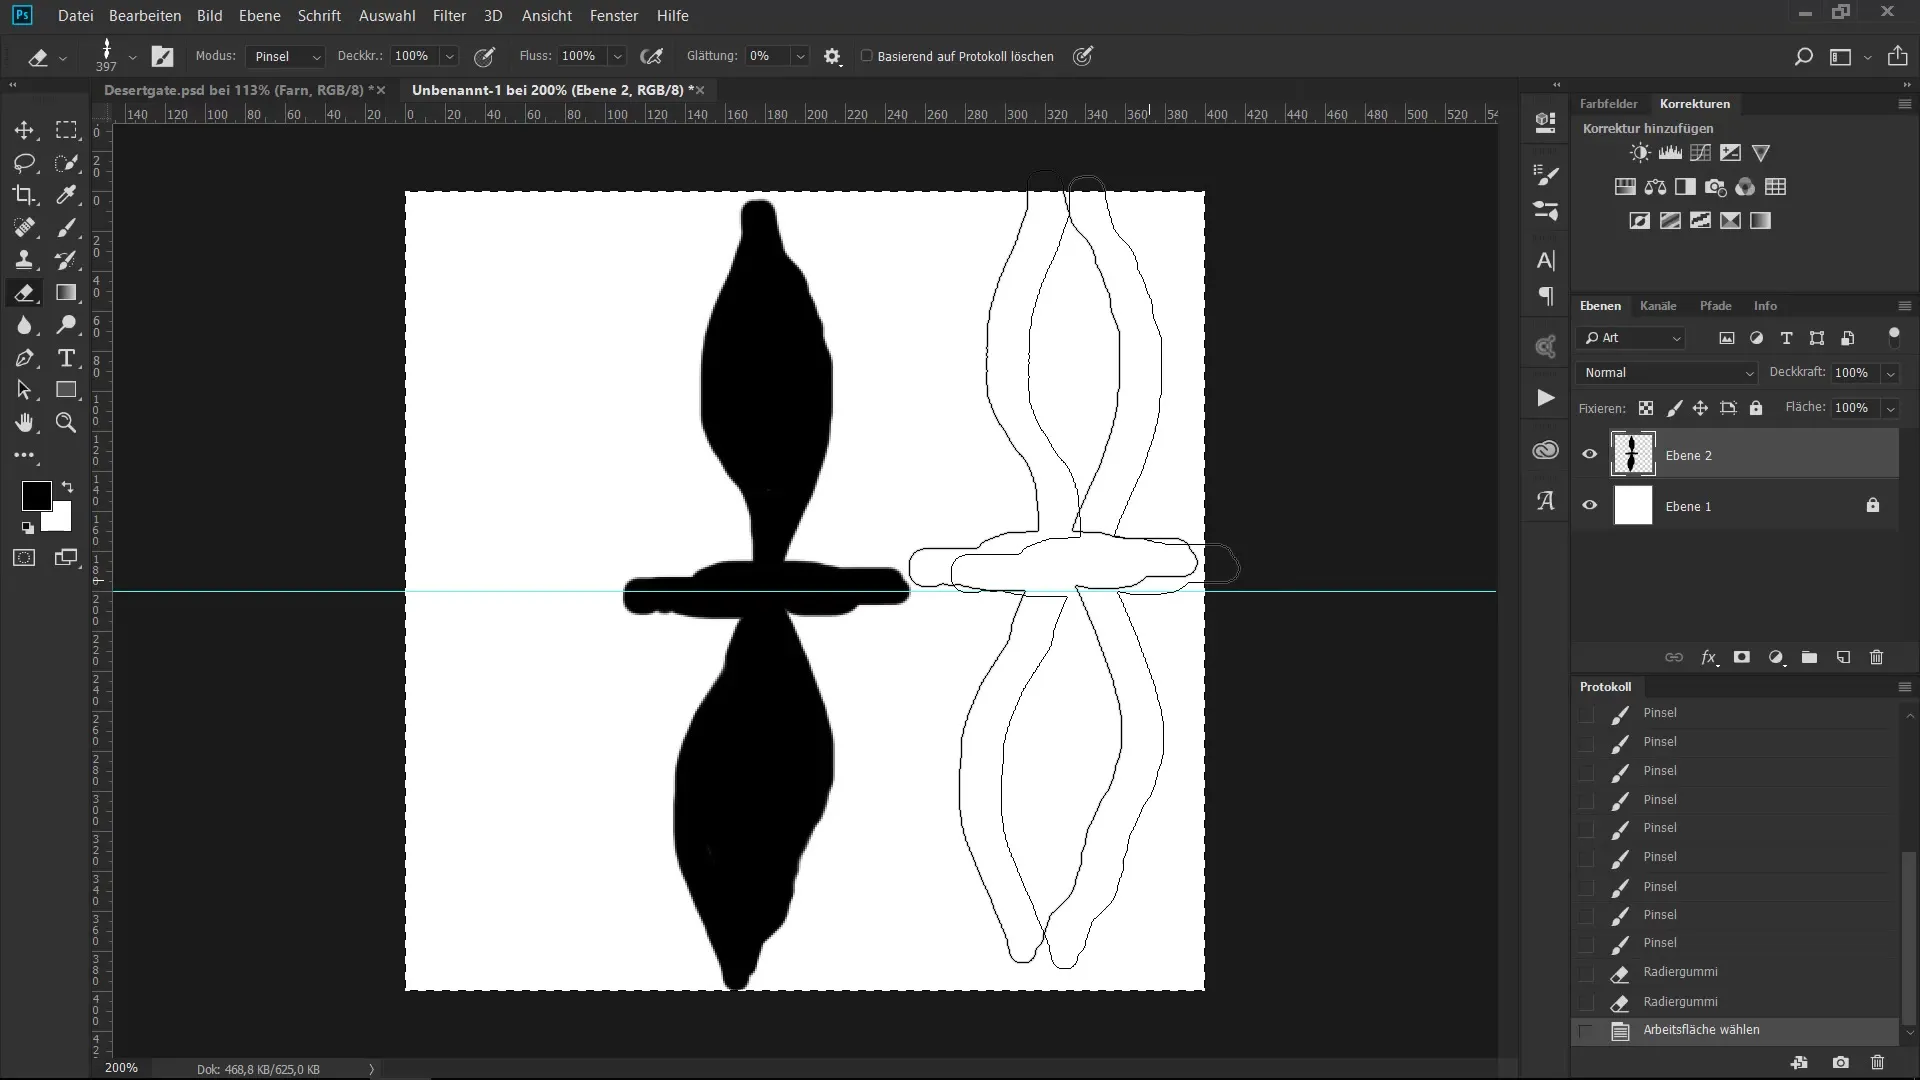
Step 5: Optimize Jitter Settings
Now go to the brush and jitter settings. Increase the spacing of the brush strokes to about 88% for an even flow. In the shape properties, you can adjust the jitter settings. Set the size jitter to 5-6% and the angle jitter to 2-3%. This will give you a smooth variation in the appearance of the leaves.
Step 6: Enable Tapering
Select the “Fade” option from the control dialog. Set the value to about 25% so that the end of the brush strokes fades smoothly and tapers. This gives your brush the desired naturalness.
Step 7: Color and Opacity Adjustments
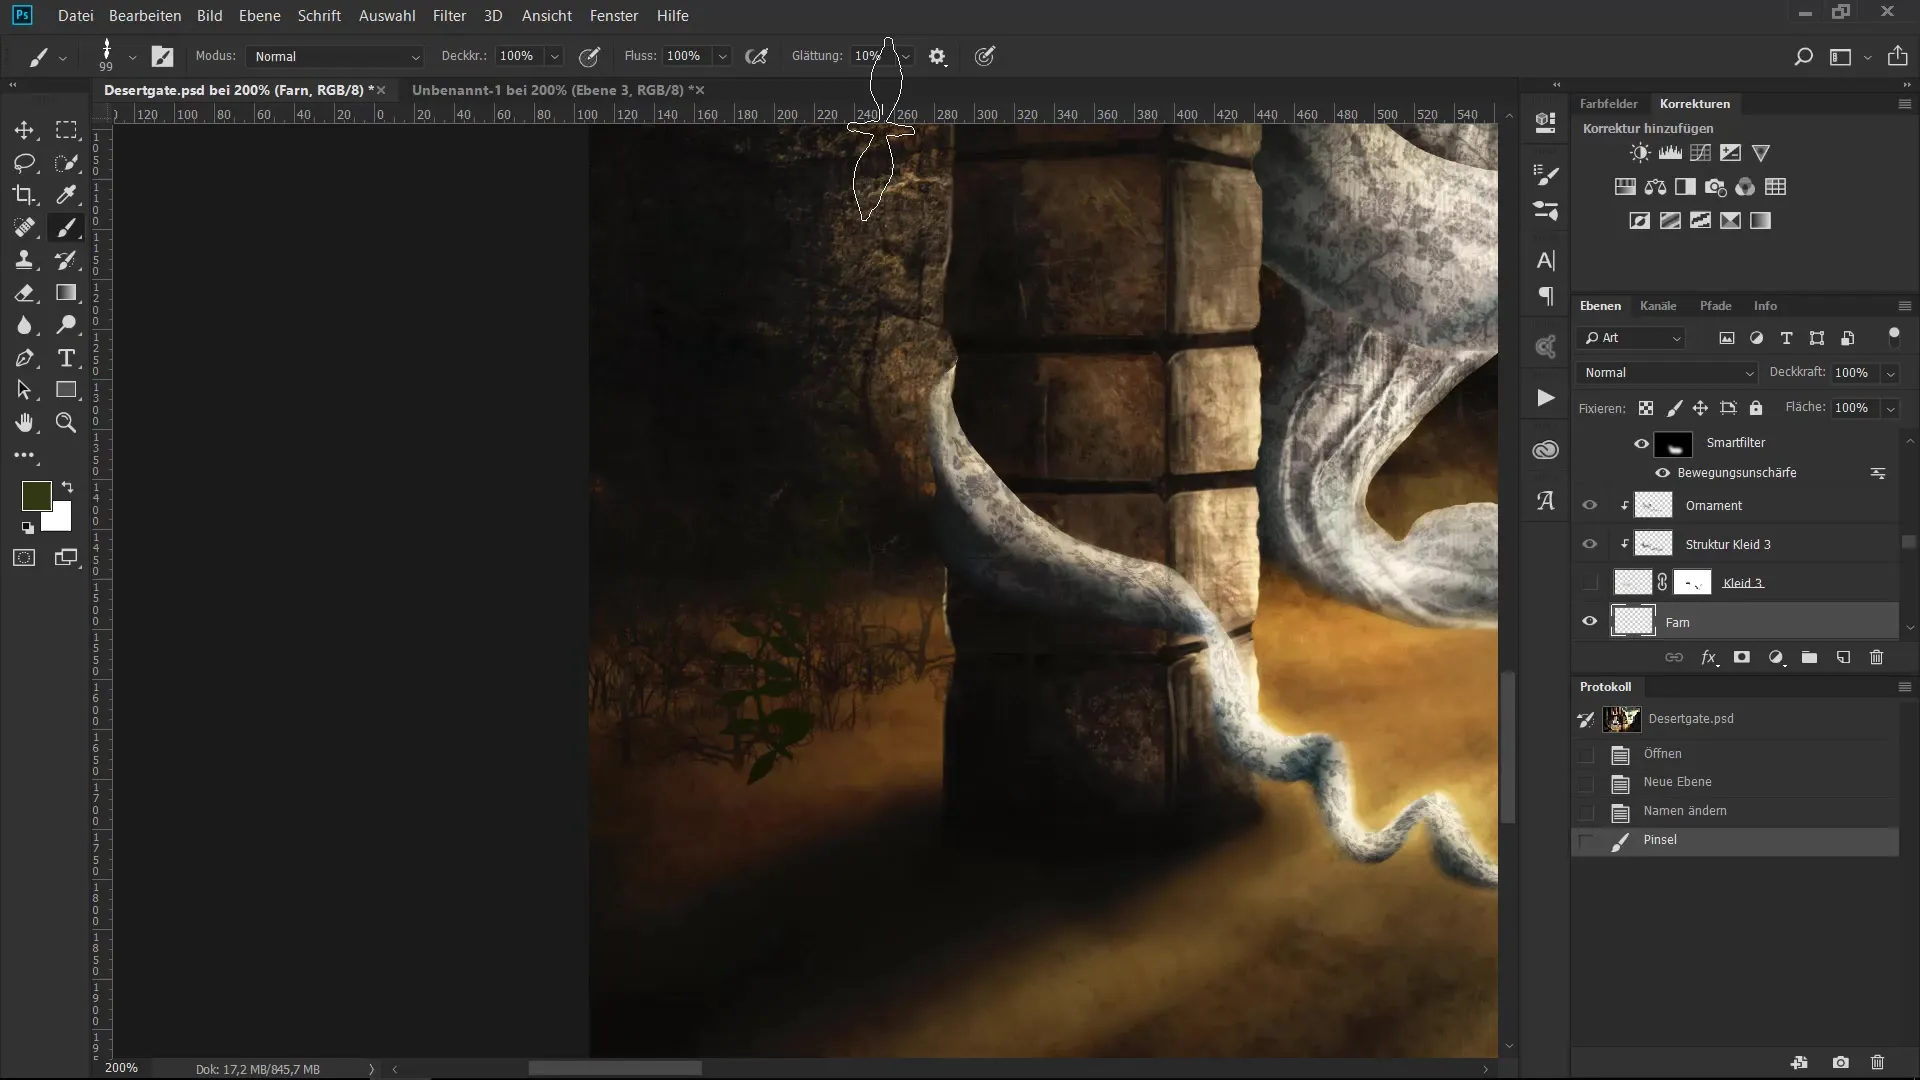
Now go to the transfer settings and again select “Fade” with 25%. This gives your brush strokes a delicate look. Choose a suitable color for your fern, ideally a brown or olive green shade that fits well into the environment.
Step 8: Test and Apply the Brush
Test your new brush by applying it to the background. Be sure to adjust the brush size as needed and try different colors to achieve the desired effect.
Step 9: Add Vegetation
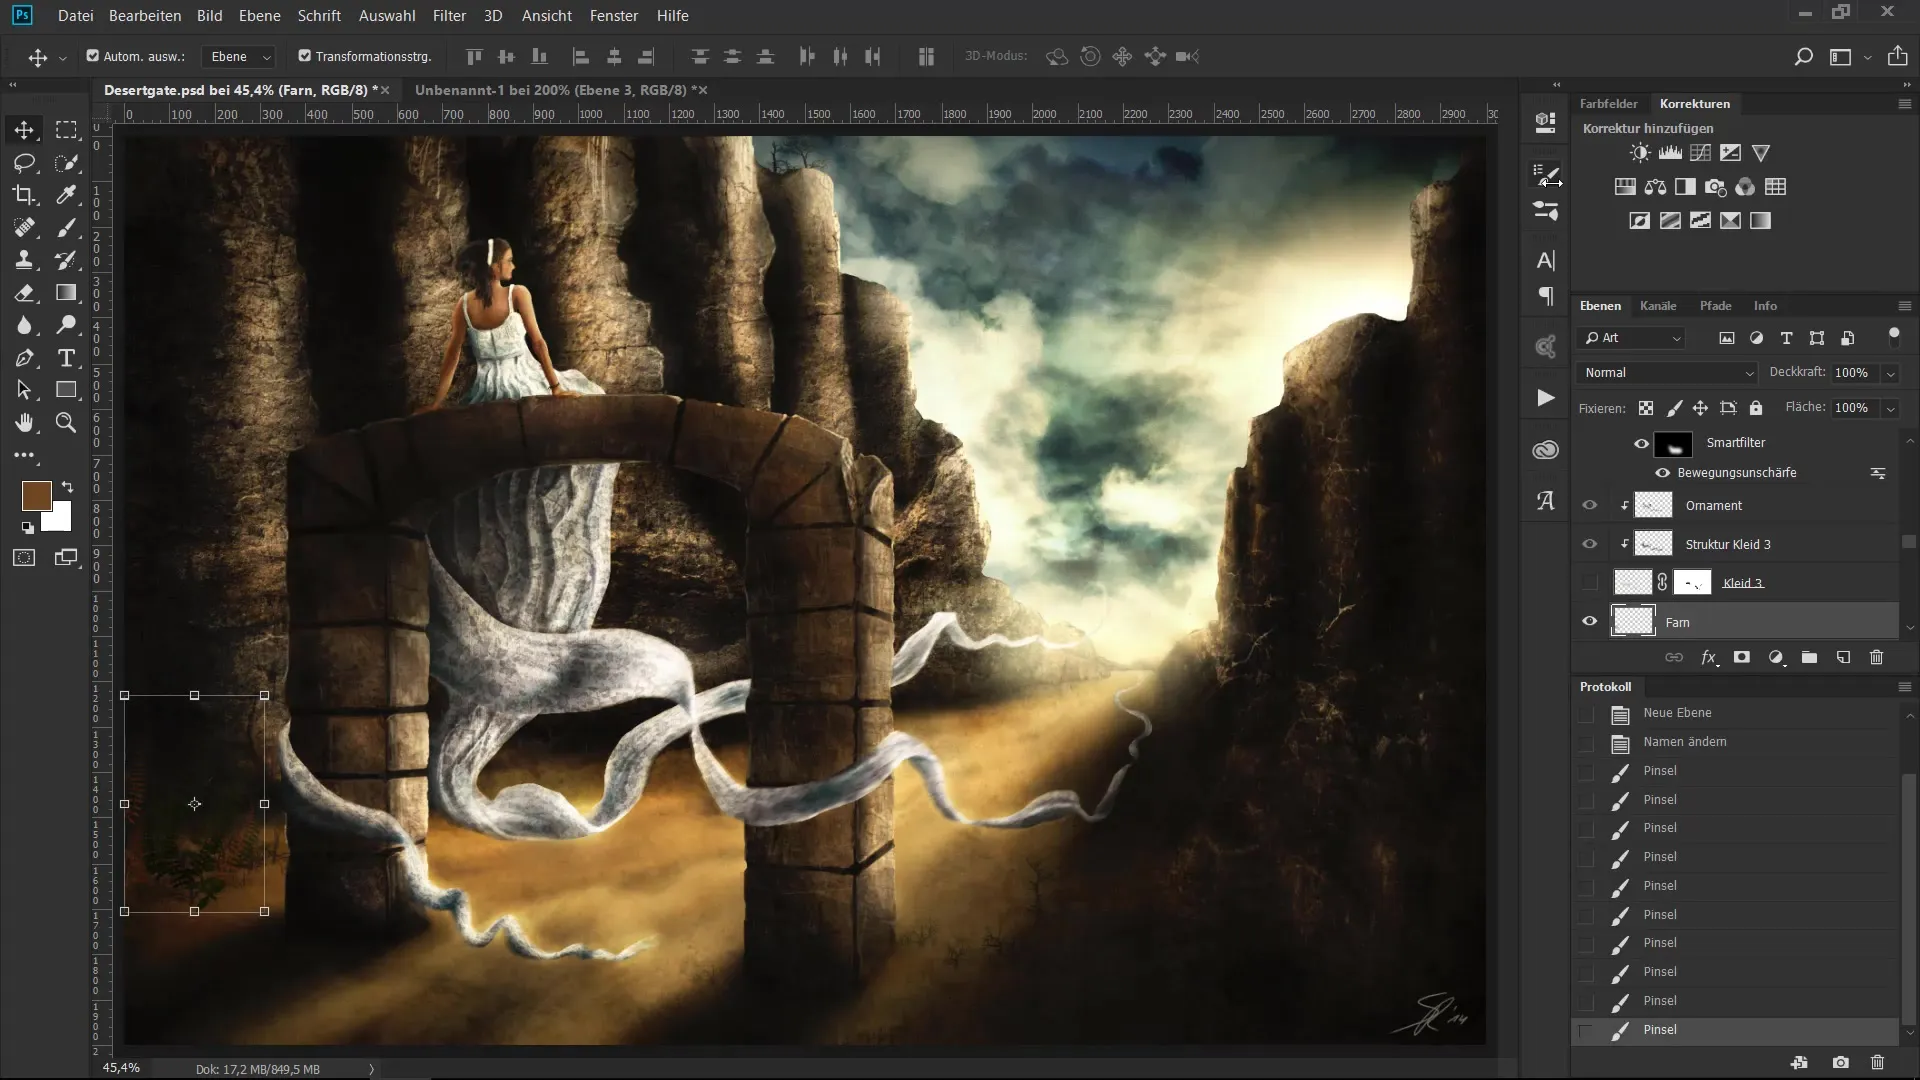
Now you can use the learned technique to add lush vegetation to your artwork. Your fern brushes are available to you at any time, so you can work creatively.
Summary - The Ultimate Brush Training: Jitter and Brush Settings for Realistic Ivy Representations
This guide has shown you how to create a custom brush for digital painting that allows for an authentic representation of ferns through modified jitter settings. From the first strokes to the final color adjustments – with the right tools and techniques, you can achieve impressive results.
Frequently Asked Questions
How do I create a new brush in my digital painting program?You can create a new brush by drawing a brush segment and then selecting the “Define Brush Preset” option.
What settings do you recommend for the jitter options?For jitter settings, I recommend 5-6% for size jitter and 2-3% for angle jitter.
How can I ensure that my brush looks good?Pay attention to asymmetric shapes and experiment with the closure of the brush strokes to achieve a natural look.
What are the best colors for my fern brush?Brown and olive tones are ideal for achieving a natural fern look and blending well into the environment.
How do I save my brush for future use?After creating and adjusting your brush, you can save it by selecting the “Define Brush Preset” option in the “Edit” menu.


