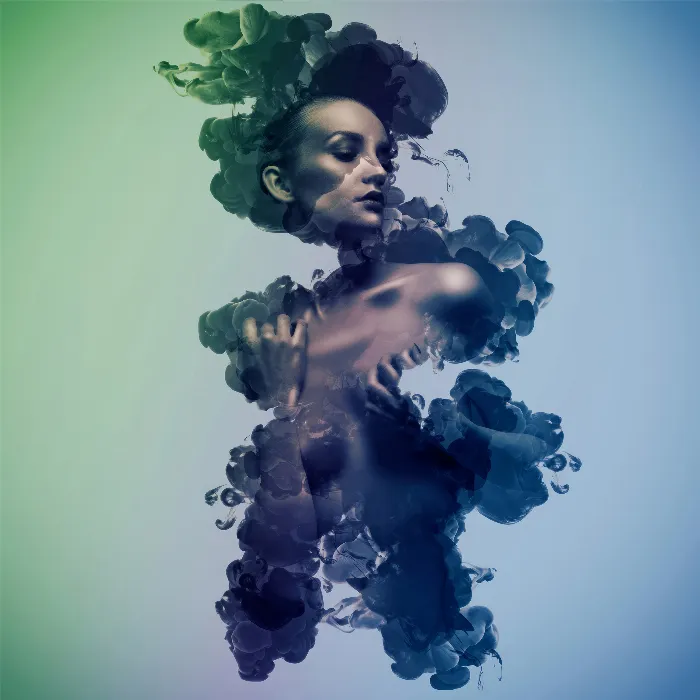
You have already learned a lot about the use and customization of brushes. Now it’s time to apply all this knowledge in a creative artwork. In this guide, you will learn how to create an impressive portrait in sketch look, utilizing different types of brushes and applying creative techniques to give your artwork that certain something.
Key Insights
- Use various types of brushes for creative effects.
- Preliminary work with suitable masks simplifies the process.
- The final touch makes the artwork unique.
Step-by-Step Guide
The following section describes how to design a portrait in a sketch look step-by-step. You will use multiple layers, masks, and different types of brushes.
Step 1: Create Background
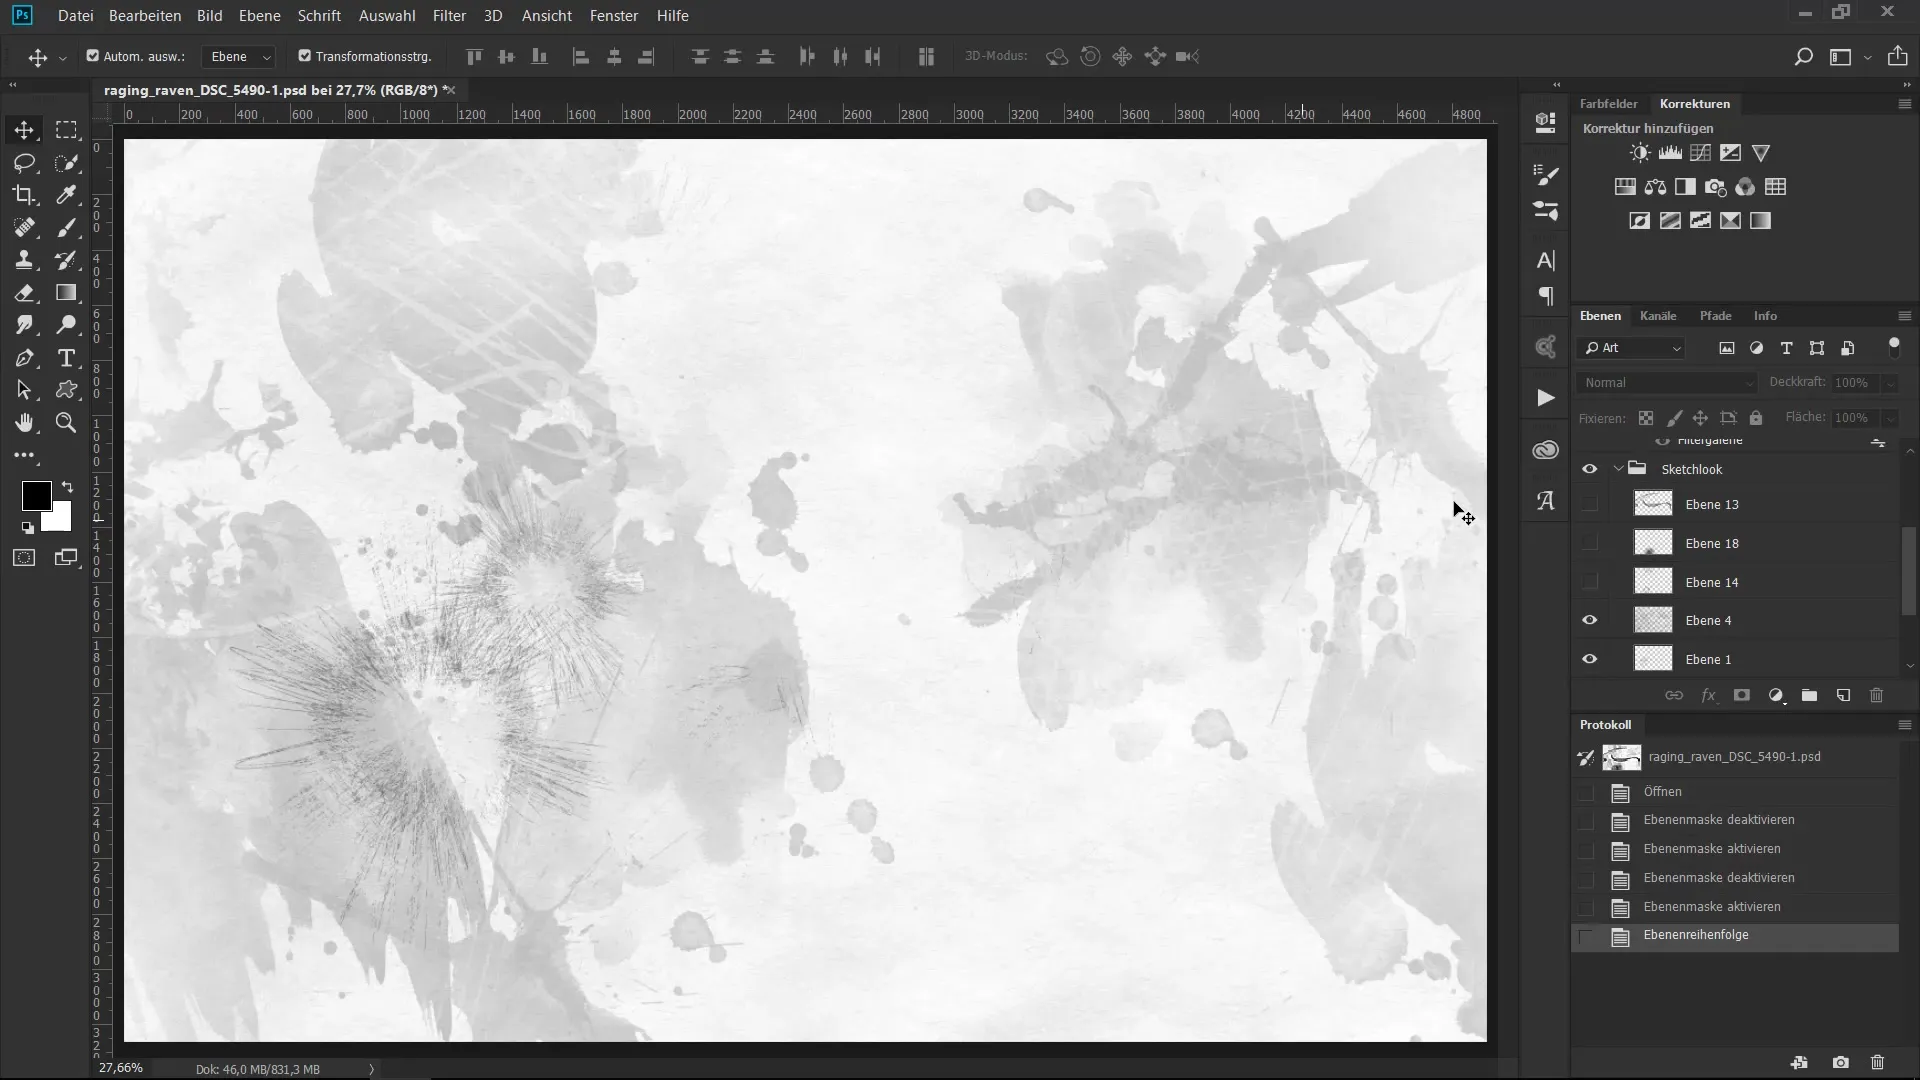
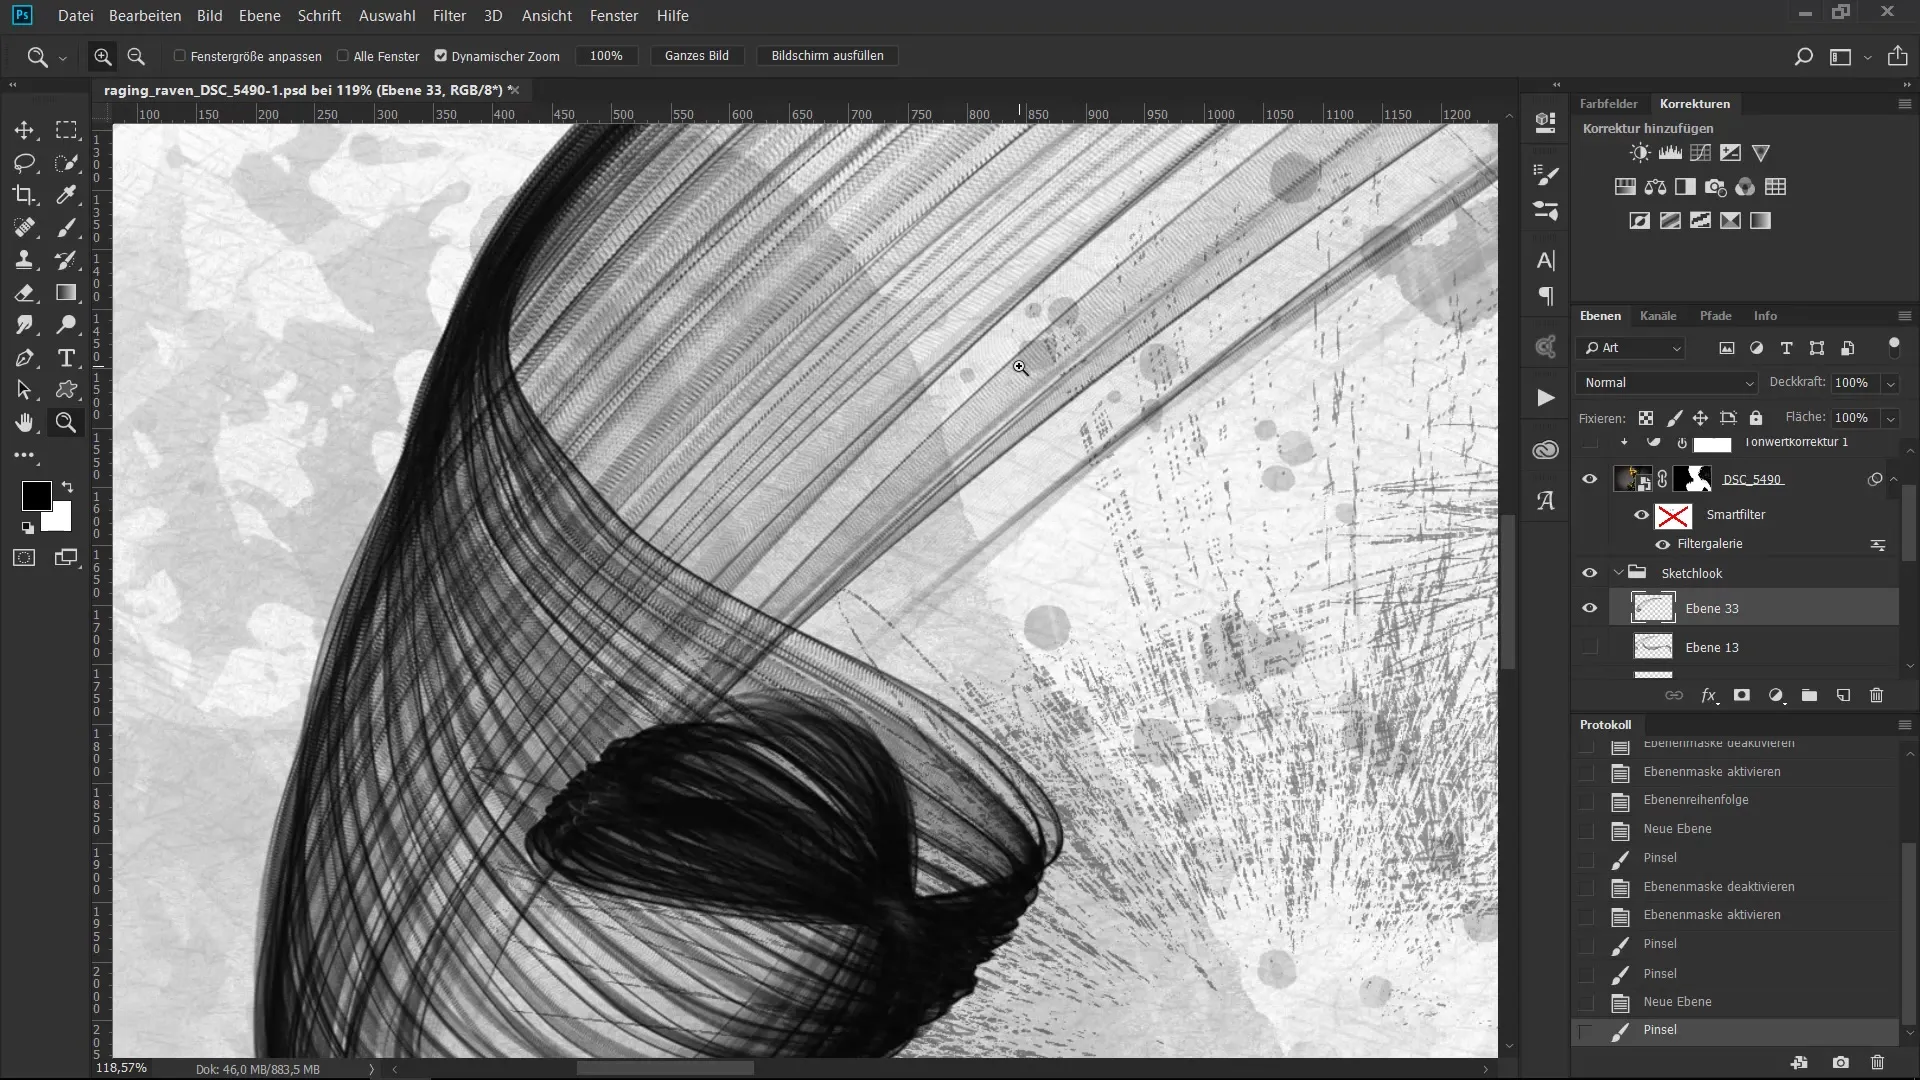
Start by creating a new layer. Here, you can experiment with various types of brushes to design the background. Try extraordinary brushes like the sketch brushes to achieve a sketchy effect. Draw freehand and let the bouncing effect of the brushes create a dynamic background.
Step 2: Create Portrait
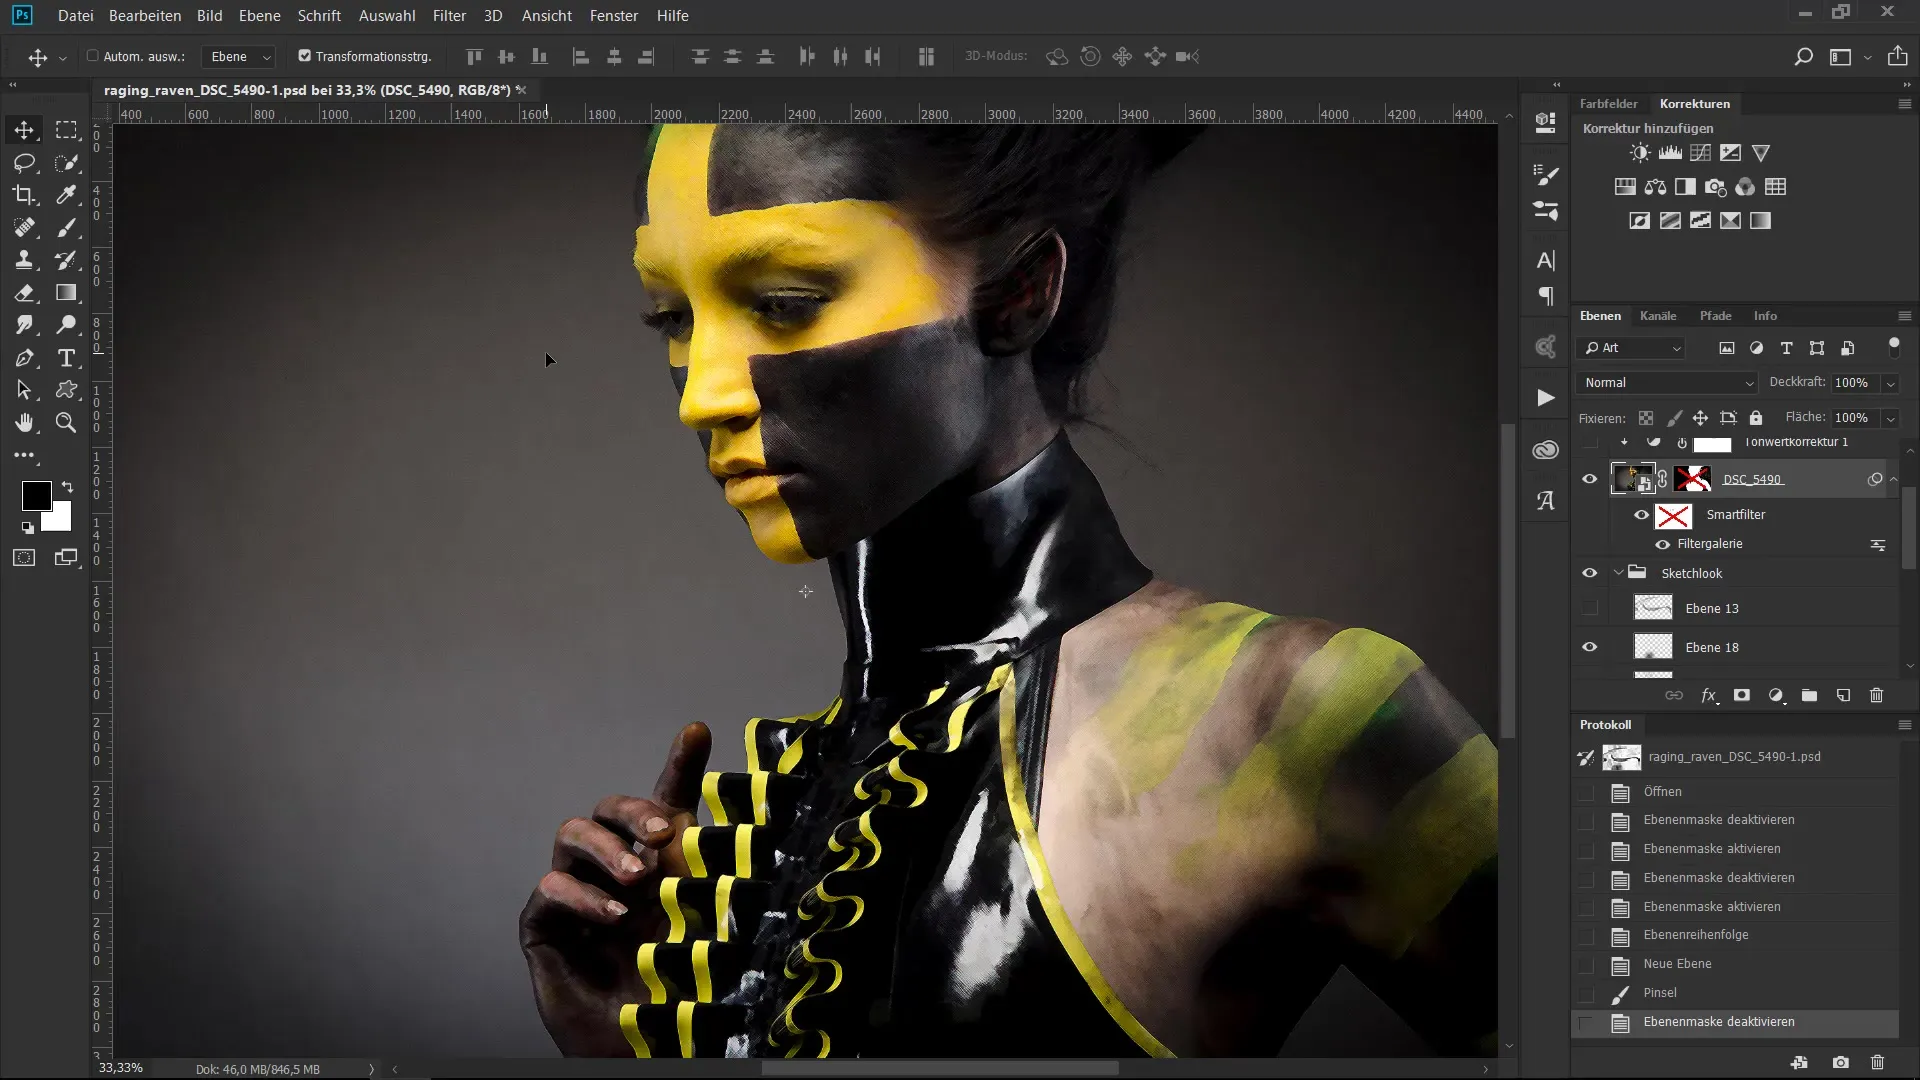
Now that you have your background, it’s time to create your portrait. Use an image taken in a studio and zoom in significantly. The focus should be on creating a structure in the image that you can later adjust with filters. You can use the filter gallery for this.
Step 3: Use Mask
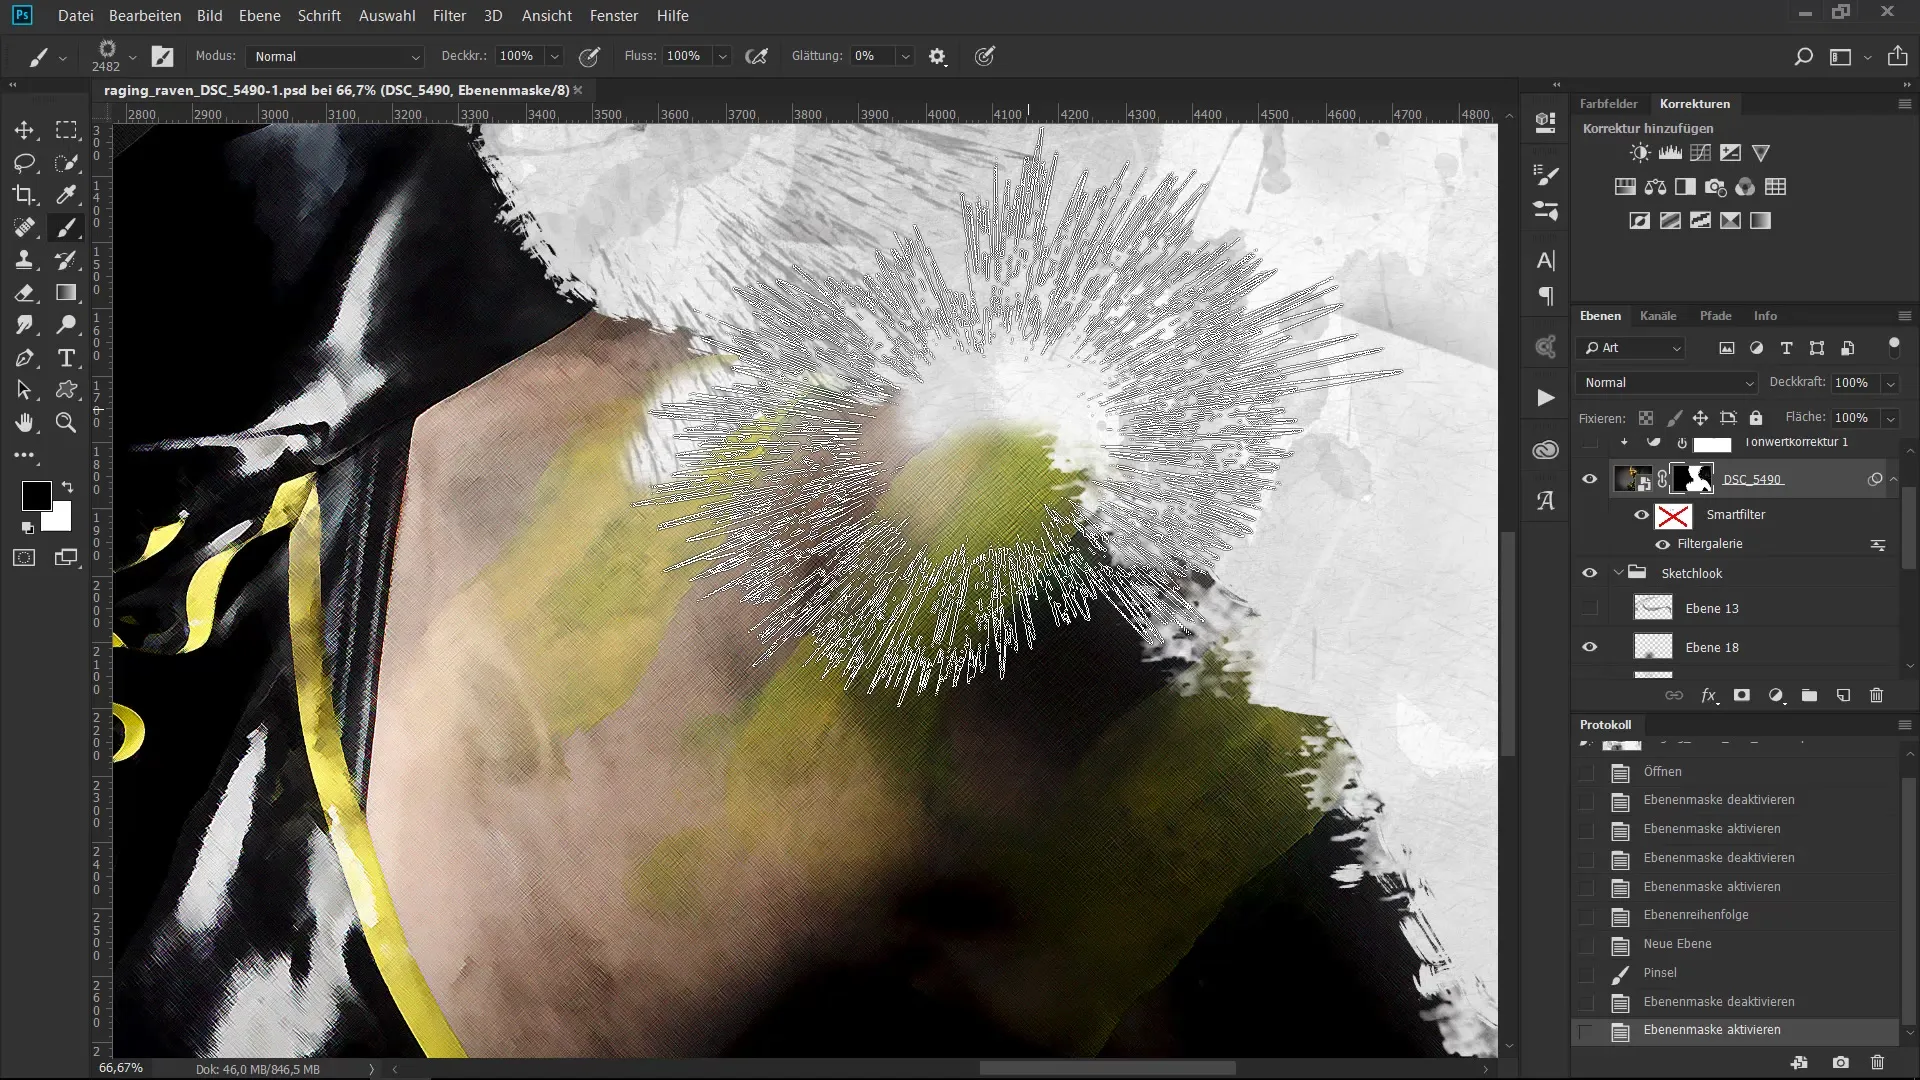
To further refine the details of your portrait, use a mask. Choose a destructive brush and begin masking. This allows you to highlight specific areas in the portrait better and enhance the sketchy look.
Step 4: Use Wave Brushes
Create a new empty layer and select the wave brushes. These brushes create fine, delicate lines that give your artwork a special touch. Make sure to set the opacity to 100% to showcase the details optimally.
Step 5: Color and Tone Adjustments
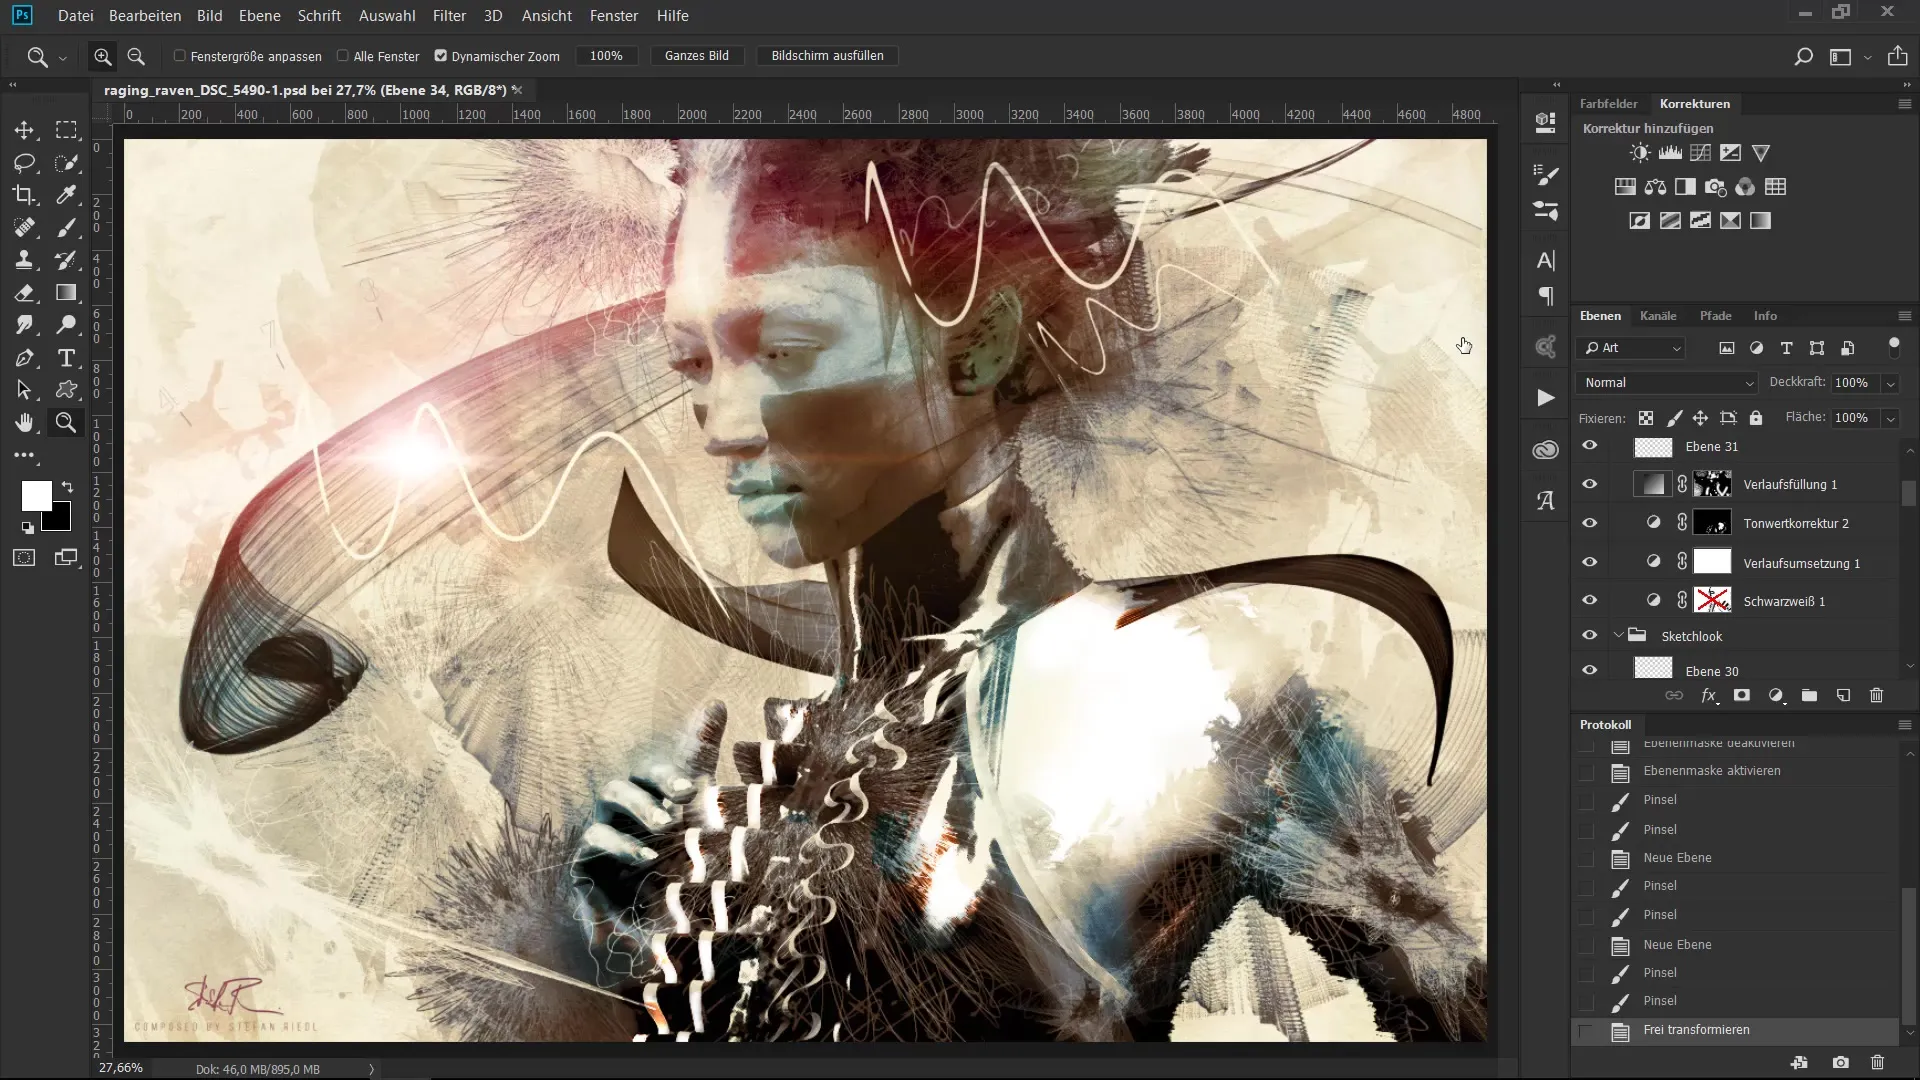
Now we come to the tonal adjustment. Revise the colors to make the image more harmonious. You can use the black-and-white layer and color gradients to achieve the desired sepia tone. Experiment with different color hues to create a harmonious overall image.
Step 6: Combine Brush Layers
Combine all layers and check the color combinations. Ensure that all brushes work harmoniously together and complement each other. This is the moment when you become creative and define your own style further.

Step 7: Final Touch
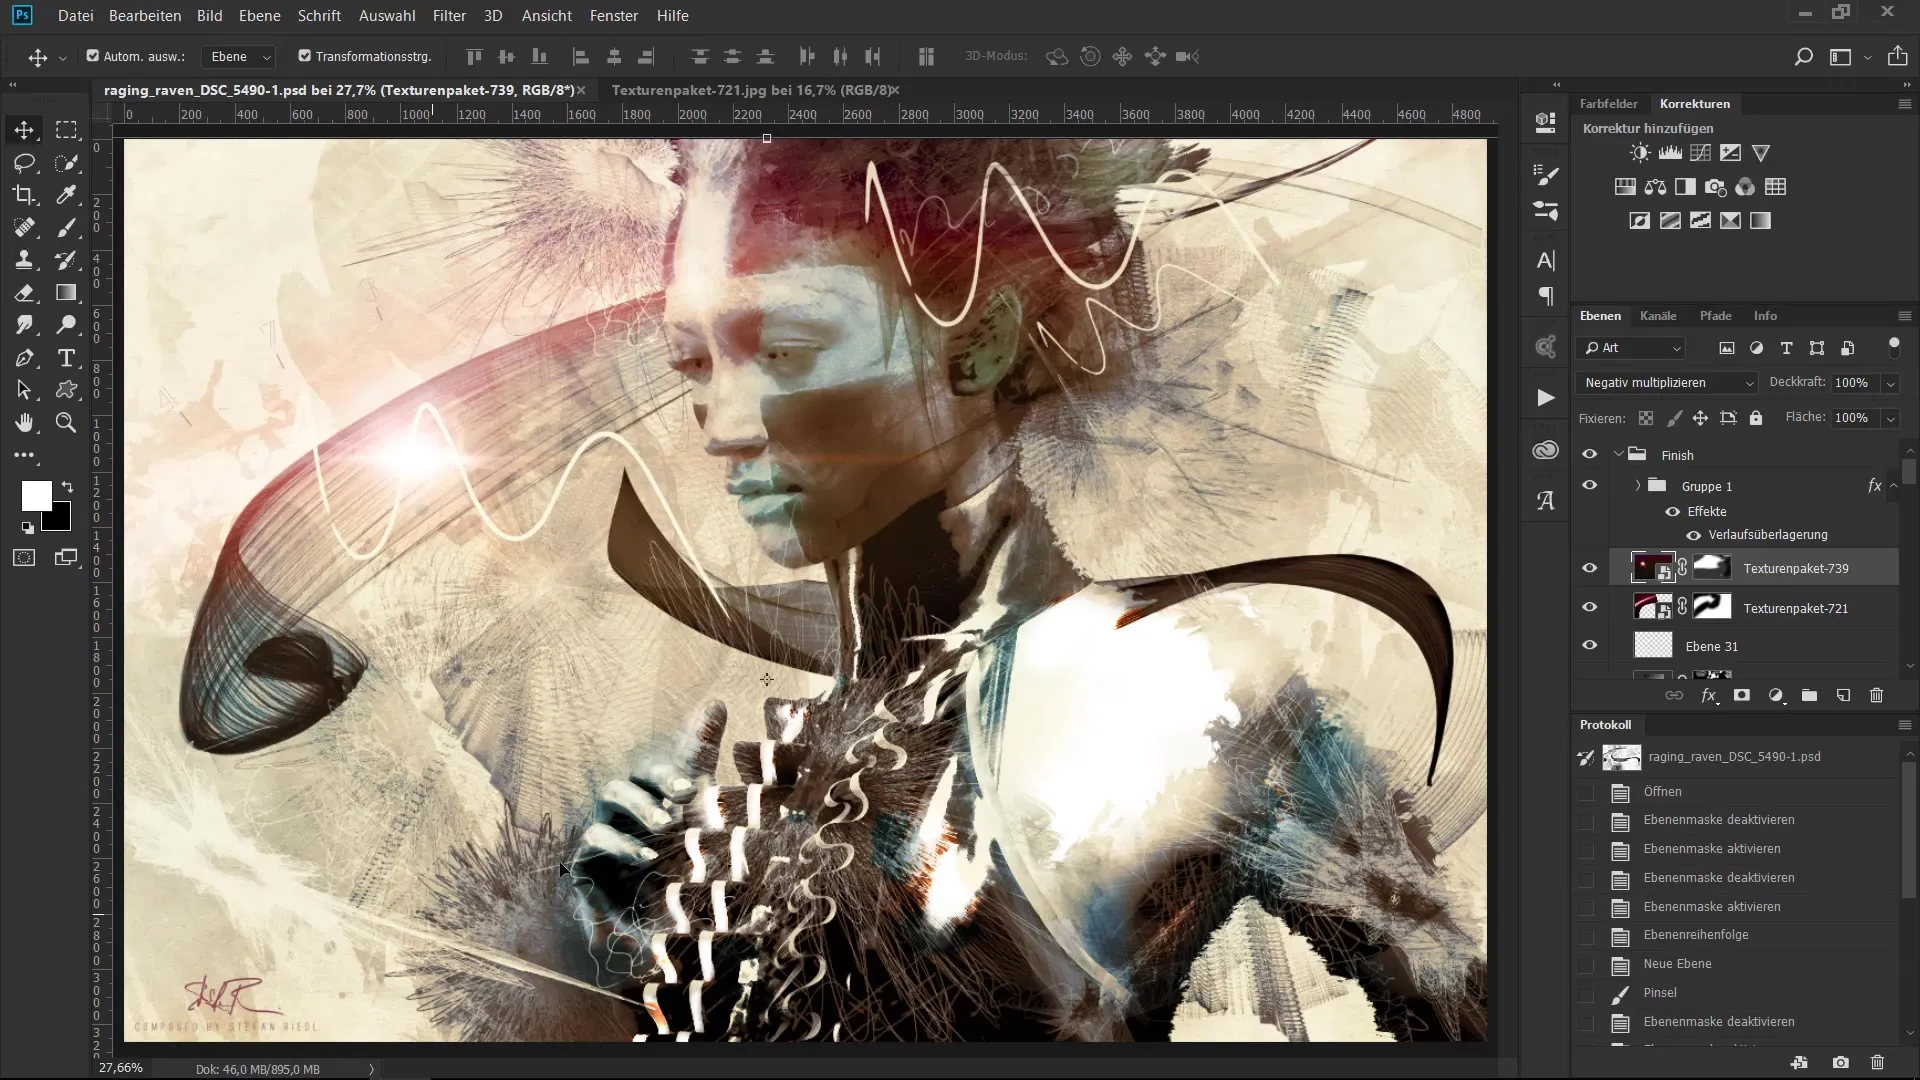
The last step is to review the final look and make adjustments if necessary. Add your signature to complete your artwork. You did it! Your portrait in sketch look is now ready for viewing.
Summary – Ultimate Brush Training: Step-by-Step Guide for a Portrait in Sketch Look
In this guide, you have learned how to create an impressive portrait in sketch look using various types of brushes, filters, masks, and color corrections. A roughly sketched background can take on a lively character through creative effects. The finishing touches give your artwork the final polish and highlight it.
Frequently Asked Questions
How many hours does the entire process take?The entire process can take between 6 and 8 hours, depending on your style and the techniques used.
Can I use other brushes?Yes, there are countless sources for brushes that you can try.
Do I need special software for this process?Professional graphic software that supports the use of layers and filters is suitable for the techniques described.
Where can I buy the brushes used?The brushes will soon be available in an online shop, or you can alternatively download them from the internet.
