Calendars are central to organizing your own time. Especially in a professional environment, it is important that you can share these effectively with colleagues or partners. The correct sharing of a calendar in Outlook makes it easier to make arrangements and avoid misunderstandings. In this guide, you will learn step by step how to share your calendar in Outlook with other contacts.
Key Insights
- You can share your calendar via email and even select specific date ranges.
- It is possible to set work hours so that private appointments are not displayed.
- Files can be attached to calendar entries, making organization easier.
- Individual appointments can be forwarded specifically, providing additional benefits.
Step-by-Step Guide to Sharing Calendars in Outlook
To share your calendar in Outlook with others, you should follow the steps below. The screenshots will help you easily see where to click.
1. Open Calendar View
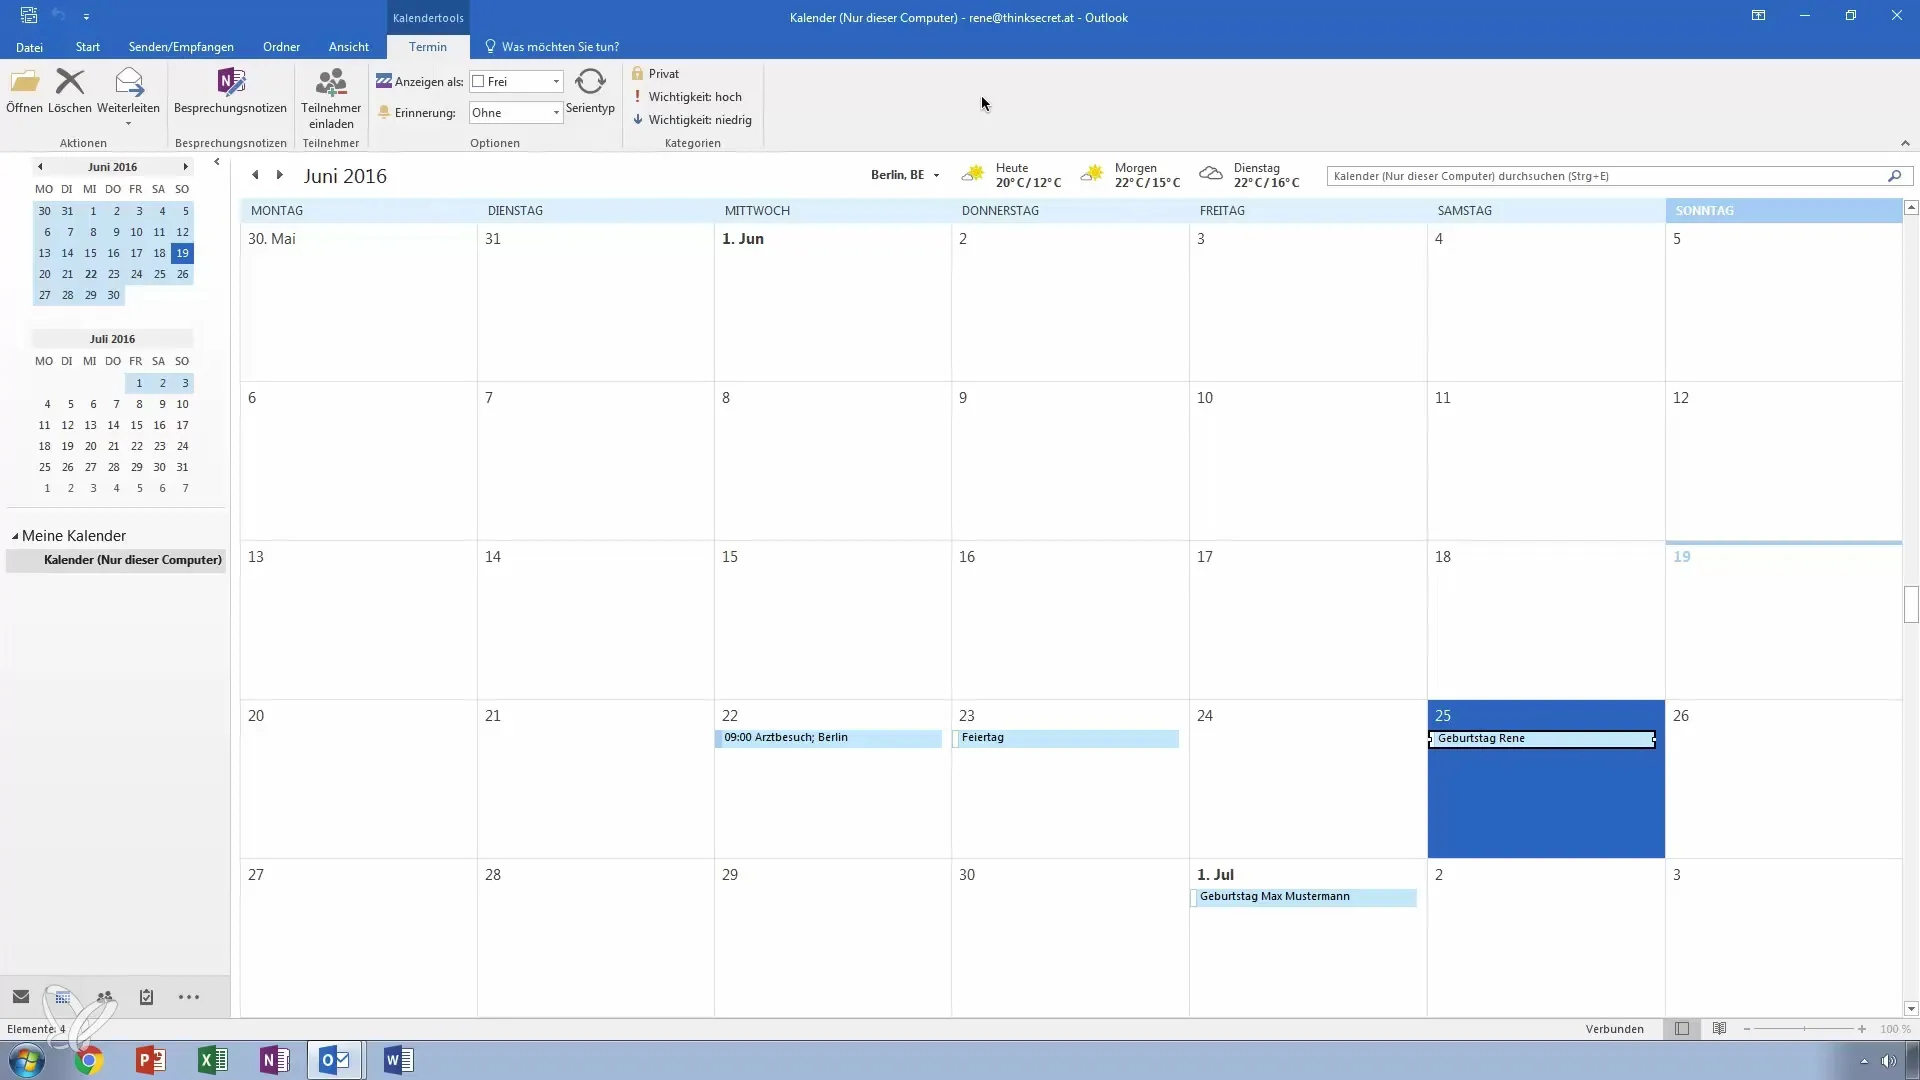
To begin sharing your calendar, first open the calendar view in Outlook. Here you will see an overview of your appointments and can easily access the sharing features.
2. Share Calendar
Go to the "Home" tab in the menu bar. There you will find the option to share your calendar. When you click the button, a menu will open giving you various options.
3. Select Date Range
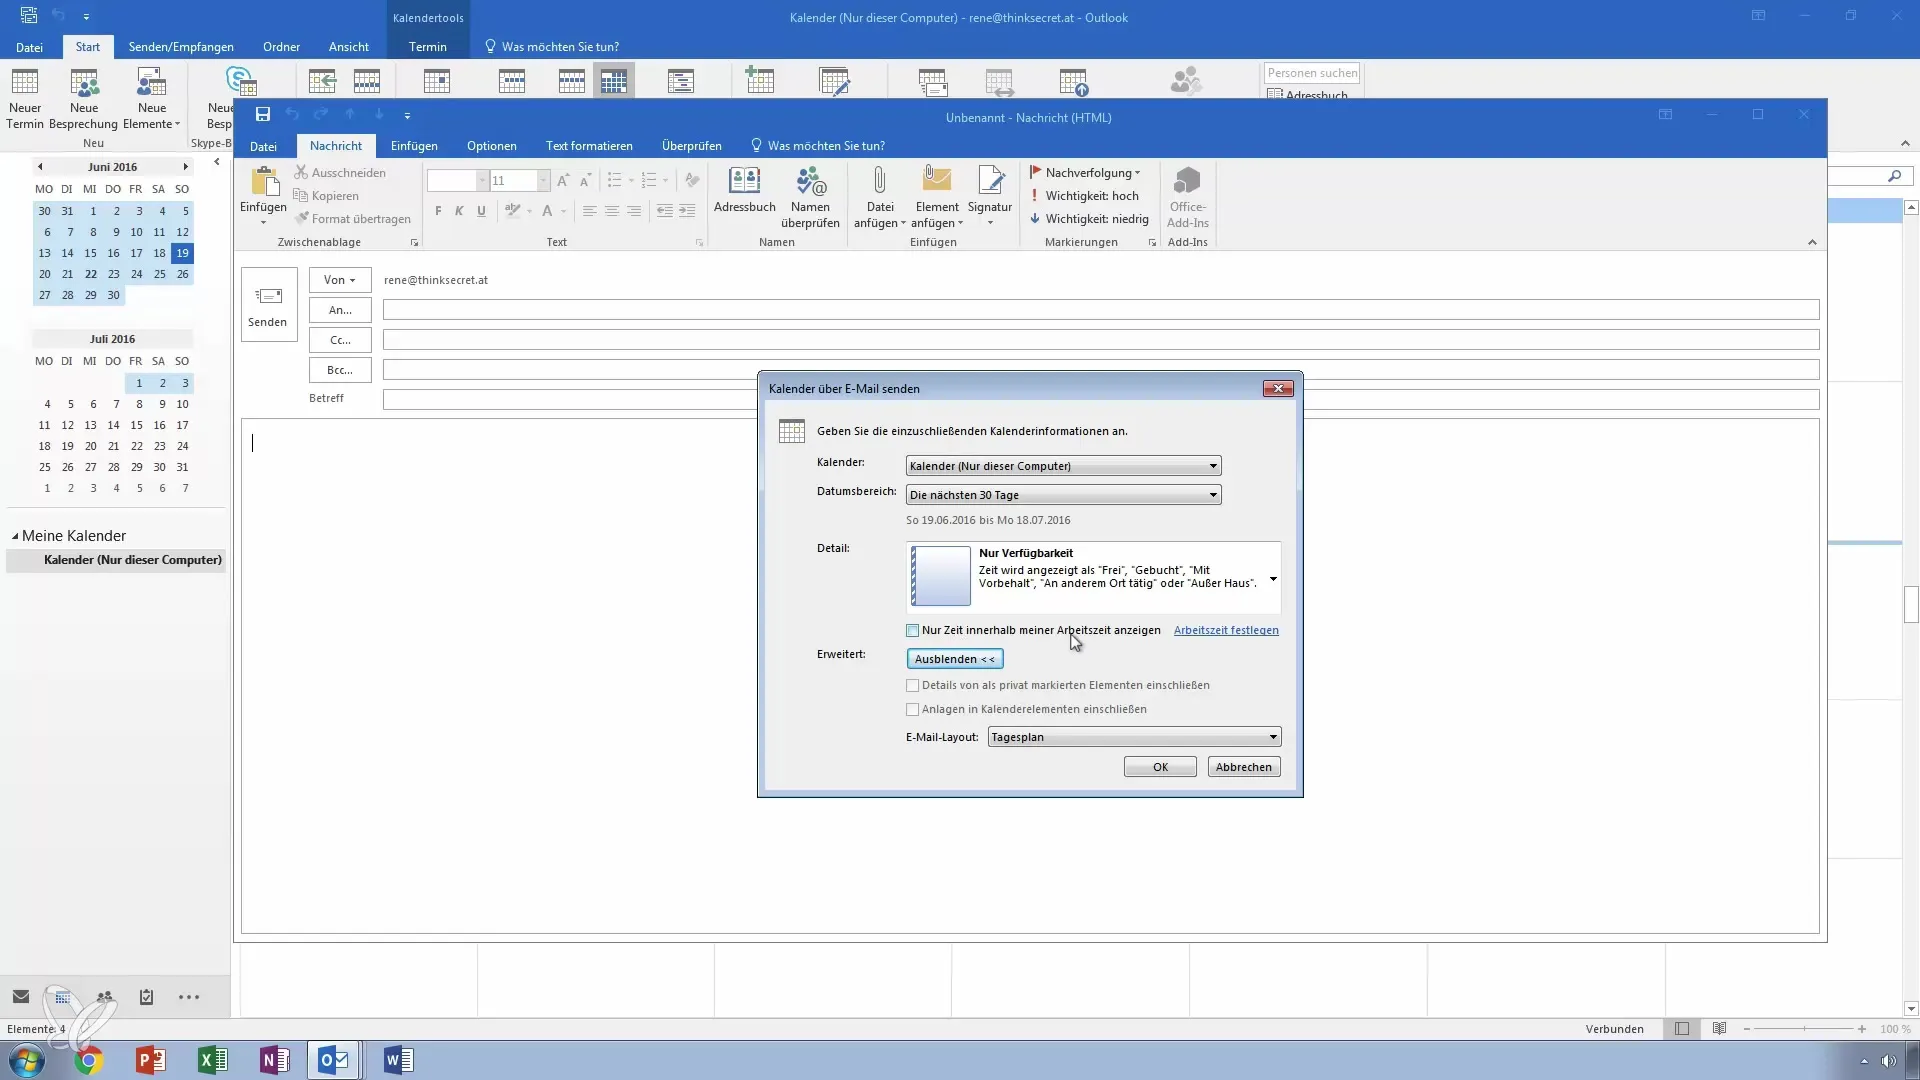
You can specify the period for which you want to share your calendar. For example, select the next 30 days to give your colleagues an overview of upcoming appointments. This is especially helpful when you are planning a vacation or expect an extended absence.
4. Set Work Hours
If you want to indicate in your email that only appointments within your working hours are displayed, you can set this in the sharing menu. This option is ideal for excluding private appointments from visibility.
5. Include Details for Private Appointments
Here you have the opportunity to share details of appointments marked as private. However, you should consider whether this is really necessary, as it may give your colleagues insight into everyday personal matters.
6. Attach Files
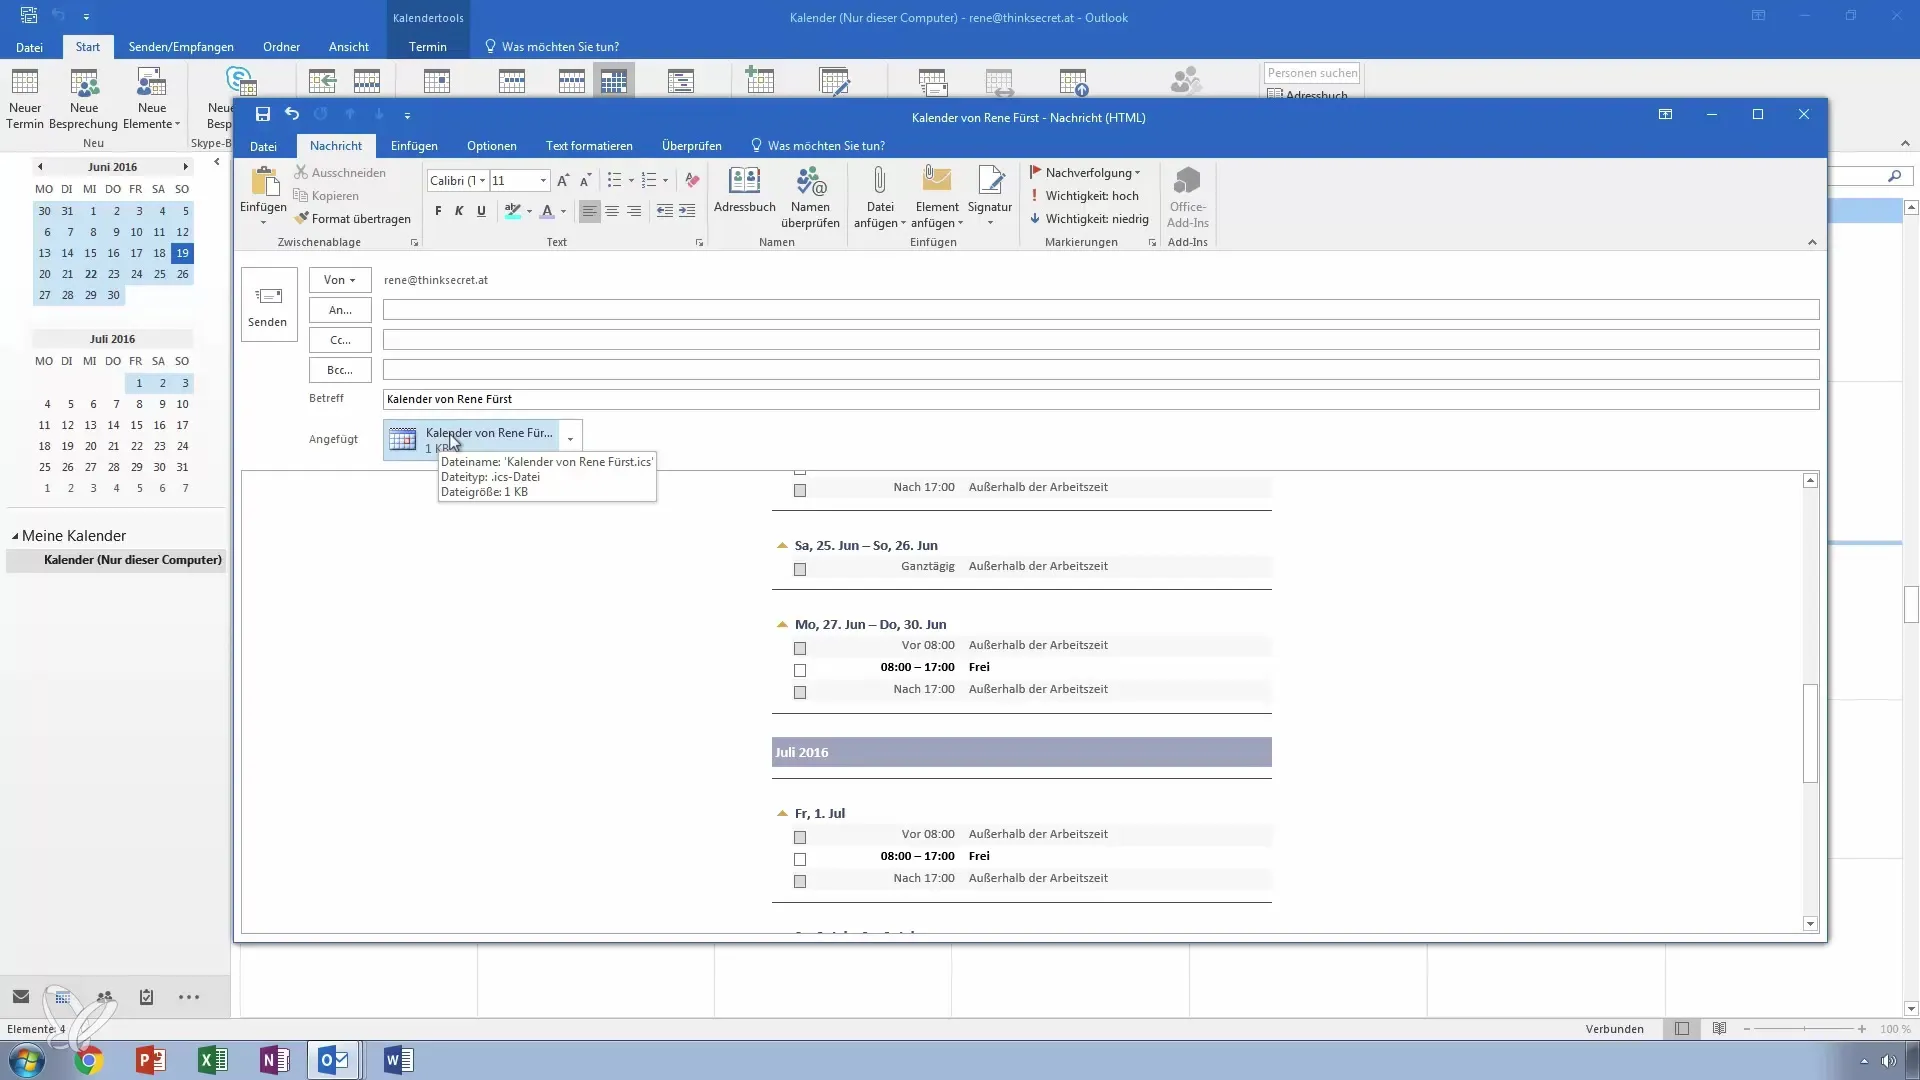
In Outlook, you can add additional information to your appointments by attaching files. This can be useful if you need the relevant documents for an appointment.
7. Choose Email Layout
Before sharing your calendar, you should choose how the information will be displayed to the recipient. Either as a list or in a daily view. This choice affects how clearly the information will reach your recipients.
8. Send Email
After you have made all the settings, send the email. Your recipient will now have the option to automatically import the calendar into their own Outlook application.
9. Forward Individual Appointments
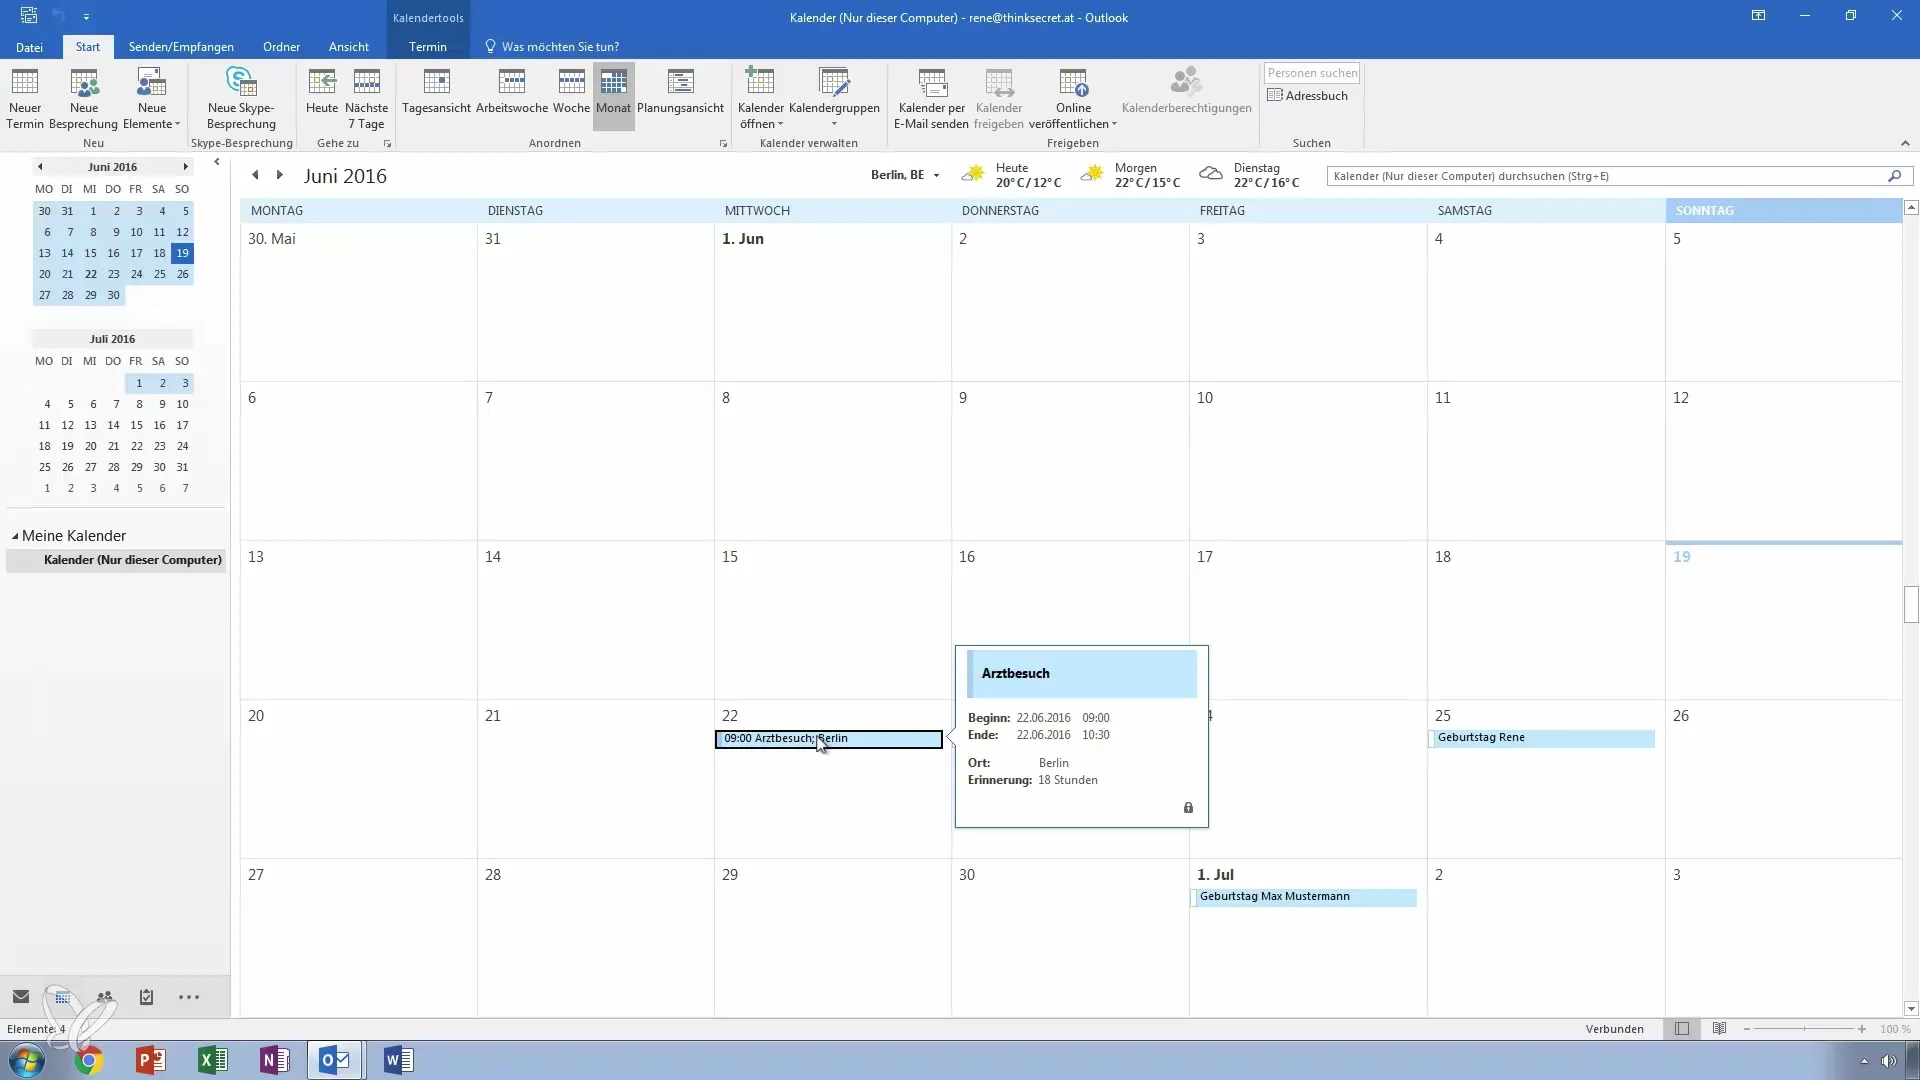
Did you know that you can also specifically forward individual appointments? For example, if you have an important doctor's appointment, you can send it directly to the relevant people.
10. Confirmation and Questions
After completing all the steps, you can close the email. If you have questions or concerns about sharing calendars in Outlook, don't hesitate to ask.
Summary – Make Calendar Sharing in Outlook Easy
Throughout this guide, you have received a comprehensive overview of how to effectively share your calendar in Outlook with others. Whether for colleagues or business partners, the targeted settings significantly ease future planning and reduce misunderstandings.
Frequently Asked Questions
How can I share my calendar in Outlook?Go to "Home" in the calendar view, select the sharing option, and follow the instructions.
Can I set working hours for sharing?Yes, you can set it so that only appointments within your working hours are displayed.
How do I attach files to my calendar?You can insert files directly into the calendar entry before sharing it.
Can I forward individual appointments to others?Yes, you can select specific appointments and forward them to others via email.
