When composing e-mails in Outlook, you have numerous design options and advanced features available. From selecting the right fonts to adding voting buttons and read receipts – with the right knowledge, you can make your emails not only more appealing but also more functional. Here you will learn how to utilize the various options to create professional emails.
Key Insights
- You will learn how to format and beautify emails.
- Experienced users can insert voting buttons and read receipts.
- The right features enable you to effectively submit and archive your emails.
Step-by-Step Guide
1. Create a New Email
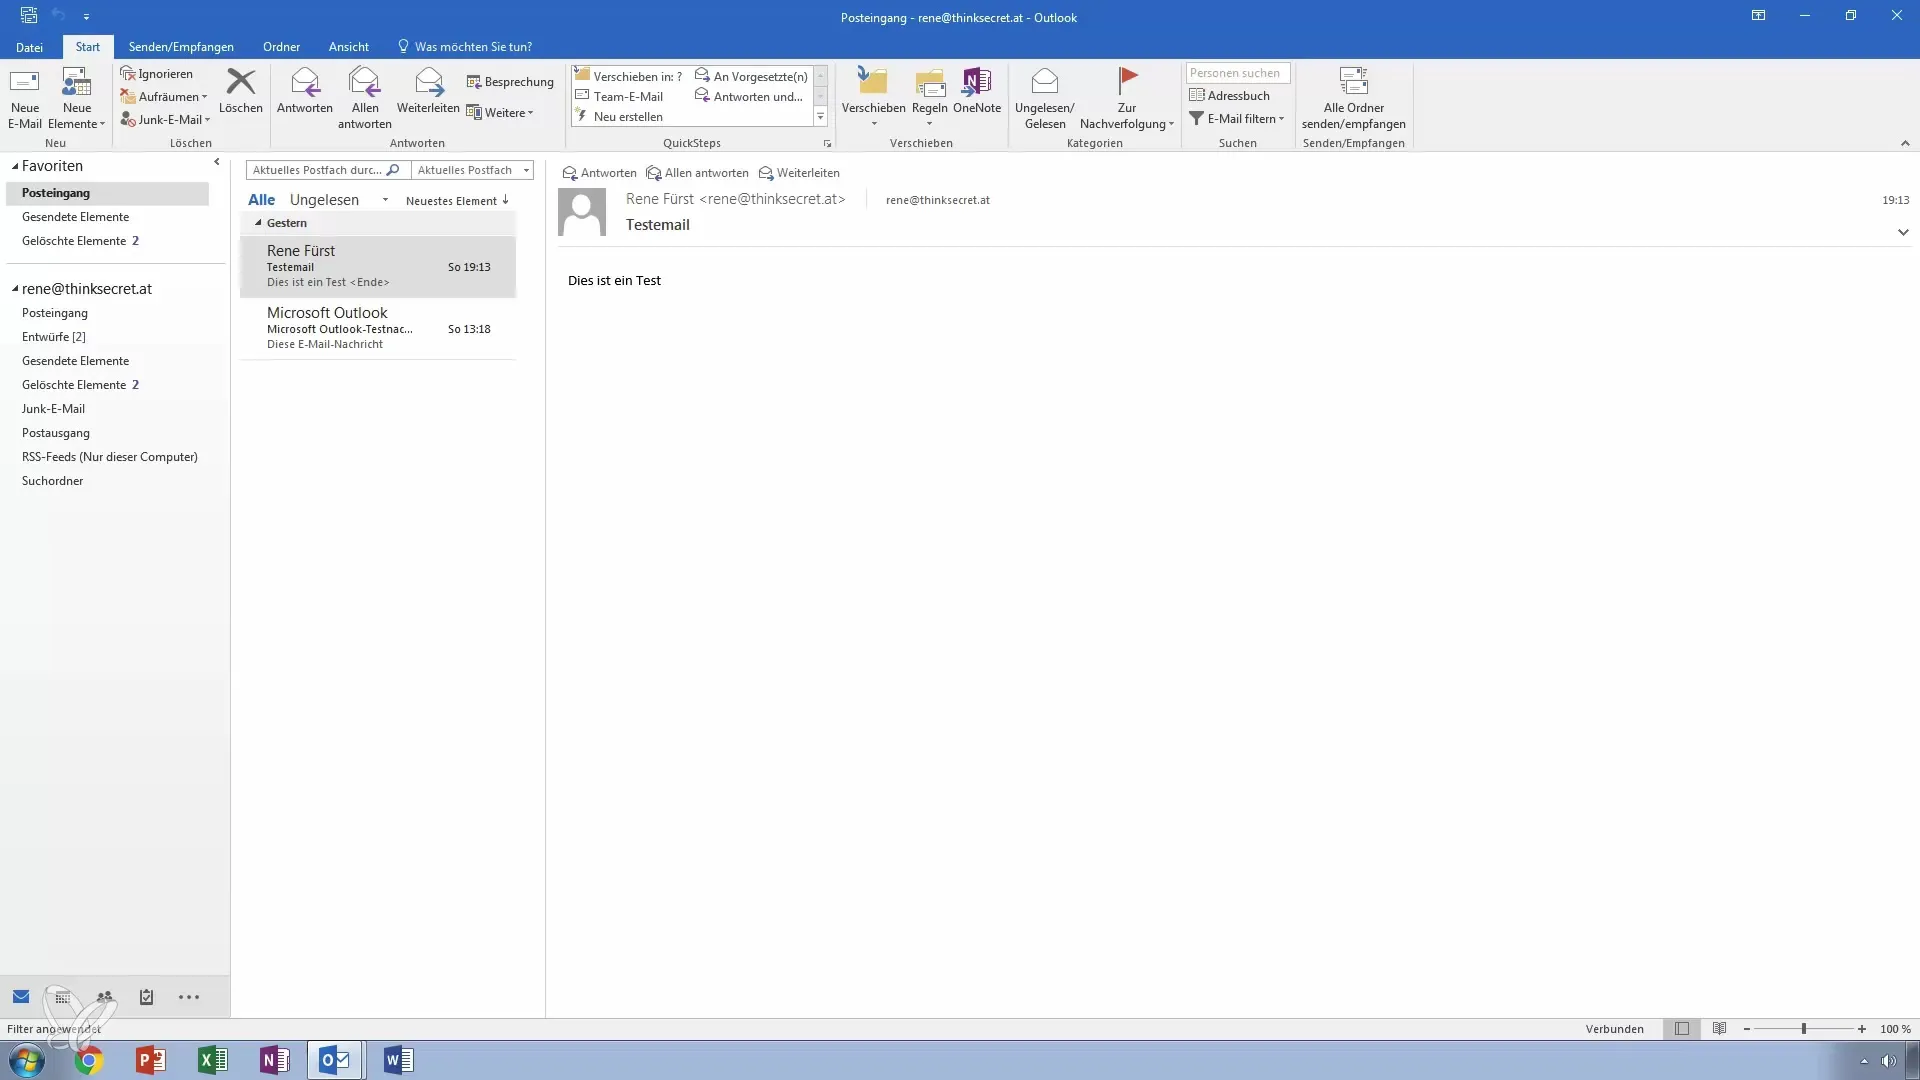
You start by creating a new email. Click on "New Email" in the menu bar of Outlook. Fill in the recipient's field and enter a subject. To design the content of the email, you can use various text blocks.
2. Add and Format Text
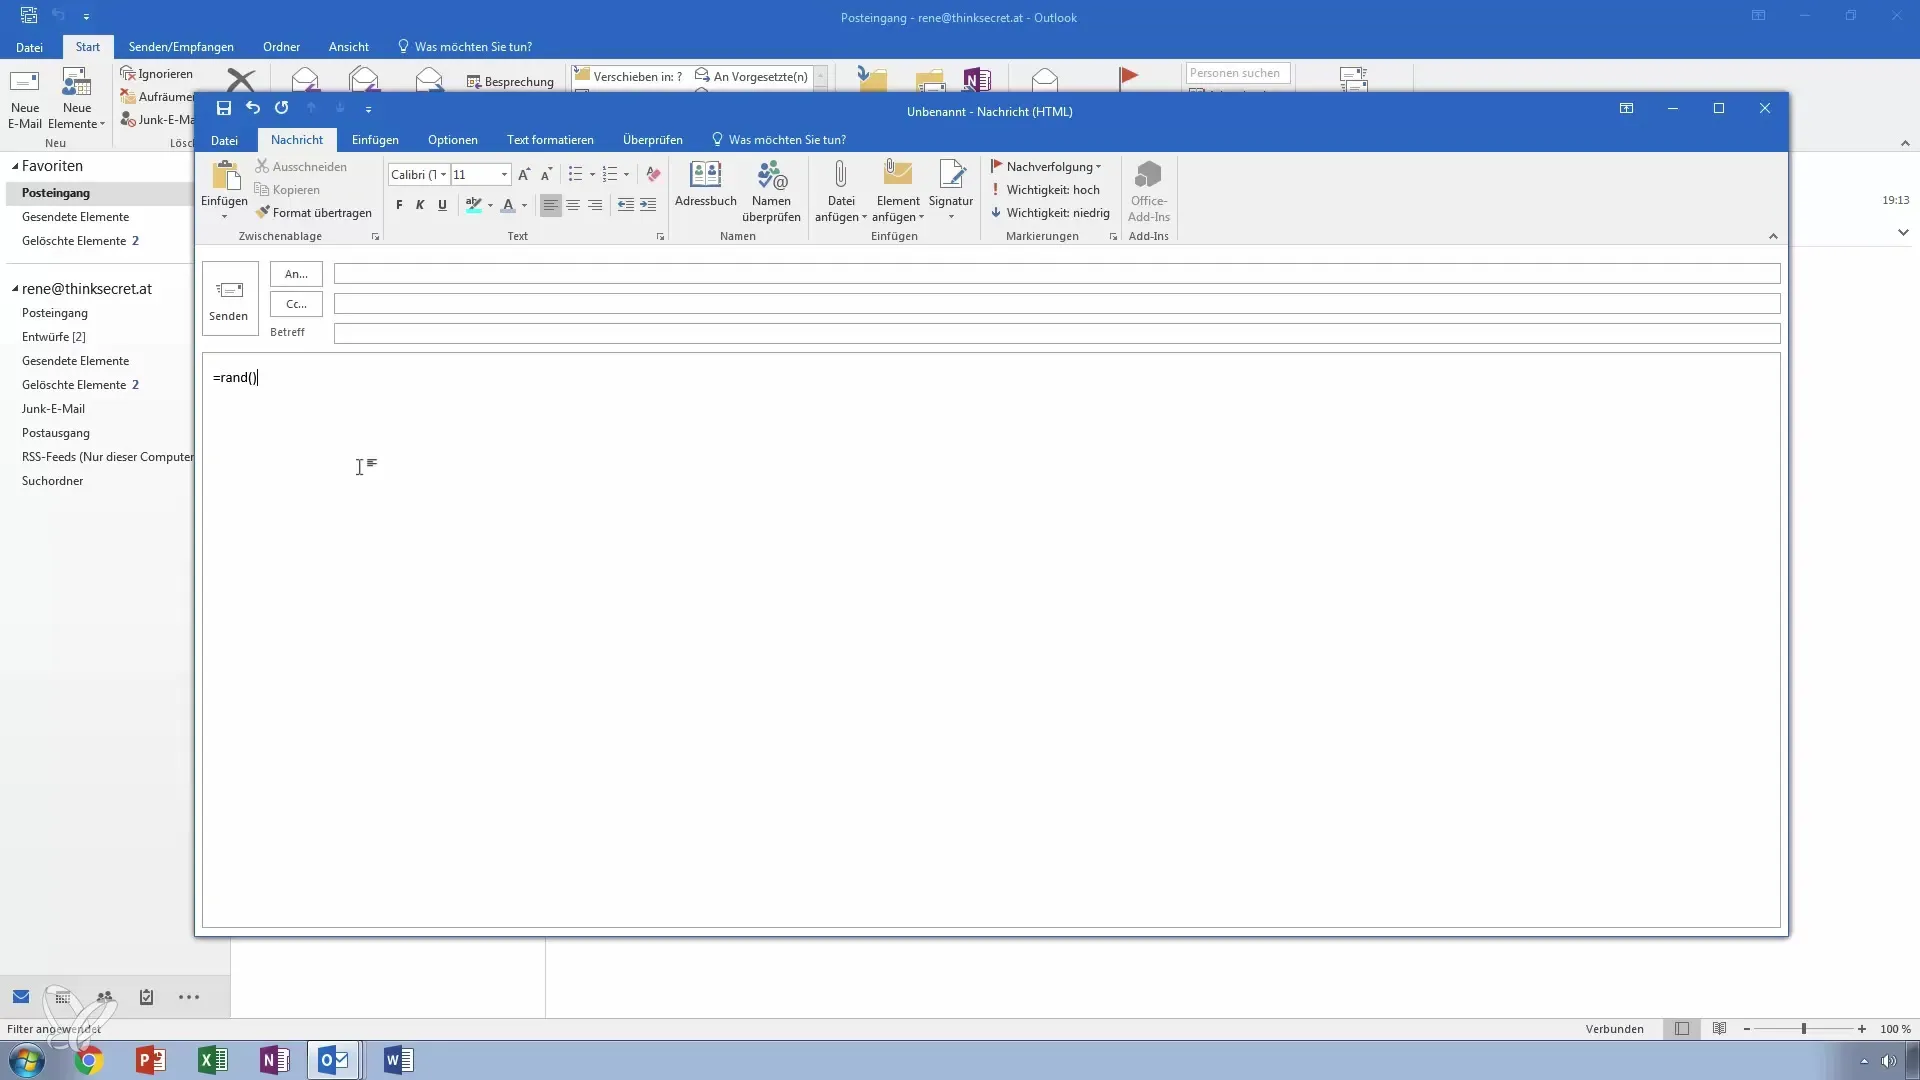
Add your text using the "Random" function to generate placeholders. Once you have inserted your text, you can customize it by applying various formatting styles and text formats. This will create an appealing layout.
3. Choose Colorful Backgrounds
You have the option to add colorful backgrounds to your email. Switch to the background options and select a color that lightens up your layout. Experiment with different color combinations to achieve the desired effect.
4. Select Design Templates
Under “Designs,” you will find various templates that automatically adapt to your text. You can hover over the templates to see a preview of the changes directly in your email.
5. Select Colors and Fonts
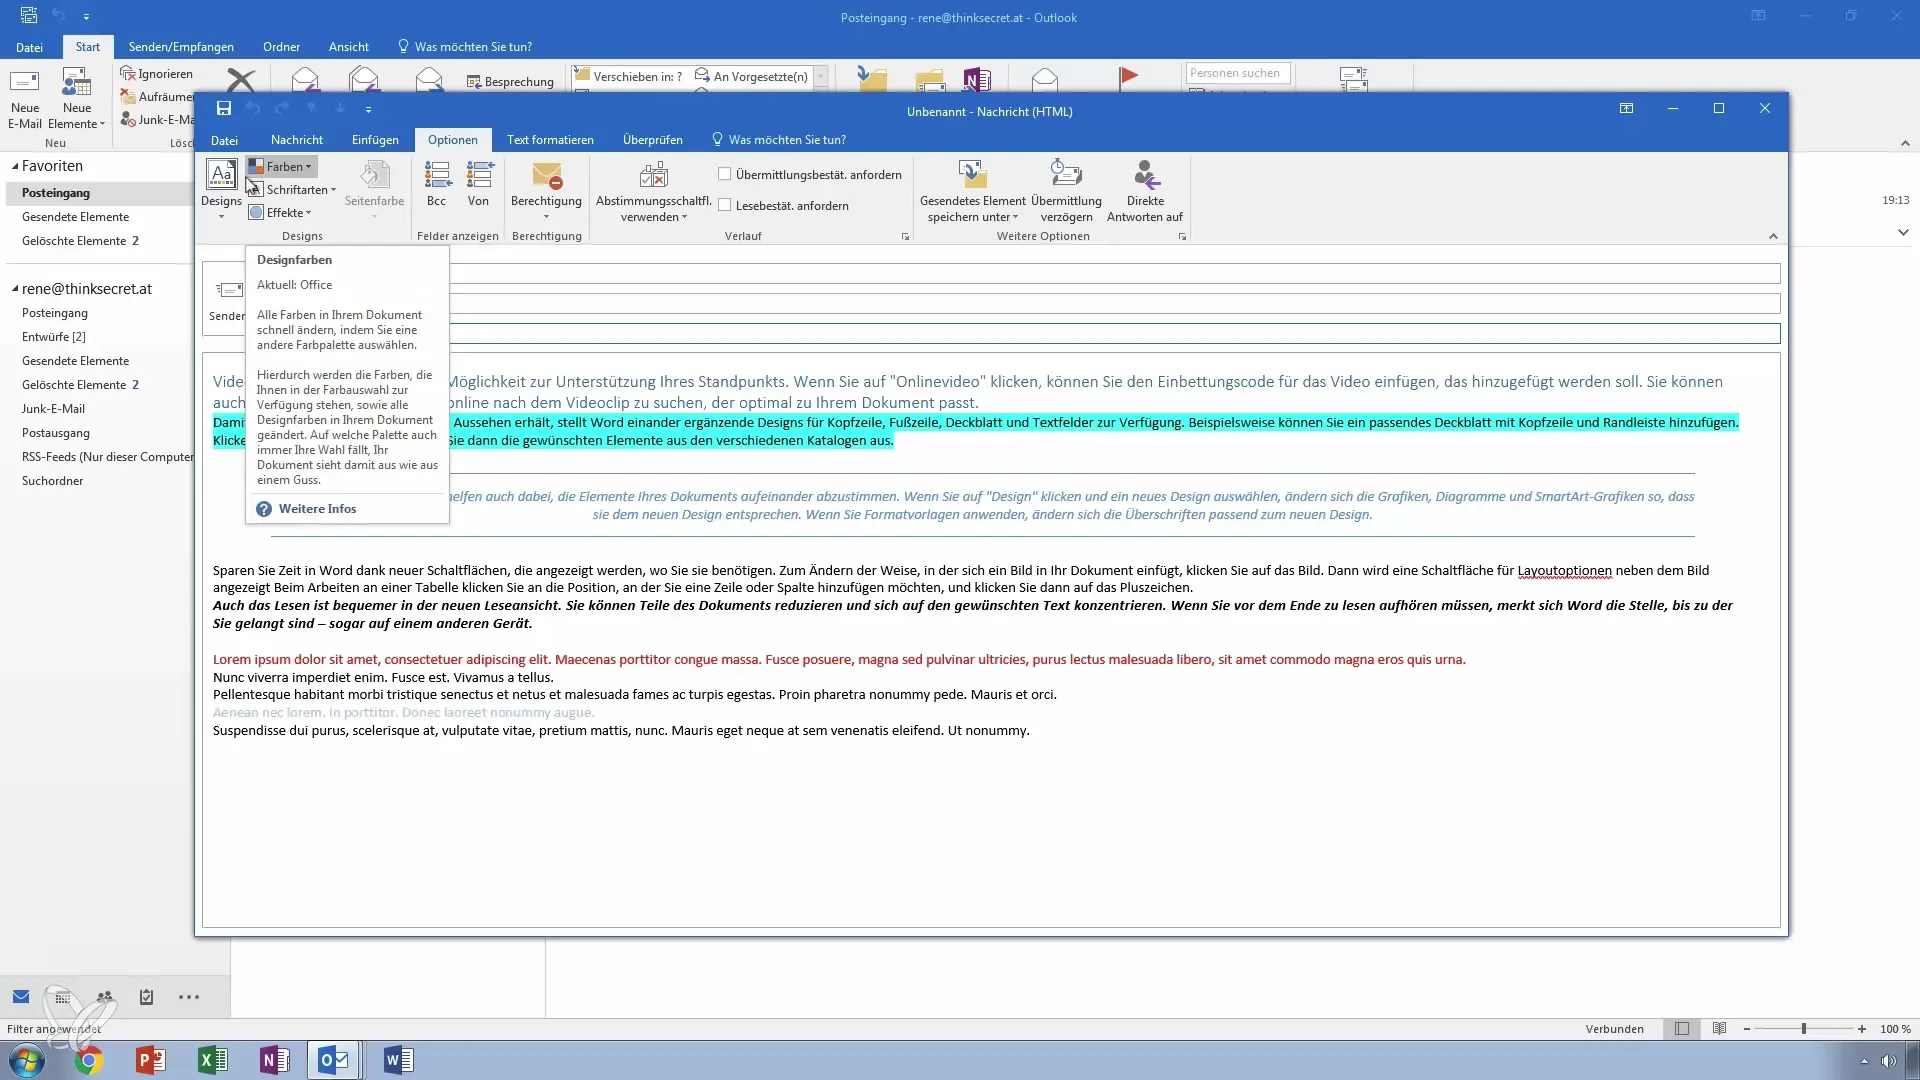
In addition, you can set color and font schemes for your email. For example, if you want to add a yellowish focus, this tone will automatically be applied to the entire text. You can also select customized fonts to create a unique feel.
6. Add BCC and CC
To add multiple recipients to an email or keep recipients confidential, use the BCC/CC field. The BCC (blind carbon copy) option ensures that other recipients do not see to whom the email was also sent. This is particularly useful for newsletters and similar mass communications.
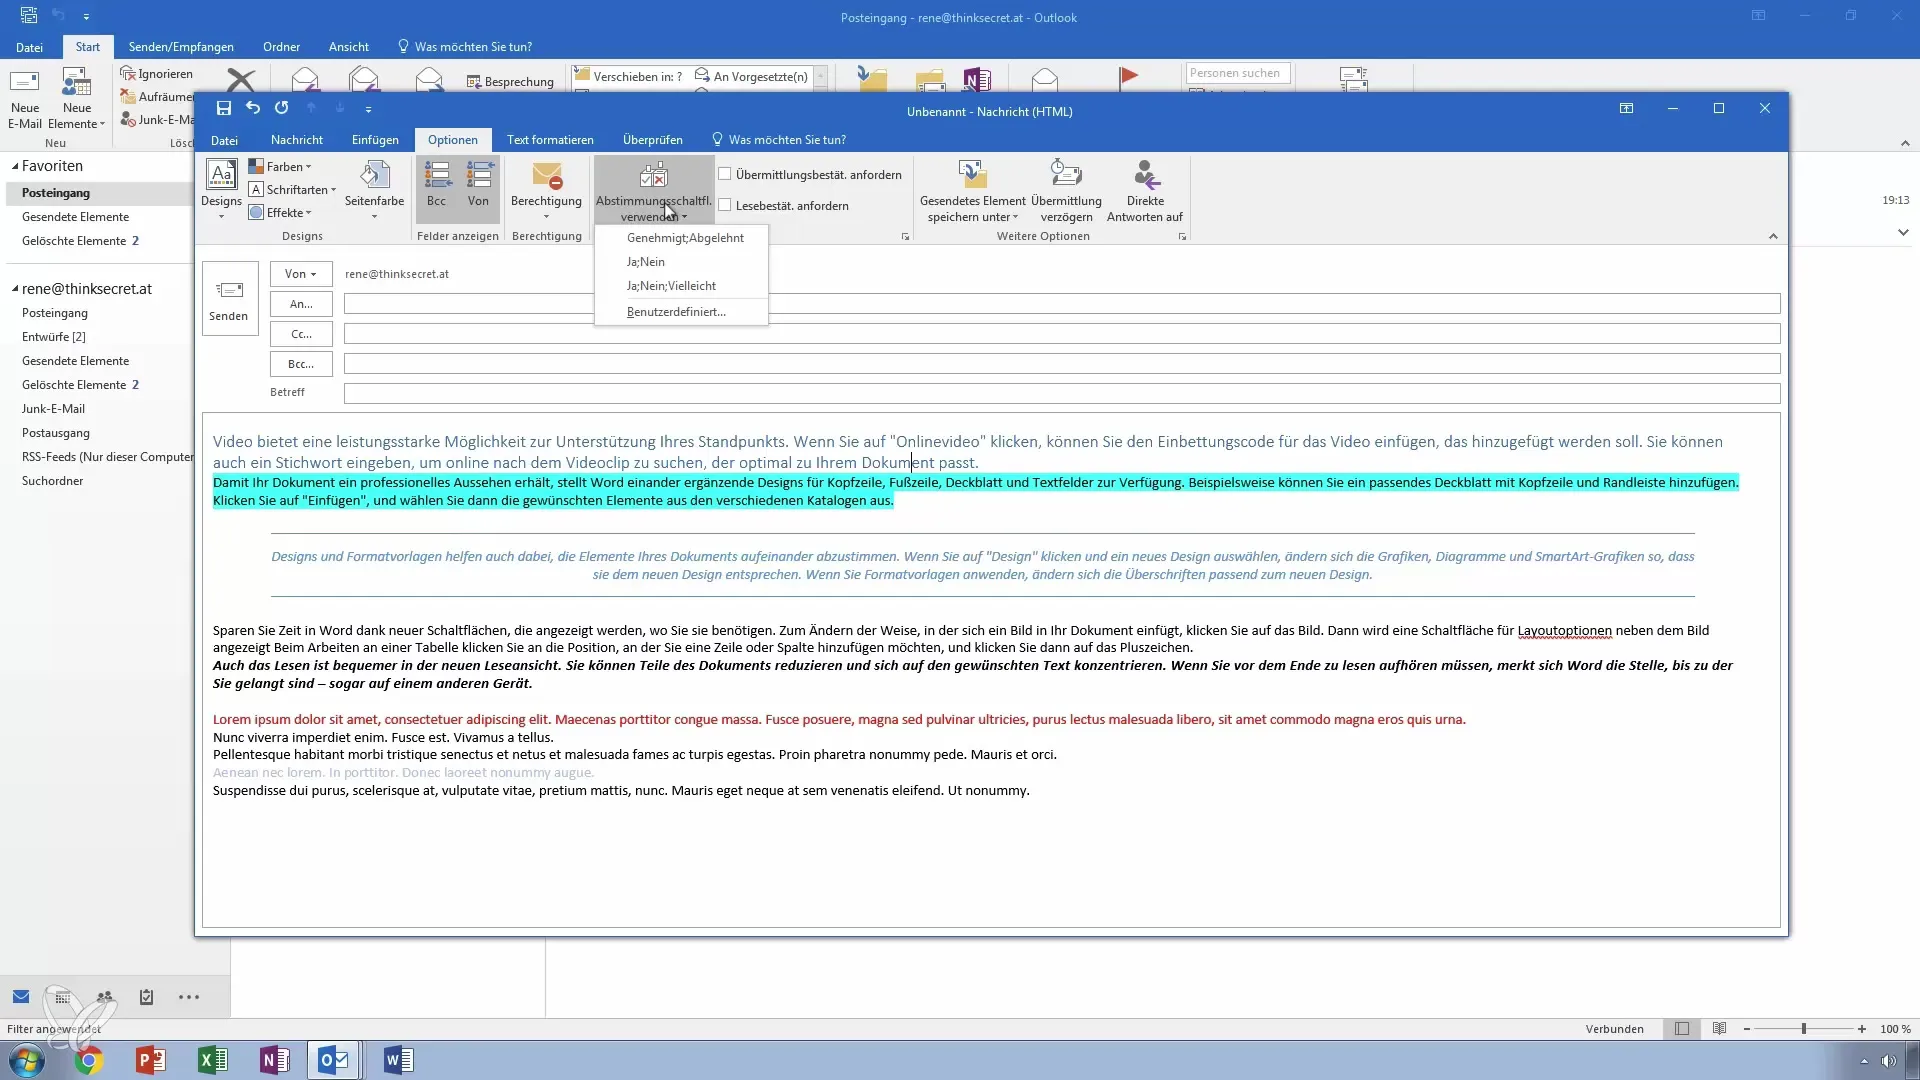
7. Insert Voting Buttons
Create a poll directly from your email by adding voting buttons. You can create a simple Yes/No poll or offer custom options like "green" or "red." This feature is only correctly utilized by recipients who also use Outlook.
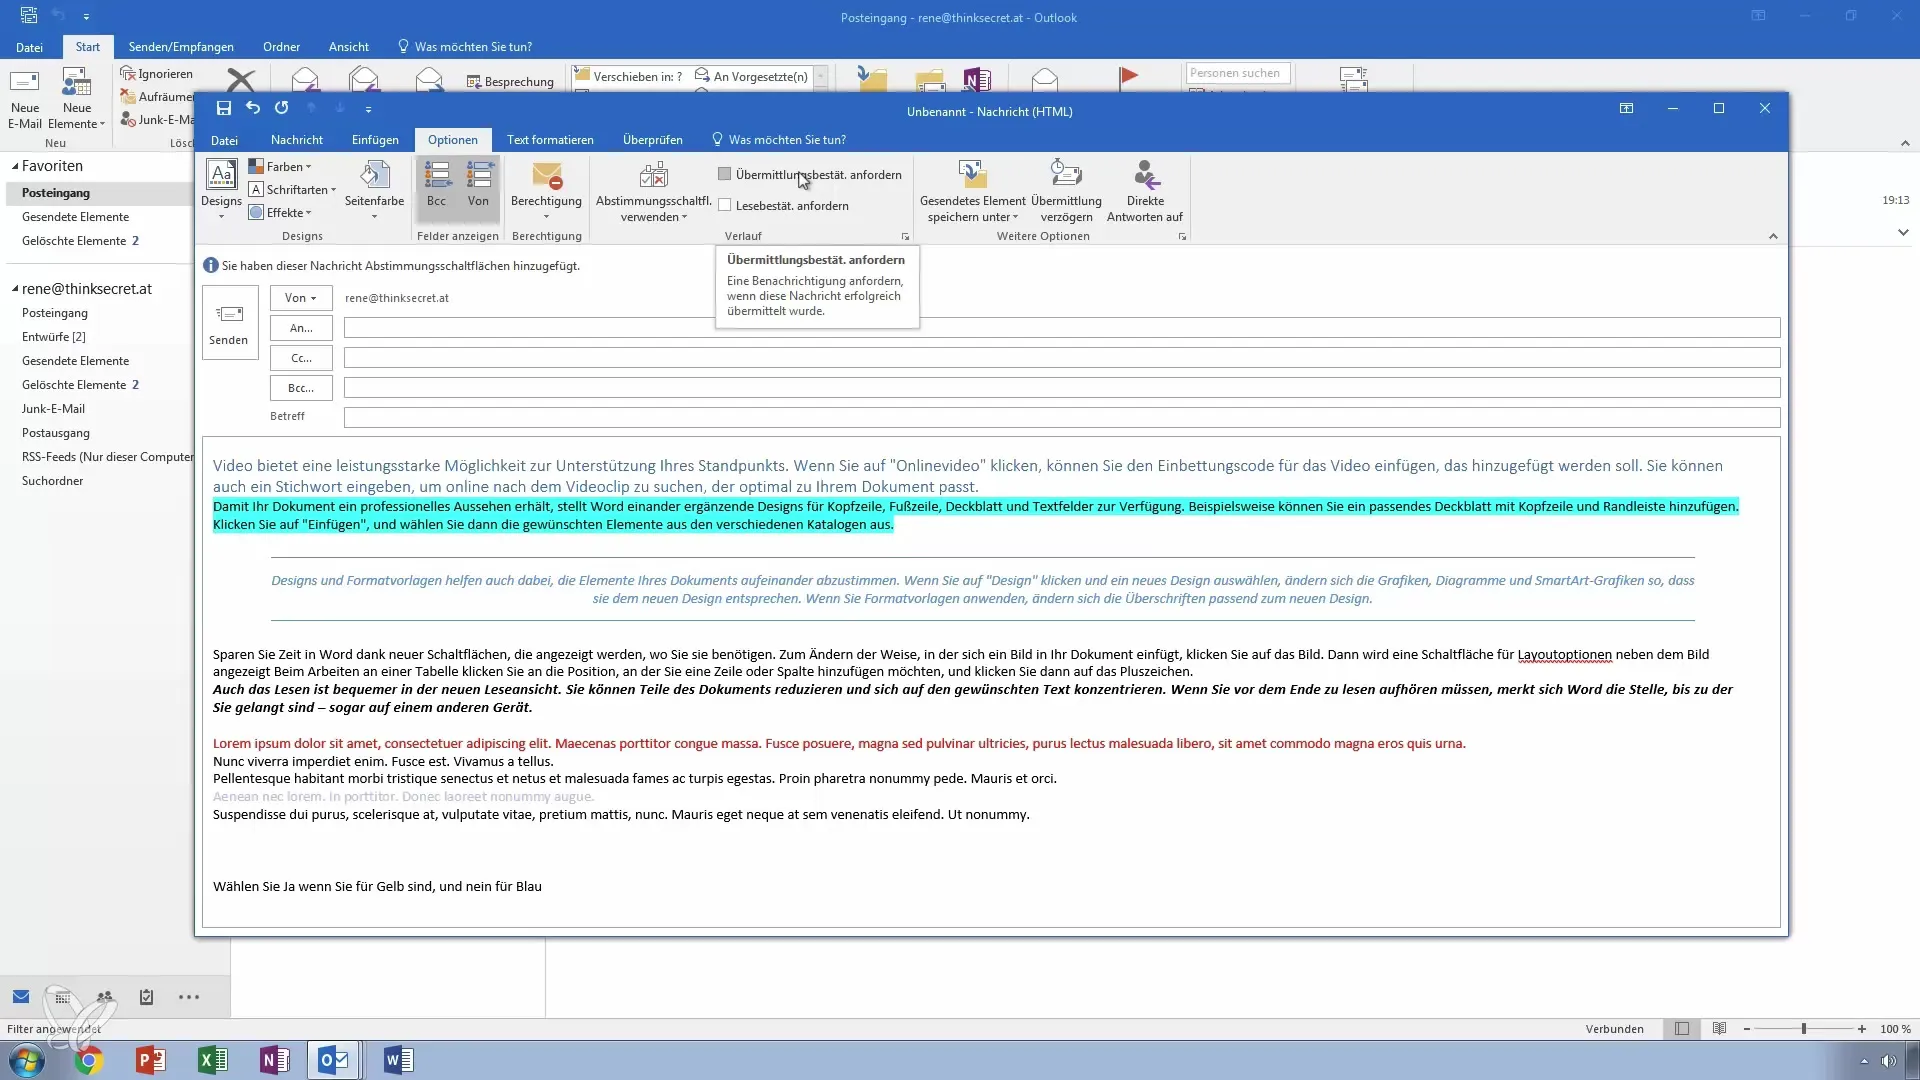
8. Request Read Receipts and Delivery Notifications
Enable the options for read receipts or delivery notifications so that you are notified when the email has been successfully delivered or opened. Note that recipients also have the option to decline these confirmations.
9. Customize Sending Options
You can set where the email will be saved and whether it should be sent immediately or at a later time. Through the sending options, you can specify that the email should be sent at, for example, 5 PM.
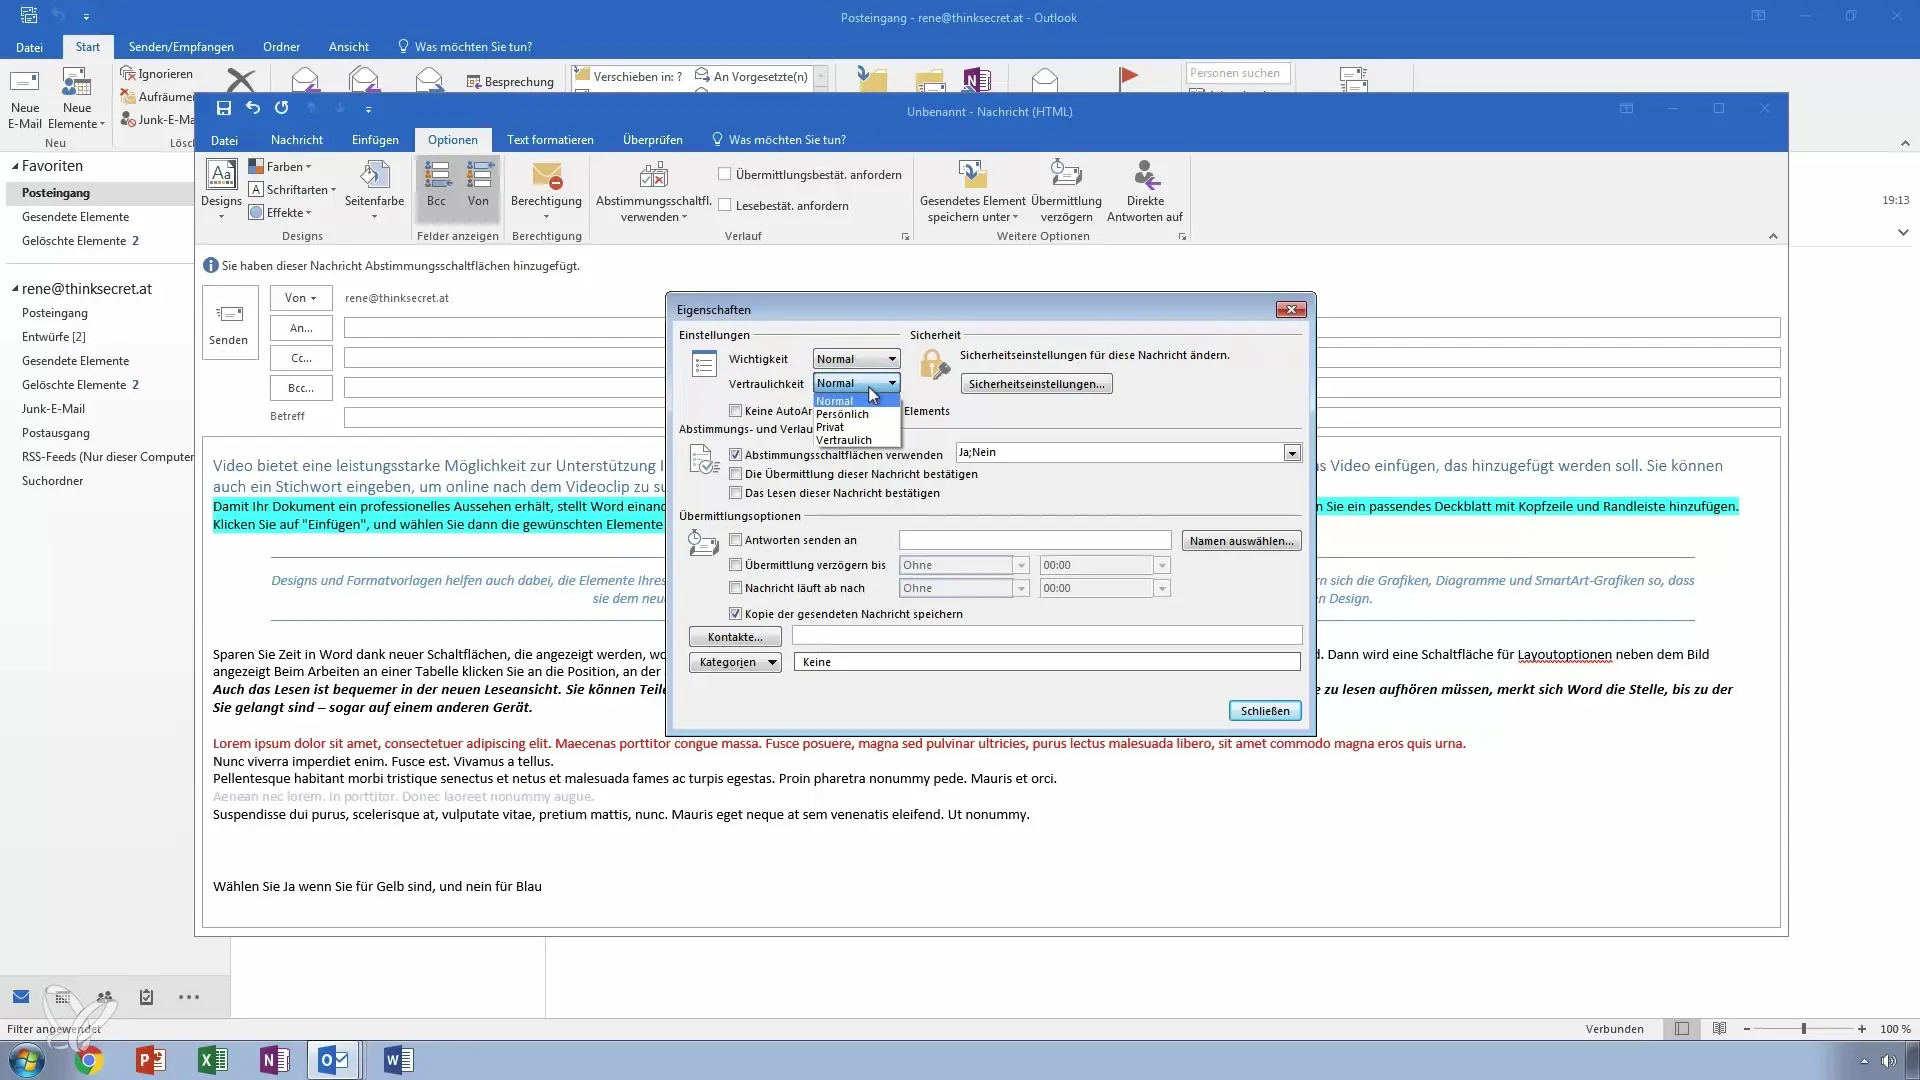
10. Review Message Settings
You can adjust the importance of your email, including high, low, or normal. You can also set confidentiality and determine whether the email should be archived. All these options can be found under the properties of your message.
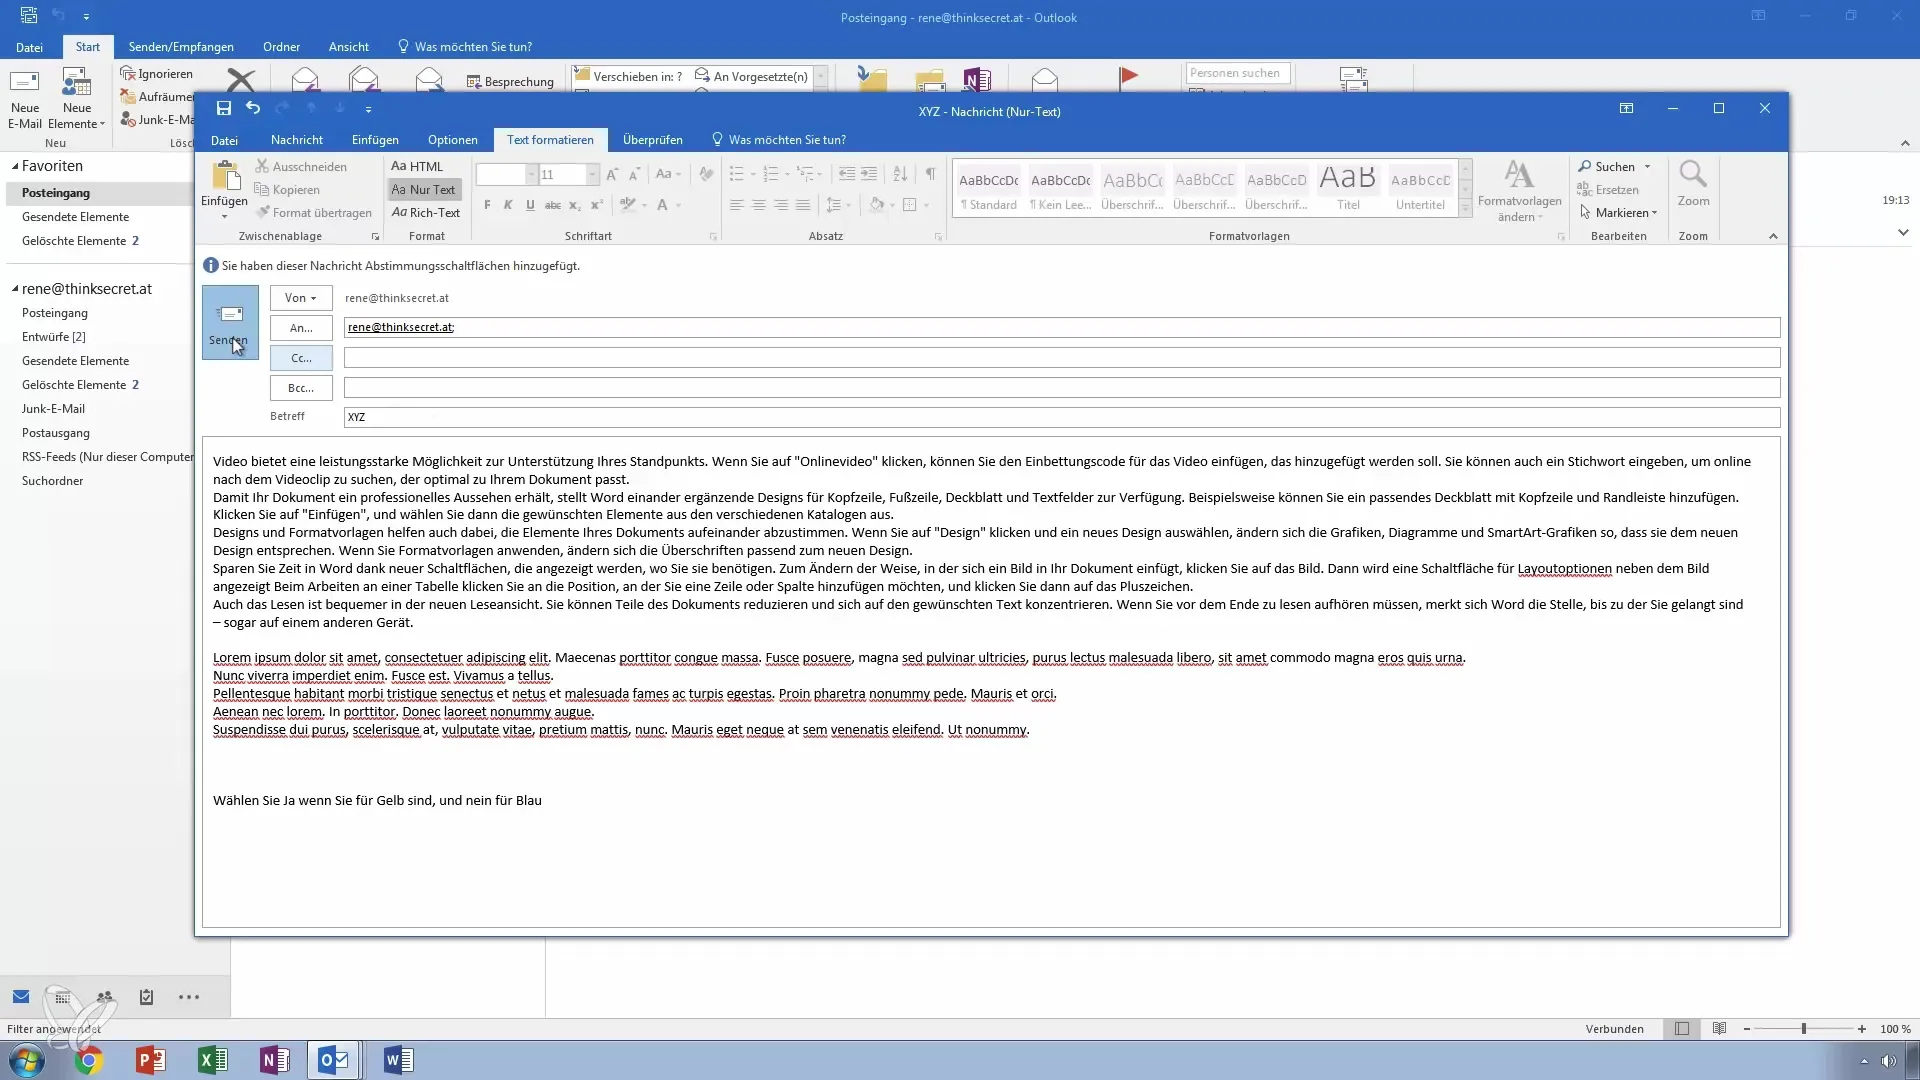
11. Adjust Text Formats
Use the text formatting features to ensure that your email is sent in a format suitable for all email clients. Set up your text in an HTML or plain text format for optimal compatibility.
12. Send Email
Finally, enter the recipient's email address in the field and click Send. You can check the email in the Outbox or Sent folder to ensure that everything is correctly set up and sent.
Summary – Email Design and Advanced Features in Outlook
In this guide, you have learned how to use the various design options and advanced features in Outlook to create appealing and effective emails. From selecting fonts to voting buttons, you have learned the tools to make your emails attractive and functional.
Frequently Asked Questions
How do I insert a background image in my email?The background image can be added through the design menu, where you can select color and patterns.
What’s the difference between BCC and CC?BCC hides the email addresses of recipients from others, while CC makes all addresses visible to all recipients.
How can I request read receipts?Enable the option in the message settings before you send the email.
Could my email look different when sent to different recipients?Yes, the formatting can vary depending on the email client, so sending in plain text is the safest option.
How can I schedule the email sending time?In the advanced options, you can specify the sending time for your email.
