Light plays a crucial role in photography and image editing. The right use of light sources can make the difference between an average and an outstanding image. In this tutorial, you will learn how to create an effective lighting setup that is perfectly tailored to your image compositions. Through a practical example featuring a hiker in a natural environment, you will discover how different light sources can be used to create the desired mood and depth.
Key Insights
- Use hard light sources for contrasts and structure.
- Reflectors can help direct light effectively.
- A neutral background color makes cutouts easier.
Step-by-Step Guide to Lighting Setup
First, let’s start by choosing the right light sources and understanding how they affect your subject.
1. Use Hard Light for Realistic Effects
At the beginning, you should set a hard light to simulate the natural lighting conditions outdoors. A reflector can be useful here to direct direct light onto the subject. In your case, this could represent a simulation of sunlight. This creates pronounced shadows and contours that increase the depth of the image.

2. Use Reflectors for Support
A second reflector can be placed on the opposite side to create additional light accents. While this may seem somewhat unrealistic, it is often intentional in photography. By using different light sources to brighten specific areas of your subject, you create more dimensions and avoid flat images.
3. Beauty Dish for Fine Details
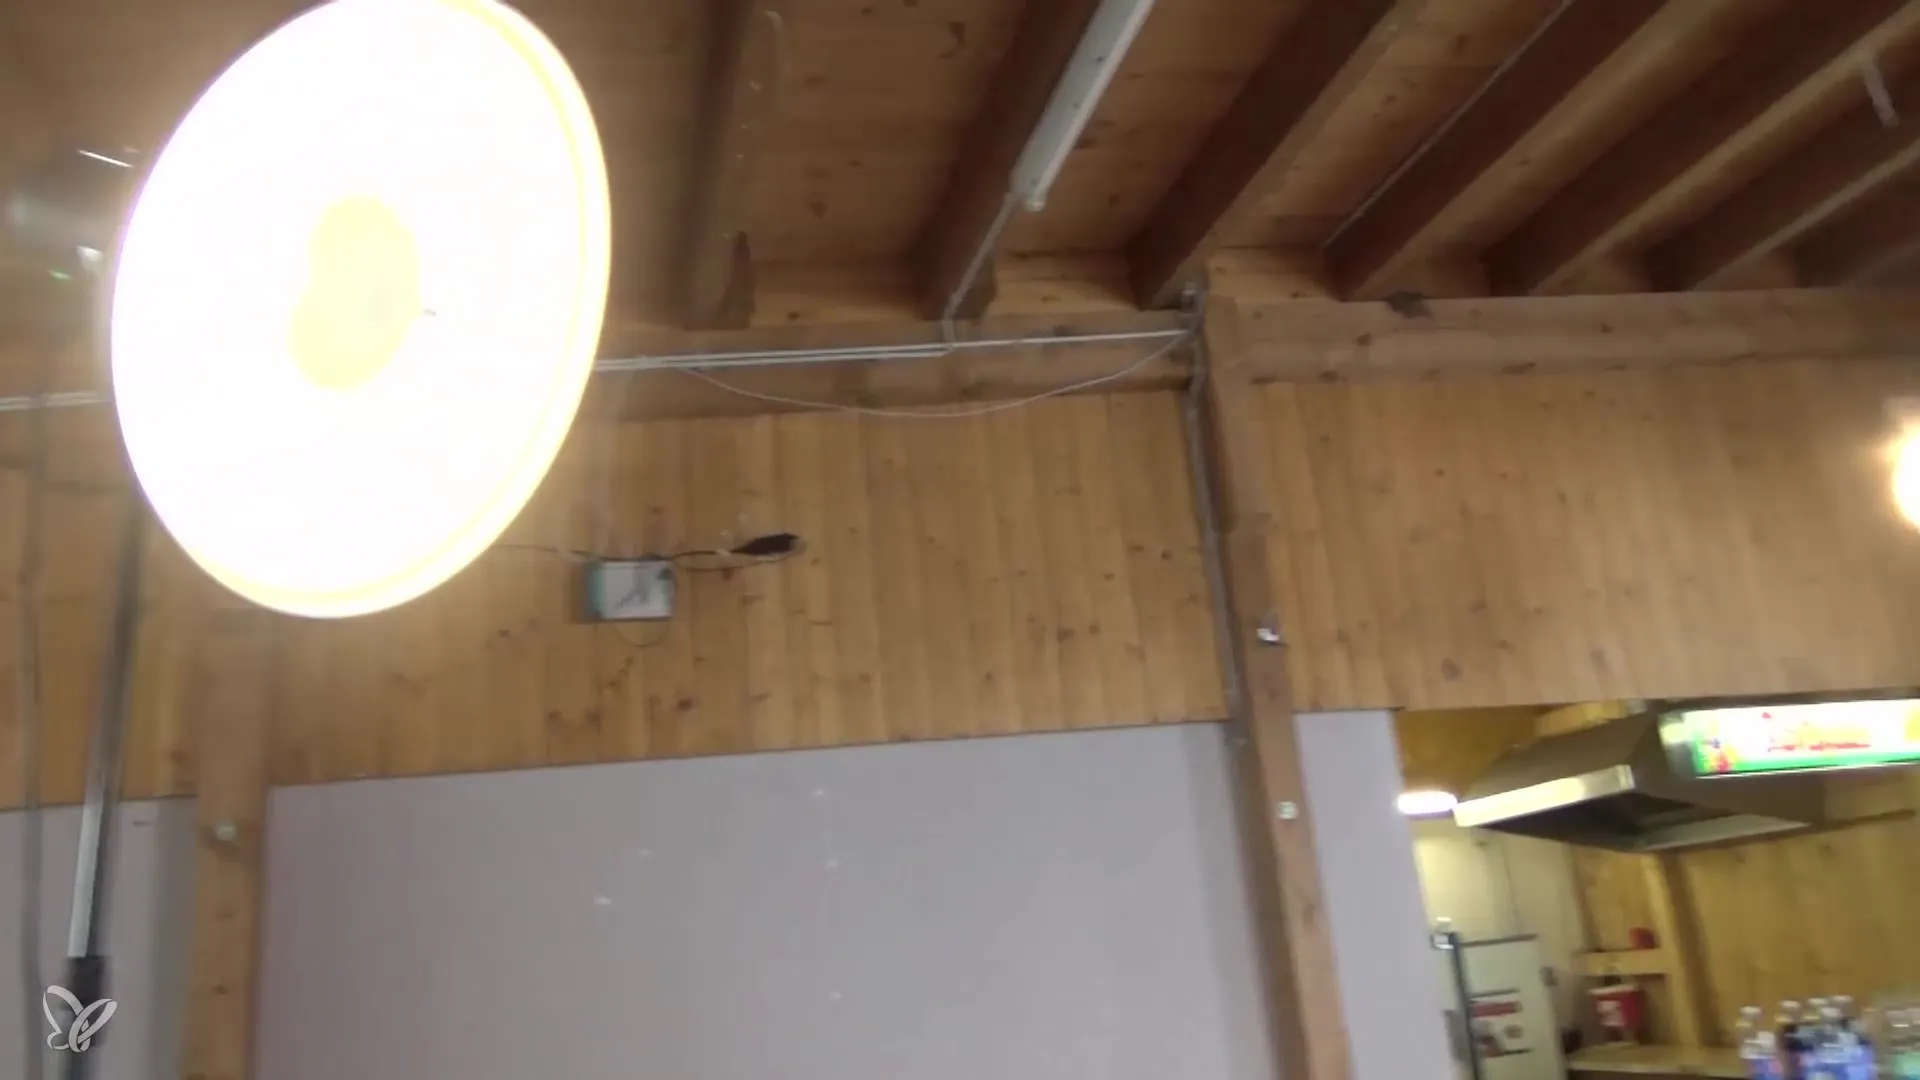
To emphasize structure and details, such as a dense beard, the use of a beauty dish is recommended. Even though it is mostly used for portrait photography, it can be a good choice in this situation to create the desired contrast. Harder light appears more striking and highlights the fine details better.

4. The Ideal Background
The background has a significant impact on image editing. In your lighting setup, you should use a gray background. This helps minimize reflections and avoids unwanted white fringes around the outlines of the subject. Often, white backgrounds are problematic as they can reflect light back and blur the contours.
5. Why Gray is the Best Choice
Working with a gray background has several advantages. It does not reflect light as strongly back, giving you more precise control when cutting out your images. Gray backgrounds provide a neutral base that is very useful in editing with Photoshop Elements. This helps achieve the desired effects and optimize the image.
6. Making Cutouts Easier
A neutral gray background is important not only for the shot but also for the later editing process. If you want to cut out the image, it makes it easier to identify the contours of your subject. It reduces the risk that dark areas get lost or are not optimally visible.
Summary – Lighting Setup for Image Compositions: How to Create the Perfect Lighting in Photoshop Elements
An effective lighting setup is essential for appealing image compositions in Photoshop Elements. The right lighting makes your subject appear vibrant and highlights details. By combining hard light with reflectors and choosing a neutral background, you achieve the necessary clarity and structure for your photos.
Frequently Asked Questions
How do I choose the right light source for my subject?Use hard light sources to create contrasts and structure.
Why is a gray background advantageous?It reduces reflections and simplifies cutouts in image editing.
Can I use a beauty dish for other subjects?Yes, it is versatile and can be used to highlight details in other subjects as well.


