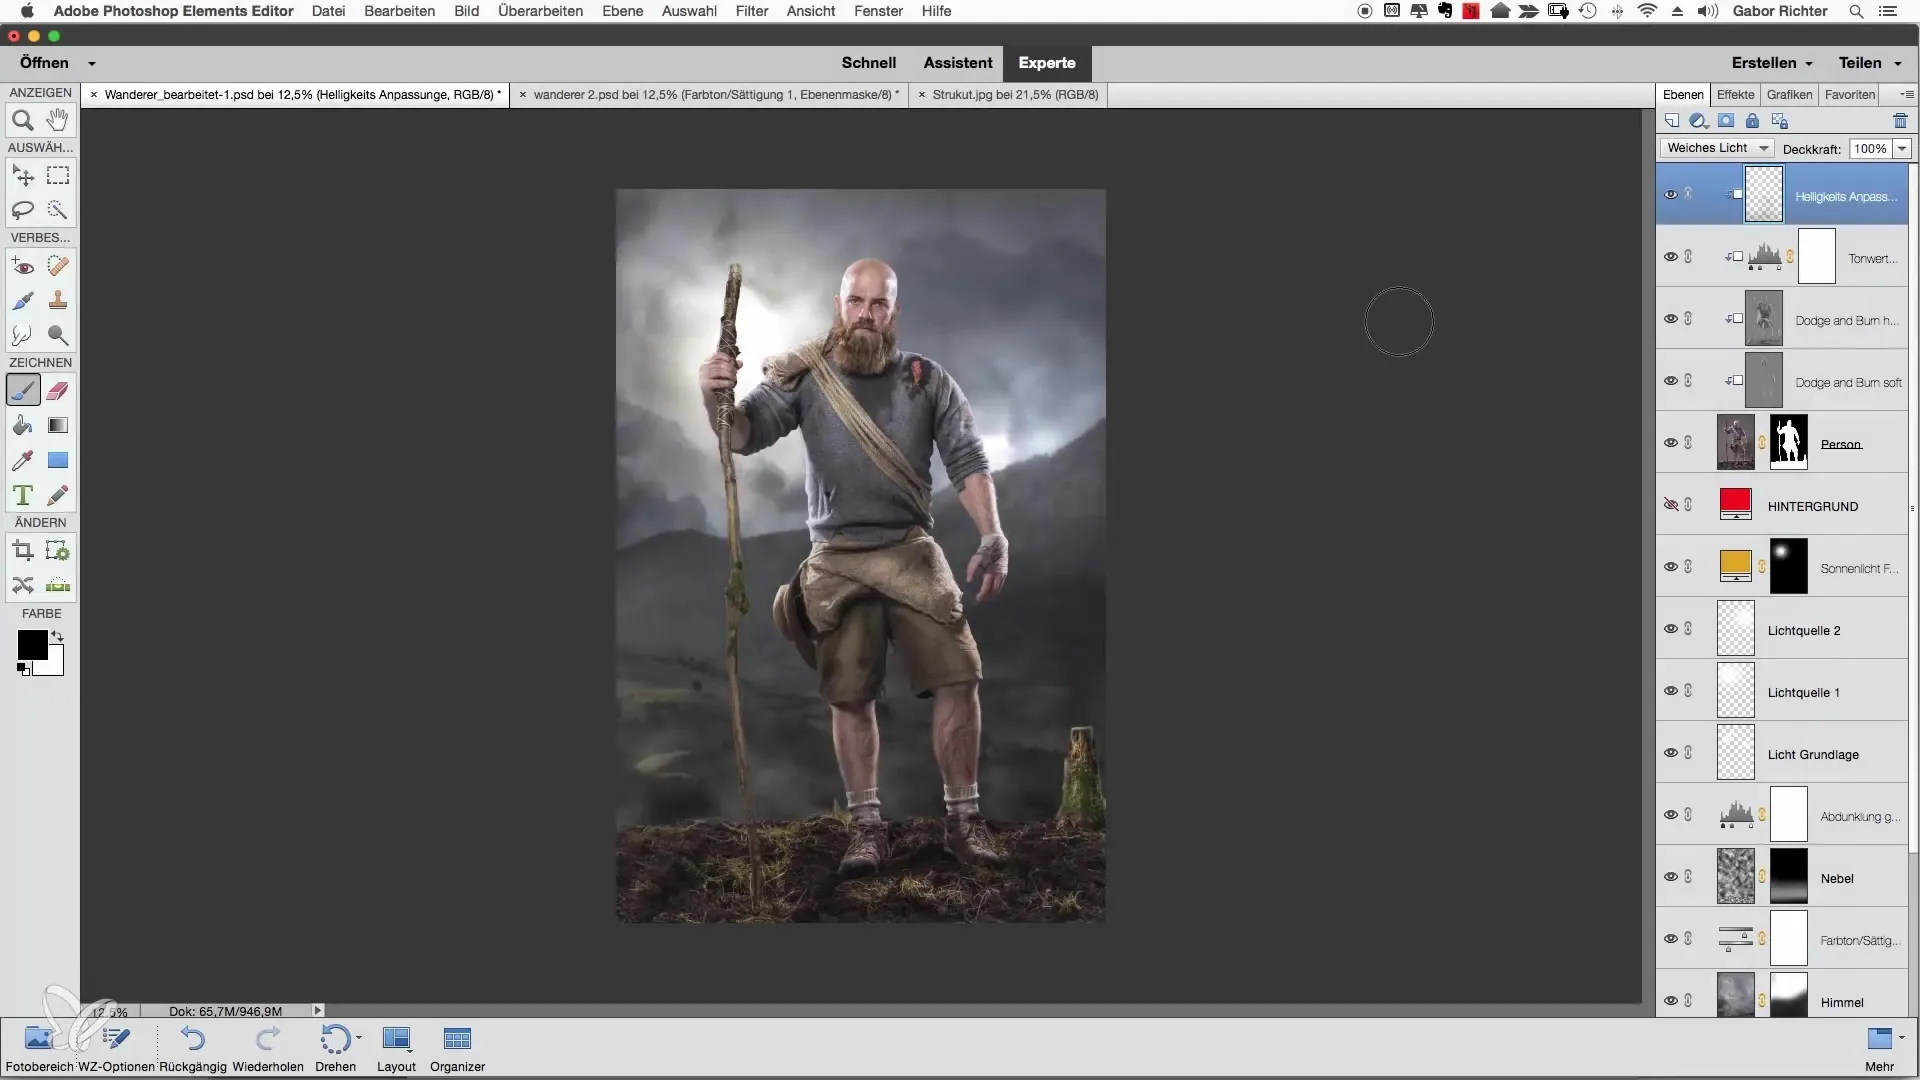
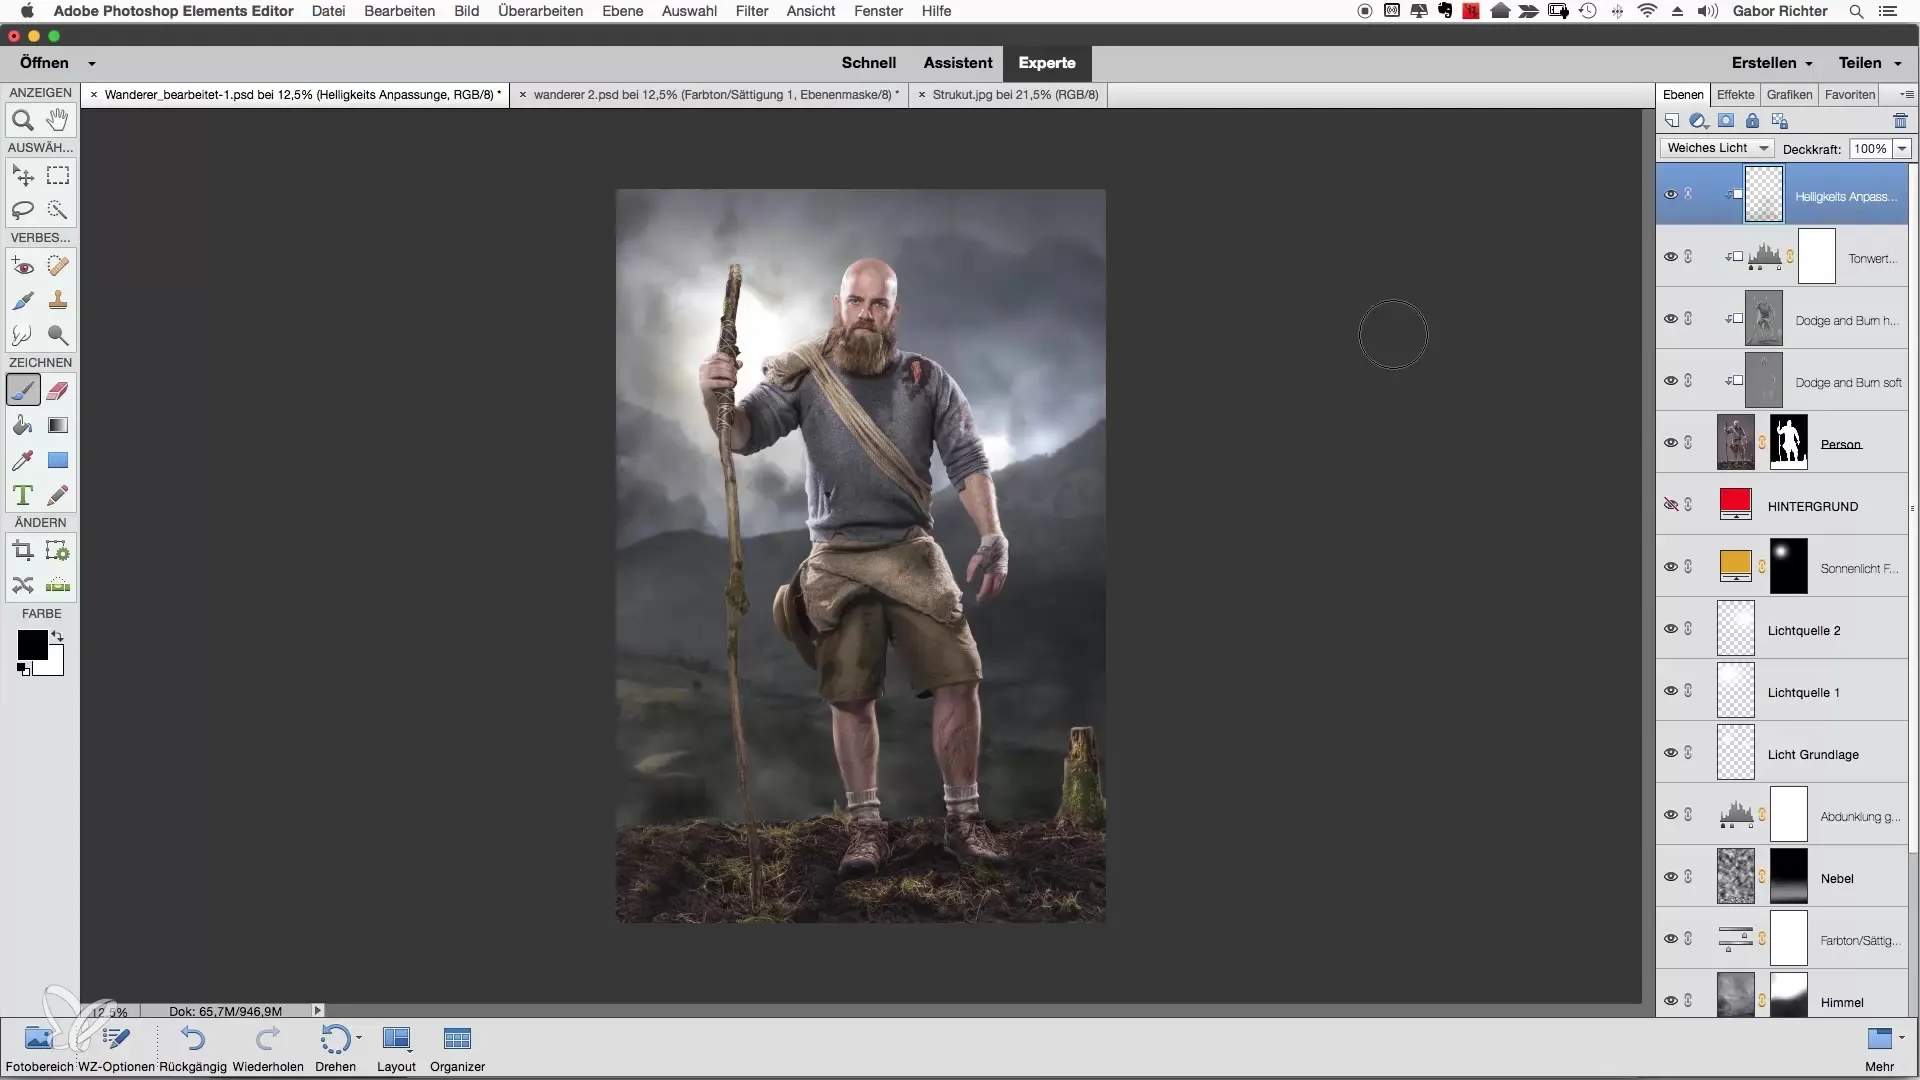
Color adjustments are crucial to harmonizing the overall look of a portrait. An often-overlooked aspect of image editing is that the colors of the person in the image should be adjusted to match the colors of the background scene to achieve a coherent composition. This guide will show you how to adjust the color mood of a person to the environment in Photoshop Elements. Particularly important are both the background colors and the colors of the clothing. Let’s get right into the process!
Key Insights
- The backgrounds and the colors of the clothing play a crucial role in the harmonious integration of the person into the image.
- By applying blur and color adjustment filters, colors can be precisely controlled.
- The use of masks is helpful for selectively adjusting specific areas of the image.
Step-by-Step Guide
To optimally adjust the colors of your portrait, follow the instructions below.
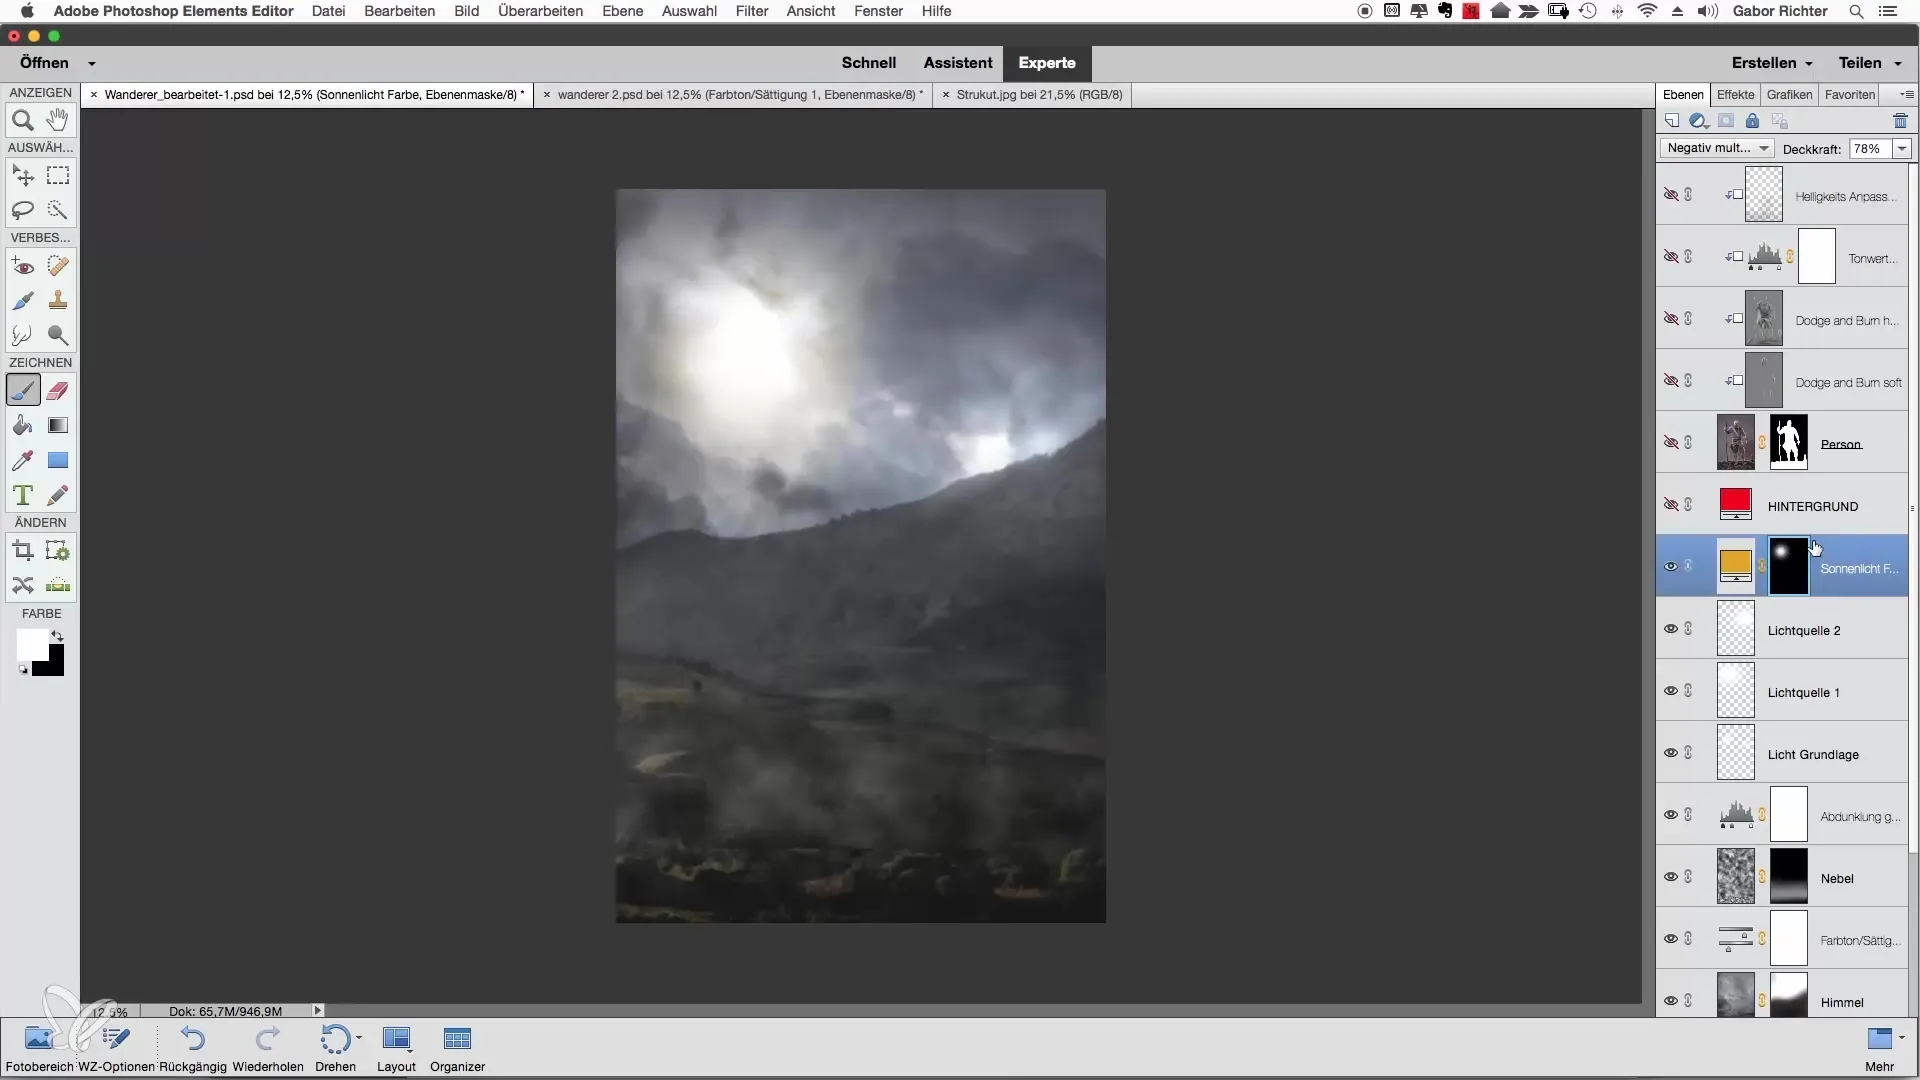
First, it’s important to view the person separately from other layers. Disable all layers that affect the person. This will leave only the background elements visible. Now you can make targeted color adjustments.

Next, go to the existing background layer and merge this. Use the shortcut Command + Alt + Shift + E (for Windows Ctrl + Alt + Shift + E). This will summarize everything you need into a new layer.

Now you should move this new layer up. Reinstate all other layers except for the specifically Background layer so you can see the better color adjustment. Rename this new layer, for example, to Ambient Color.
The goal is to determine the average colors of the background and transfer them to the person. To do this, apply the filter Blur Filter > Average. Photoshop will automatically calculate the average color values.
This step initially creates a rather strange color image, but that is intentional. This color corresponds to the underlying background color.
Set a clipping mask on the person by right-clicking on the layer and selecting Create Clipping Mask. Now you will see that the color mood of the person adopts that of the background.
To further refine the color mood, you need to adjust the blending mode of this layer. Set it to Soft Light. You will notice that this makes the representation of the person more harmonious with the background color.
The opacity of this new adjustment layer should also be lowered to achieve a natural look. Test various values; 15% might work well for you.
Now we come to the parts that may be overly saturated, such as the clothing. Create a new adjustment layer for Hue/Saturation. Set the saturation to zero at first to obtain a black-and-white image. Invert the mask to work with the brush.
Zoom in and examine the areas you want to adjust, such as the pants and the top. Adjust the brush size accordingly and set the opacity to about 10-15%. You can then begin to gently desaturate the areas that are too saturated.

When making changes to the pants, be careful to reduce the blue hue components. If you notice it becomes a bit too much, you can adjust the opacity of the mask to gradually integrate the changes.
You can make similar adjustments to the top. Be careful not to desaturate too much so that the subject doesn't appear too pale.
Once you have reviewed the results, you might also want to adjust the brightness of the pants. For this, create a Levels adjustment layer and slightly darken the pants. This creates a more harmonious balance between the pants and the rest of the image composition.

At the end of the color adjustments, you should check the overall composition. If you are happy with the result, save your project accordingly.
Summary – Color Adjustments in Photoshop Elements for Portraits
The adjustments of colors and the harmonious connection between model and background are crucial for appealing portraits. With the right tools in Photoshop Elements, you can effectively adjust the color mood and thus create an impressive image composition.
Frequently Asked Questions
How do I find the average color of my background?Use the Blur filter "Average" and apply a clipping mask to the person.
Why should I set the blending mode to "Soft Light"?This ensures that the color mood appears softer and more harmonious.
How can I reduce overly saturated colors?Create a Hue/Saturation adjustment layer and adjust the saturation to reduce the color intensity.
Is there a shortcut for merging all visible layers?Yes, on Mac it's Command + Alt + Shift + E and on Windows Ctrl + Alt + Shift + E.
When should I adjust the opacity of my adjustment layers?If the changes appear too strong or unnatural, it makes sense to reduce the opacity.


