Do you want to give your image the final touch and edit a person in the photo to make them appear more muscular? In this tutorial, you will learn how to specifically adjust the body shape of a person using Photoshop Elements. You will learn how to highlight certain areas and create a more harmonious overall image.
Main Takeaways
- You can effectively adjust the shape of a body using the Liquify filter.
- Be careful not to make all changes at once for better results.
- Use different tools to edit specific body parts and create a harmonious body shape.
Step-by-step Guide
To change the physique of the person in your image, follow these steps:
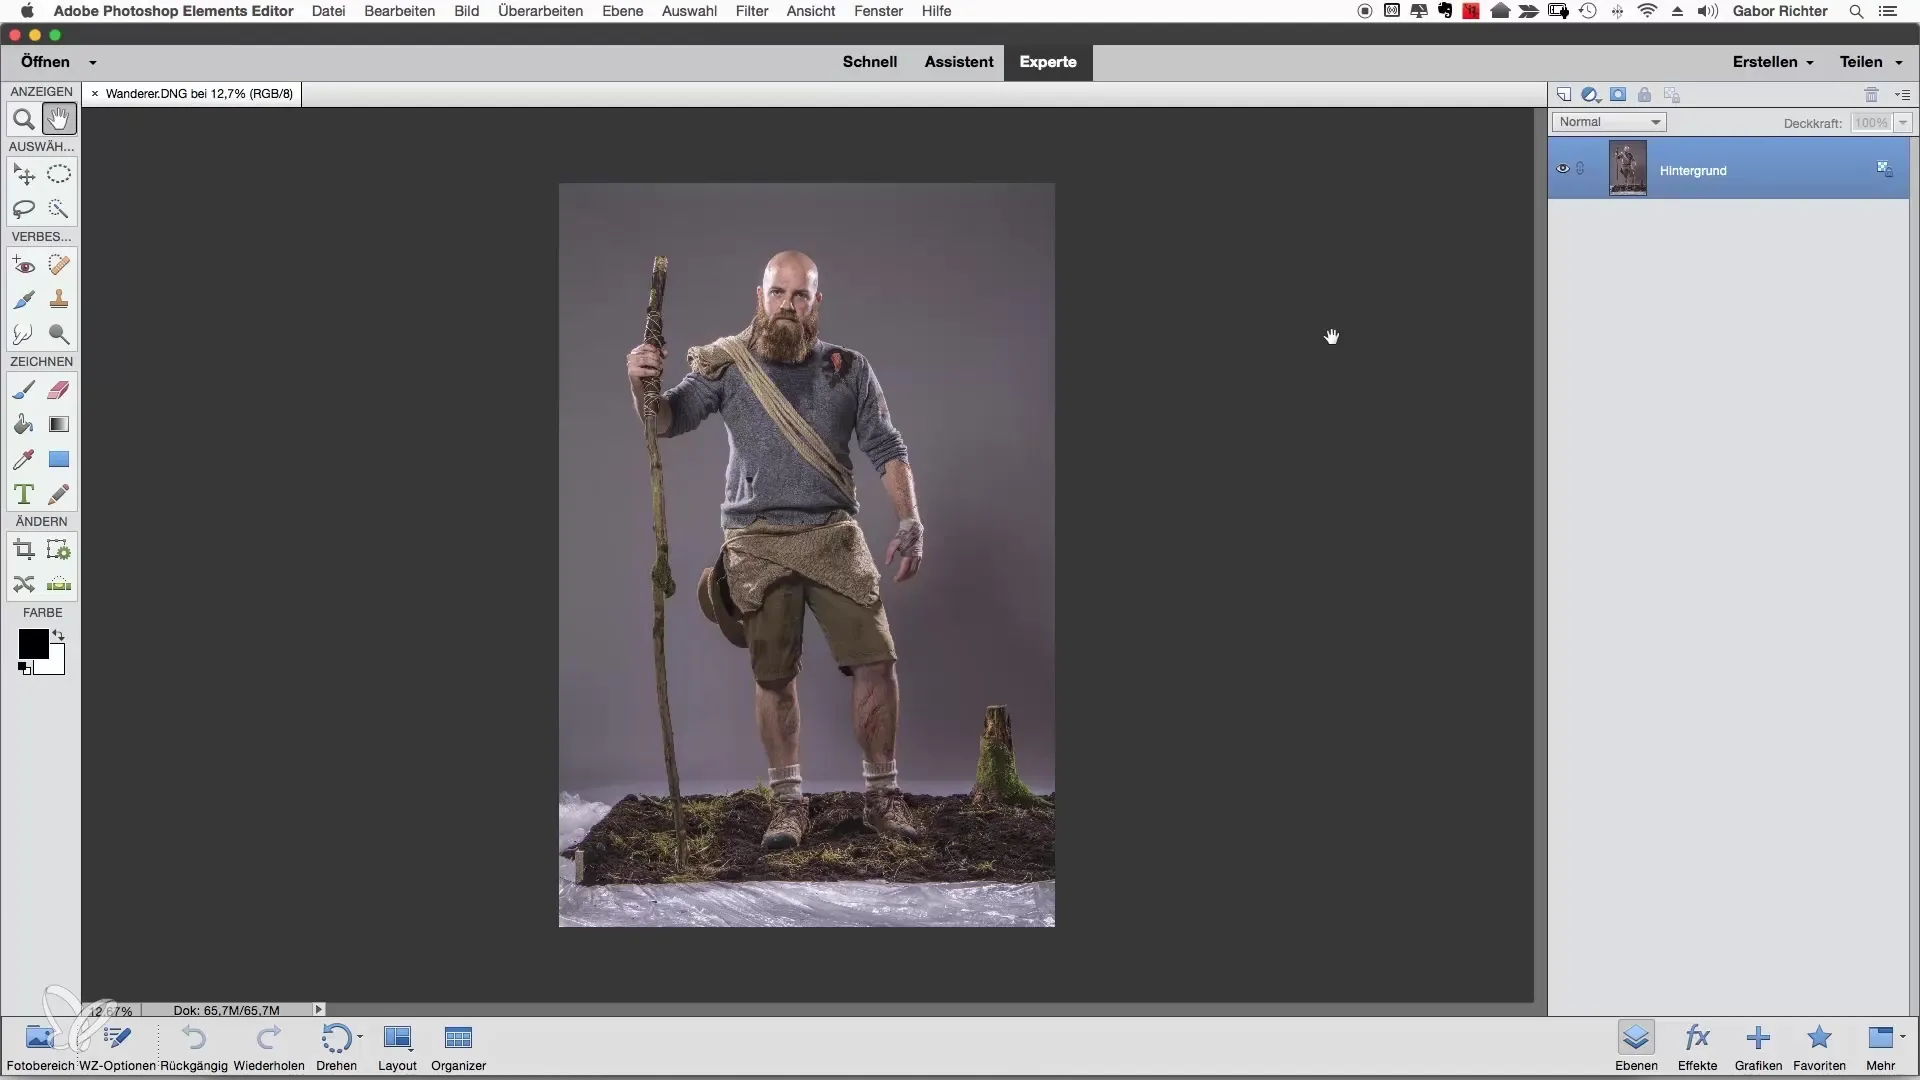
First, check if the image is well chosen and open it in Photoshop Elements. The first step is to create a new layer for your changes. You duplicate the layer by right-clicking on the original layer, unlocking it, and then selecting "Duplicate Layer". Name the new layer "Shape" to make it easier to identify. Then confirm with "OK".
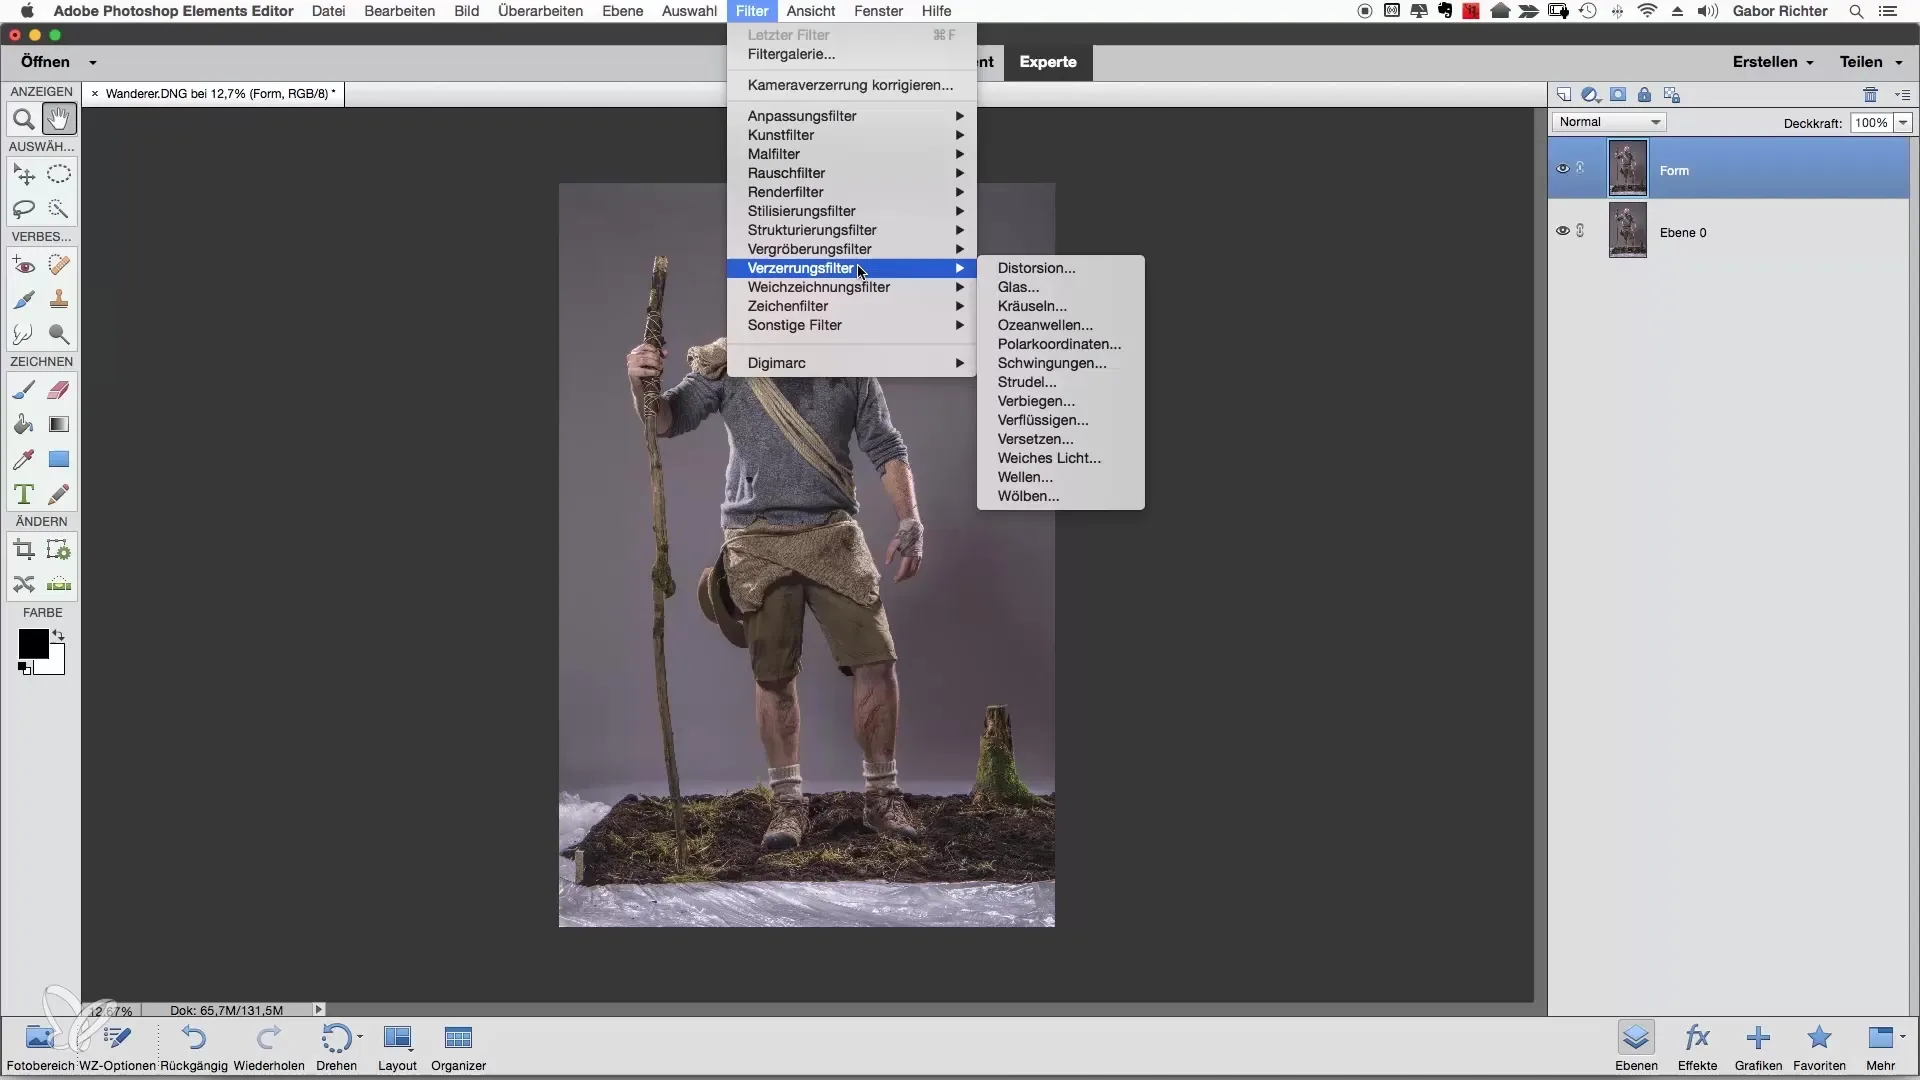
Once the new layer is created, we go to the Liquify filters. Click on "Filter" in the menu bar and select the "Liquify" filter. A new dialog box will open, providing you with various tool options.
Here, the Forward Warp Tool is particularly useful. You can select the tool that looks like a brush and draw a circle around the area you want to edit. In the center of the circle, you should see a crosshair. Hold down the mouse button and drag to the right to change the shape. Note that you can undo changes with "Ctrl + Z" (Windows) or "Cmd + Z" (Mac) if you are not satisfied with the result.
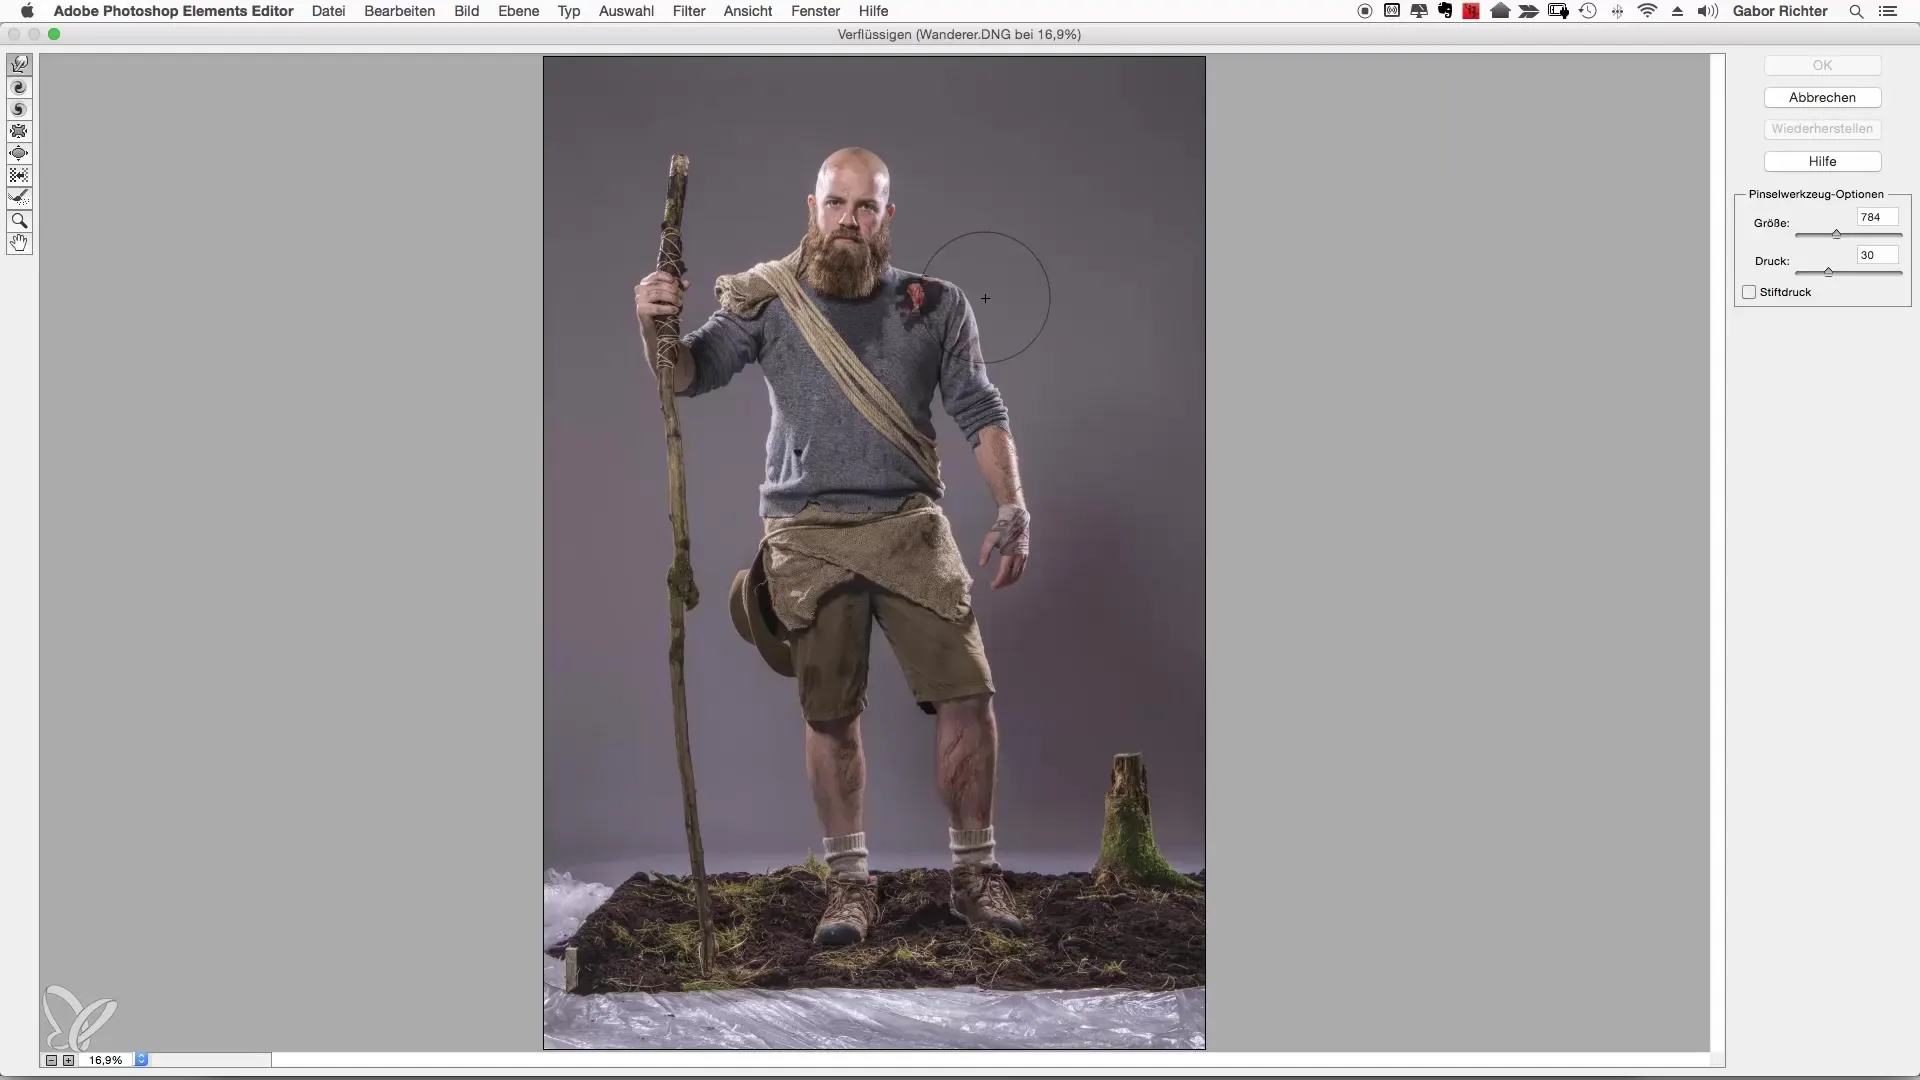
Make sure to choose the size of the Forward Warp Tool to fit the areas you want to lighten. Reduce the size to about 500 pixels for precision. A pressure of 20 to 30 is recommended for fine adjustments.
Now start to widen the person's shoulders. Click directly on the spot with the Forward Warp Tool and drag it carefully. Be careful not to distort the face. It should not look like someone else. With each change, you can view the results before proceeding.
Once the shoulders look wider, the next step is to edit the arms. Repeat the previous procedure, but proceed carefully and do not edit multiple areas at once to maintain control. A good approach is to start with the shoulders, followed by upper arms, forearms, and other body parts.
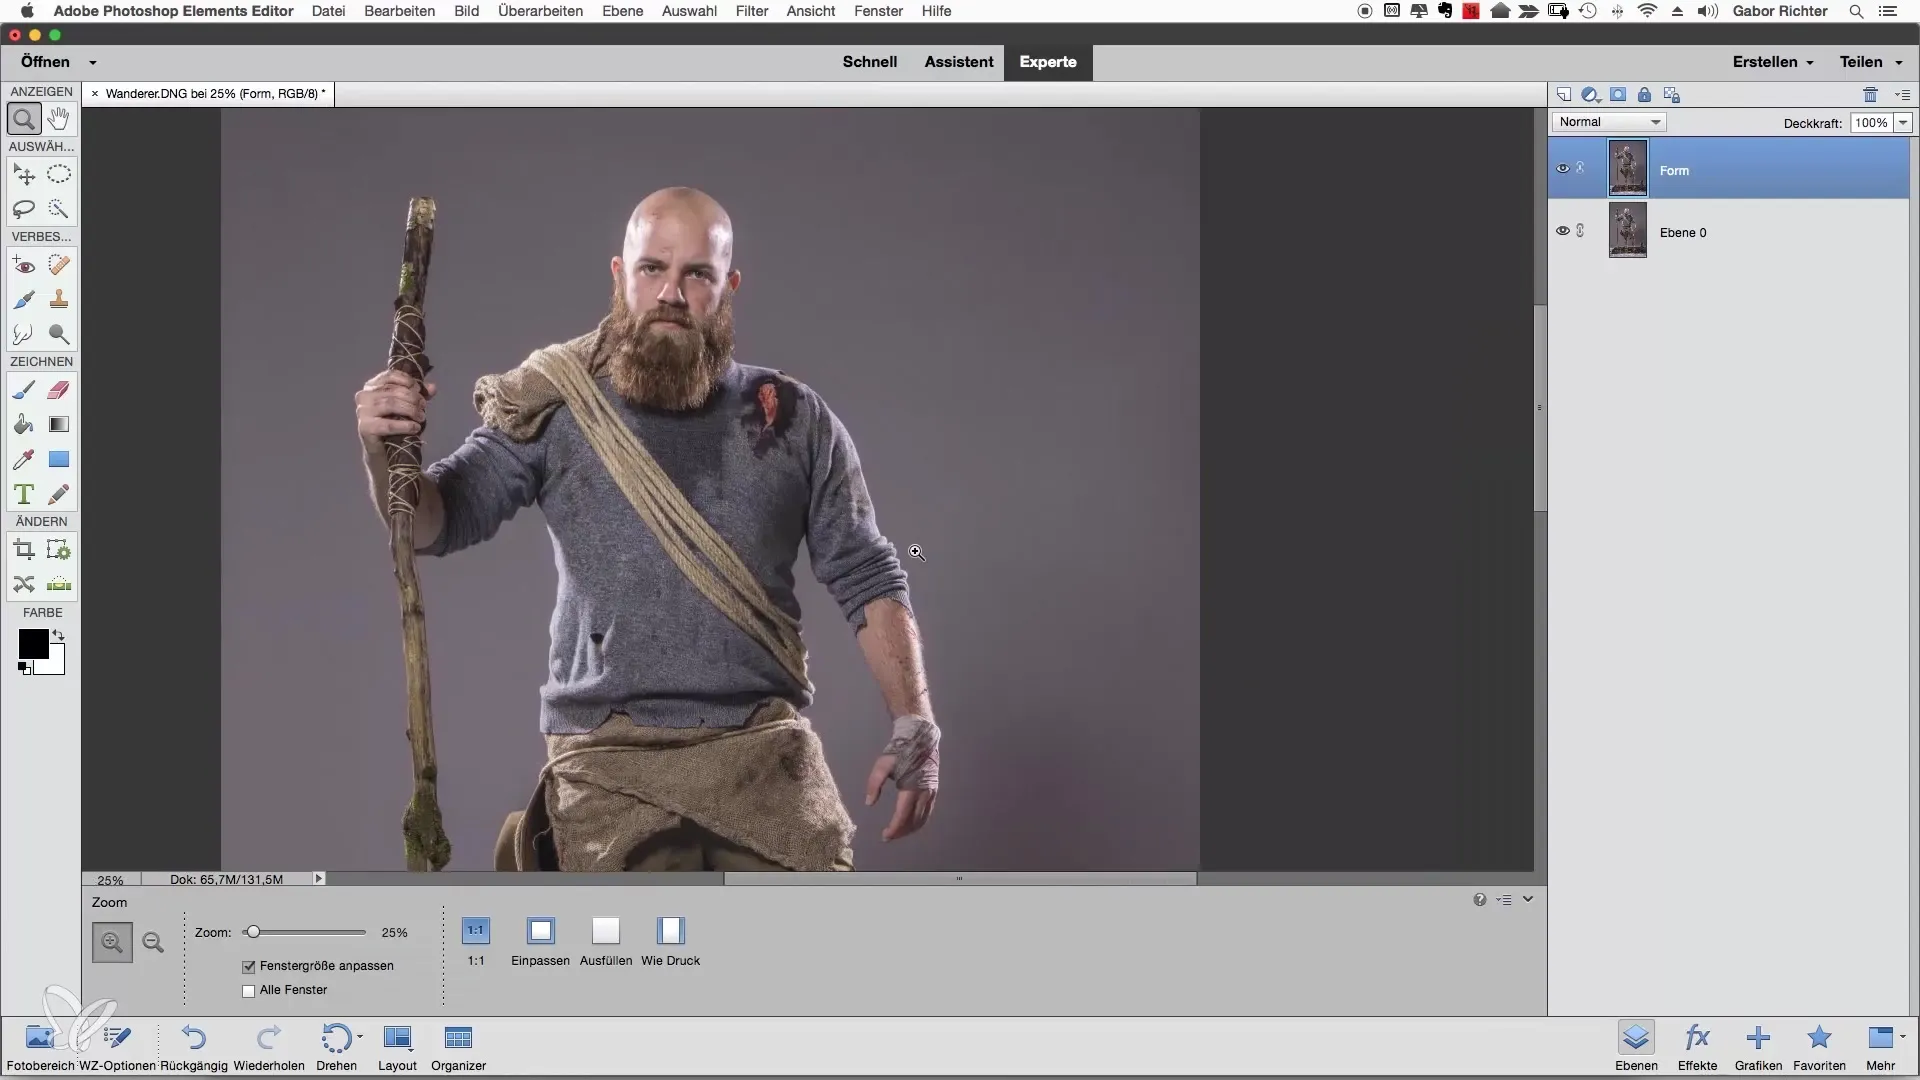
When editing the arms, again reduce the size of the Forward Warp Tool to 400 pixels. Pull the arms out to make them appear thicker. Remember to also consider the wrists and fingers, as these often appear thicker when someone is trained.
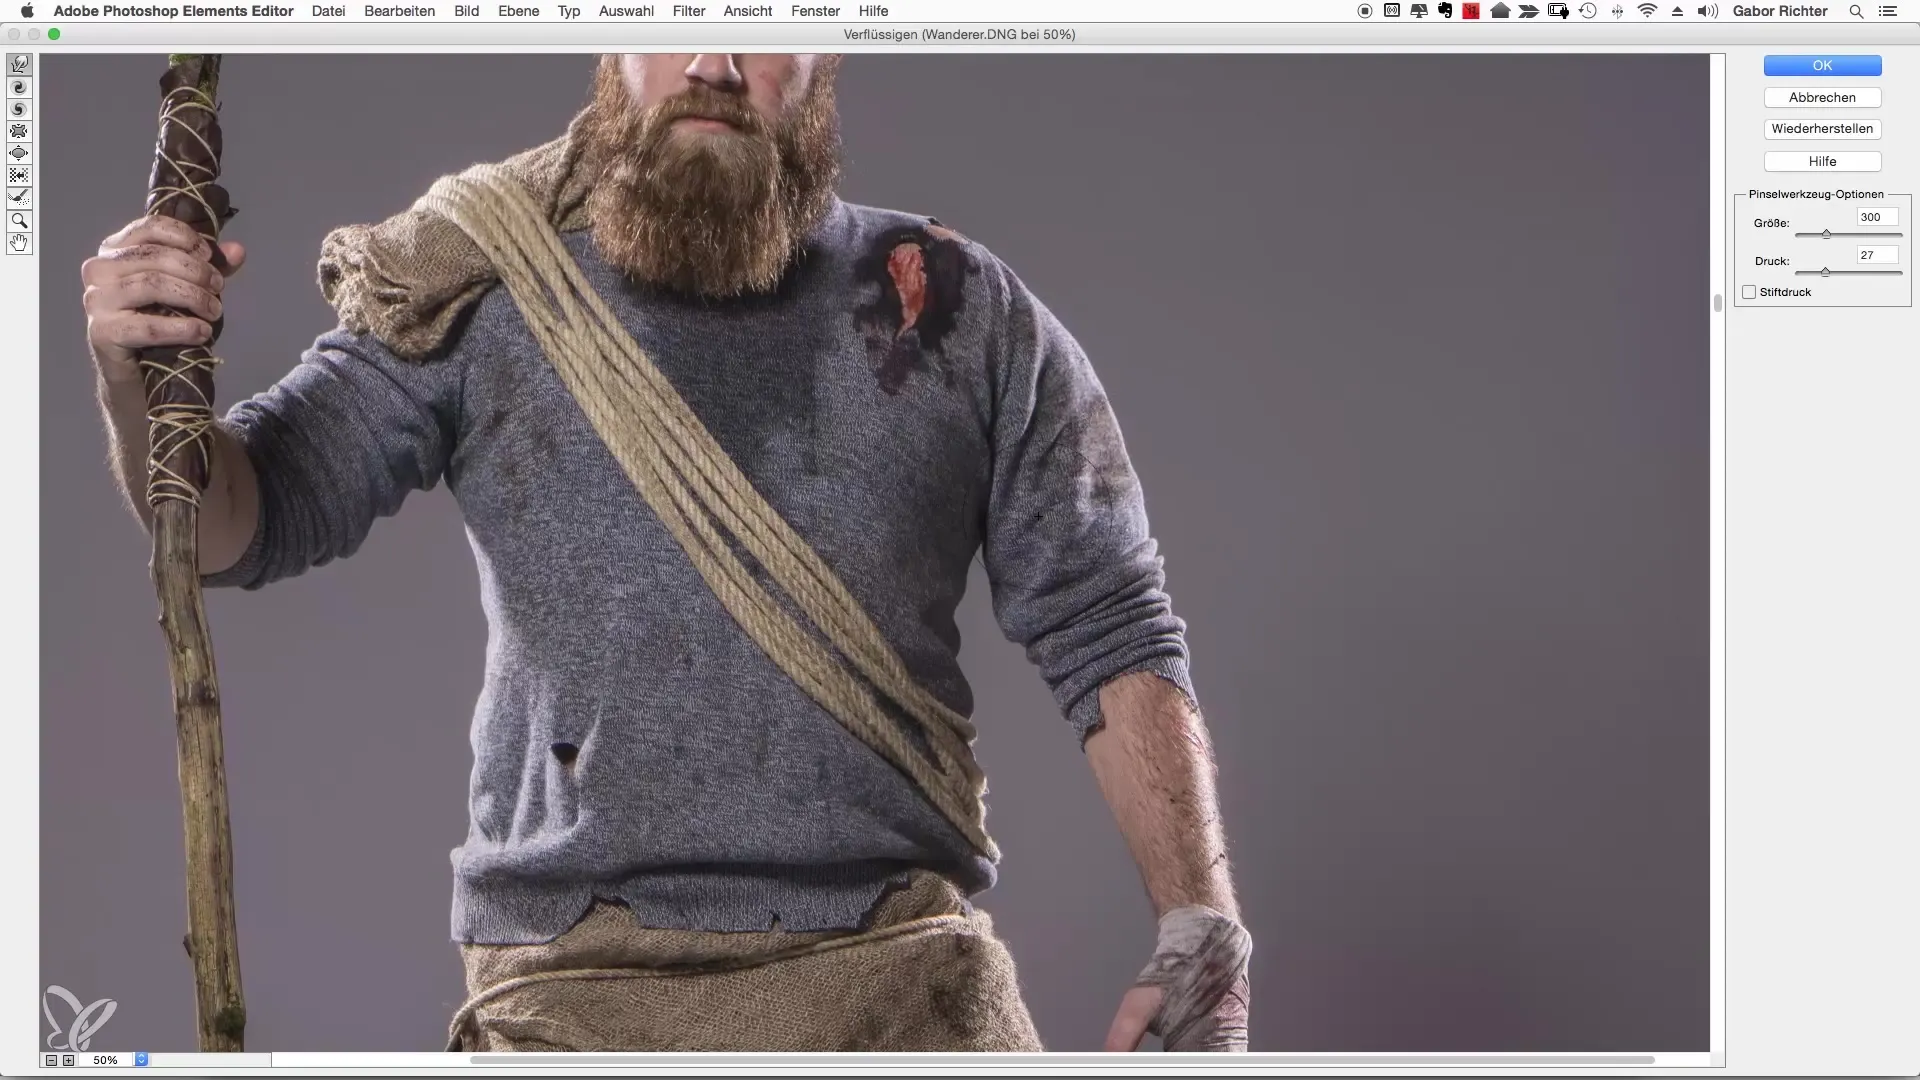
Have you edited the arms and are satisfied with the result? Then you can next take a look at the stomach and waist. Emphasize the waist contours to make the body appear in a V-shape. Gently push the waist in, then you can also adjust the pants.
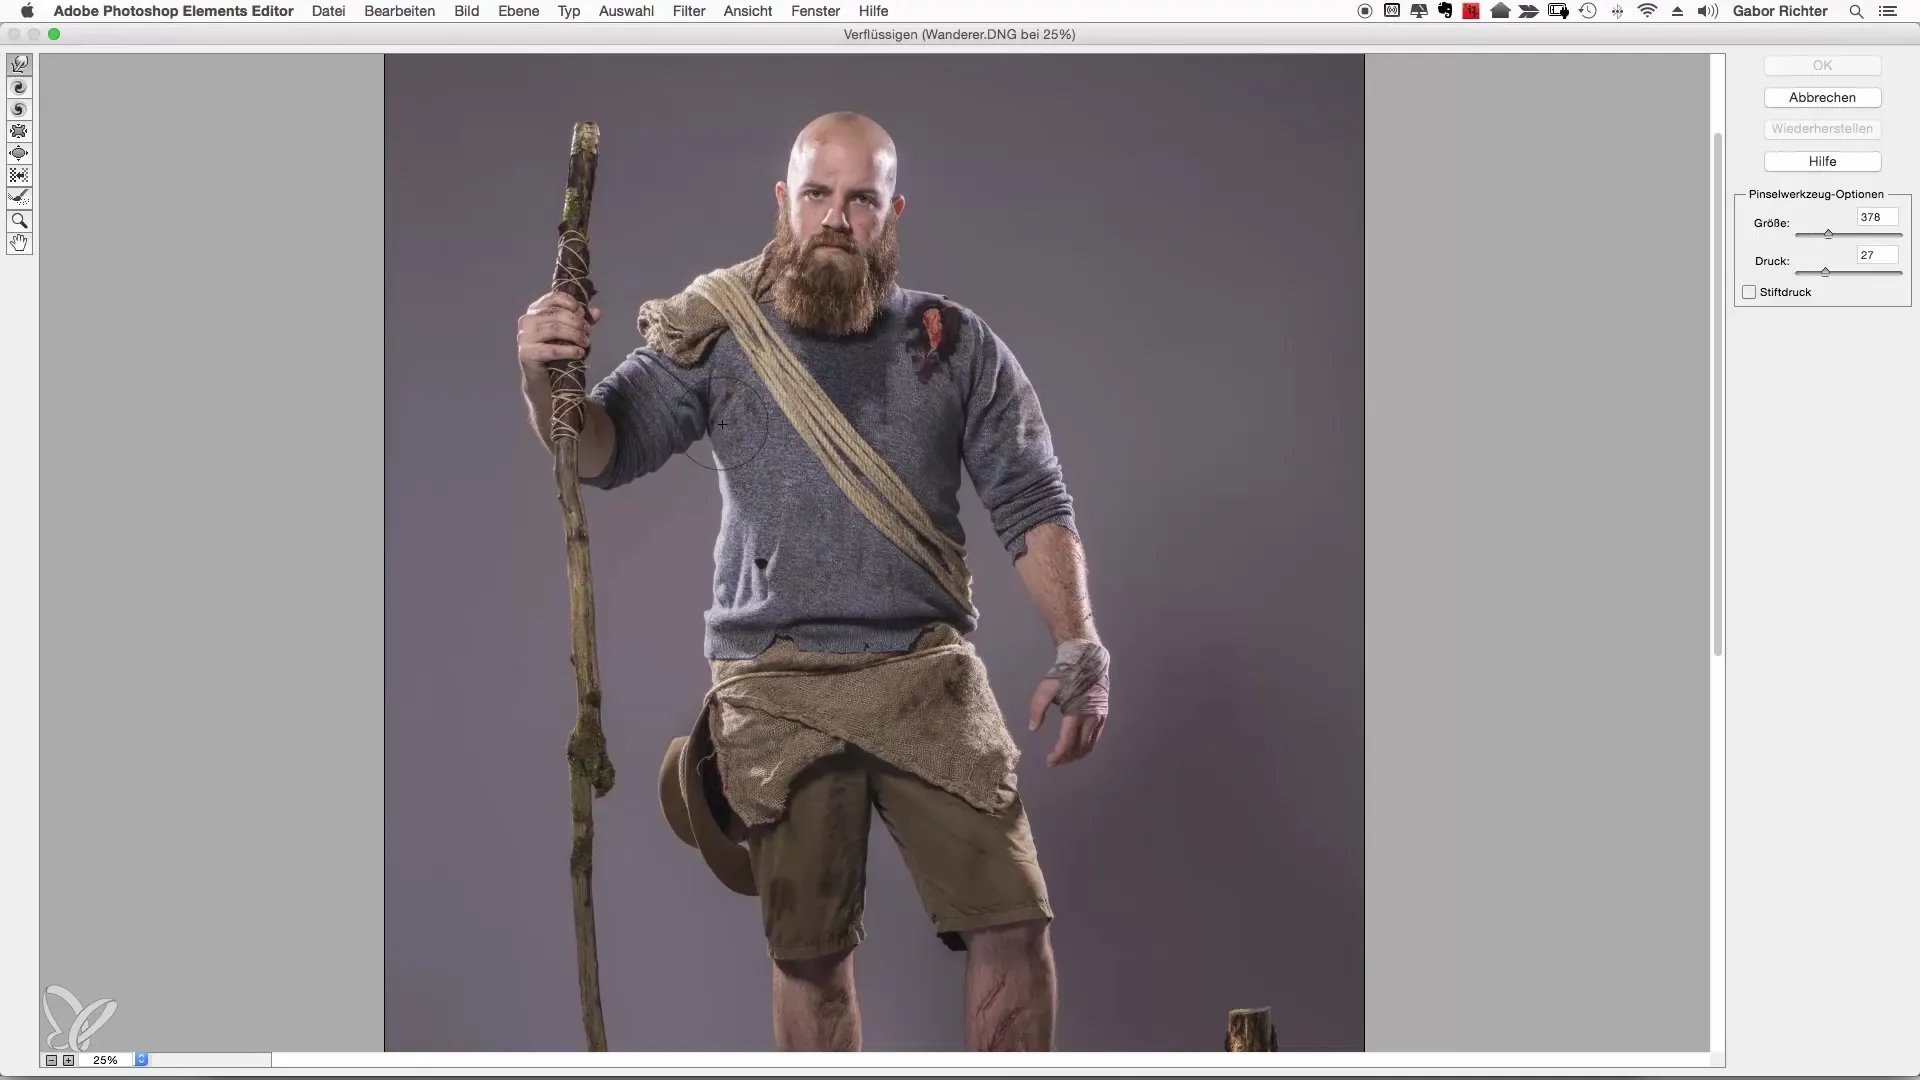
If the pants look too tight or do not match the desired look, pull them down with the Forward Warp Tool. A wider pair of pants makes the figure look more relaxed and masculine. However, be careful not to distort too much.
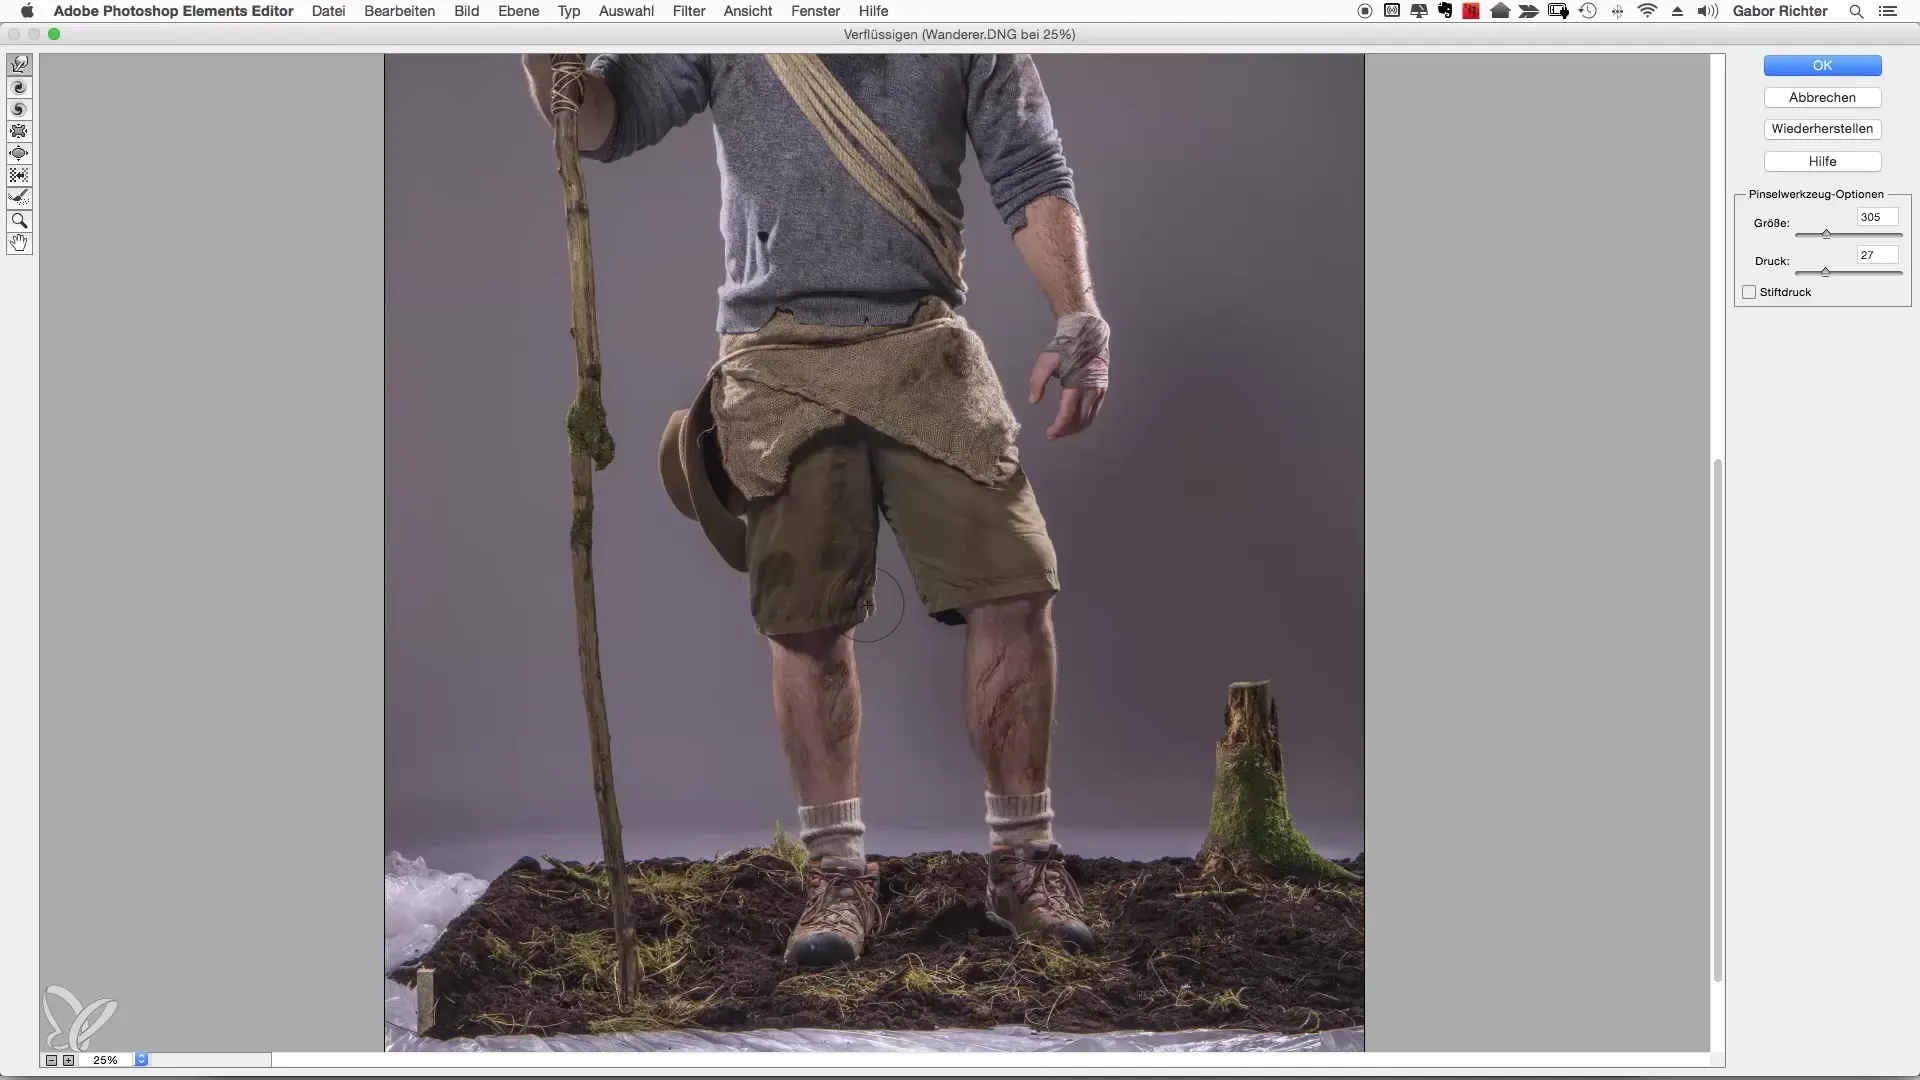
To edit the calf area, go back to the Liquify filter. Instead of editing everything at once, make gradual adjustments. Change the calves by gently pulling outward to make them thicker.
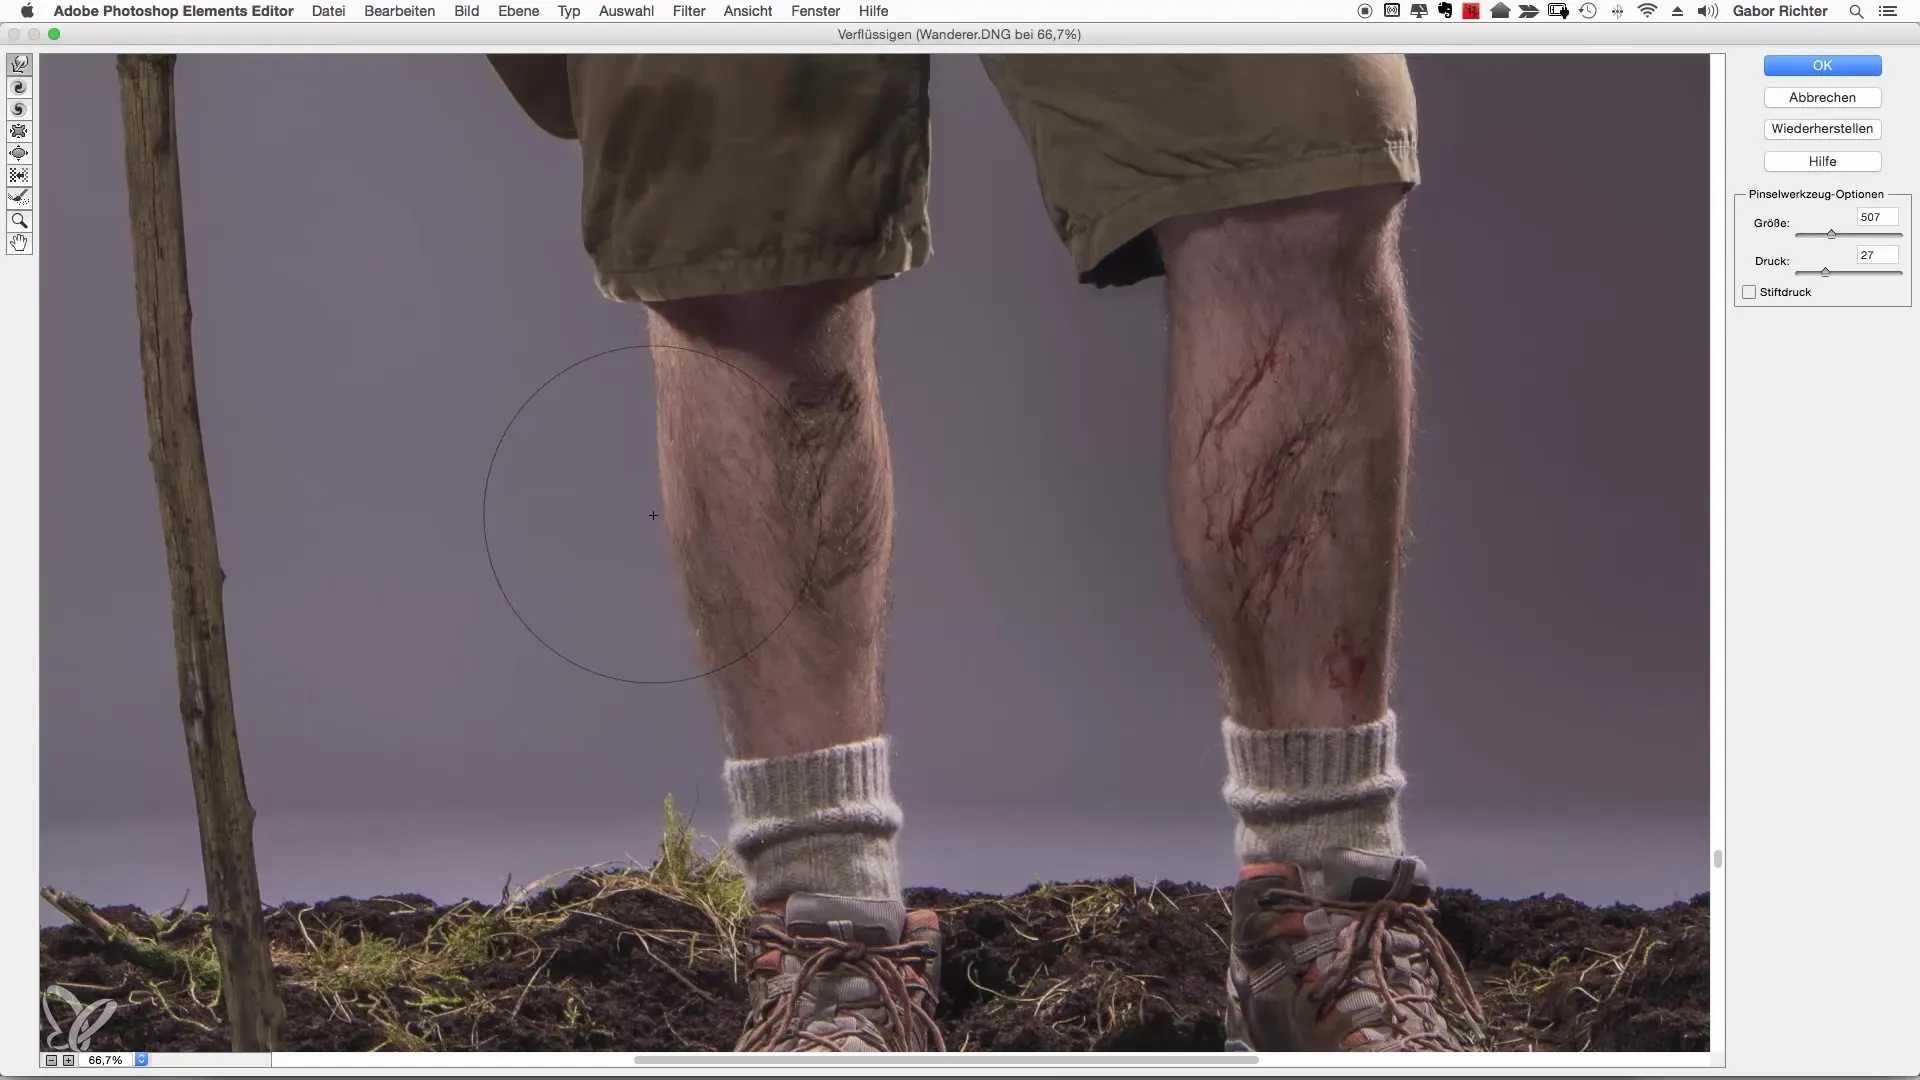
Once you have completed all the YouTube steps and review the result, you will notice that the person now looks significantly more muscular and has a more attractive appearance.
Summary – Guide to Body Shaping in Photoshop Elements
In this guide, you have learned how to shape a person in Photoshop Elements to make them look more muscular and appealing. By specifically editing different areas of the body and proceeding step by step, you can achieve impressive results.
Frequently Asked Questions
What are Liquify filters in Photoshop Elements?Liquify filters are special tools that allow you to change the shape of objects in an image.
How can I undo changes?Use "Ctrl + Z" (Windows) or "Cmd + Z" (Mac) to undo your last changes.
How do I avoid the image becoming blurry or pixelated?Use the Liquify filters carefully and avoid making too many changes at once.
Can I also morph other people with Photoshop Elements?Yes, you can apply this technique to any person or object in your images.
How do I save my changes?Go to "File" and select "Save As" to save your edited image.


