Photography thrives on the attention you give to the viewer. Often, the key lies in the right composition of the image. An effective way to highlight the main subject or focal point is to apply blur in the background. In this tutorial, I will show you how to create an appealing blur with Photoshop Elements that adds more depth to your image and directs the focus to the essentials.
Key Insights
- The sharpness in the image directs the viewer's attention.
- A targeted blur in the background highlights the main subject.
- The use of the blur filter is an effective method to create blur.
Step-by-Step Guide
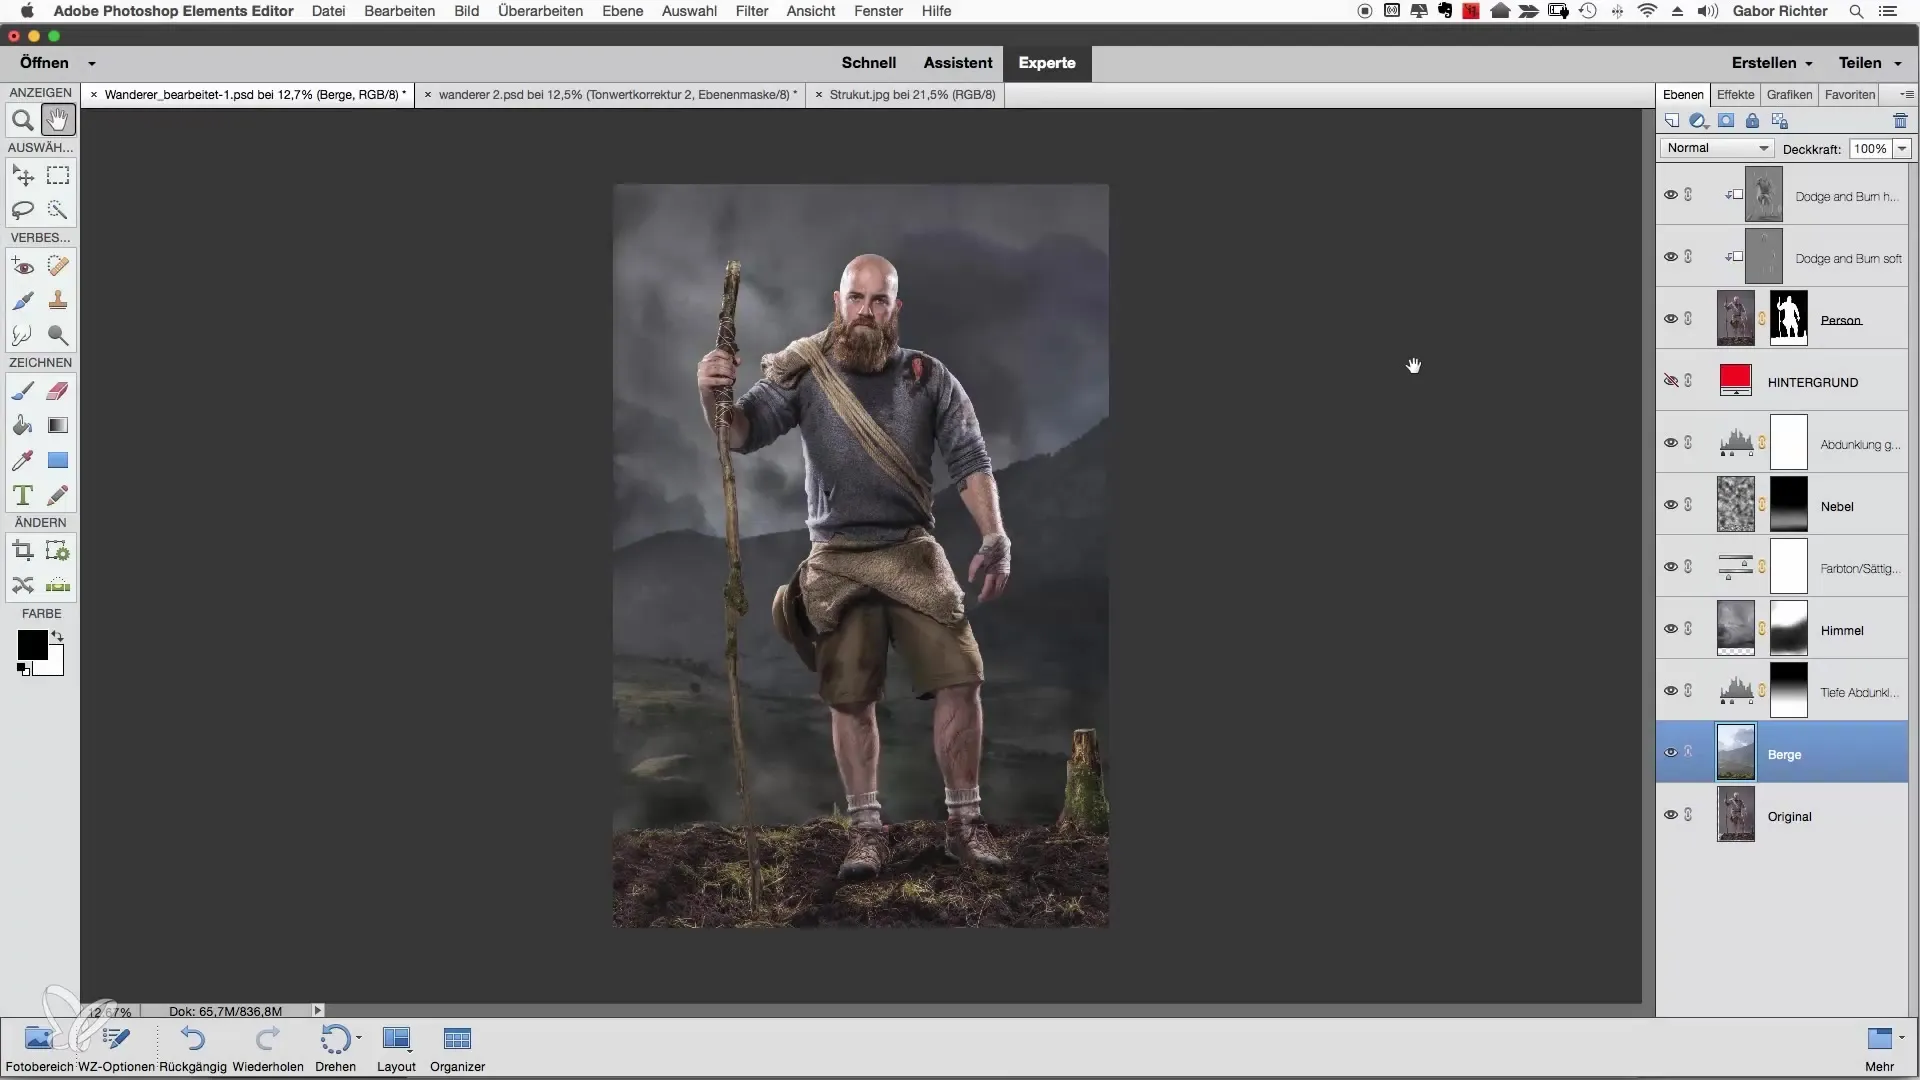
First, you should open your image in Photoshop Elements. Make sure that the color tone has already been adjusted so that the background does not distract from your main subject. The background should be less saturated than the main subject, directing the viewer's eye to the person.

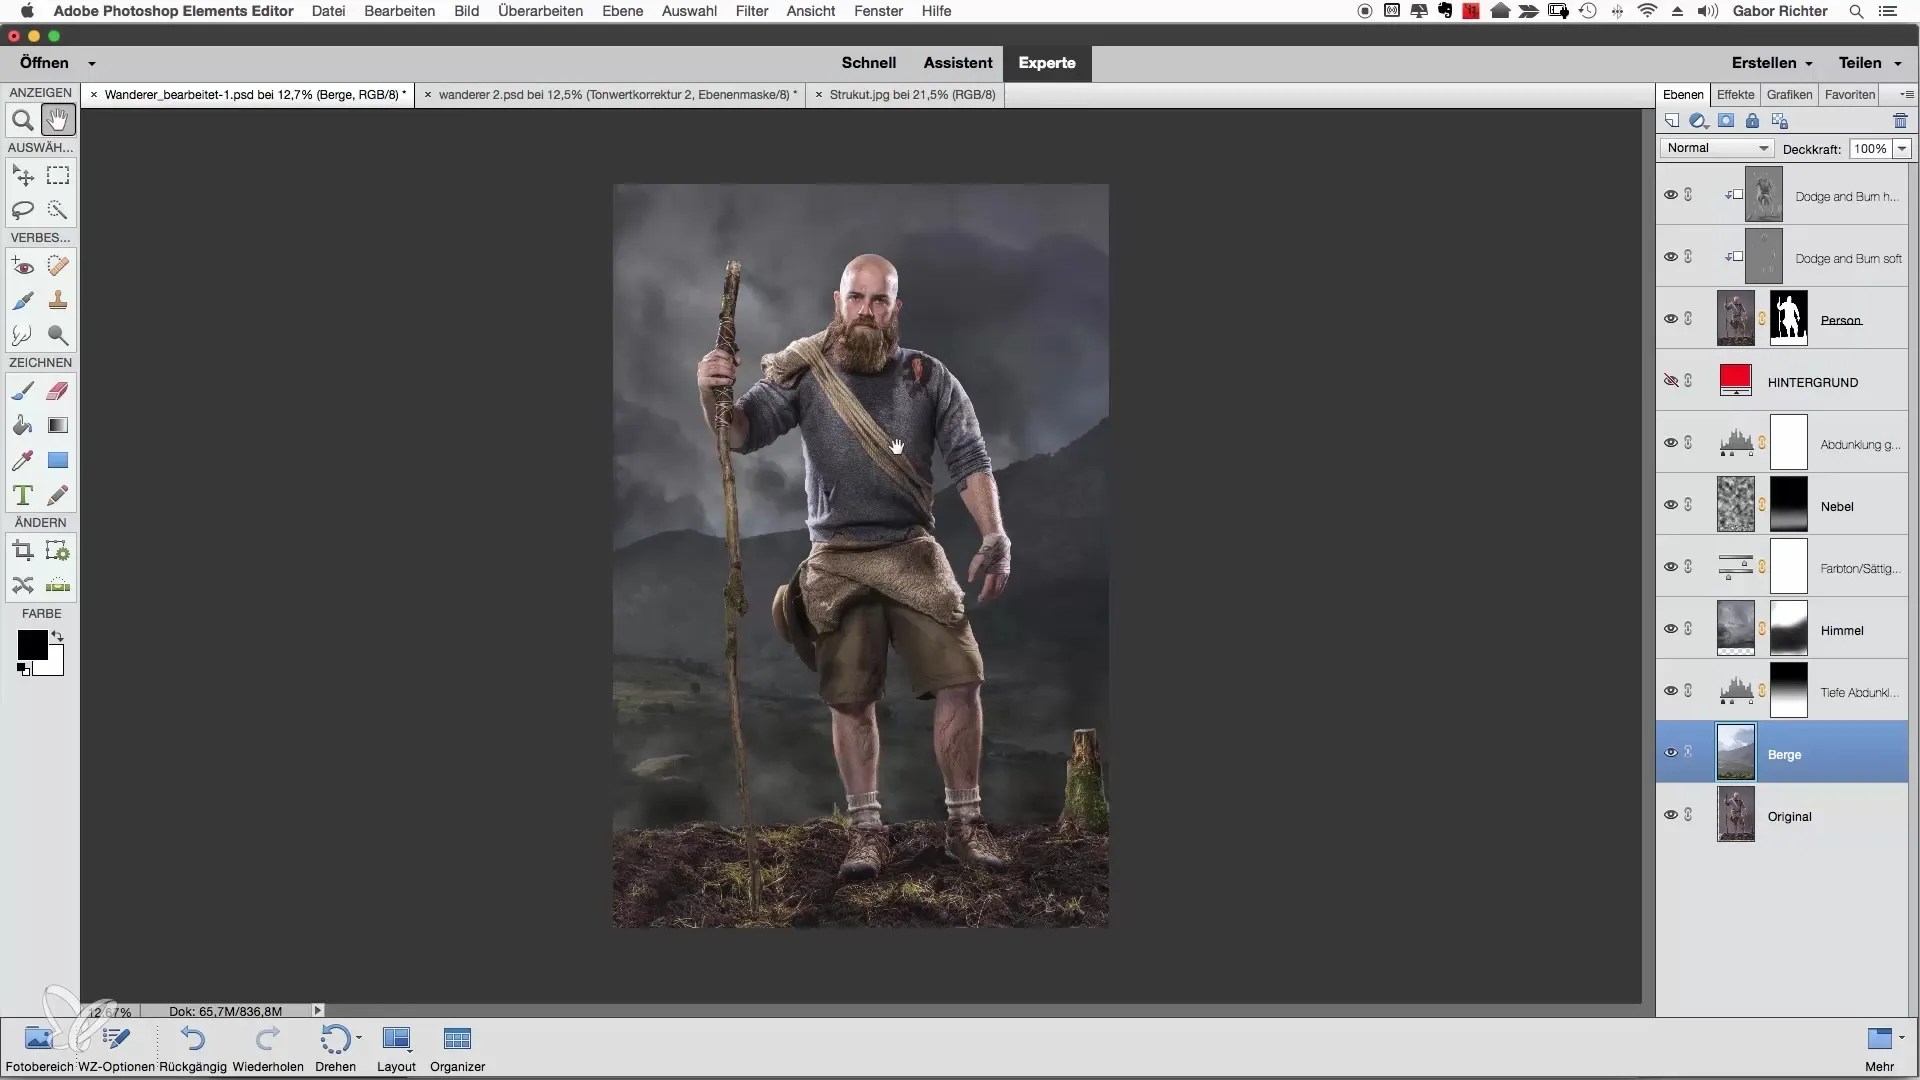
The next step is to pay attention to the sharpness of the subject. Your image can appear more interesting when you play with depth of field. You should ensure that only the main subject is in sharp focus while the background remains blurred. Start by making your background sharper to highlight the differences.

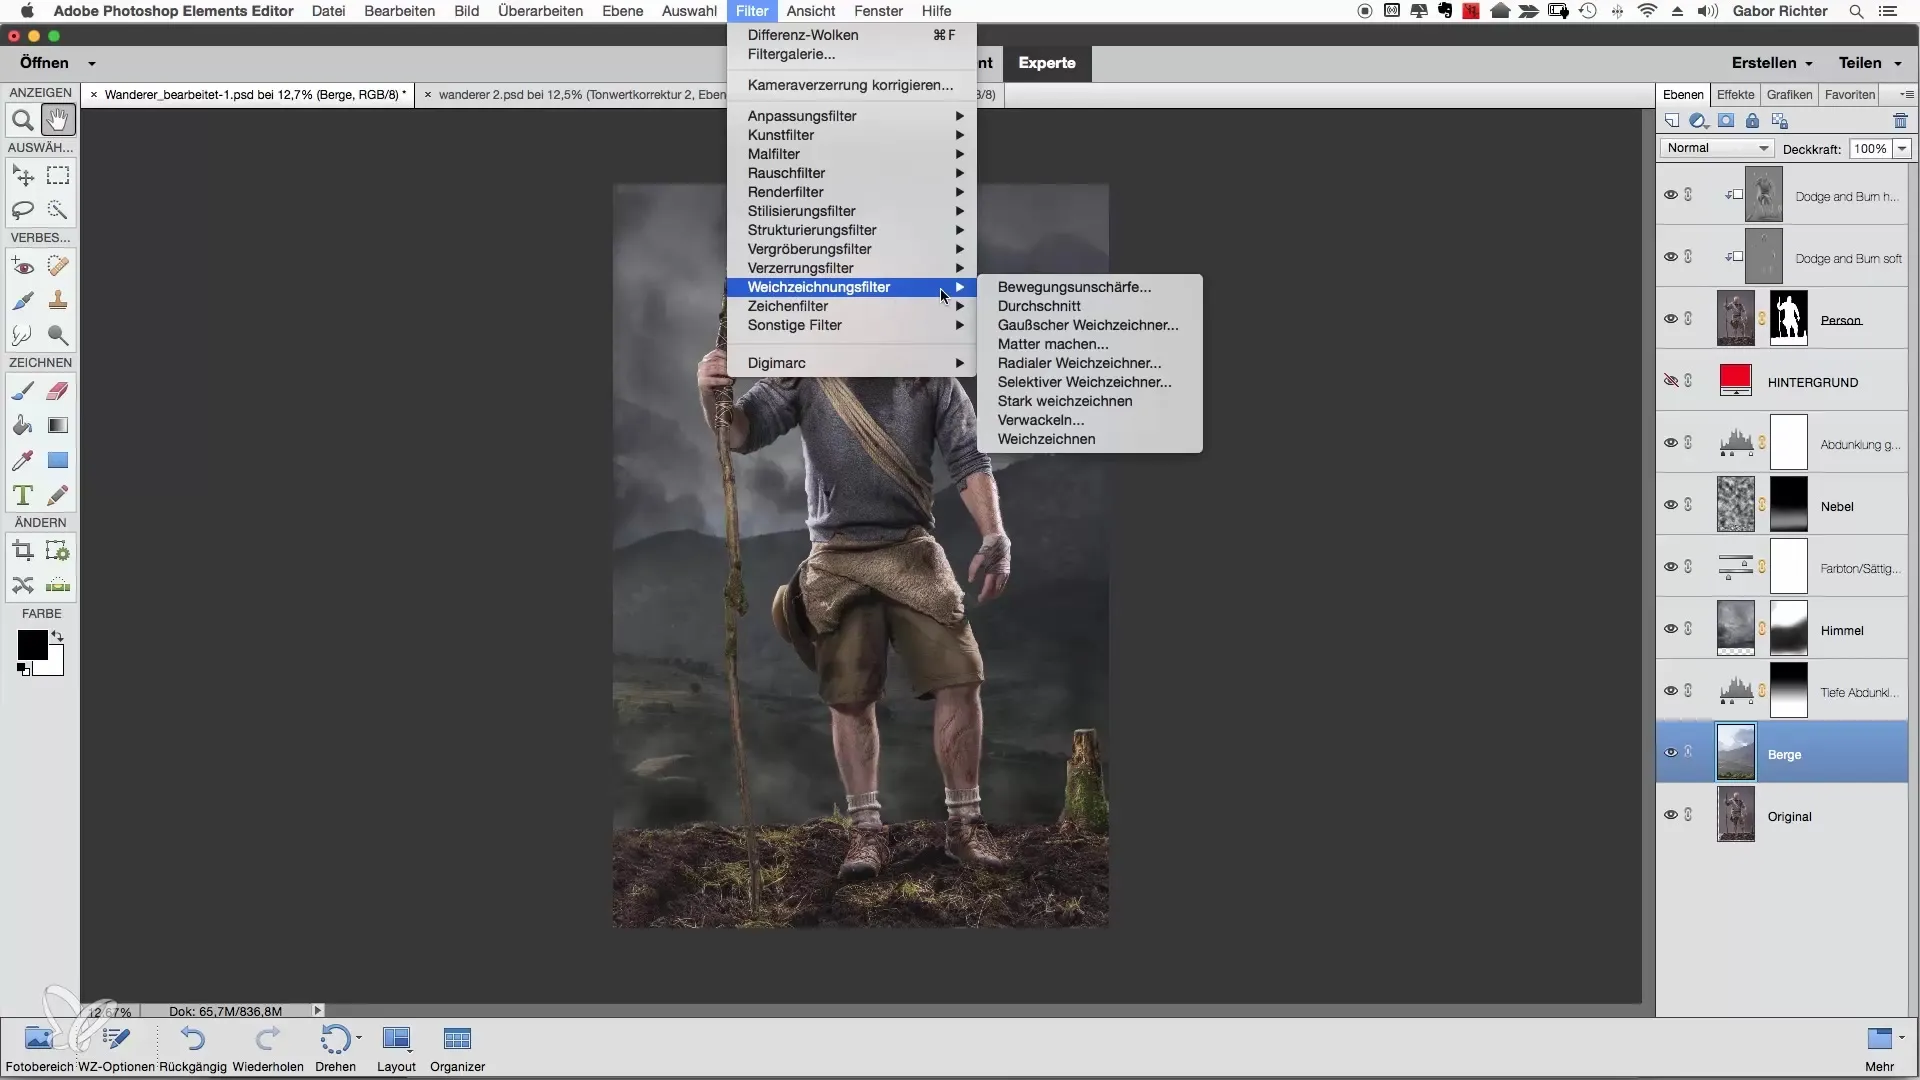
To create the blur effectively, go to the filter settings in Photoshop and select the “Gaussian Blur.” It is crucial that you are on the right layer – do not work on the background, as this could lead to unwanted results.

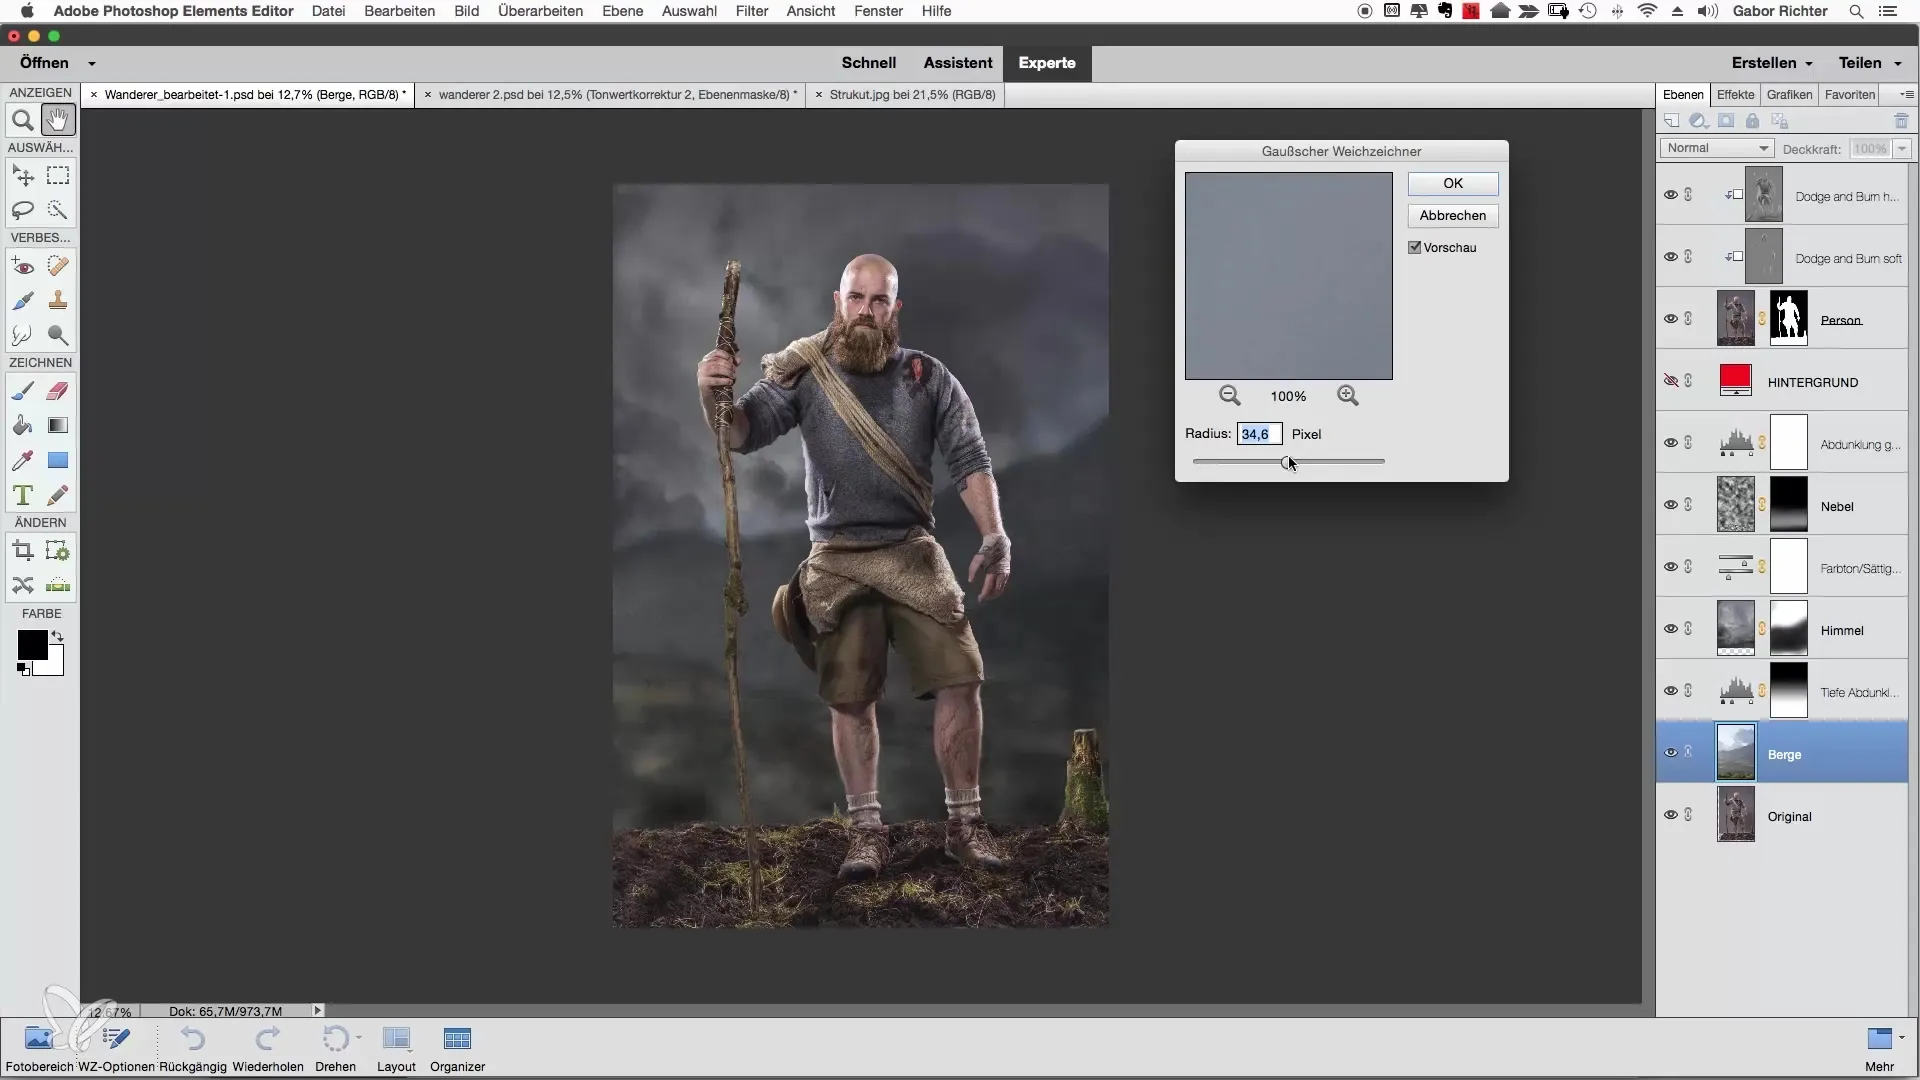
Now you are ready to adjust the settings for the Gaussian Blur. Choose a minimal radius to achieve a subtle effect. Test various values; often a value of three to five pixels is sufficient to achieve the desired effect. I recommend experimenting with the values until you reach a satisfactory look.

When you preview the effect, ensure that the background does not appear too blurry. You want the mountains in the background to be less sharp but still recognizable. A value of about eight pixels is often optimal for a harmonious look.
To apply the setting for the sky, go back to Filter > Blur Filter > Gaussian Blur. If you want to recall the last setting, you can easily access it as the previous settings are saved in the filter menu.
With these final adjustments, we ensure that the entire background is slightly blurred while the focus remains strong on the person in the foreground. After applying the filter, you should see a significant difference: your image composition will now appear more intense, and the viewer will find it easier to concentrate on the main subject.
Summary - Blur in the Background for More Depth in Images with Photoshop Elements
By consciously using blur in the background, you can enhance the intensity of your image and direct the focus to the essentials. By applying the Gaussian Blur in Photoshop Elements, the effect is achieved that the viewer is less distracted by the less important parts of the image.
Frequently Asked Questions
How can I adjust the blur in the background with Photoshop Elements?You can adjust the blur in the background by selecting the Gaussian Blur through the filter menu and setting various noise values.
What is the Gaussian Blur and how does it work?The Gaussian Blur is an effect that softens the edges in your image, creating a blur effect. You can adjust the radius to control the intensity of the blur.
What value is optimal for background blur?Values between three and eight pixels are generally optimal for achieving a harmonious blur.
Can I apply blur only to the background?Yes, you can specifically apply blur only to the background by ensuring that your main subject remains on a separate layer and only the background is blurred.


