Targeted image editing requires a trained eye for detail. Especially when adjusting brightness differences between various elements of an image, such as in a photo montage, challenges often arise. In this guide, I will show you how to effectively adjust the brightness of people in your images to achieve harmonious and expressive results.
Main Insights
- Brightness differences are crucial for the impact of the image.
- Tonality adjustments can help lighten or darken important areas.
- The use of clipping masks allows for targeted adjustments.
- The editing process should be carried out step by step and thoughtfully to avoid spots.
Step-by-Step Guide
To adjust the brightness of a subject, you proceed in several steps. This gives you control over the details and the overall image.
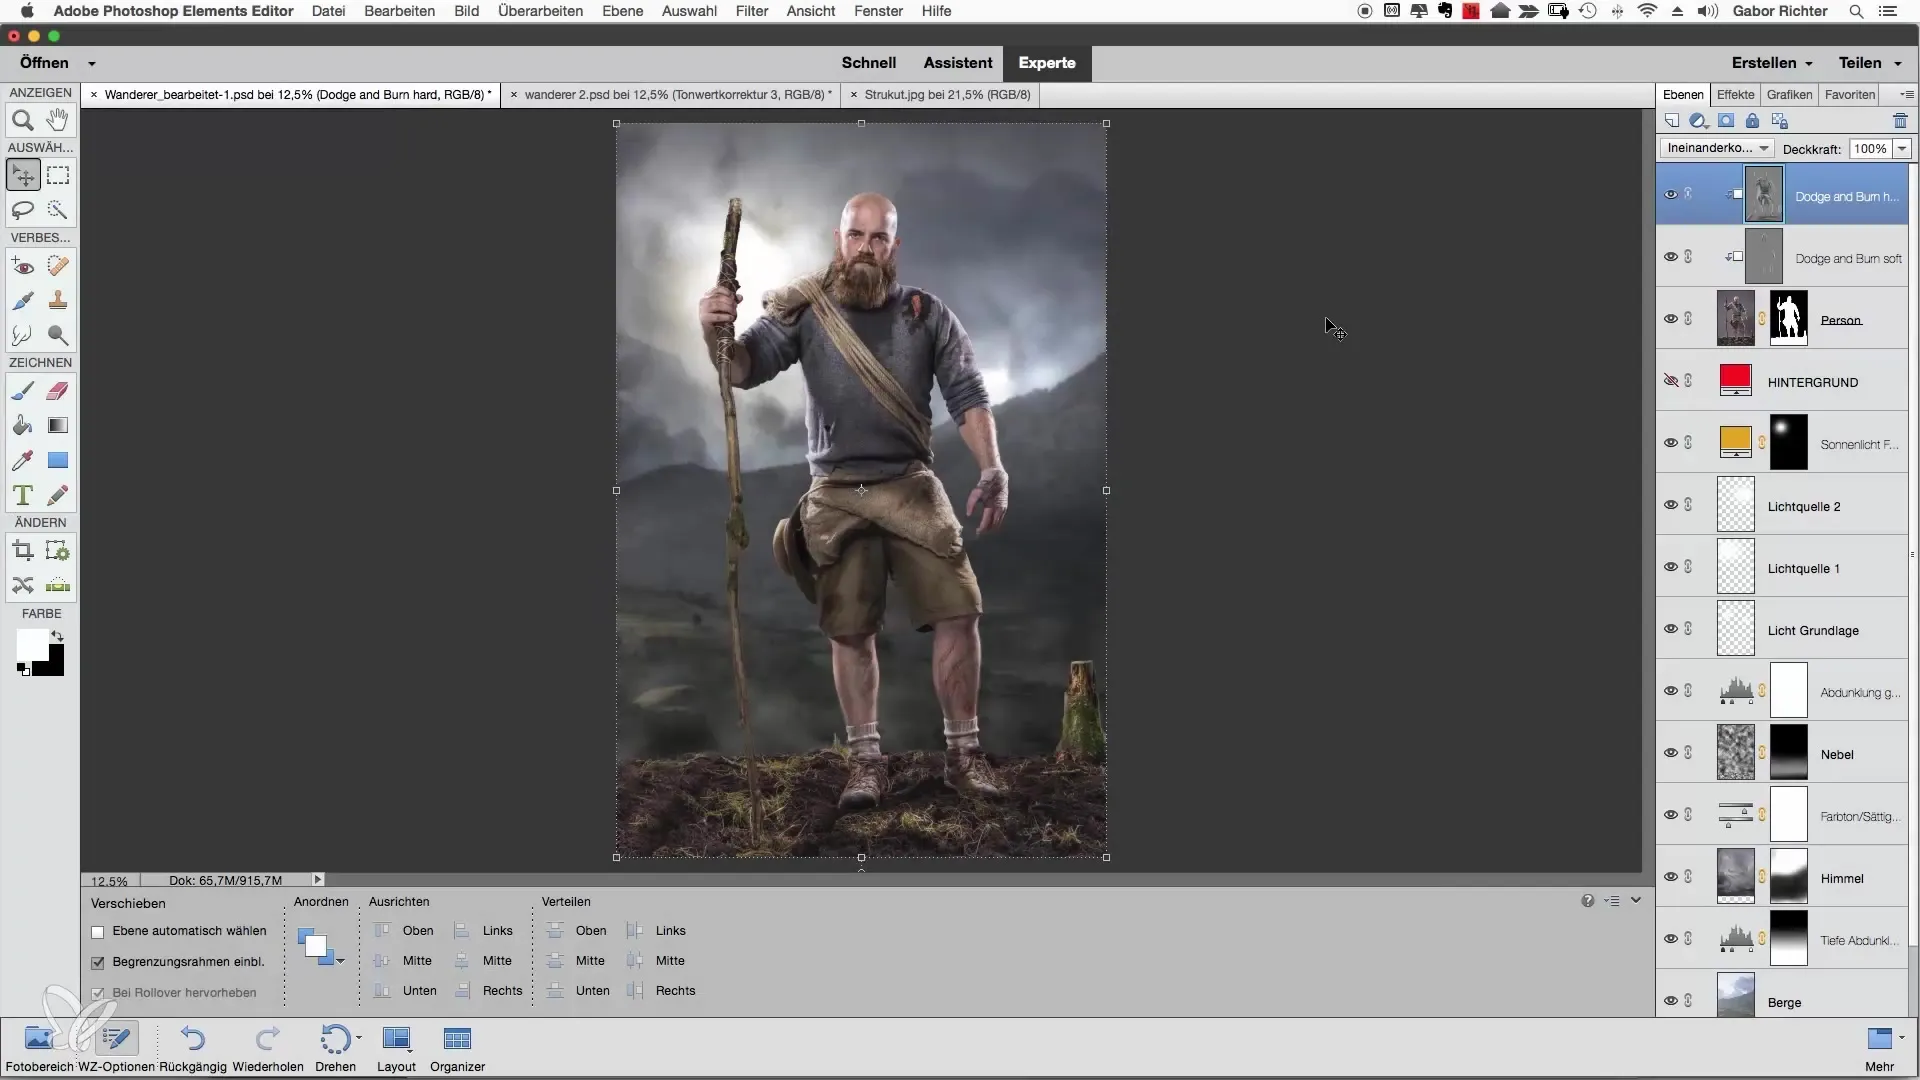
First, open the image in Photoshop Elements and make sure you are working on the top layer. To prepare for the brightness adjustment, create a new adjustment layer for Hue/Saturation. Reduce the saturation to view only the brightness information. This way, you can better recognize the brightness differences between the background and the subject.
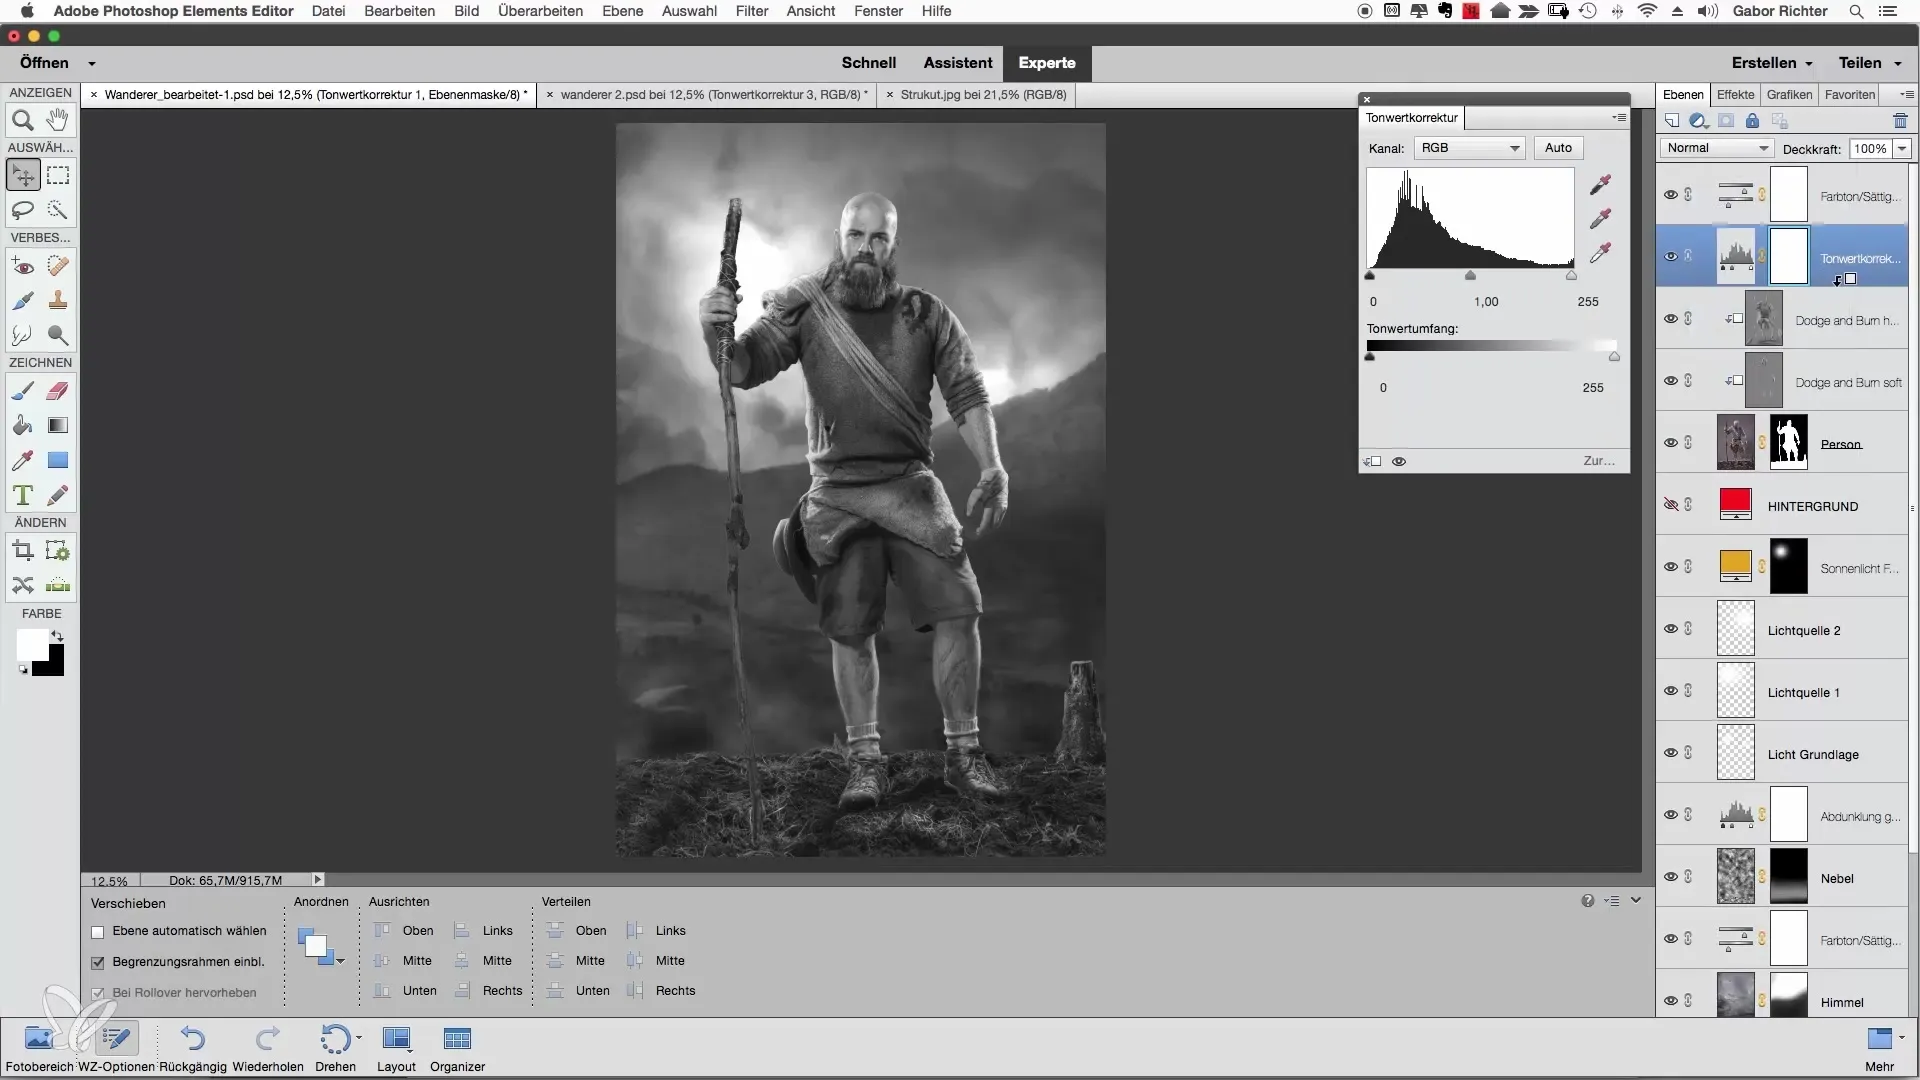
Once you have reduced the saturation, you'll notice that the background appears brighter and the person stands out more clearly. However, it is often necessary to increase the brightness of the subject – in this case, the person – to draw attention to them. For this, create a Curves adjustment and set it as a clipping mask for the person. Here, you move the midpoint slightly to the left to brighten the person. You will immediately notice a difference: the figure becomes more radiant.
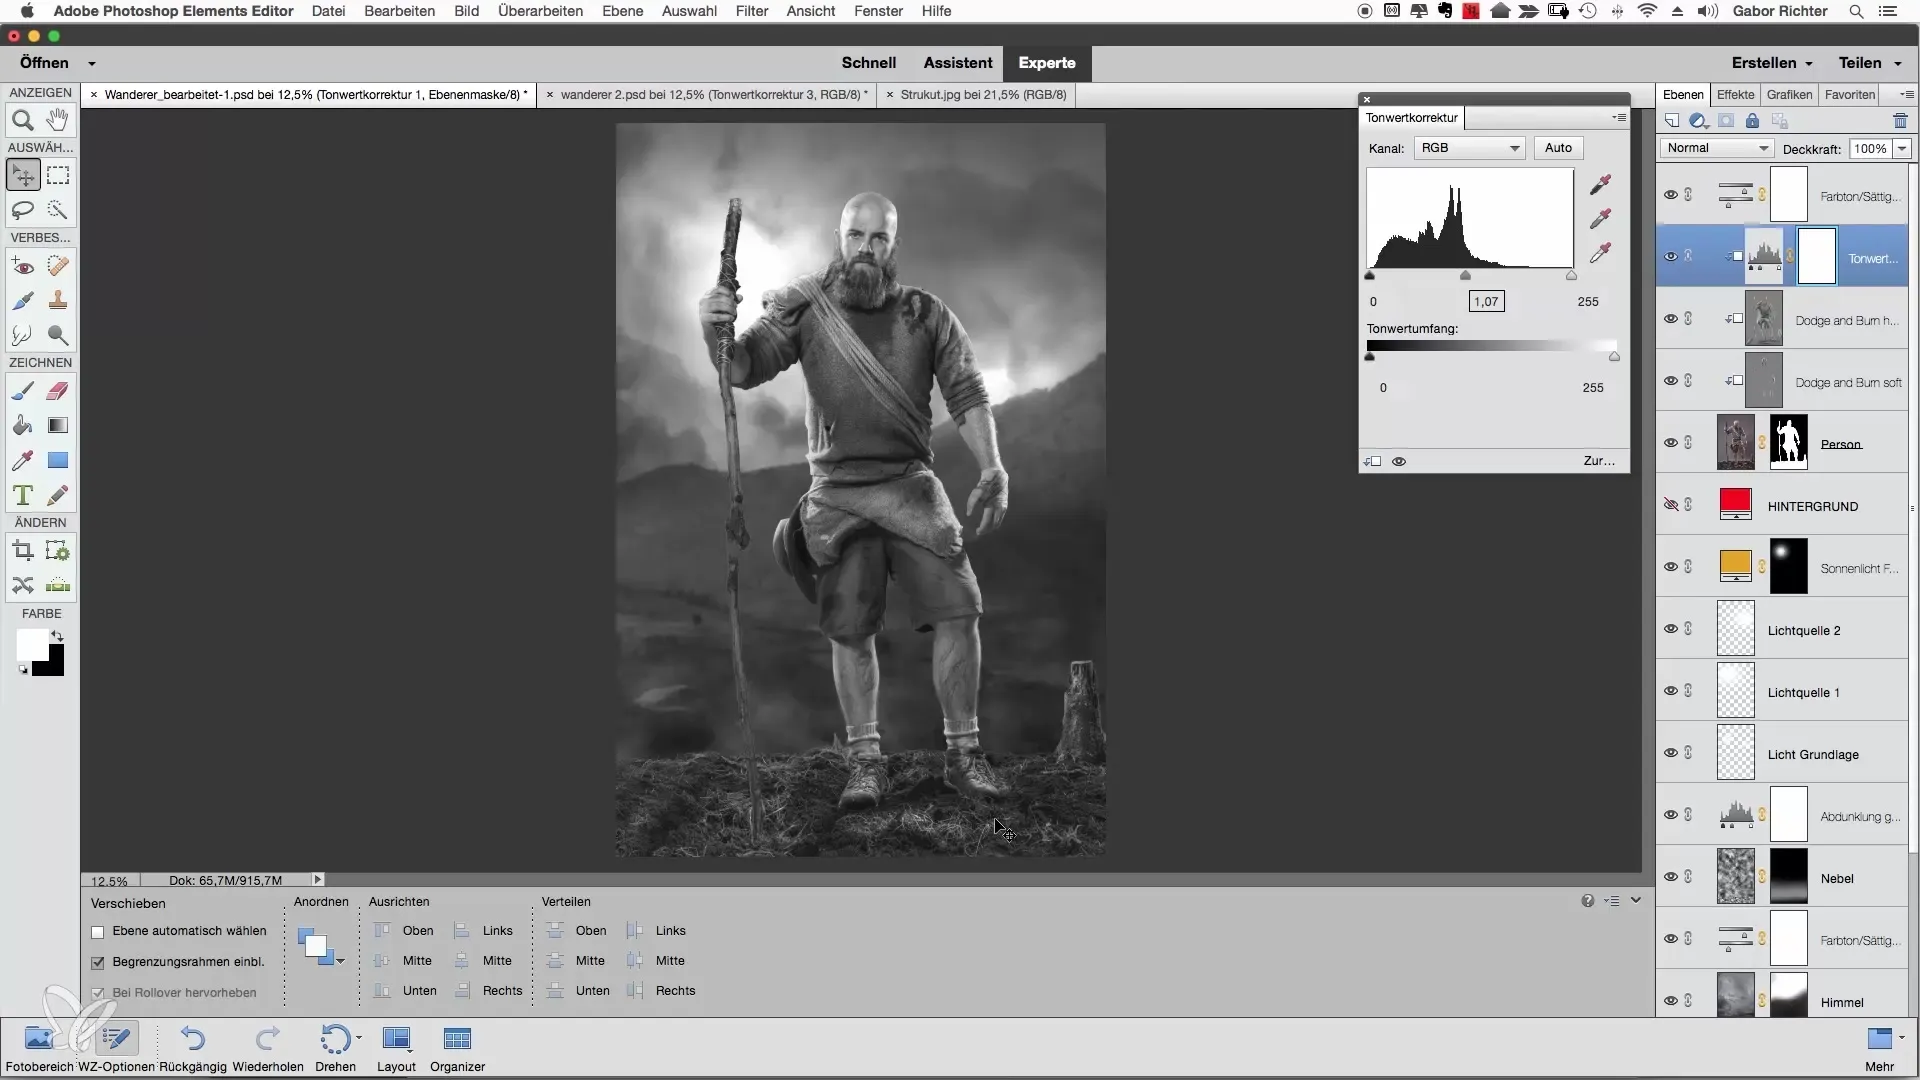
After adjusting the midpoint, it is important to also consider the ground of the montage. The ground often serves as a middle ground between the lighter areas of the background and the darker person. If necessary, you can adjust the brightness of the ground to achieve a better balance. In this case, you aim to make the ground darker, while the person appears brighter in the upper area.
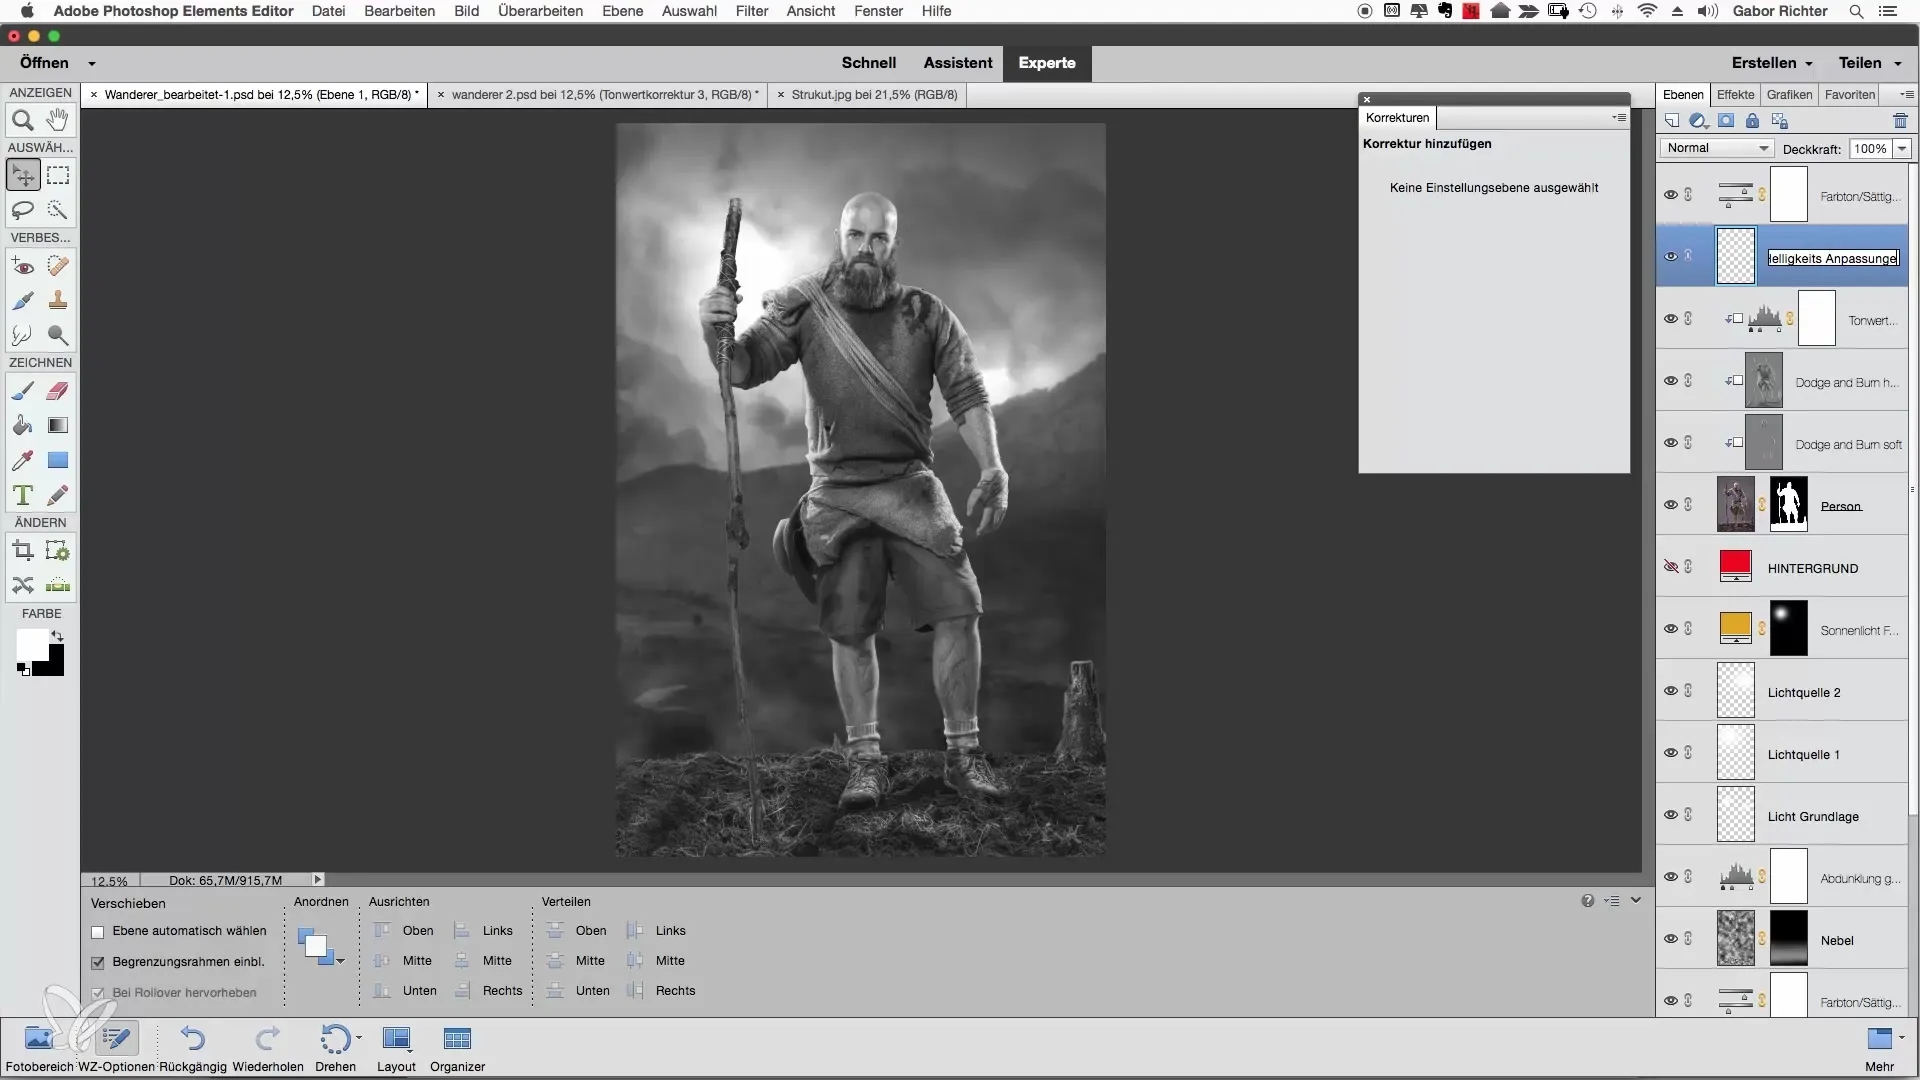
Add a new empty layer, which you name “Brightness Adjustments”. This layer should also be created as a clipping mask for the person. Set the blending mode to "Soft Light". Now, you can work with a brush, the opacity of which you set to about 5%. Start by subtly increasing the brightness. With a clear brush stroke, paint over the upper areas of the person. Be sure to make gentle movements to ensure smooth transitions.
To darken the ground, switch to black using the X key and paint over the desired areas. It is important that the transition remains subtle at first. The pants and legs can also be slightly darkened to achieve a more uniform brightness distribution in the image. Keep an eye on the overall image. At the end of these steps, you will get a more harmonious distribution of brightness in your subject.
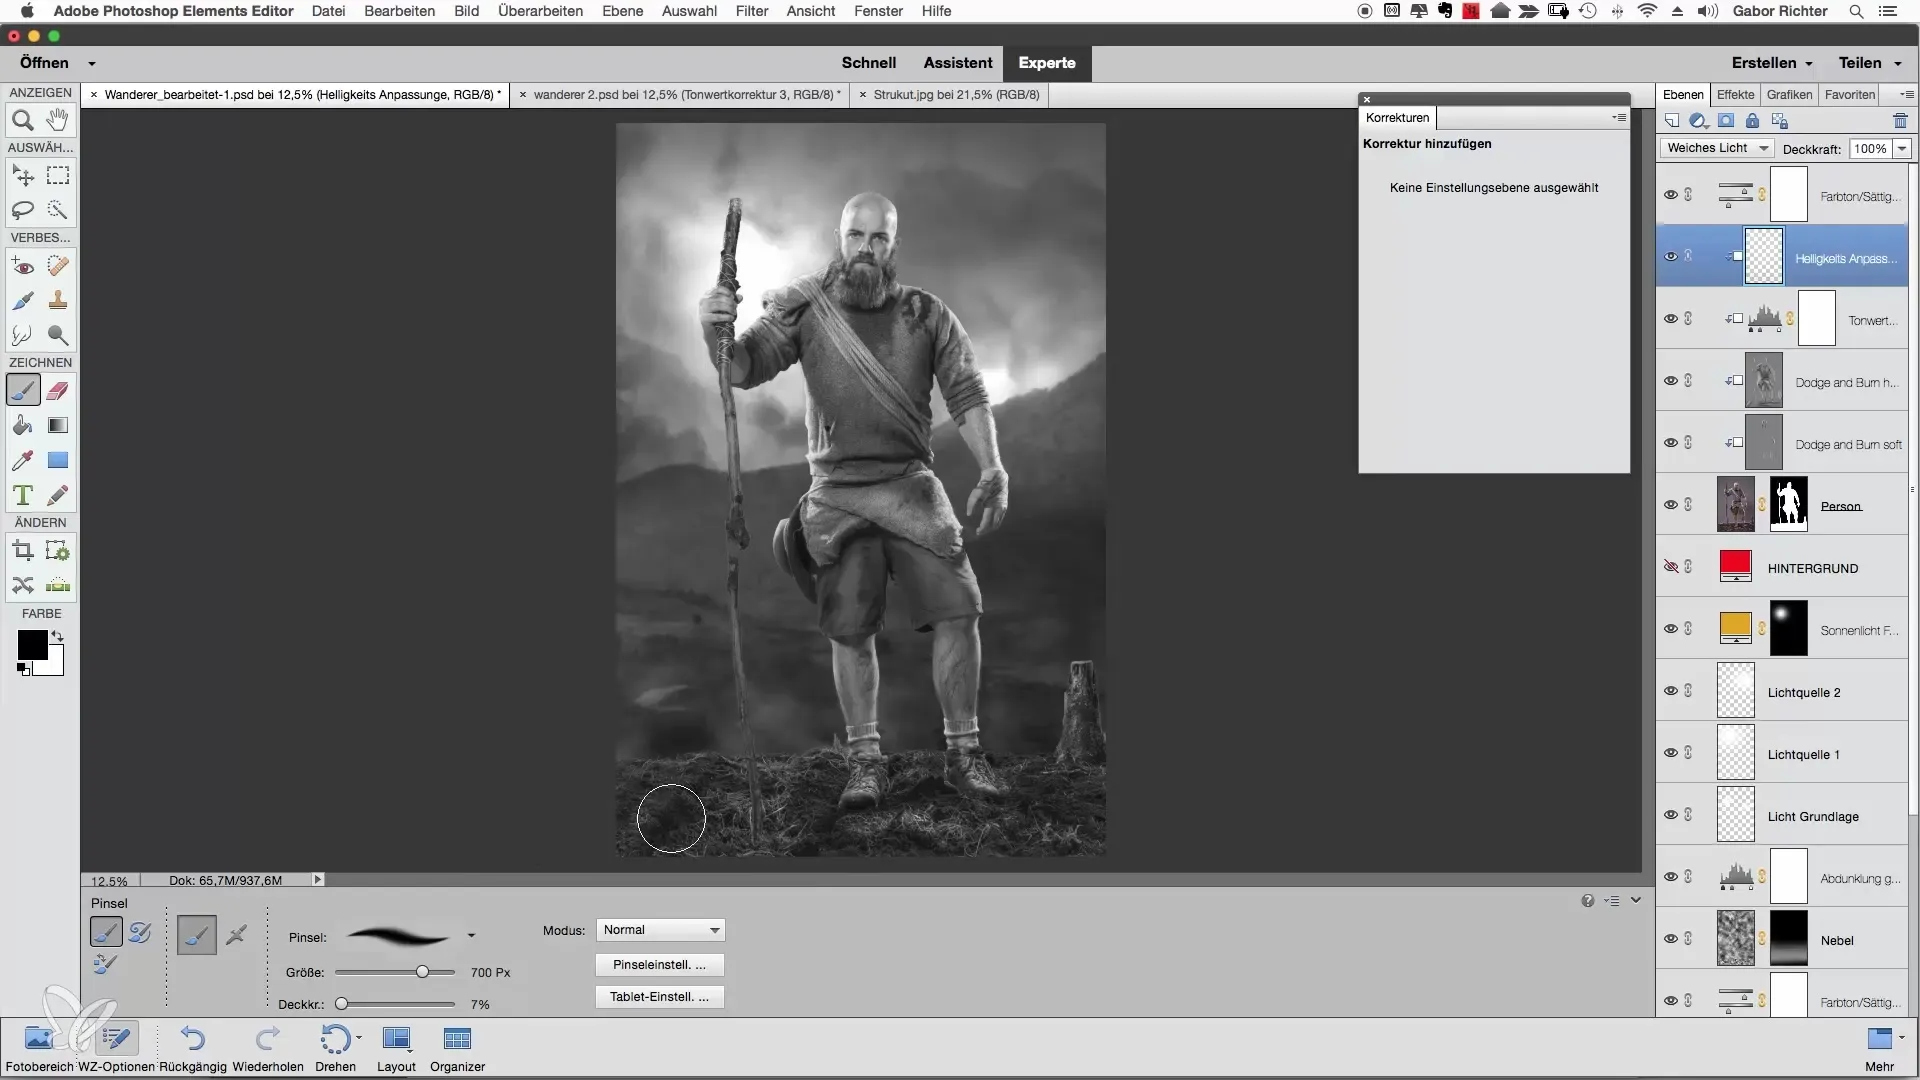
A look at the image without the brightness adjustments shows how significantly the impression has changed. The adjustments have greatly improved the composition – the person now stands out better from the background, and the image appears more harmonious overall. It may even make sense to delete the previously used Hue/Saturation adjustment layer, as it only served for the initial presentation.
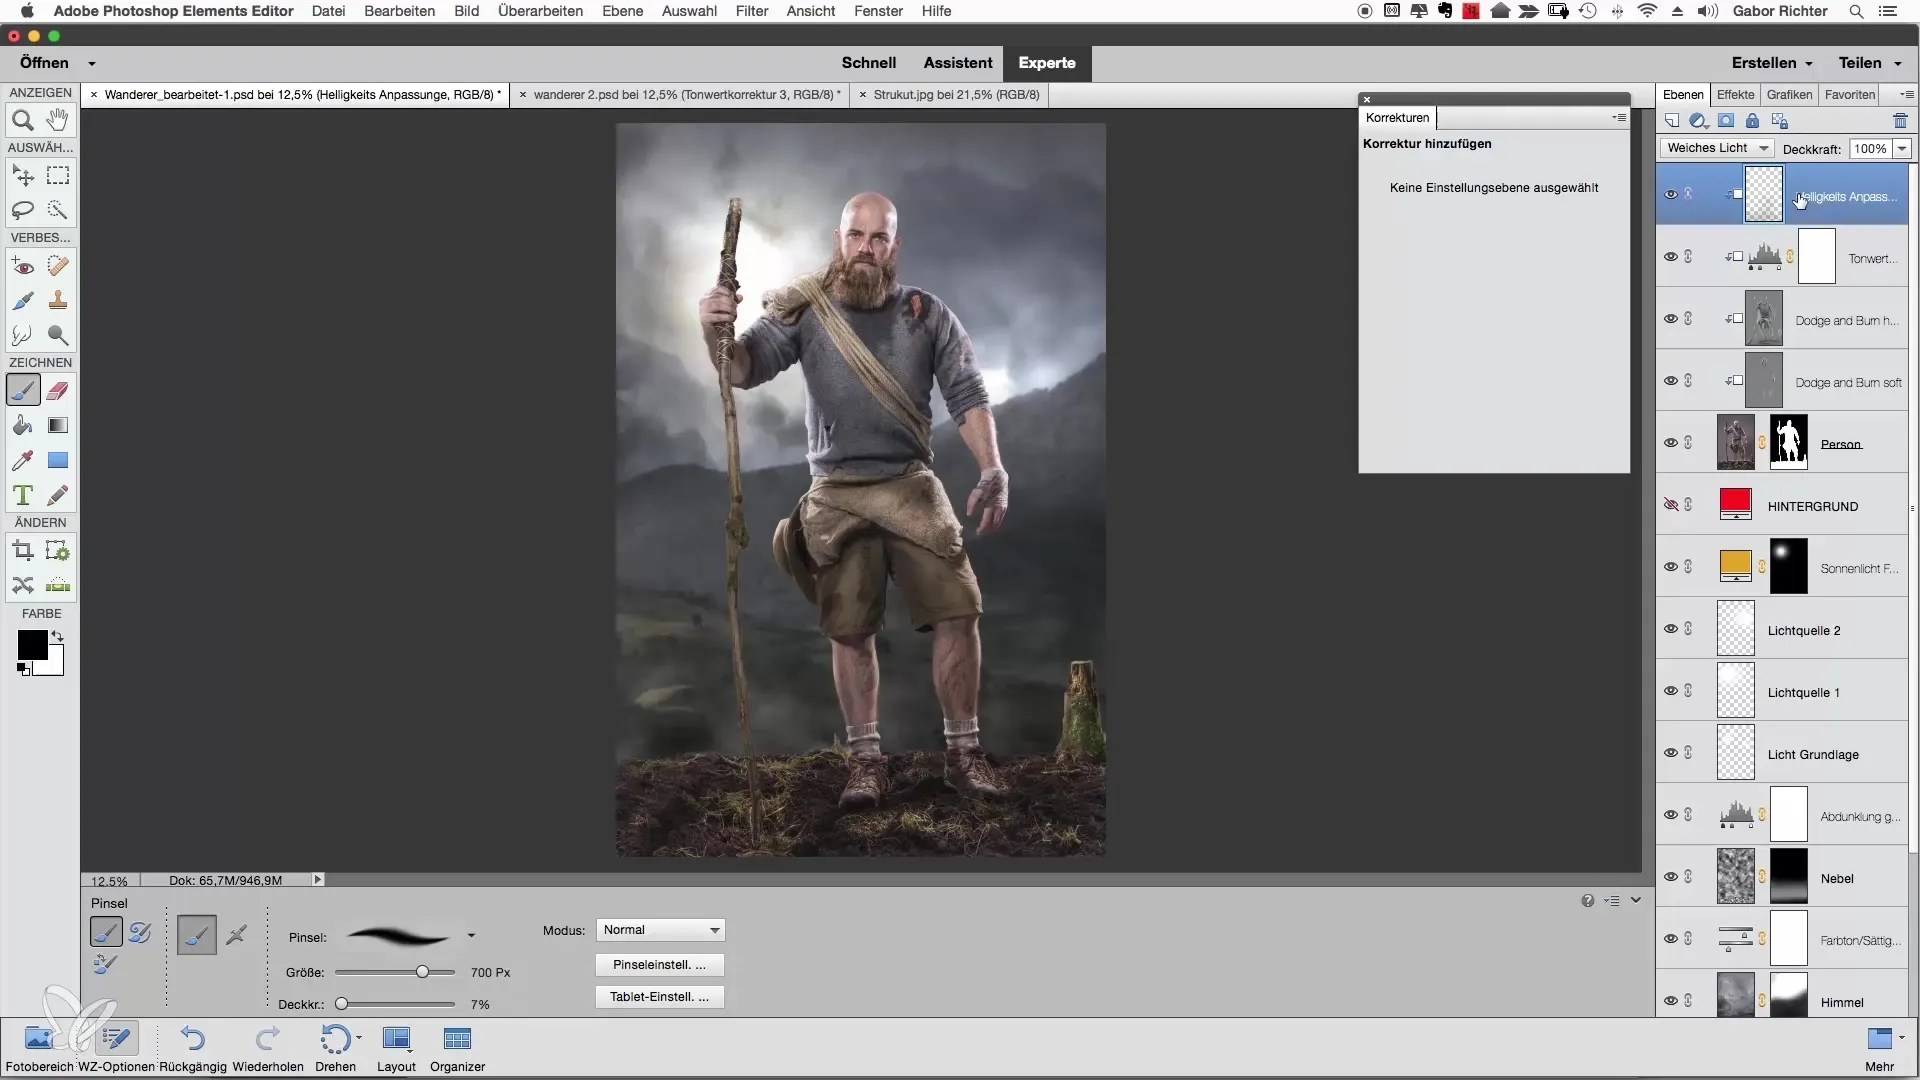
Now your image is ready for export or further editing. Consider whether you want to make any additional detail adjustments, but often less is more – in this case, you can be proud of the result.
Summary – Brightness Adjustments in Photoshop Elements for People
When editing images, it is important to adjust the brightness purposefully to place the focus on the main subject and achieve a harmonious image composition. By using adjustment layers and clipping masks, you can specifically control the brightness relationships and thus improve the overall look of your photo montage.
Frequently Asked Questions
What are adjustment layers in Photoshop?Adjustment layers allow you to make adjustments such as brightness and contrast separately from the image layers without altering the original image.
How can I create a clipping mask?A clipping mask is created by right-clicking on a layer and selecting “Create Clipping Mask”. This will make it visible only within the layer below.
Why should I reduce the saturation to see the brightness?Reducing saturation leaves only the brightness information, making brightness differences clearer. This facilitates targeted adjustments.
How can I ensure my adjustments appear harmonious?You should create gentle transitions between lighter and darker areas and regularly check the overall image during editing to achieve a uniform result.
Why are several steps sometimes necessary?Each image is unique and may require different adjustments to achieve the desired effect; therefore, multiple steps can be sensible and necessary.


